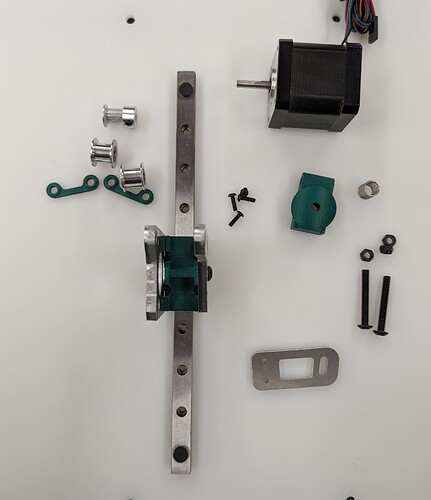
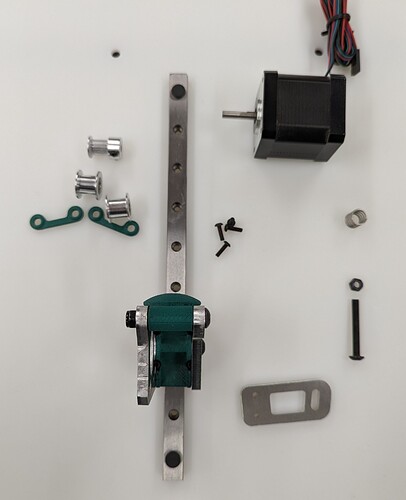
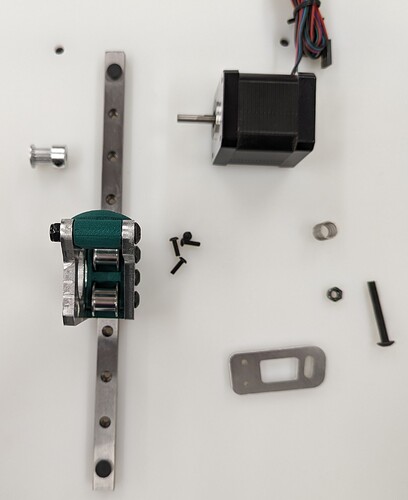
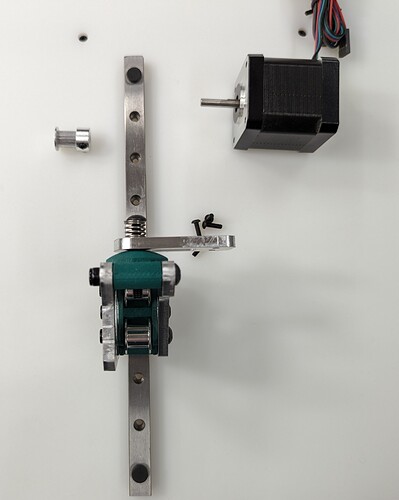
Z belts
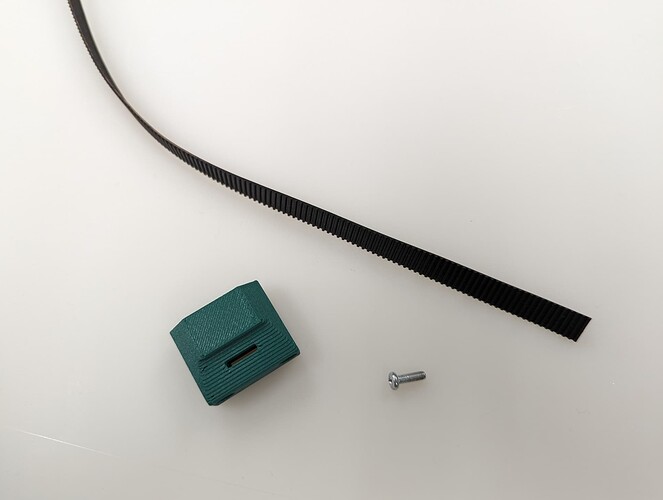
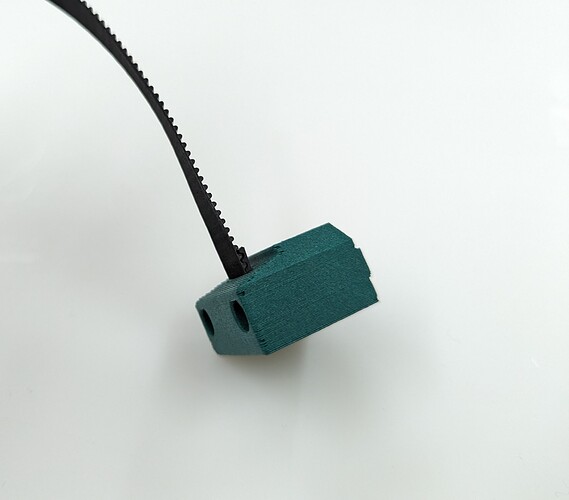
New style belt fastening. Using a M3x10mm fastener, you can easily and securely anchor the belts.
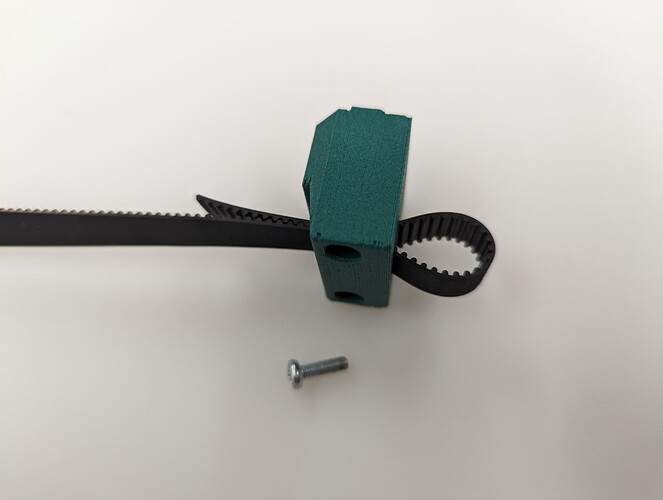
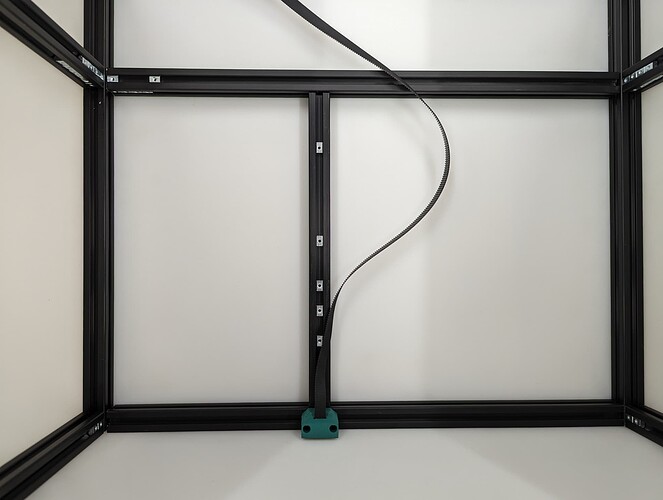
Get the belt started, you don’t need to it be as big of a loop as this picture, but do what is easy for you.
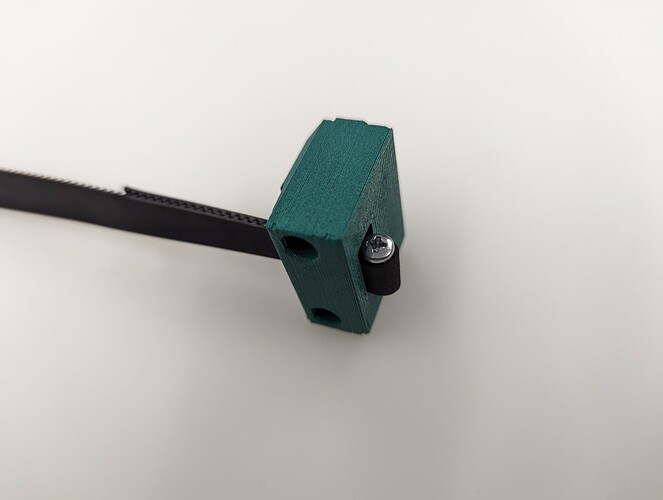
You will see there is a slightly larger opening on one side for the head of the fastener.
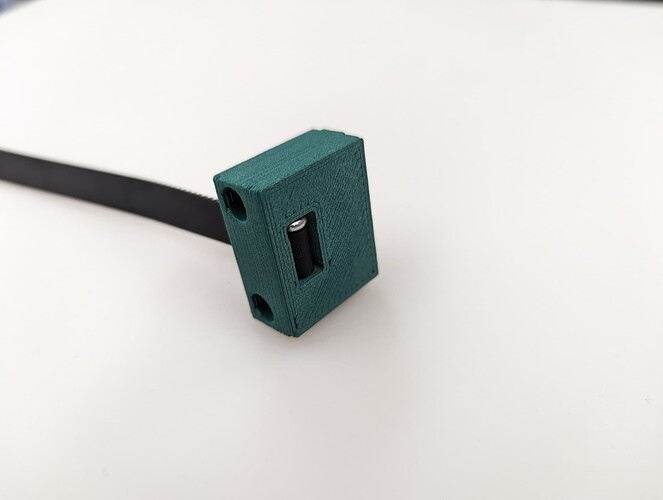
Pull it all the way in nice and tight.
Trim the belt off, make sure it is not too far over the top of the block.
Get the belt ready for the rest of the Z axis.
Z Axis
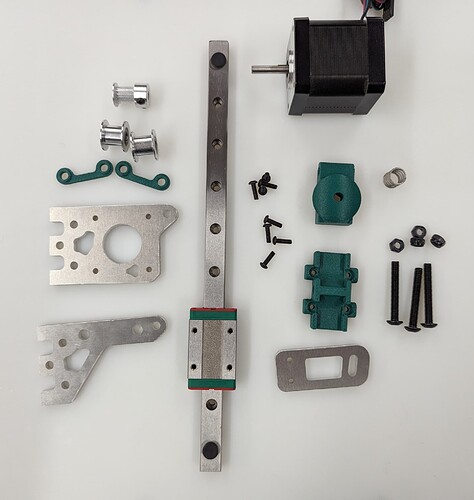
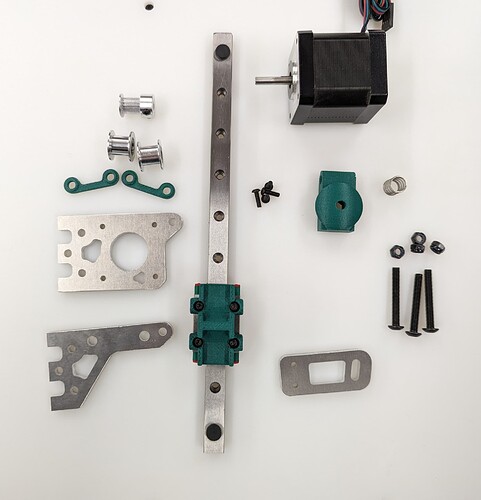
Snug down the Z Truck
Add the two side plates. You will see further down the instructions these axes are built in two directions. This step sets the direction.
Adding the bed mount to stabilize the Z truck width.
Add your idlers and spacers making sure to make sure the idlers are not squished, you need some play here. Feel free to lightly sand the spacers to give more room if needed.
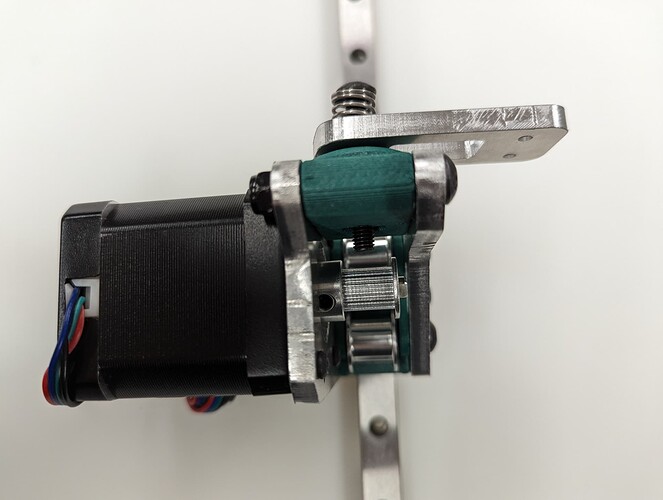
Adding in the belt mount and “spring”. The bed mounts are specific to location.
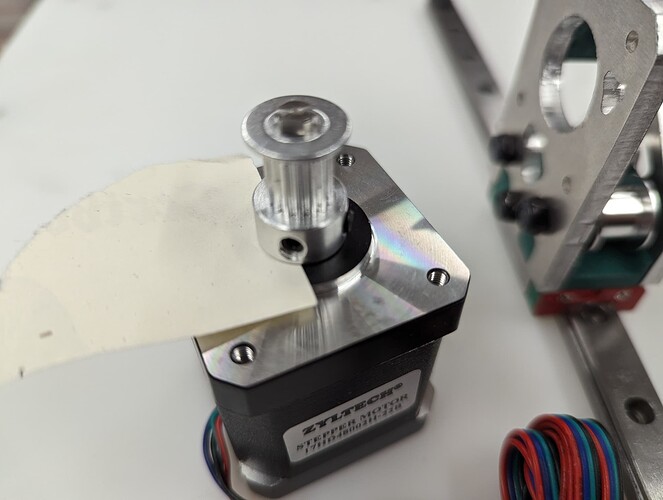
Add on your pulley. A sheet of paper is the ideal feeler gauge.
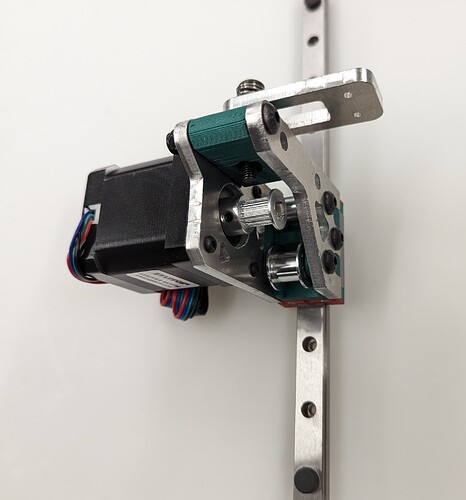
Screw on the stepper, pay attention to the wire orientation.
Good time to check the pulley and idlers are inline.
Center your rail, line up your t-nuts, the Z rails should be touching the lower belt mount.
Snug the rail on with M3x8mm screws.
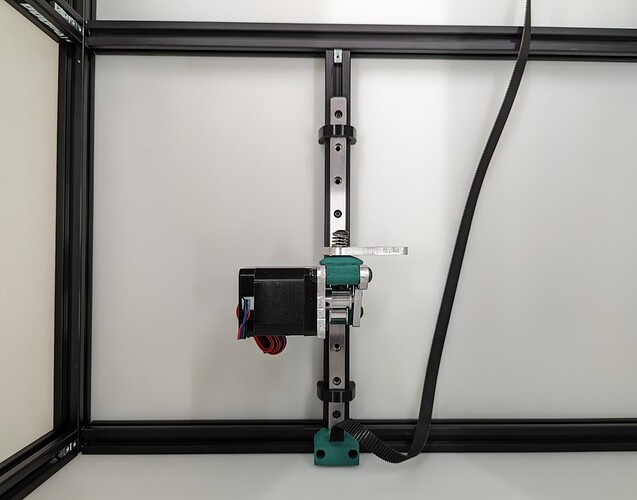
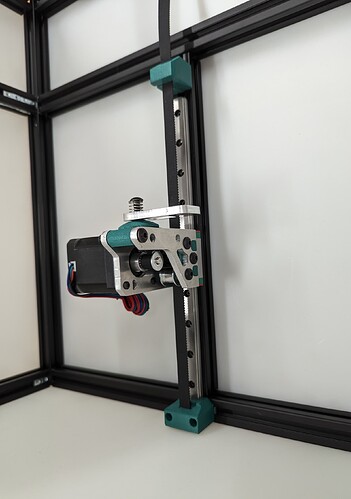
Thread in the belt and add some tension, you should be 2-10mm gap from the top of the rail. The test here is to make sure your Y trucks don’t hit in a later step.
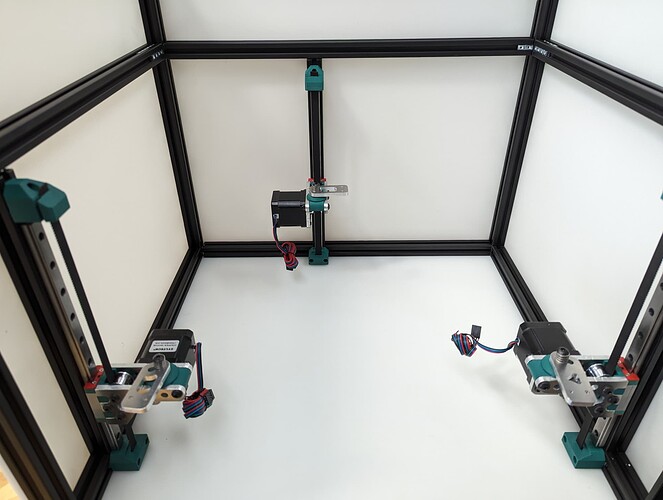
All three Z axes mounted and ready to rock. Notice the bed mounts are different and the way the steppers are facing.
