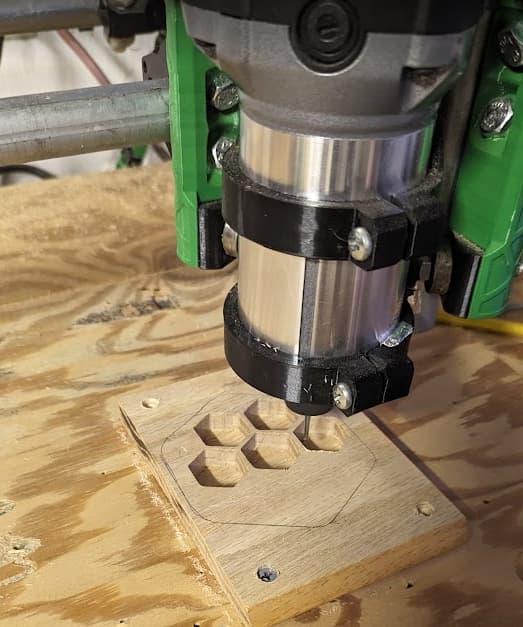
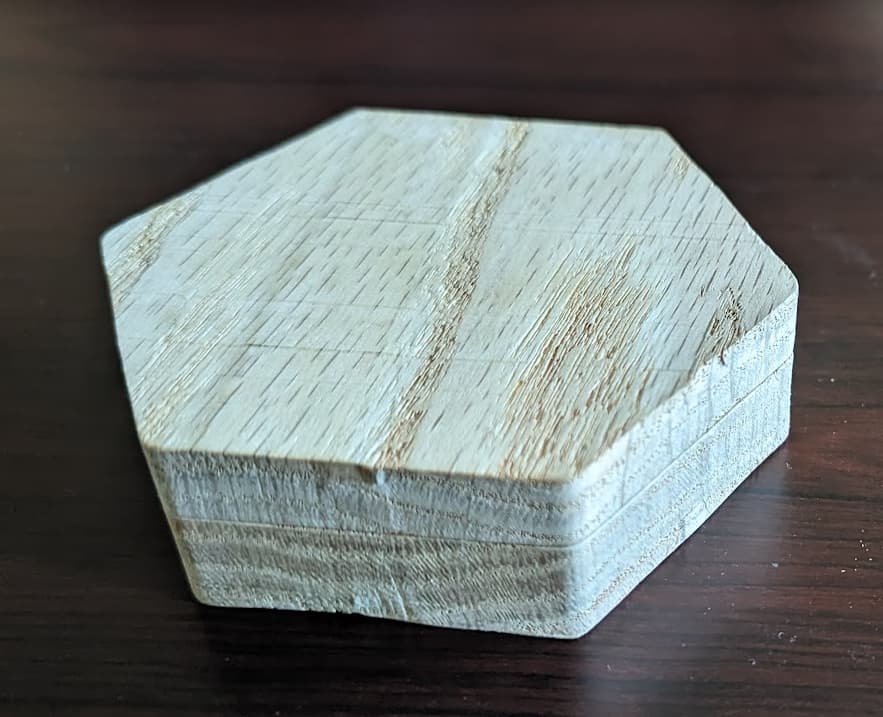
I have a couple of 3D printed ones, but I wanted to go the other way and make one/some out of wood. My first one here was just a trial out of some cheap cabinet oak (shoutout to the local Habitat ReStore).
Planed each side down to the necessary thickness…because I love multi-tool jobs…and it machined perfectly! The next step is to try some fancier hardwoods and glue-ups.
You got it. There are some magnets with countersunk holes that I think would look really nice in there. I’m sure the hole would have to be deeper, but haven’t chosen exactly which magnets, so for this test cut I just put a somewhat random depth.
The tough thing with intarsia is picking the right figure and species for each piece, and whatever 3D profile you put on them. But they’re “just” puzzle pieces you cut out and fit together. And you can play with the tolerances a lot more than you can with machined inlays. And a CNC machine is a cheat code for any of it…
I’ve thought about trying to do a multi-color intarsia with dyed resin.
Cut the first color’s pockets. Pour the resin and let it harden. Then use the CNC to cut the next color’s pockets. Mix and pour that color. Then the next color’s pockets… etc etc.
You could use a V-bit to cut the pockets so you could get nice crisp corners. I’d save a final facing pass for when all the colors were done.
The only suggestion I would add to that is an initial coat of clear sealant. Prevent that first color from seeping into the grain. Then you can sand it down below that to stain/varnish the wood, if desired.
Same would go if you wanted to paint an engraving and sand it down to wood.