Tracing shapes with a CNC, an idiot's tale

Something a bit different here…
There’s a saying that goes: When you have a hammer in your hand, everything looks like a nail
Well just because you have a CNC doesn’t mean it’s Always the right tool

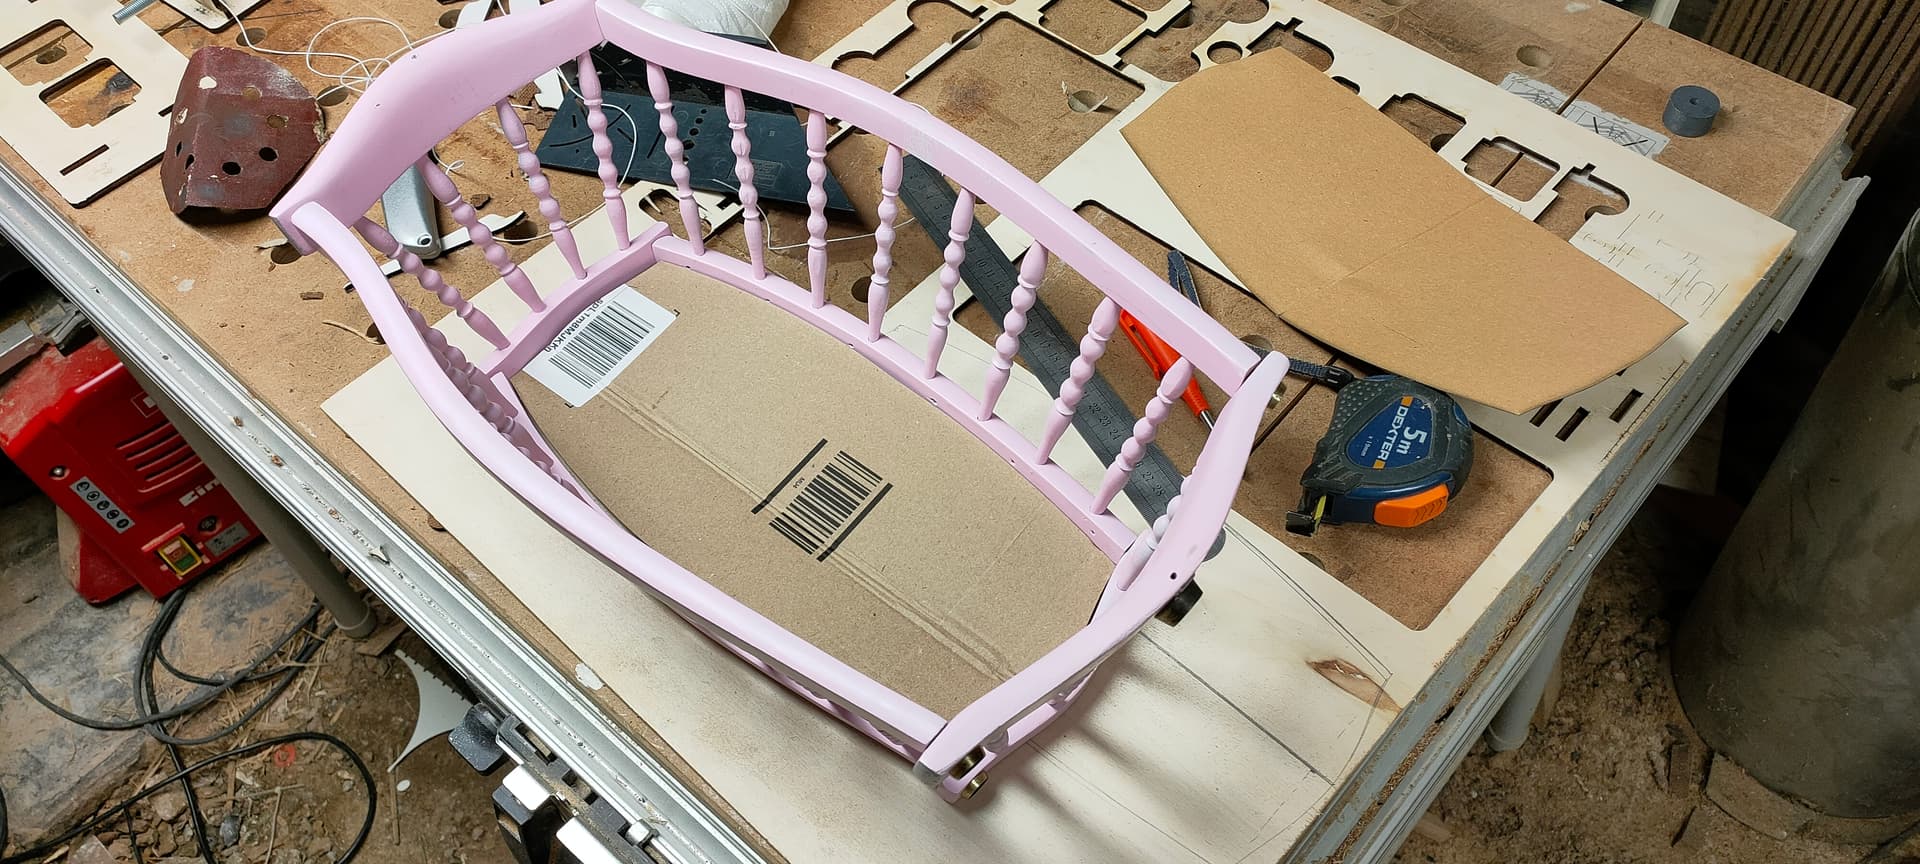
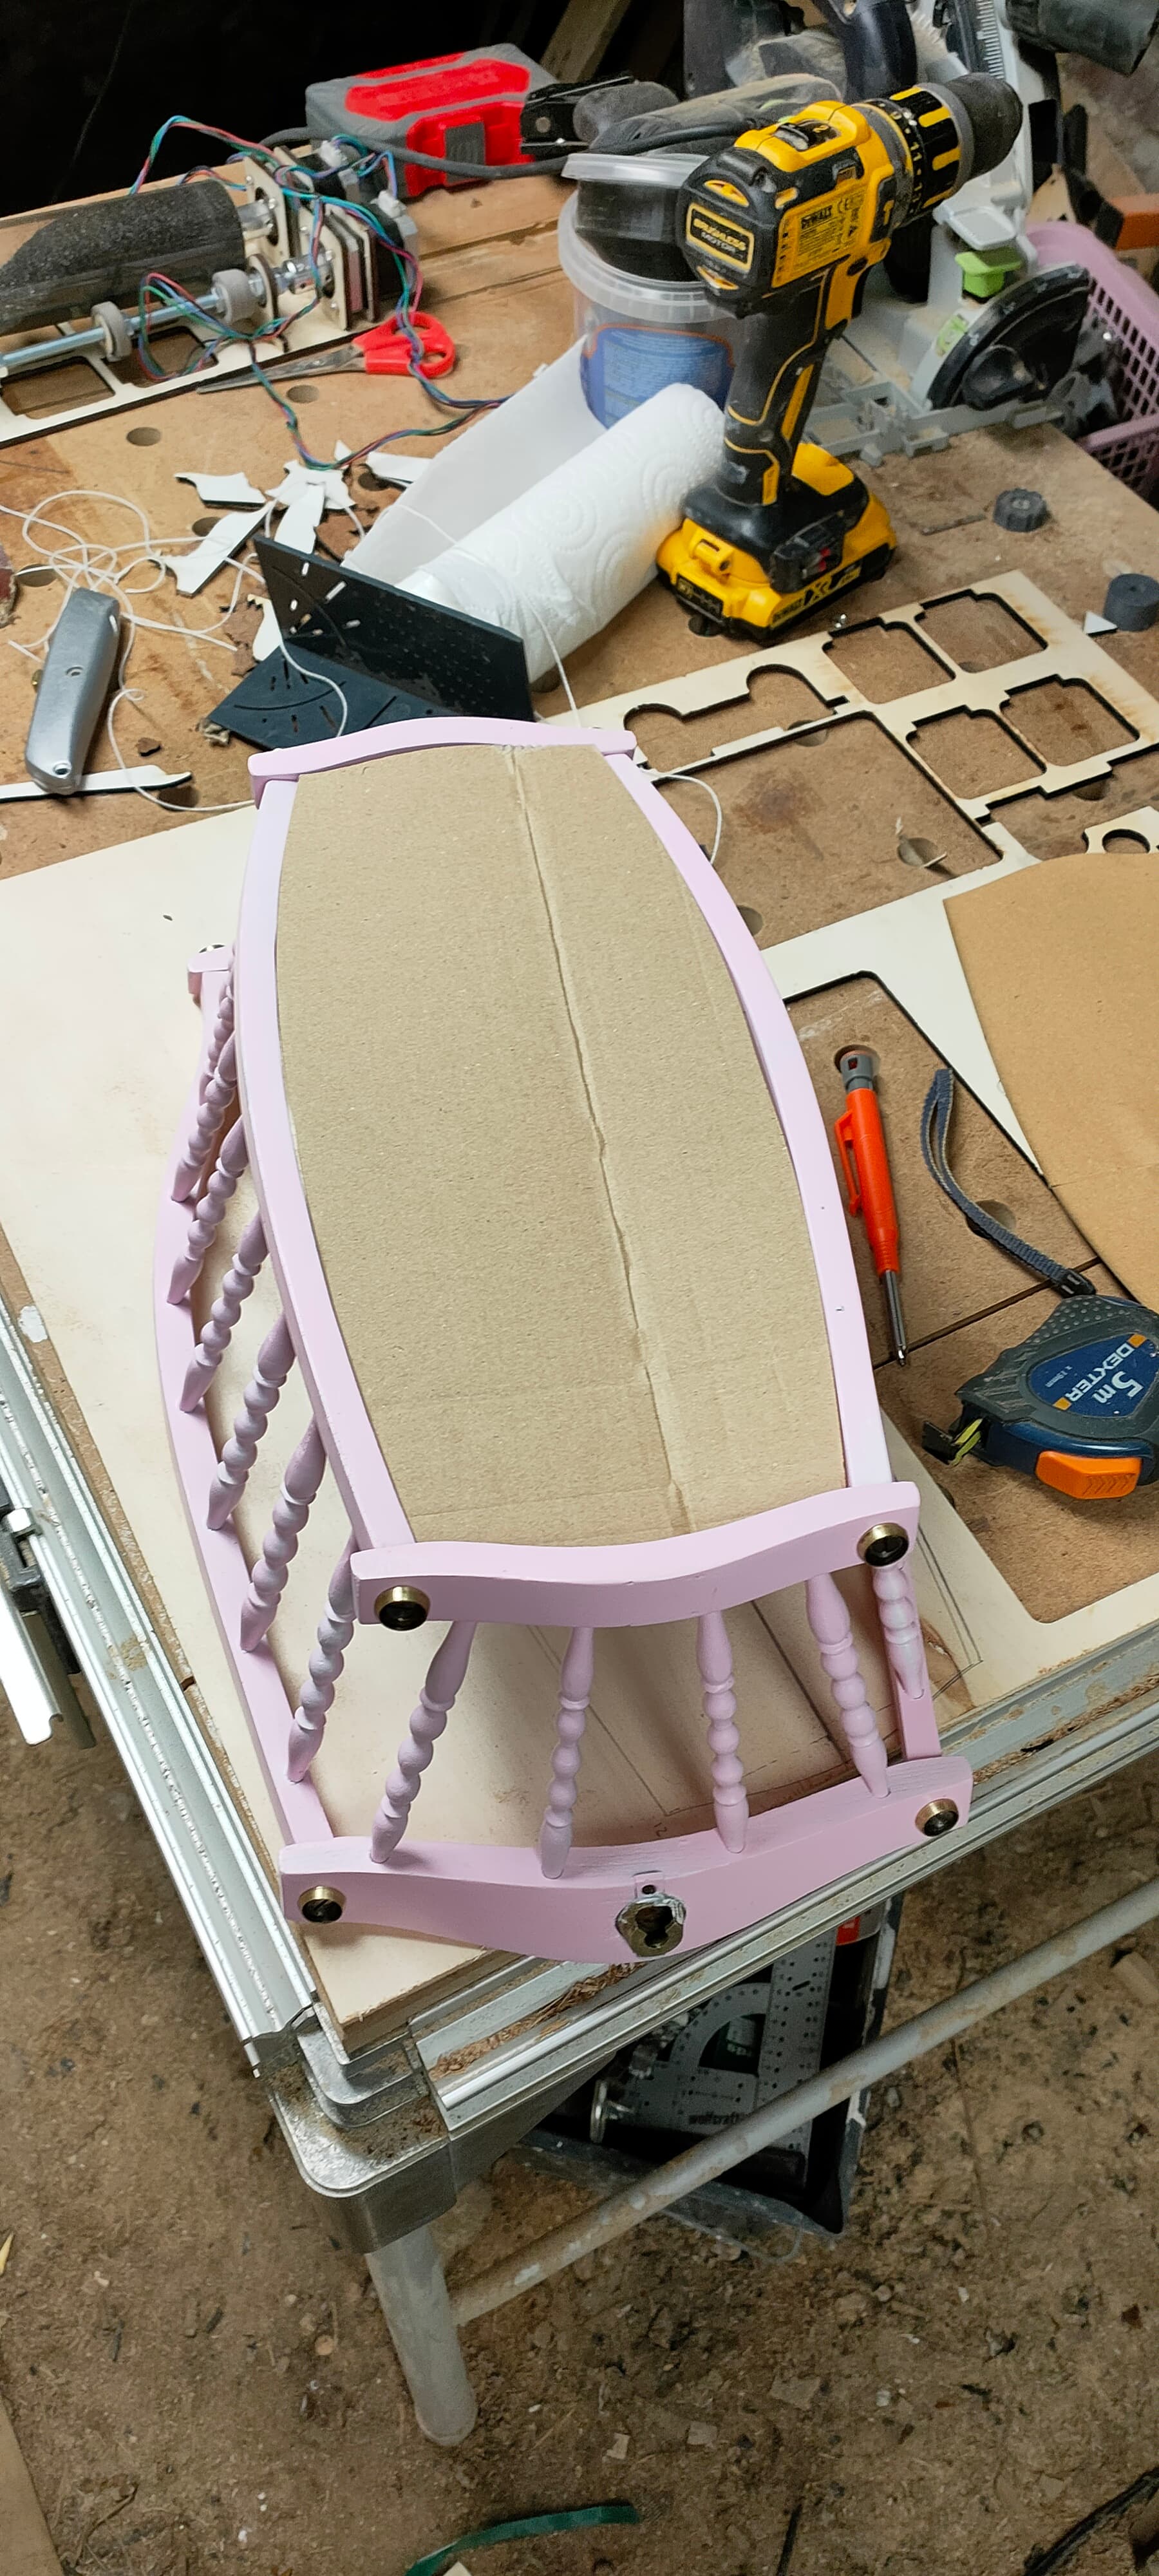
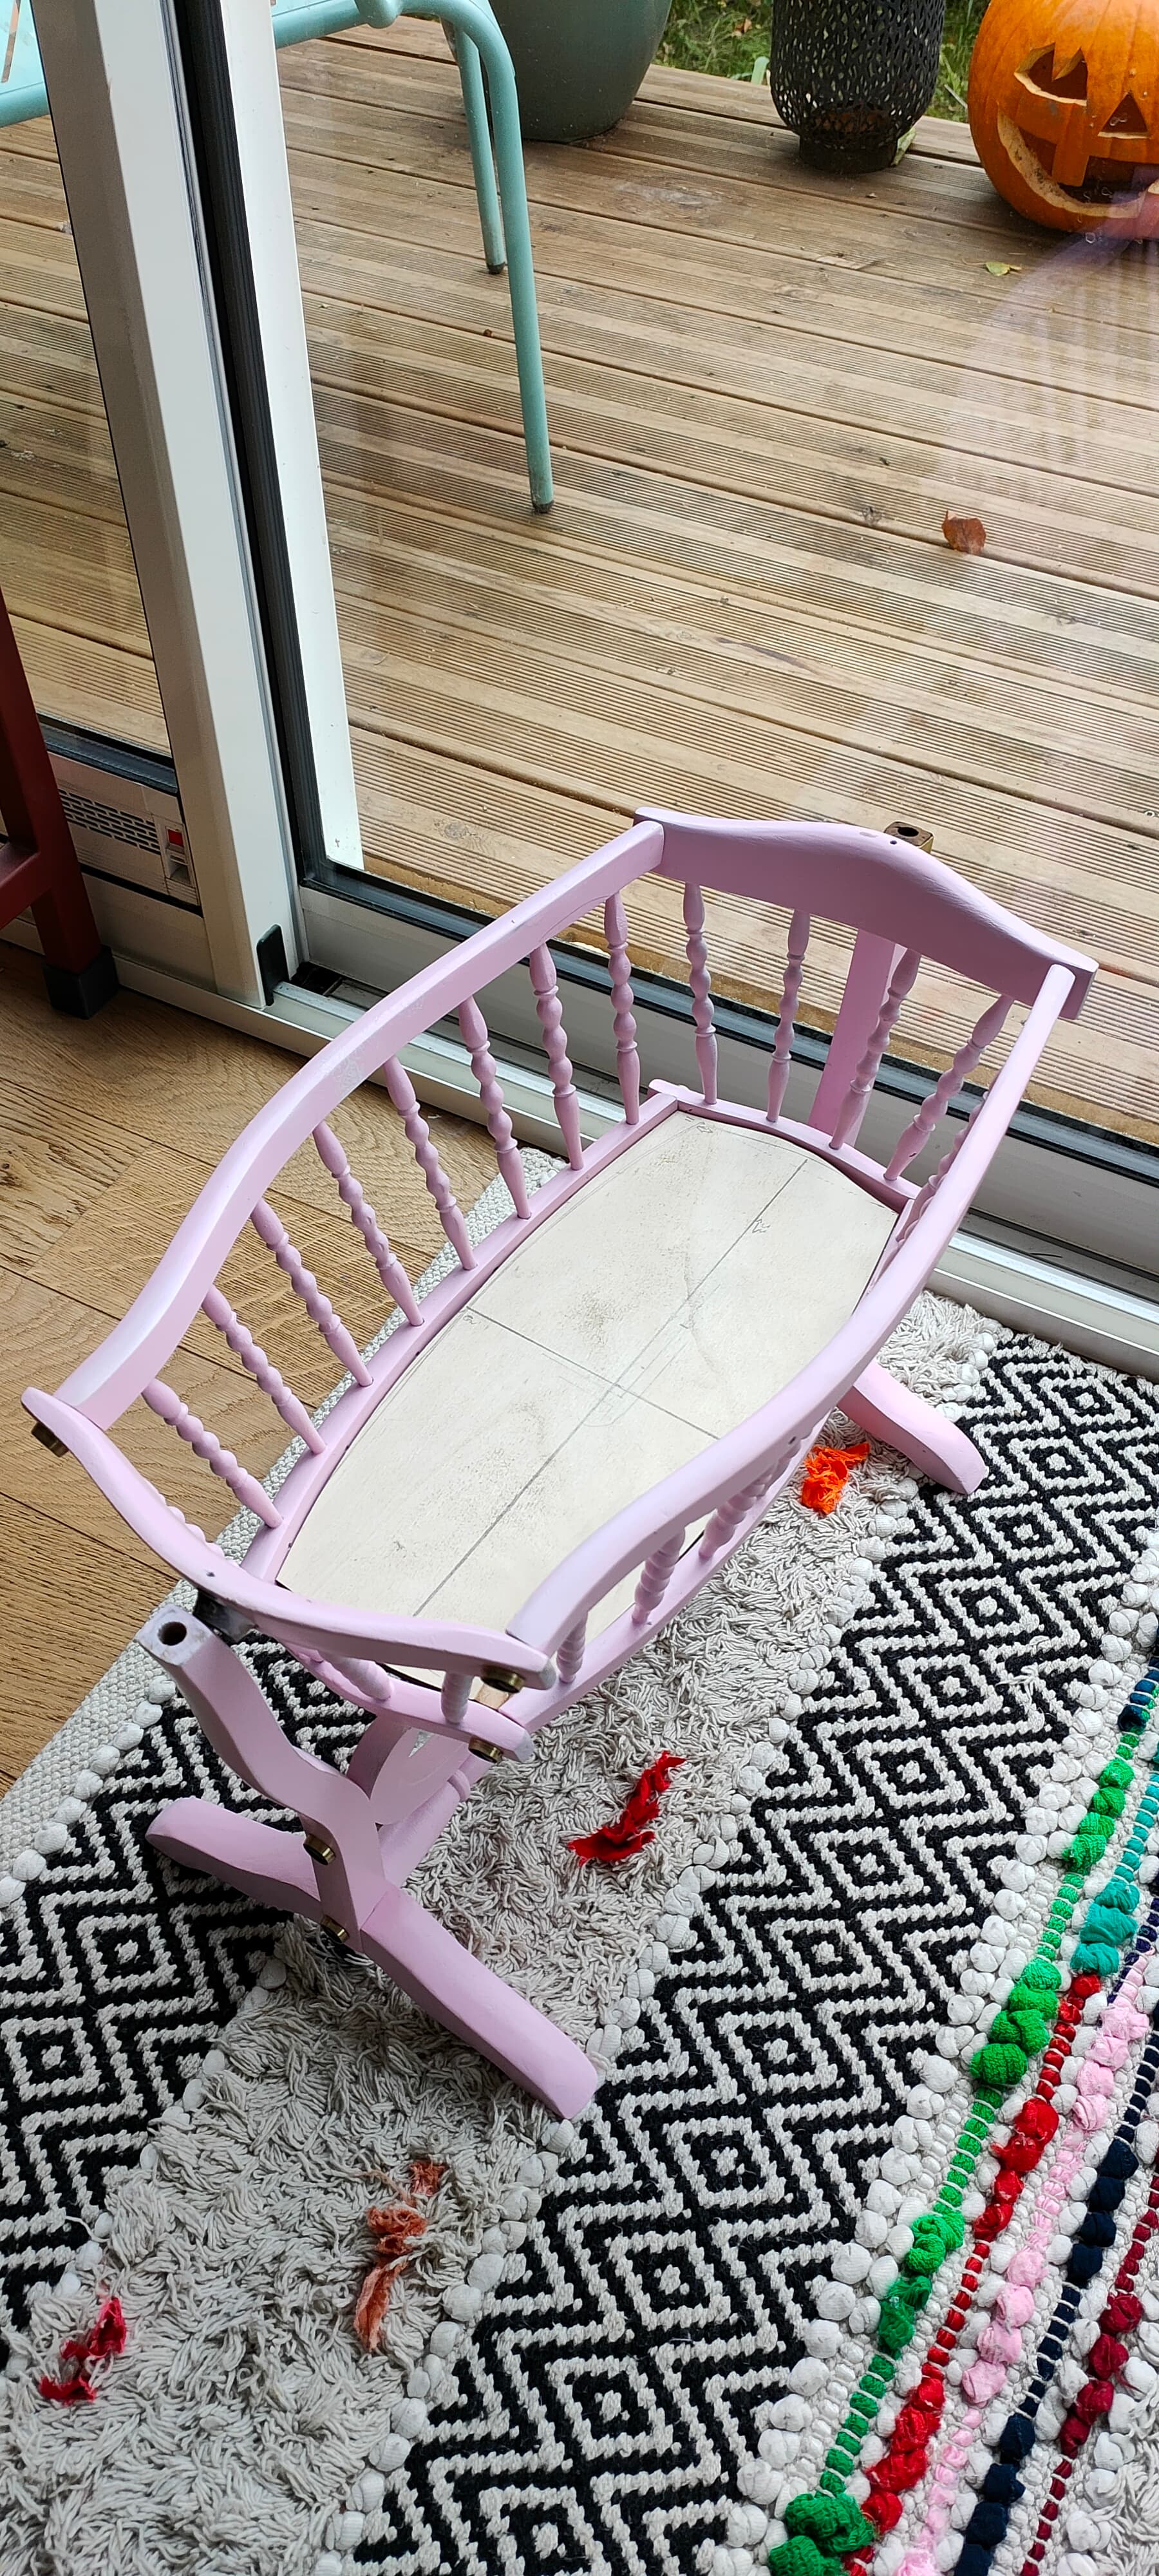
This is something I made with the LR3, and I maybe shouldn’t have in hindsight :slight_smile:
This method has a few advantages, but in the end it was just a lot harder than a simple jigsaw and a scribe…

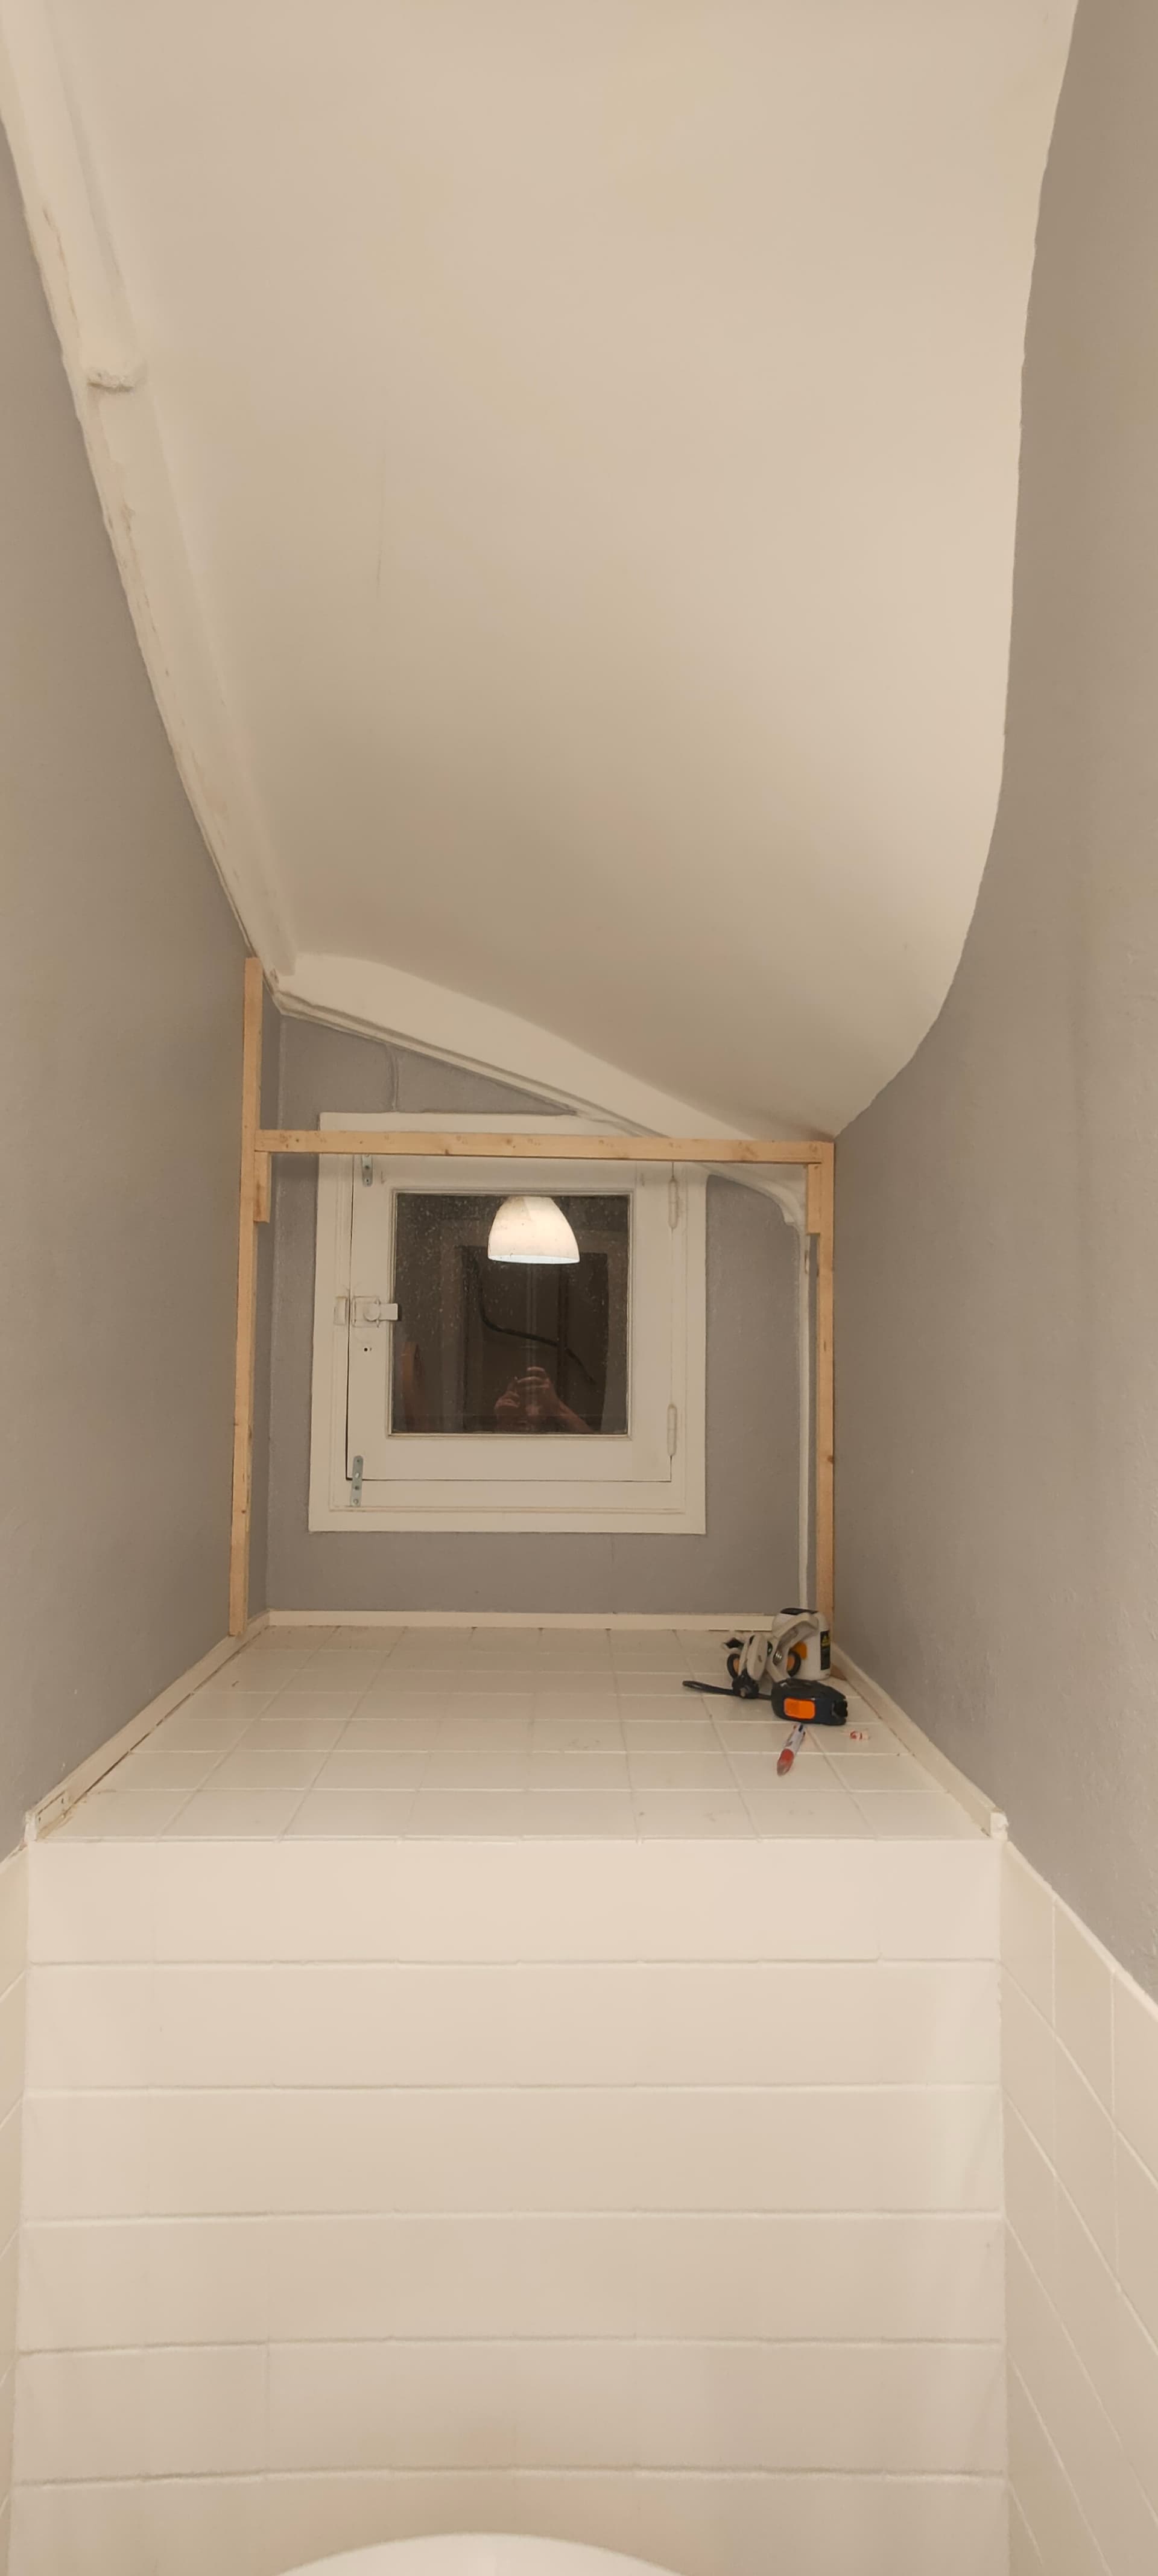
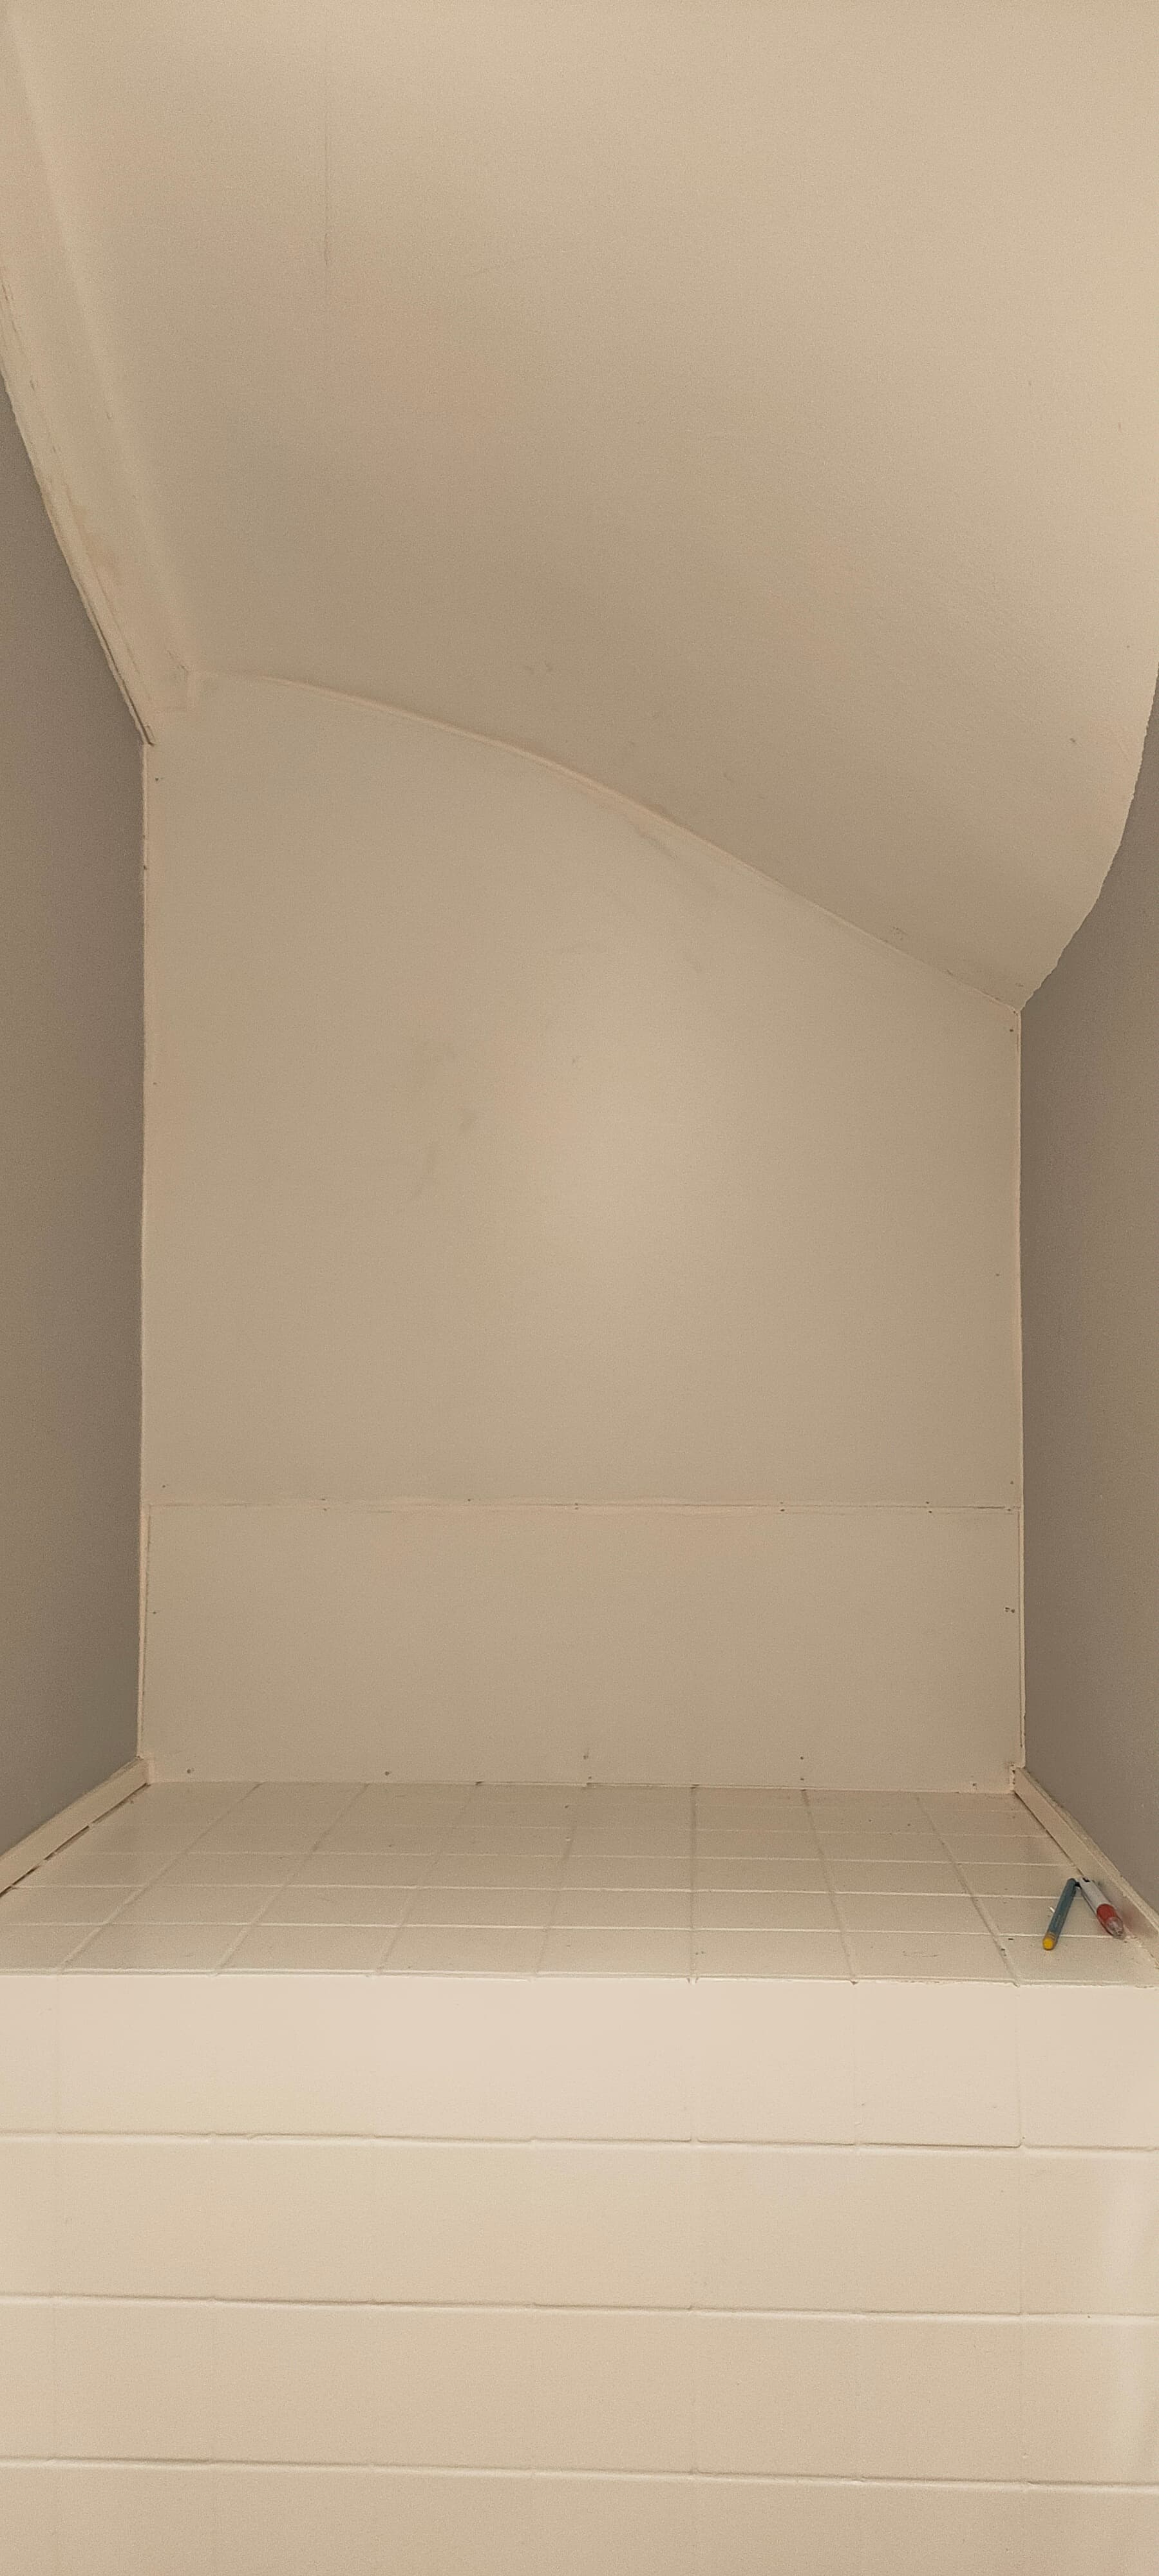
Heres the pitch: I wanted to install a few shelves in the water closet
There’s a kind of cavity with a window that has been blocked by a new construction, so I needed to make a sort of cover panel
The difficulty is that the ceiling is in fact the underside of a quarter-turn staircase, so it’s a pretty funky shape…

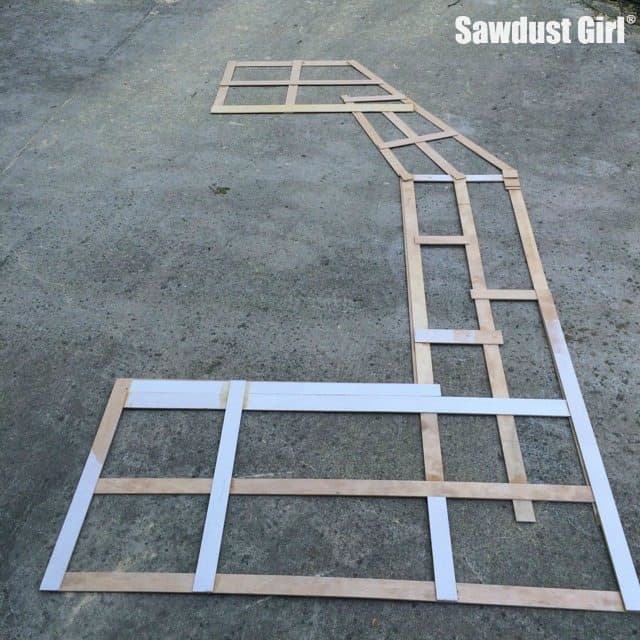
I started by laying out a few cleats with a laser level

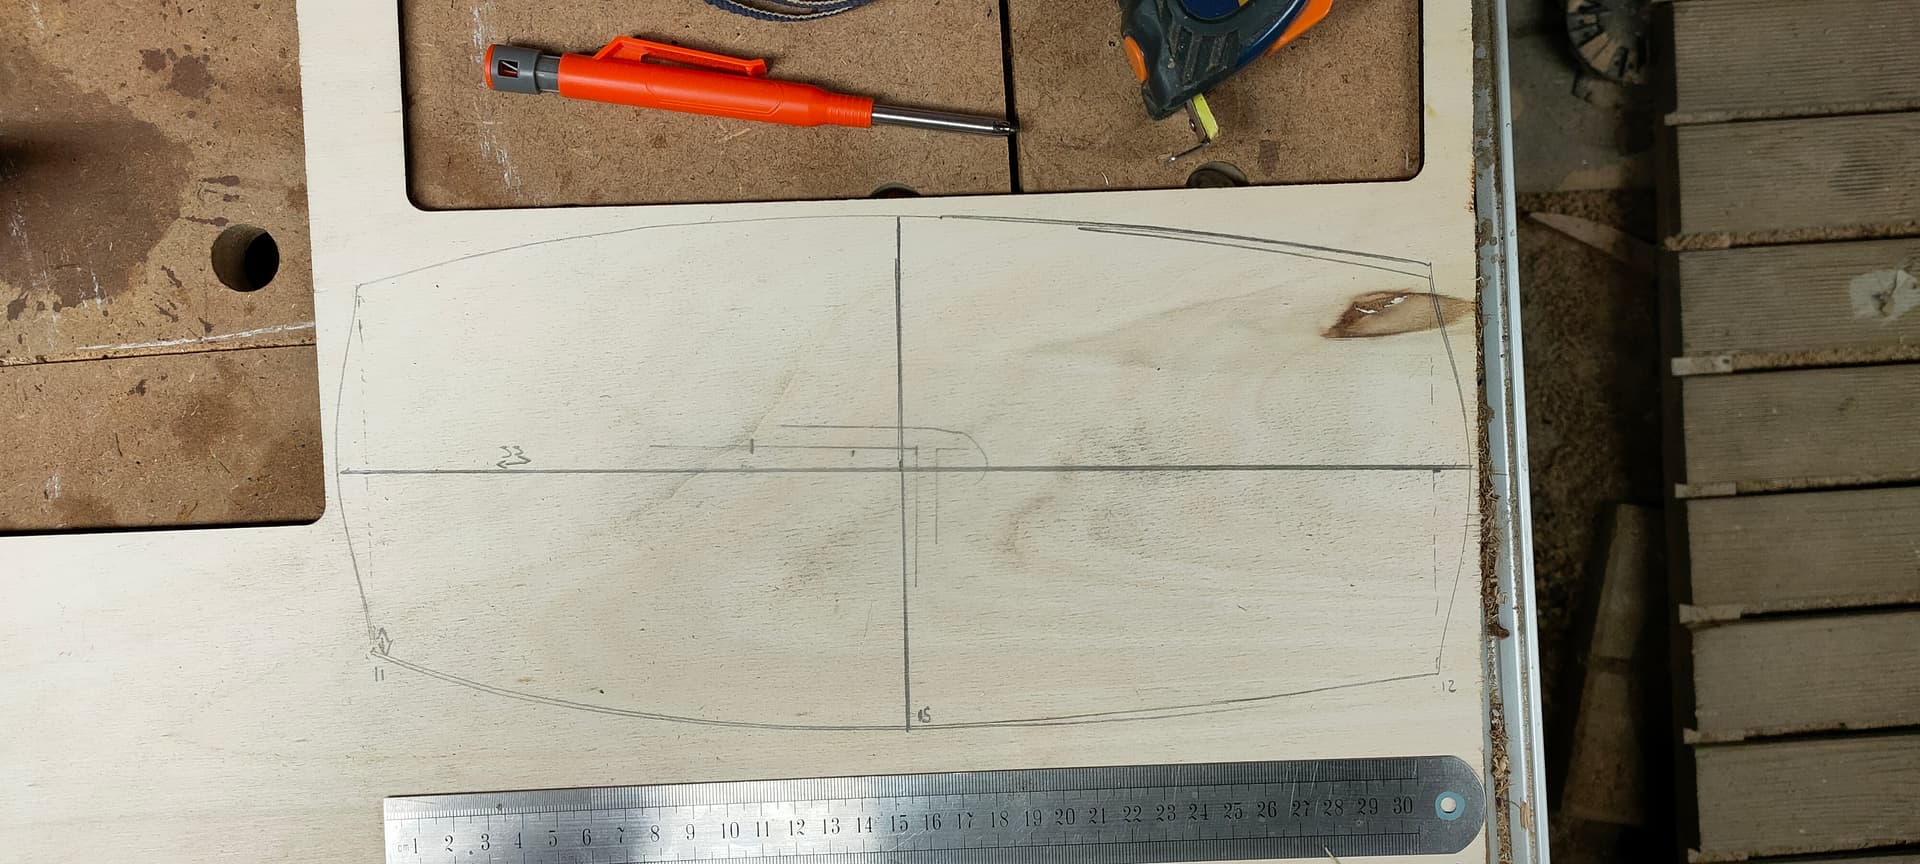
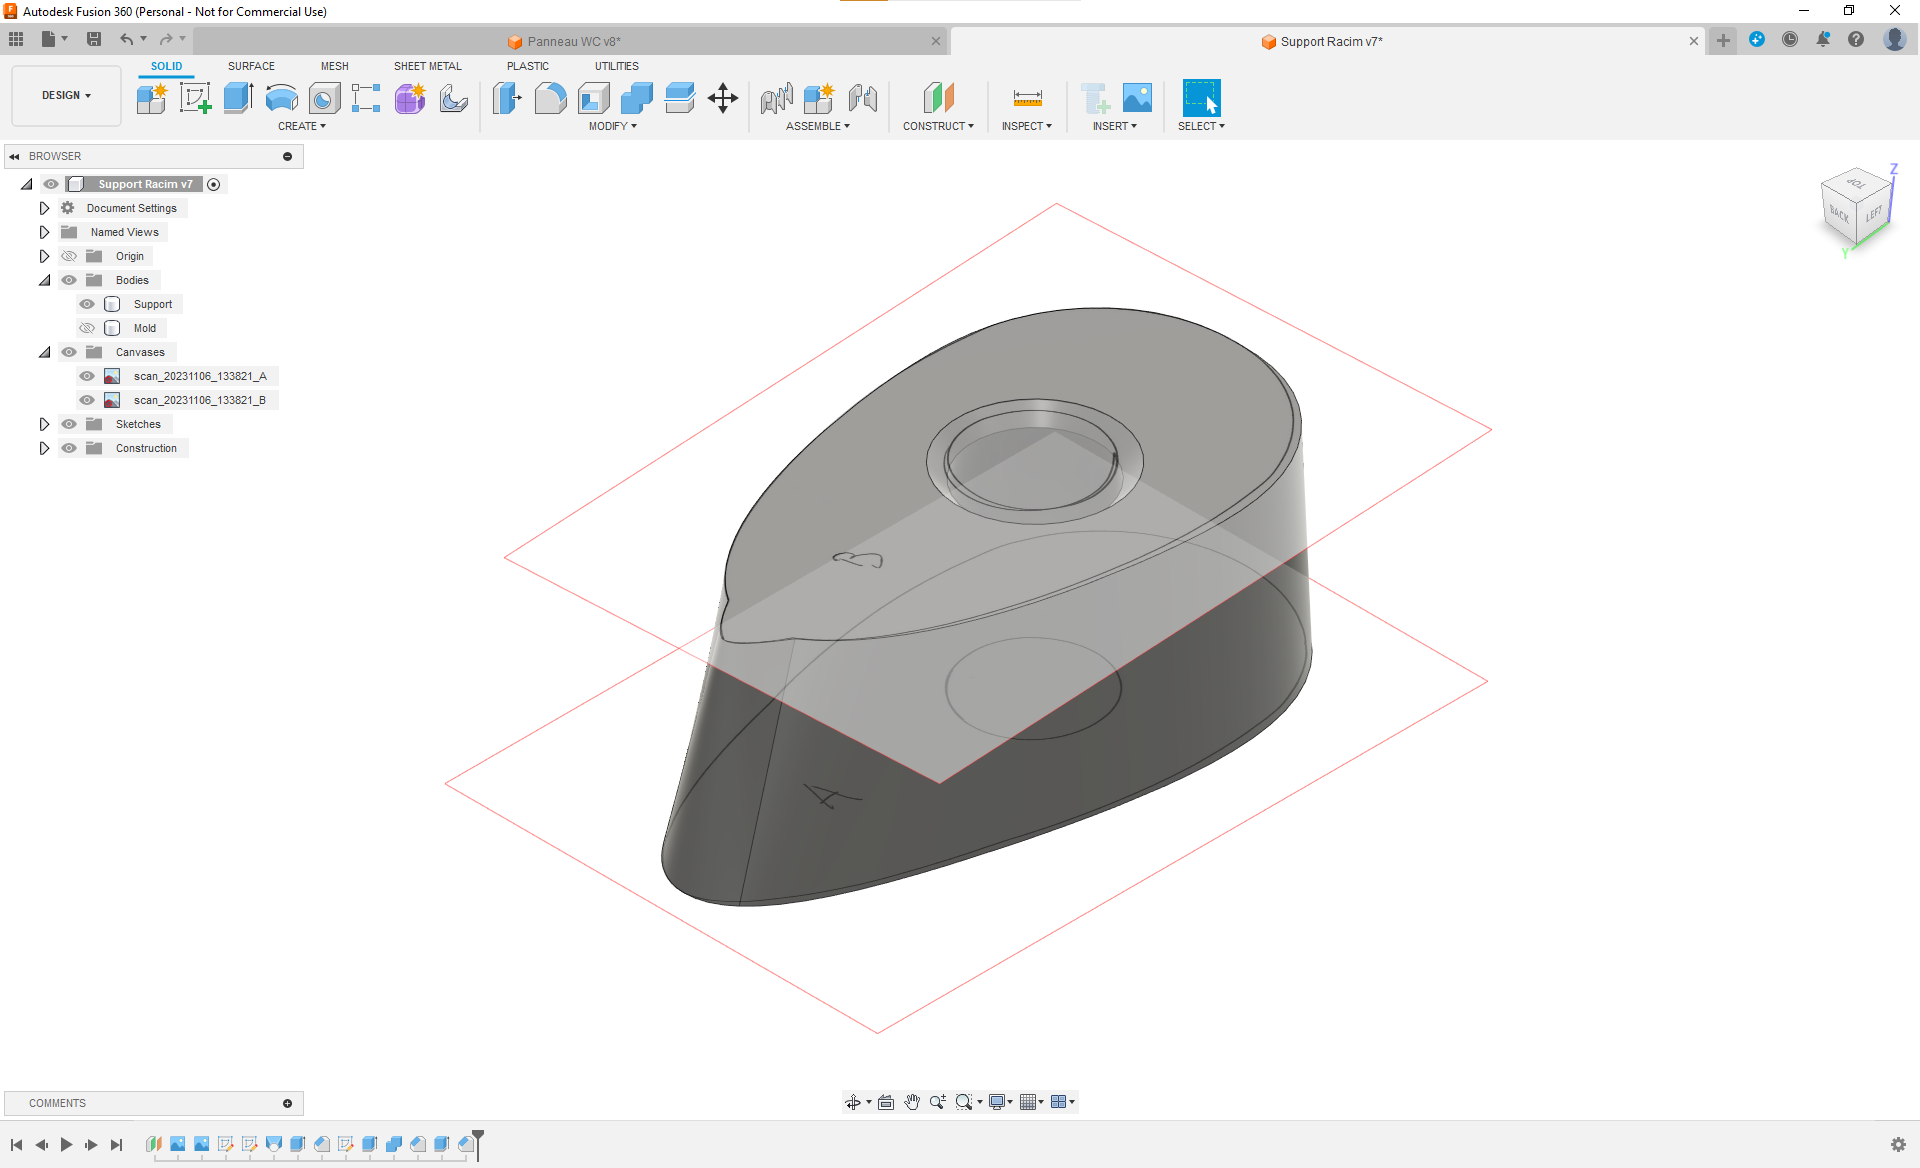
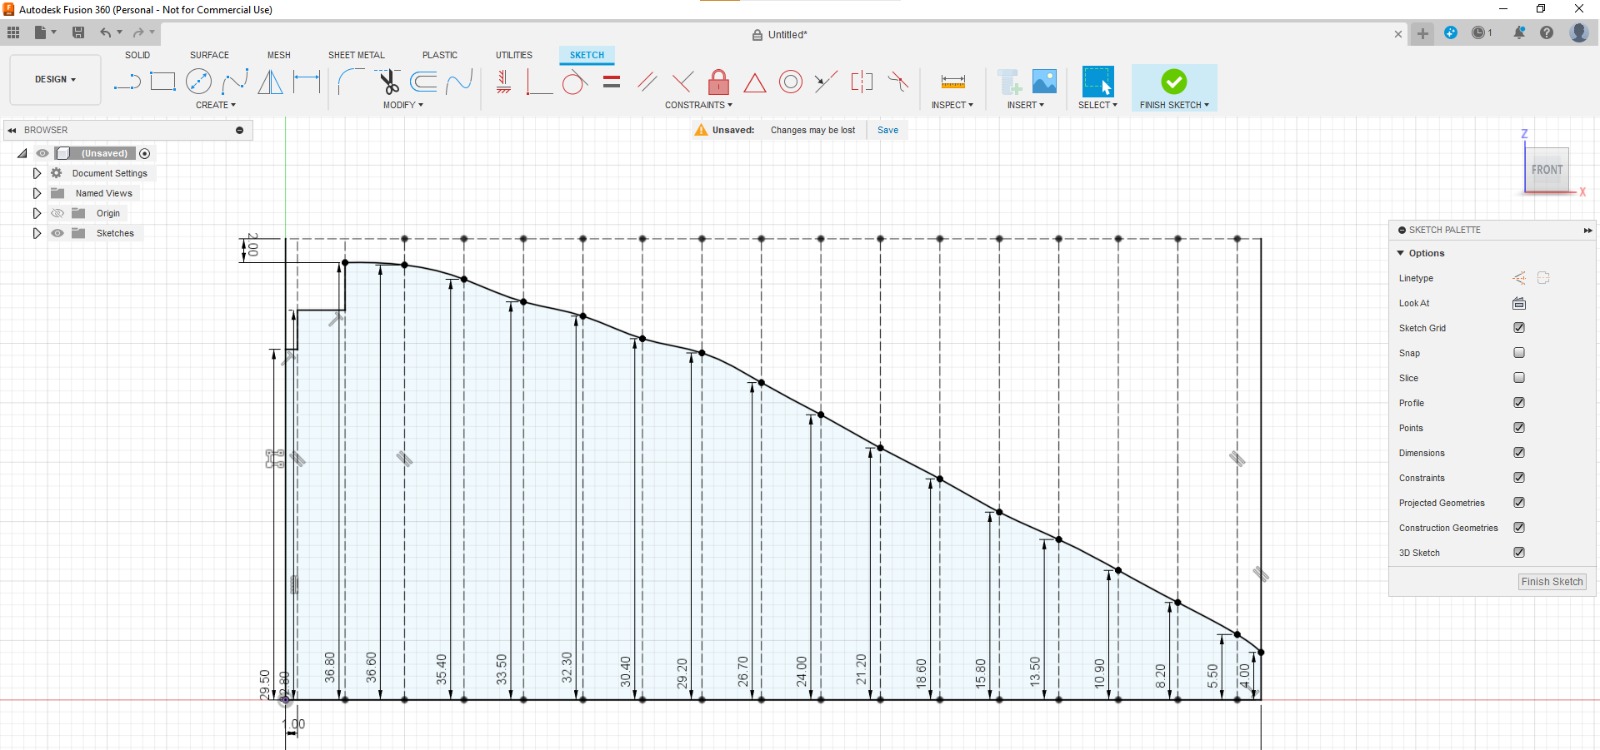
Then I measured the height between the ceiling and the first horizontal cleat every 5cm
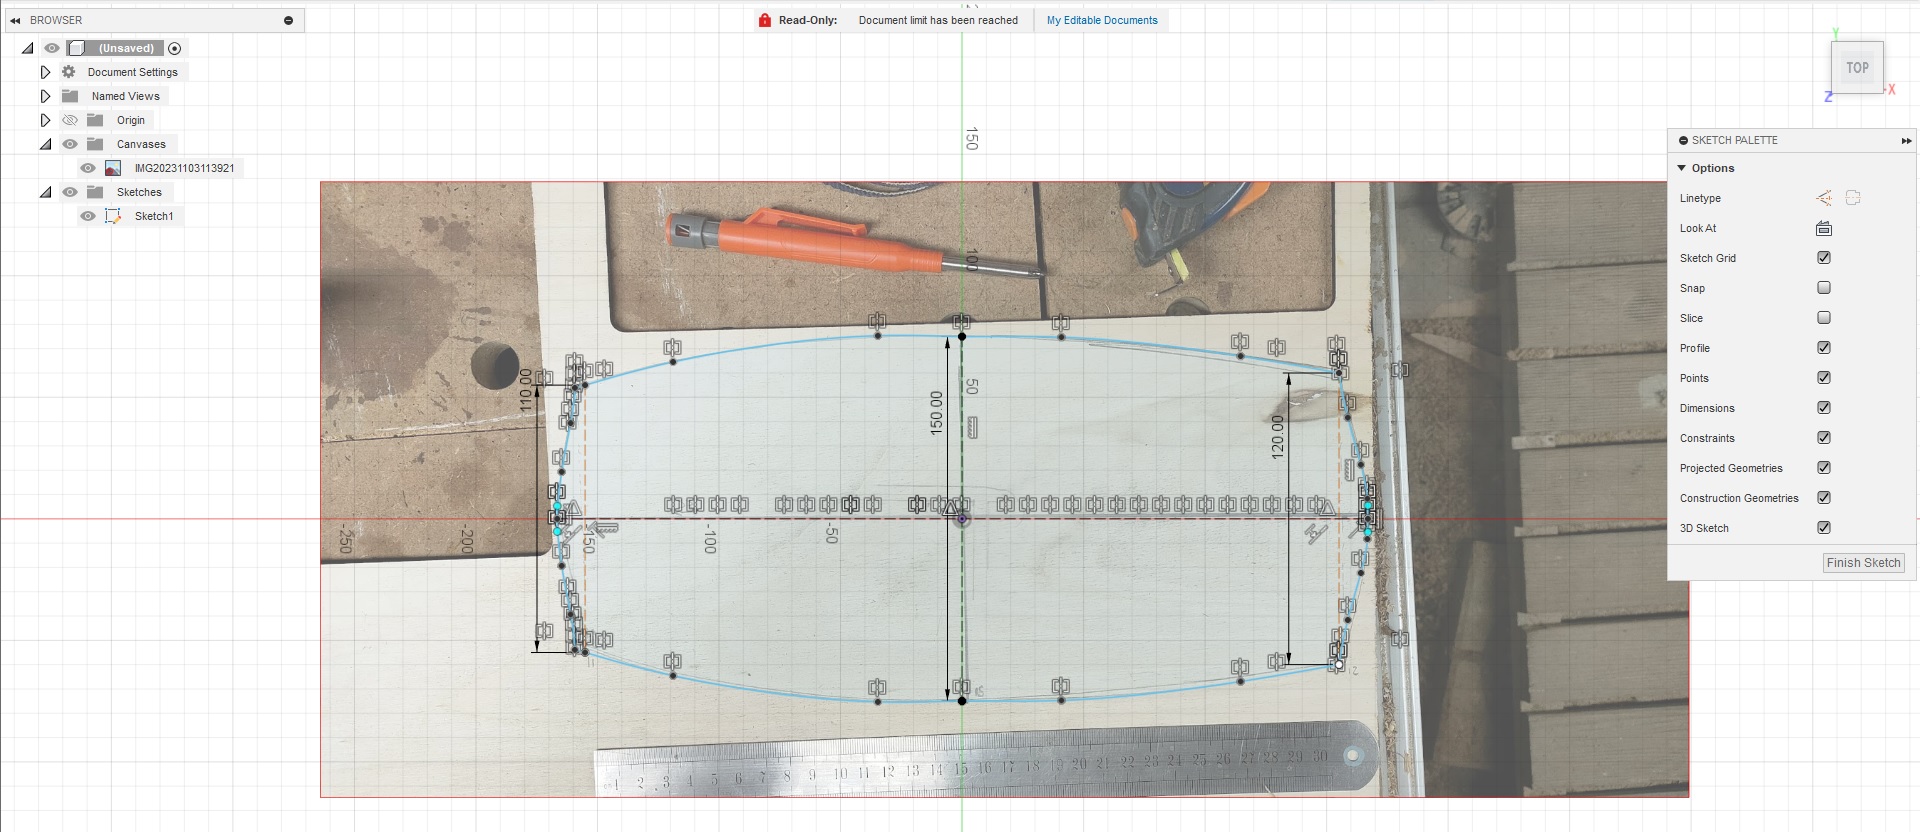
I then reported this in fusion360 and drew a spline…

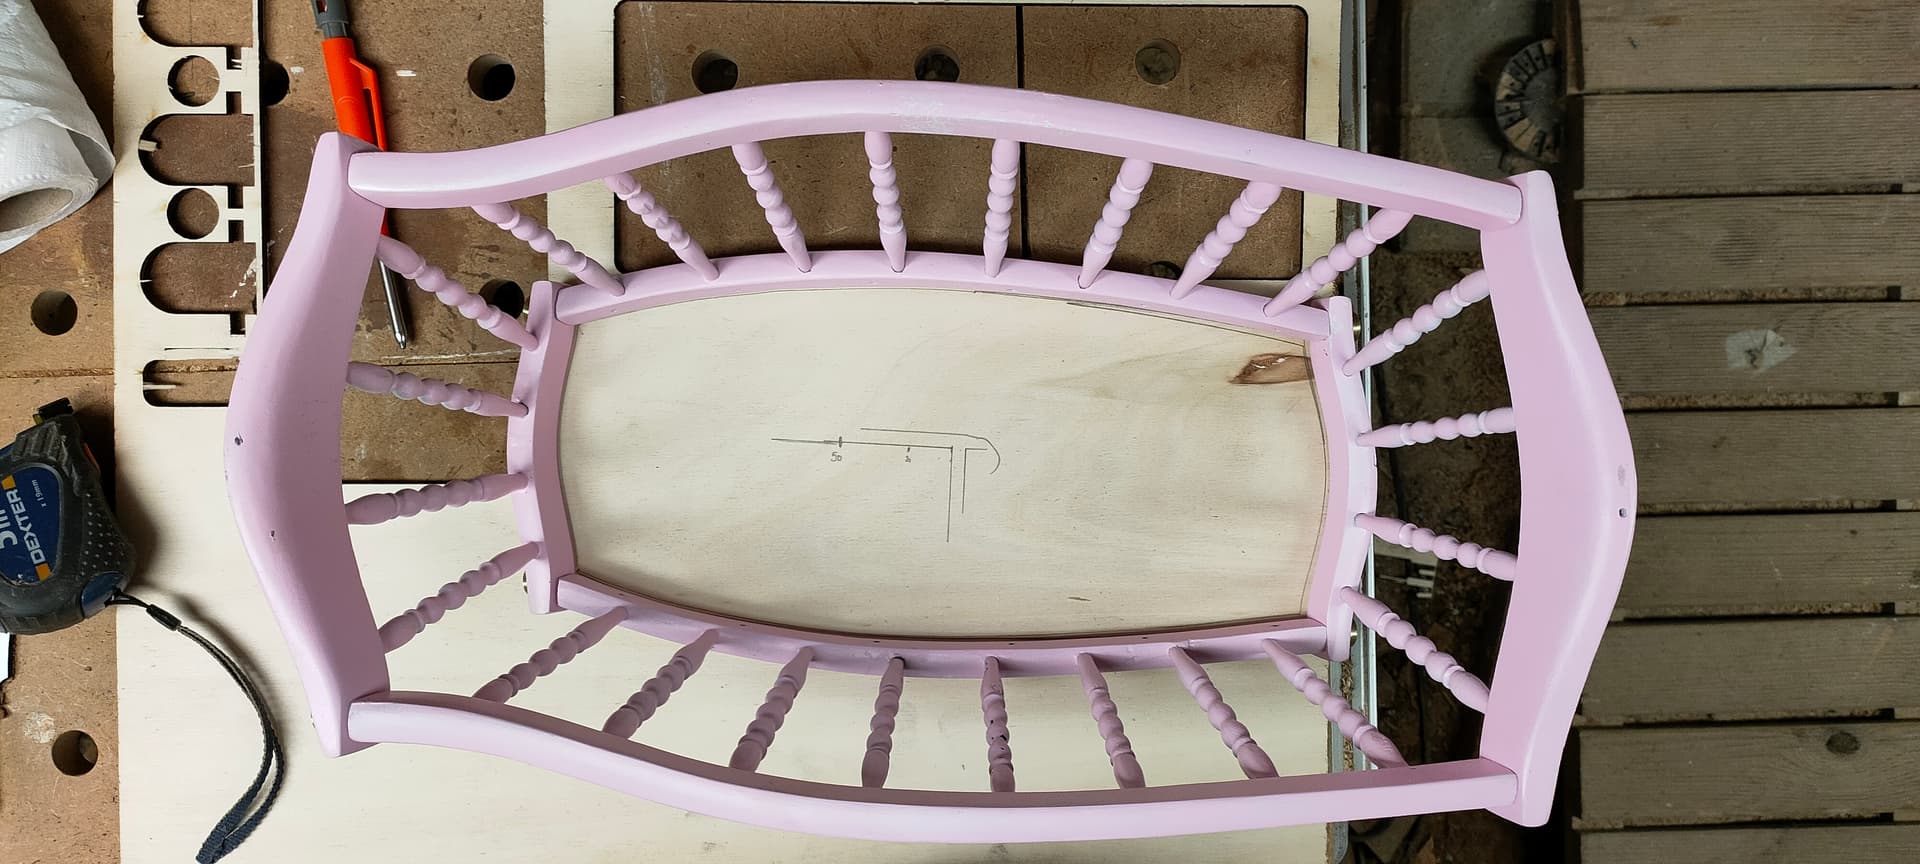
I then cut a prototype out of cardboard
Well… yeah… Make that 5 prototypes -_-
… and made of mdf scraps because I had no cardboard left…

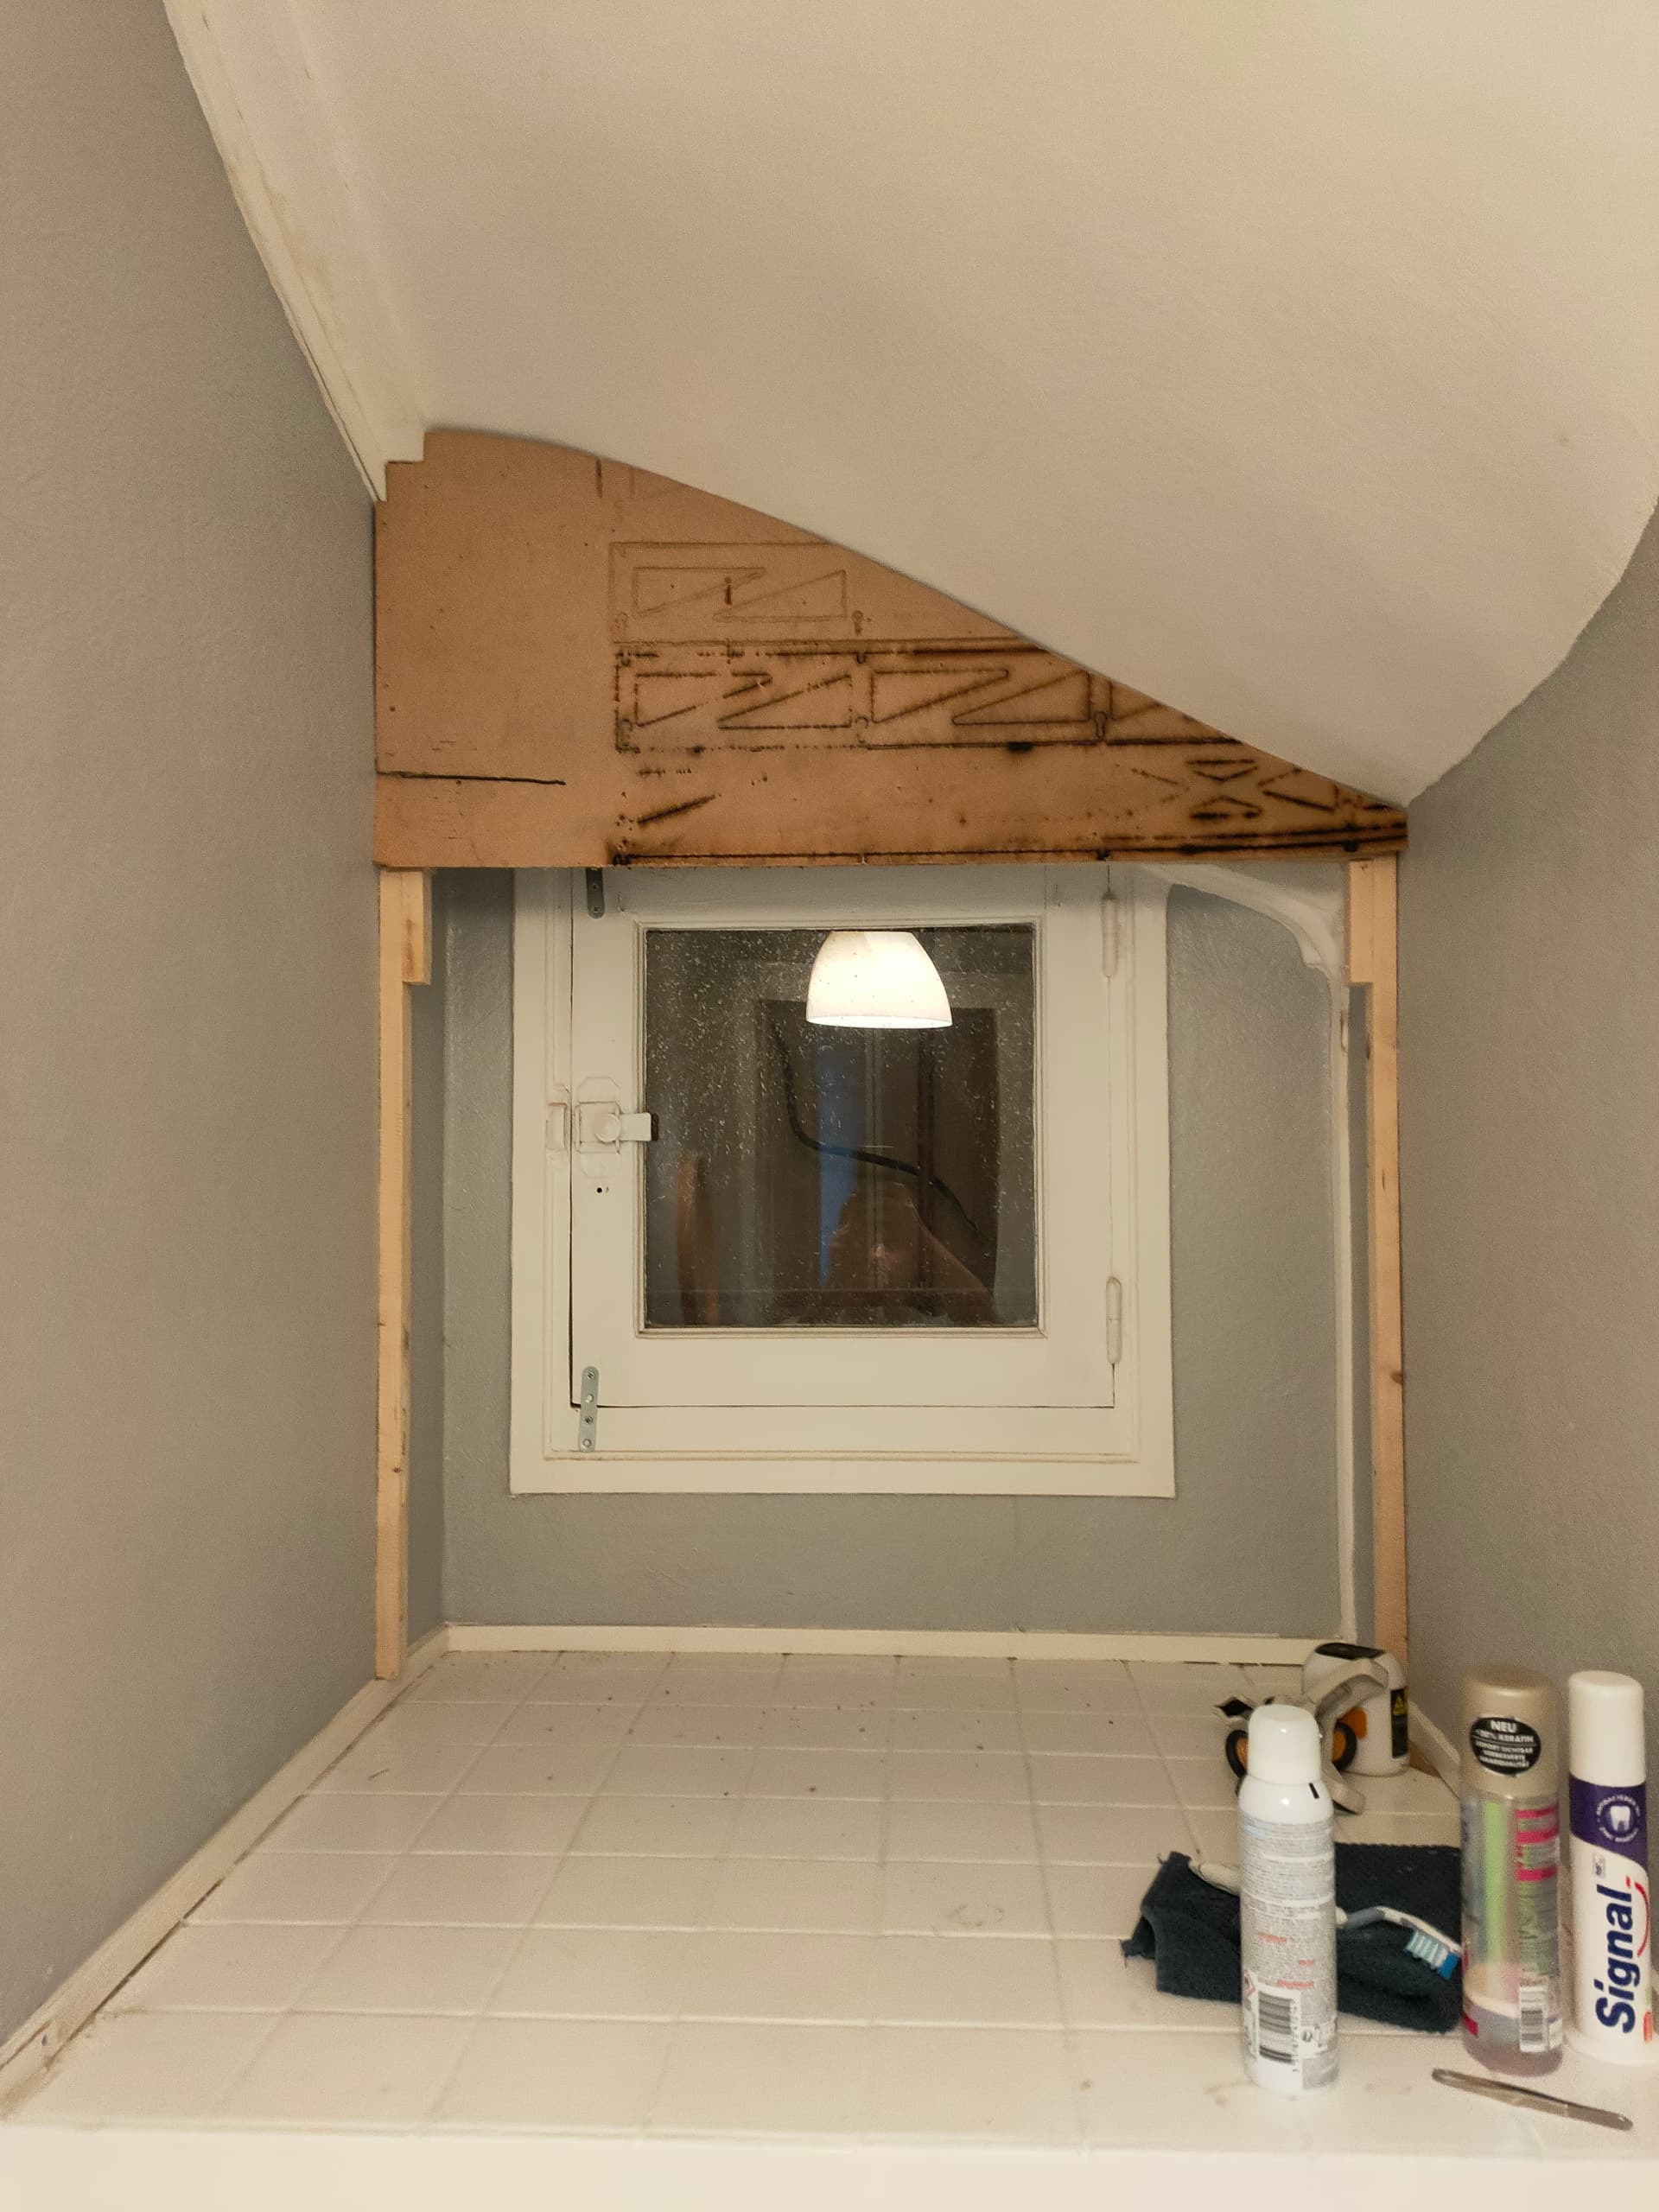
In the end, I laser-cut the final design out of 3mm hardboard

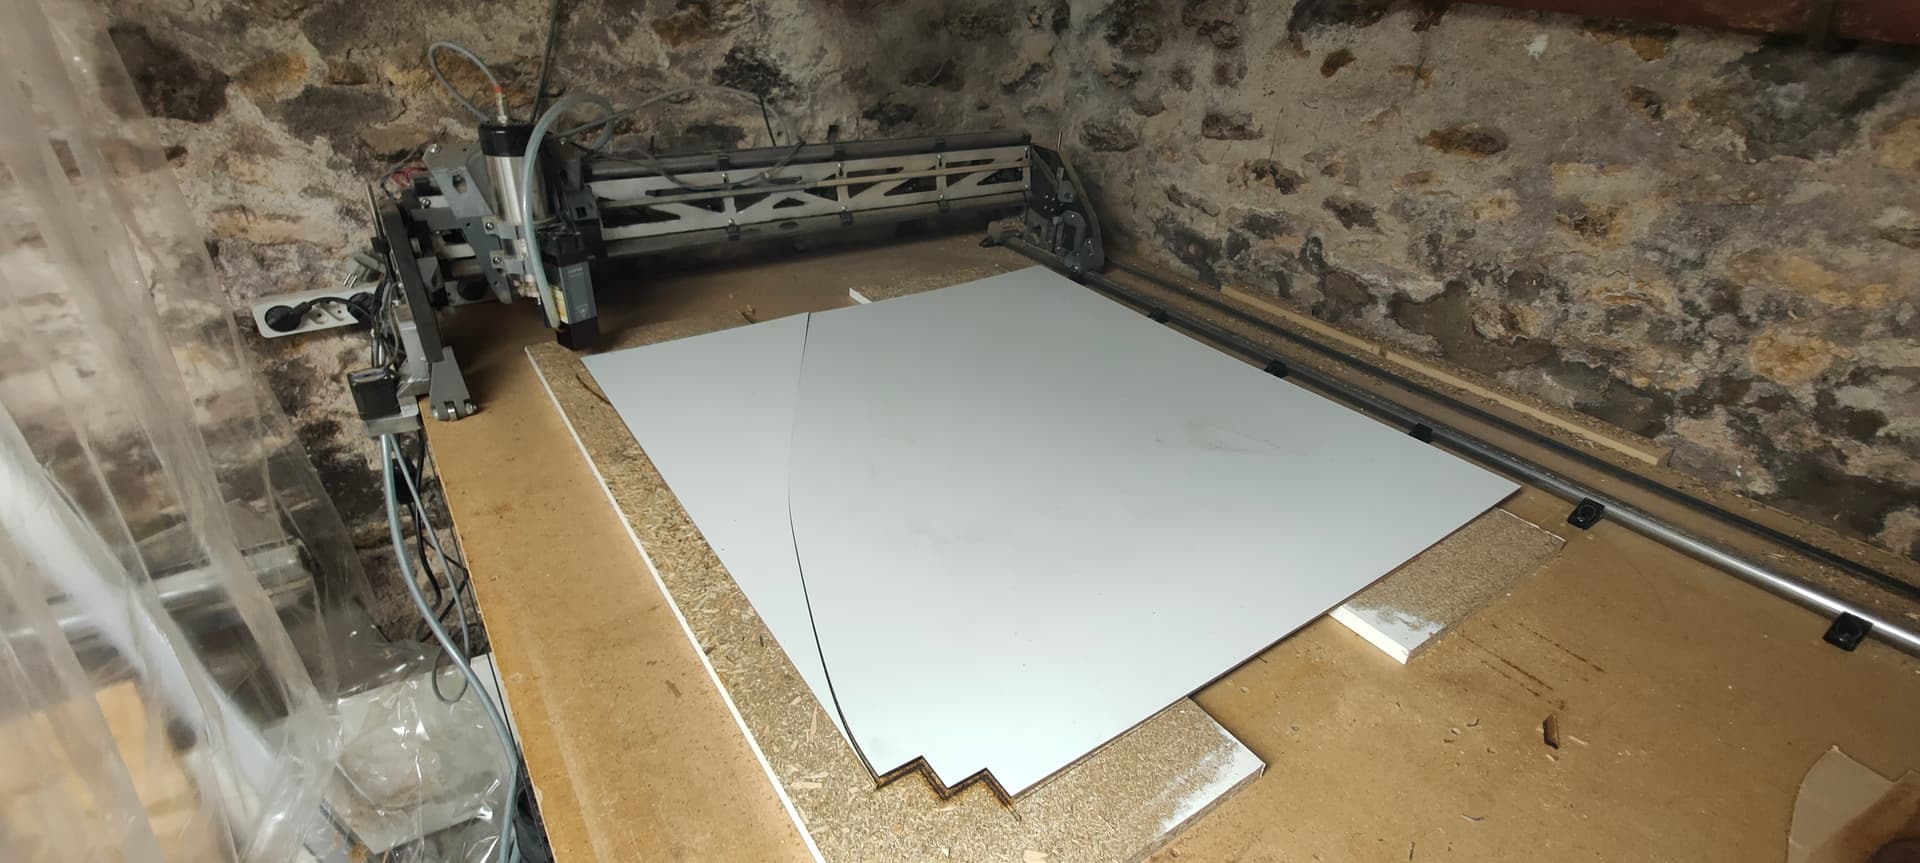
Added a few additional cleats and nailed the panel to it…

Traced out the lower part, cut the two bottom notches with the laser and installed it too

Caulked the whole perimeter, this had some 4-5mm gaps on the ceiling that were pretty hard to fill -_-

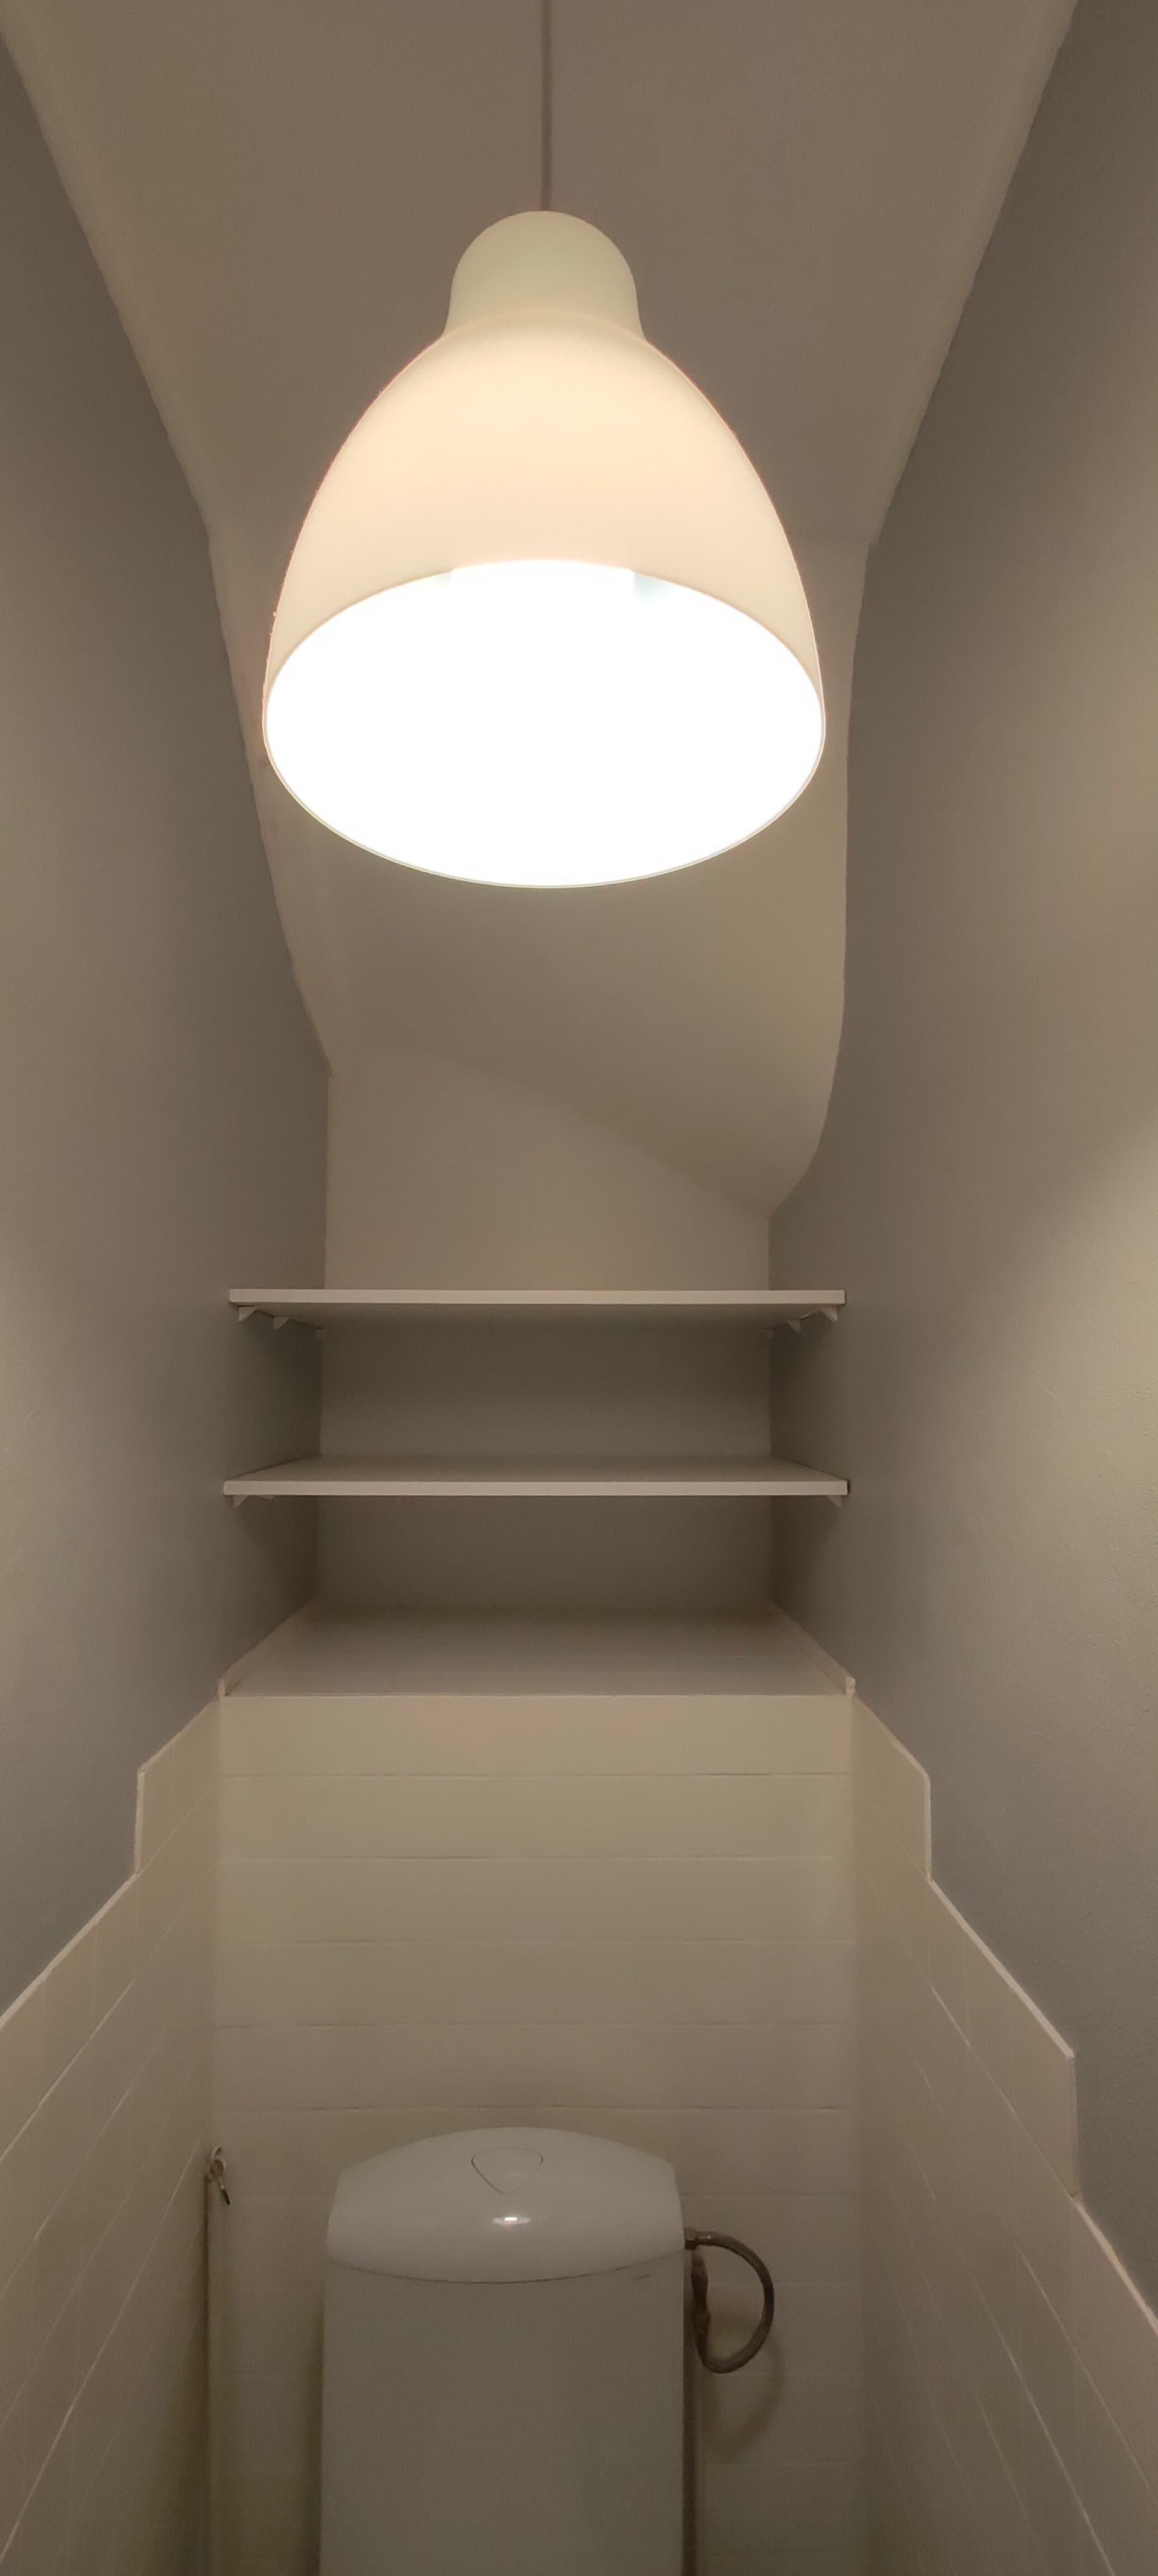
Added shelves and voilà

Ok, done… so, what went wrong?
The whole measuring and shaping process was a nightmare…
Measuring was hard, and I needed 5 prototypes to get the shape roughly right…
I was not able to efficiently tune the shape, as moving a single point could impact the whole spline or panel fitting

In the end, removing spline points down to one measurement every 20cm yielded a smoother/better result

Also, every small adjustment means a whole lot of walking black and forth between the office, CNC, and construction site

Because every attempt means cutting a new prototype or re-fitting the previous one on the machine, each iteration takes quite a long time…

What worked well?
The laser is particulary suited for hardboard cutting
No tearout at all, the cut is perfectly clean, which can be hard with a jigsaw…
Eg: this was perfect for the two little notches at the bottom, nice clean edges , perfect 90° with no overshoot…

How would I do it again?
I’d probably keep the measurement and laser cut approach to get a rough approximation, and finalize this with a scribe and planer fine tuning to get the perfect fit

Hope this “weird” report can help you decide wether a CNC approach fits your next project and help you save some time maybe :slight_smile:

15 Likes

I agree with your title and support your decision.

3 Likes

Next time: 3d scan the room!! :stuck_out_tongue_closed_eyes:

2 Likes

Actually this could be a good Idea
Not for your own home maybe, but if you’re a contractor this could save you a lot of trouble

I’ve seen contractors making on-the-go templates for countertops using mdf “sticks” they glue together to form an outline

I see 3d scanning as a potential alternative to this…
Never tried though…

3 Likes

Thinking about it, making such a template and tracing a scribe on it may have been the easiest way

If you can then use a picture of this to serve as a canvas for your vector drawing, it’s the best of both worlds…

Alas, the two last times I tried this, I had a lot of parallax problems if the picture was from a phone…
I know I can “calibrate” the canvas in f360, but it’s just the size ratio and I couldn’t figure out how to correct skew

Anybody has a secret trick for this?

If you use blender there is a add-on that is called fspy.

1 Like

Interesting, not sure how I Can use this with f360 though :confused:

Here’s my last attempt at this kind of process
Wanted to make a bed panel for a doll crib

I traced out the bottom of the crib on plywood

And used this as a canvas to get the vector drawing right
I used the rouler and center cross as référence for size and squareness

The result was ok but not great, and it took 2 prototypes and a lot of fiddling…
I traced only half of the shape and mirrored the other half, but there was a significant difference with the canvas

I have a “text scanner” mode on my phone’s photo app that correct skew by detecting the edges of the paper sheets, maybe this could be used in some way to correct perspective…

Maybe there are photo apps out there dedicated to this?

2 Likes

IS this worth a try?

1 Like

99 dollars. Interesting!

Here is english link Shaper Trace | Shaper Store

There is a technique used in boat building ( and in other situations I would guess) call “Tick Stick”.

Video to demonstrate:
Carpentry hack

How to use a ticking stick

Mike

5 Likes

Seen alot, but first for that!

3d imaging can be great. It can be tricky but usually works. But the argument for scribing being faster still stands. If you wanted it to be perfect you could scribe then measure off your scribe and send to laser

1 Like

Never seen this one, it’s a very cool trick!

That’s part of what I’m looking for
I’d like to find a way to easily “digitize” a trace-out I made on paper/plywood

For small parts, a flat bed scanner works pretty well (although I still got some weird parralax)

But for pictures taken witha (phone) camera, I always get a significan skew and need to adjust quite a lot… see above post

There are a few apps on iphone, using the built in lidar, that claims to scan objects, scenes and rooms accurately. I’ve been thinking about that possibility, to use them for getting precise measurements during renovations. But I don’t know how well they’ll actually perform.

2 Likes

My approach would have been to take a picture of the irregular wall, insert it into Fusion 360, scaled, and then trace the image with splines.

I’ve tried them for work. They are accurate enough for my company to make a job estimate but to get a truly accurate scale usually requires a lot of light, being close to the object and multiple scans for inconsistencies (some of the apps don’t handle rescanning well). I find usually scaling a photo with a known dimension to be more accurate for the time spent. I’ve never tried a pro version so maybe it’s better if you pay but non of them have made me or the company desire to pay the fees.

1 Like

The window is going to be hard to open :slight_smile:

That is definitely a weird shape. I still think you would have had trouble trying to scribe it. And in construction, the tolerance is based on the thickness of caulk you use. Scribing the initial shape on cardboard and then somehow scanning that for the CNC would have been the best, but that software isn’t something you use every day. The cnc definitely left a clean stinking edge that didn’t require a lot of rework once you had the shape. The jigsaw wouldn’t have been that clean. But either would have worked.

That is a good tip on the laser for hardboard. What size laser do you have?

The crib is a different beast entirely. That is fine woodworking. The tolerances are based on the amount of wood filler you will tolerate. I would approach the crib as inspiration and try to draw something from scratch that has a similar aesthetic and dimensions, but not traced from the original. With those compound curves, it will be difficult to draw and difficult to cut. If I had a deadline (like a pregnant mother), I might even take a few shortcuts to make it easier to draw and cut.

1 Like

We need a diy faro arm lol or some kind of cmm machine.

Like that plasma cutter with the trace feature.
One can always wish I guess.
I wonder if you could digitize or use digital calipers depth function tied to one of those contour gages ?


Just need a bazillion digital calipers lol

1 Like

I have looked into this pretty extensively. I will be ordering one for sure. Just been lazy and haven’t punched order. This is not something that is mind blowing, in my opinion, but it is very seamless between tracing and then instantly having an svg that is scaleable and from what I have seen pretty darn accurate. Again, it doesn’t seem mind blowing but its fast and accurate.

There’s a wall on the other side now, non big loss :stuck_out_tongue:

I have a 10w diode laser, at 2mm/s with air assist I get a nice clean cut with no burn marks on 3.2mm hardboard
I use this stuff all the time, it’s cheaper than plywood and even cardboard in the home improvement shops here…

The crib is intended for dolls, non worries or deadlines here :smiley:

It’s a small crib we bought secondhand that has been totally cleaned , sanded and painted
It had a bed made of strings but I wanted to replace this with plywood
Again, scribing and cutting with a jigsaw would have been way easier but I took this as an exercise :smiley:

I have one of these, but the panel is 80x95cm, so that would be quite a giant contour gauge

Line following LR3 core using a camera ? That would be interesting :slight_smile:
I remember seeing something like this on hackaday a few years ago

Wonder if there’s some kind of app where you stick some printed QR on the workpiece, take a picture and it uses those as reference to get an unskewed/calibrated image…
Much like the shaper frame but cheaper and allowing bigger drawings

2 Likes