Simple Inlay. cut a Part & cut a pocket for it to fit in to. Flat end mill inlays nnot v-carve inlays here but I suppose the concept is similar. This is often done with a tolerance between the two to help things fit from machining inconsistencies. I.e. make the pocket a touch wider so the part fits easily. (or the part a bit smaller). I don’t see an obvious way to accomplish this. Pocket not Part have a way to grow or shrink by value. Engrave doesnt have any way to increase or shrink the offset. The only thing I can really think of is to give a wrong size for the tool diameter and it would calc a different size than it actually cuts. Unless I am missing something.
Solved my own issue. I forgot. Select no tool for the finishing per the tooltip. I can select negative to make the pocket wider.
Incidently, I can;t see a way to both make it wider and do a finish pass. I could add another operation but I can;t both make it wider and do a finish pass. So I guess we’d have to add another tool with faster default speed to handle a finish pass and another operation.
That part does not make sense to me. How would it do anything if you Do Not Select a tool?
1 Like
Hmmm. I have done some parts that needed a bit more tolerance gap, and defined a 0.1mm undersized tool.
So basically I put a 3mm endmill in the machine, but defined a 2.9mm endmill to Estlcam. This resilted in it cutting parts just a bit too small, and holes just a bit too big, ie: with a tolerance.
That’s for this. I was having the same problem getting parts to fit in holes. Now I see how to make a part operation a little smaller or a pocket operation a little bigger.
2 Likes
Let me try to explain
There are 2 places to select tools. 1) select a tool then click hole>pocket. That is the first tool selection. It will use that bit (i.e. 1/8" when cutting the pocket. The normal operation here is to add a finishing pass. 2) You can then select the “finishing tool” to do the finishing pass… There is anotehr BOX with a dropdown in the cut setting area for “finshing tool” (just tool in 12). THis is the second tool selected for this operation. You can select a different bit or the same to do the finishing pass. IN this mode it leaves a little bit of the pocket to cut in that last pass. Say your pocket line is 10mm from the center and you add a .1mm finishing pass and select the same tool. This will first cut the pocket to 9.9mm leaving that 0.1mm for a finshing pass using the bits finishing pass settings. That is the normal method.
Now if we read the tool tip
(v12) “…If no tool is selected this step over or under sizes the object accordingly…”.
if we still put in a “finishing” (tolerance) of 0.1 mm and do NOT select a tool in the second drop down, it will undersize the hole by 0.1mm (this is essentially the same as the normal method I believe. I instead put a -0.1mm and it over sized the pocket.
Pics.
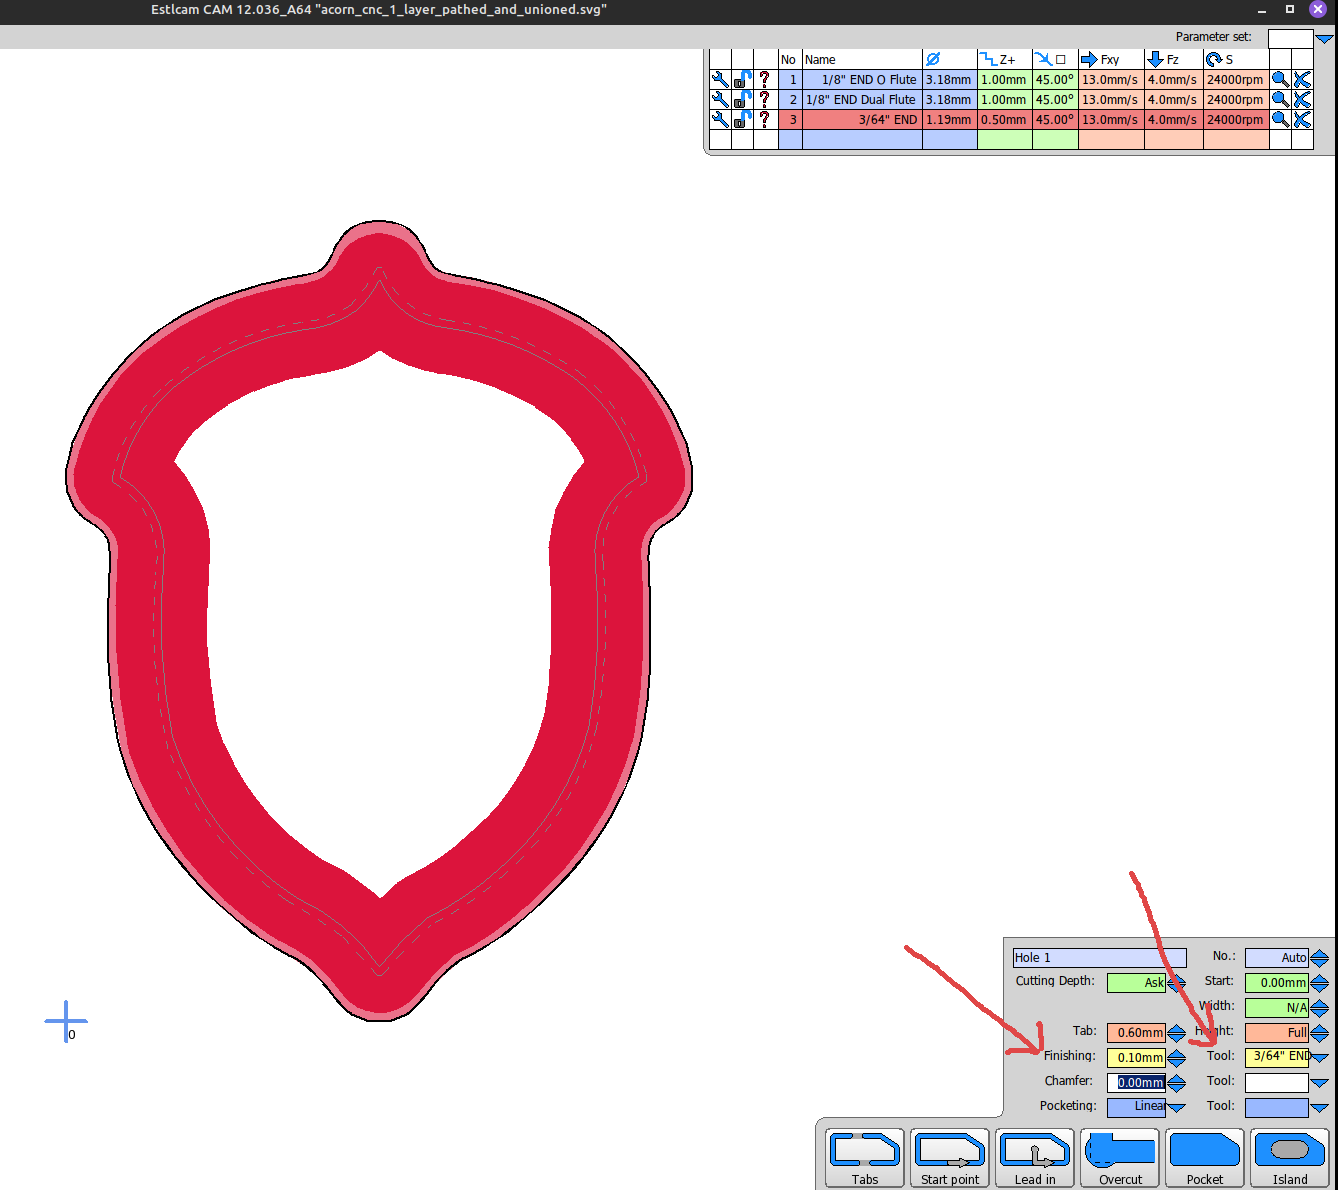
Look at the arrows to see the fields involved. This is the normal finishing pass. I hope you can see there are 2 path lines and 1 is dashed. This is the regular pass and the finishing pass.

second pic is a positive number 0.1mm without a tool. This gives the same sized pocket (undersized by 0.1mm) but without the finishing pass. Note only 1 path line and no dashed line.

Last pic was my desired goal, -0.1mm in finishing to create the oversized pocket. The red cut away area is larger then the original pocket line now.
Also, double check the actual tool cutting diameter. I’ve had undersized bits that have driven me nuts looking at software settings until i actually measured the bits. Just my two cents from my experience.