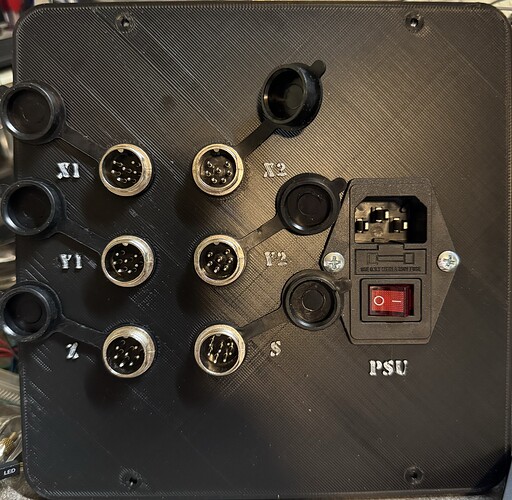
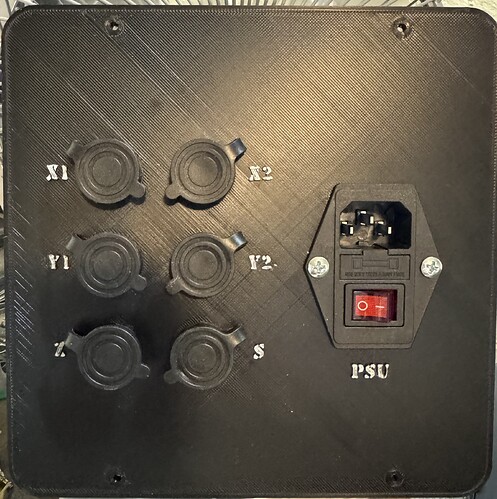
I thought it looked good before, it looks soooo good now!
Ugh… I forgot to issue the M600 command to change colors, but at least it’s the back panel… a little white chalk marker assistance at least helped provide some visual contrast.
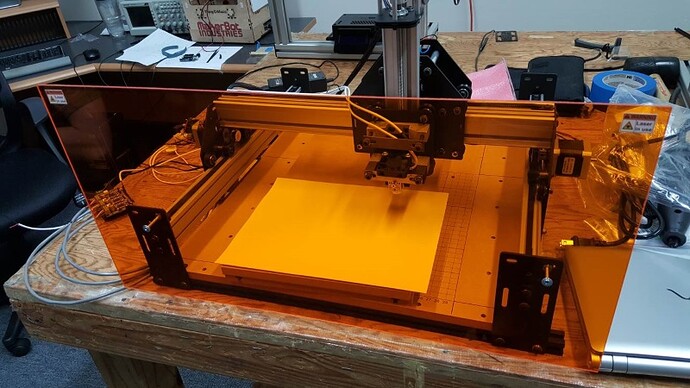
Anyone have any experience with laser safety windows like this for an enclosure front window? I’m trying to figure out if OD3+ is sufficient or if I have to spend the money to push up the old eyeball protection level.
I’m window shopping some lasers like the Neje 40640 or Laser Tree K20 and K40 models right now, but definitely plan on adding one down the line. Might as well use the right kind of viewing window on the enclosure now…
Also, this one kind of blew my mind today…
Laser Tree 60000mW(60W+) Output Power Laser Module, Switchable Diode Laser Module
A stacked diode laser with push button options to change output power to 20, 40 or 60 watts! Maybe I don’t need to compromise between high power for cutting or low power for engraving, just have to pay that $1k price tag. I’m assuming this thing stacks about 12 5W diodes and just selectively powers 4, 8 or 12 based on your choice, so those first 4 will probably wear out faster than the others, but it’s likely still worth it.
It’s not just power levels, engraving does better with a smaller spot size, and your diode laser will have the spot size it has (which is probably suboptimal for engraving.)
It’ll probably work fine as a dual use single laser- but keep that in mind. Lower power, smaller spot size lasers are fairly affordable, so it could always be swapped for one of those if your need really good engraving capabilities.
@dkj4linux is the master of that stuff and likely can give way better advice than me.
I have one similar in the top of my enclosure for a JL1 laser (lowish power, but decent for my use).
I still wear laser safety glasses and make anyone around it wear leaser safety glasses.
You don’t get do overs on your eyes…
Or like one of my favorite old-school safety signs said at work:
Don’t look into the laser with your remaining good eye!
Lol, that’s awesome! I haven’t heard that one in years!!
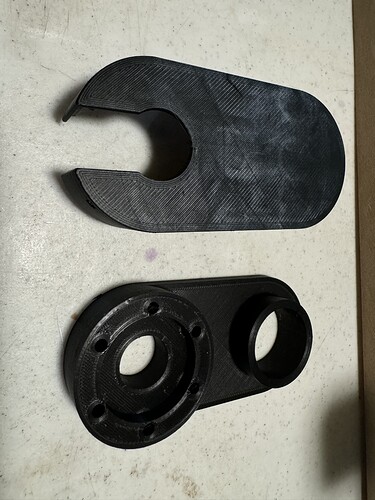
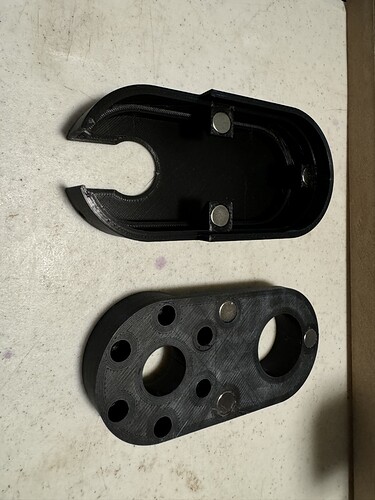
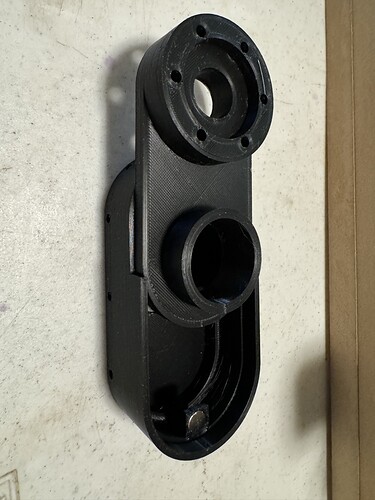
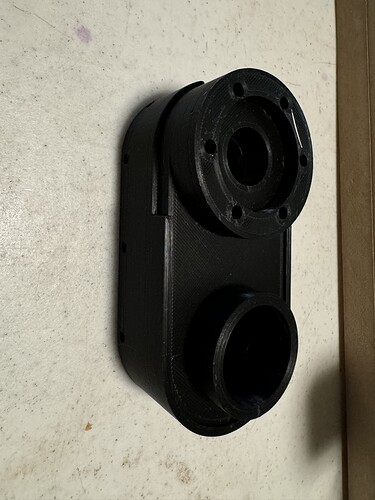
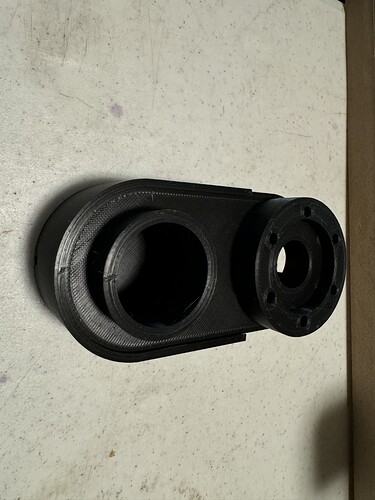
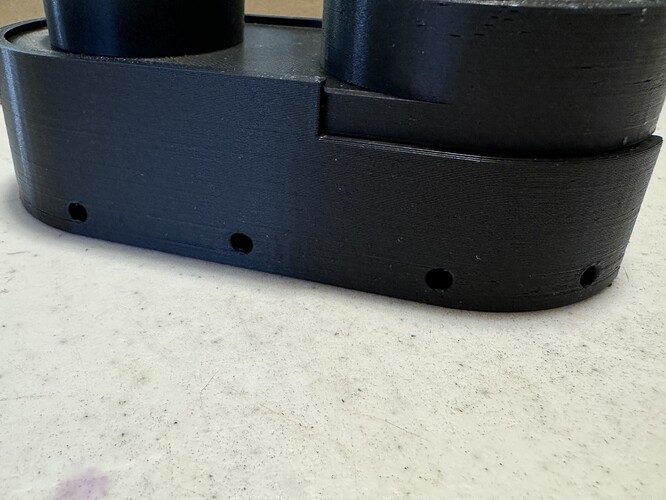
I finished designing the remainder of my dust shoe system, pictures below. The base mounts to my spindle using 6 - 4mm screws and has a fairly thick deck to handle any vertical force from the vacuum hose. The shoe itself slides onto the base from the front and aligns 3 - 10x3mm neodymium magnets to hold it in place. The tolerances for the magnets and the shoe/base fit came out GREAT! The holes in the bottom of the shoe are threaded for M4 screws and my plan is to attach a commercial dust shoe brush like this to the outer perimeter.
I’ll have to wait until I get the MPCNC operational to figure out how to mount the vac hose and check performance. If anyone wants to peruse the design, I’ve included it below:
Daedalus BLDC-500-ER11 Dust Shoe.zip (442.4 KB)
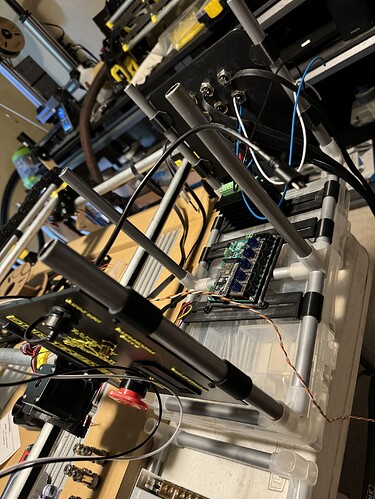
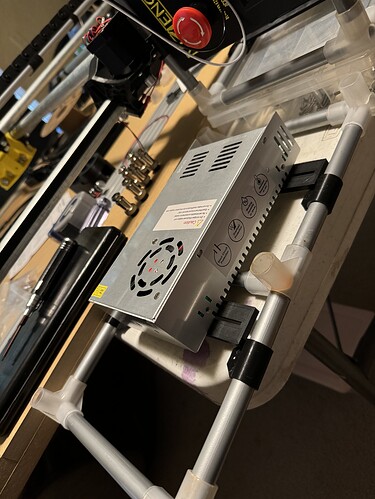
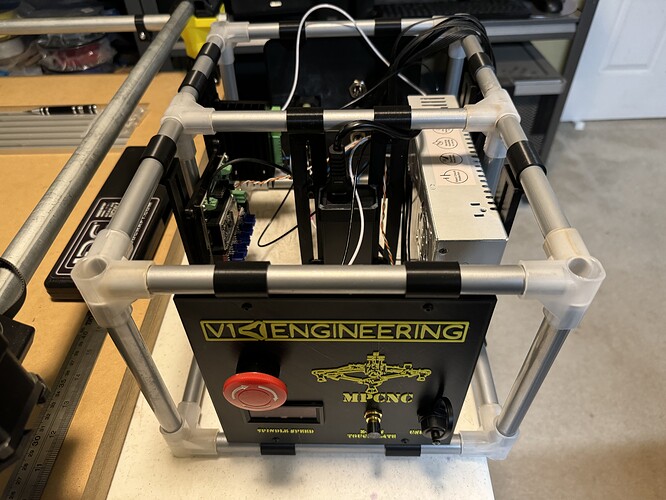
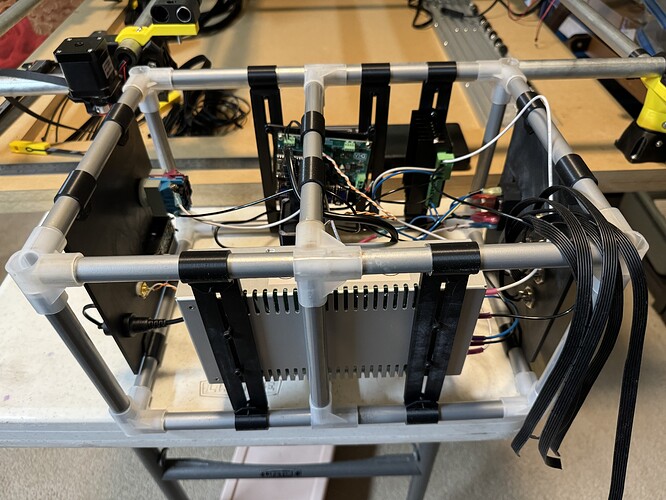
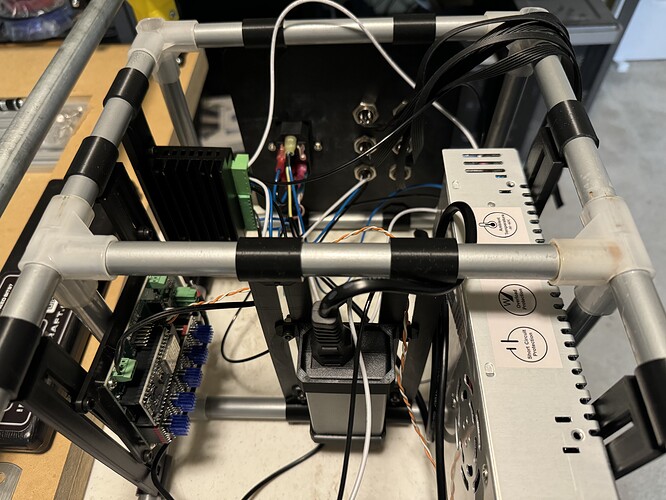
Assembly of the controller cage has begun! Just had to wait on some electronics toys and a bunch of printed parts… Still waiting on a few standoffs to get the Jackpot and Spindle PSU connected and then it’s on to wiring! Lots of soldering and crimping in my near future.
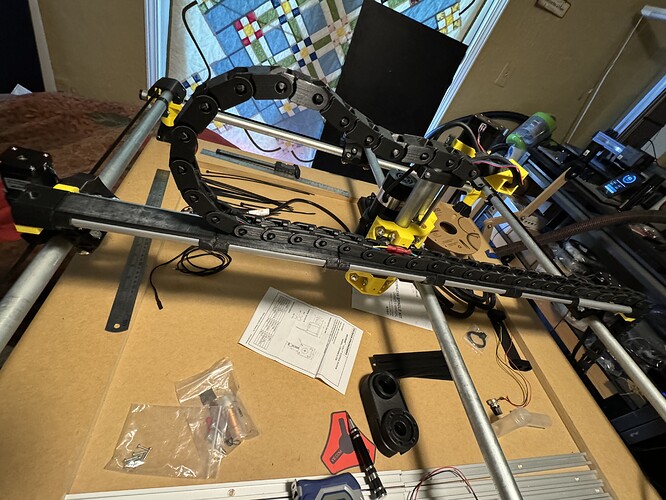
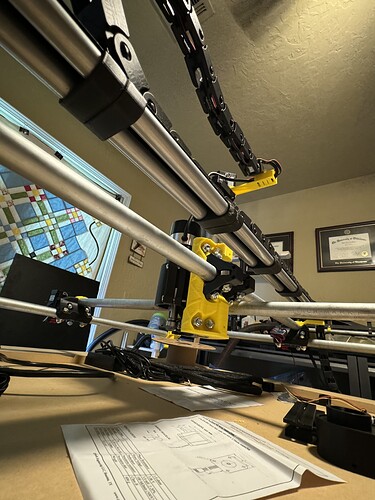
I’m also nearing completion on the drag chain and support system that’s suspended between the Y-axis trucks. It’s two more of those 16mm pipes I had a bunch of with some printed ends and platform pieces for the chain to rest on. I’ve got a few 2-in guide sections printing now to keep everything on the platform.
I found a few designs for 23.4mm Parallel EMT Conduit Chain Support for side drag chain supports to go along the back and right side to keep everything off the table as well that I’m debating… I think I’ll build chains for those either way, just debating the need to keep them suspended off the table or not. They kind of remind me of some 8-bit graphics from the old Nintendo games back in the day…
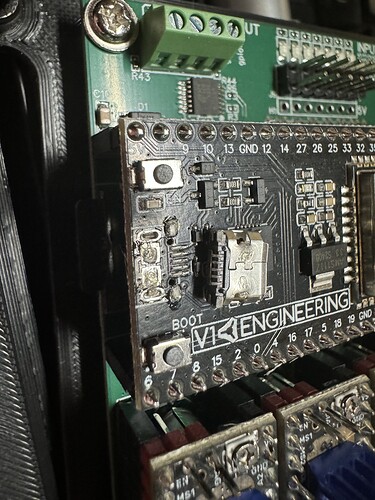
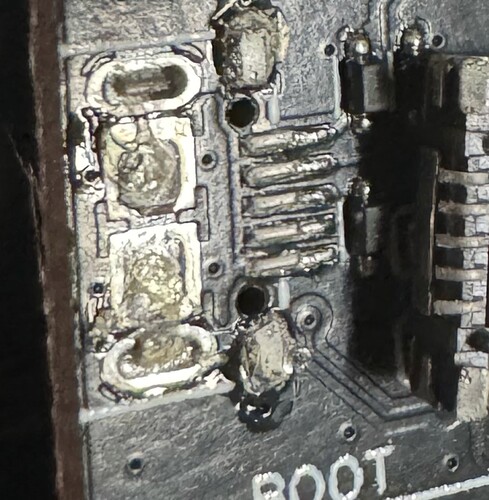
@vicious1 I went to plug in the micro -USB and the port fell off… you know of any way to reconnect it?
Can I live without that port with the Jackpot controller or is it essential?
You can flash OTA so it is not needed.
Ouch.
If you can do SMD soldering, you could try to repair it…
I bought a replacement micro USB port for a tablet once… i think a new ESP32 would be about the same price.
Just to be clear here, I don’t think it fell off right? The through hole metal tabs and all the wings are snapped off as well. It isn’t like that was cold soldered or something that was snapped off.
I pushed the cord in and it popped off the board. So you’re correct “fell off” would be incorrect.
I could try, but if it’s not mission critical I wouldn’t want to risk breaking anything else on the board while attempting the fix.
I’m not trying to be a punk. What I am getting at is something had to have happened beyond daily force to snap both metal tabs. As in do you think I owe you a replacement or was it a mistake on your part?
No, I’m not looking for a replacement. You answered my question that the port isn’t mission critical so I’m going to continue the build with what I’ve got.
However, I didn’t do anything outside of pushing in the connector with the normal amount of force I would typically use to plug in a micro-USB.
She did ballet, what more can I say…
lol, Sk8er Boi?!
Whoa, Nelly. That had to be an interesting set of events.
As you heard, you can live without that USB port.
That board has not yet been rendered irrepairable - but it will take some cleanup if you ever try.
It might be a good time to order a replacement ESP-32 just to be prepared.
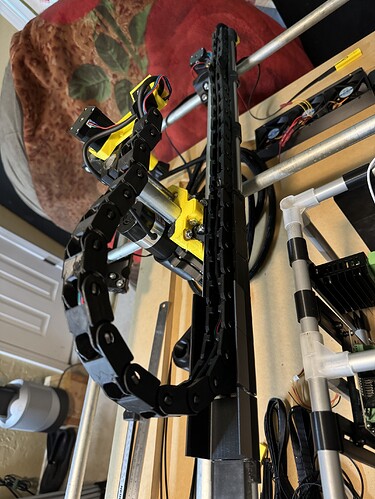
I got the spindle and Z-axis drag chain and platform finalized, had to add a few taller guides towards the far end to make sure the chain doesn’t fall off the side.
Also got the structure of the control box and most of the wiring done. Just need to do some crimping to wire in the stepper and end stop bridge to the back panel.
Then I need to cut all the spindle, stepper and end stop wires from the MPCNC to length and solder in the aviation plugs.
When all that’s done, I can fire her up and watch the magic happen!
Keeps getting better and better.
