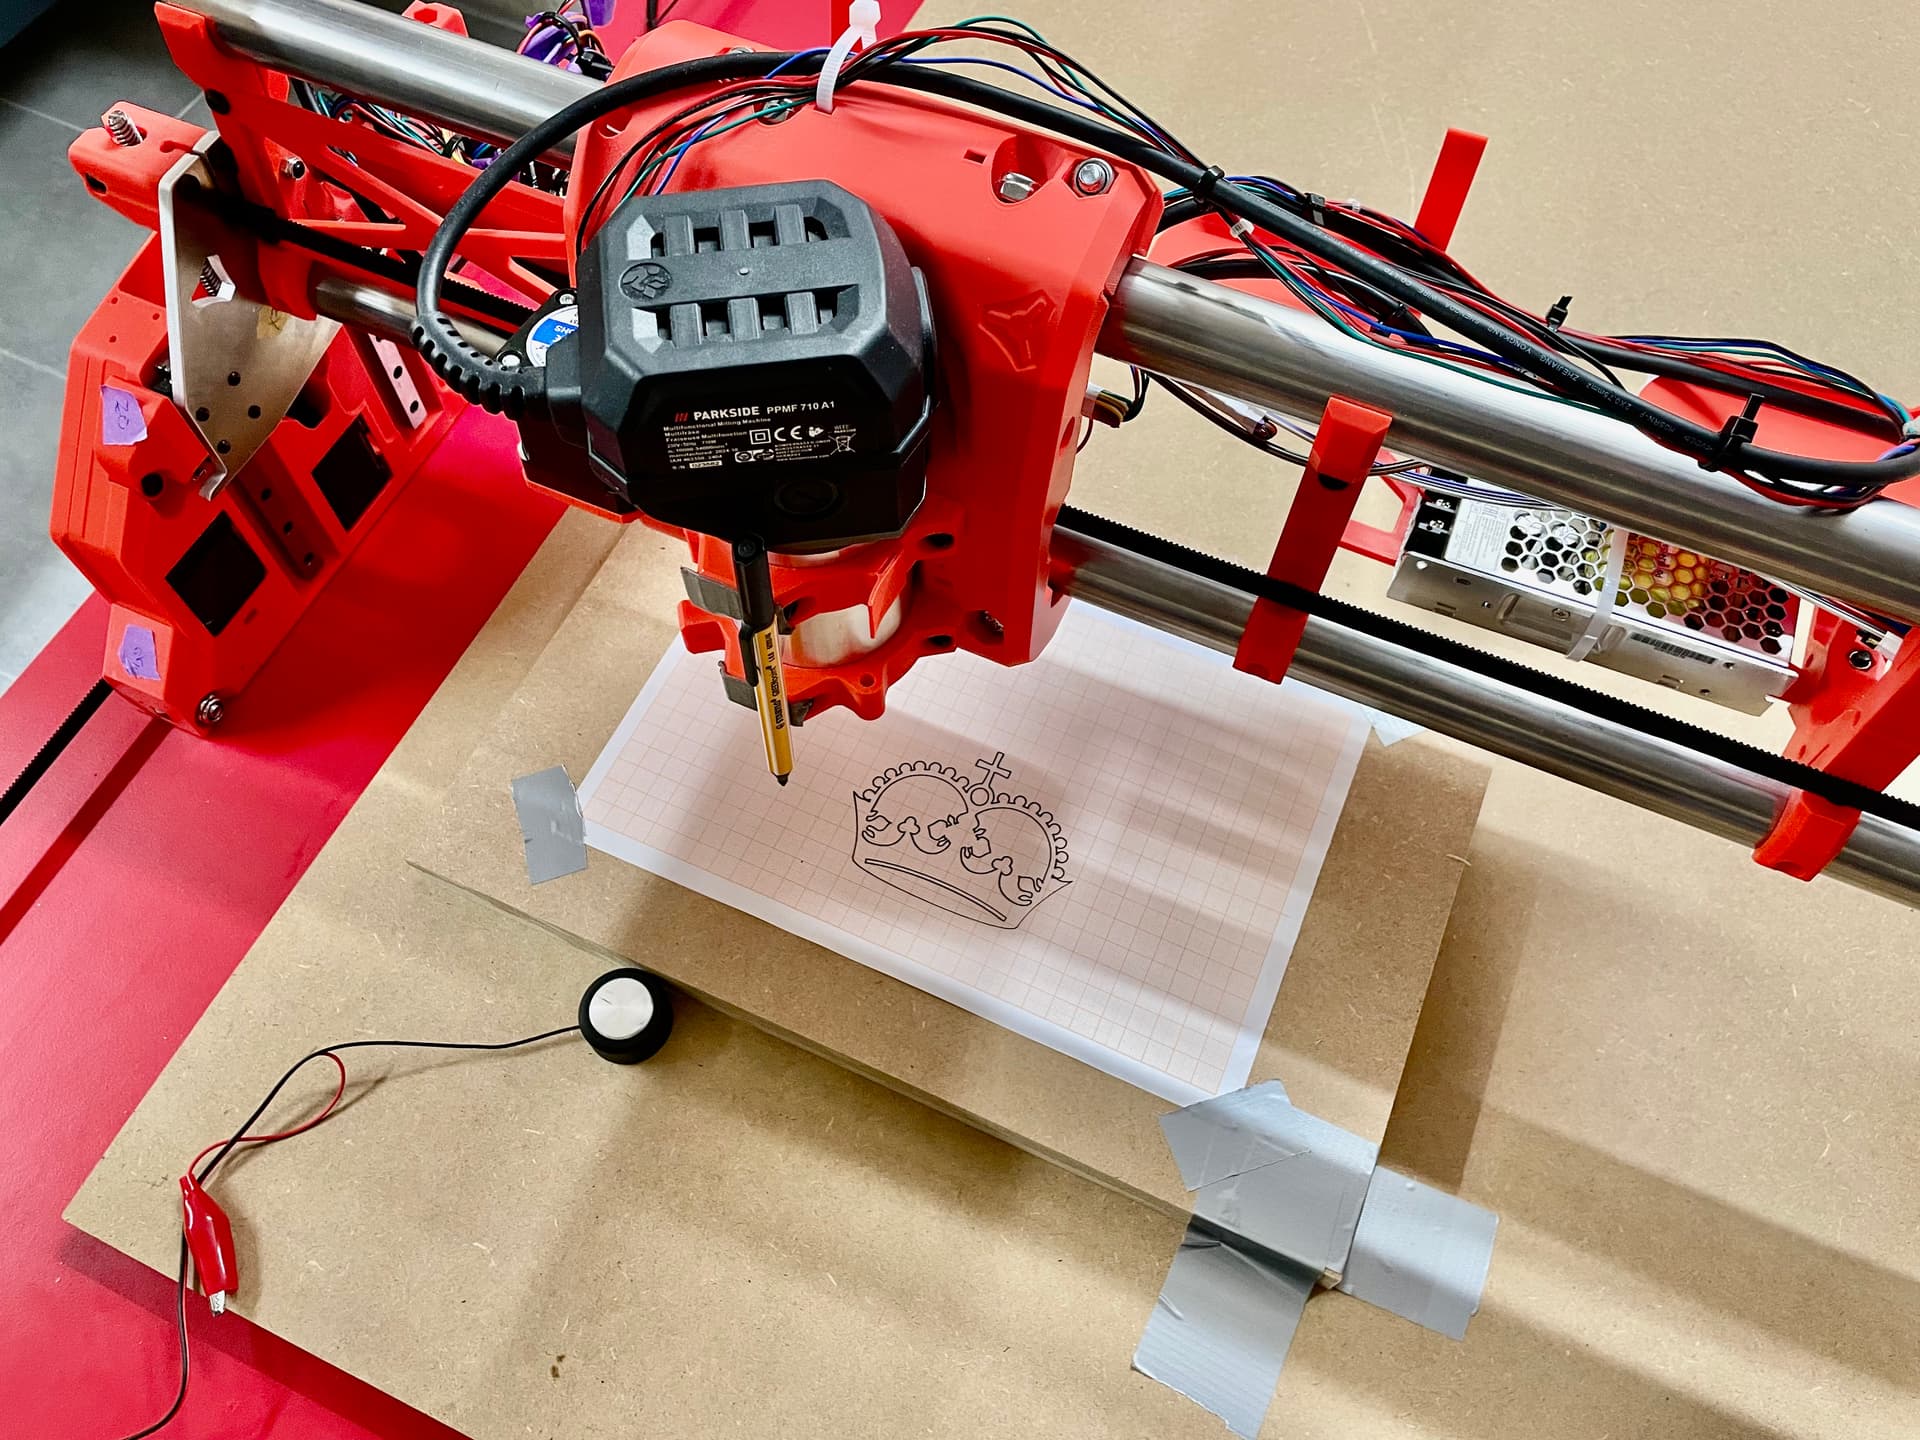
I am currently building a ~1x1m LRv4 and wanted to share my progress here. Some progress has already been made, so this first, longer post will summarize what has happened up until I drew my first crown with the machine this evening.

Intro
I am 35 years old with a background in IT and 3D printing, but I have no prior CNC experience and am based in Bavaria, Germany.
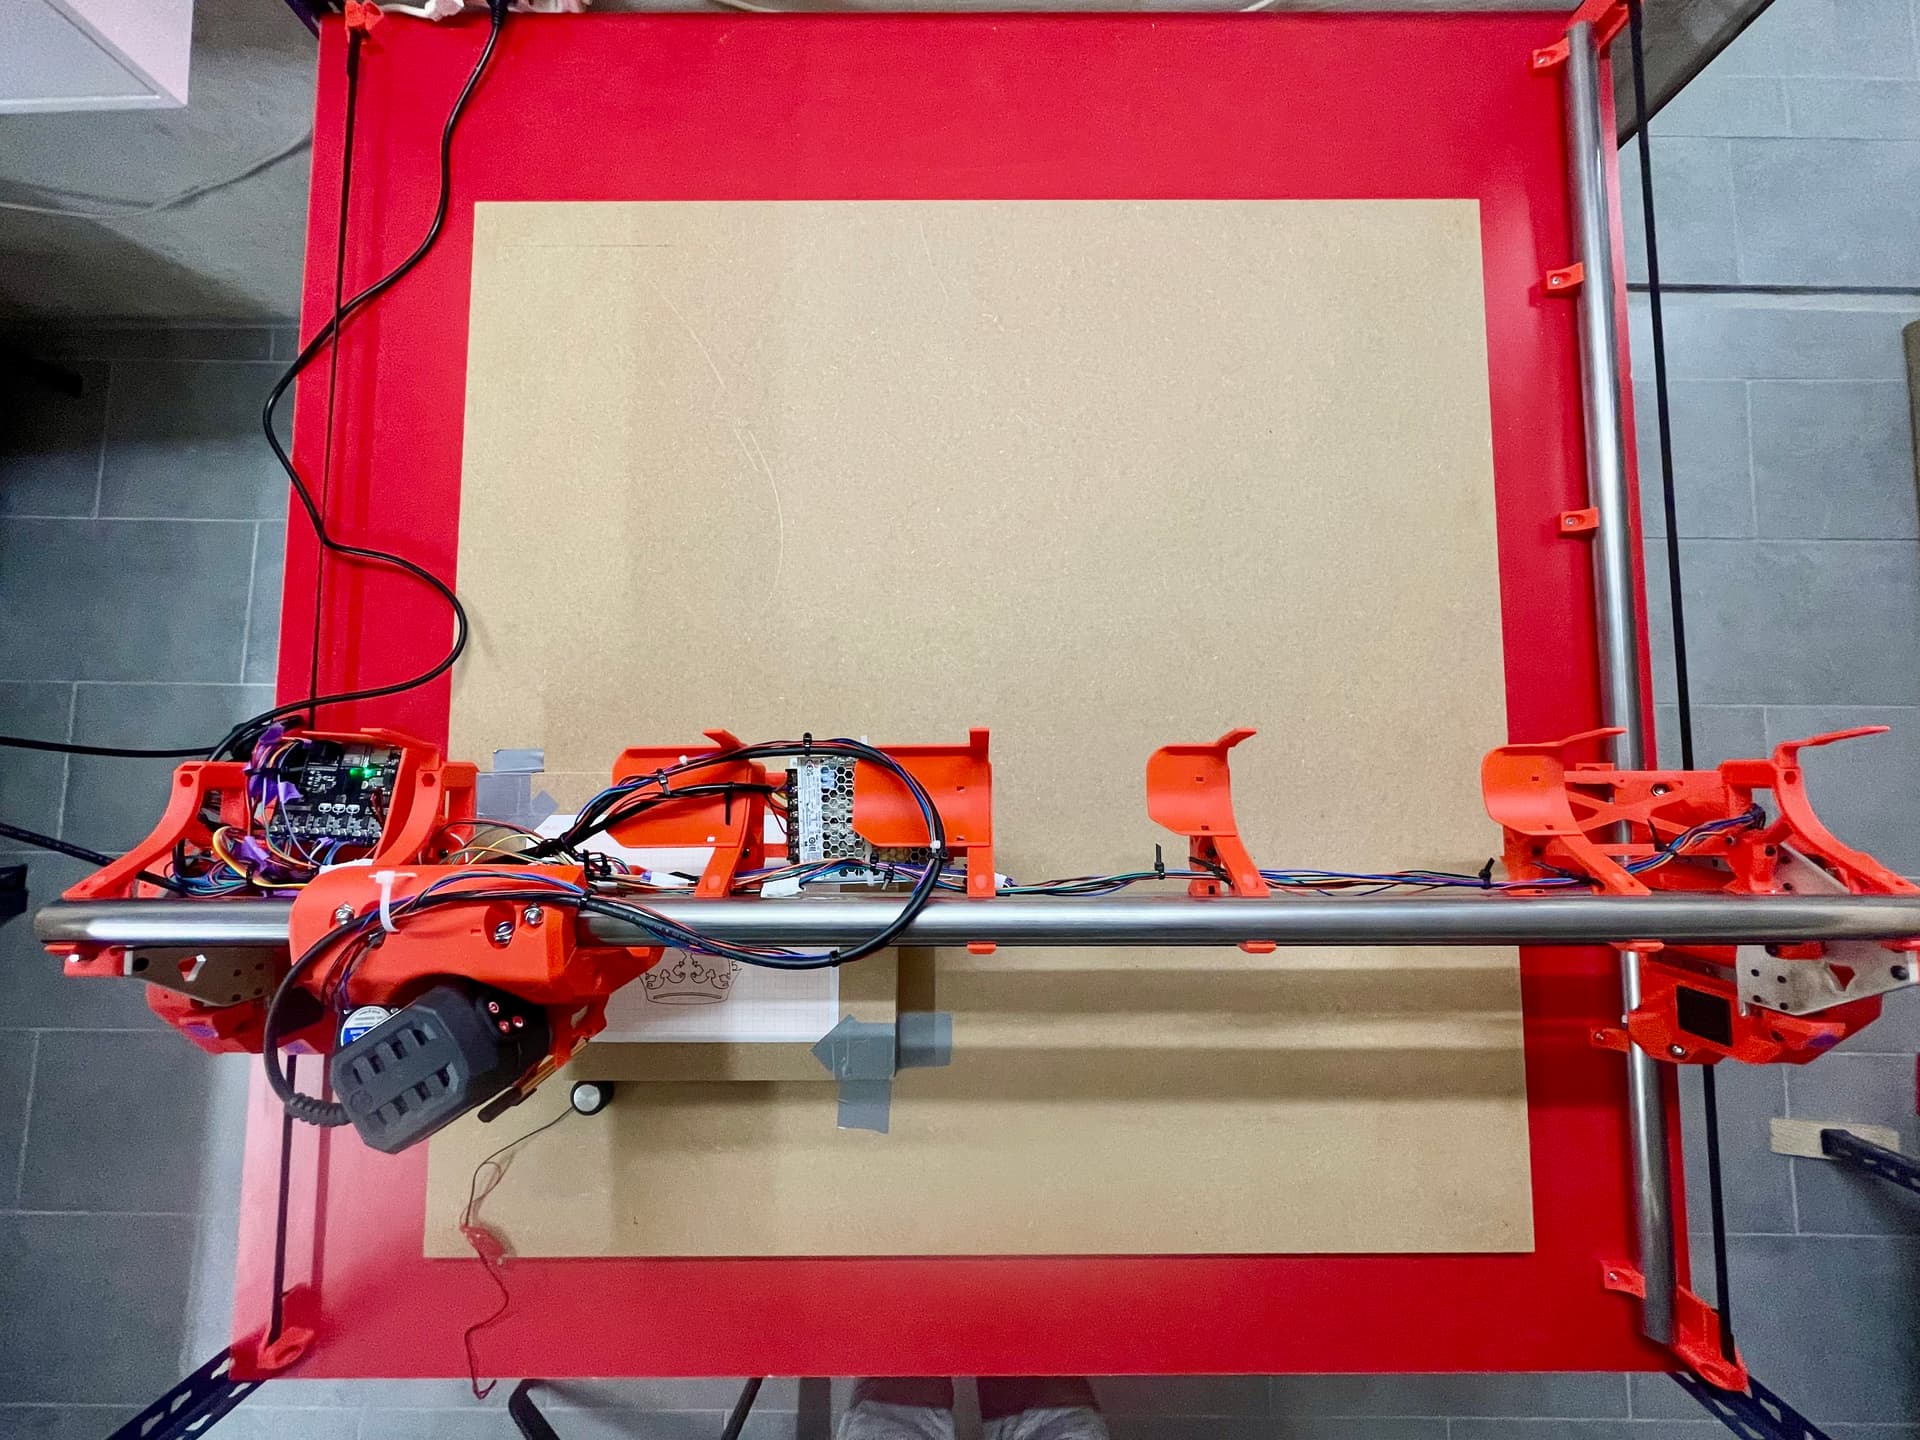
The machine has a square working area of 1.05 x 1.05m, is controlled by a Jackpot3 board, and is built primarily for processing 1x1m sheets of birch multiplex. The title of this thread is inspired by @Jason_Toops’s “Green Machine”.
While I initially considered to go with an expensive spindle from AMB or similar from the start, I ended up choosing a very €75 six-speed router from Parkside (a brand of the European supermarket chain Lidl). The reason is simple: I am a CNC beginner and this router let’s me test the limits of the machine more freely while also massively reducing the complexity of the build. I’ve already destroyed a 2€ Stabilo pen while testing ![]() You might ask, “Why not the default Makita?” Paying €40 for the required adapter/collet for a €140 router was a ratio I just couldn’t justify.
You might ask, “Why not the default Makita?” Paying €40 for the required adapter/collet for a €140 router was a ratio I just couldn’t justify.
Sourcing
Shipping from the U.S. to Germany was unfortunately too expensive compared to the (very reasonable) prices of the items in the V1E shop. Therefore, I opted for self-sourcing, which took me about two evenings. My general strategy was to save money on non-critical parts but buy quality where it mattered (e.g., power supply, bearings). Including the router and table, I spent approximately €585.
As promised in another thread, here are the exact components I ordered for the build with links:
List of Materials
Table
I built a simple table using materials I already had on hand (leftover profiles from storage racks and roof battens), plus three 19mm particle boards from the local hardware store. I chose the red laminated boards because they were actually the cheapest option (the store wanted to get rid of the color).
For the feet, I chose these leveling casters and connected them with a custom 3D-printed adapter. I wouldn’t necessarily buy these specific casters again—the feet are hard plastic rather than the rubber I had hoped for—but they do work.
One thing to note is that the CNC does not sit on the top of the table, but on the middle level because the top working surface (which sits loosely on top and can be lifted by hand) is needed much more often than the CNC itself.
Building
All in all, the assembly was great fun. What took some time was figuring out the required wire lengths, slotting some of the wires through the YZ plates, and some of the M8 screws/nuts were difficult to screw together all the way due to the hole sizes.
Suggestion for improving the instructions: It would be helpful to include rough estimates for the endstop wire lengths relative to the axes’ lengths.
Software
I work a lot with Fusion360 for 3D printing, but I wanted to stay on the supported path, so I chose Estlcam to start my CNC journey. Since I am on a Mac, emulation was required, but it works surprisingly well.
For anyone interested, and without any support, here is how I got the most recent version of Estcam (v12, 64bit) running on an M2 Macbook:
Instructions
- Install homebrew
- Run the following commands in the Terminal one after another
  brew install --cask --no-quarantine gcenx/wine/wine-crossover
  brew install winetricks
  export WINEPREFIX=~/.estlcam_wine
  wine64 winecfg
  winetricks dotnet48 corefonts gdiplus
- A window will pop up. Just click OK.
- Downlaod the newest estlcam installer to your “Downloads” folder
wine64 ~/Downloads/Estlcam_64_12.exe- Open the Script Editor, paste the following, replace XXX with your username and save in the “Applications” folder as type “Application”:
do shell script "export WINEPREFIX=/Users/david/.estlcam_wine; /opt/homebrew/bin/wine64 '/Users/XXX/.estlcam_wine/drive_c/Program Files (x86)/Estlcam12/Estlcam12_CAM.exe' > /dev/null 2>&1 &" - Open Estcam from the Applications folder like any other app.
Impressions

Thanks
Lastly, a big thanks to this great community for all the help, ideas and suggestions so far - it’s great to be part of it!
Next Steps
- Understanding gcode moves (especially Z moves, as these seem most dangerous to me)
- Cutting the strut plates and cleaning up the wiring
- Building the FliudDial (again, as I was nearly finished when I fried the dial’s ESP while trying to figure out why the left button was not working, now waiting for another shipment from China)

