Well I finally pulled the trigger and bought the kit off of Ryan. Didn’t think I’d build till aftyer summer but weather has been crap so no lake time.
10 Likes
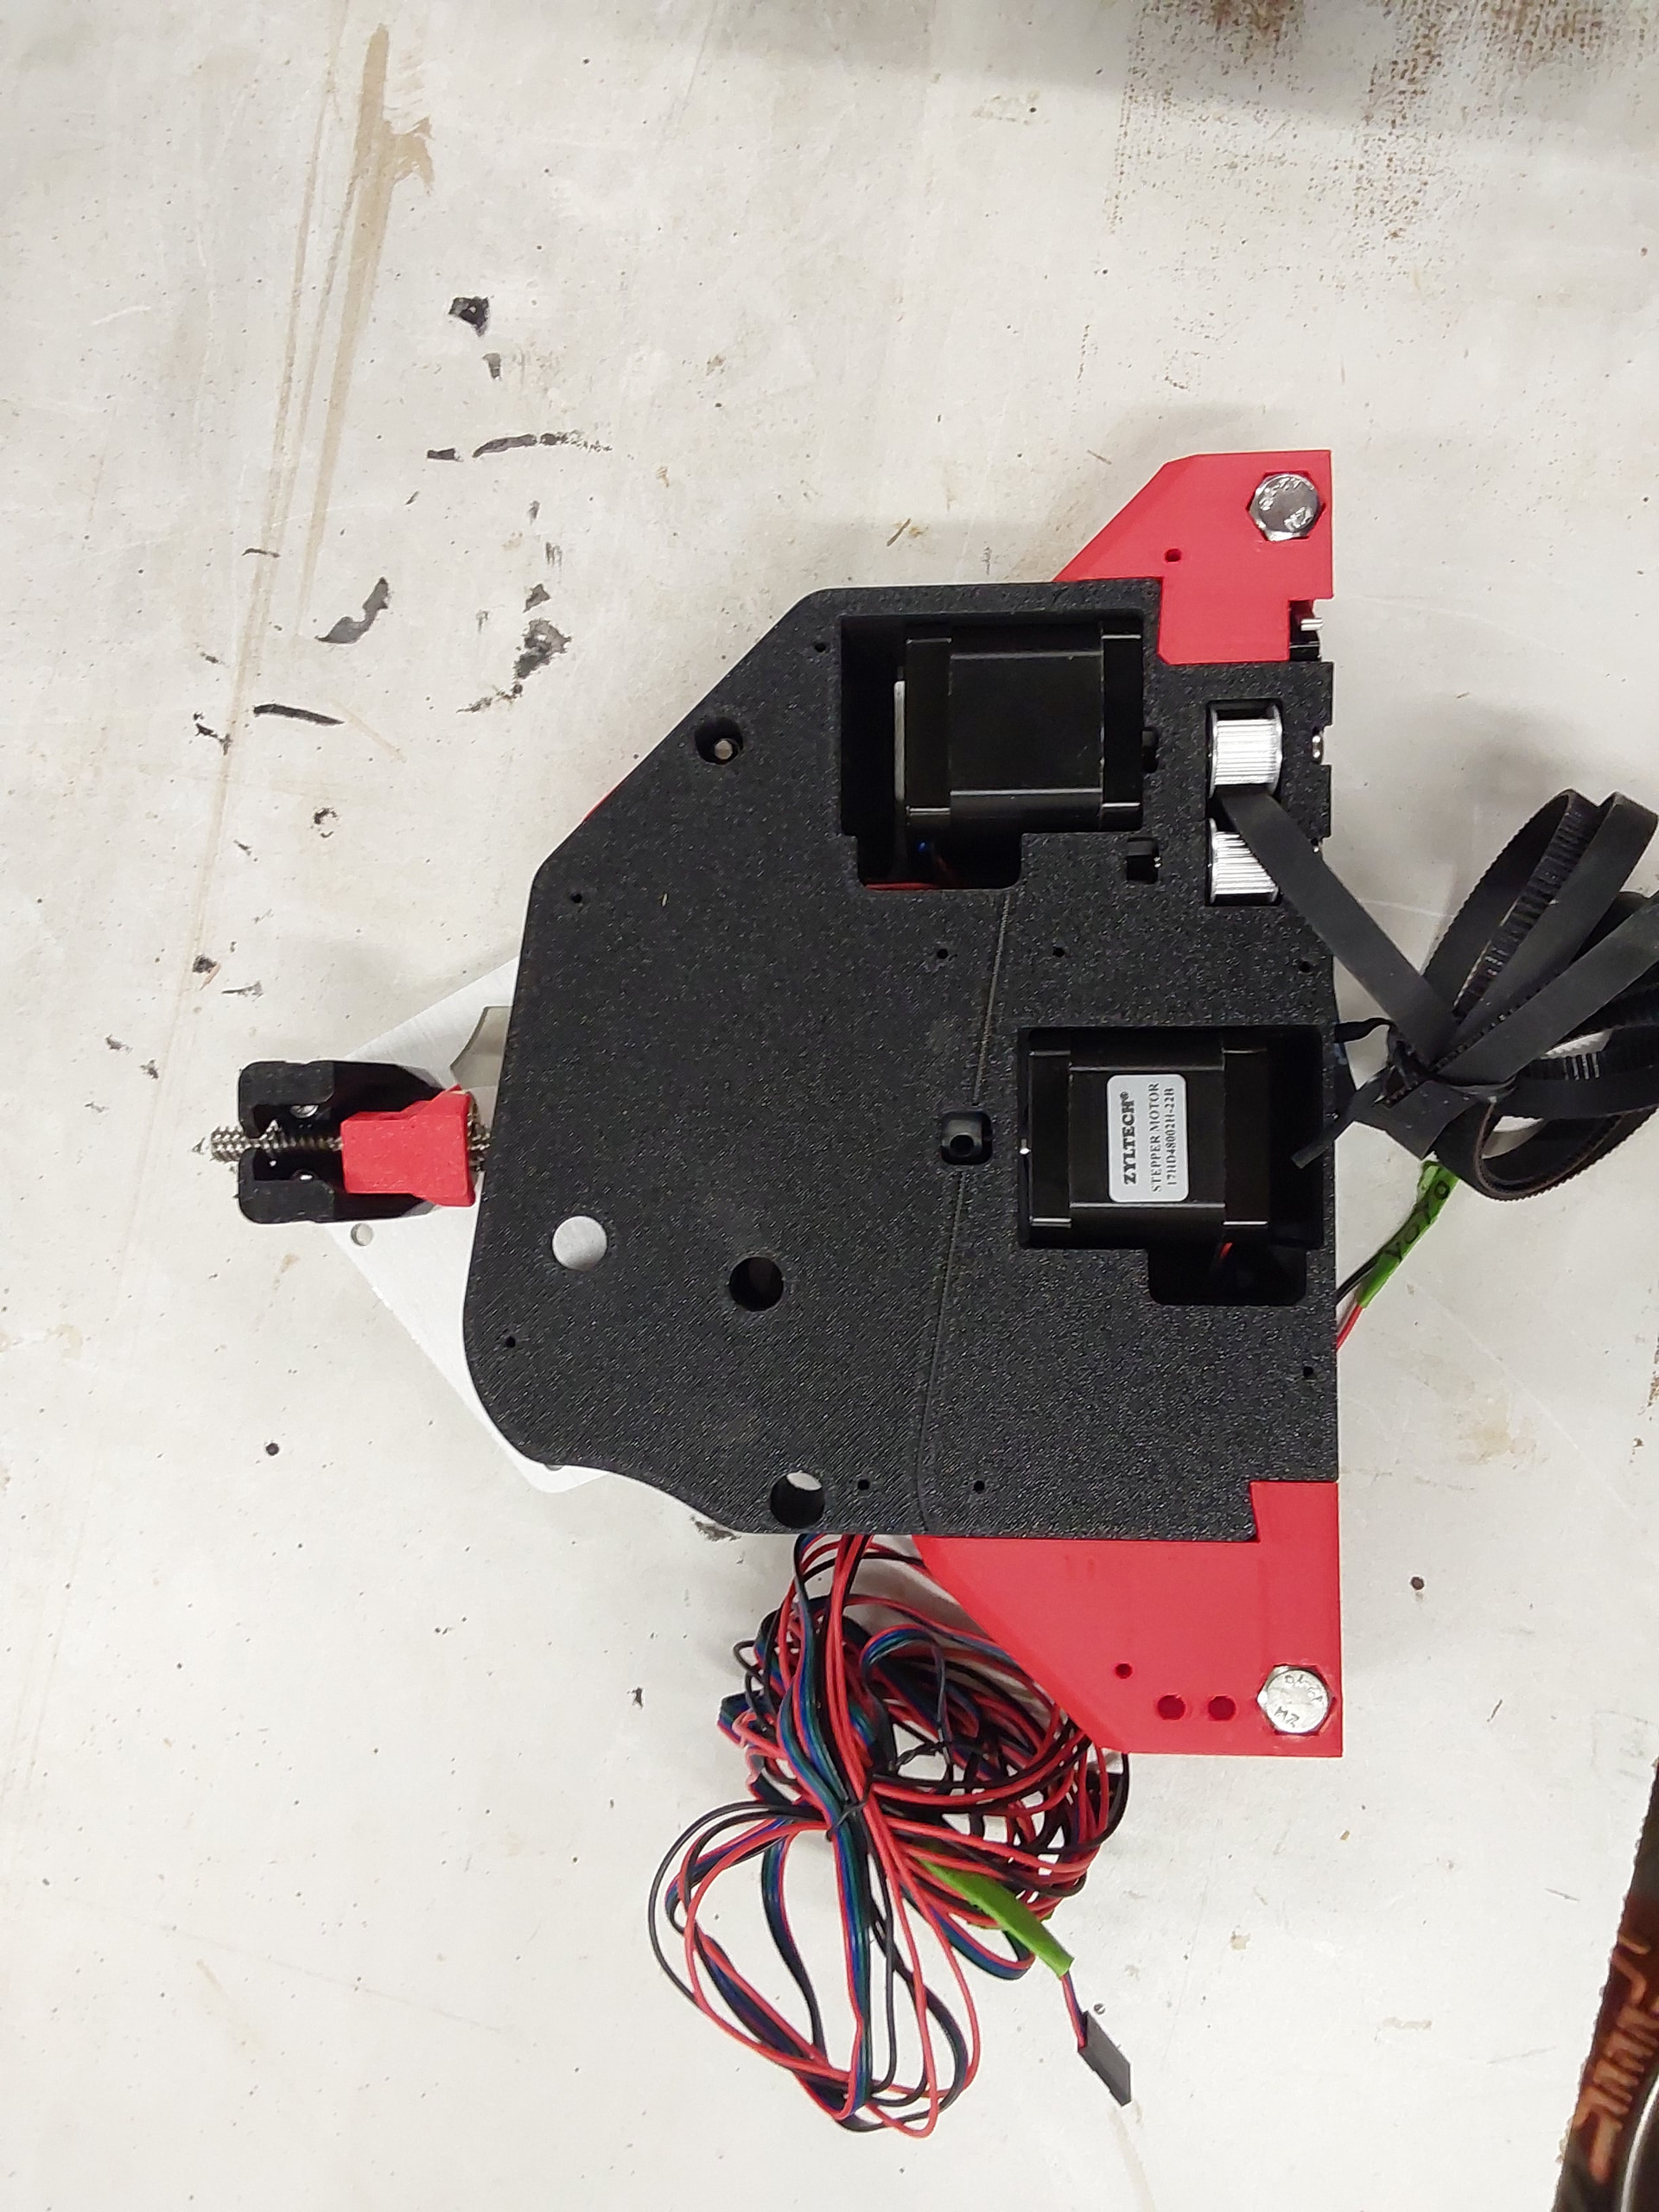
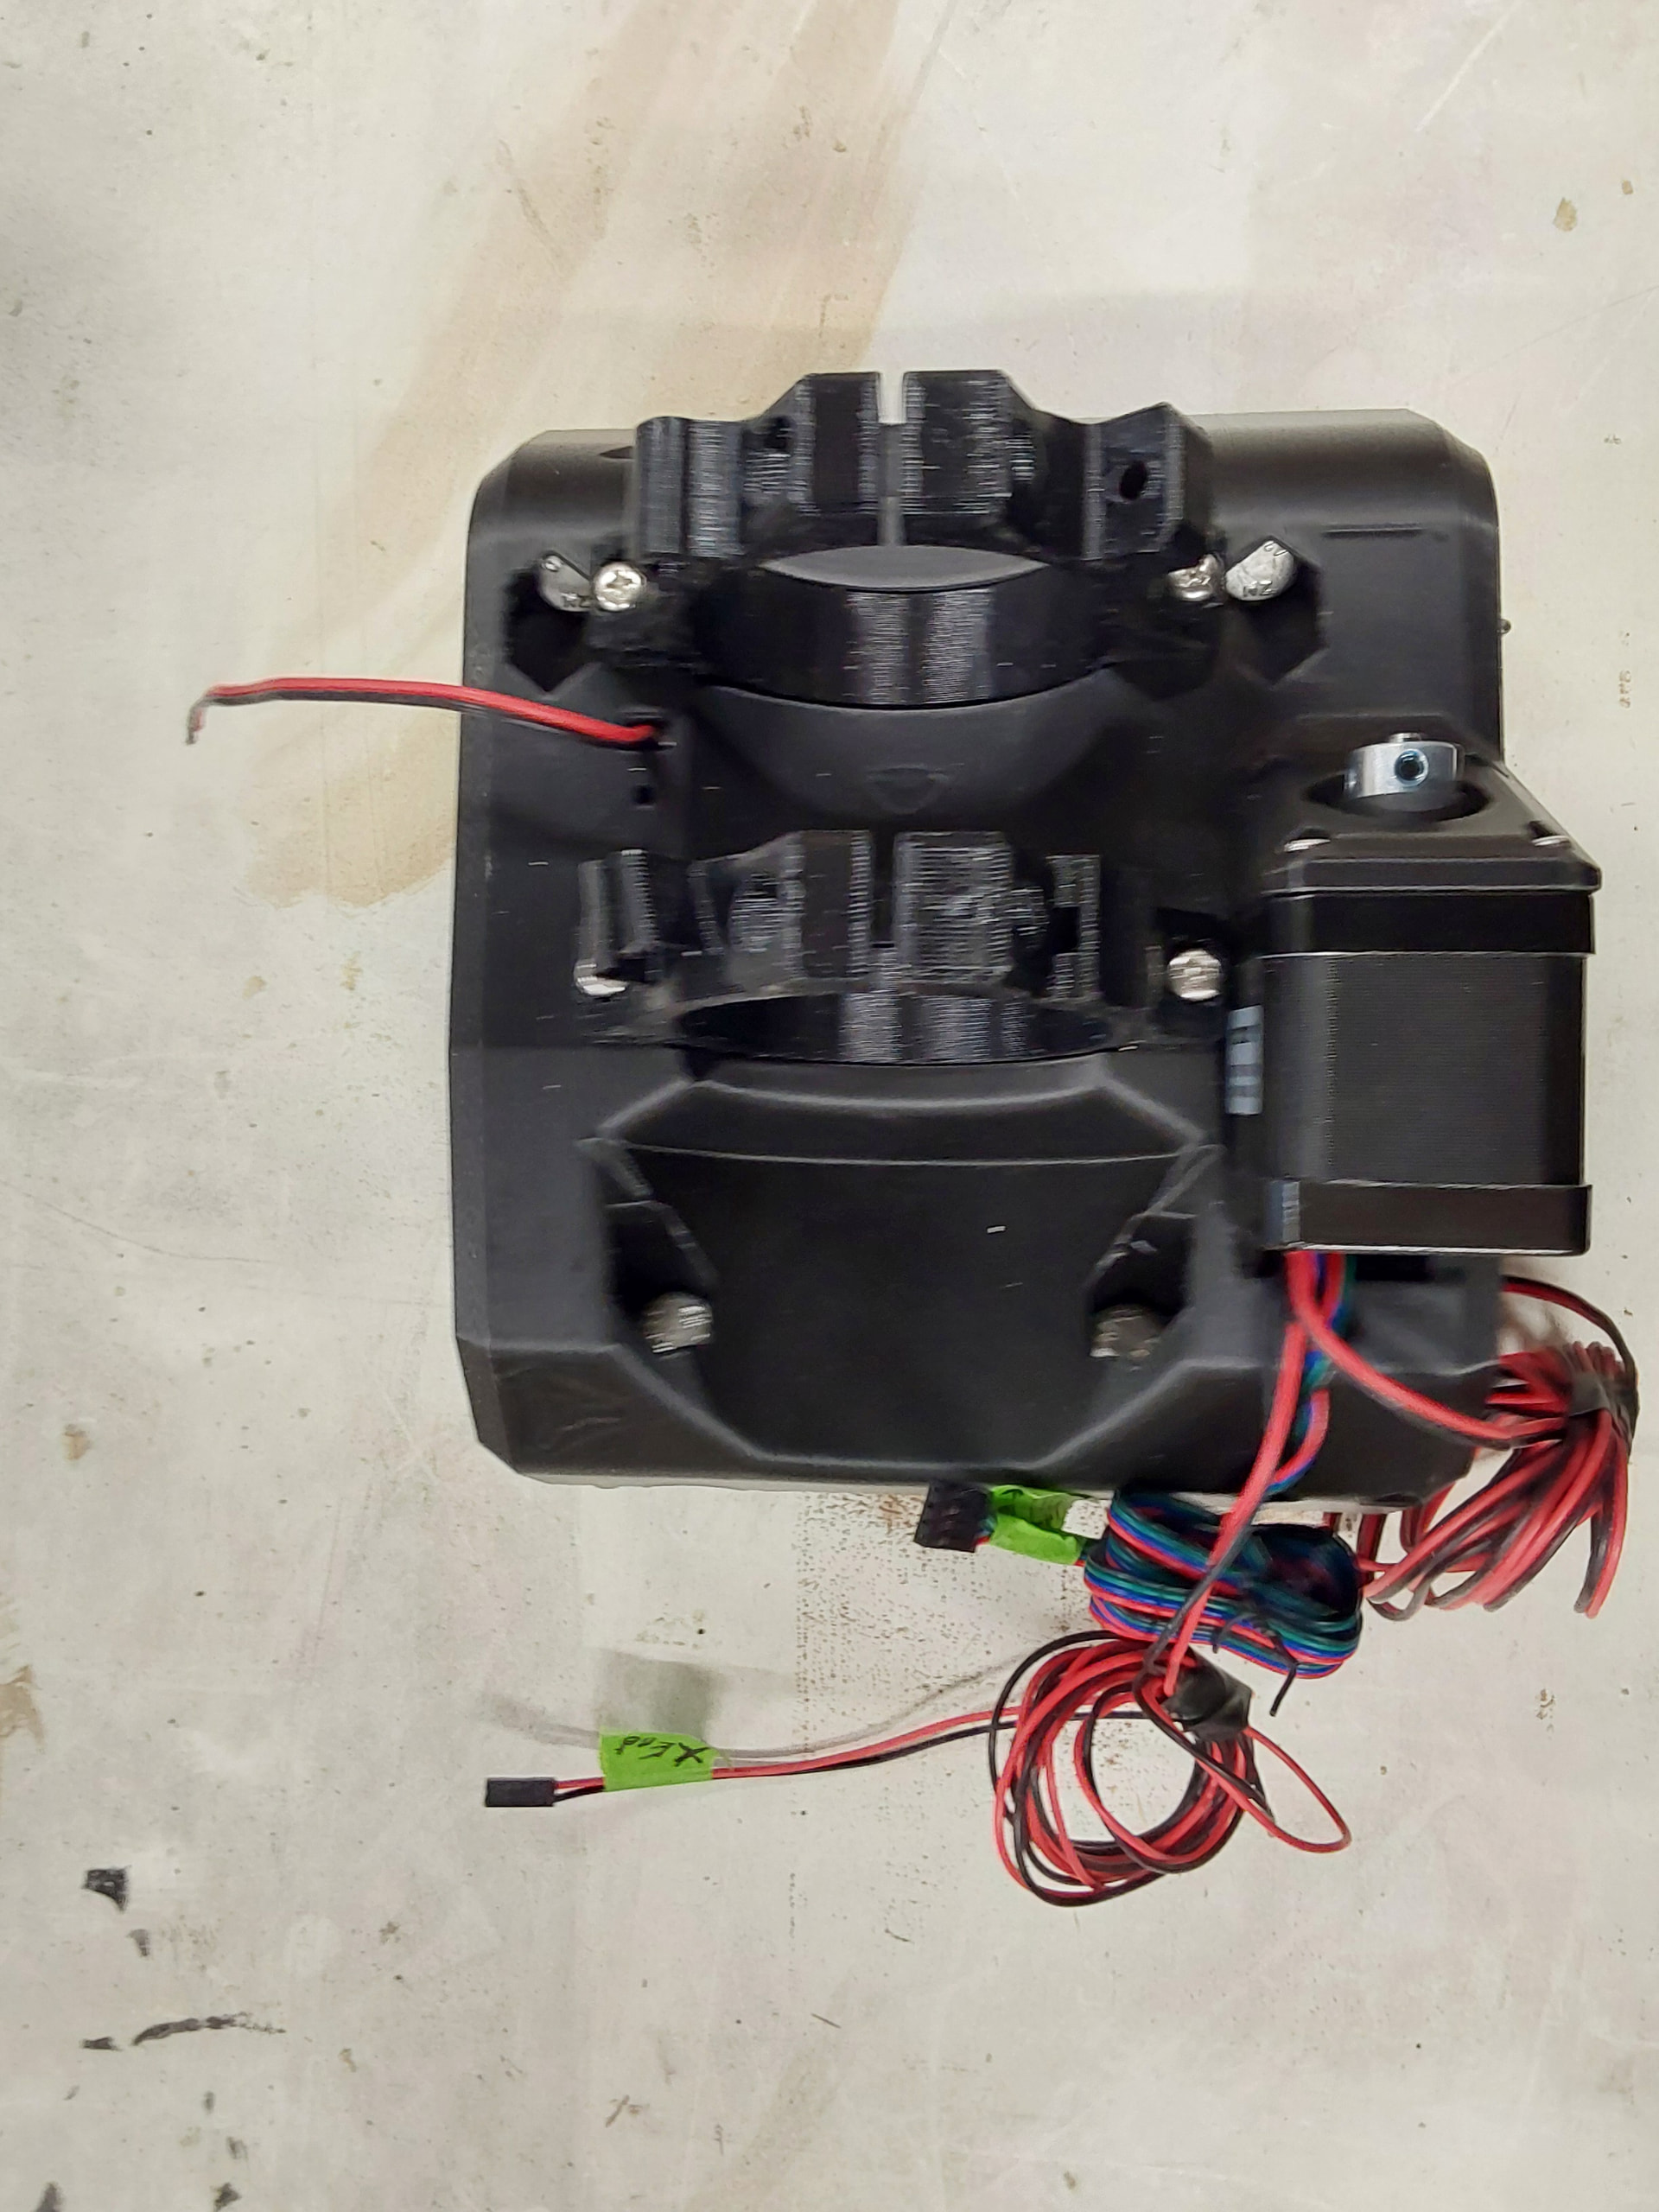
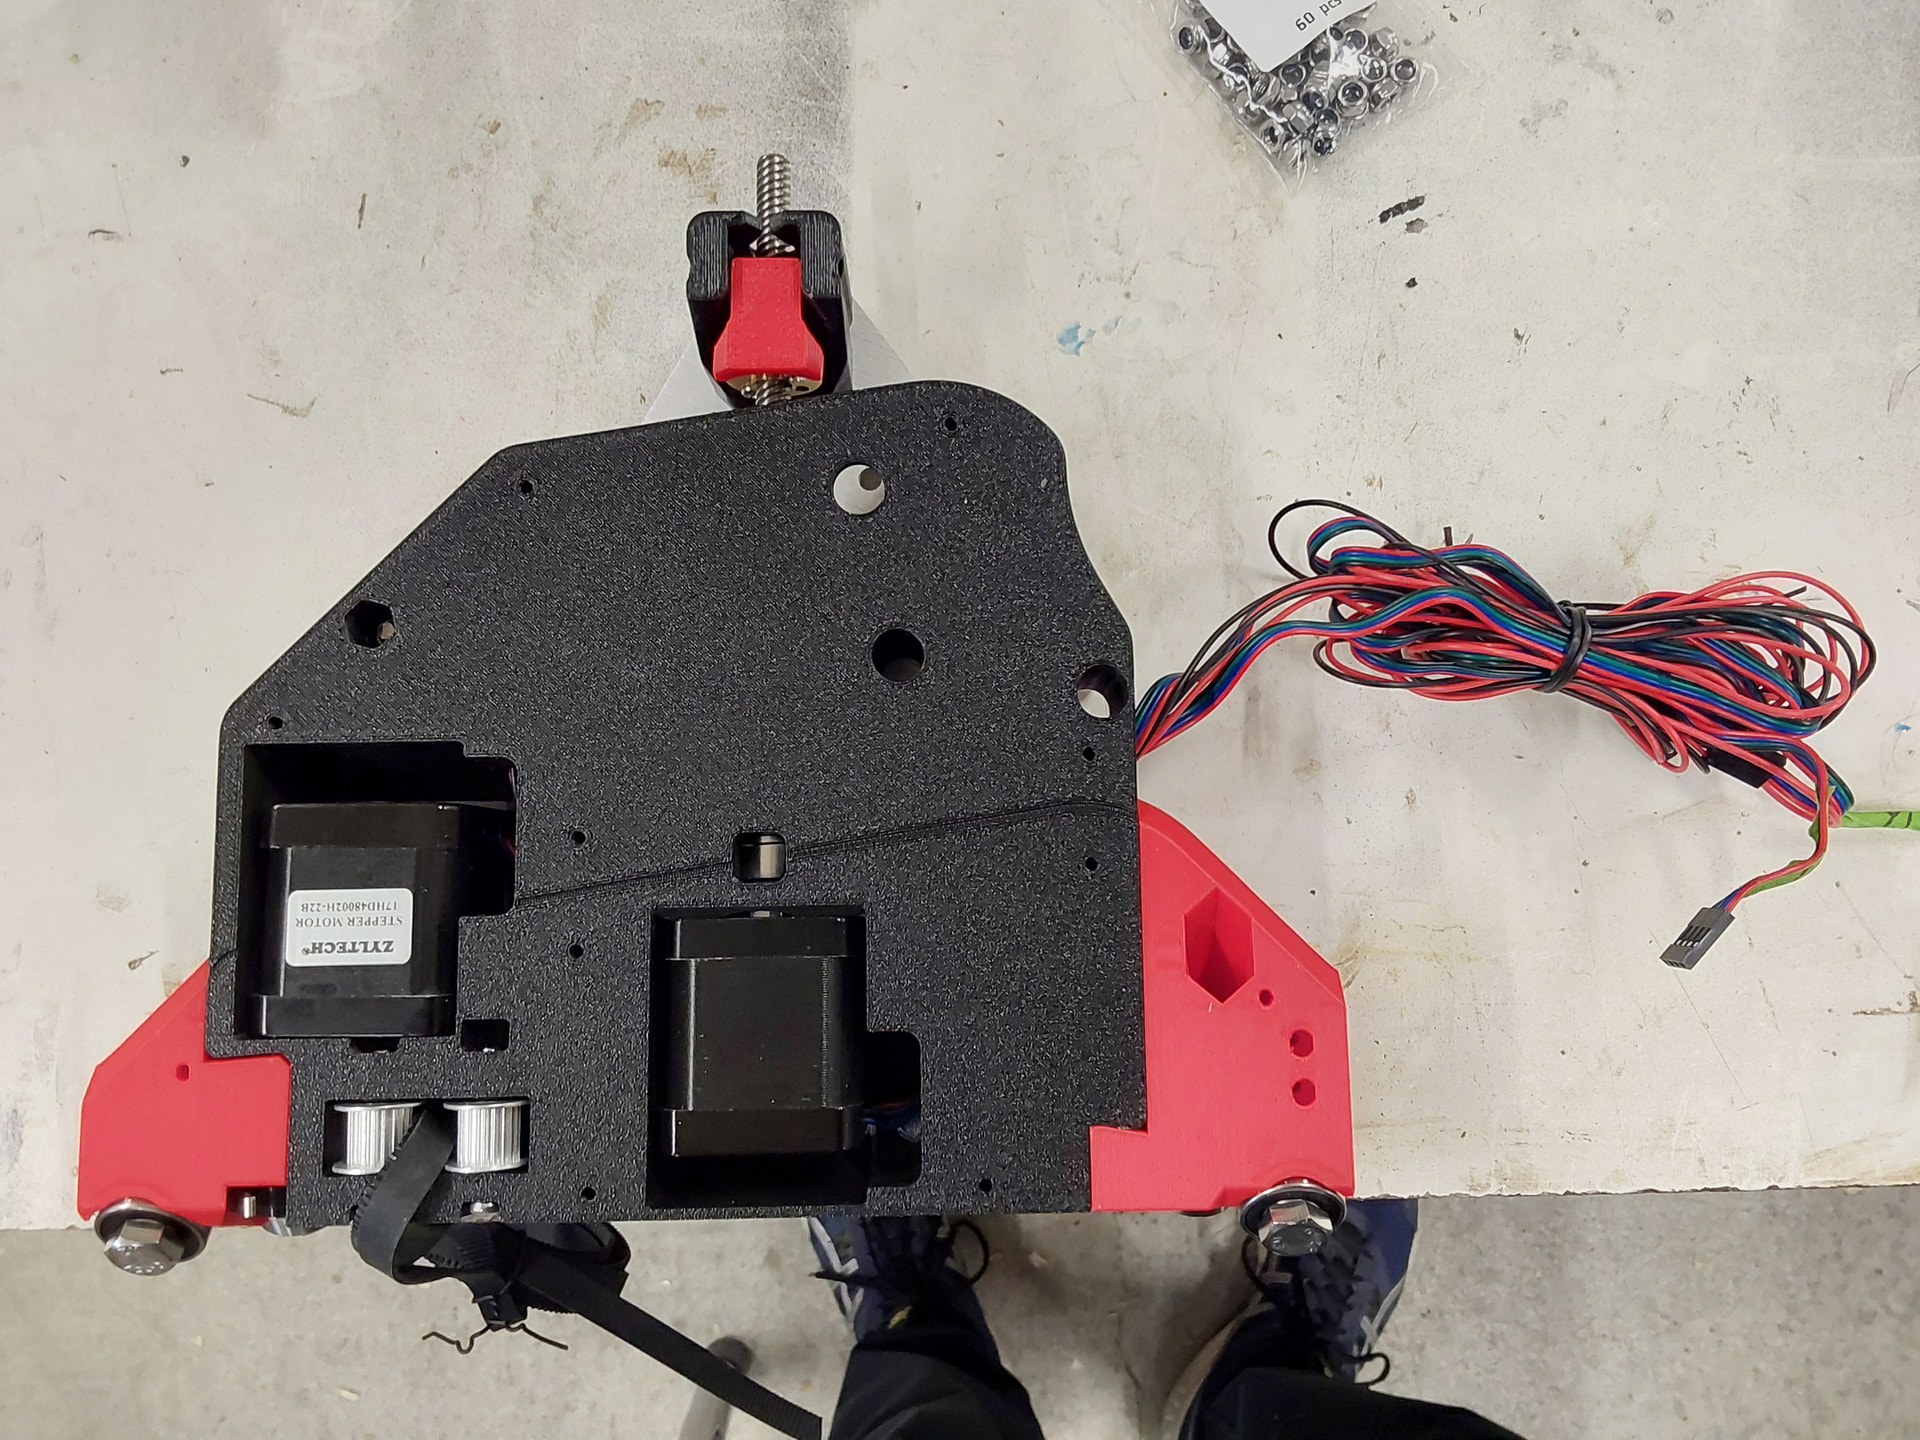
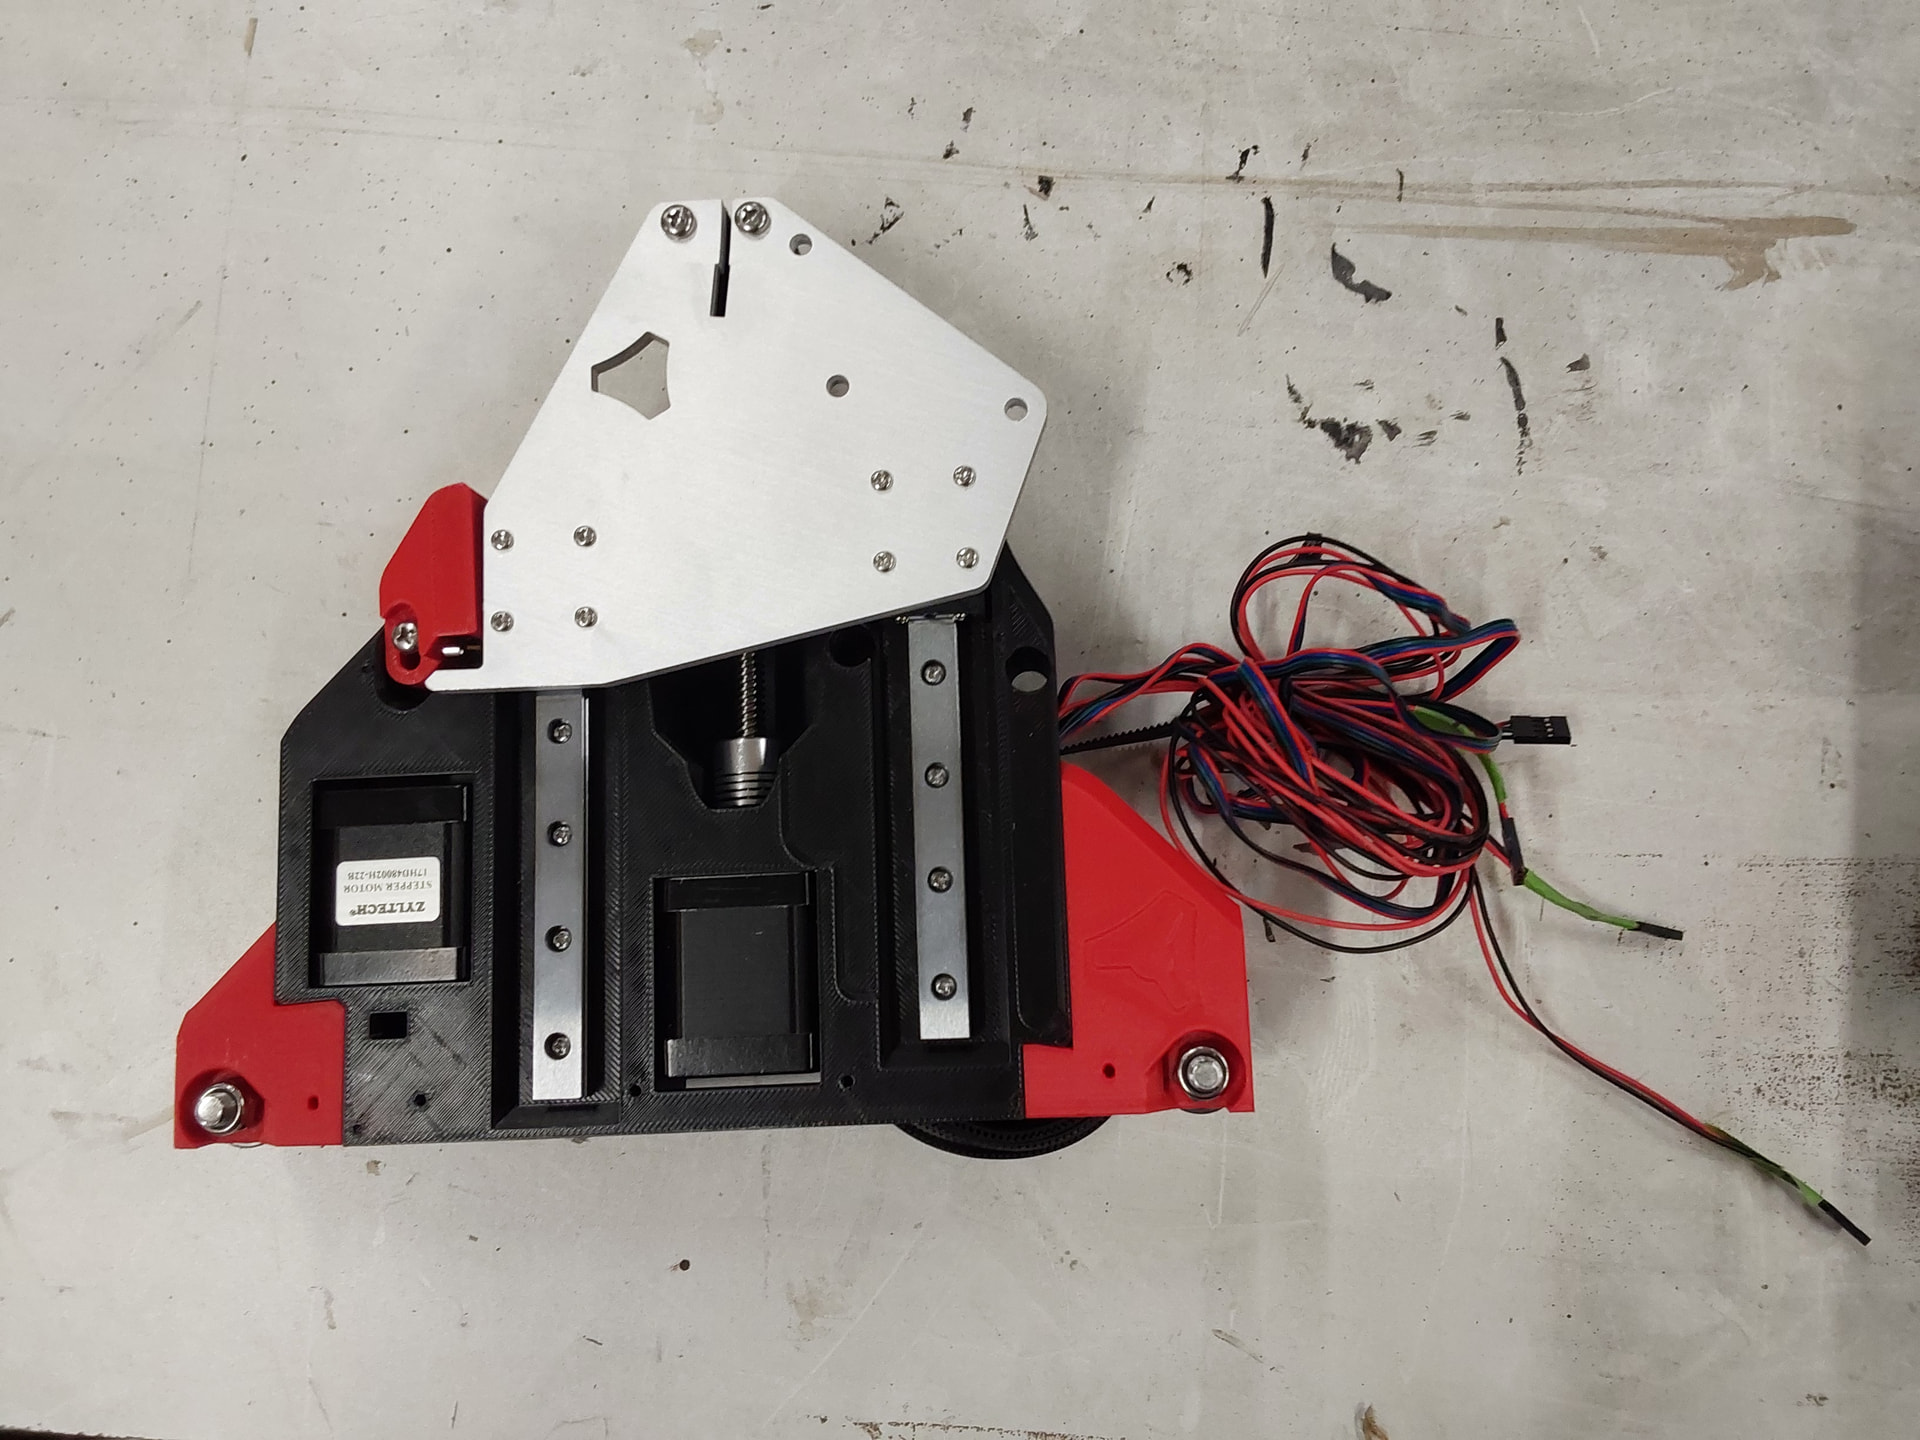
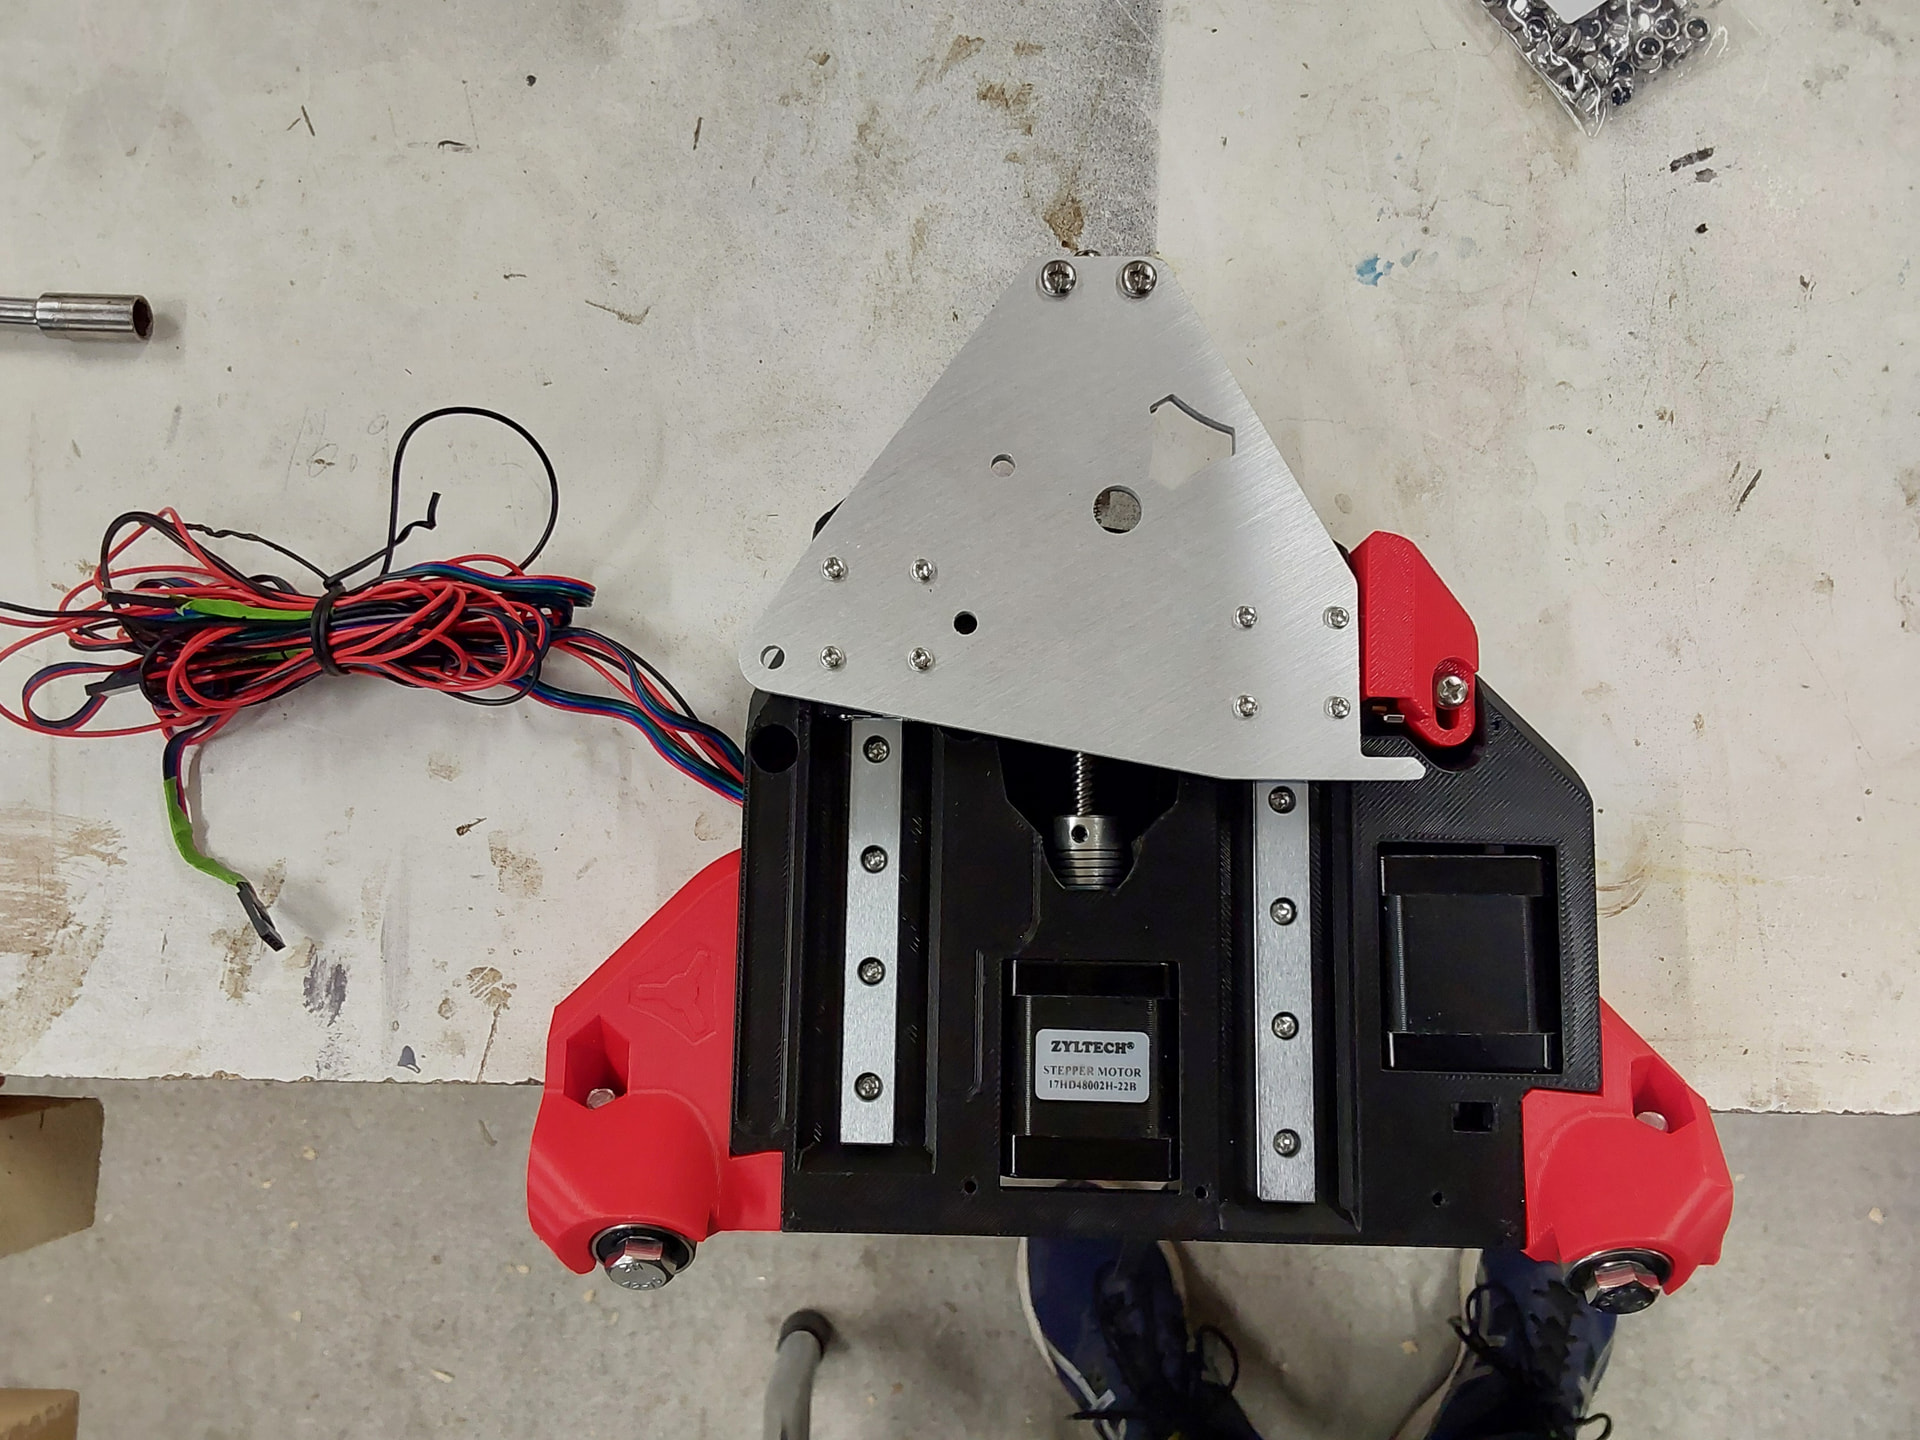
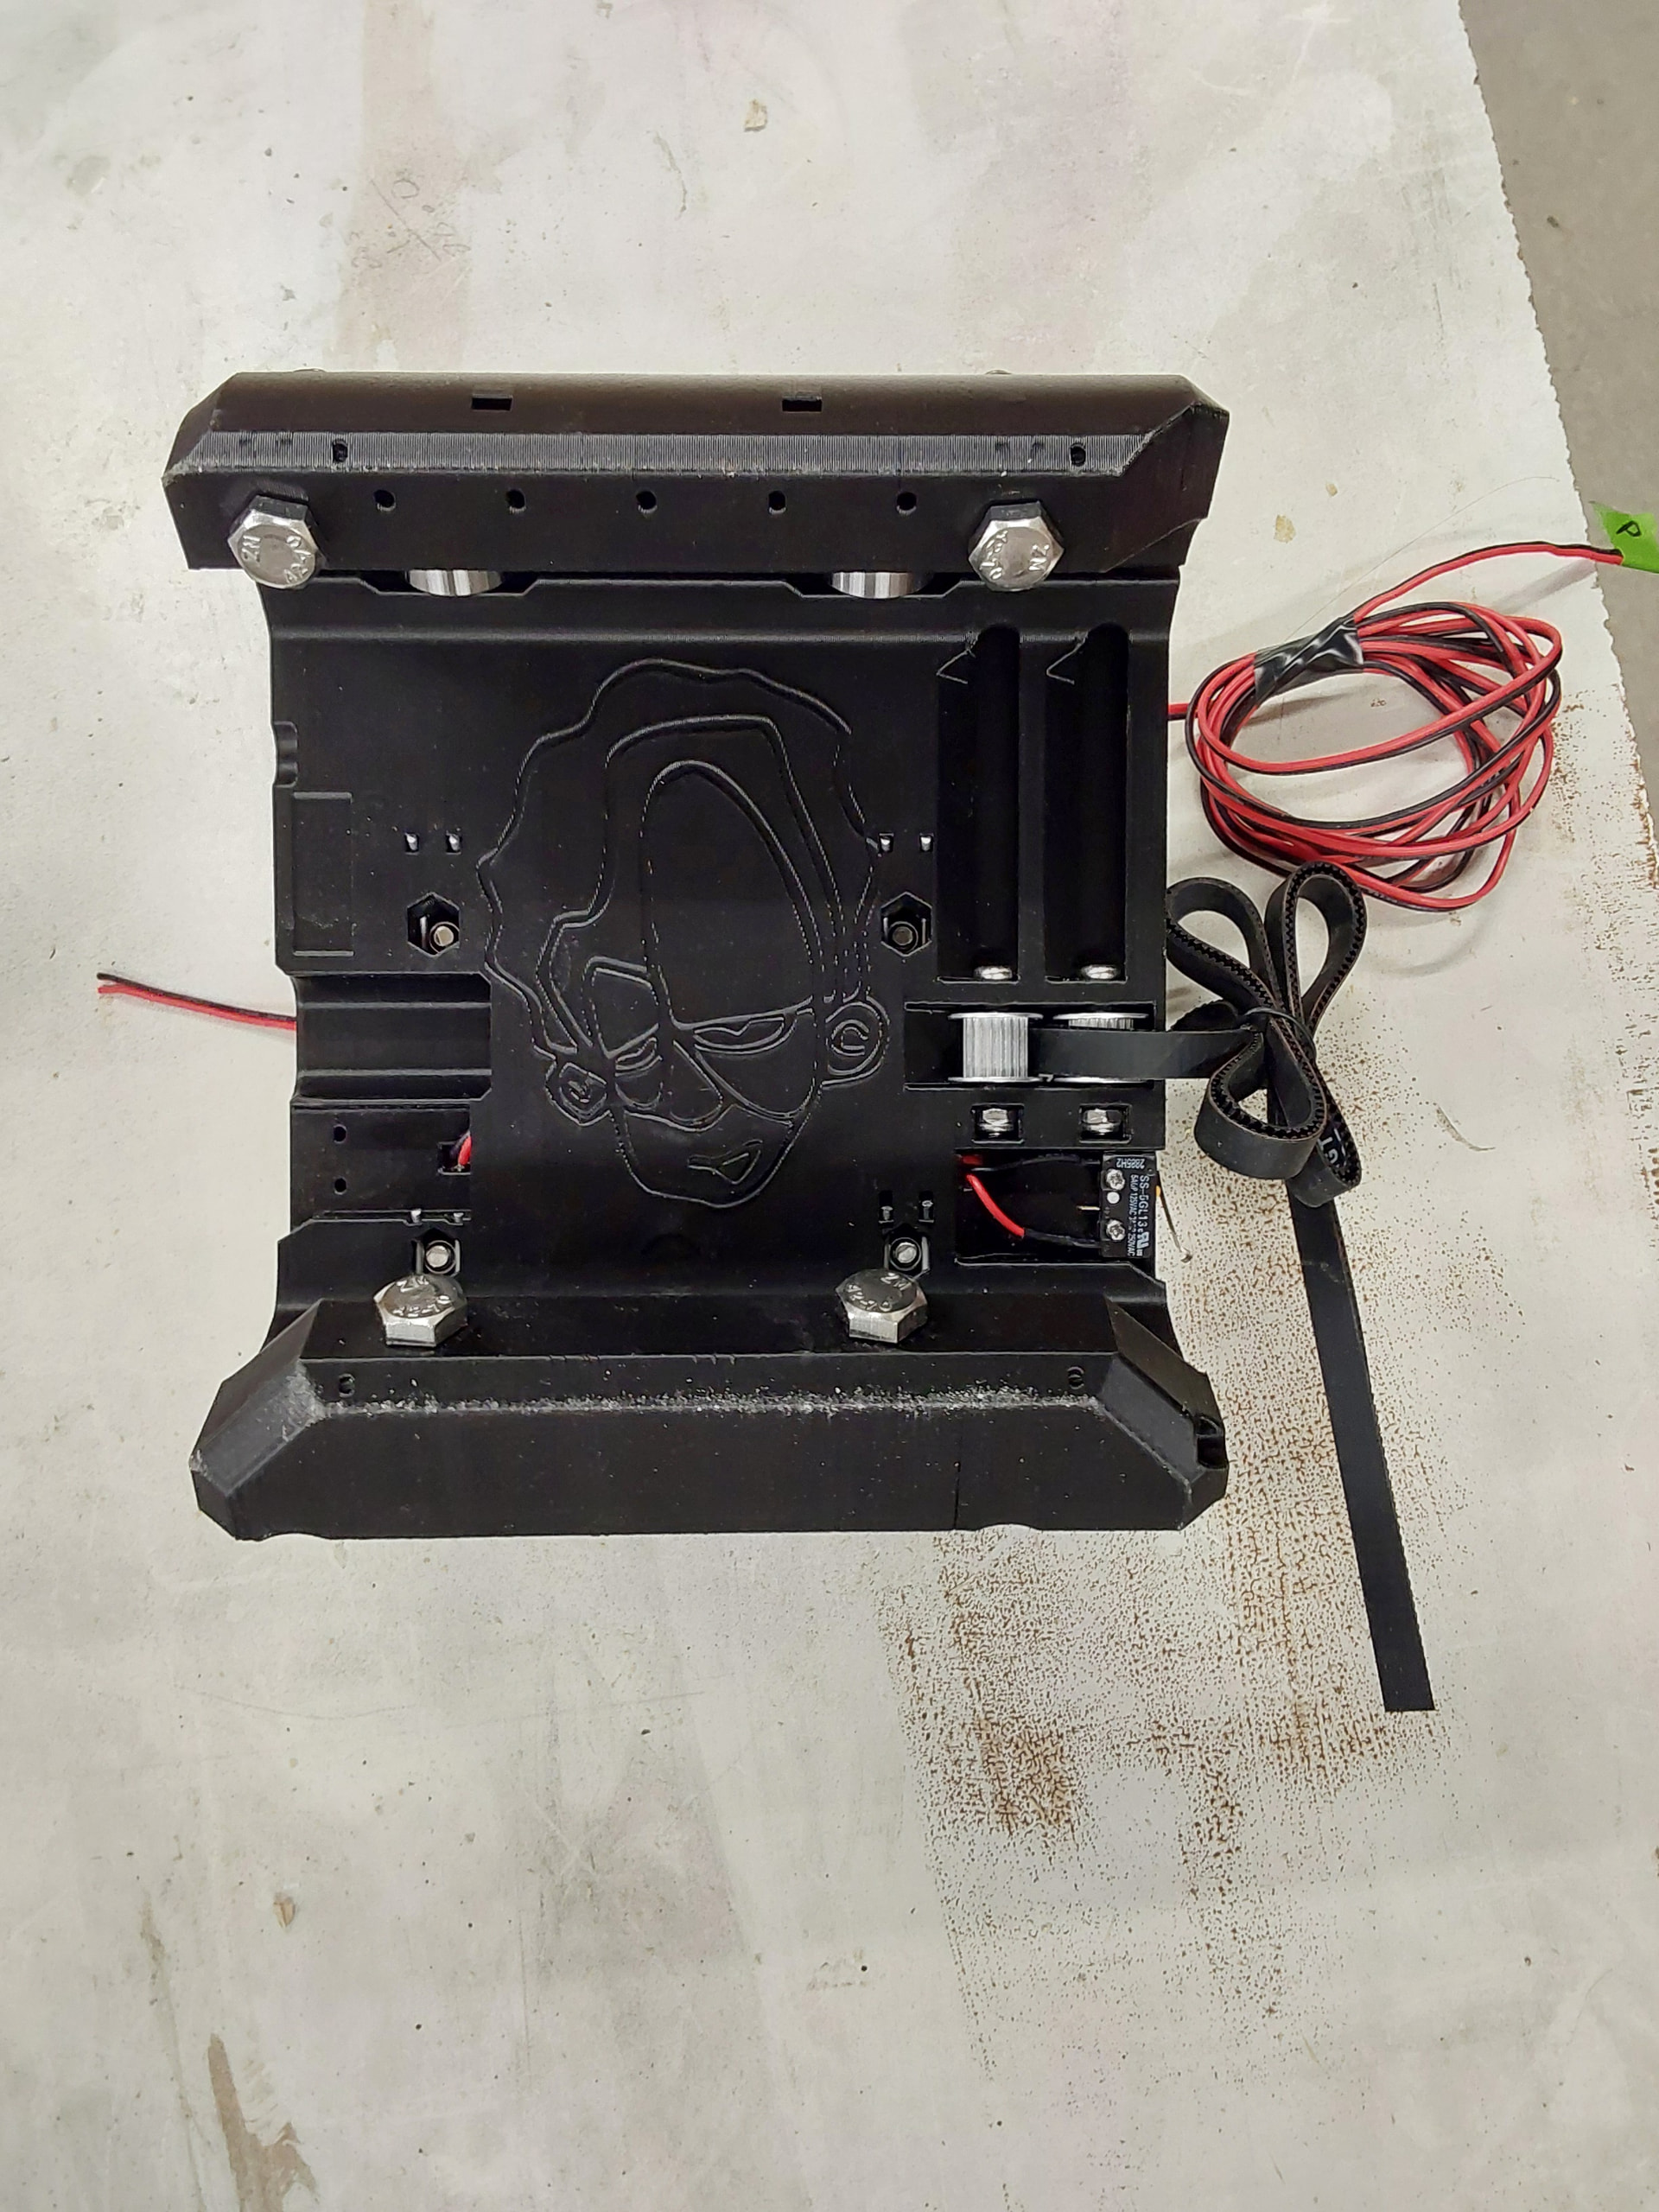
So here is the progress so far. Take a look and tell me if something is messed up.
It looks good! Your build makes me want to start my LR4 build.
Looking good so far. I had to really zoom in on the first picture to find the end stop… but it’s there and in the right spot. I got mine wrong when I first built it. Now it’s the first thing I look for
1 Like
Good. I guess it’s conduit day. Thanks for looking.
1 Like
Next question. On the heel toe measurement for the gantry, I’m out 1mm. Is this close enough or should I see if I can get it perfect? Cut plug and filterr off power supply wire?
Yes, that’s close enough in my opinion.
2 Likes
Thanks for replying.
You do realize that you just Jenkined yourself the weather will be perfect till the day you decide to go for it 

1 Like
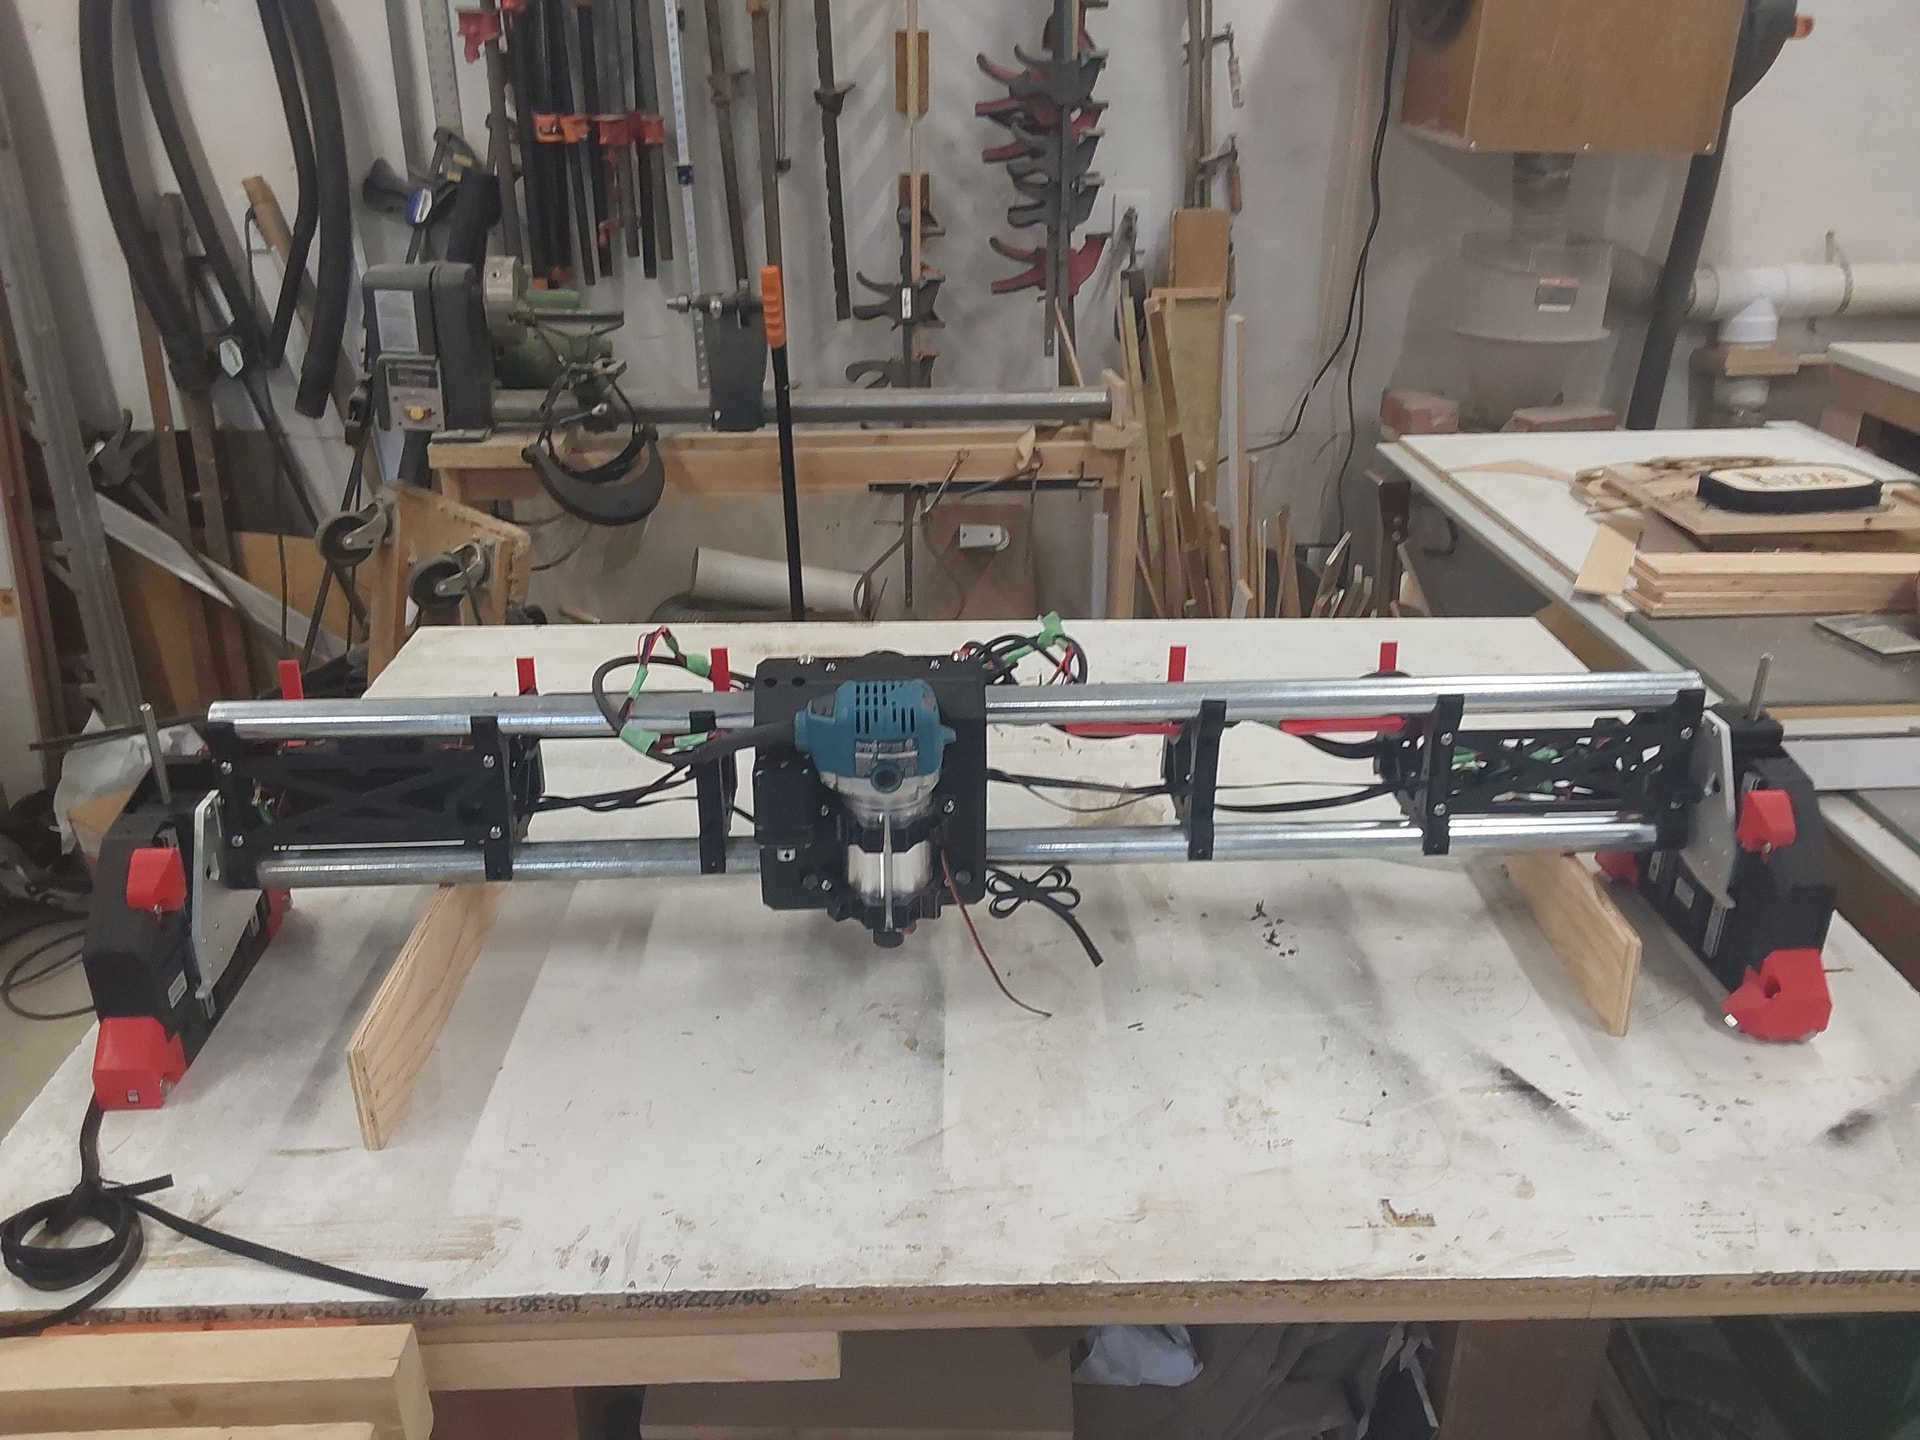
Well I got gantry finished. That went surprising well. The Z travels with easy. And built my torsion box table top. The pivoting base will have to wait till another rain delay.
4 Likes
I received 2 heat sinks but have no idea where they go. I’ve found pictures showing 5 or 6, but not 2?
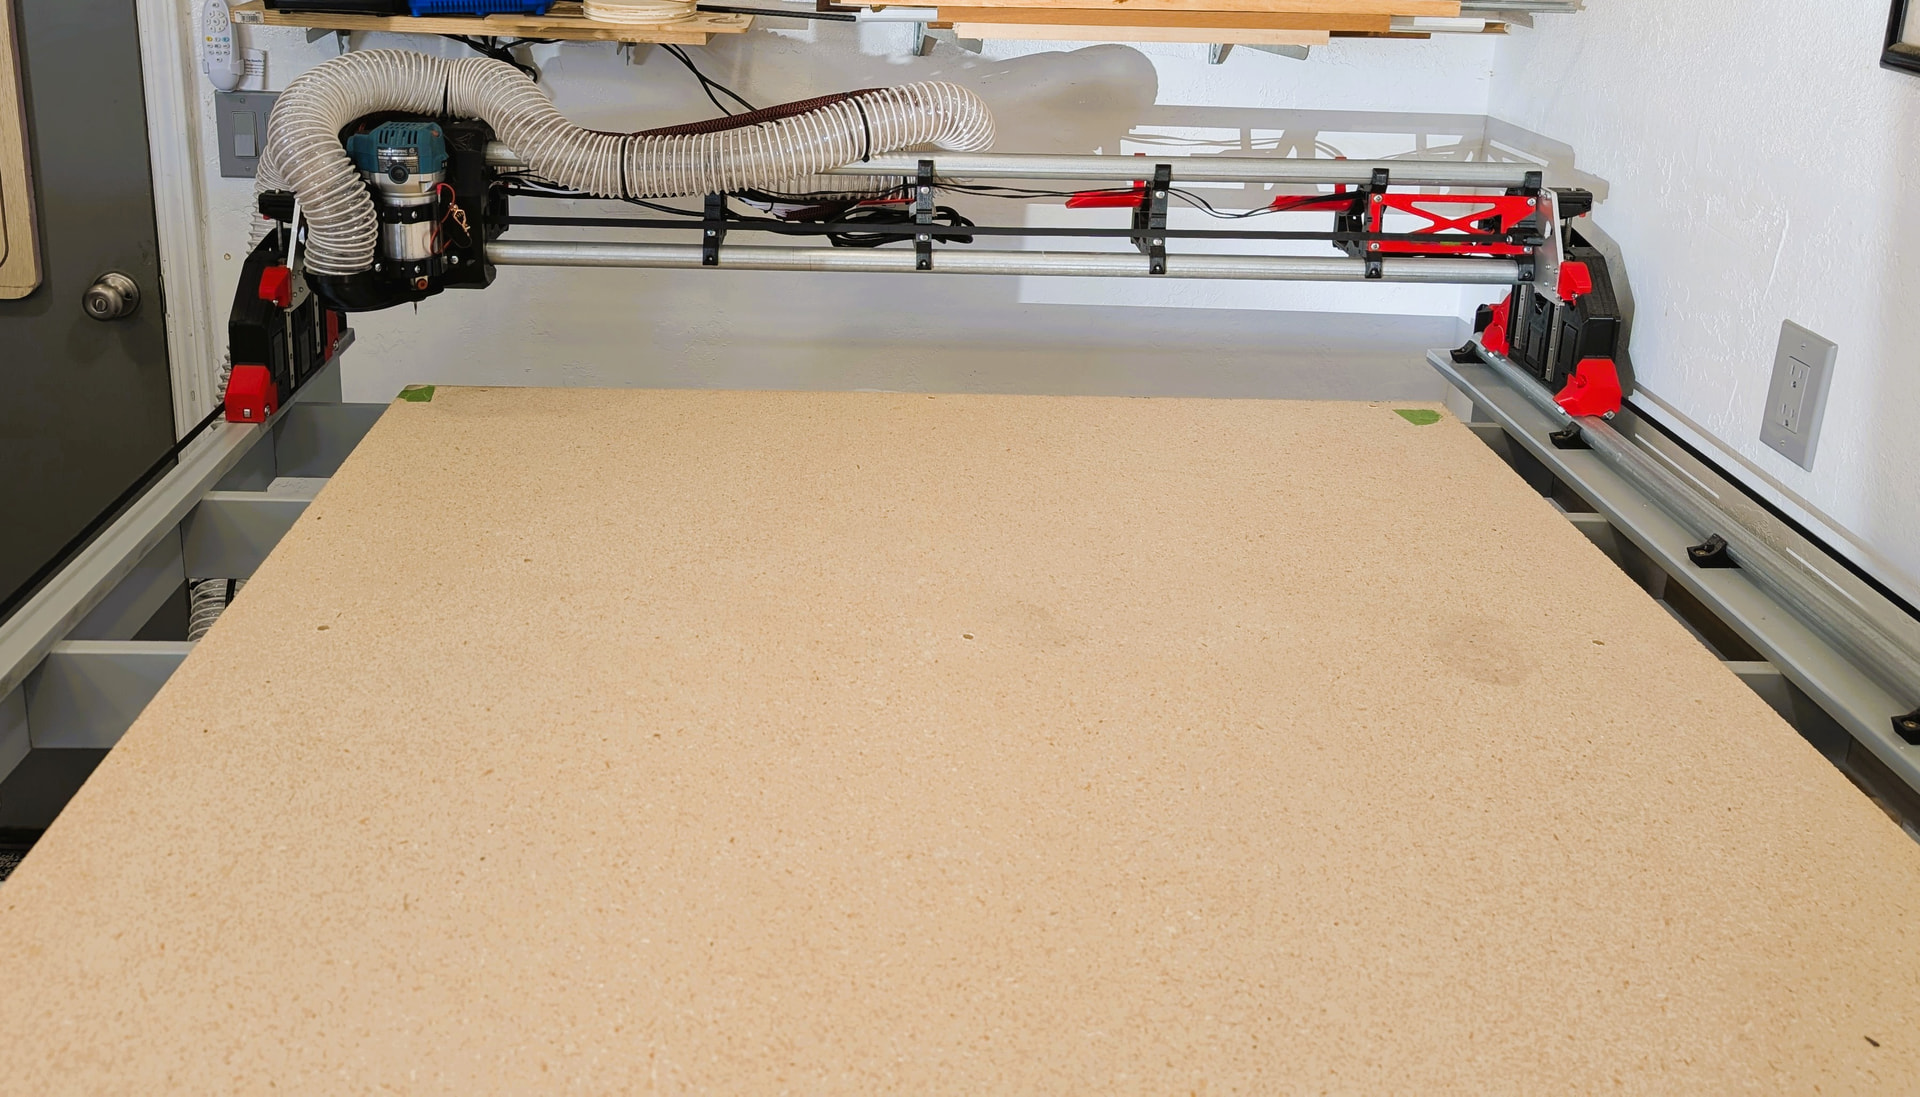
It’s not wrong, so don’t take this as me saying it is. But the control box usually goes on the other side. What made you pick that location? I really don’t think it matters at all, so whatever works for you. I’m just curious what led you that way. I’m investigating less standard options for my machine as well and my reason is aluminum bits flying
Hi, I was just following the docs pages and that was where he has it located. I don’t know that matters either. I just followed the yellow brick road route as they say.
@Swayze You put the control box on the correct side. When looking at the LR4 from the front it should be to the left as pictured in the docs.
1 Like
Thanks for the feed back.
1 Like
Well it’s built and I can drive it around. Woo hoo. It wouldn’t probe though. I assume you just hit the probe button on the fluid NC page. When I did, nothing happened. I could see it going through commands on the console but the z never moved. I did touch the plate to the bit after waiting about 30seconds, and that got it to show a probe success on the screen.
I also did not have the sd card in it or a file to cut so maybe that’s why?
But that’s a success in my books. Unfortunately we’re going to the lake tomorrow so my playing is on pause.
1 Like
I apologize in advance because it’s going to sound like a stupid question.
Did it not move or did it move insanely slow? I think out of the box the probe speed is 20mm/ MINUTE. Meaning it takes almost 5 minutes to probe from home.
Not a stupid question and your probably right. I think that’s what it’s set at. What’s a good number for z lowering?
Honestly, slower is better for that. The trick is to jog the machine down closer to the surface, THEN hit jog. If it only has 10mm to travel instead of 100, it’s 1/10th the time taken but doesn’t risk a less accurate measurement. Jog speeds are much faster than probe speeds because the machine is just moving. Not trying to do anything else. Probe speeds are low because it wants the highest resolution possible for the most accurate measurement.
The numbers I’ve been using are all examples. When I’m initially touching, I personally move the machine to the location I want my zero at. So the corner of the material for example. I will barely touch the surface without the probe of the bit spinning. This is is kinda like creating a rough draft of the zero. Then I’ll bump the z up 10mm and probe from there. That is my soft zero for that specific job. Everything gets referenced from there.
Thanks again. Checked it this morning and bumped up the speed a little and all was good.