V1E.com Forum
Texas Primo (Upgrading a part Burly/part 525)
Mostly Printed CNC - MPCNC
Your Builds
Bigchepin
(Gato)
July 11, 2020, 4:37pm
159
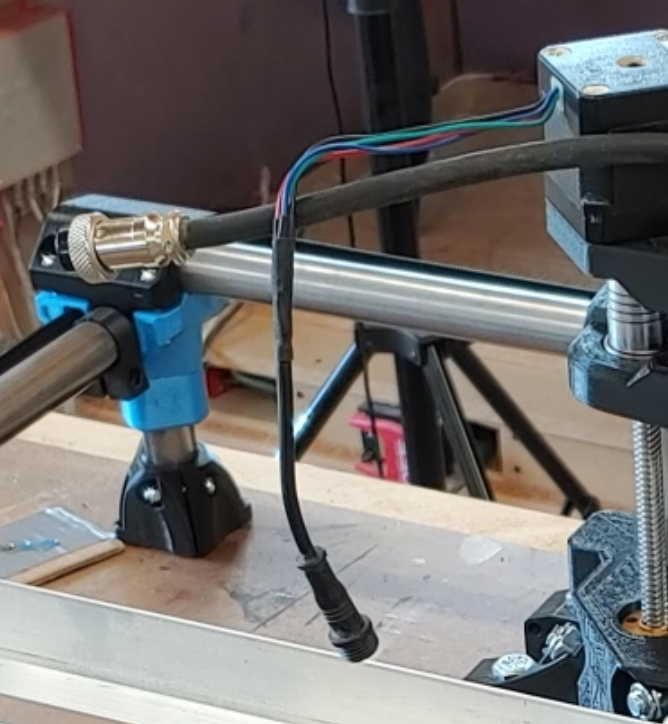
@niget2002
Can you share a link to the quick disconnect connectors you’re using?
image
668×724 329 KB
Strip down the dewalt 660?
show post in topic