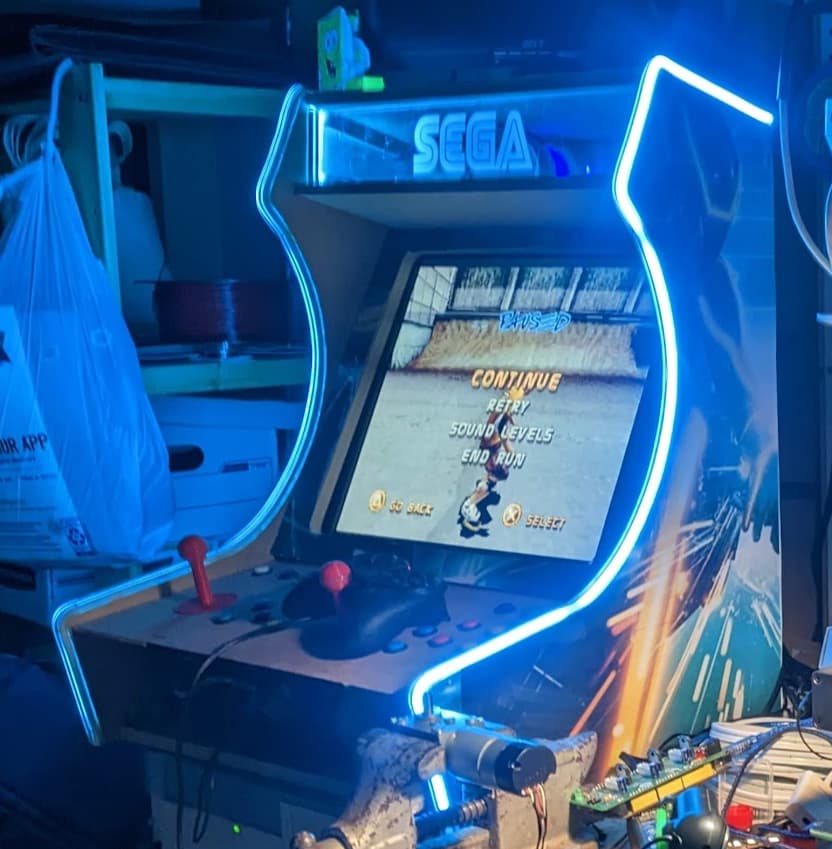
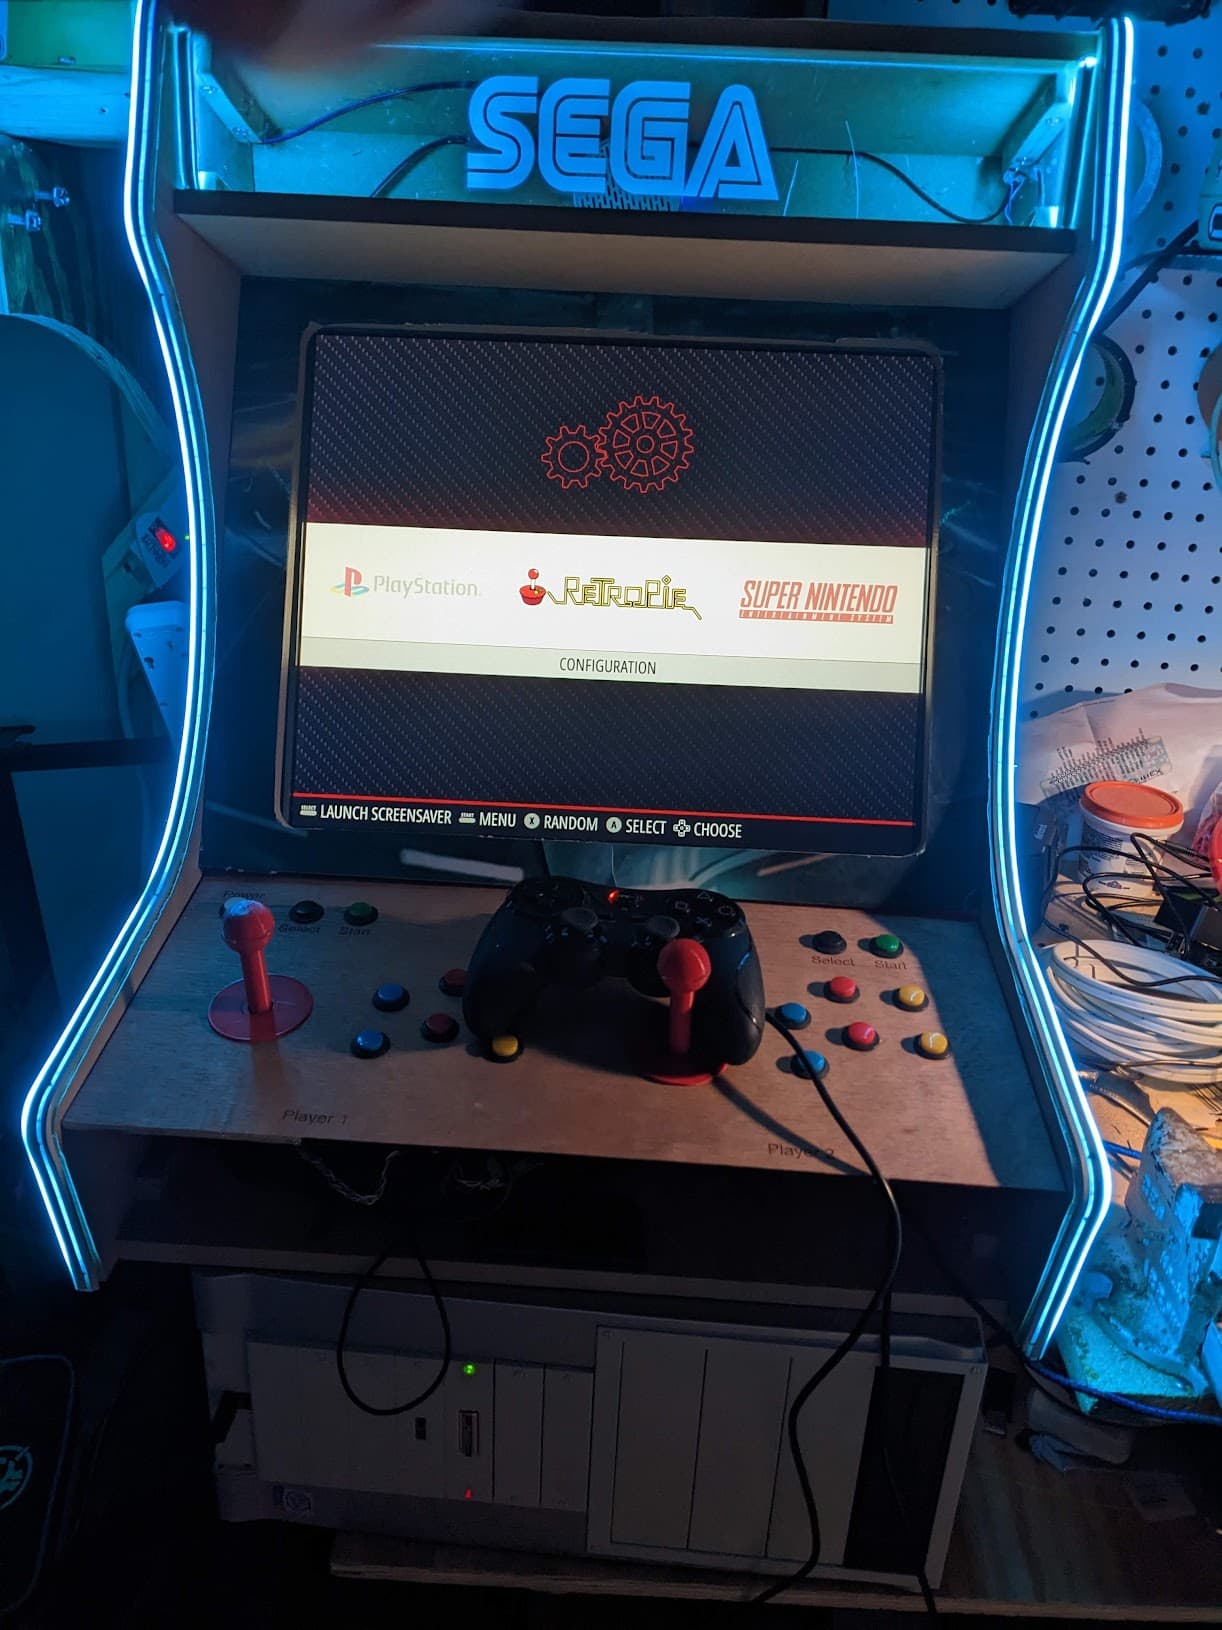
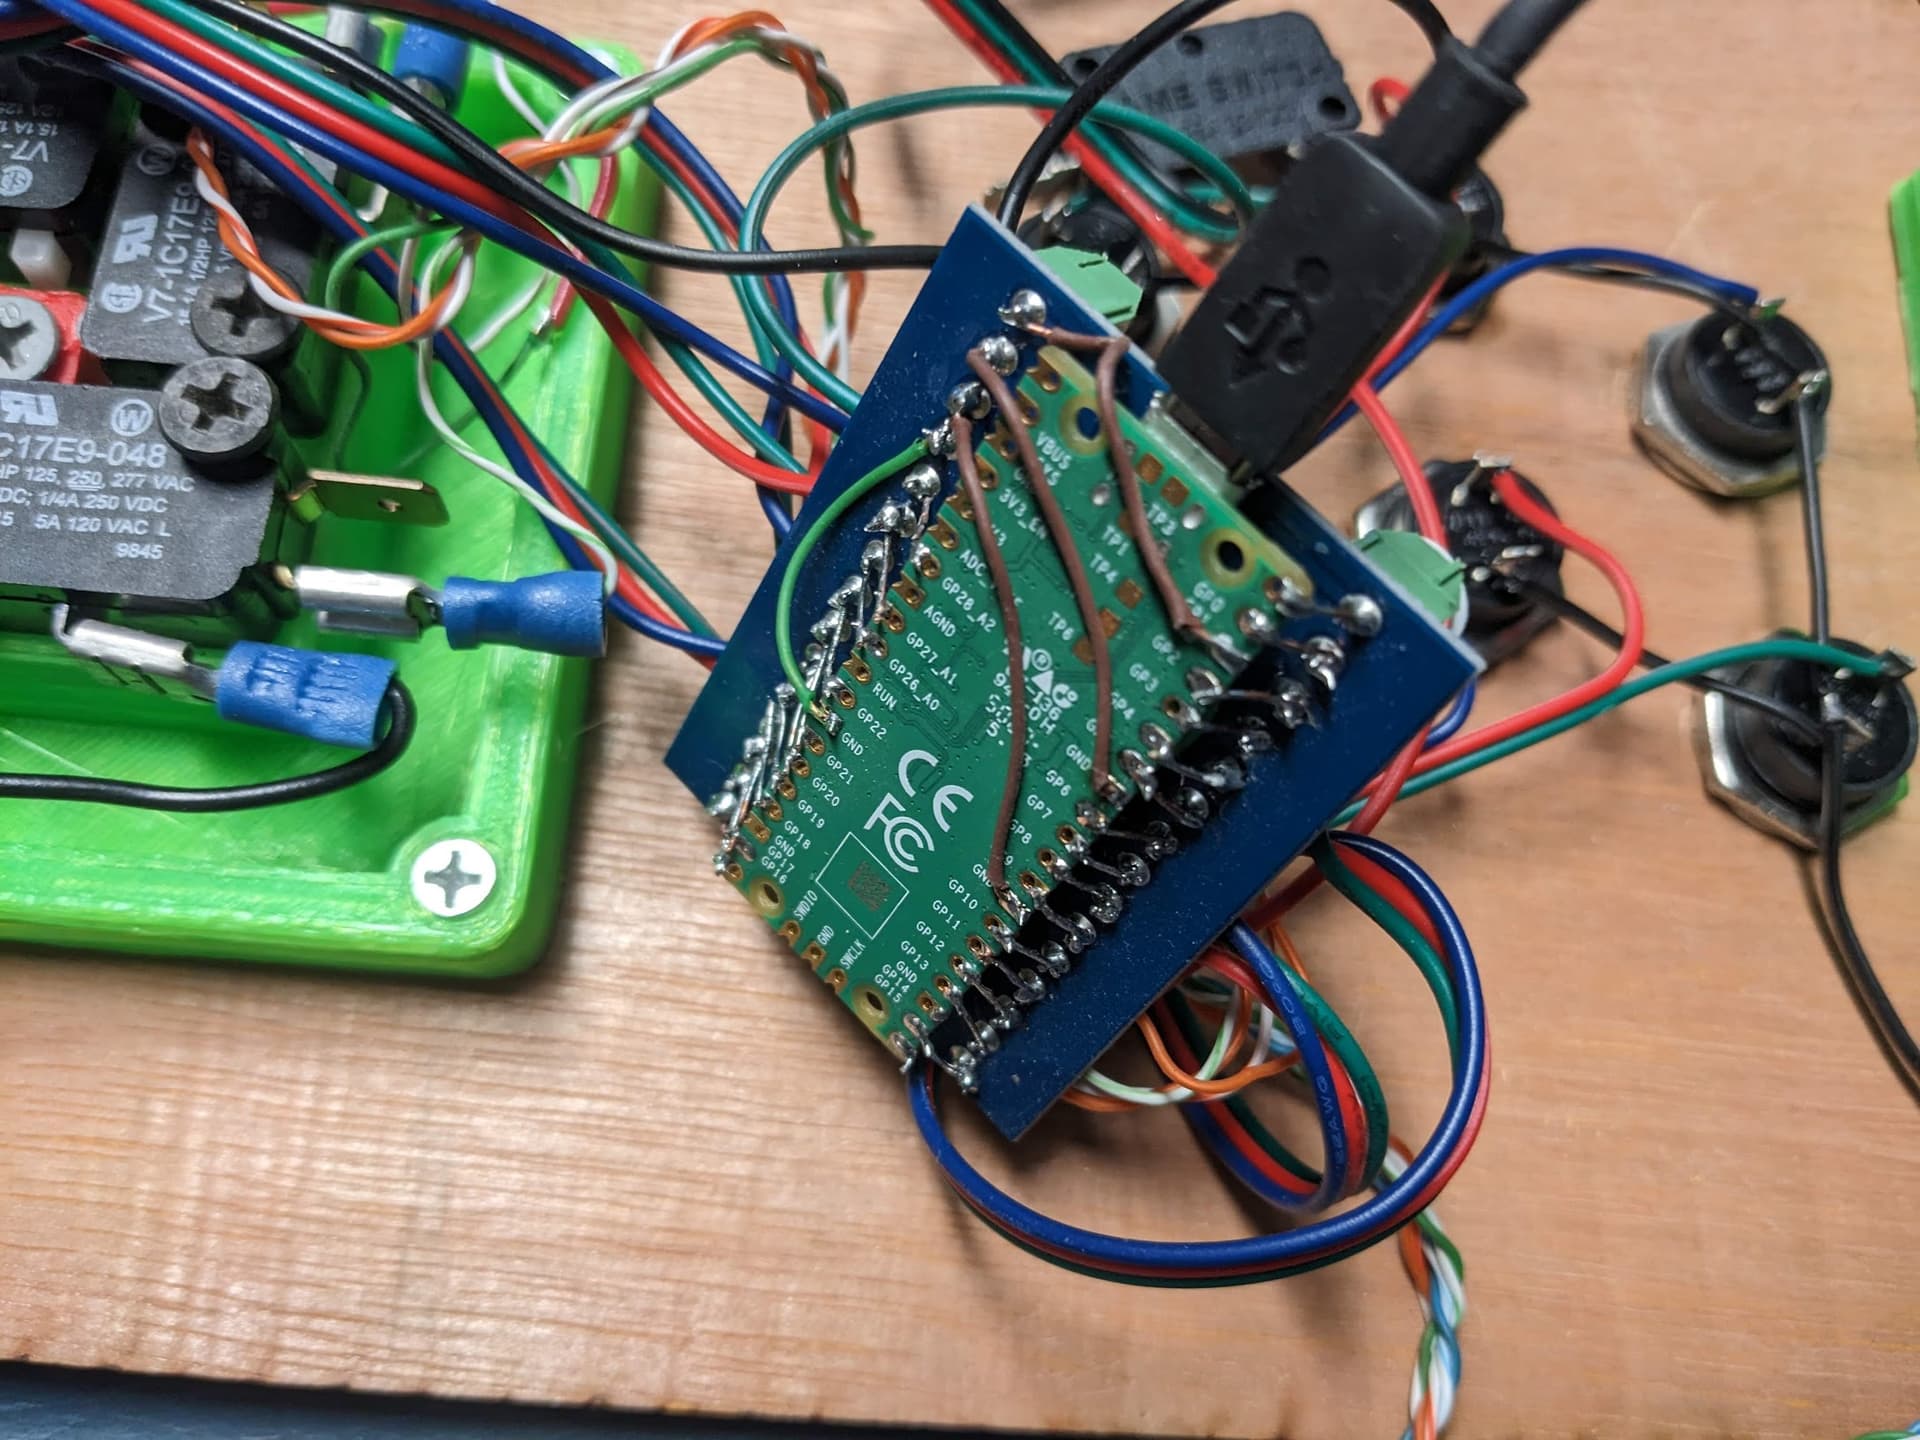
In case anyone wants, I harvested some micropython code examples and customized it for the 3d printed joystick and buttons to run on the pi pico that is powering the panel controls when not using the controller. I’m still working out how to get retroarch to recognize 2 different player controller on one keyboard device, but player 1 works well enough.
Here is the joystick 3d print model I used:
Bought the cheapest 1/2" buttons I could find. Not recommended, but they work. Tried 3d printing the buttons and using the ultra cheap mini buttons… did not work.
Button assignments
| Control button |
Player 1 |
Player 2 |
Mame name |
Default Mame key P1 |
| up |
w |
u |
up |
^ arrow |
| down |
s |
j |
down |
v |
| left |
a |
h |
left |
< |
| right |
d |
k |
right |
> |
| Upper blue |
3 |
8 |
Y (button name) |
|
| red |
4 |
9 |
X |
|
| yellow |
5 |
0 |
Right shoulder |
|
| Lower blue |
e |
i |
B |
ENTER |
| red |
r |
o |
A |
P |
| yellow |
t |
p |
R2 trigger |
|
| select |
f |
l |
COIN select 1/2 |
5 |
| start |
v |
. |
START 1/2 |
6 |
| special |
z |
z |
exit/play |
|
Micropython Code for pi pico
‘’’
Keyboard Emulator Using Maker Pi Pico and CircuitPython
References and credit to
Raspberry Pi Pico
Additional Libraries
. adafruit_hid
Update:
12 Feb 2021 . Tested with CircuitPython Pico 6.2.0-beta.2
import time
import board
import digitalio
import usb_hid
from adafruit_hid.keyboard import Keyboard
from adafruit_hid.keyboard_layout_us import KeyboardLayoutUS
from adafruit_hid.keycode import Keycode
A simple neat keyboard demo in CircuitPython
modified for an arcade control cabinet.
#keyboard 1 IO is for player 1
#keyboard 2 IO is for player 2
The pins we’ll use, each will have an internal pullup
#this list is for the IO Pins
keypress1_pins = [
board.GP0, # up P1
board.GP1, # down P1
board.GP2, # left P1
board.GP10, # right P1
board.GP7, # upper blue P1 (Y)
board.GP9, # upper red P1 (X)
board.GP8, # upper yellow P1 (R)
board.GP4, # lower blue P1 (B)
board.GP5, # lower red P1 (A)
board.GP6, # lower yellow P1 (R2)
board.GP11, # select / coin P1
board.GP28, # O Start P1
board.GP22, # play / menu (special key)
]
#this list is for the keys that are pressed for the corresponding pins above
keys1_pressed = [
Keycode.W,
Keycode.S,
Keycode.A,
Keycode.D,
Keycode.THREE,
Keycode.FOUR,
Keycode.FIVE,
Keycode.E,
Keycode.R,
Keycode.T,
Keycode.F,
Keycode.V,
Keycode.Z,
]
#this is for the keys in the queue that are actually pressed
key1_pin_array =
#player two io, then keys, then the array
keypress2_pins = [
board.GP12, # up P2
board.GP13, # down P2
board.GP14, # left P2
board.GP15, # right P2
board.GP19, # upper blue P2 (X)
board.GP20, # upper red P2 (Y)
board.GP21, # upper yellow P2 (R)
board.GP16, # lower blue P2 (B)
board.GP17, # lower red P2 (A)
board.GP18, # lower yellow P2 (R2)
board.GP26, # , select/coin P2
board.GP27 # . start P2
]
keys2_pressed = [
Keycode.U,
Keycode.J,
Keycode.H,
Keycode.K,
Keycode.EIGHT,
Keycode.NINE,
Keycode.ZERO,
Keycode.I,
Keycode.O,
Keycode.P,
Keycode.L,
Keycode.PERIOD
]
key2_pin_array =
#control_key = KeyCode.
The keyboard object!
time.sleep(1) # Sleep for a bit to avoid a race condition on some systems
keyboard1 = Keyboard(usb_hid.devices)
keyboard2 = Keyboard(usb_hid.devices)
keyboard1_layout = KeyboardLayoutUS(keyboard1) # We’re in the US ..
keyboard2_layout = KeyboardLayoutUS(keyboard2)
Make all pin objects inputs with pullups
for pin in keypress1_pins:
key1_pin = digitalio.DigitalInOut(pin)
key1_pin.direction = digitalio.Direction.INPUT
key1_pin.pull = digitalio.Pull.UP
key1_pin_array.append(key1_pin)
for pin in keypress2_pins:
key2_pin = digitalio.DigitalInOut(pin)
key2_pin.direction = digitalio.Direction.INPUT
key2_pin.pull = digitalio.Pull.UP
key2_pin_array.append(key2_pin)
For most CircuitPython boards:
control_key = 0
last_pressed1 = 0
this_pressed1 = 0
last_pressed2 = 0
this_pressed2 = 0
while True:
# Check each pin
# build a bit array of the port status…
#if grounded, put in a 1, if not put in a 0 for activated button
i = 0
for key1_pin in key1_pin_array:
if not (key1_pin.value) and not (last_pressed1 & 1<<i): #not value means grounded… pin press, not in last pressed array
this_pressed1 |= 1<<i # set array value
keyboard1.press(keys1_pressed[i])
if (last_pressed1 & 1<<i and key1_pin.value):
this_pressed1 = 0<<i
keyboard1.release(keys1_pressed[i])
i = i + 1
last_pressed1 = this_pressed1
i = 0
for key2_pin in key2_pin_array:
if not (key2_pin.value) and not (last_pressed2 & 1<<i): #not value means grounded… pin press, not in last pressed array
this_pressed2 |= 1<<i # set array value
keyboard2.press(keys2_pressed[i])
if (last_pressed2 & 1 << i and key2_pin.value):
this_pressed2 = 0<<i
keyboard2.release(keys2_pressed[i])
i = i+1
last_pressed2 = this_pressed2
time.sleep(0.01)
‘’’
[details="Retroarch.cfg in configs/all had to be modified for the emulated keyboard to work’]
‘’’
Keyboard input. Will recognize letters (“a” to “z”) and special/keypad keys):
(removed for brevity)
Keyboard input, Joypad and Joyaxis will all obey the “nul” bind,
rather than relying on a default.
input_player1_a = “r”
input_player1_b = “e”
input_player1_y = “num3”
input_player1_x = “num4”
input_player1_start = “v”
input_player1_select = “f”
input_player1_l = “num5”
input_player1_r = “t”
input_player1_left = “a”
input_player1_right = “d”
input_player1_up = “w”
input_player1_down = “s”
input_player1_l2 = nul
input_player1_r2 = nul
input_player1_l3 =
input_player1_r3 =
input_player2_a = “o”
input_player2_b = “i”
input_player2_y = “num8”
input_player2_x = “num9”
input_player2_start = “period”
input_player2_select = “l”
input_player2_l = “num0”
input_player2_r = “p”
input_player2_left = “h”
input_player2_right = “k”
input_player2_up = “u”
input_player2_down = “j”
input_player2_l2 = nul
#input_player2_r2 = nul
‘’’
[/details]
Here is the SVG for the laser cut control panel