Am I missing something or should I just secure my Y MDF (the one without tube/rail) a bit narrower? I will have a permanent screw on/off solution but it needs to be precise. Also, I bought the aluminium plates from Ryans “partner” in Germany and they state that the plates are 6 mm instead of V1e that is 6,5, but that is only total of 1 mm. I’m missing 8-10 mm
Also, where I live the sheets are standard 900 mm. I would really like to have that cutting area.
Would a alternate solution be to add washers between the YZ and the X-core (with longer screws and such)?
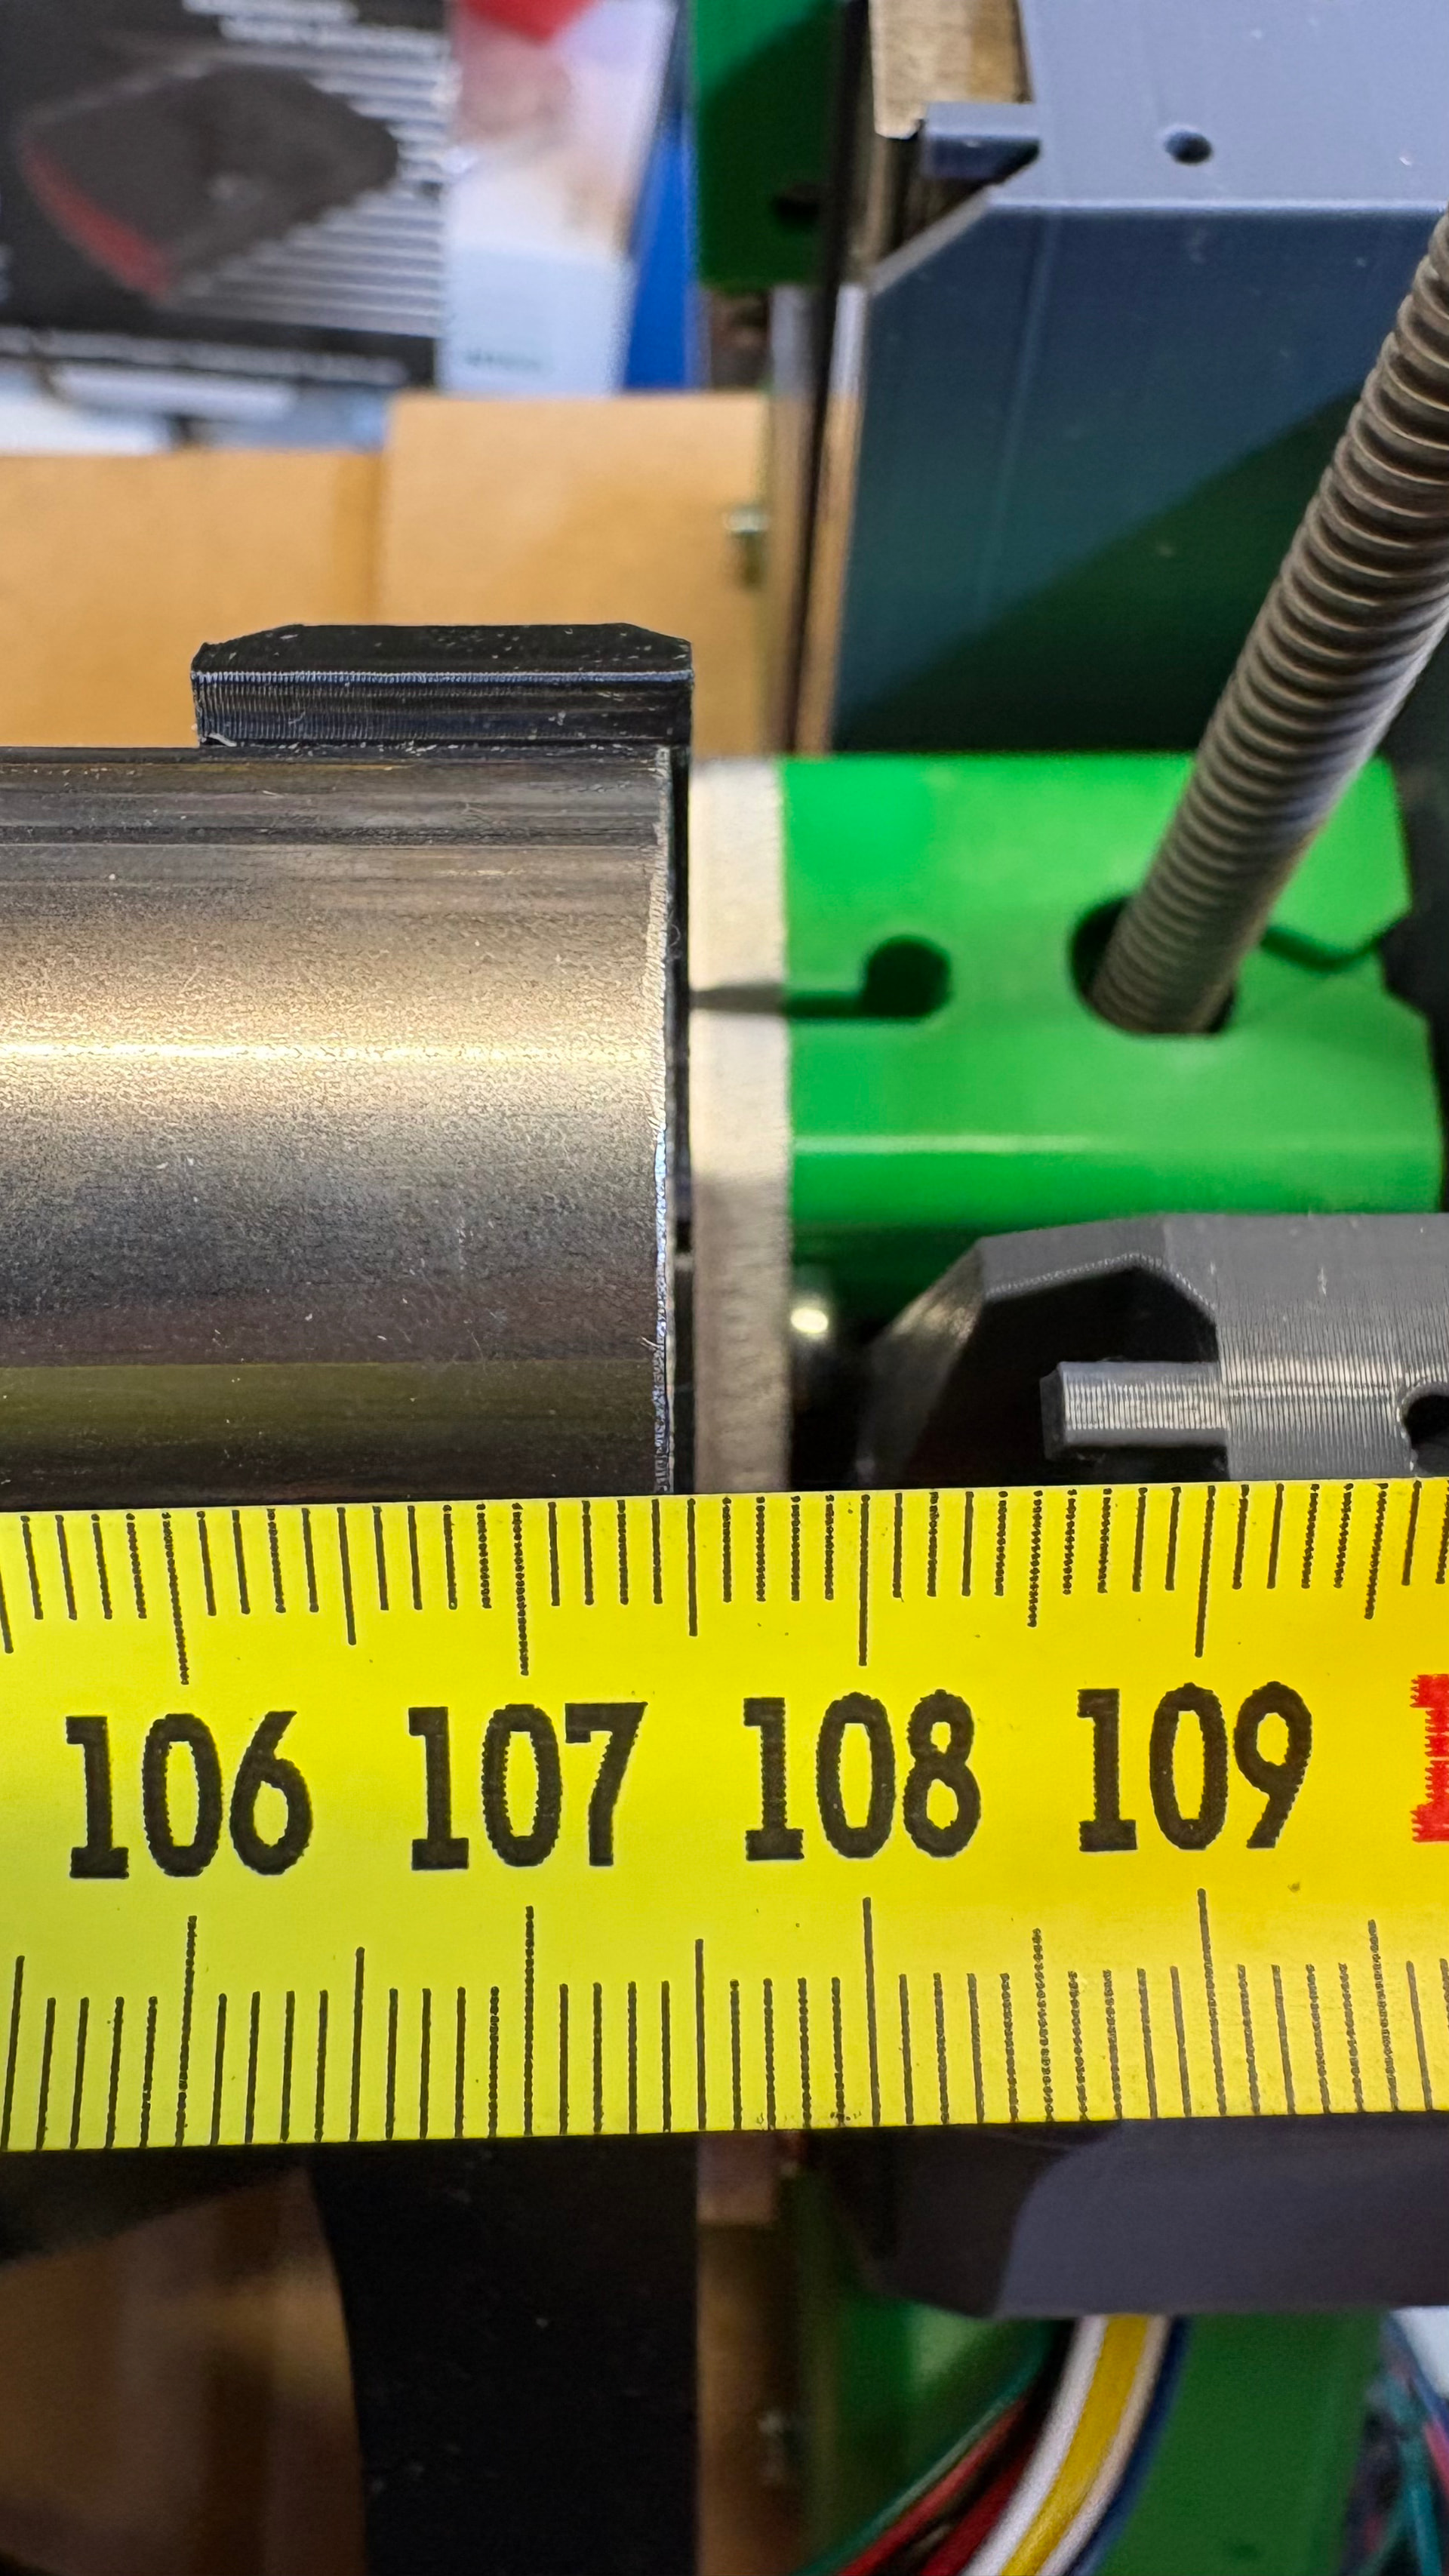
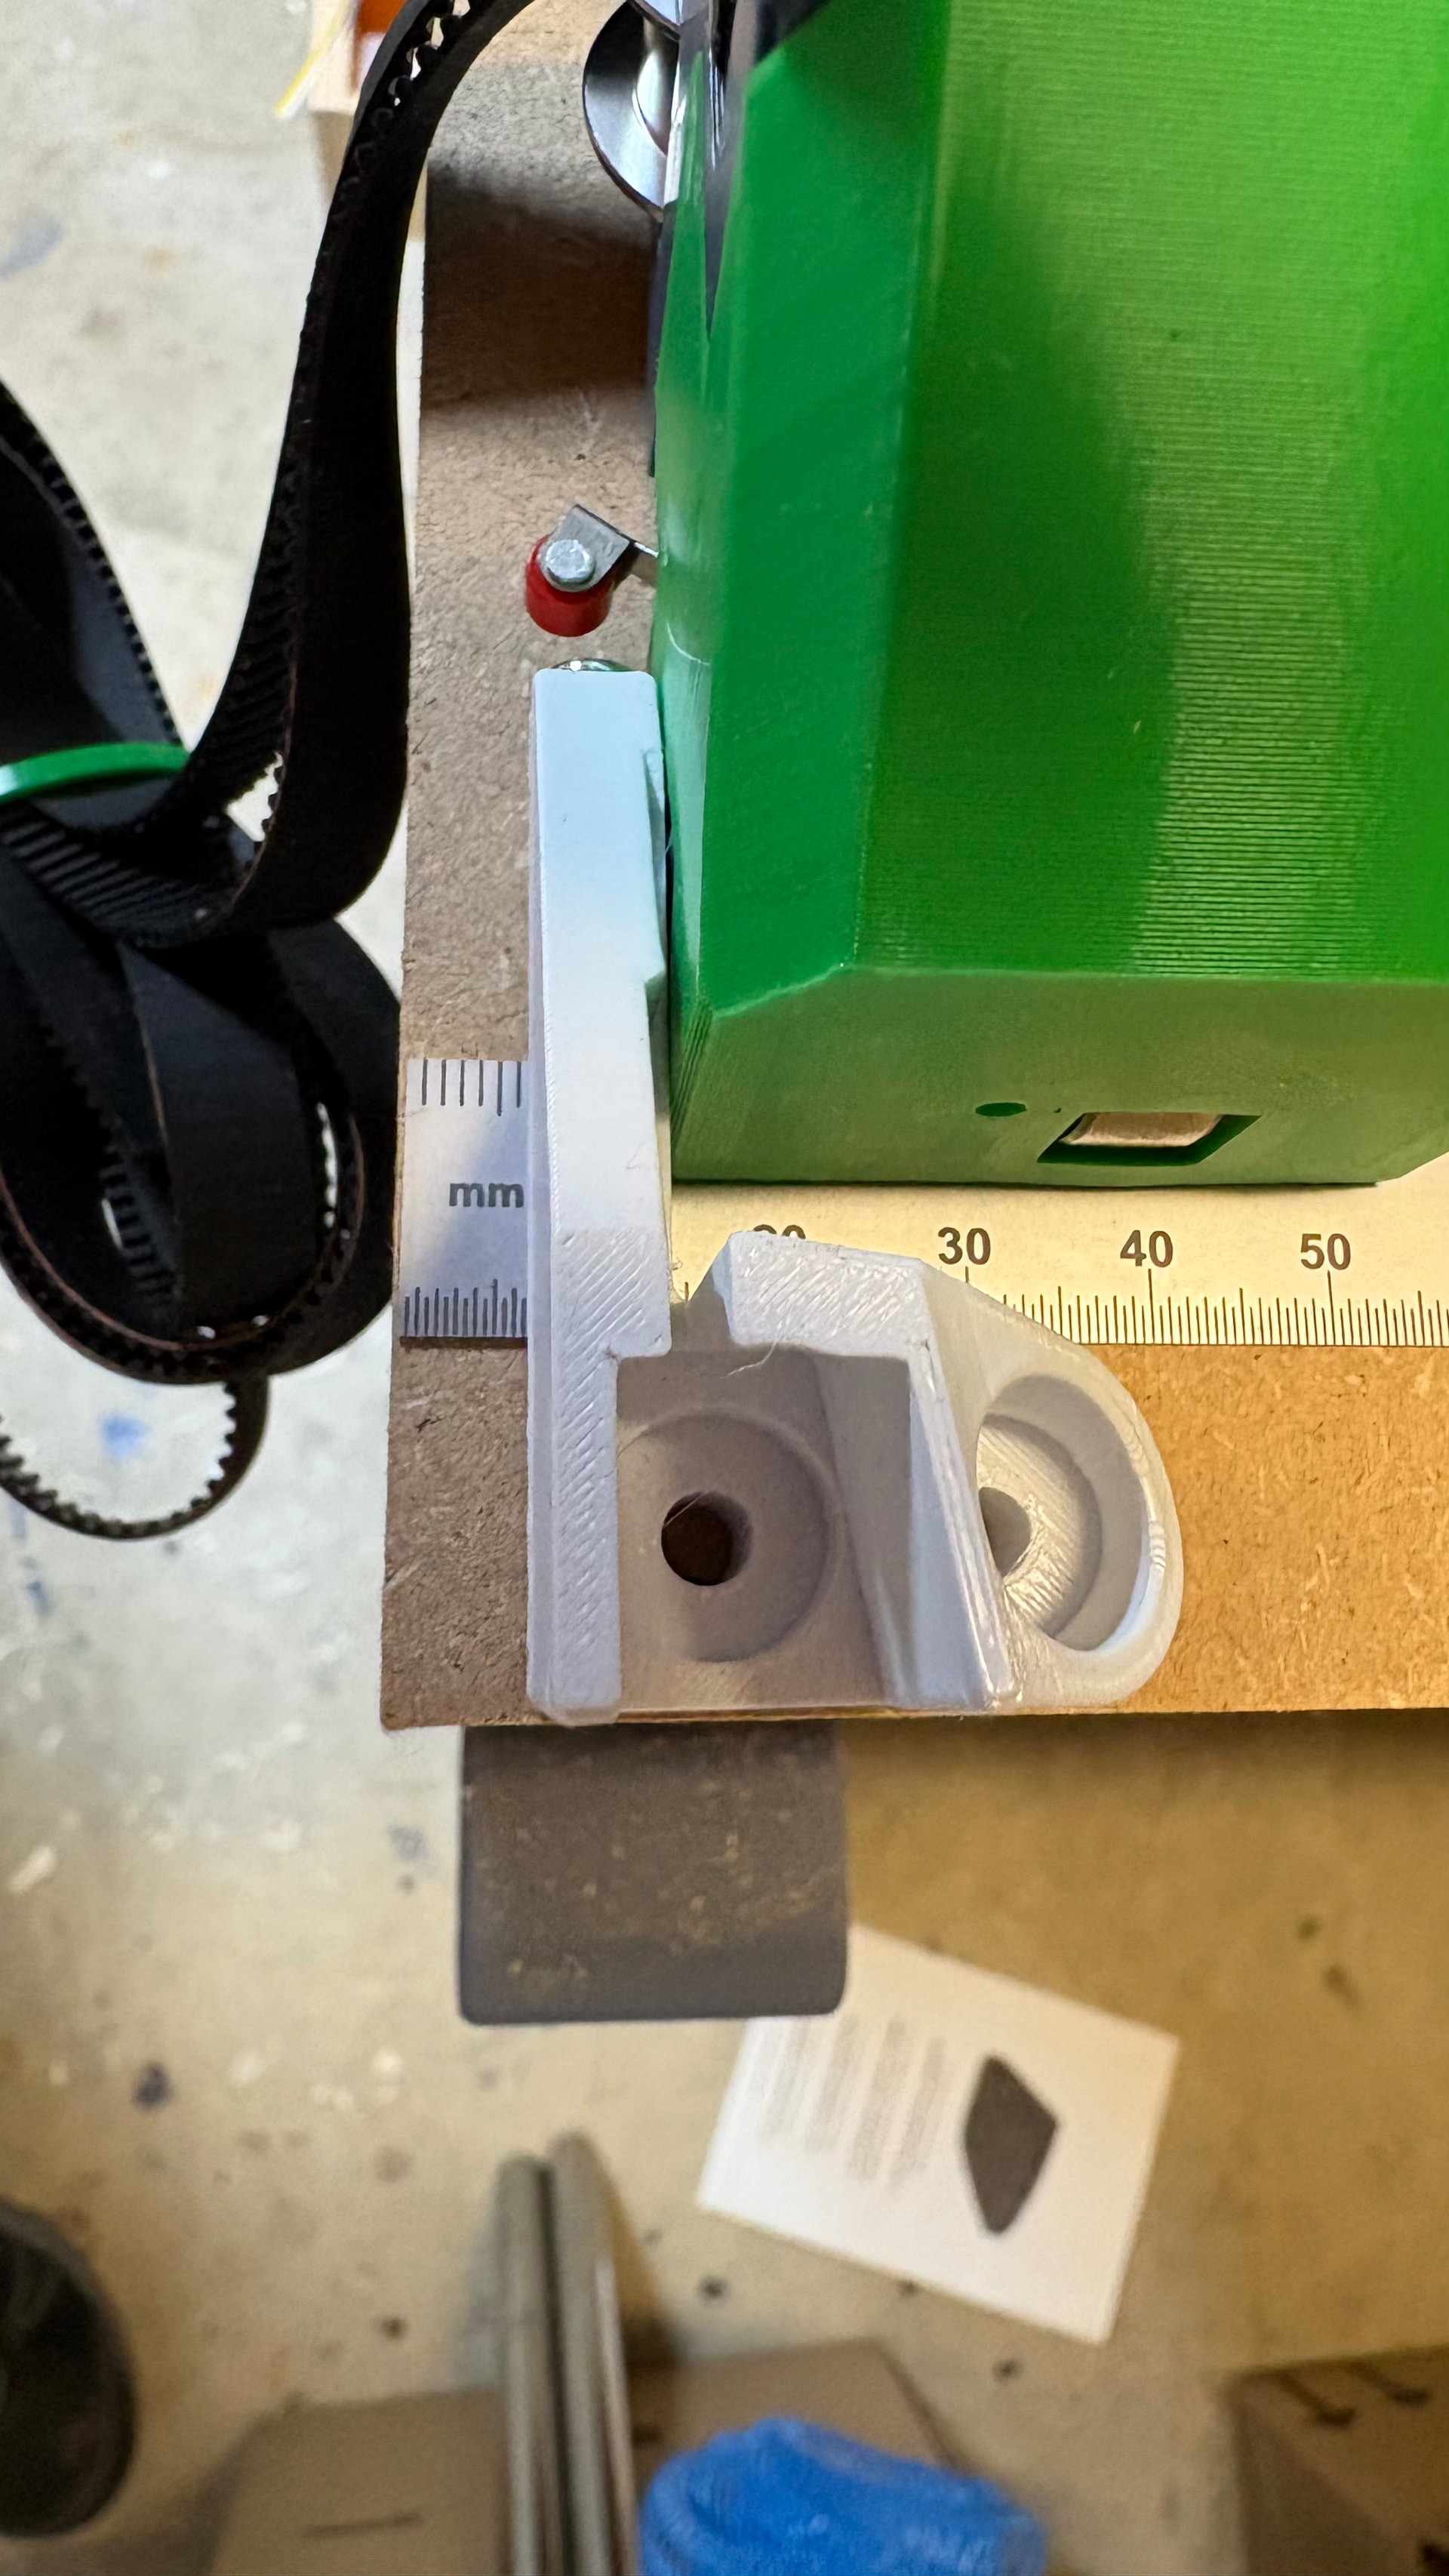
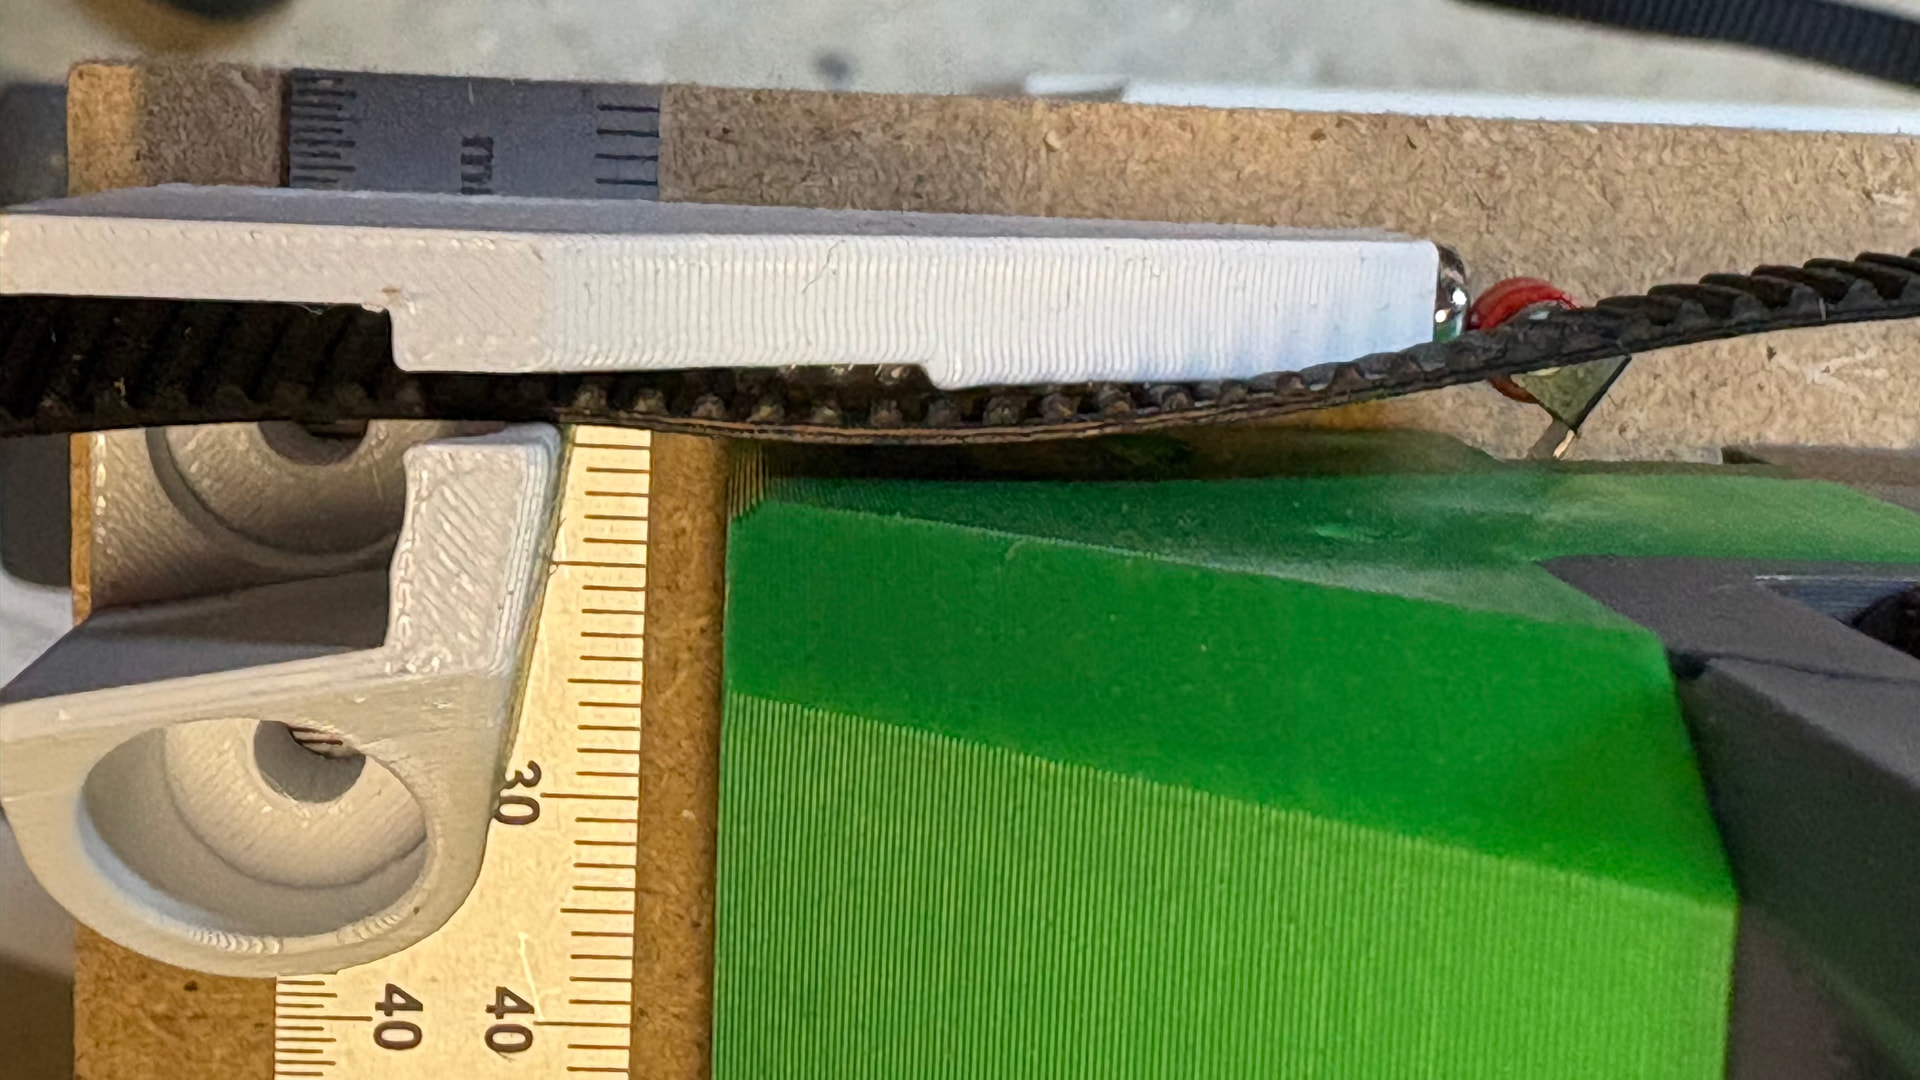
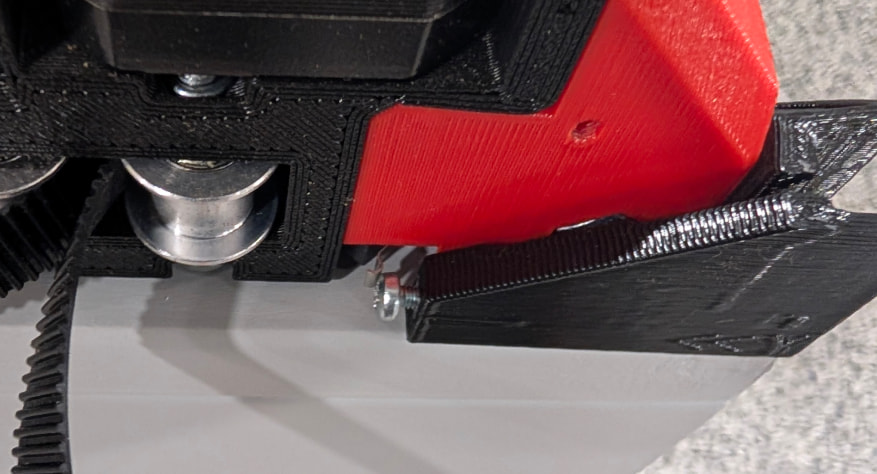
What is your measurement between YZ-0 and beltholder?
”Setting the Y min distance can be done from the calculator, or
Using a piece of belt on the table to set a one belt gap width, making sure your end to end brace gap is set to the calculated width so nothing changes when you add your strut plate.”
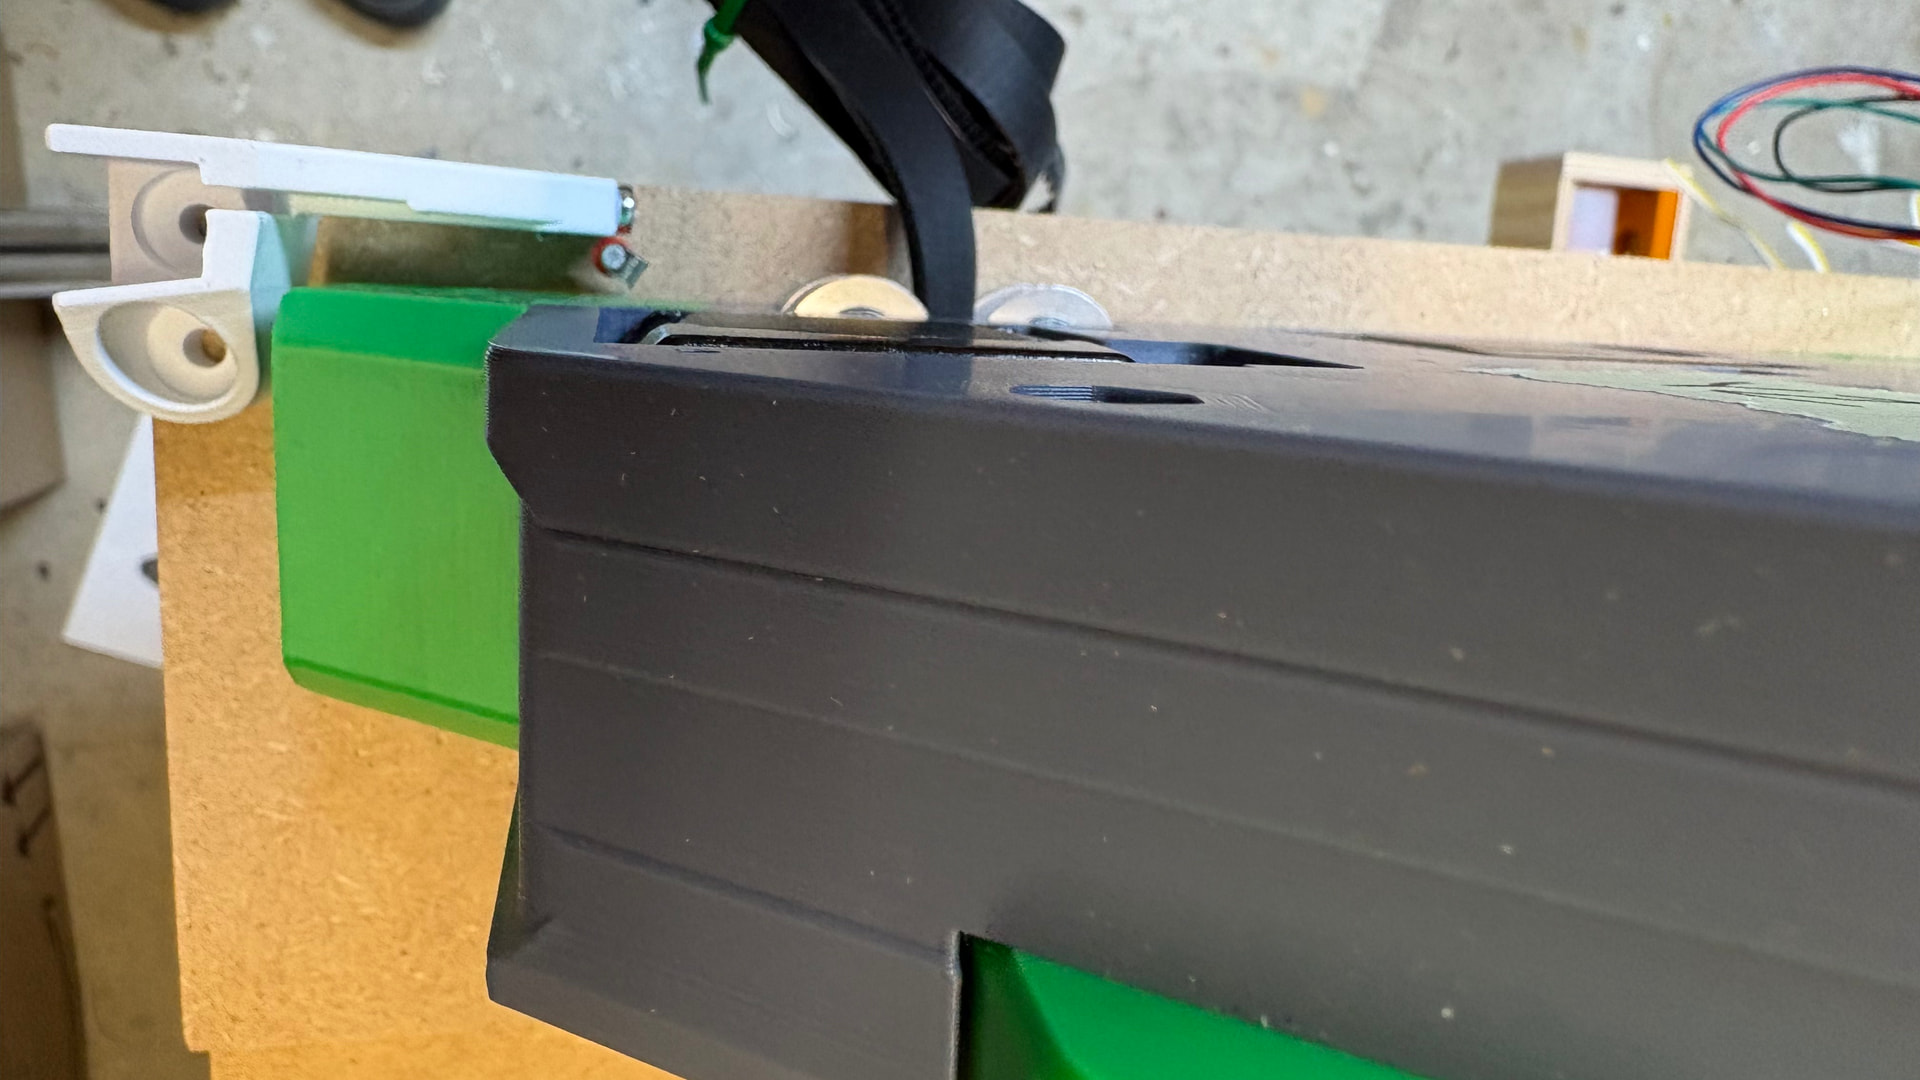
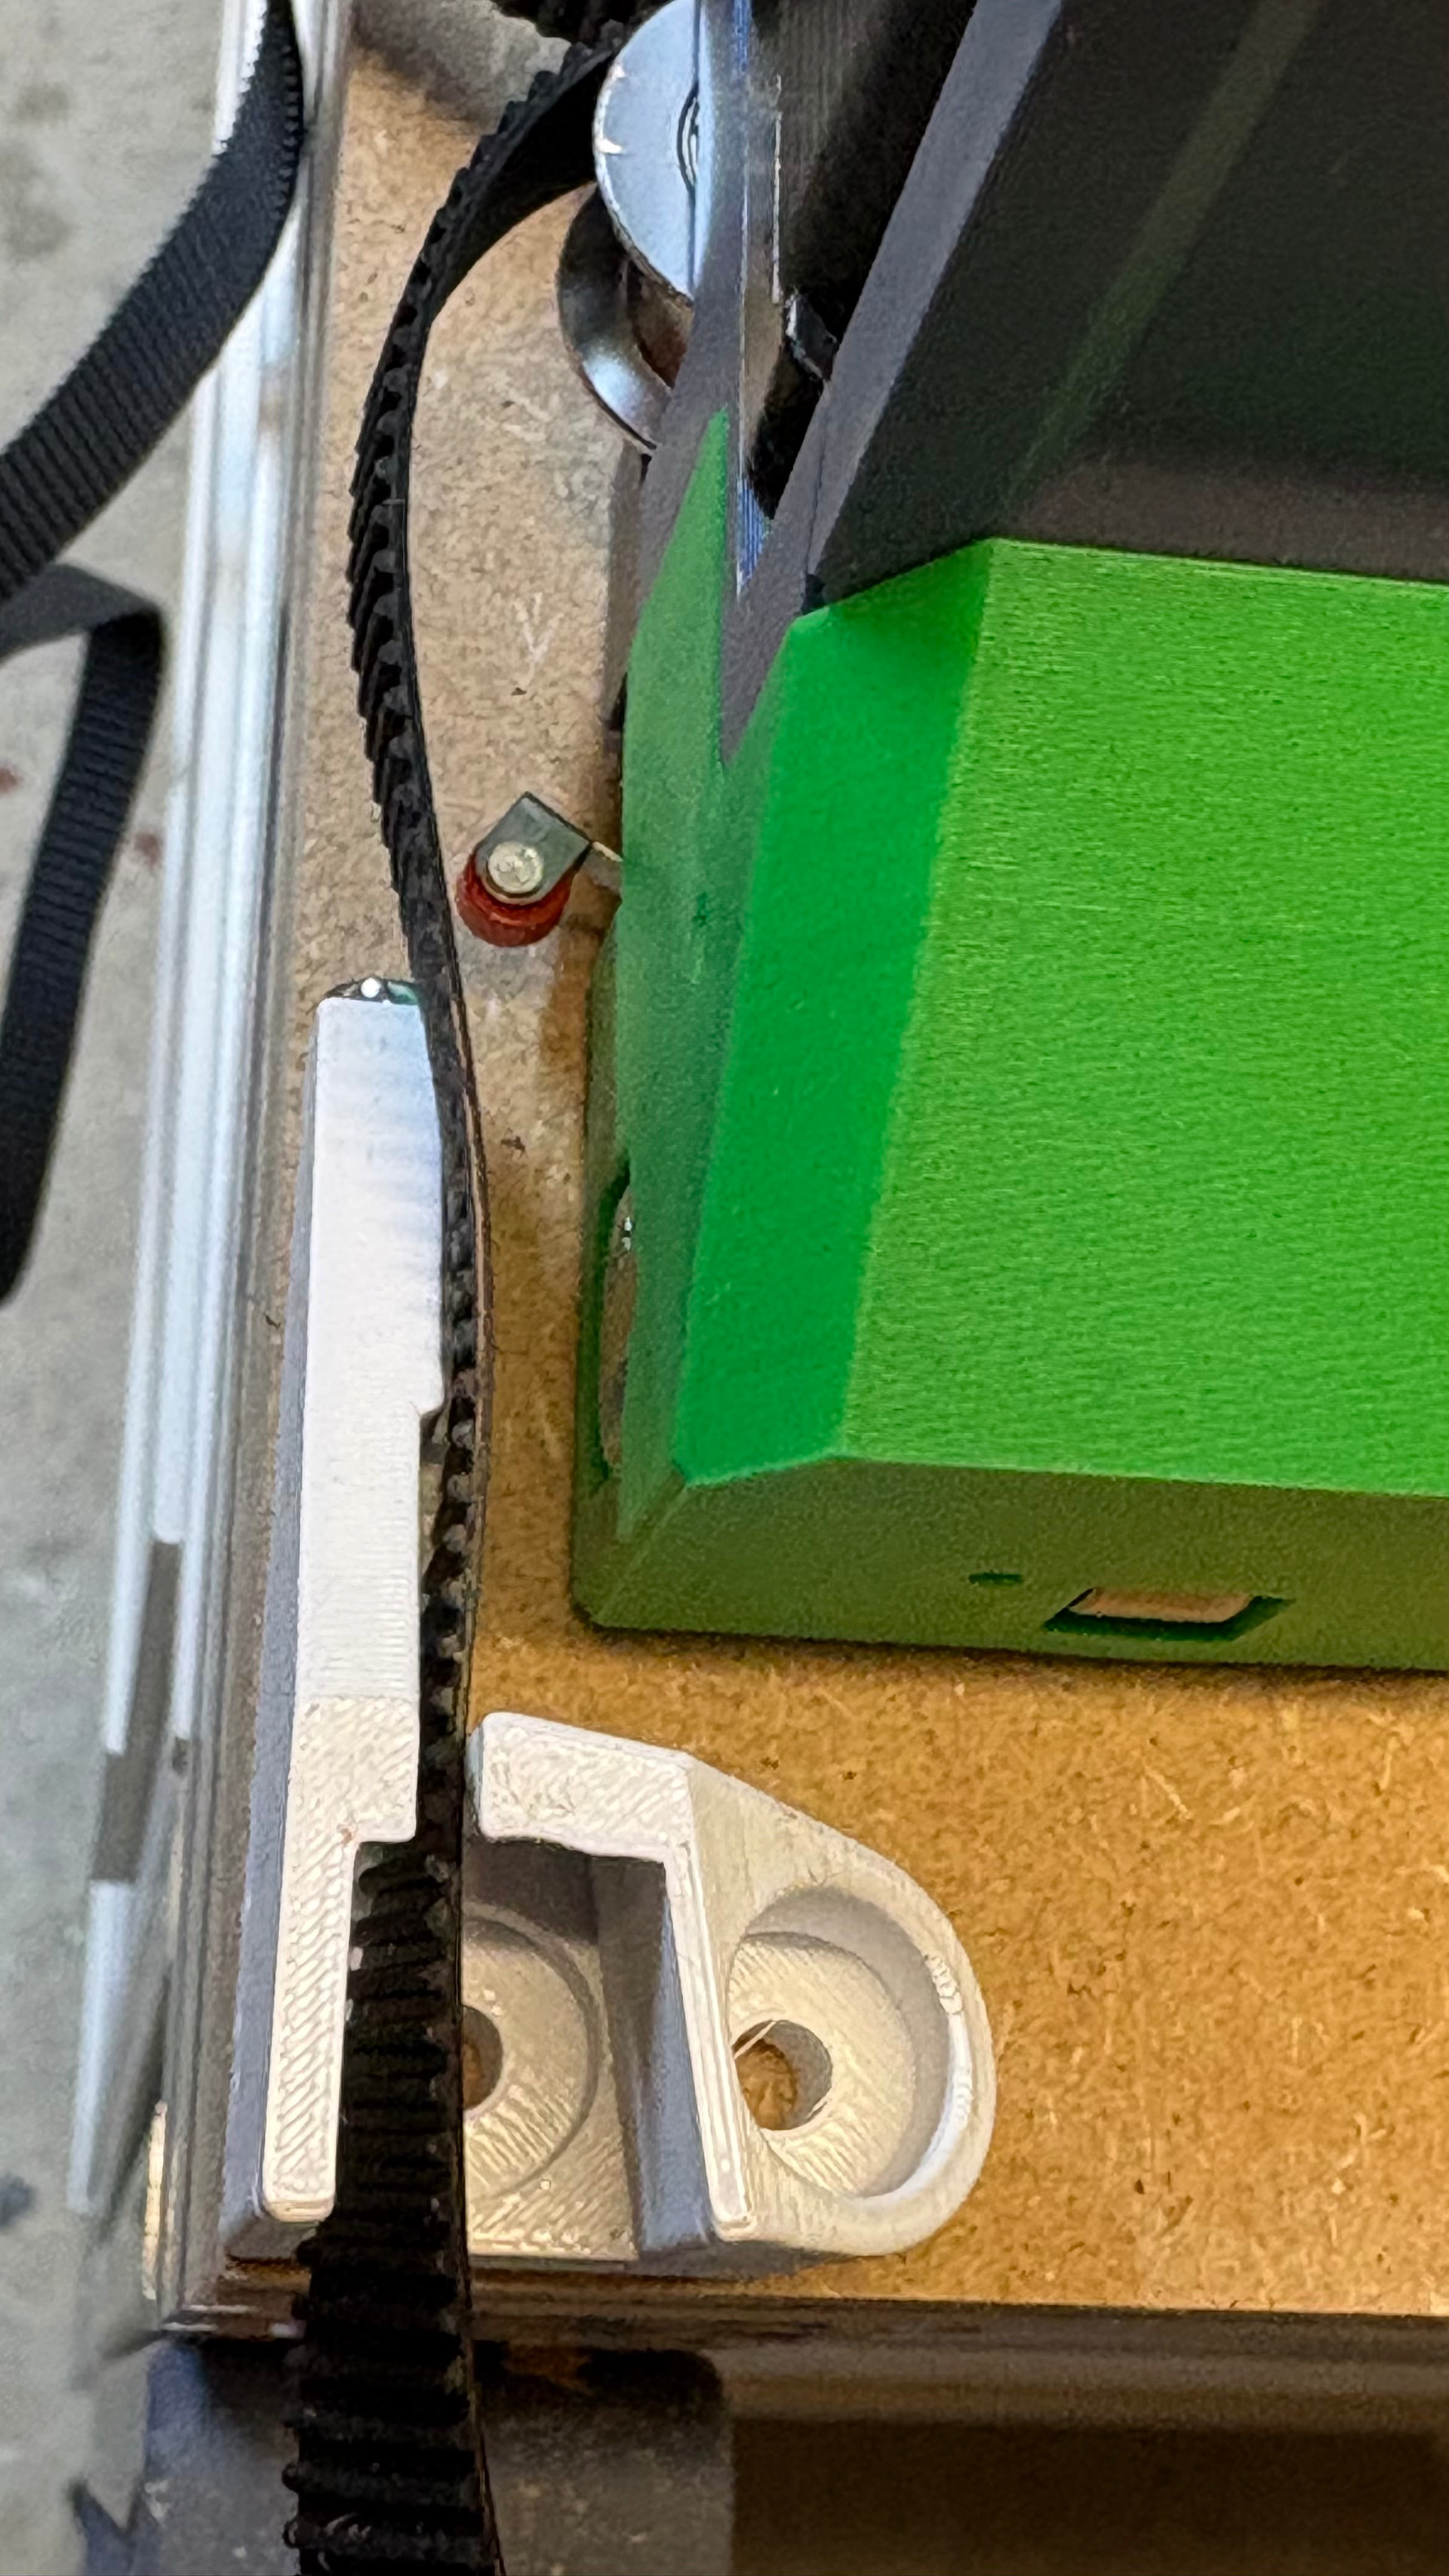
But I’m not nearly as close. In the instructions the piece is placed in the corner. Even if I leave plenty of space for the belt I’m not close.
I agree that that will probably be how I will get going. Still, I’m curious on how the instructions and the mounting pictures sets the belt holders right on the corners. I also seen others do this. Feels like I really paid attention but still missing something…
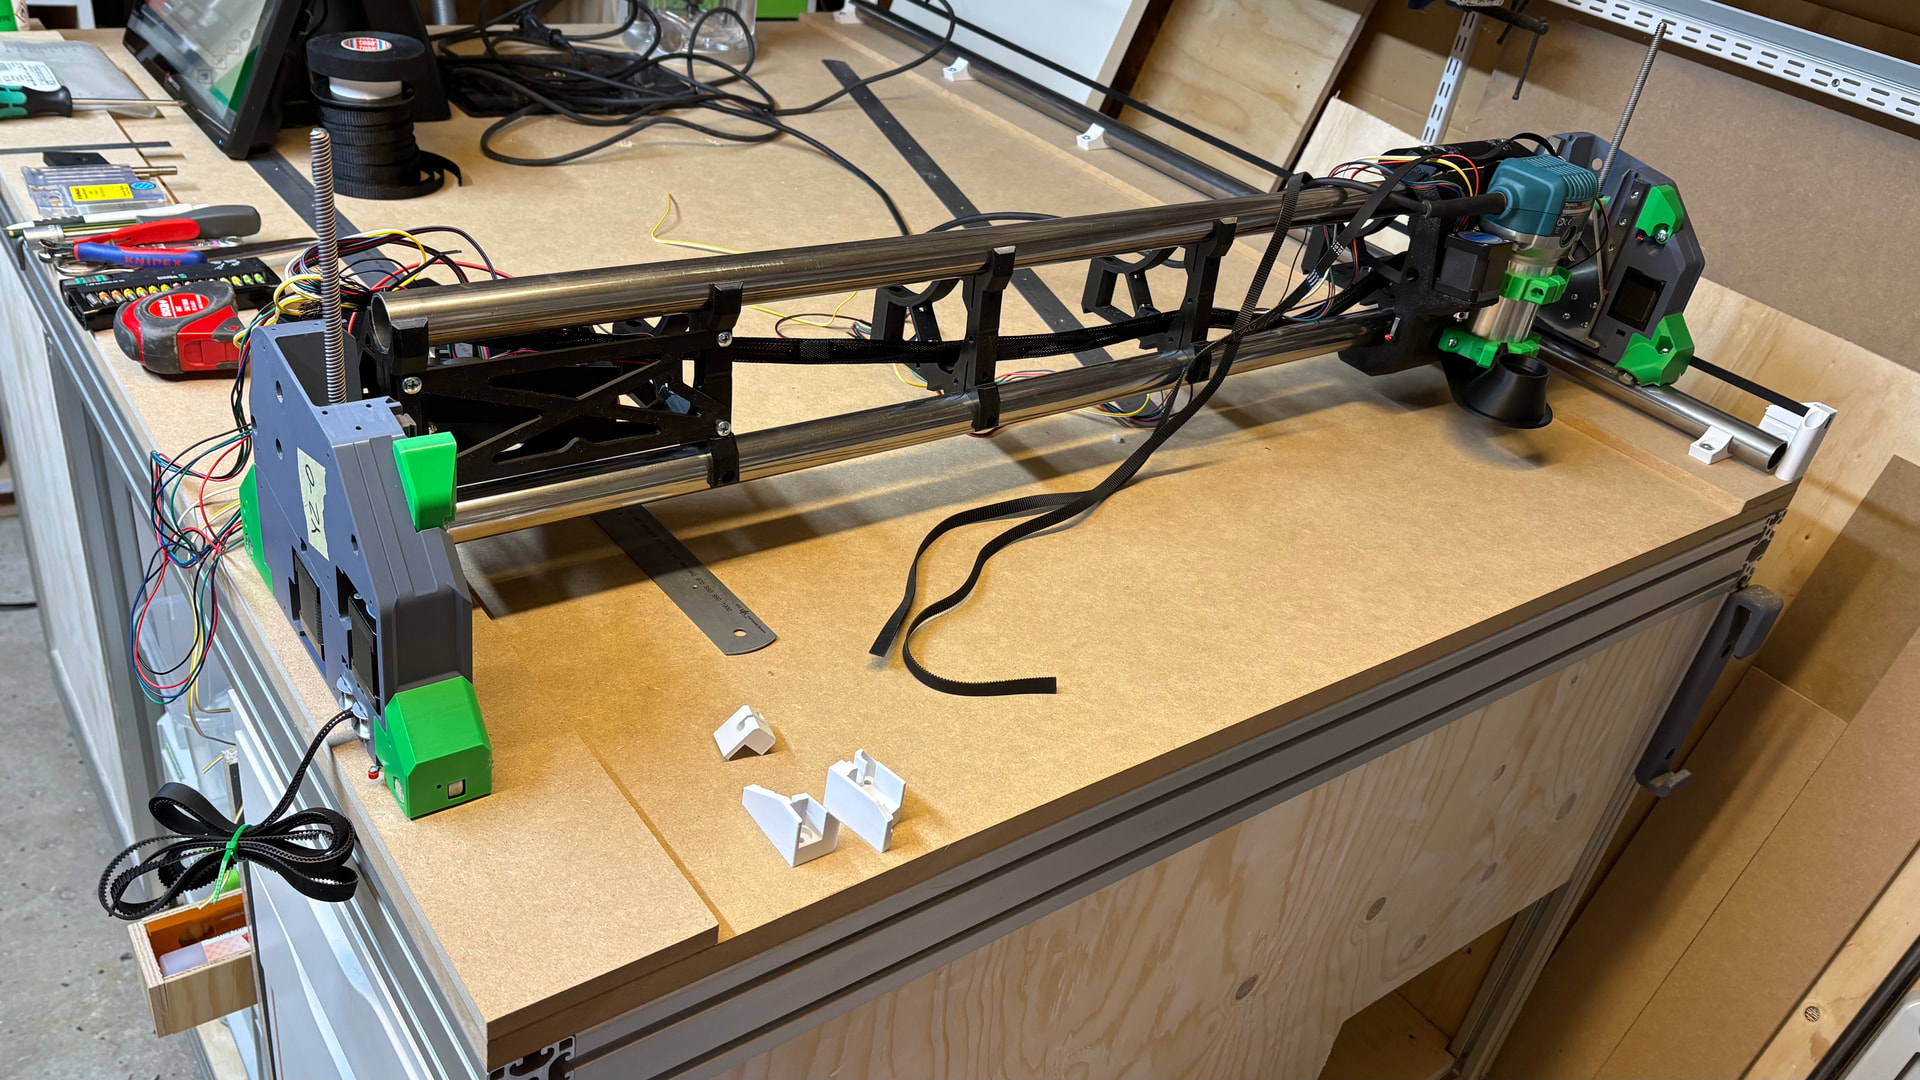
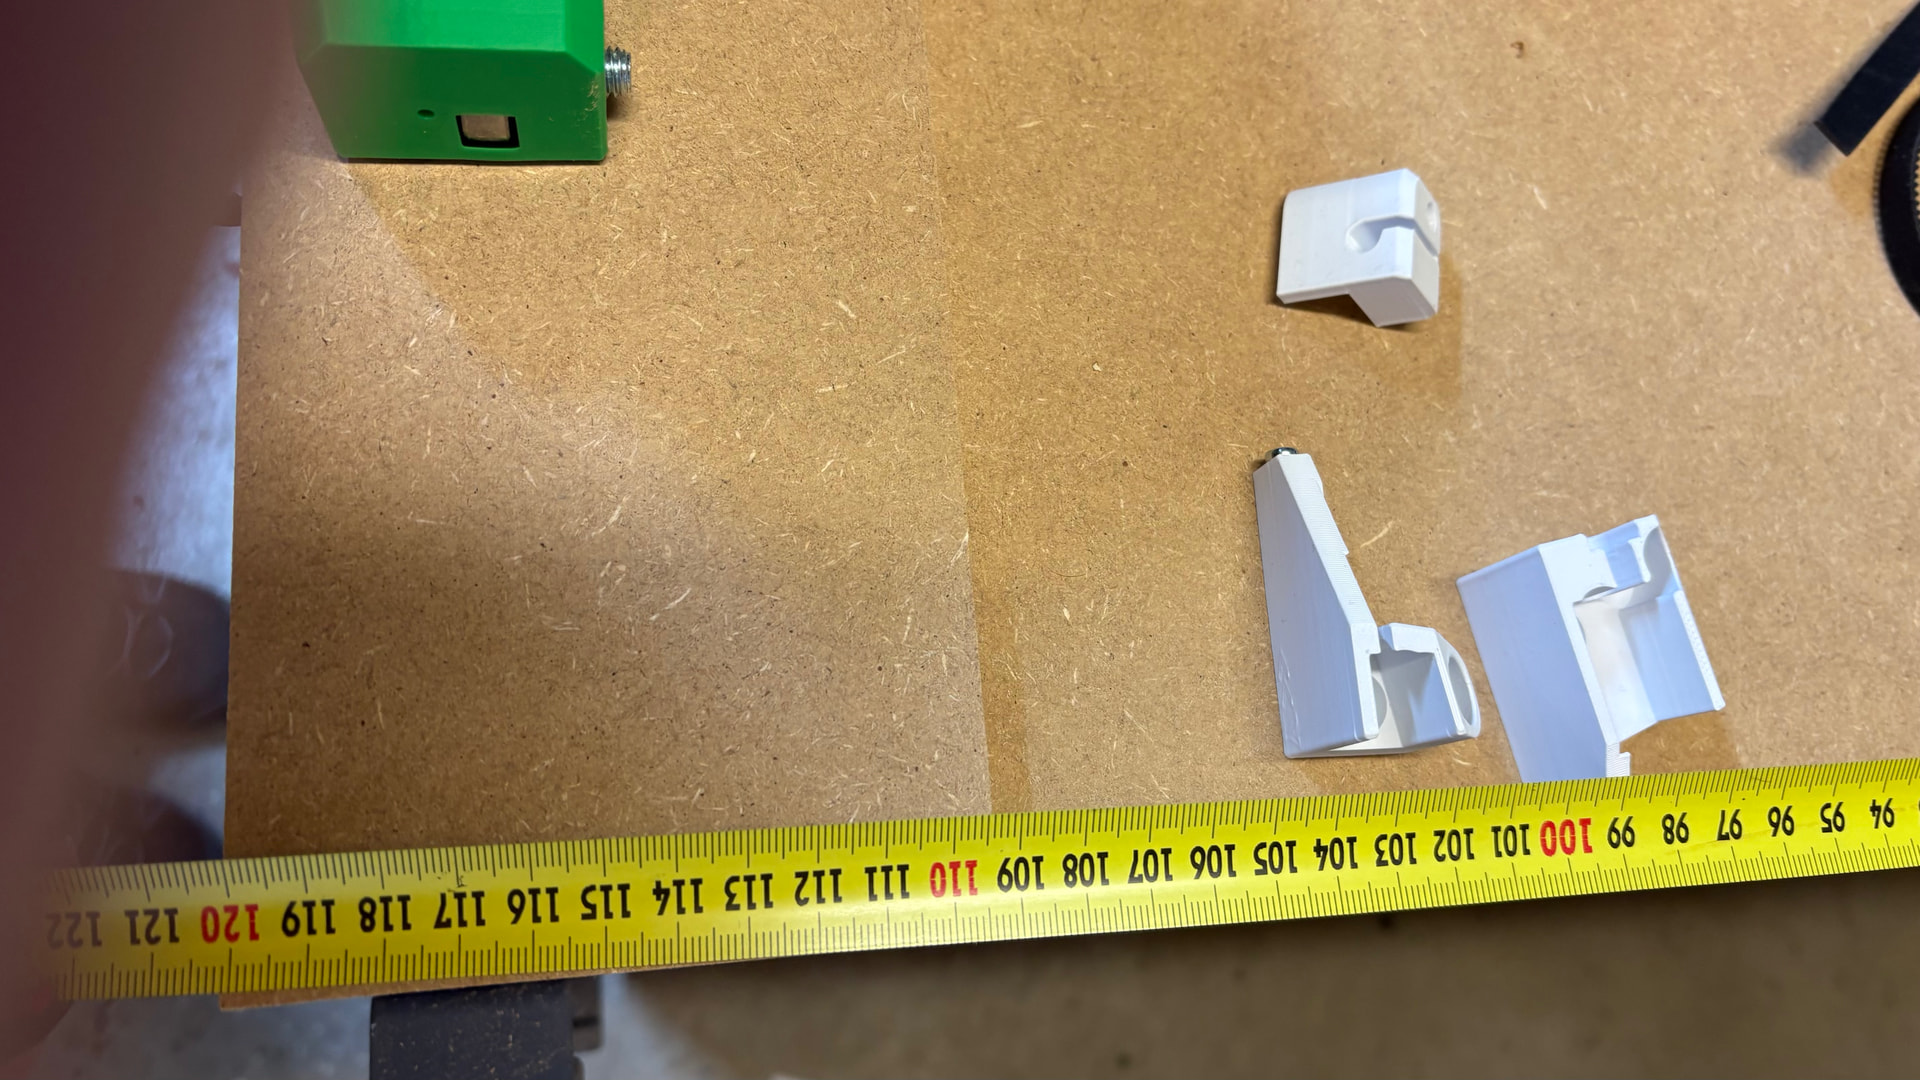
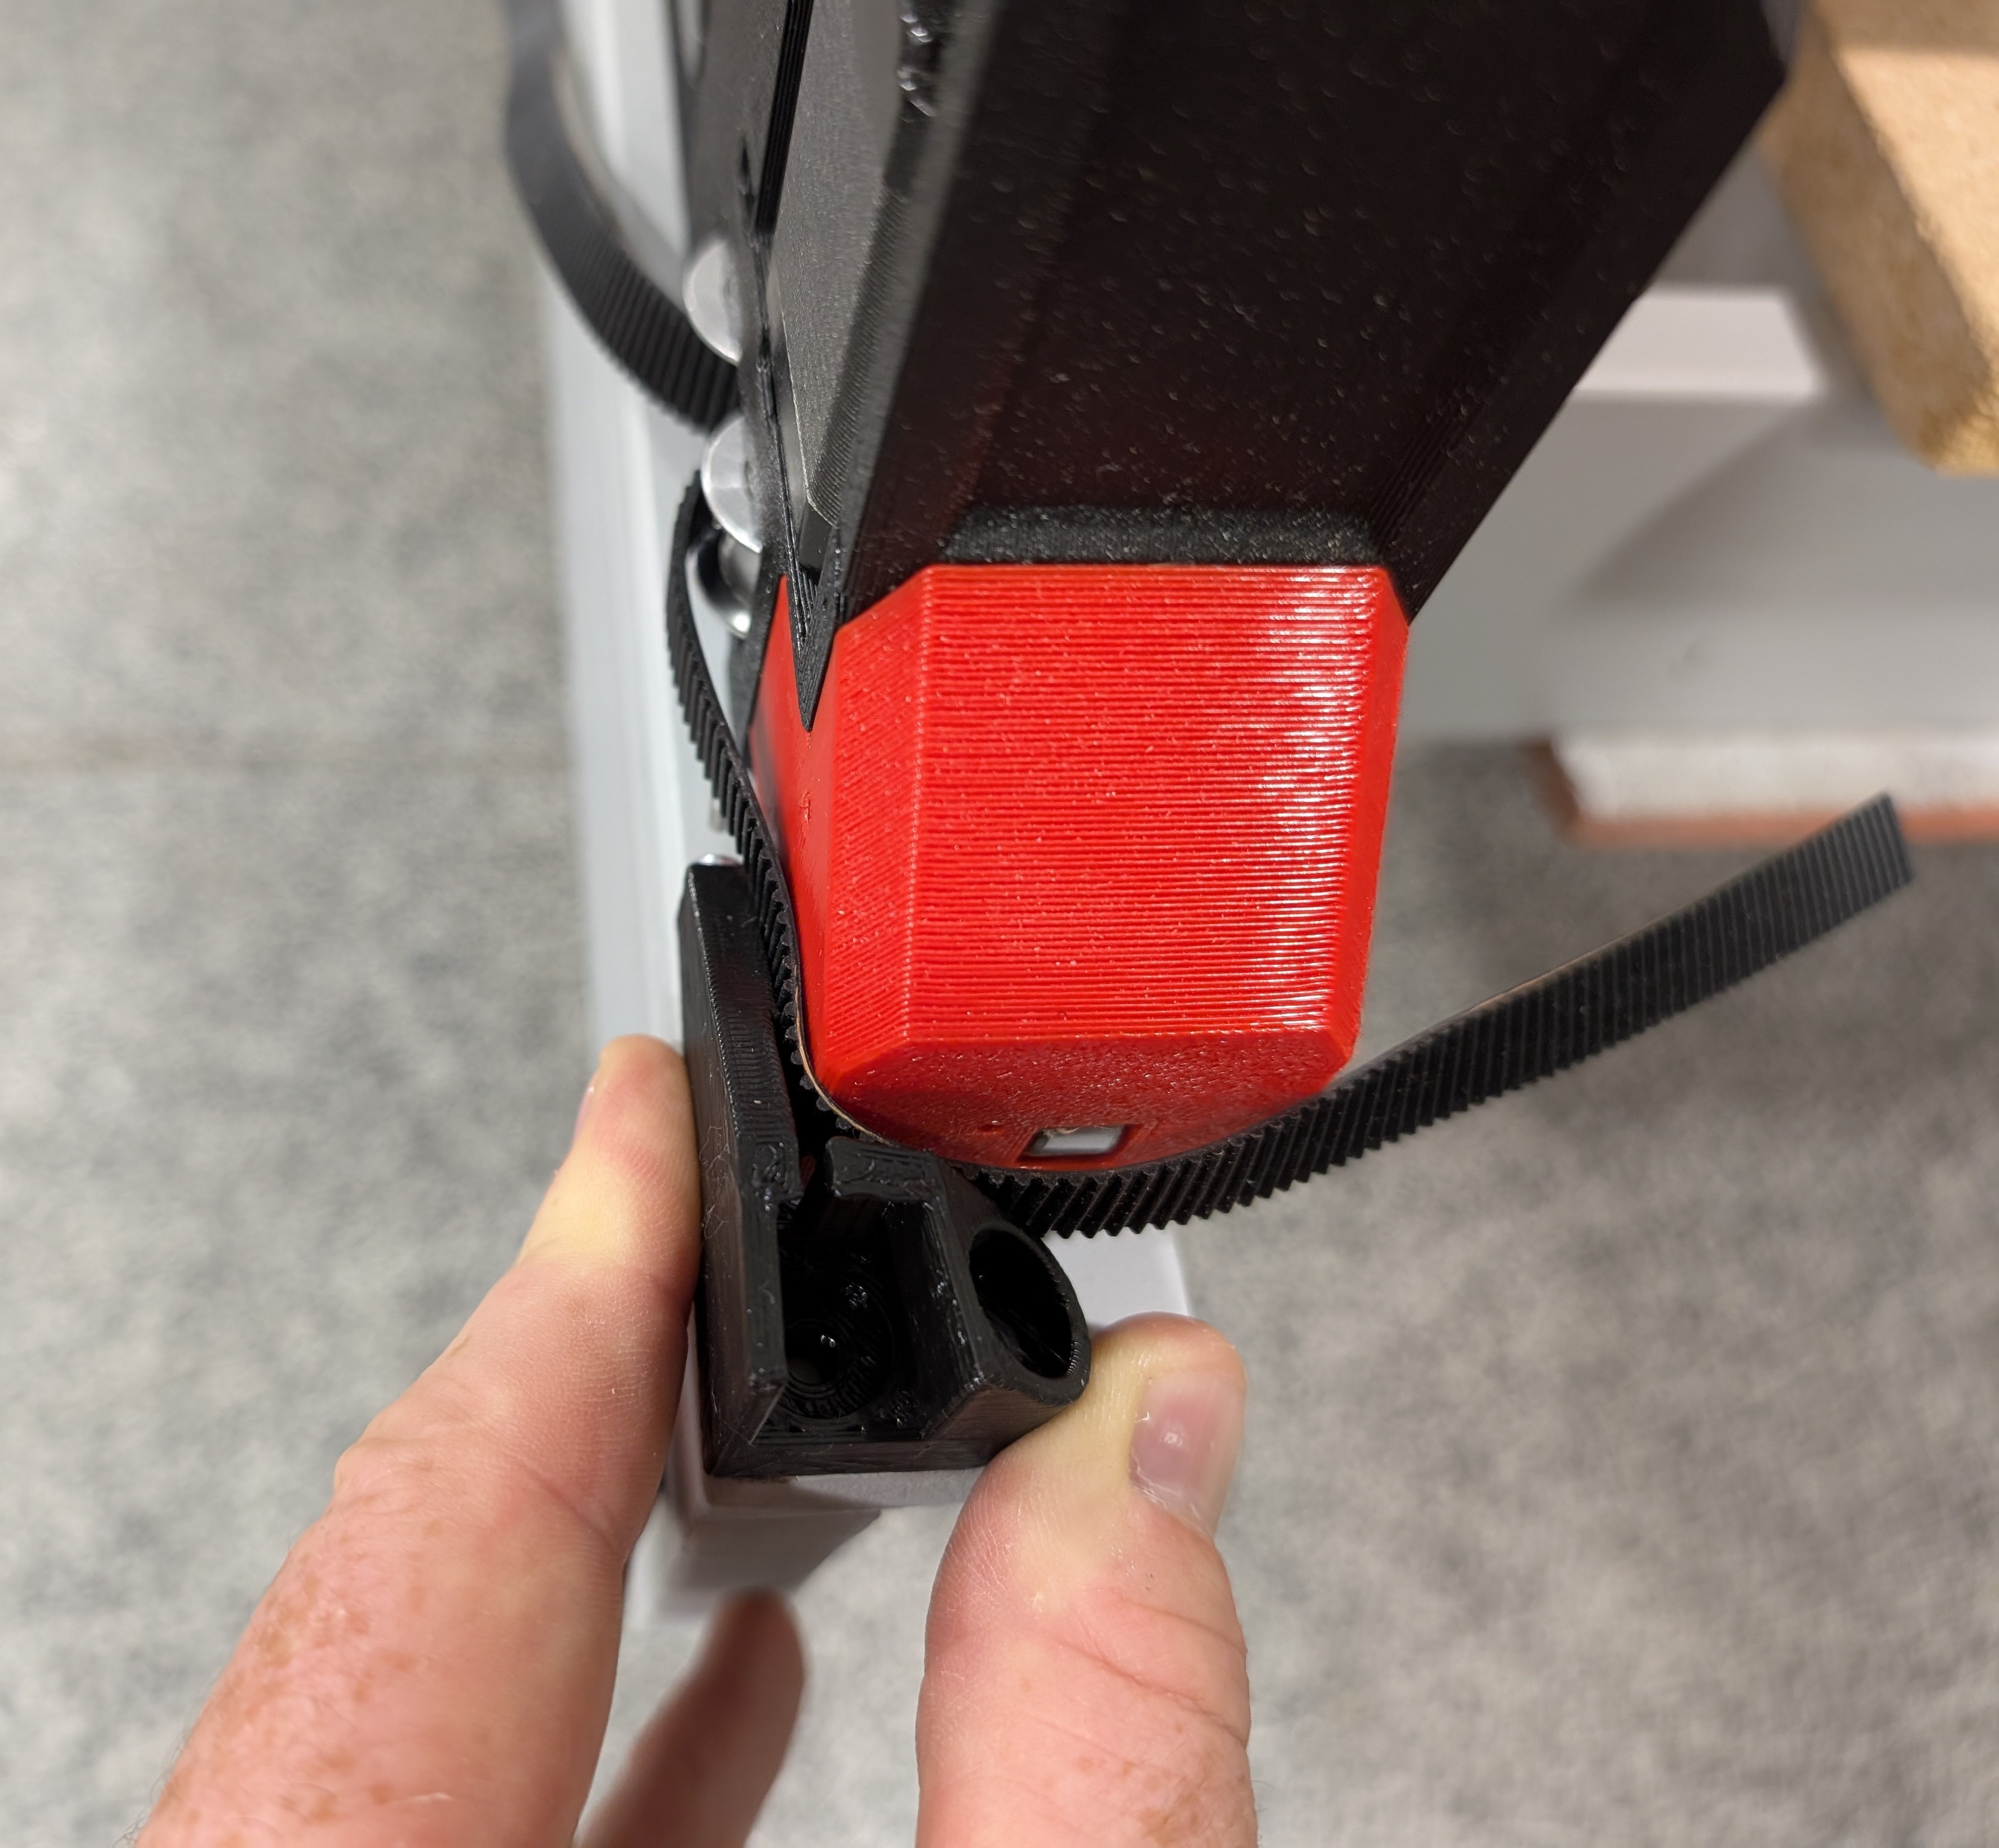
I placed my belt holders according to the solution in this thread.
Just want to sum up if anyone else is searching for the same issue and like me reading the written instructions like the law book.
Disregard (according to this thread):
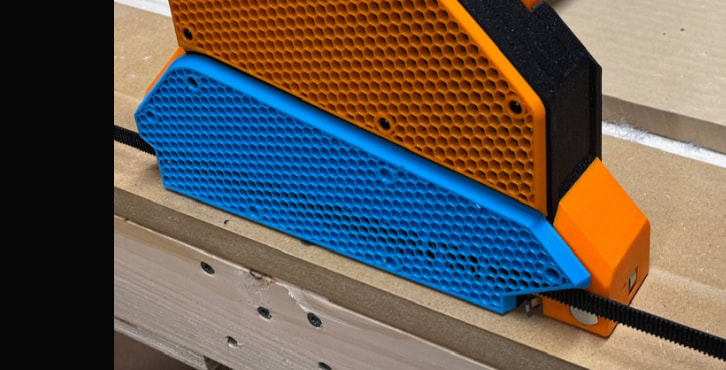
From the calculation for LR4: “This output is the minimum table required - belt holders will be installed flush with the outside corners.”
From the instruction:
The calculator “table measurement” gives you the exact outside dimensions of the belt holders as the footprint.
Setting the Y min distance can be done from the calculator, or
Using a piece of belt on the table to set a one belt gap width, making sure your end to end brace gap is set to the calculated width so nothing changes when you add your strut plate.