I have built and been struggling with the low rider
I bought the jackpot controller, and steppers off Amazon
I struggle with connection issues regularly and have to reboot periodically. Sometimes, a PC or phone will not connect, sometimes, it connects but cannot do anything. Sometimes memory card won’t load, mount error, it’s 8g fat32. Today, I put it on a feed hold, came back 10 minutes later, and could not get anything to connect, so I had to reboot. Is there a better way other than wifi AP?
My steppers are rated at 2a. I have increased the running and holding amps to 1.5/1.3, but the drivers become hot. When it’s set to 1/.8 it runs well but runs into skips when I hit a hard part of the wood.
When I us an upcut mill my cuter seems to go allover the place but down cut does a great job. Any reason why?
There’s a lot to unpack here. I didn’t know the jackpot was being sold on amazon, I did a search over there and I’m not seeing it listed. Are you sure it’s a jackpot and not a different controller?
If it is the jackpot, I don’t recall any easy way to adjust amps etc. In general if you’re losings steps while cutting it’s feedrate/spindle speed issue.
Are you running the Jackpot in STA or AP mode? AP mode may be somewhat better.
Look for @DougJoseph fluid pendant, it might be an answer, but there will be some work, and I don’t think the pendant software is quite out of testing phase. Still, it appears to work.
Some of these problems sound like they may be weak power, what are you using as a supply?
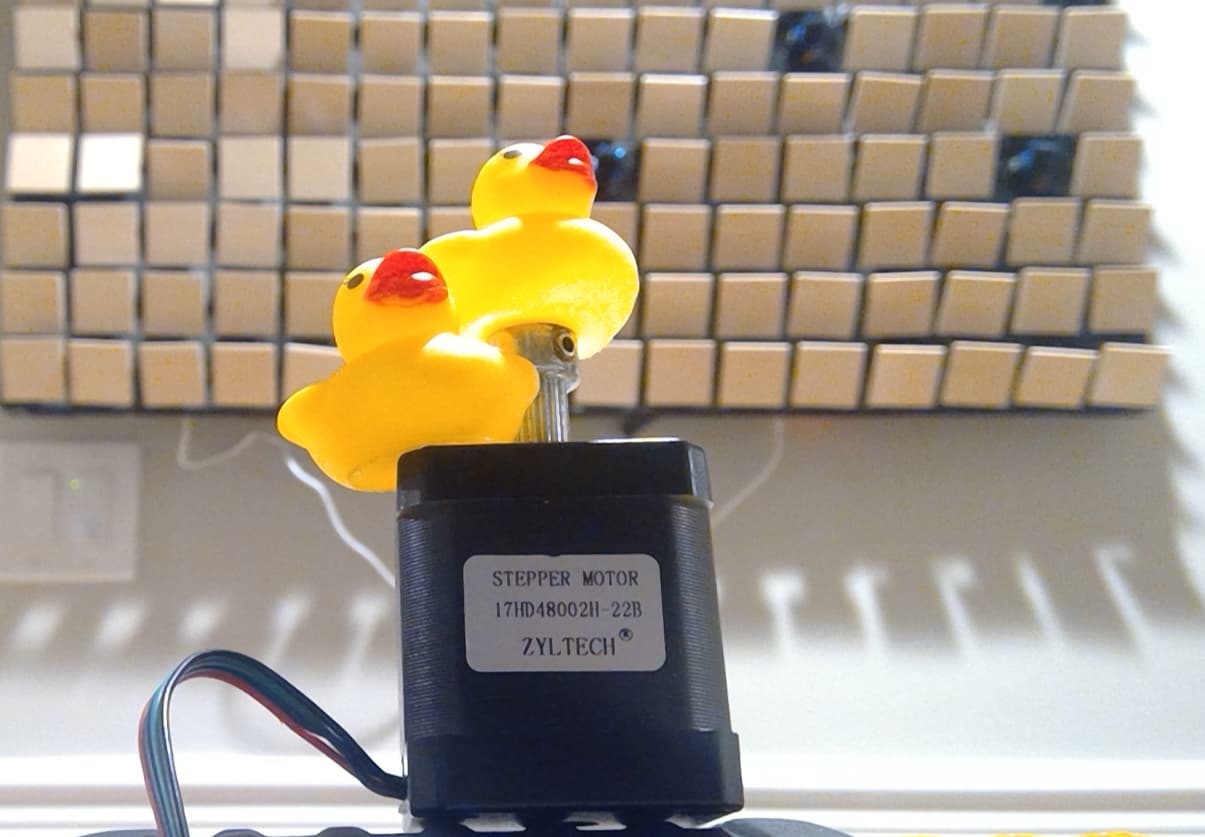
What is the model number on the steppers? Not all 2A steppers are created equal, and lnes rated for 84oz.in torque will perform better than ones rated for 46 oz.in, even if they look the same and rated same current.
I have my Y/Z steppers running 900mA, but the X stepper at 1200mA to get solid cutting.
Also, how deep and fast are you cutting? This won’t cut at the depth and speed that a professional machine can. I run 3.25mm deep at 1800mm/min with a 1/8" single flute upcut mill pretty easily, and up to 2100mm/min in easier cutting material. I can go a bit deeper with a 1/4" endmill.
I think he means the Jackpot from here, and Steppers from Amazon
This is set in the config.yaml file
You are likely trying to push it too hard, but there’s not enough to tell here. You need to give an example of what you are doing when it’s skipping. What size bit? How many flutes? Upcut or downcut? Depth of Cut? Feed Rate? Wood Type? etc. etc. etc. There’s a lot that goes into the “correct” feed and speed for each job. Post some details and someone may be able to help. By default, if just starting out, it’s best to stick to the conservative settings in the Milling basics page until you get a feel for what it can handle without skipping.
There is a setting in the config called $HTTP/BlockDuringMotion. This defaults to true. This means that when a job is running, you need to make sure your screen doesn’t go to sleep, and don’t do a full page refresh. FluidNC will not respond to web requests during a job while this is true
Do you know what version of Fluidnc you’re running? Older versions were more prone to wifi issues. The current version is 3.7.13
You can type $ss in the terminal window to find out.
That is FAST for a 1/4” bit. I would cut that in half. If you find it can do 15 mm/s well then increase your doc some. But 30mm/s with a 1/4” bit is probably your main issue with skipped steps.
Hello @Chris_Edwards, welcome! Congrats on getting up and running.
Got Struts installed? Able to share pic(s) of your setup? Maybe someone will spot something.
Which Axis is skipping, just X, or just Y, or both? Does the Core slide smoothly across the X axis when powered down and without the belt clipped in at one end? Smoothly where the braces are, and inbetween. Good to check your Core print is appropriately dimensioned/not-skewed and tightened just right. Don’t want the Core to rock, but do want the X Stepper to not be wasting energy fighting excessive friction between the Core bearings and the EMT/Pipe rails.
If Z is skipping make sure linear rails, tweak the rails until they’re parallel, Z axis should be well aligned and greased enough that the gantry falls under it’s own weight when Steppers are powered down.
I find the X axis to be a bit tight along the track. Not as smooth as I was expecting but I am also using electrical conduit. When installing the Core I had to back off on one of the bearings to get it onto the rail then could tighten it up, seeming super tight but thought it was meant to be like that.
What should my running/holding amps be set to in the config.yaml?
Haven’t setup my jackpot yet, hopefully someone else will be here shortly to share what’s working for them. Still using Marlin 515 with 900ma for my X/Y/Z, I know some people run higher and lower than that.
Am using 3/4" EMT conduit (Homedepot), was curious what normal belt and bearing tension looks like, so… Tried Core tipping, here’s how my Core glides (with belts tensioned), no idea what normal is, hope this data point helps you though…
It sounds like you probably have the bearings too tight on the core. I had to loosen mine because the X movement was jerky. They probably need to be looser than you expect. Just tight enough that all the bearings are touching the conduit.
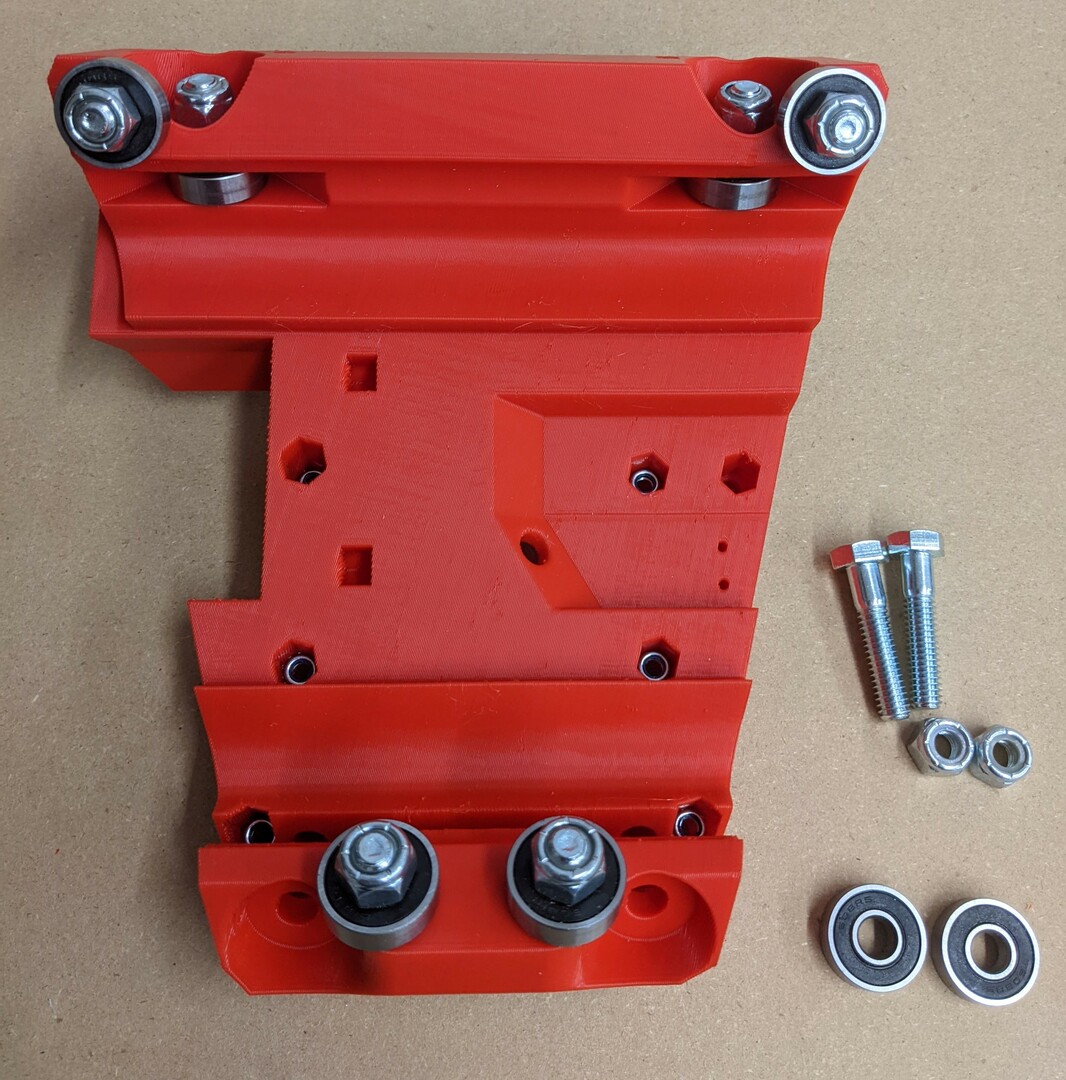
Loosen the nuts on the captured bearings. As you tighten those you squeeze the core in and it pushes harder on the beam. On mine they are only tight enough to get the nylock onto threads and they work perfectly. YMMV
The captured bearings in question are 2 of the bearings at the bottom.of the core. The ones enclosed in the slot.
That slot flexes as the bolts are tightened, which brings the other 2 bearings bolted to the face of the core closer to the rail. That is the tension adjistment. Those 2 bolts should be just tight enough to have all 8 bearings touching the rails.