So it’s been a while since I’ve used my LR4, and to get back into it, I figured I’d make a little tray to organize my paraphernalia! Turns out this was actually my first time doing 2.5 milling, and I learned a ton! So much so that I wanted to make a post to share my piece but also my journey- nothing went well, it took lots of tries, but I recovered from many errors and ended up with something imperfect that I’m happy with!
List of steps showing my trials and tribulations:
- I measured all my items using calipers, but I forgot to add padding to them so nothing actually fits in the tray.
- The stuff does sit in there fine enough though, just a silly mistake after taking all that time to measure in the first place lol.
- I worked with the full Y dimension of my stock, but forgot that the bottom ~30 mm is unusable… so the top of the tray got cut off. This was a scrap piece so the top also has that curve to it.
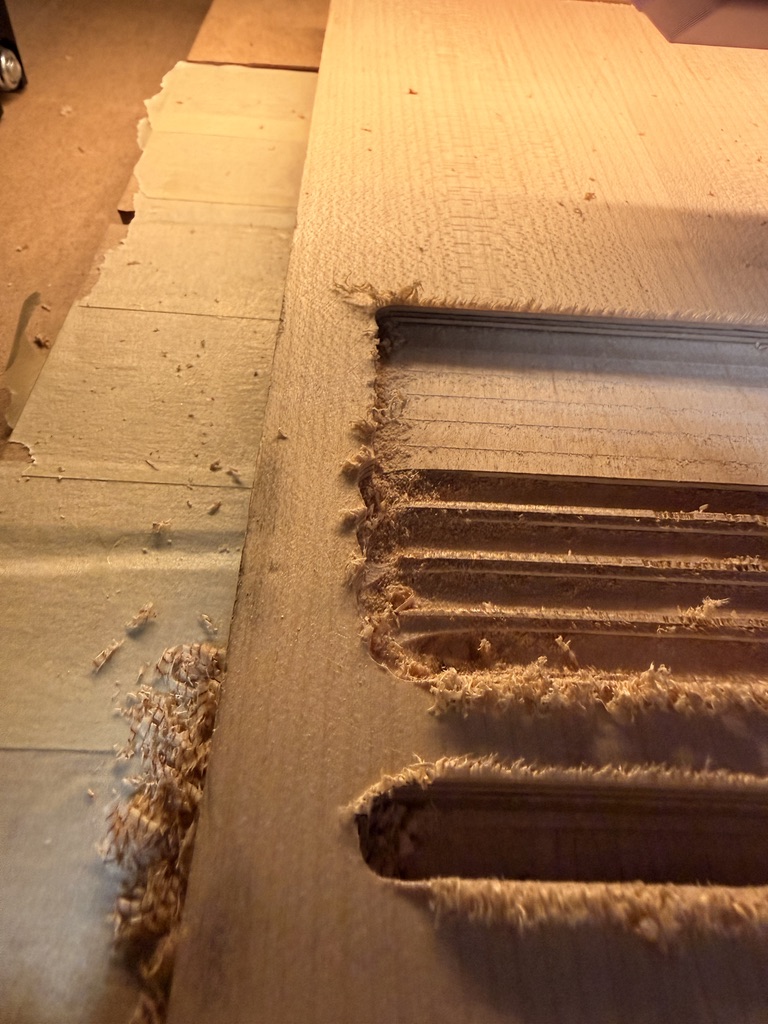
- Being my first 2.5D milling project, I had to learn about finishing passes. I did a lot of trial and error, mostly because I was trying to use a ball nose end mill, which kept leaving a V/U shape in the wood. Luckily my brother came over and pointed it out!
-
I switched to the downcut bit from the V1 store. I did a finish pass of 0.3 mm, peeling, 15% step over, 45 mm/s (started slow and worked up) and it left the wood silky smooth!!
-
I increased my rapids to speed up the peeling
-
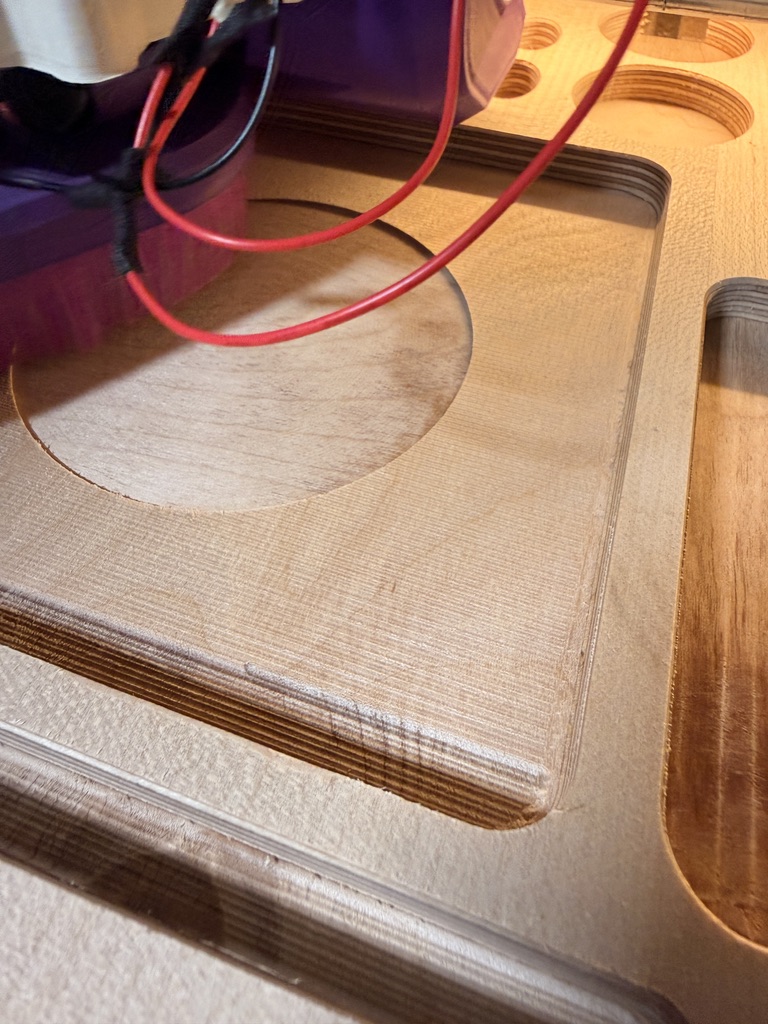
Here’s a shot of me covering up the sins of the past. The circle is the peeling cut. I had to do a finish pass of 1.5 mm because I had to keep cutting this part deeper when I was trying to get the ball nose finish pass to work
-
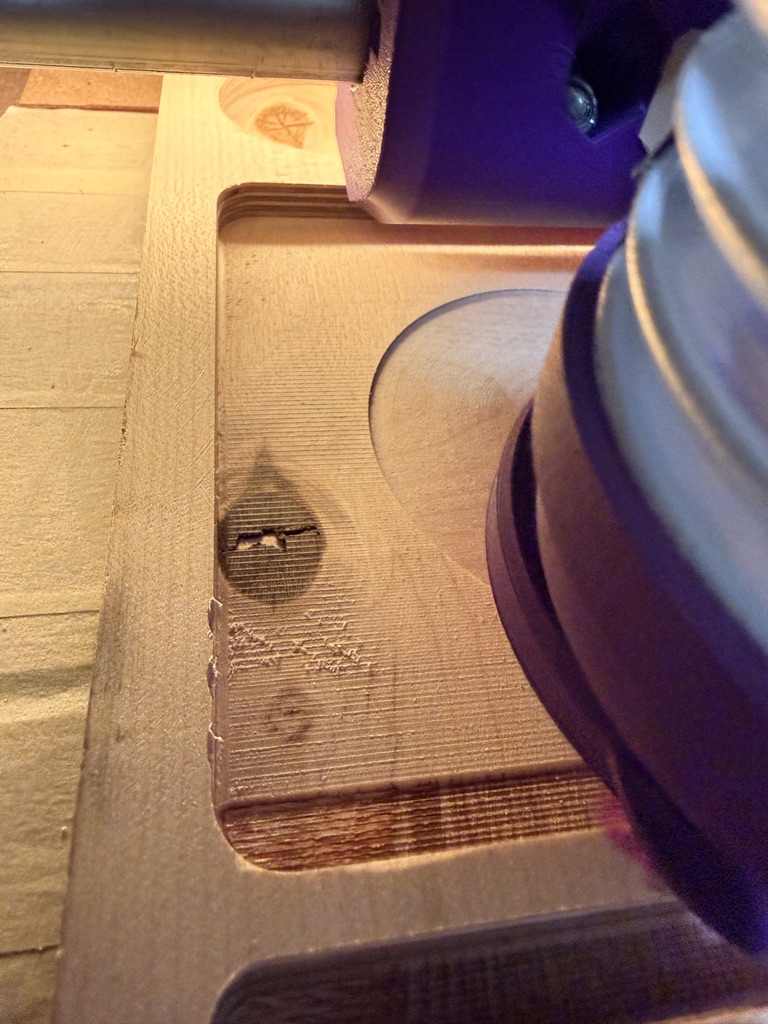
Unfortunately I had to cut away this really cool layer because of said finishing pass errors:
-
- Somehow, some way, I must have done the roughing pass at my normal 0,0 home, except X+1 mm. So every finish pass attempt, I had to remember to move x +1 mm before running the job.
- I did a pseudo chamfer by doing a 2 mm deep carve with 45 v bit, along the line after all the milling. It worked well enough and left a pretty clean line behind.
- Because the top part got cut off, I manually did a similar chamfer on my bench sander. It definitely looks freehanded, but it does look and feel a lot better than without!
- I lost the silky smooth finish I worked so hard for
 . I sprayed lacquer on it after final sanding and cleaning with a tack cloth, and it made the surface all rough again.
- I think this is because the wood is dry and the spray makes it wet till the solvent evaporate, so the grains start sticking out when it swells from being wet. I think the fix would be to spray it down with water before the finishing pass, which would basically be shaving all that extra stuff away?
So yeah, it’s lopsided, rough, and the stuff doesn’t fit as intended… but it looks awesome! And I made it on the computer, and then made it a real life object, that’s literally magic! Most importantly, I learned a tonnnn in the process ![]() . Plan is to use it for a while and scribble down notes to make an even better one later
. Plan is to use it for a while and scribble down notes to make an even better one later ![]()
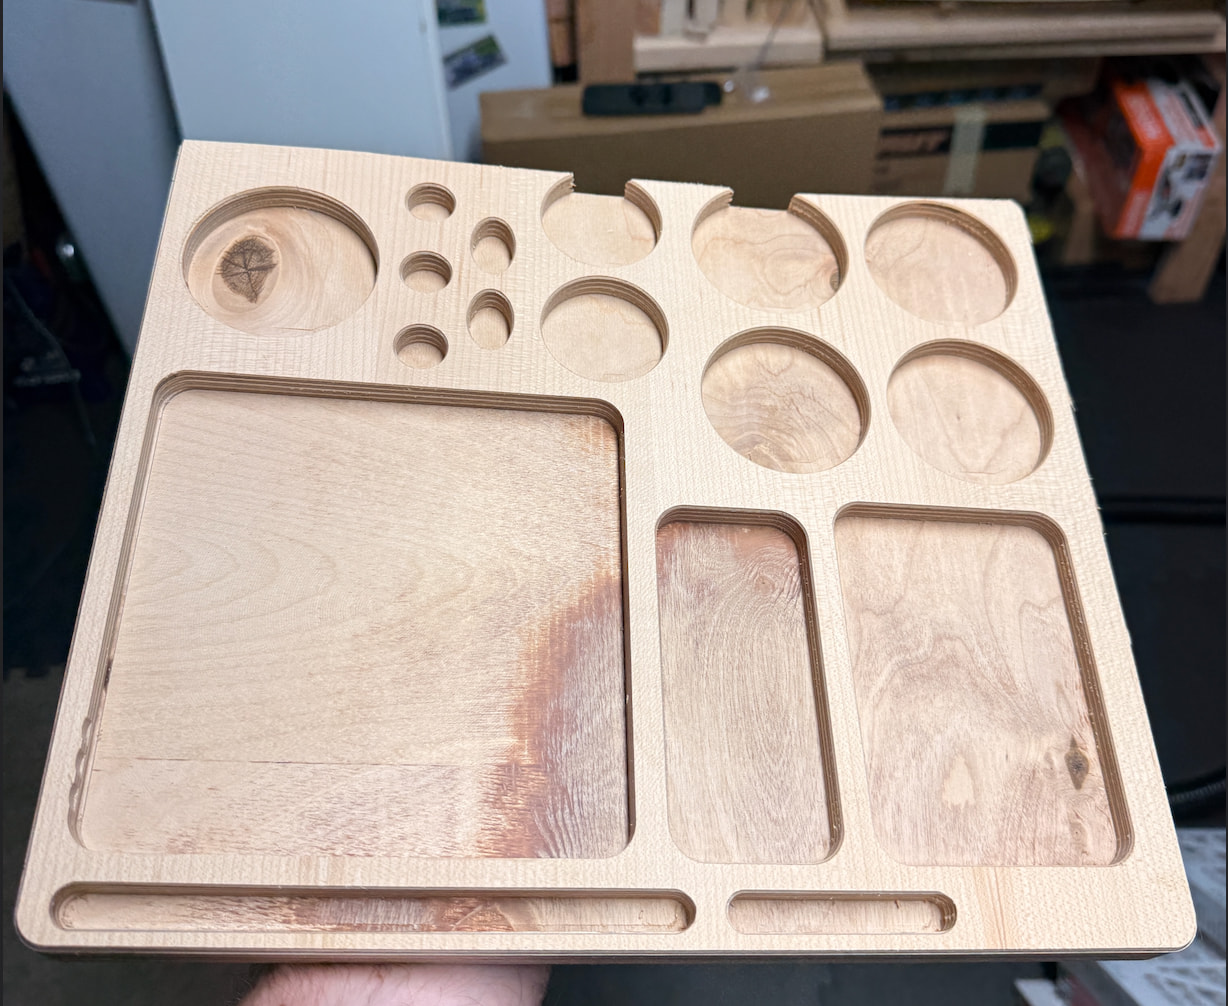
How it started: ![]()
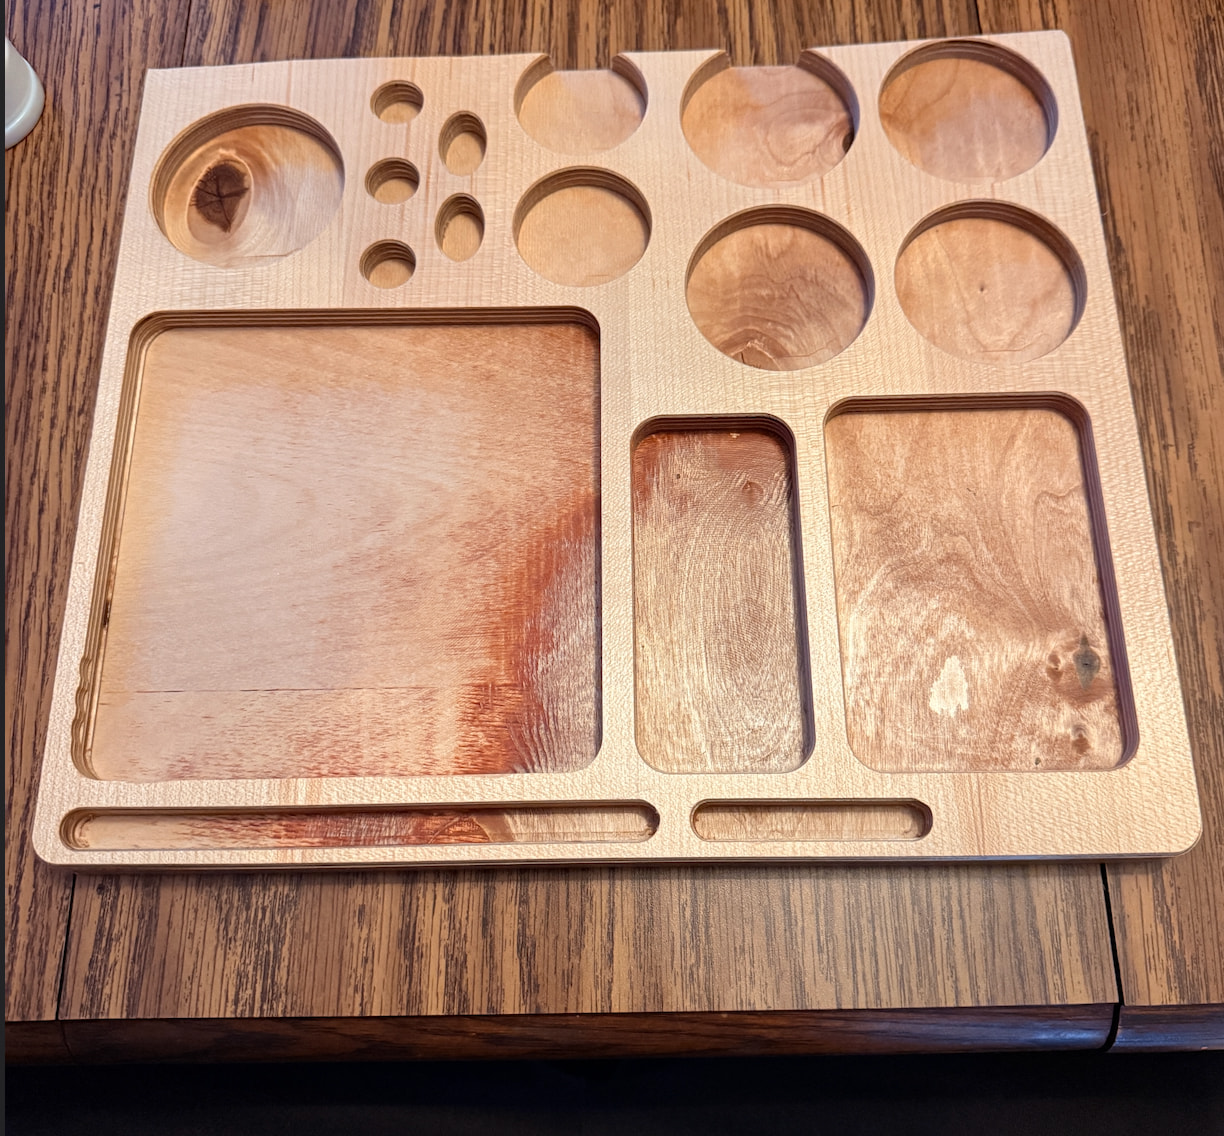
How it ended: ![]()