Thanks for posting pics, and please keep them coming!
I am very interested in your bootstrapping as I plan to do the same.
any tips and tricks learned?
One thing I learned was then it says “lay some long strips beside the topmost MDF sheet (for to serve as riding plates for the LR3 to ride on).” It’s not so much for the Lr3 to ride on as it is to extend the Y direction to be able to cut a full 4x8 sheet. As you can see in the picture I thought it rides just fine on the MFD what do I need strips for.
You can also see, I started to put 2’x4’ pieces of MDF at the end to lengthen the Y axis.
I also have these, and something in my marsupial brain wants to temp BondO them to the floor and be done.
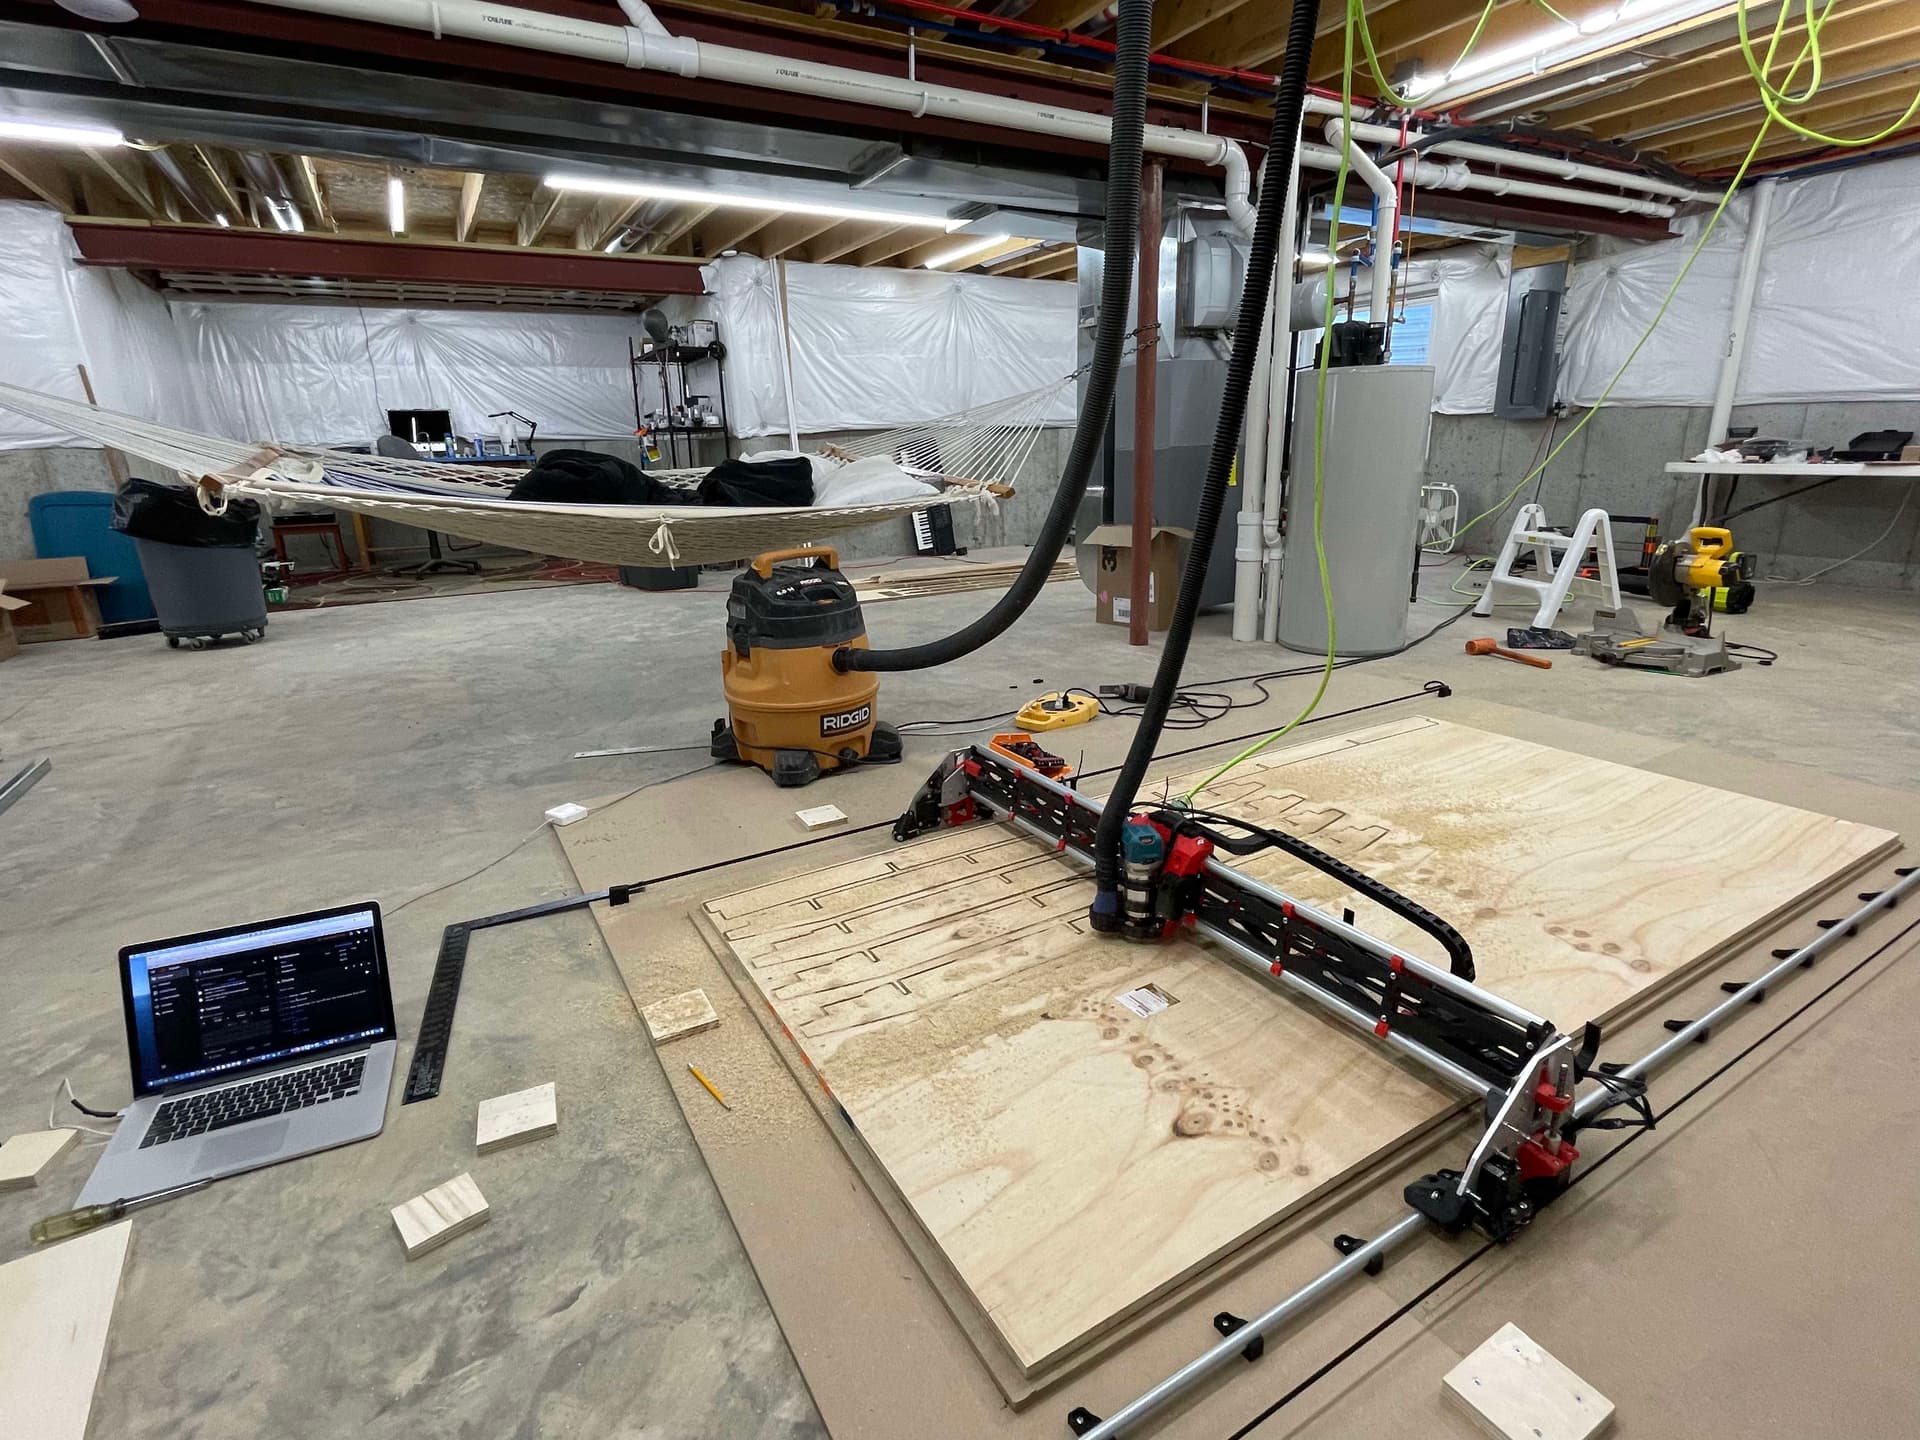
Remember, “Slow work takes time”.
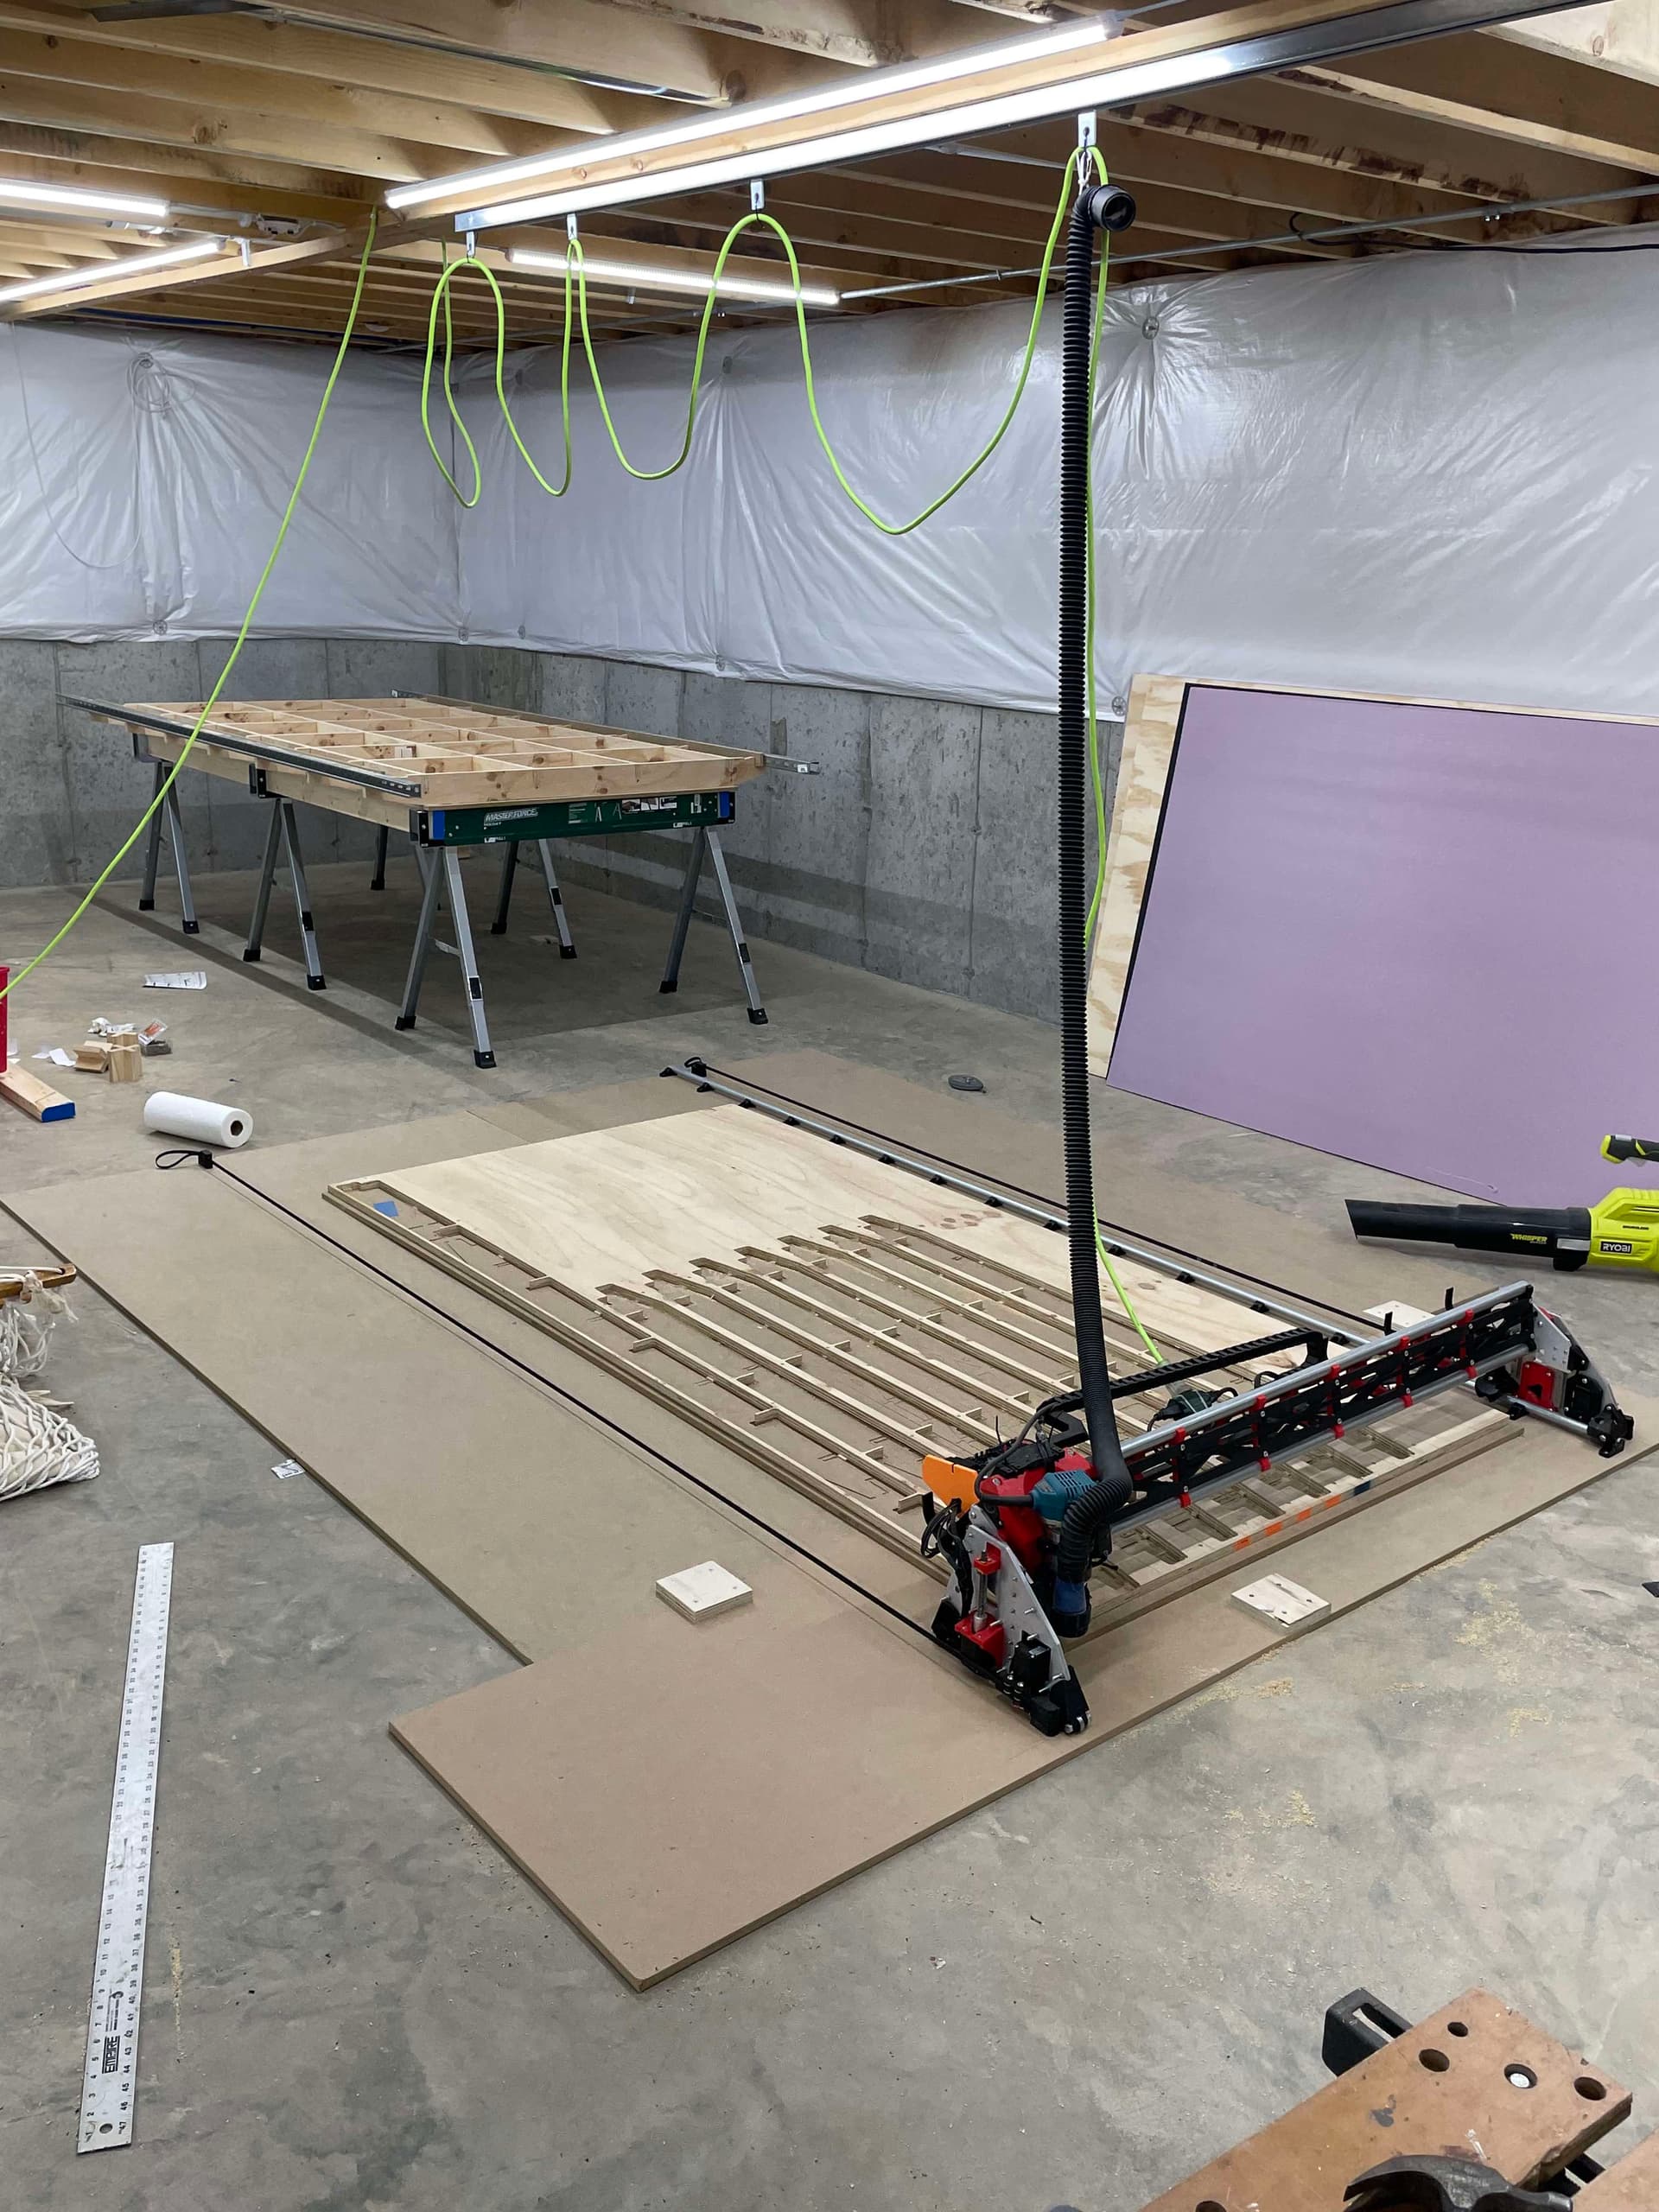
1: Install CNC hammock
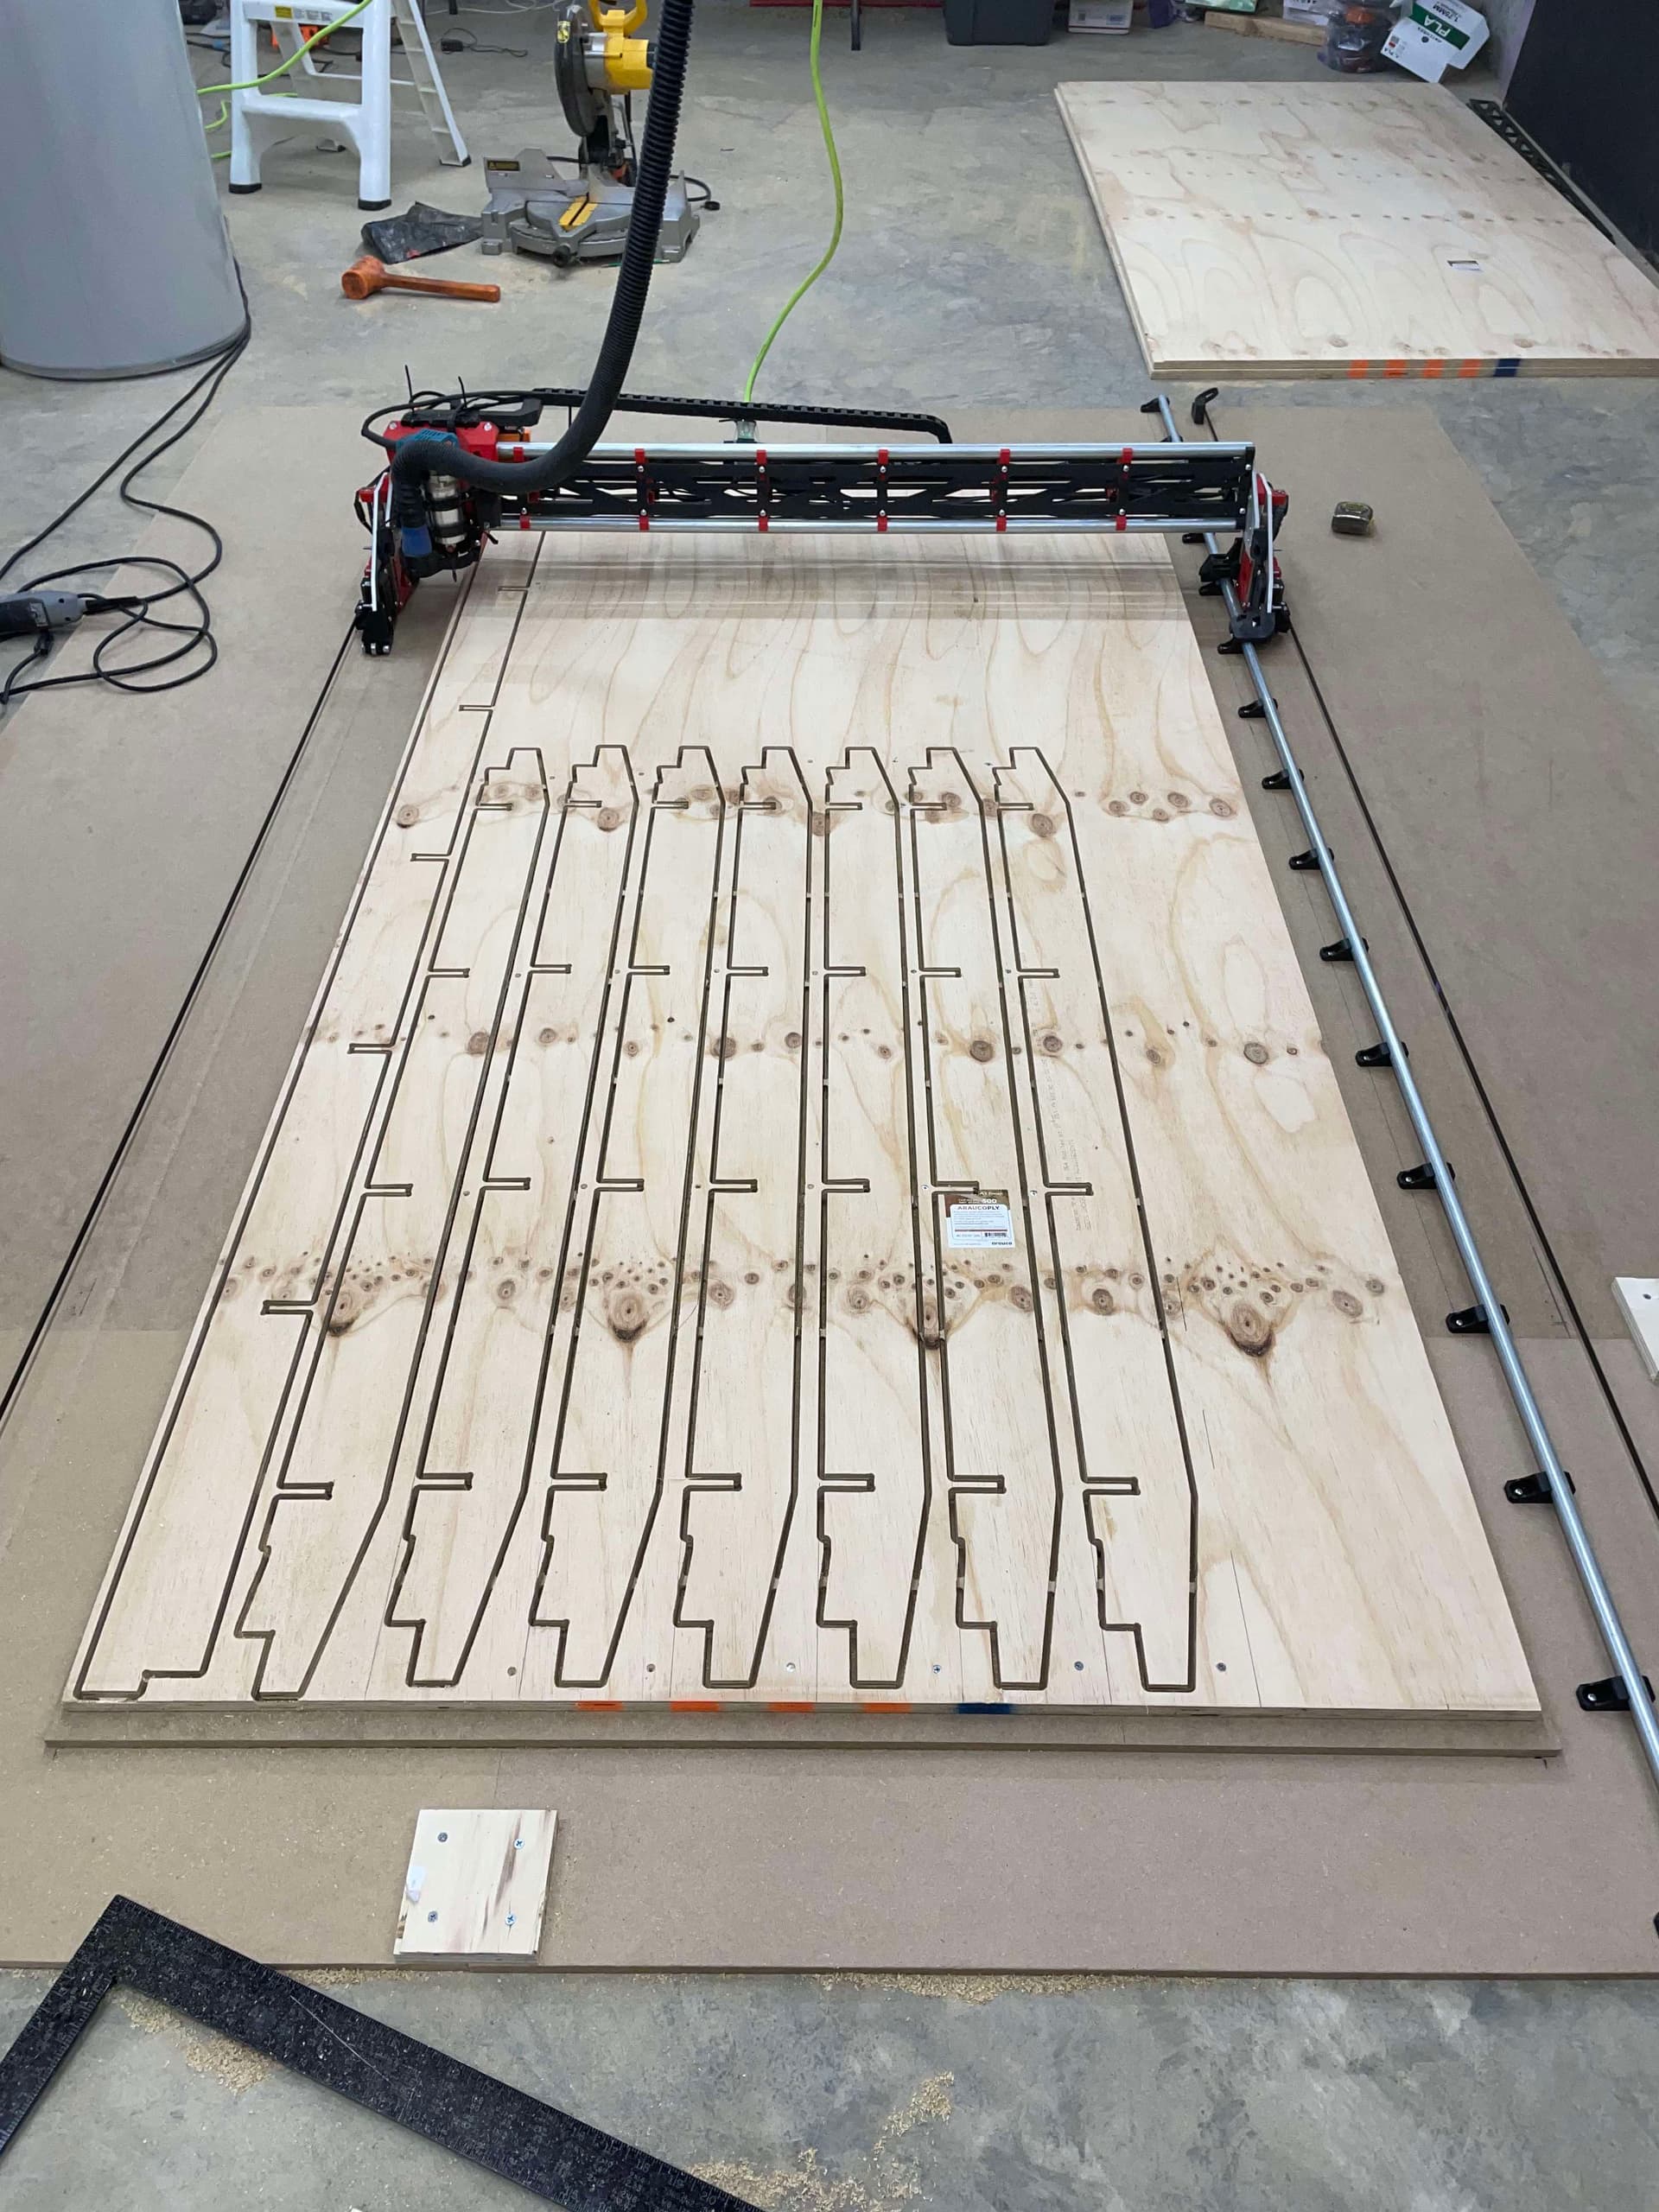
2: Cut Spars and struts
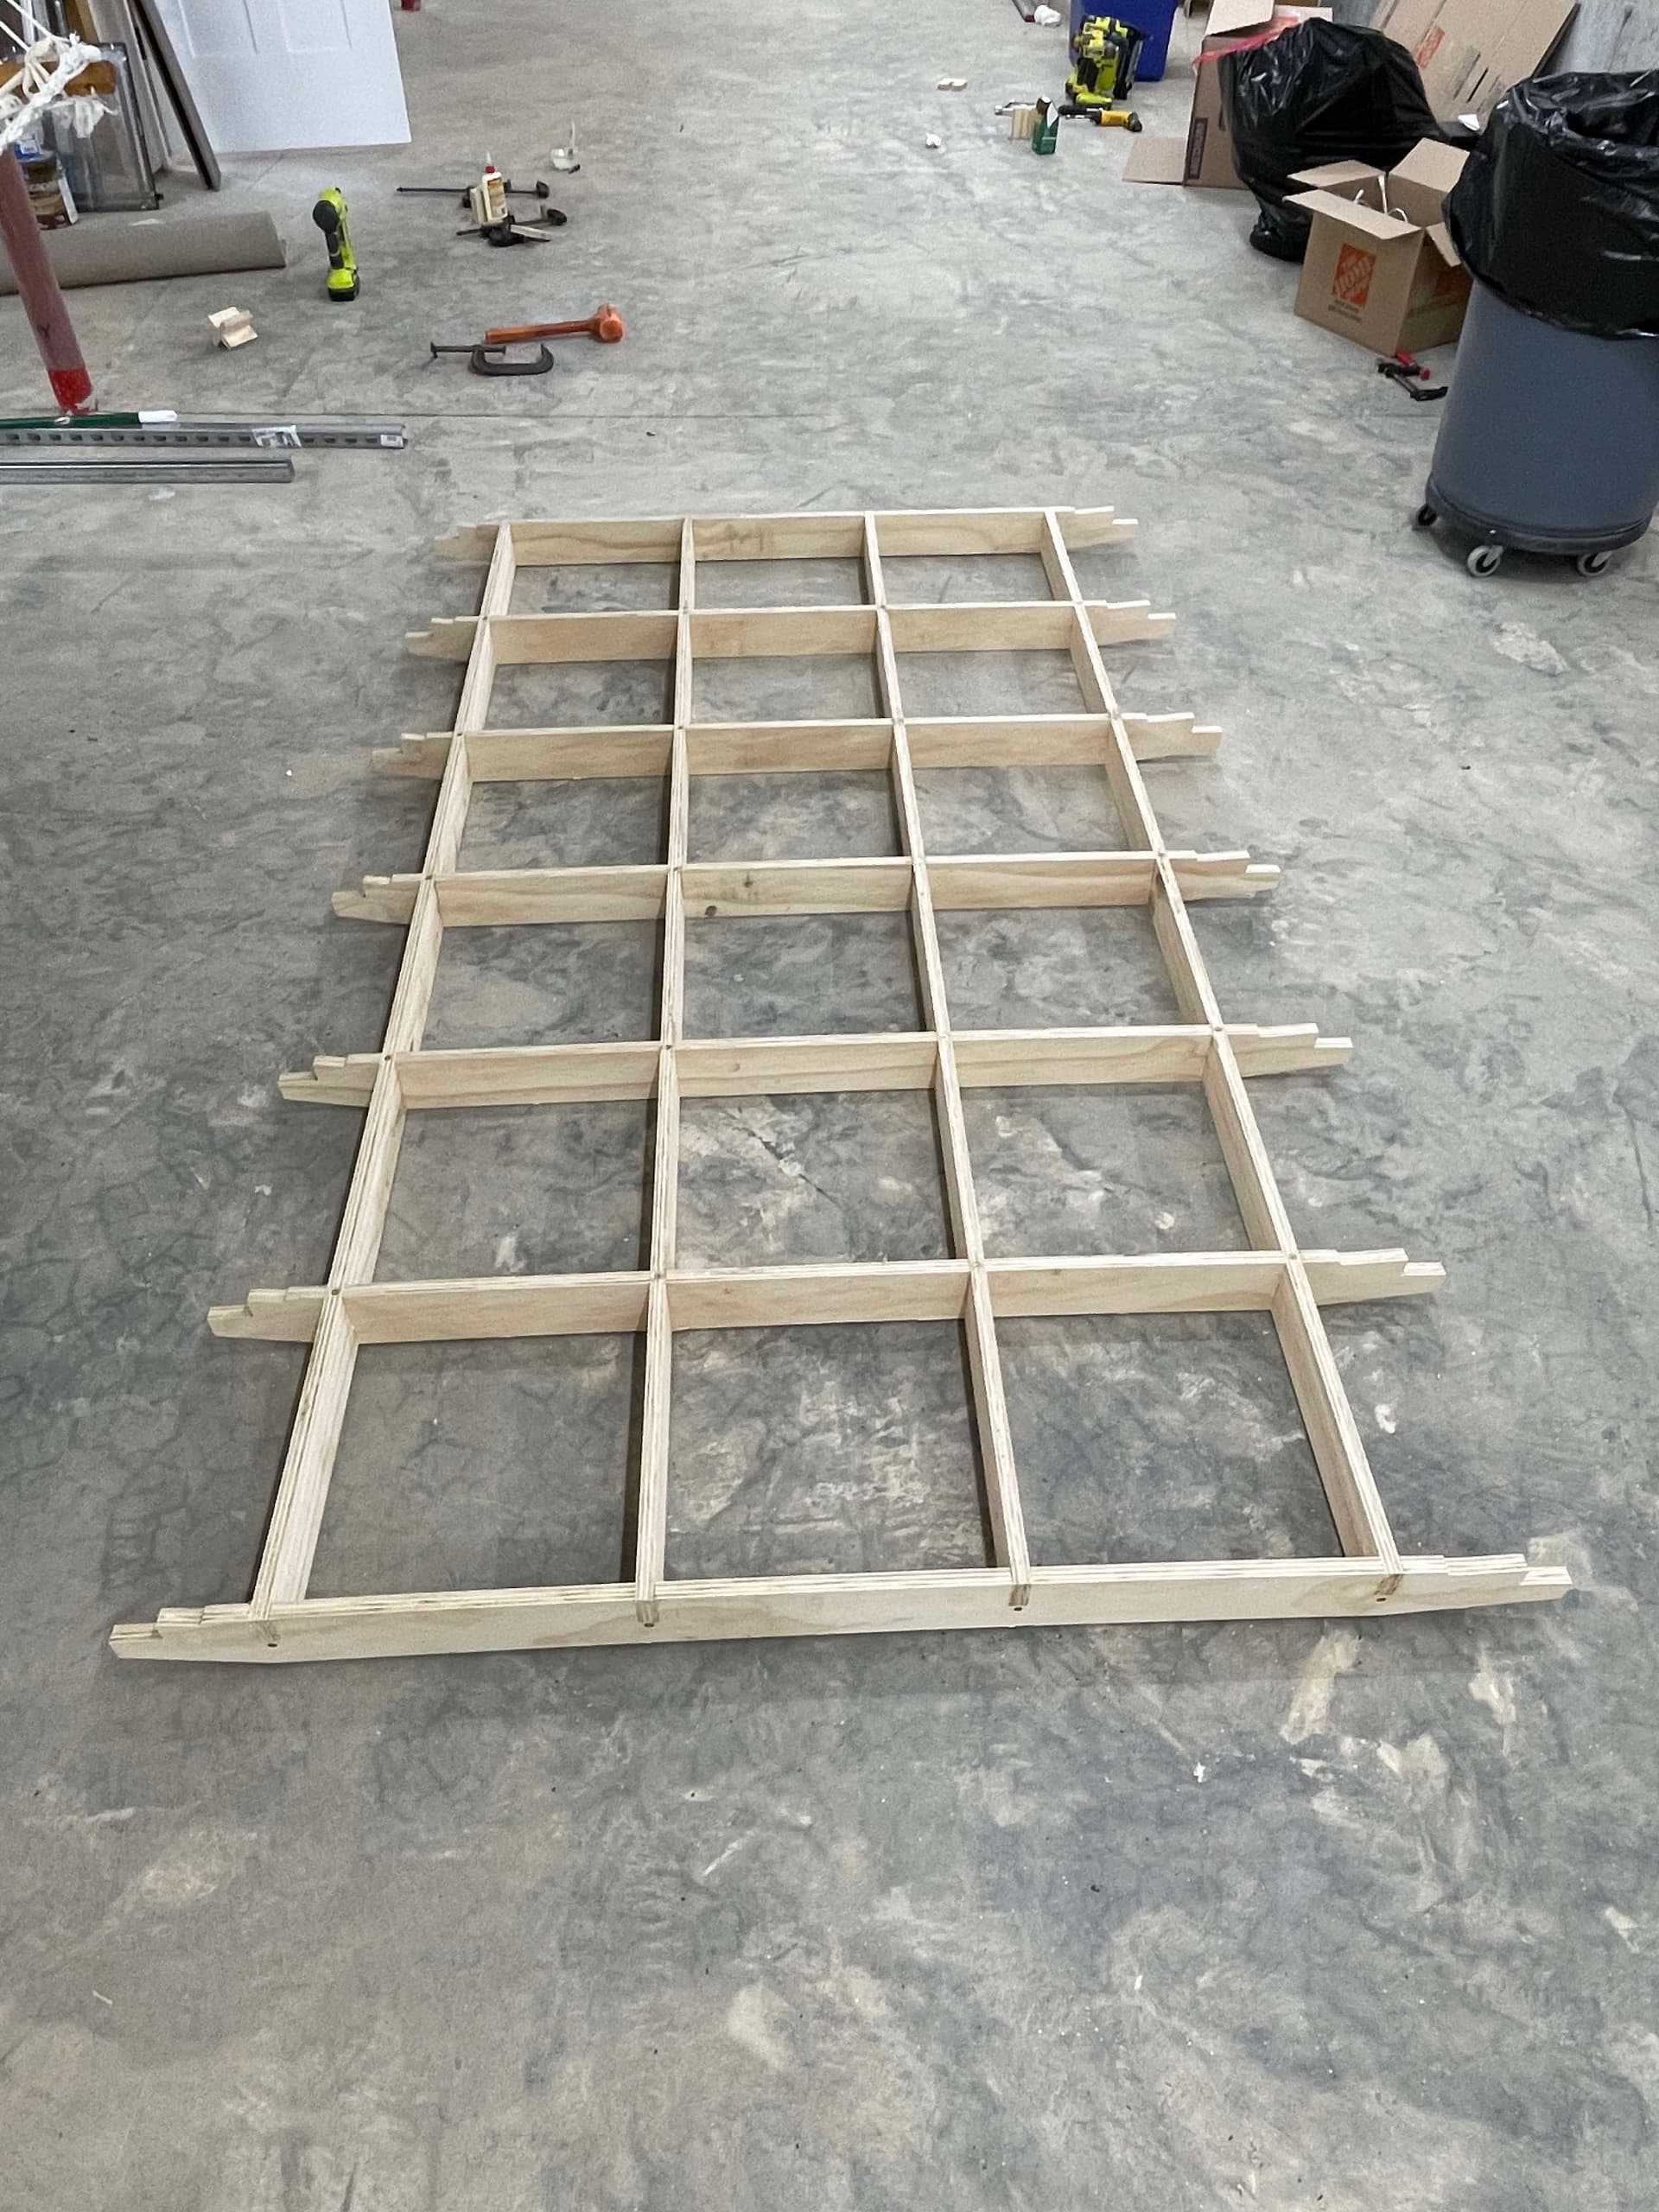
3:Assemble Spars and struts
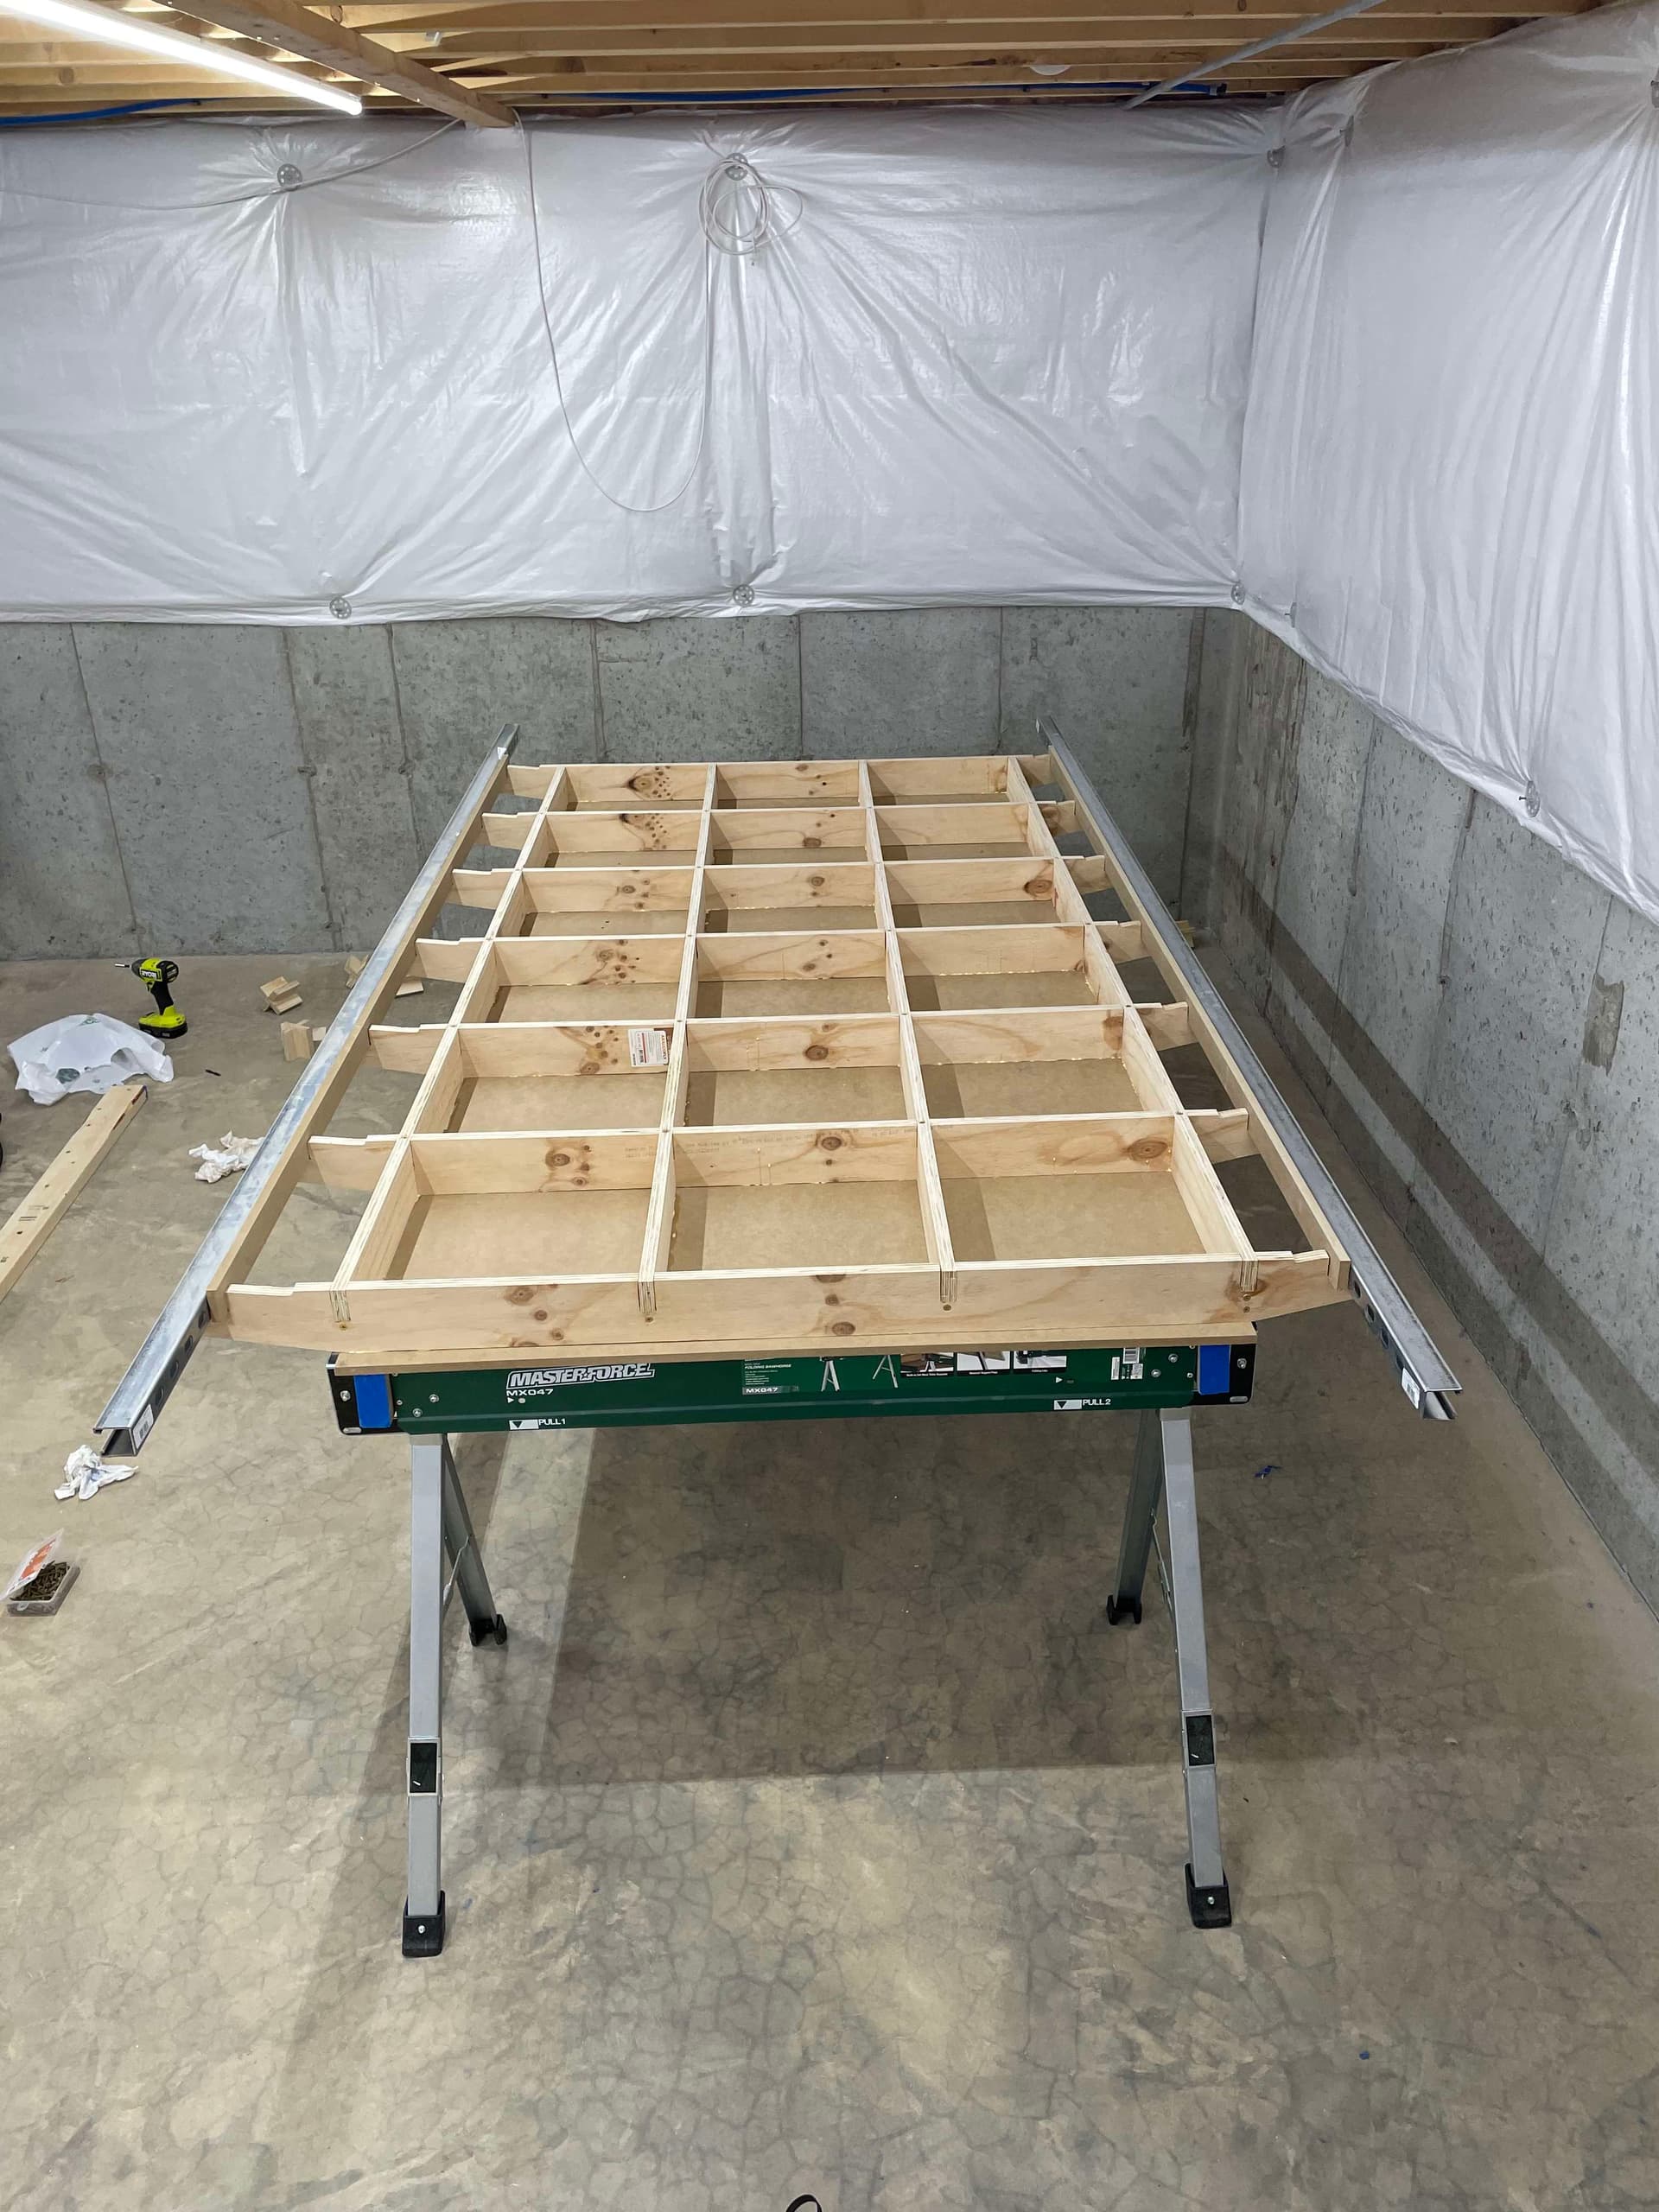
4:Glue and screw bottom of table.
5: Lie in hammock and watch glue dry.
Looking good! Thanks for posting pics and updates!
This has given me a lot to think about as I get close to bootstrapping my own setup. I especially like the track on the ceiling in the Y-axis direction for the vacuum and power. Do those attachment points slide, or are they fixed in place?
Thanks for the design! Just heaving the table on the sawhorses the laser level says I only need to adjust/shim for less than 1/2"
Alex:
They Slide. Wheel Trolley Assembly Rollers
I really like this table idea. Looking forward to seeing how it looks when finished.
Darn it, that is great, using the new product on the floor to make its own table, that is vision right there!!!
Reading is fundamental, “In its default setup, this design is made for a tube length (X axis) of 56.49606″ (1435 mm).” No worries, couple of new pieces of 3/4" EMT and were back in business. I had the standard 1400 mm before I decided to build this table so my brain just fluffed over the X tube length in the docs.
I messed up and made the slots too large on a couple of spars. So I used them to make a Moxon Vise on the end of the table. If I don’t cut down the uni-strut I should get about 5 inches of vertical milling area.
This is what i was going to build recently, but money is short right now! I have always wanted the open end!!!
I’ve been a Star Trek fan since childhood, so maybe some subtle subconscious design nudges happened?
Love the vertical milling area and the pic of the table!
I know its just one piece but the clamps were on sale on amazon. Pony Tools 12", Heavy Duty Press Screw
Install video: Build a Inexpensive Moxon Vise
Without the two 1/2" spacers on the rails the standard 1400mm gantry fits fine.
On the table is the new 1435mm gantry (per table design). I’m printing all new braces because even though I was careful torquing the nuts on the old one, apparently I was not careful enough. On inspection almost every brace on the old gantry has hairline cracks.
Has anyone milled their braces out of plywood or something else?