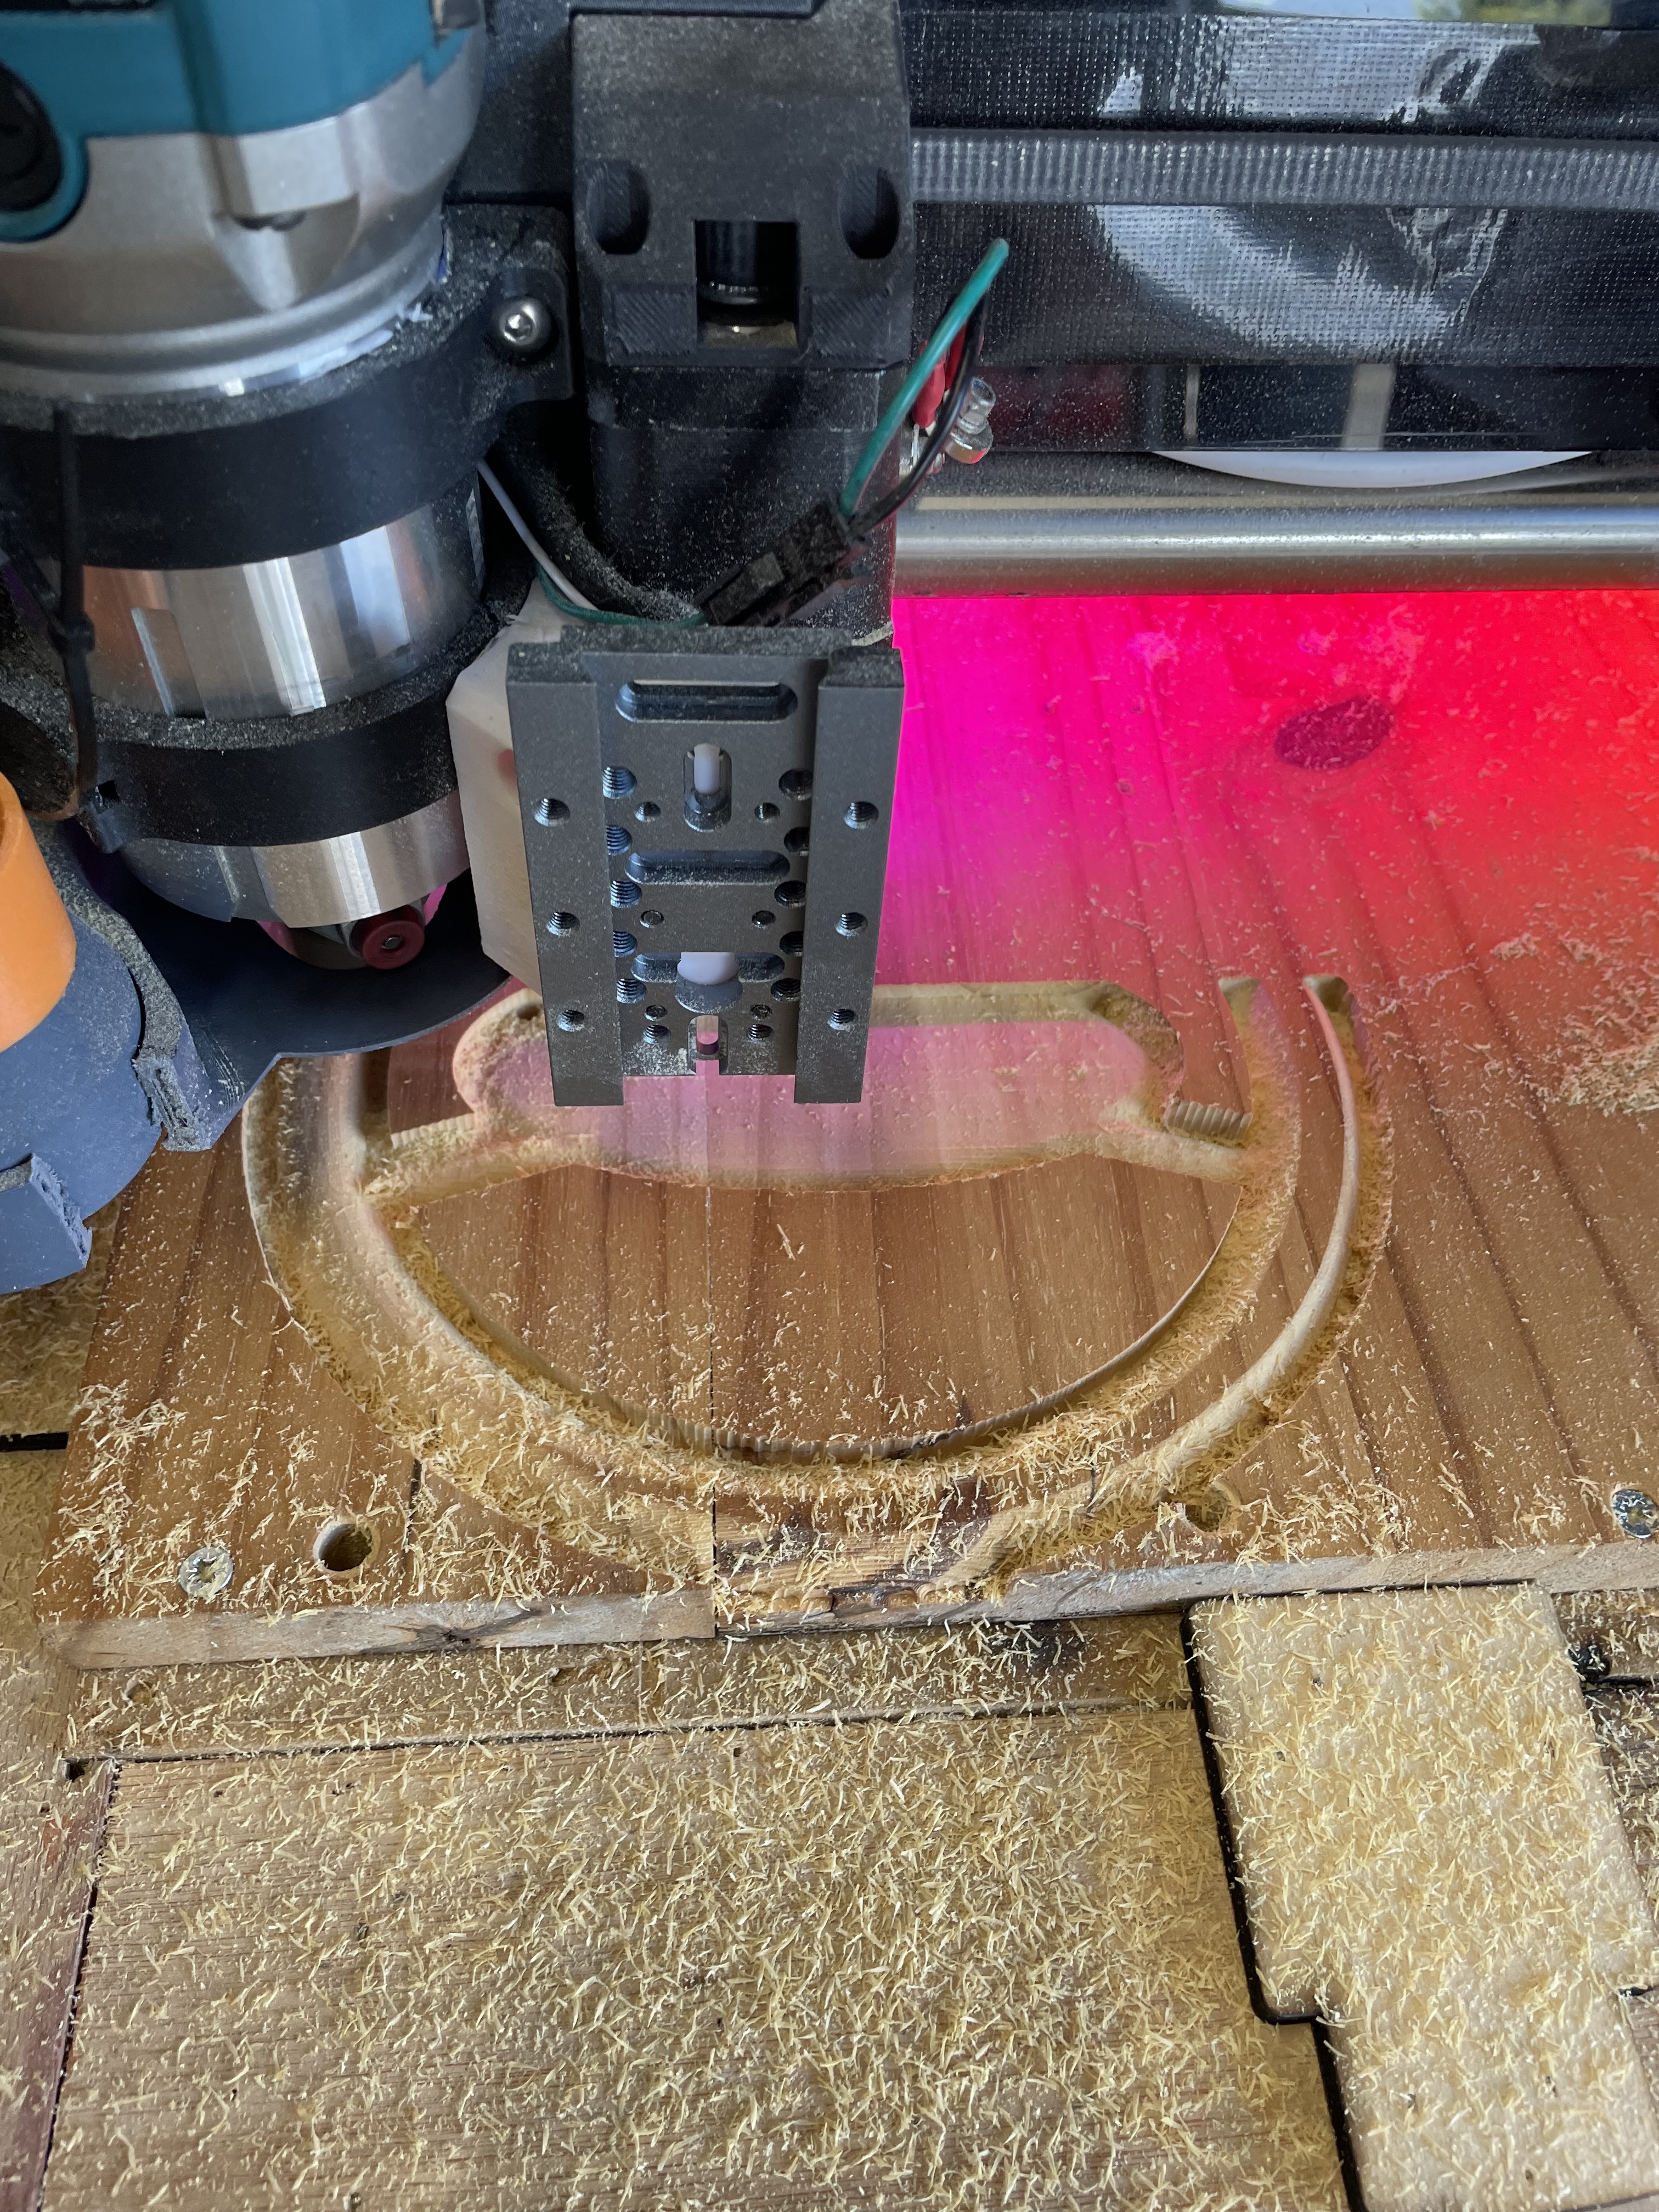
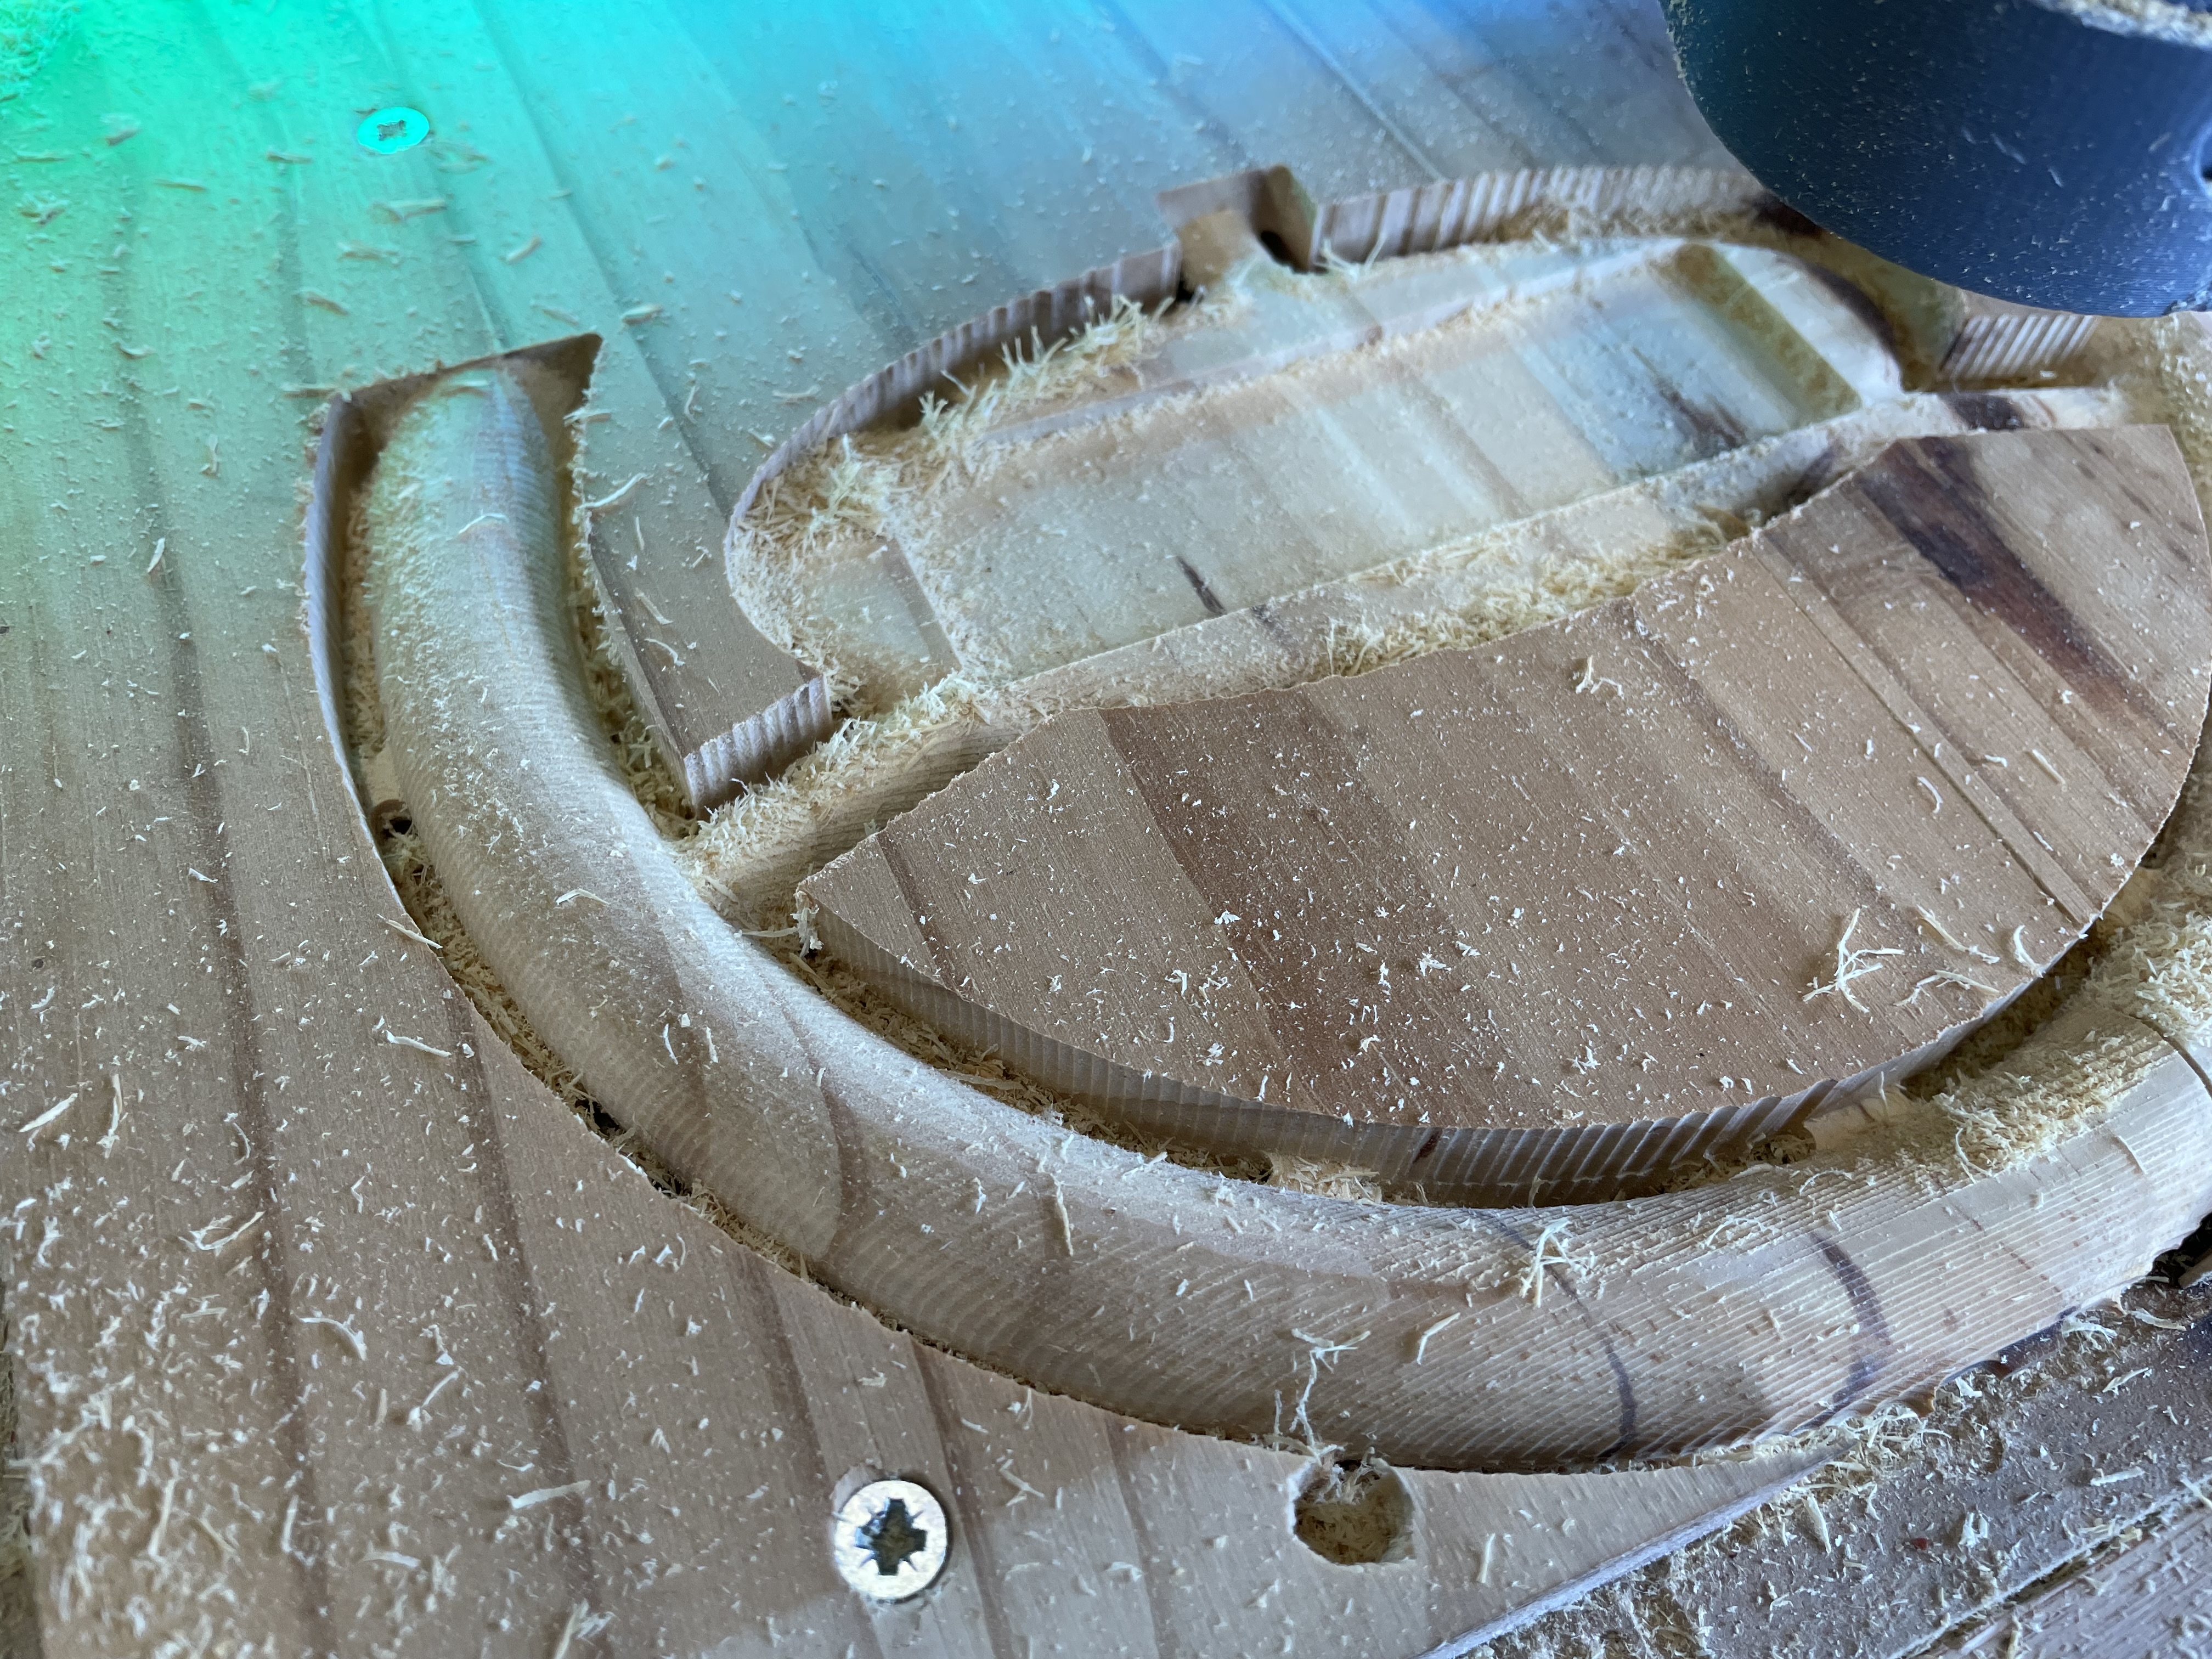
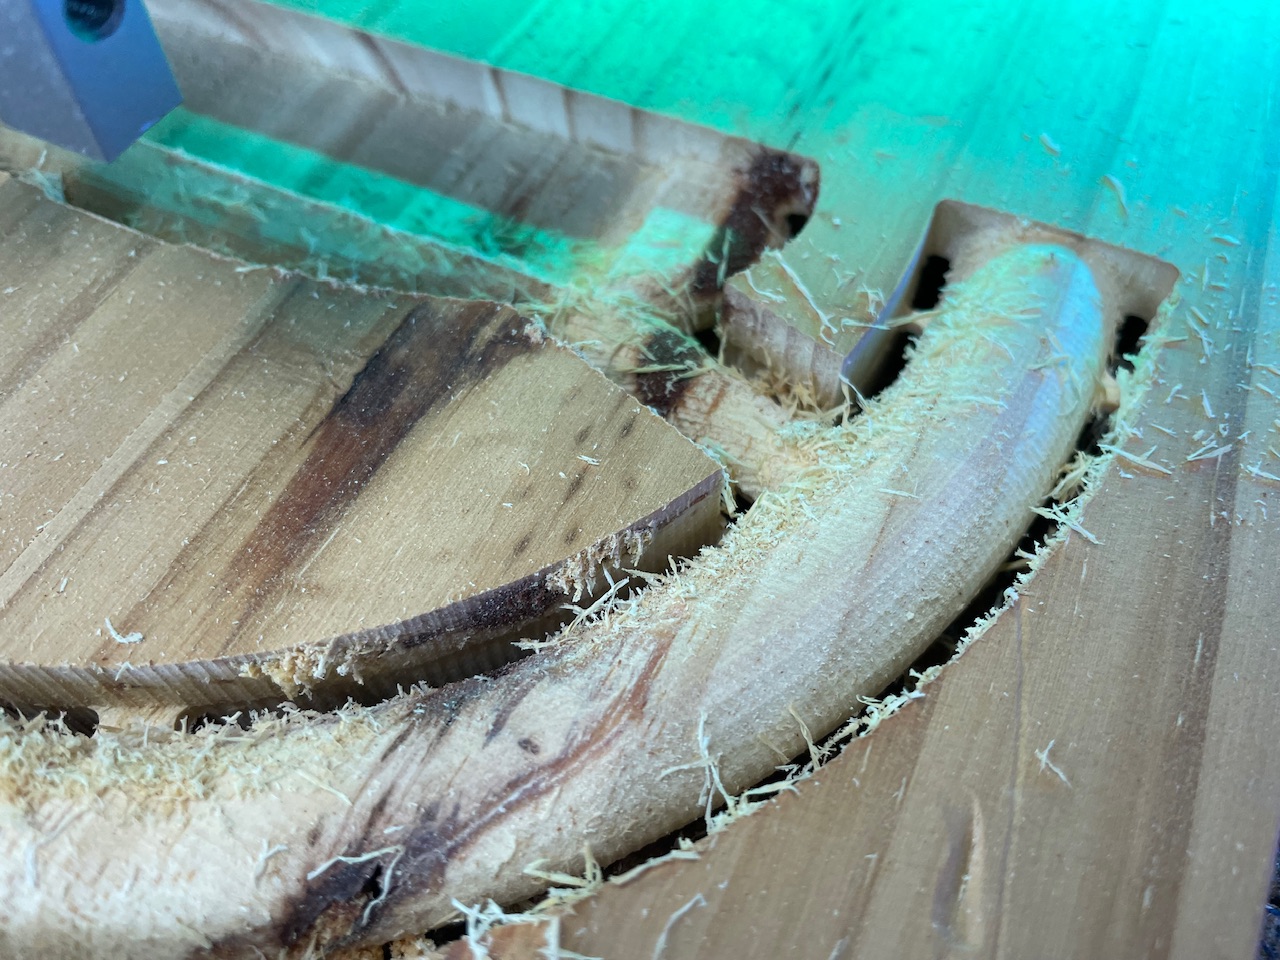
This was my first time doing a 2 sided carve in estlcam. I made a separate job which drilled 4 concentric holes in the 4 corners of the block as estlcam thought it was. This registered the cut when I flipped it over pretty well.
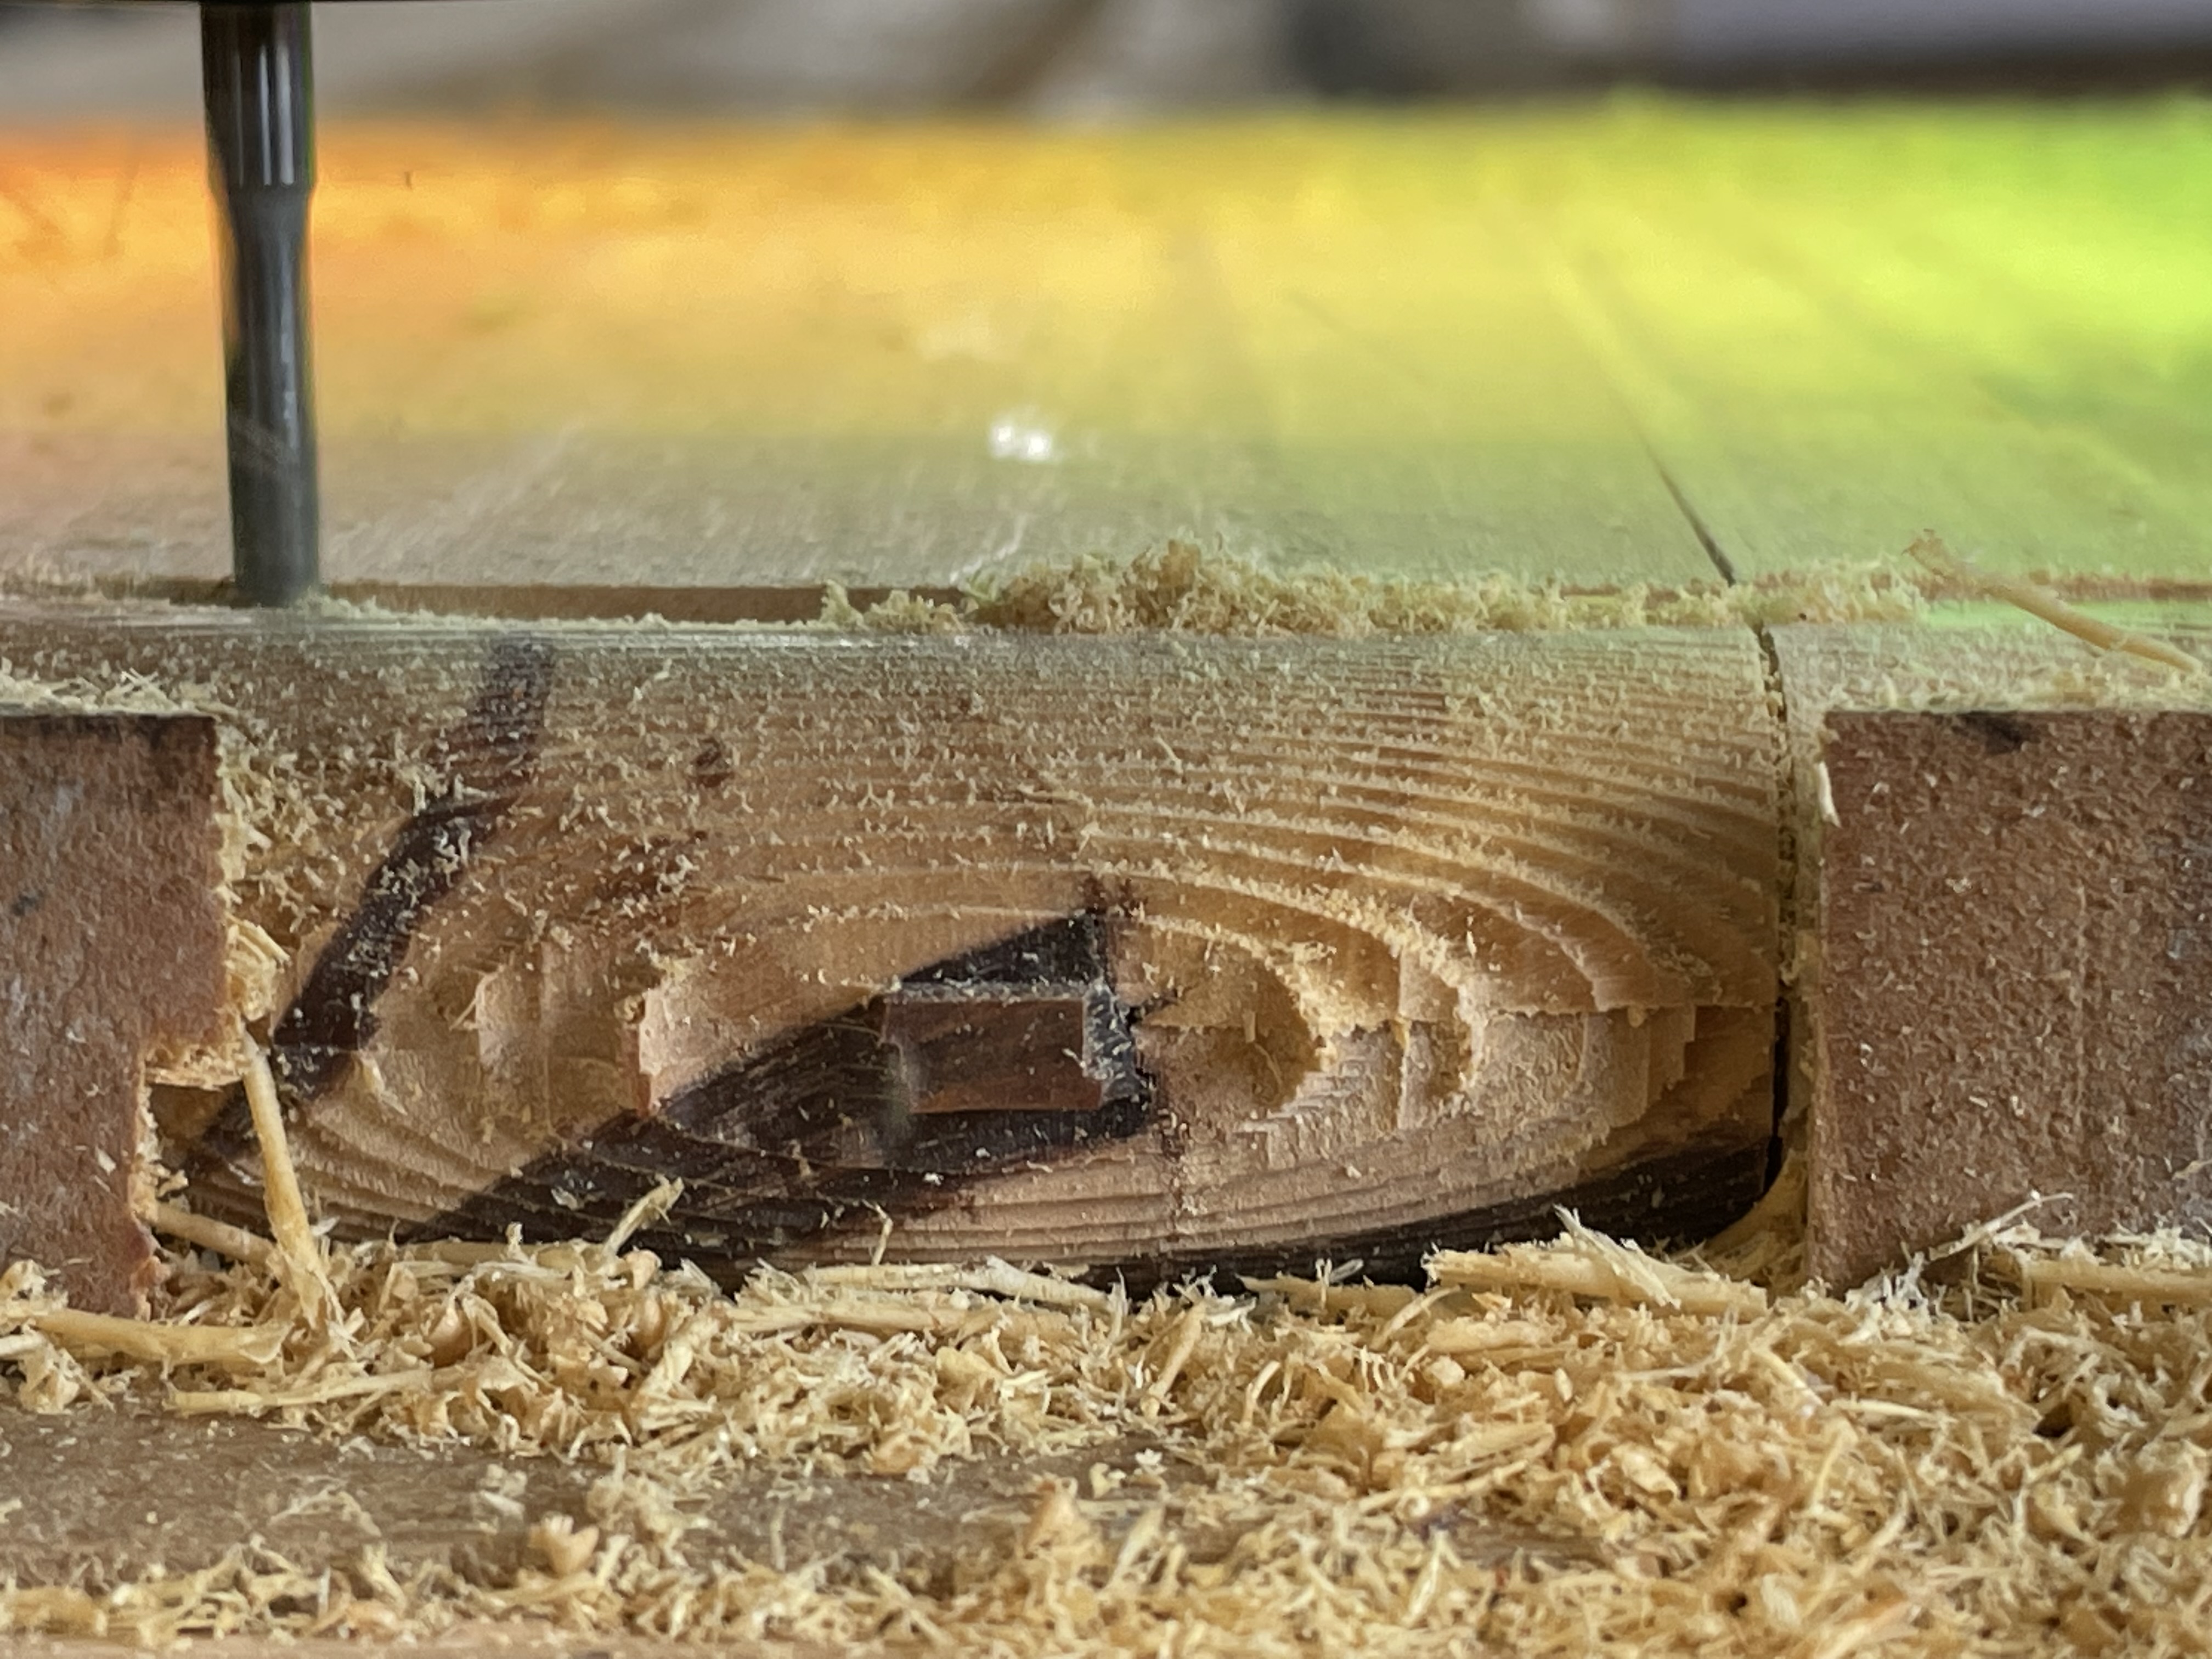
It was only after I started I realised my spoilboard had lifted on one side - I corrected it for the back side cut. I didn’t bother with a routing pss just a 15% finishing pass step over, 3mm DoC and 12mm/s feed. Speed 2 on the router which is not only easier to listen to but keeps the chips from flying too far.
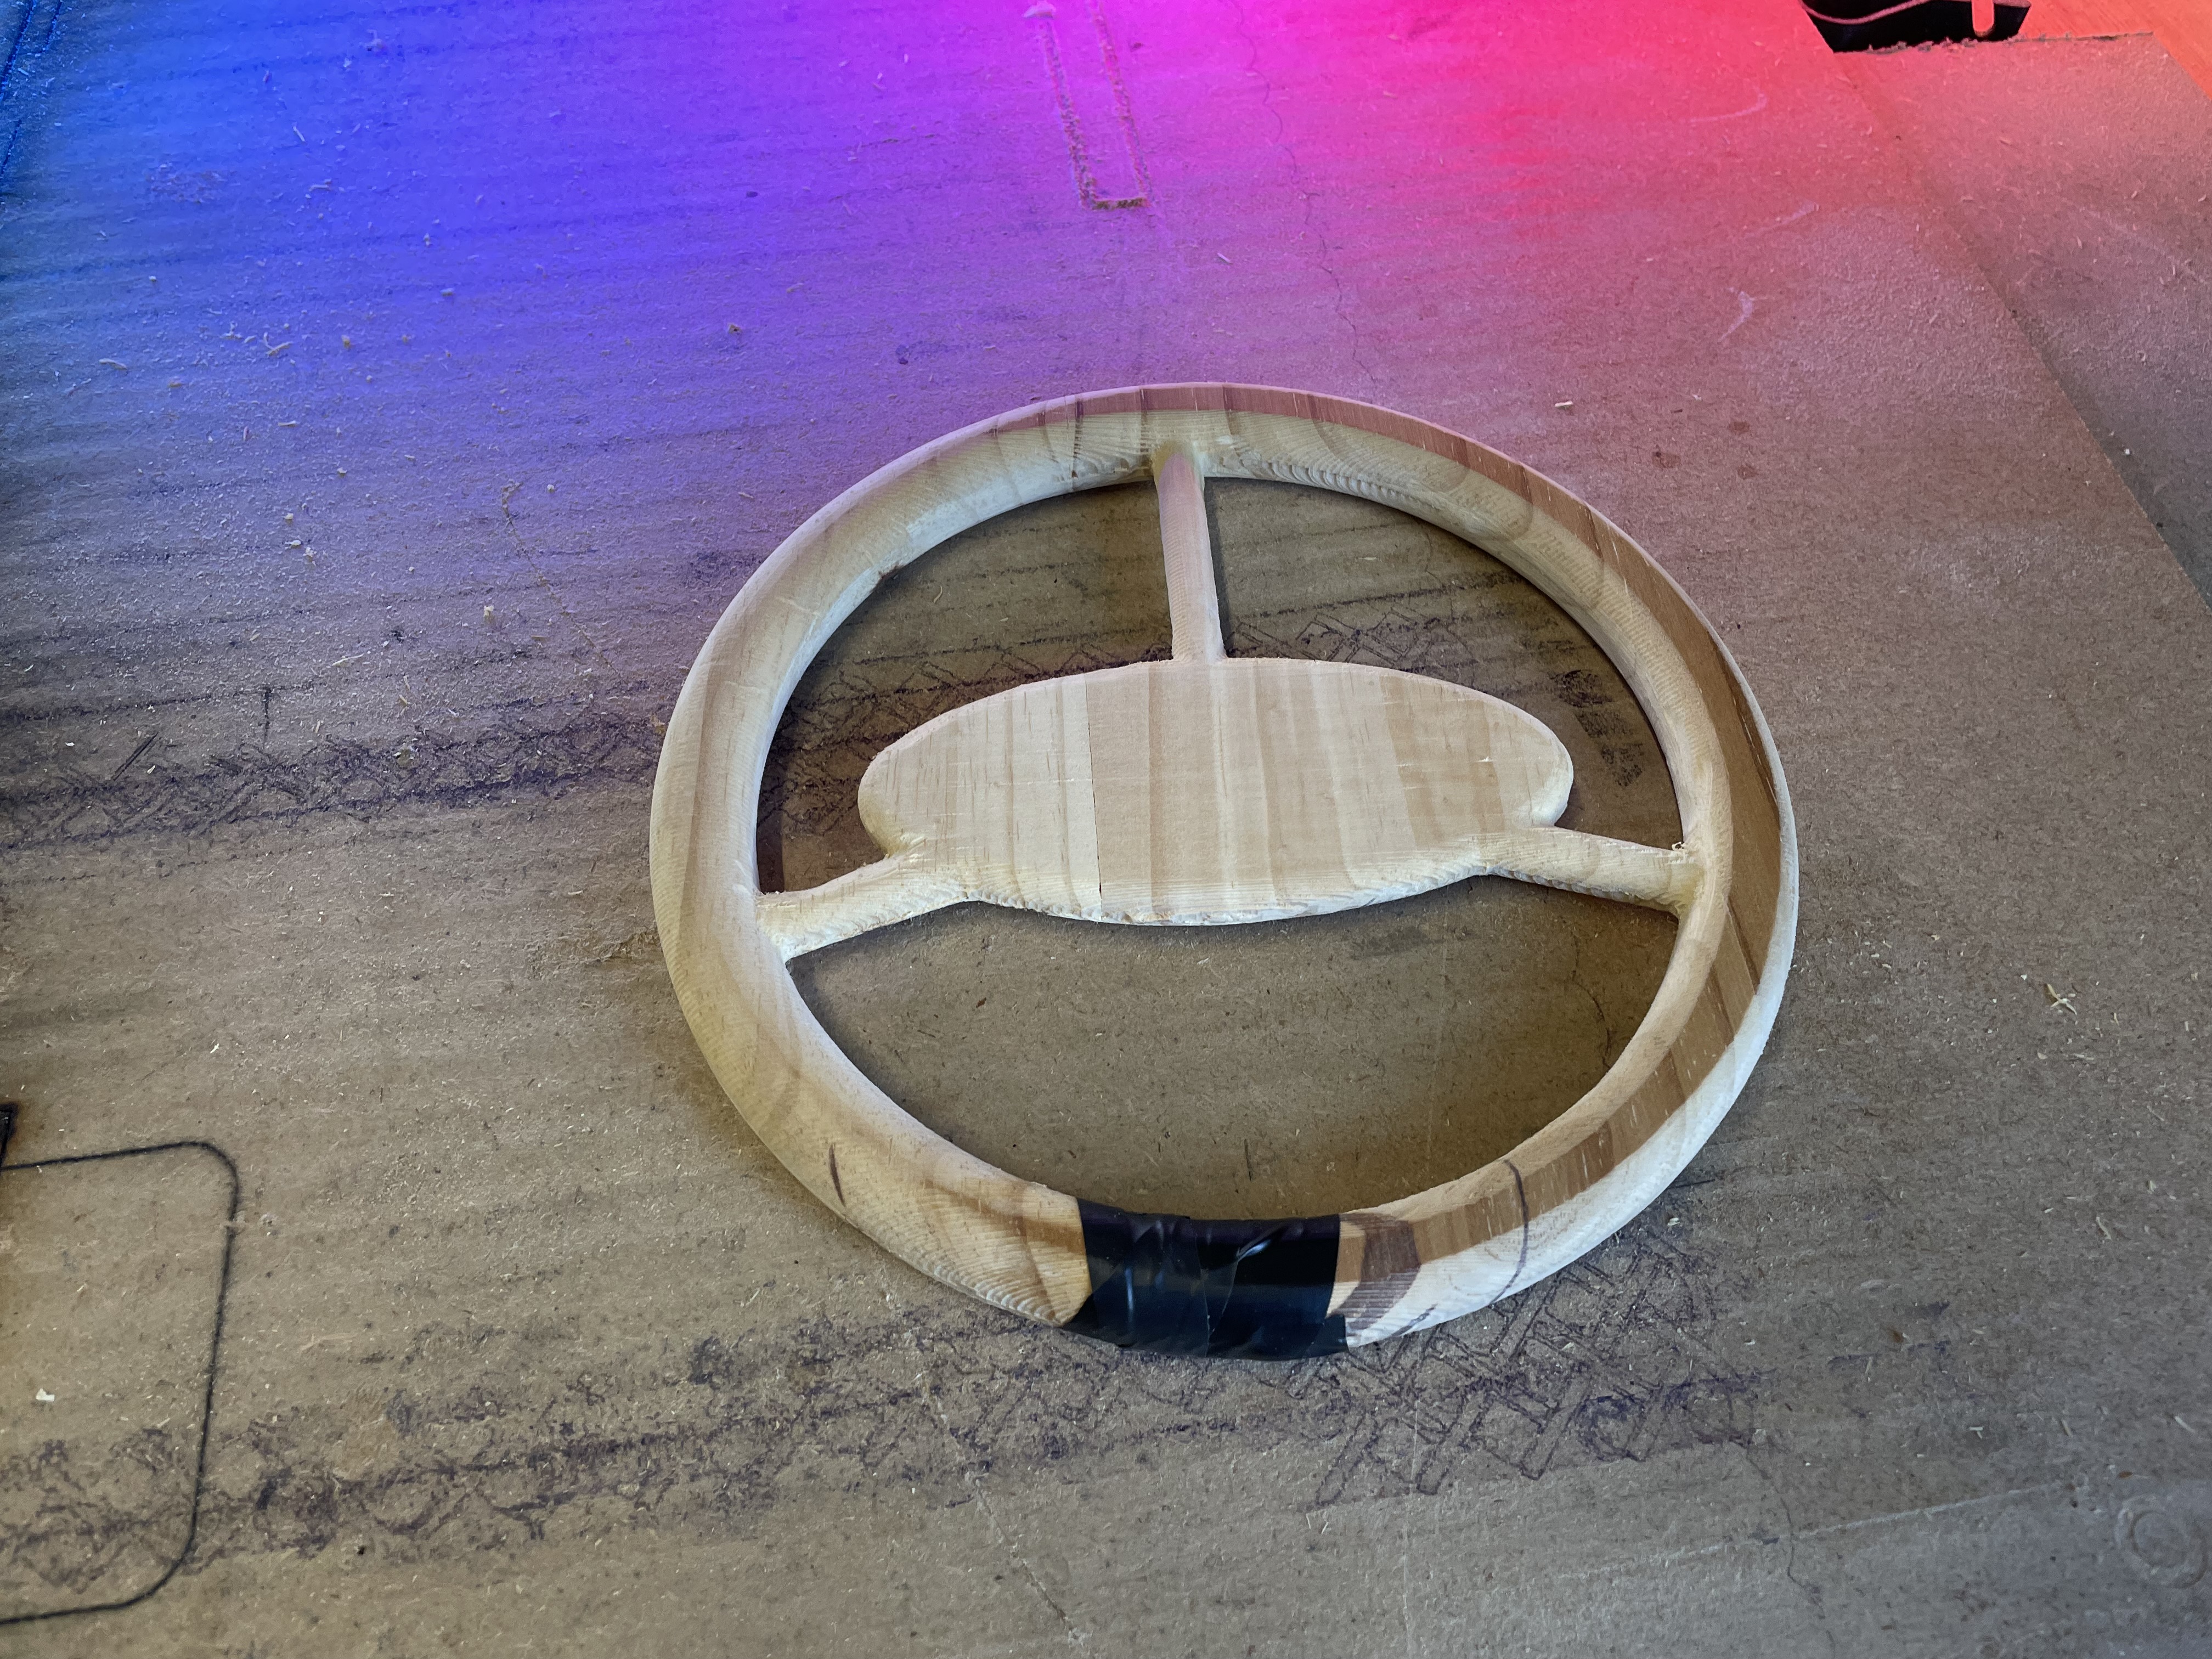
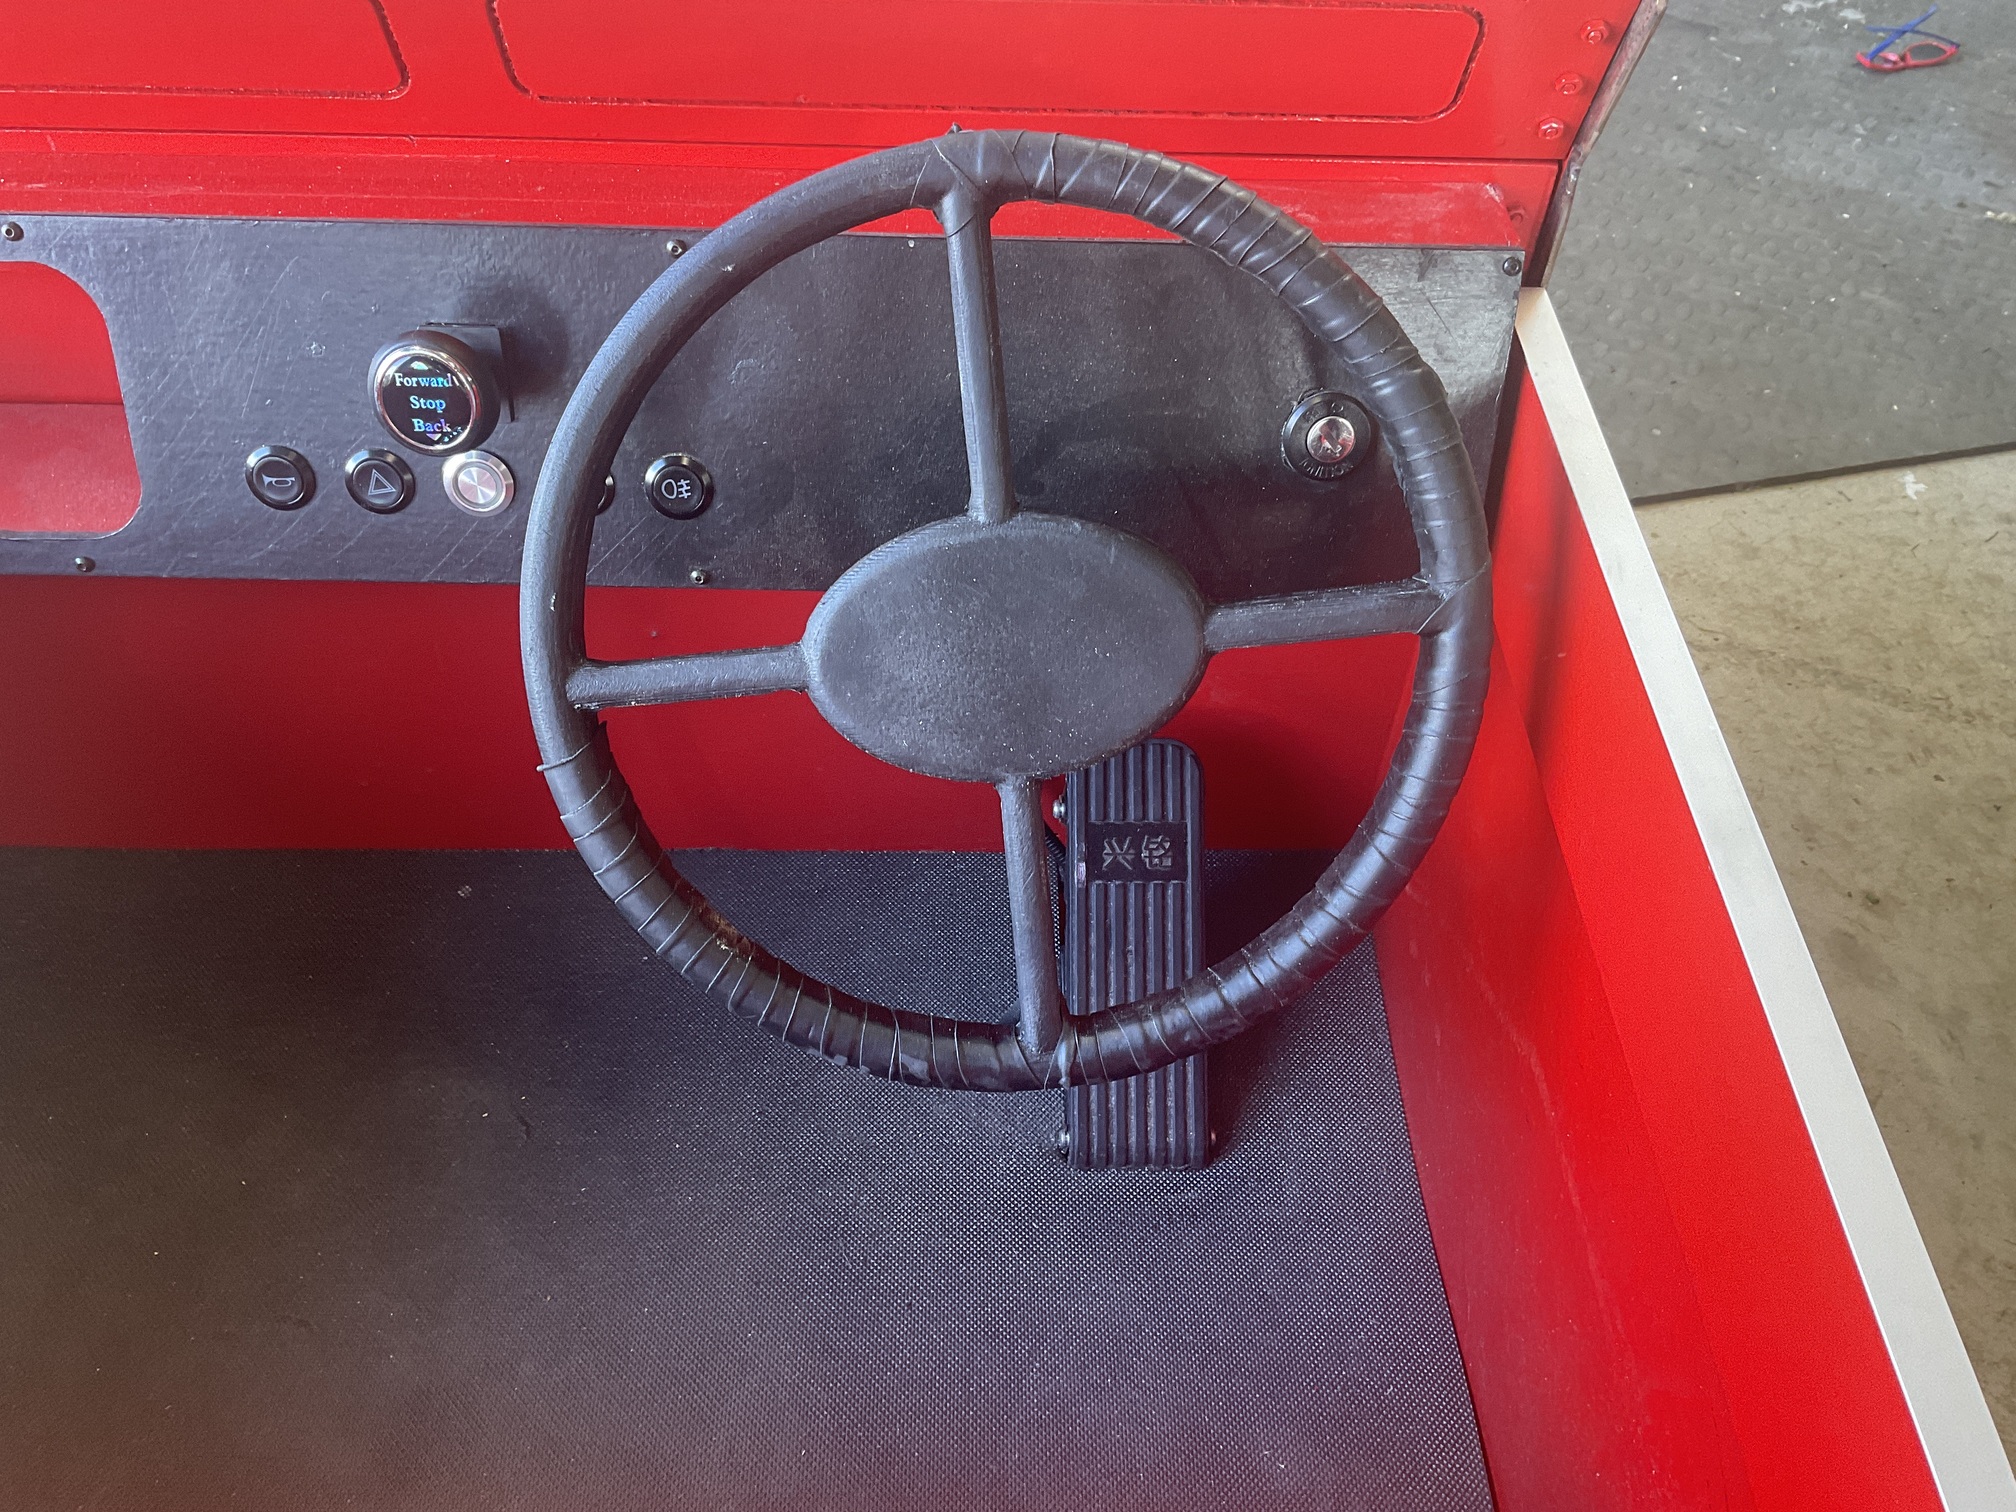
I did wonder when I fired the steering wheel how much abuse it could take.
The answer was: some.
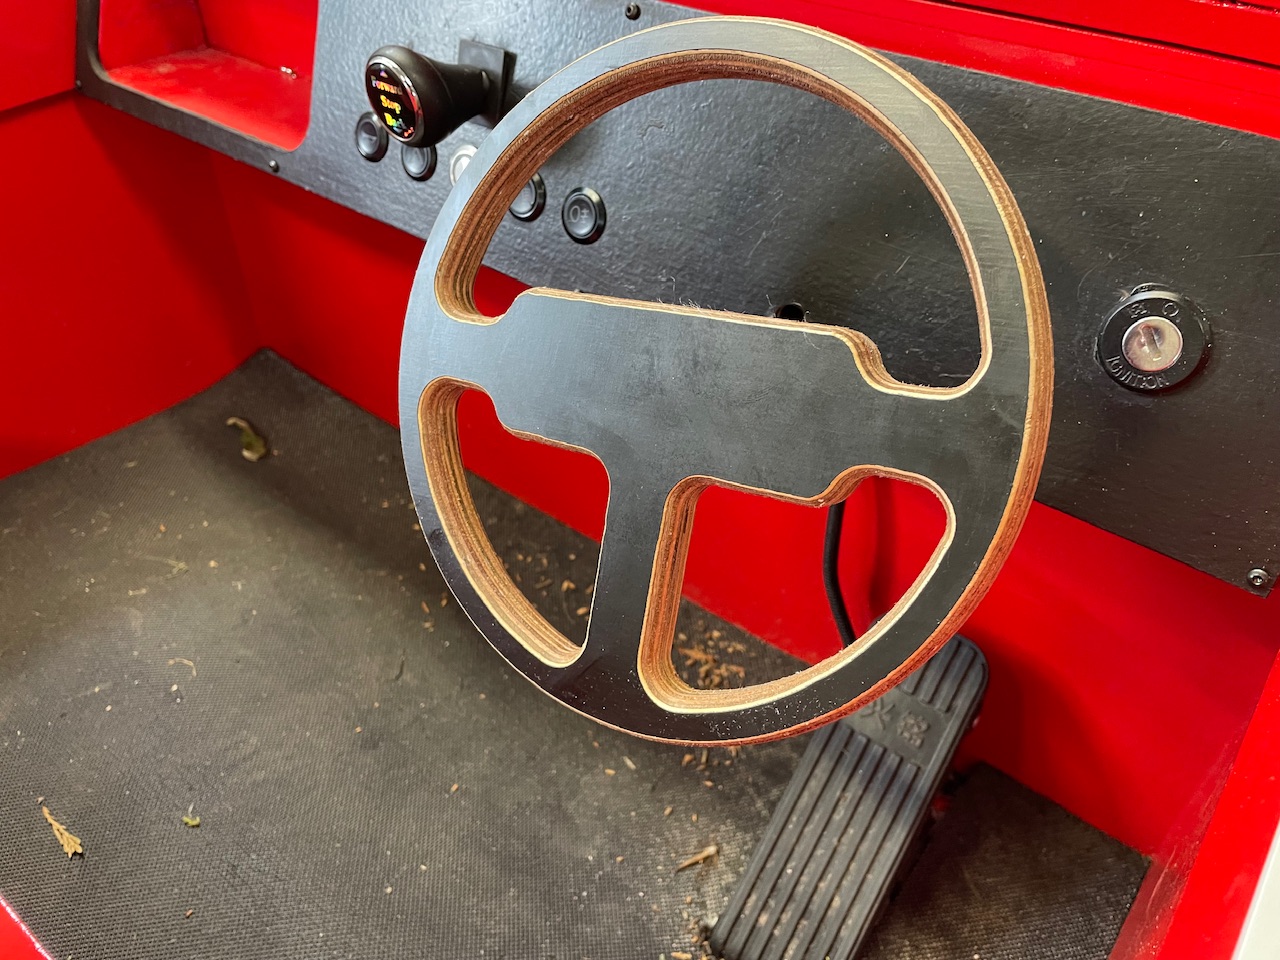
If at first you don’t succeed have some cake try try again
No fancy double sided carving, just straight cut, pocket in the back and a round over bit - the first job on the router table I made. Finished with Superior Danish oil.
Still using that one sheet of 3/4 faced ply I used for the boot rack (amd router table)