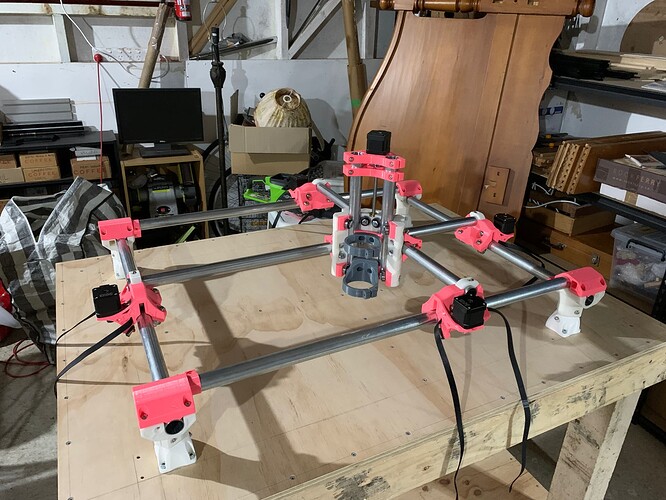
Hey folks. Quick question - I was wondering if I should sand the rails smoother but I’m worried that I will remove the zinc layer and cause the steel to rust. Should I bother sanding it and if so what can I use to replace the protection?
I wouldn’t (and didn’t) bother trying to smooth the galvanized coating on the conduit. The bearings will iron out a smooth path themselves after a little use.
I would remove the bar code labels if they end up somewhere the bearings would roll over them. I’m assuming you’ll pull the dimension tape once you’ve got things put together.
Thanks Tom!
Already done. I used a spray solvent and wire brush to remove them (they we’re plastic backed and surprisingly sticky).
The zinc is toxic too, I believe. So be careful sanding it.
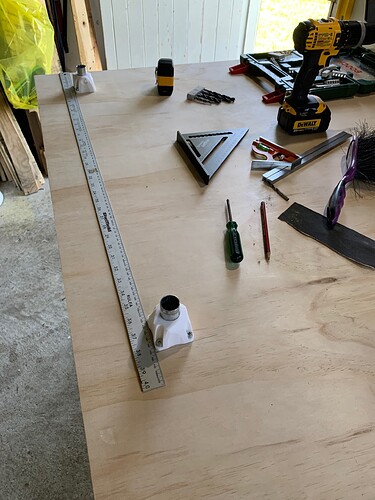
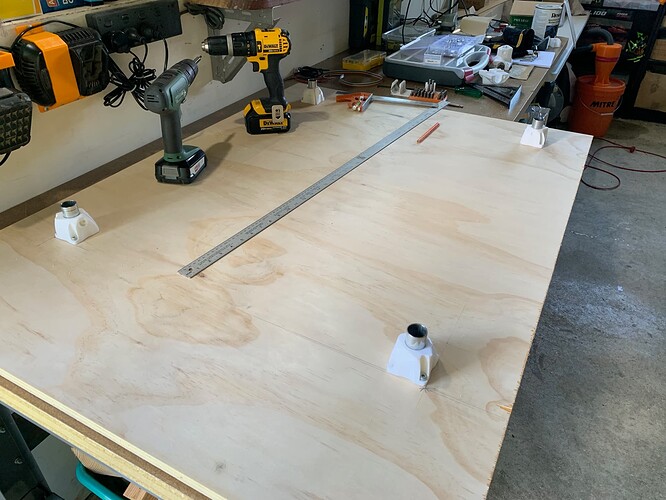
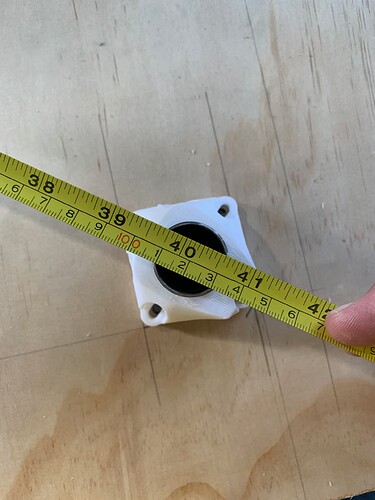
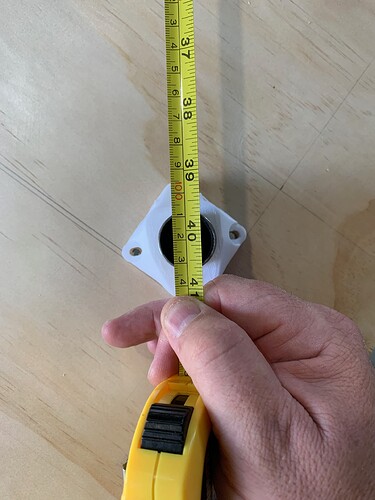
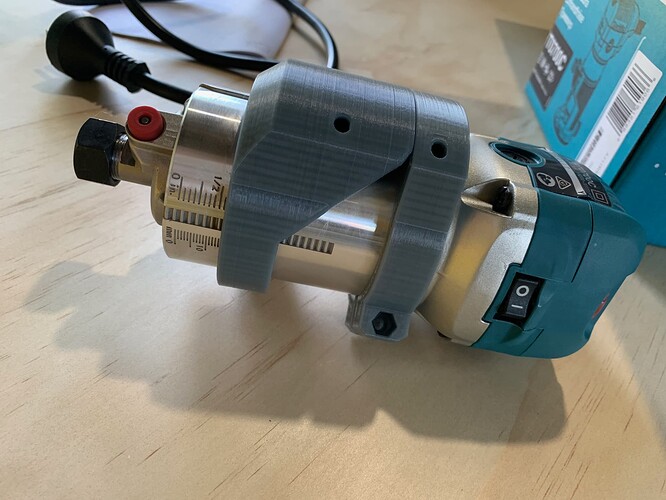
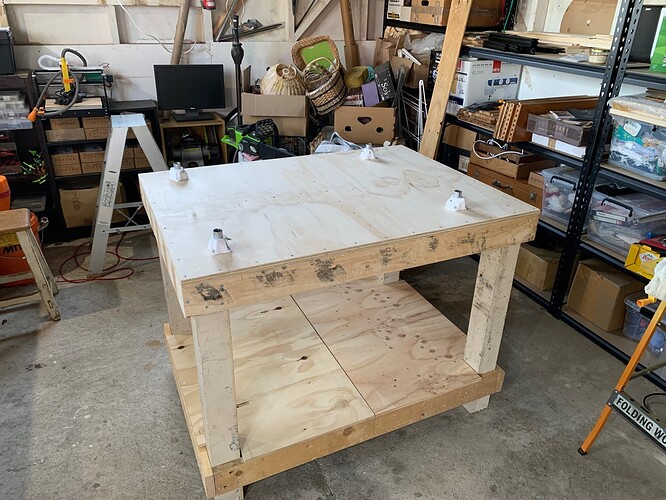
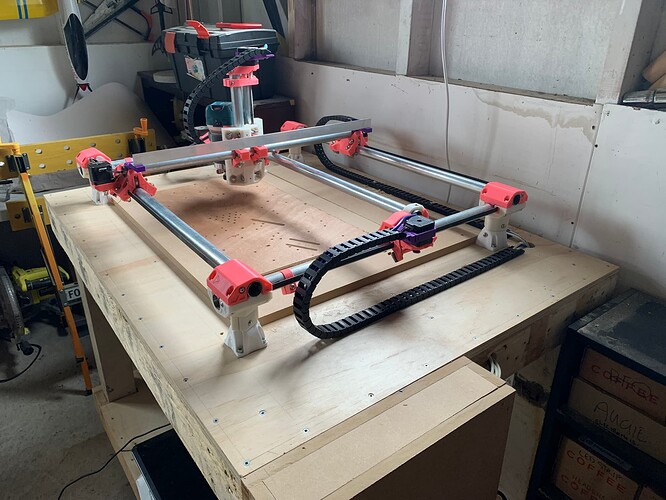
Some more progress today. I went to the hardware store and bought a 1200x1200mm precut piece of 18mm plywood. Feet are now installed and square on the base. I left 100mm on thee sides and about 230mm on the right hand side. This should hopefully give me enough room to put the electronics, etc. I’m very pleased with how square they are. I also printed the Makita tool mount and it fits perfectly so that’s another win.
Yesterday I built the bench for the MPCNC. The only new piece of wood is the above mentioned 18mm ply. Everything else is repurposed; the legs are from a friend’s old carport, the shelf is from an old desk and everything else is from a heavy duty pallet. Given all that, I am super pleased with how straight and level it is - some of the source material was pretty warped.
All my screws arrived today from AliExpress and the USPS tracker says all the other parts will be arriving this week sometime. Exciting!
So the machine is moving. I did a custom build of Marlin for the MKS Gen L board which I had lying around from an old 3D printer. I’ve got it homing and calibrated the steps/mm. Printing a case for it off thingiverse tonight. Looking forward to my first cut soon!
Straight to getting it dirty, no crown? Neato. 
So I’ve spent the week working with @Paciente8159 on getting µCNC working on my machine. It’s almost working, but still has some tweaking to go.
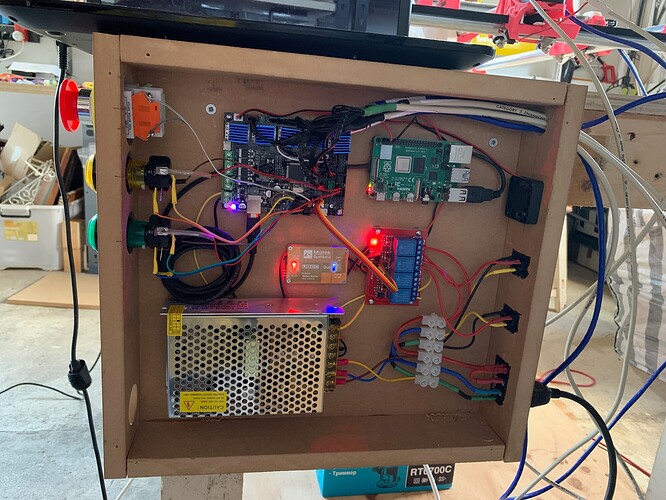
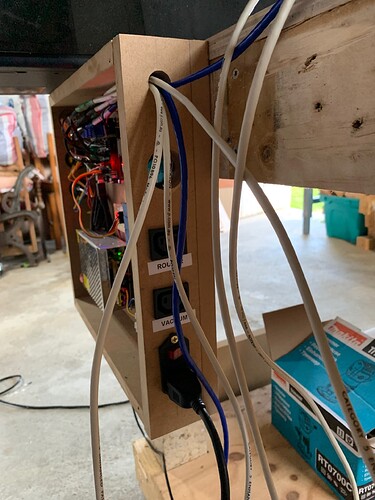
This weekend I spent my time building and wiring up the electronics box. I’m using a 24V power supply connected to the controller, and via an RC BEC (left over from an old robotics project) to a 4 channel 12V relay and a Raspberry Pi 4.
With the relay I can turn the 24V input on and off to the controller, as well as the two external mains power connections which I have set up in the controller to turn on and off the first with M3…5 and the second with M7…9.
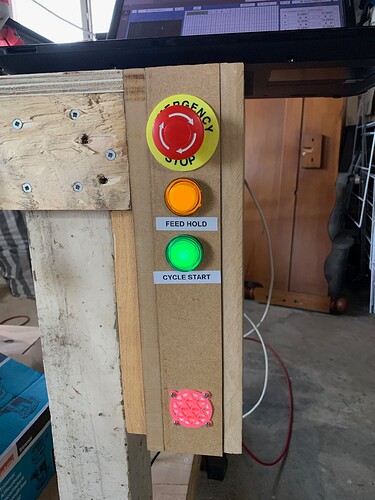
I also have the emergency stop, feed hold and cycle start wired up, the two arcade buttons have illumination which can be controlled with M42 commands, although I plan on figuring out how to make them work with the hold and rescume cycles.
Also, the fan blows out of the back and I cut out a bit of N95 on the air vent at the front.
Feel free to ask me any questions.
Awesome  .
.
If you want to add additional relay outputs you can do it by creating a custom G/MCode module on µCNC instead of the M42 module extension to control IO on your board.
The hold and cycle enable signal Light can be also controlled by hooking one of main loop cycles callback and turning them on and off depending on the cnc internal state.
EDIT: I’ve added an example of this on github
I added a file in the modules directory called signal_lights.c with this code:
#include "../cnc.h"

#ifdef ENABLE_MAIN_LOOP_MODULES

#define HOLD_LIGHT DOUT5
#define RESUME_LIGHT DOUT6

void control_signal_lights(void);

CREATE_LISTENER(cnc_dotasks_delegate, control_signal_lights);

void control_signal_lights(void)
{
    if (cnc_get_exec_state(EXEC_HOLD))
    {
        io_set_output(HOLD_LIGHT, true);
        io_set_output(RESUME_LIGHT, false);
    }
    else
    {
        io_set_output(HOLD_LIGHT, false);
        io_set_output(RESUME_LIGHT, true);
    }
}

#endif
and enabled ENABLE_MAIN_LOOP_MODULES on cnc_config.h
Of course you will be having to assign DOUT5 and DOUT6 on your boardmap file to any free pins on your board.
EDIT: Forgot one last step that is add the listener to modules_init. I’ll fix the code as soon as I’m near the PC.
EDIT2: Just updated the example. Added some comments explaining how to add modules in two different ways. Lol I really have to start working on my documentation 
I’ve added an entry on the wiki that briefly explains how to implement and use custom modules on µCNC and how the modules emulate the C# events similar approach.
Forgive me if I mess up the concepts a bit but my C# is a little rusty. 
Hope it helps.
Nice work. I will be spending some time on the code over the next few weeks as I start getting more serious about cutting.
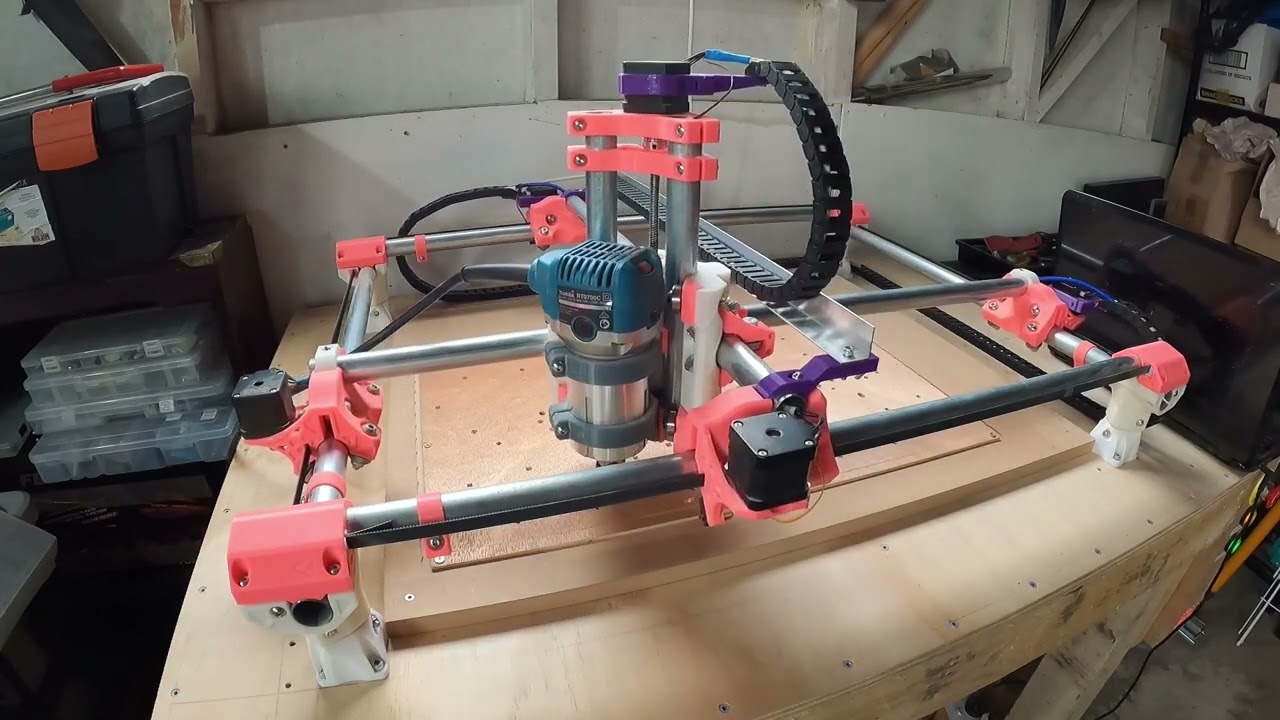
A small update for tonight. My drag chains arrived on Friday, so I spent some of Saturday going to the hardware store to get some aluminium and printing various attachments and a chunk of today figuring out how I wanted it all to work. This included unsoldering and resoldering a bunch of the cables because they were about 30cm too short. Super frustrating. Didn’t take a photo because it was getting too dark, so I’ll grab one tomorrow and update here.
Here’s the promised photo. I used a combination of parts from Thingiverse:
- MPCNC Primo Z Bar Drag Chain Mount 25.4mm tubing for the aluminium channel for the Z chain.
- MPCNC Primo Drag Chain Mount on Nema 17 for the rest.
Hi James did you 3D print the holder for the Makita Router or did you buy it. I have been using a Ozito plunge router but now have a variable speed 65mm router and want to change the mounting bracket. If you 3D printed could you do one for me please and I’ll pay you for it.
P.S I live in Taupo NZ
I printed it - it’s from the V1 MPCNC tool mounts repo. Mate, how did you build an MPCNC without a printer?!
