This post is all about my Primo. I started a Burly back in April 2020 and learned quite a bit about the process and the MPCNC capabilities. When the Primo came out, I knew I wanted to give the supporting systems an update when I upgraded. I think I have a unique approach to the stand and enclosure, so I thought it would be helpful to contribute. I spent many hours digging through posts to get ideas and learn from my first table made of 2x4s. I also want to be transparent with costs.
Thanks, Ryan for a great platform. I’m glad to be a MPCNC owner and look forward to being part of the community.
Feel free to ask questions or make comments. I hope to post more laser info later.
Edit 1: minor corrections 11/8/20
Edit 2: forgot some pics 11/8/20
-Tom
Agenda
- Pics
- Build Details
- Cost Breakdown
- Total Cost (and alternatives)
- Things acquired along the way (and things I didn’t need)
- Cost Detail spreadsheet
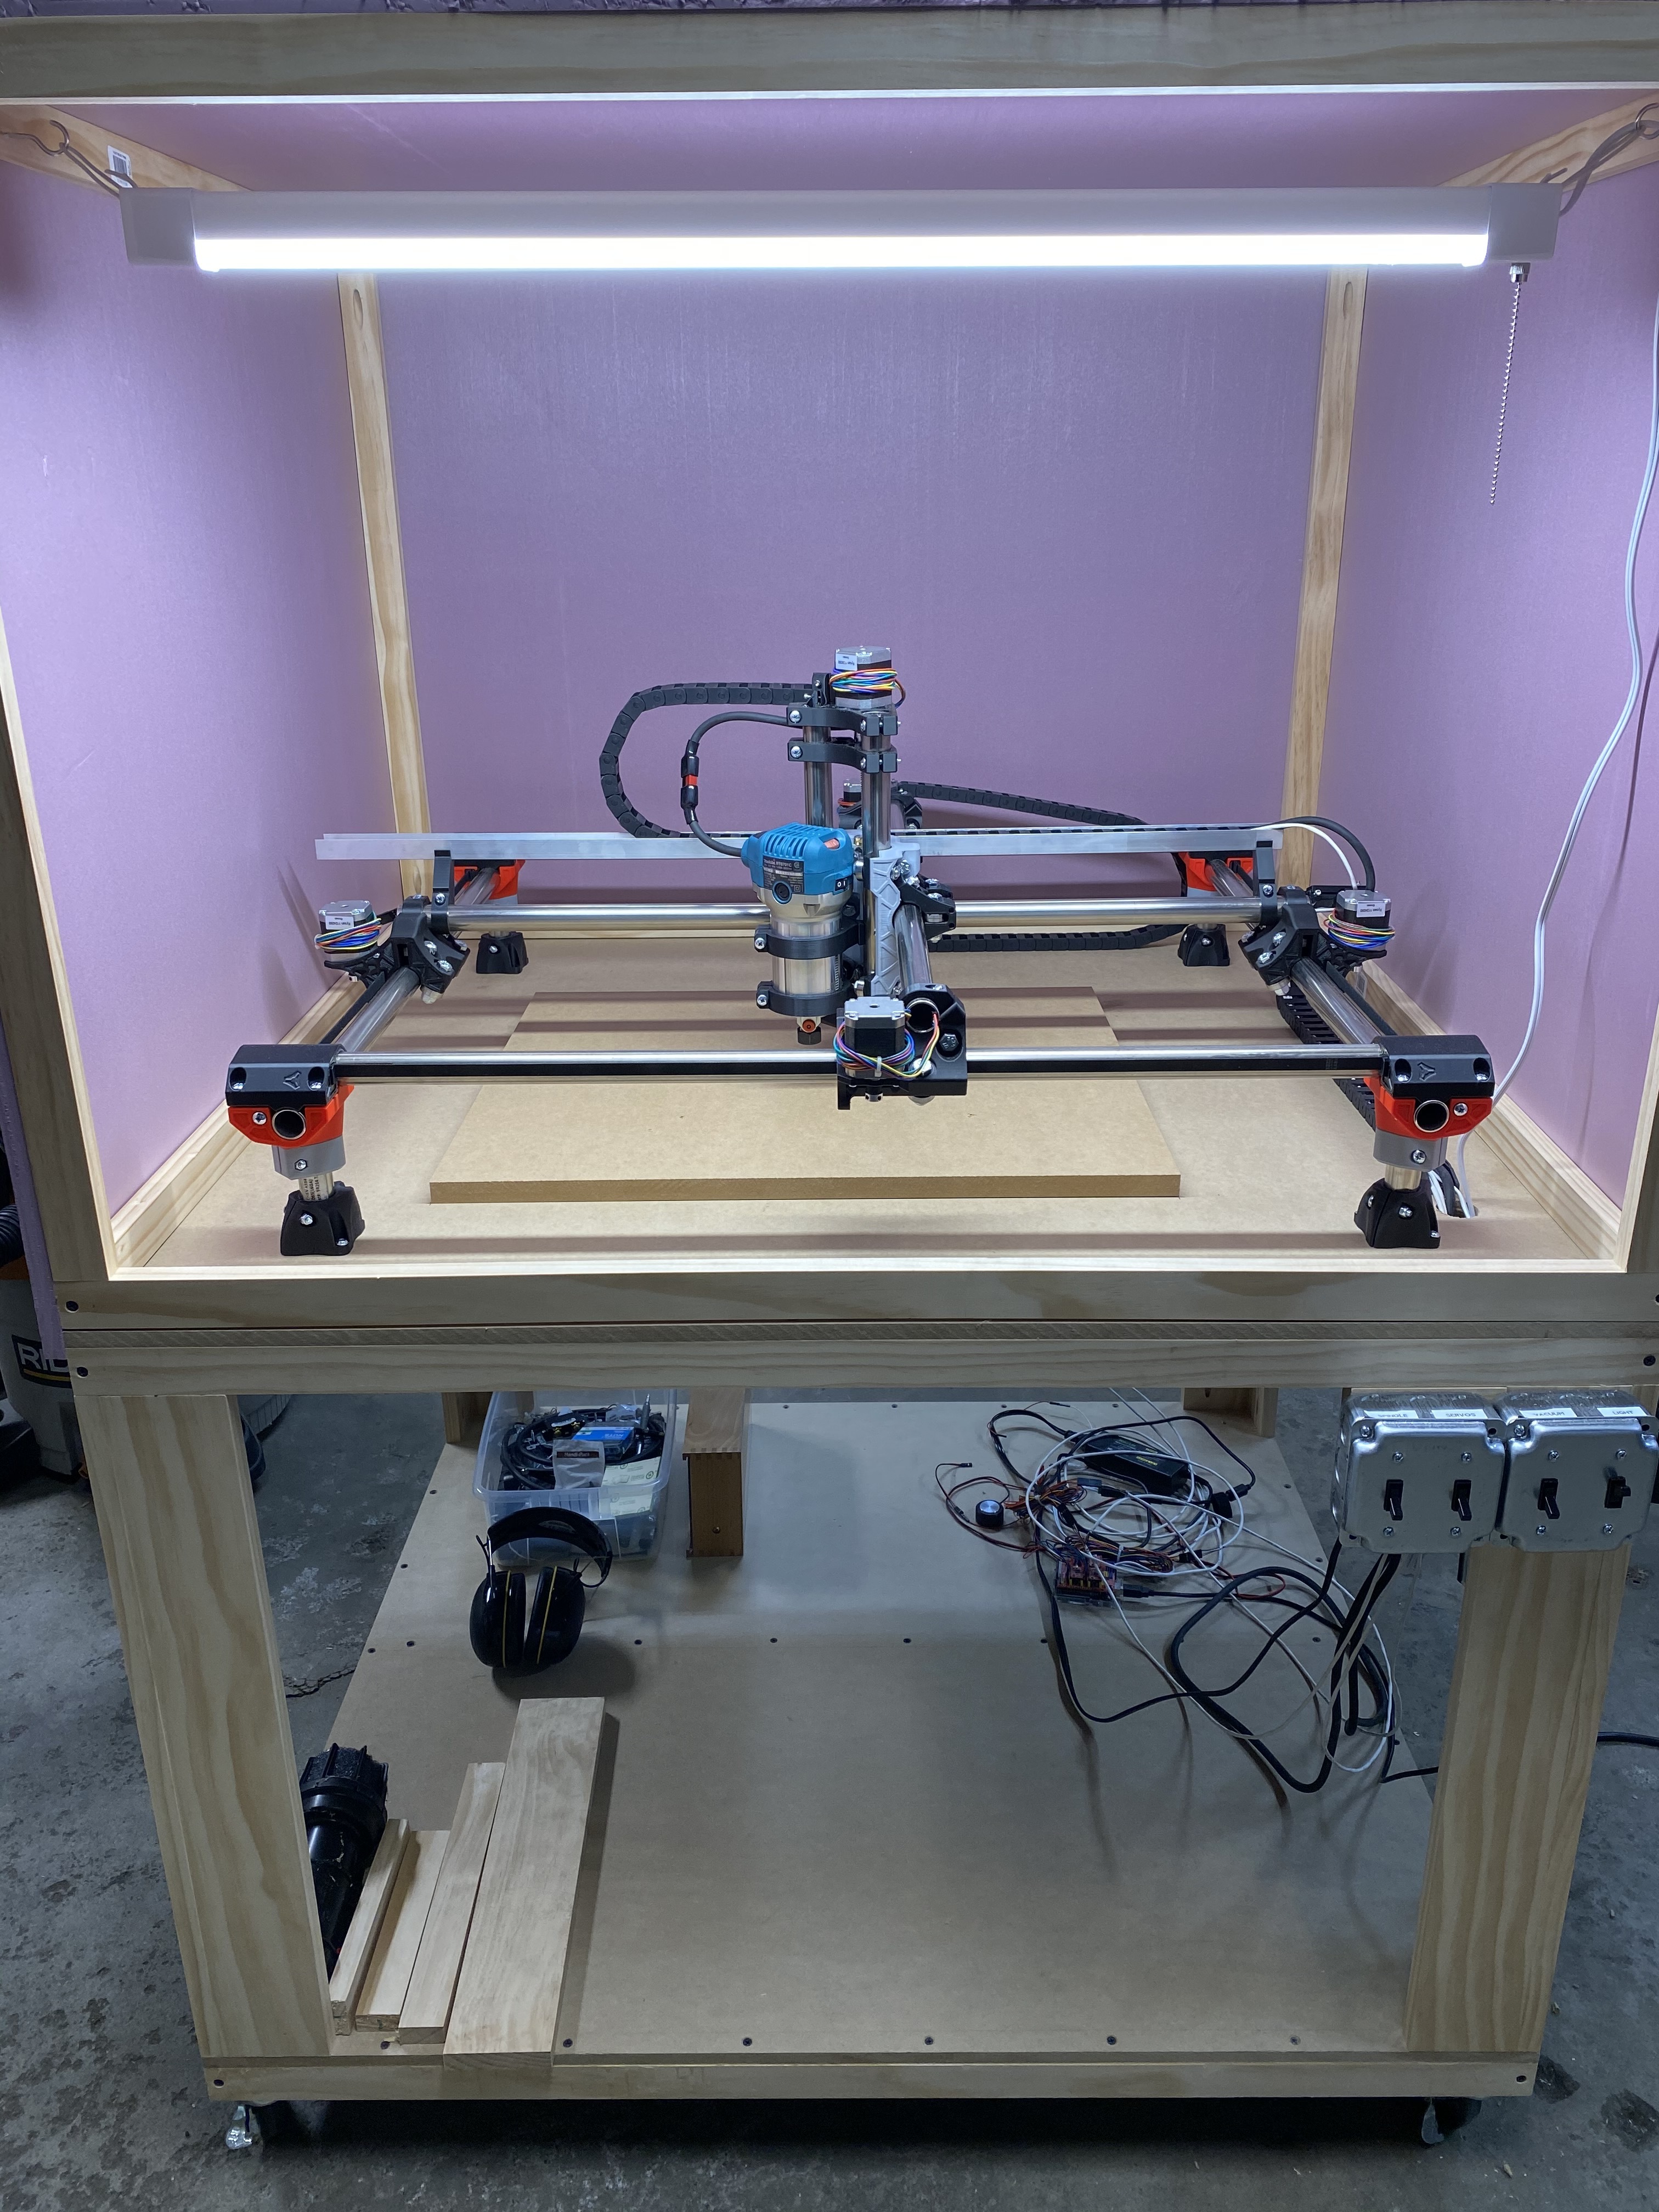
Here it is all clean (it’s been put to good use since). Note the switches on the right side. The top enclosure is easily removable. Keep reading for build info.
First fully completed project (after many failed attempts). Engraved with epoxy infill, and a clear coat poly.
First completed laser project. “Armor” for Halloween costume. 1/16" Birch Plywood.
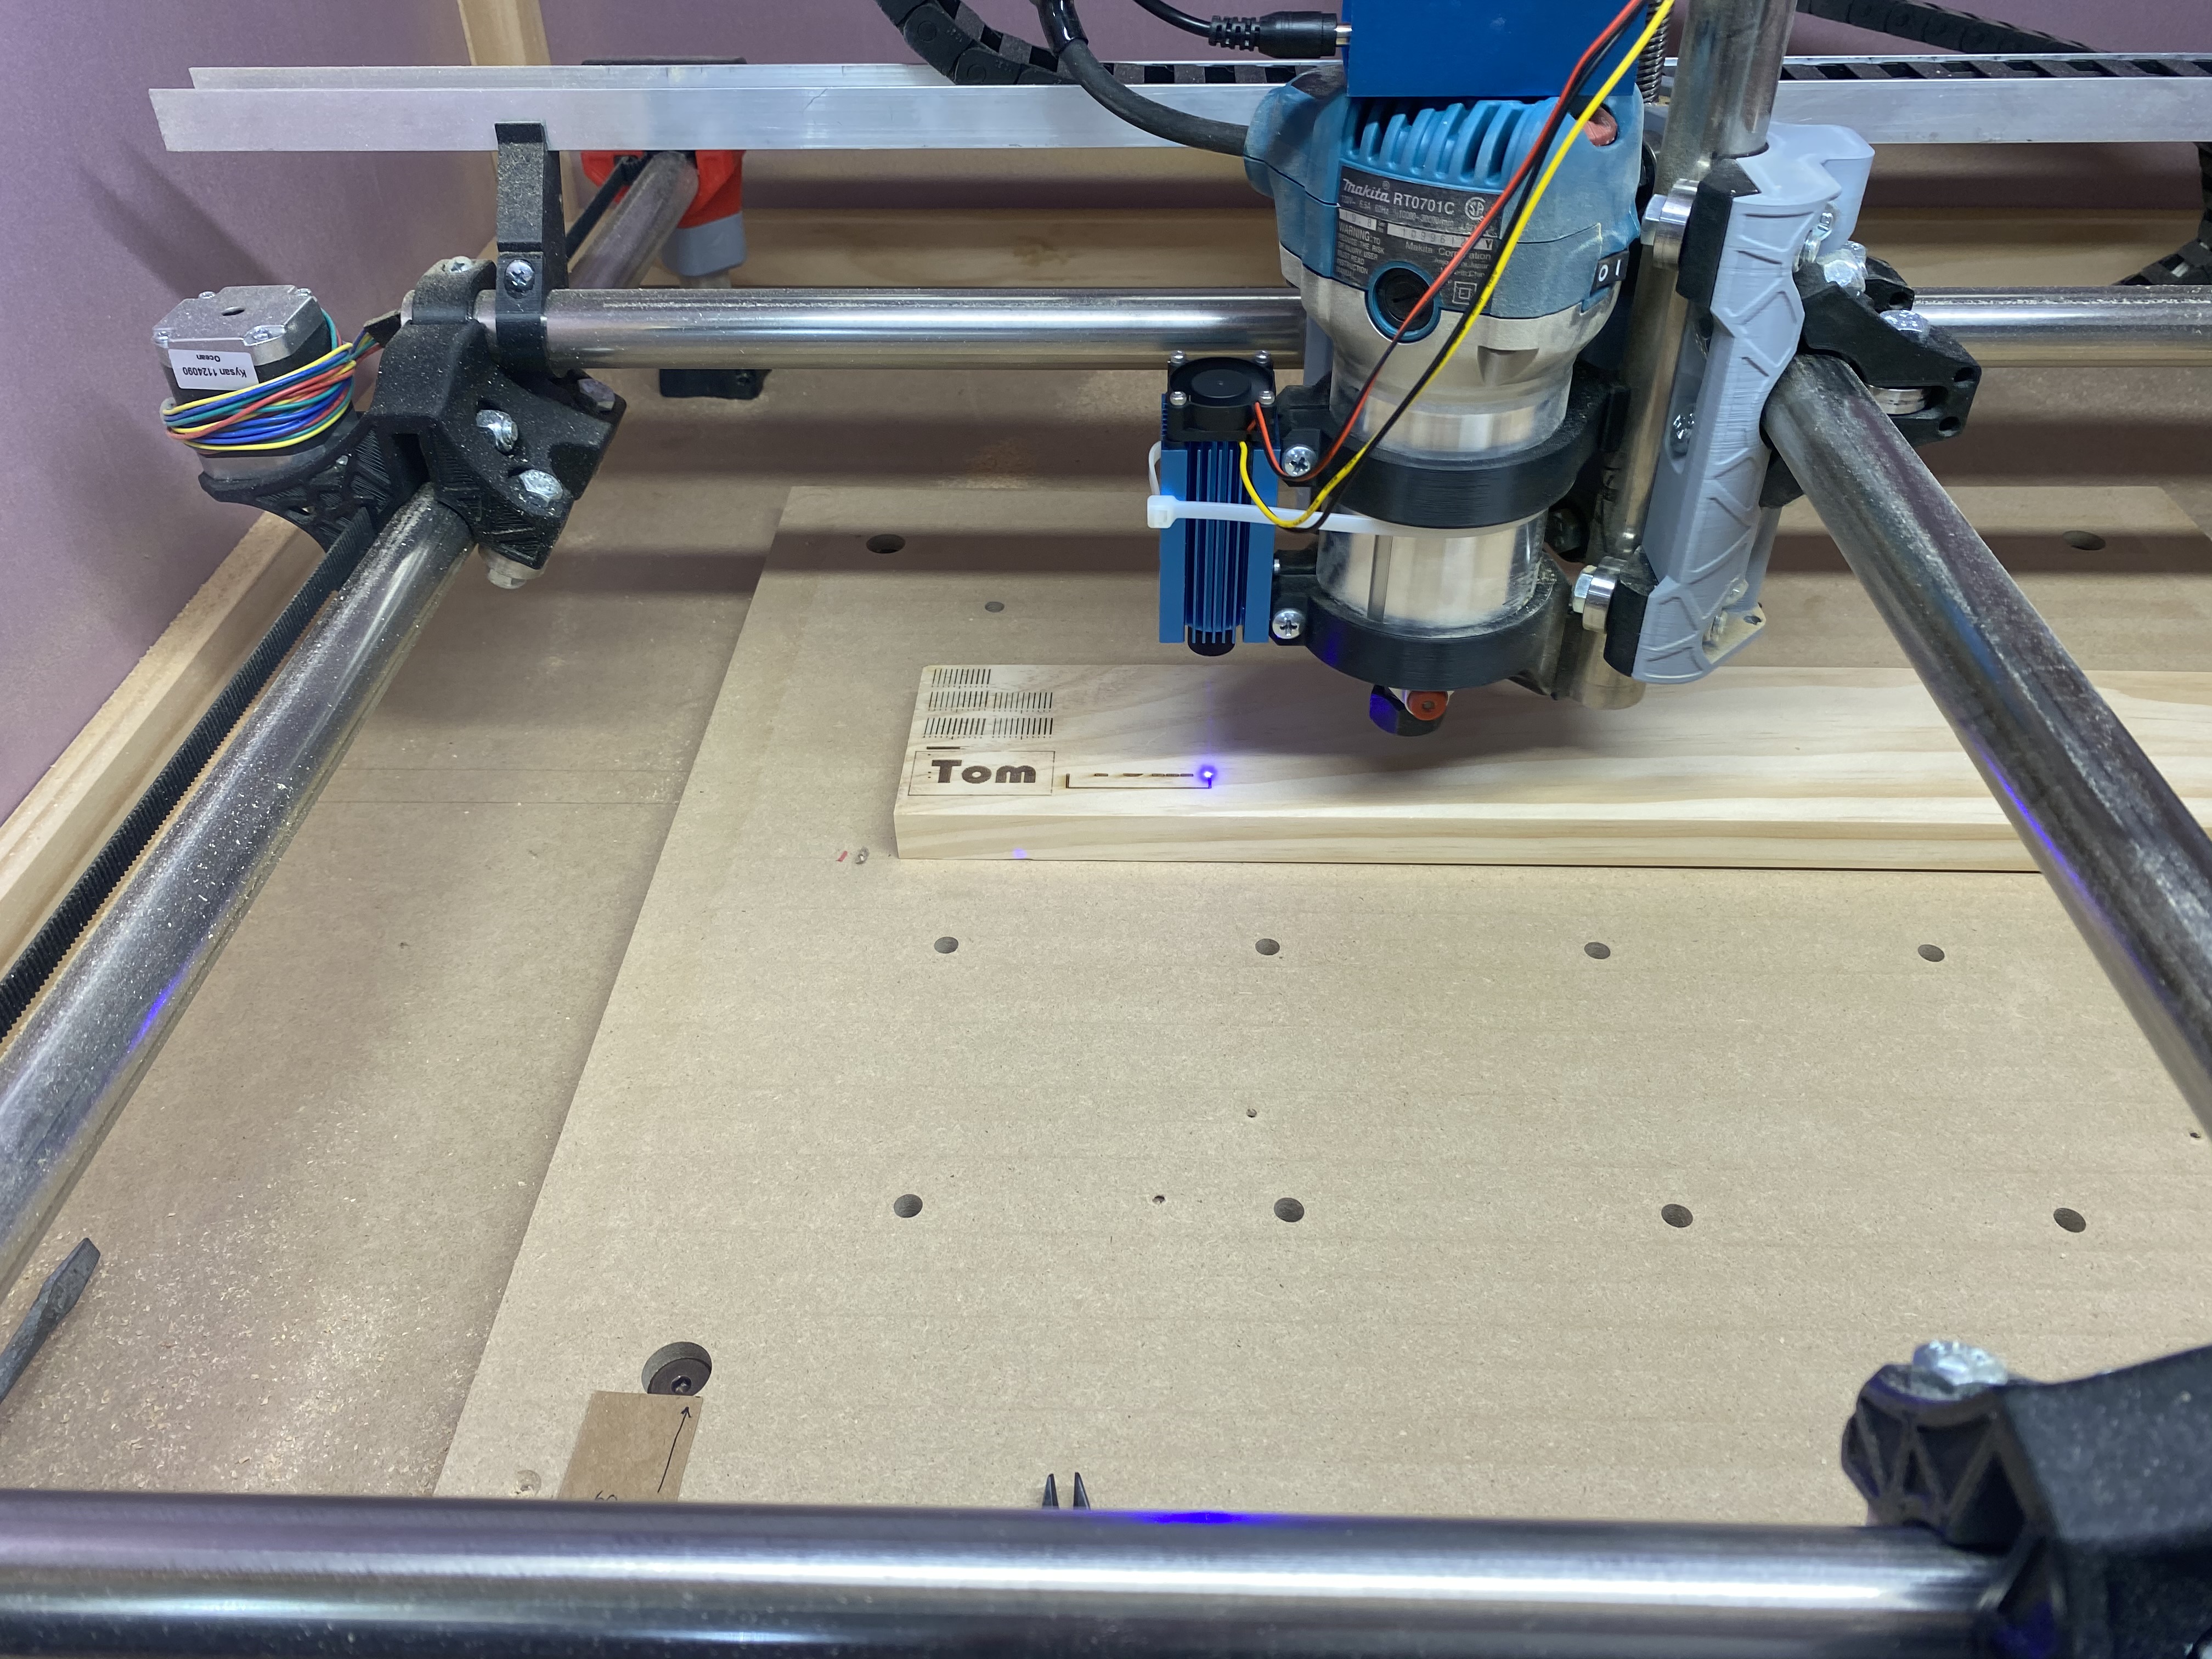
Some laser action. Note this is the SainSmart laser, which I have since upgraded. You can see the holes for clamps, and the large hole in the lower left of the work area that holds the spoilboard to the main table.
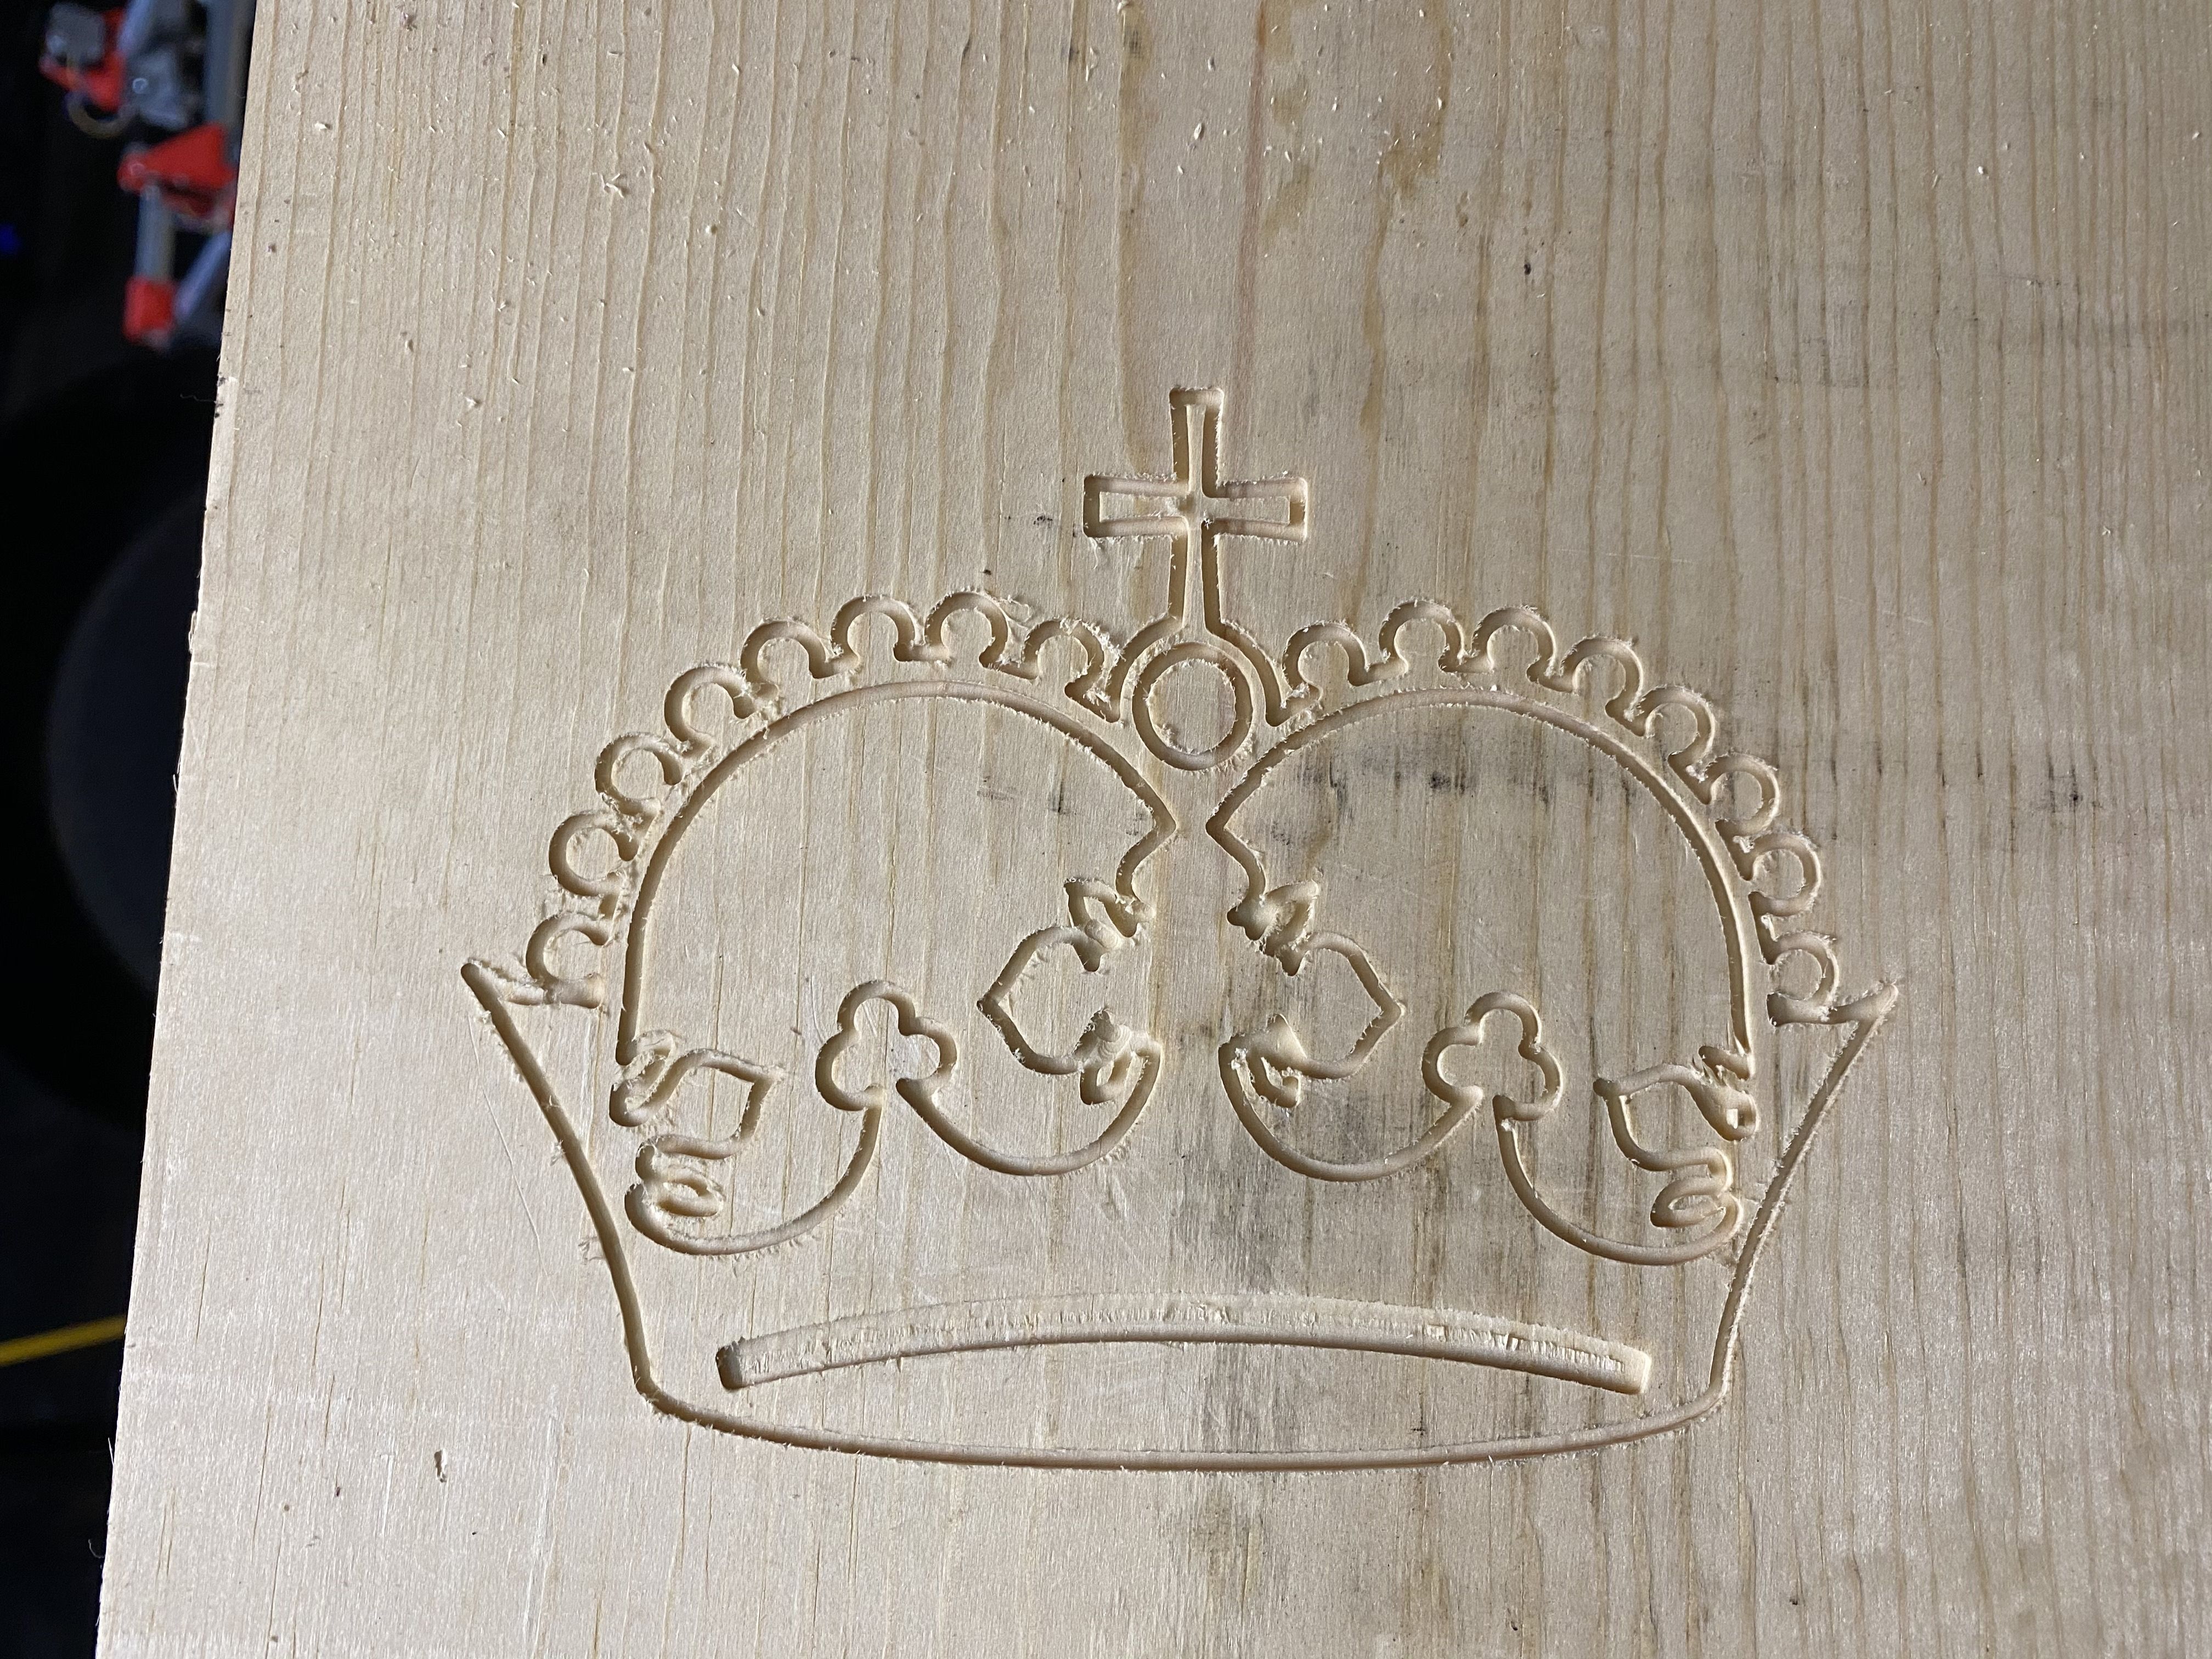
The Crown! (actually from my original Burly with a dremel)
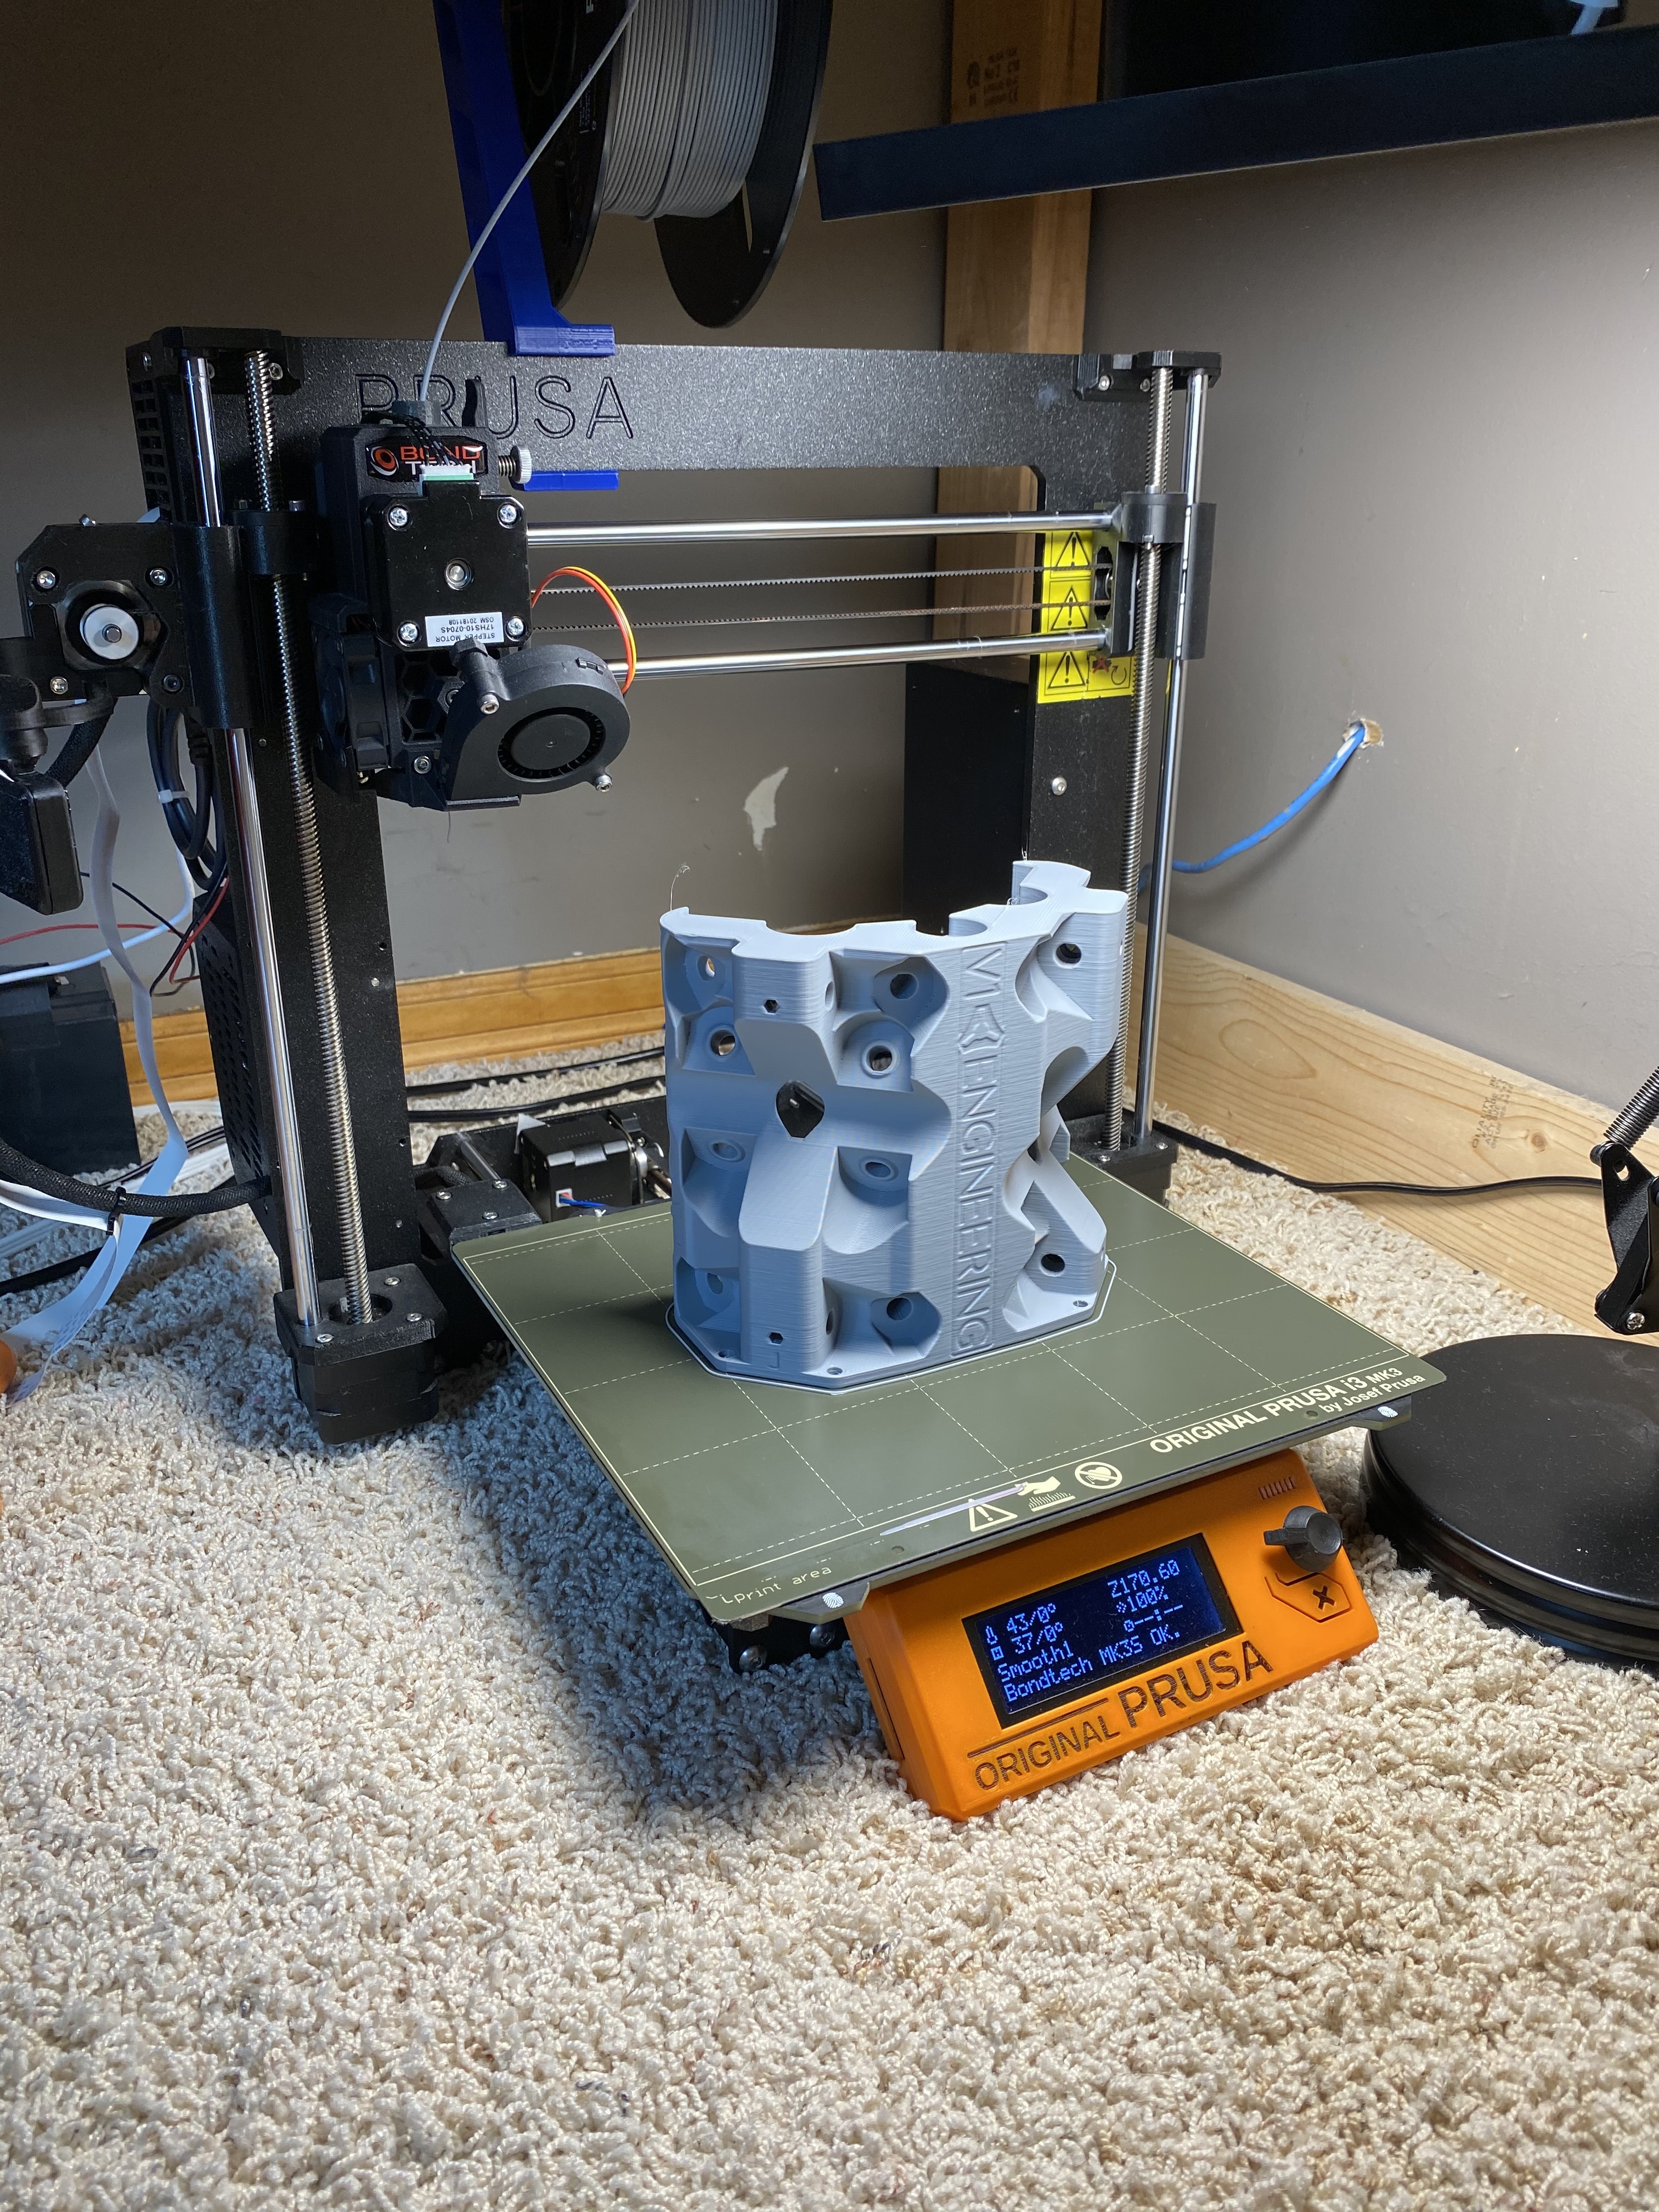
The Core!
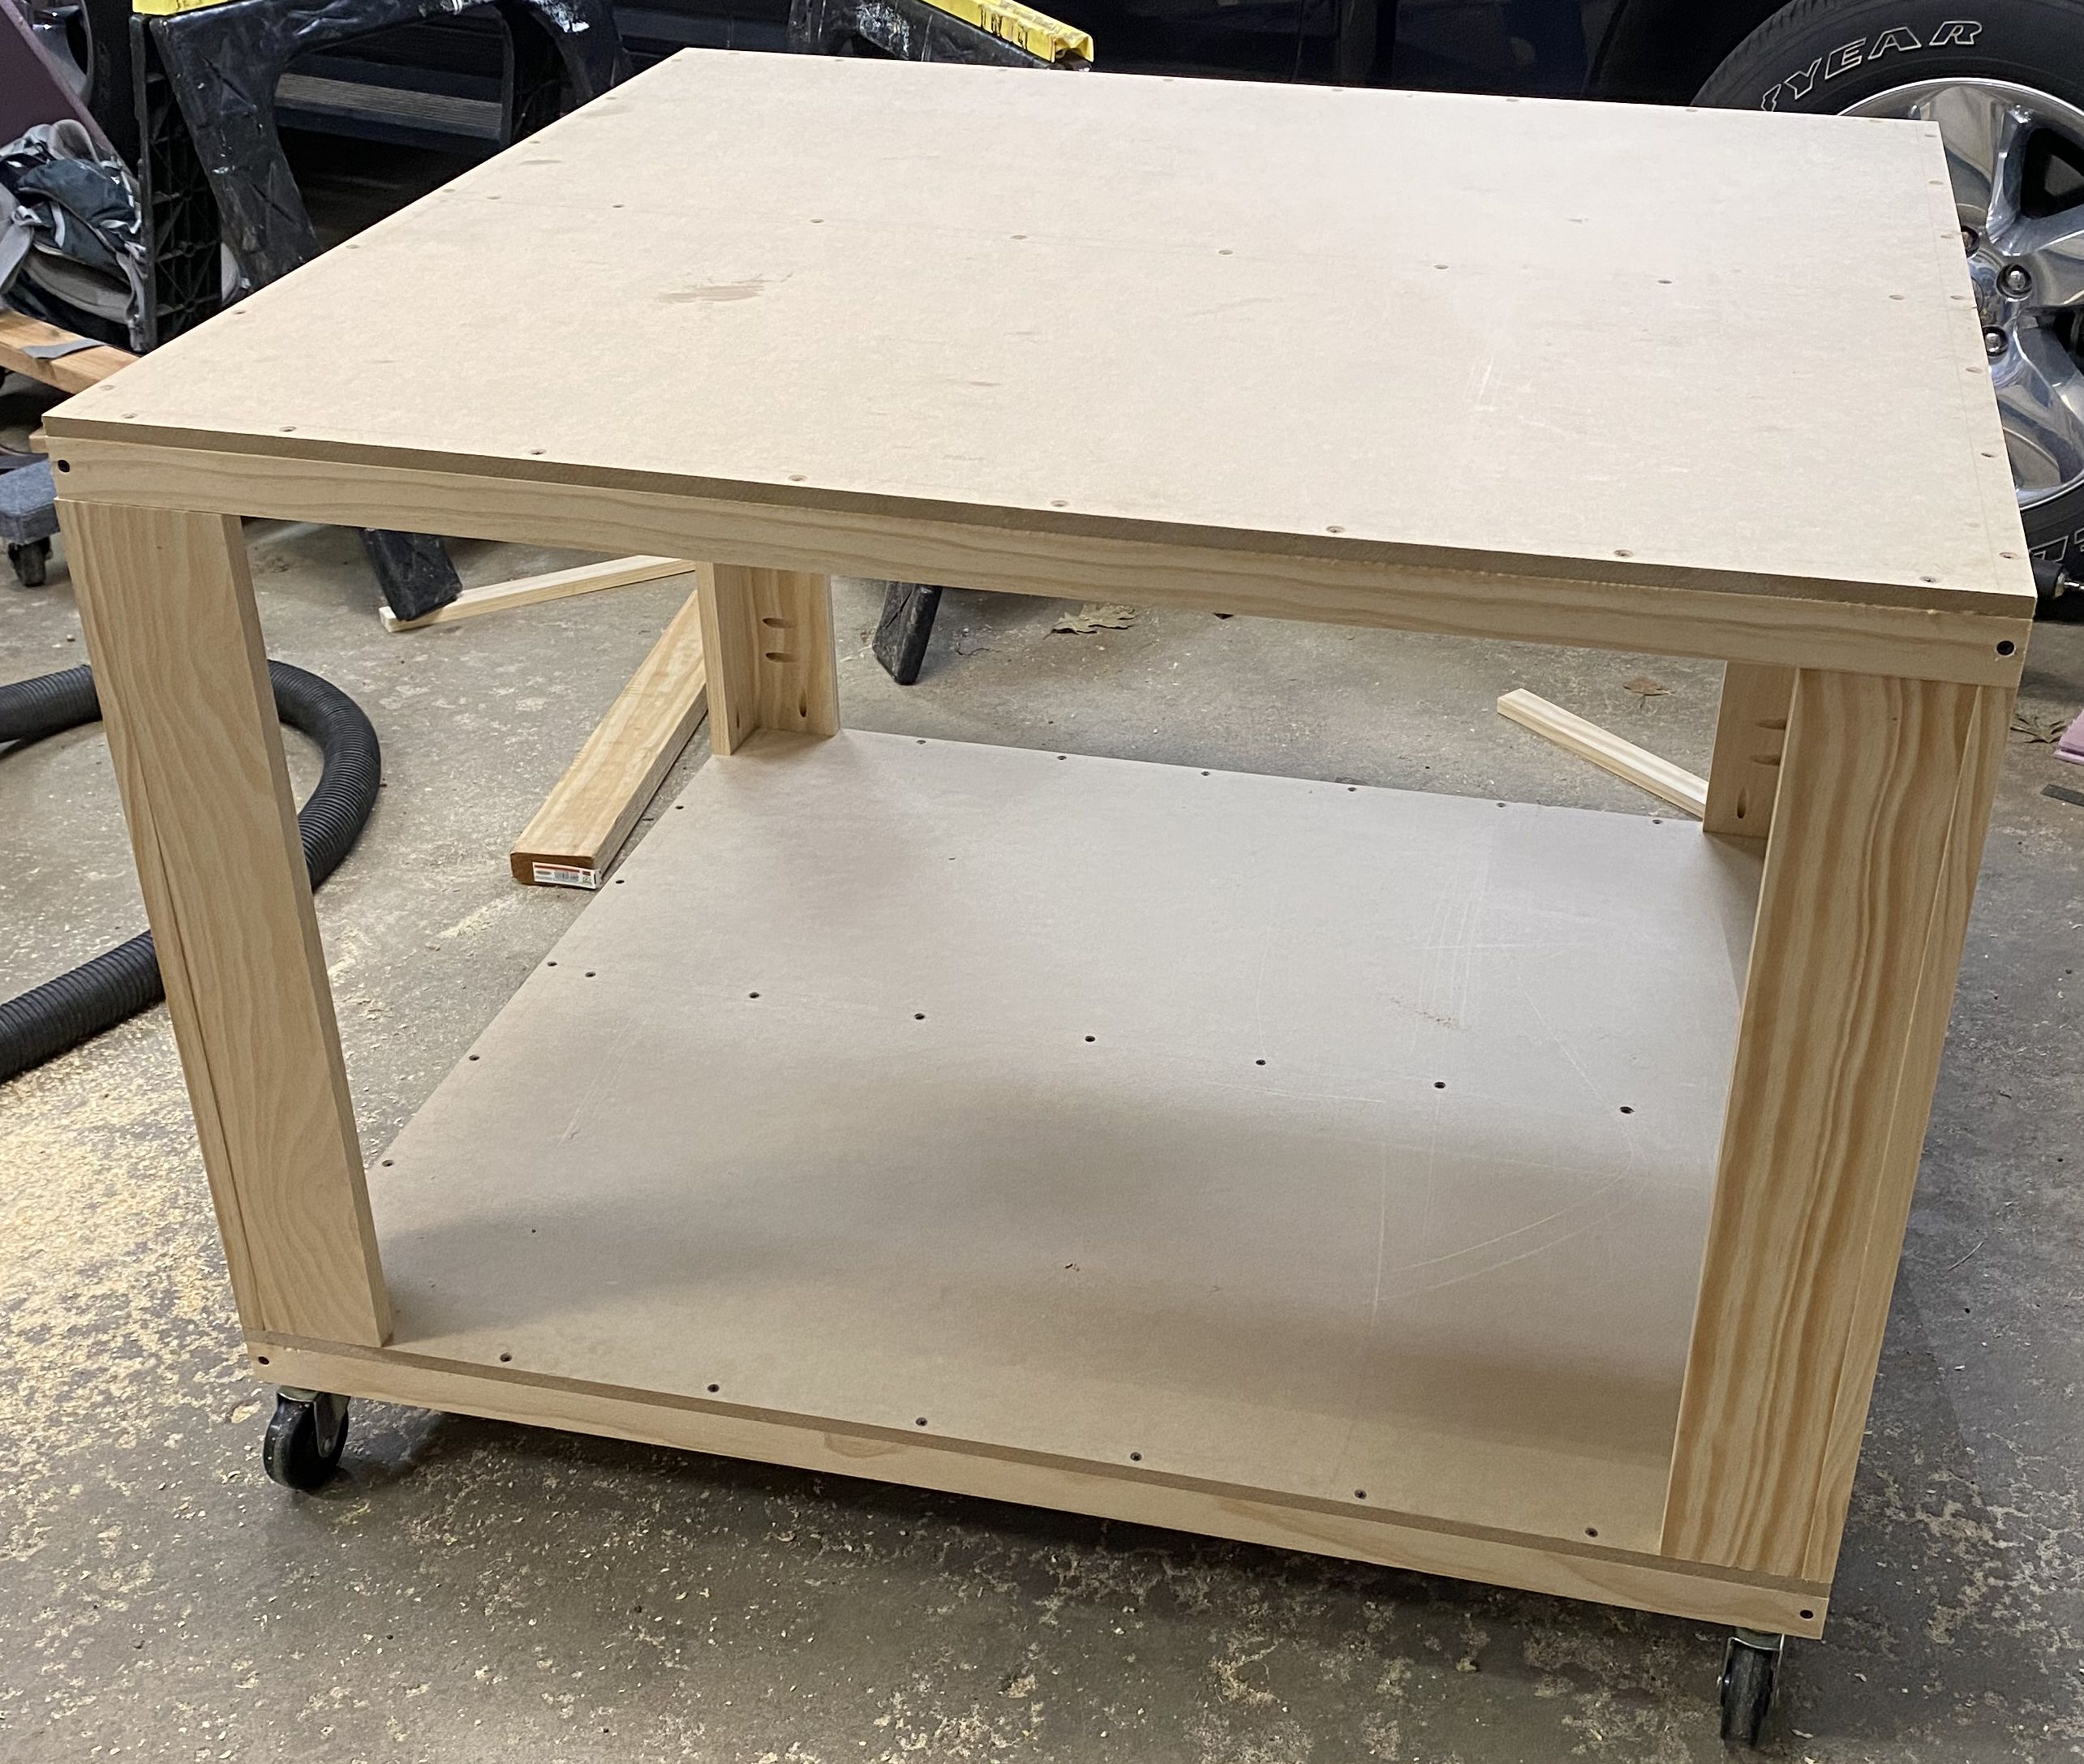
The Base. Here you can see some of the fasteners and the overall construction.
The Build
Base: Let’s start with the base. I started with a 2x4 stand with an MDF top for my first Burly. It wasn’t sturdy, it was a pain to move, and a touch too small. So I came up with this new base. I created 2 frames for the top and bottom with 1x2s, added a cross brace since it felt a little floppy in the middle, and topped them with ½” MDF. For the uprights, I used 2 1x4s joined at a 90degree angles using pocket screws on the inside to join them. The uprights screw to the top and bottom surfaces with pocket screws also. The surfaces are strong enough for what I do, but looking back, I probably would have used 1x3s for the frames. Also, the space between the top and bottom is just enough so I can fit the vacuum under it.
Enclosure: The enclosure on top is a frame of 1x2s, with 1/2” foamular around the outside, fastened with some flat head self tapping screws. It just sets on the base and is light enough where you can just lift it off from the front with one person. I wanted it to be removable for maintenance. The foamular is not fire resistant, so keep that in mind. It does a little for sound reduction, but that wasn’t my main goal – it was to keep dust contained. I considered using fiberglass duct insulation that comes in sheets, but I couldn’t source anything local for a price I wanted to pay. In the future, I would add a cross brace across the topmost face. I tend to set stuff on top, and the foam isn’t real strong.
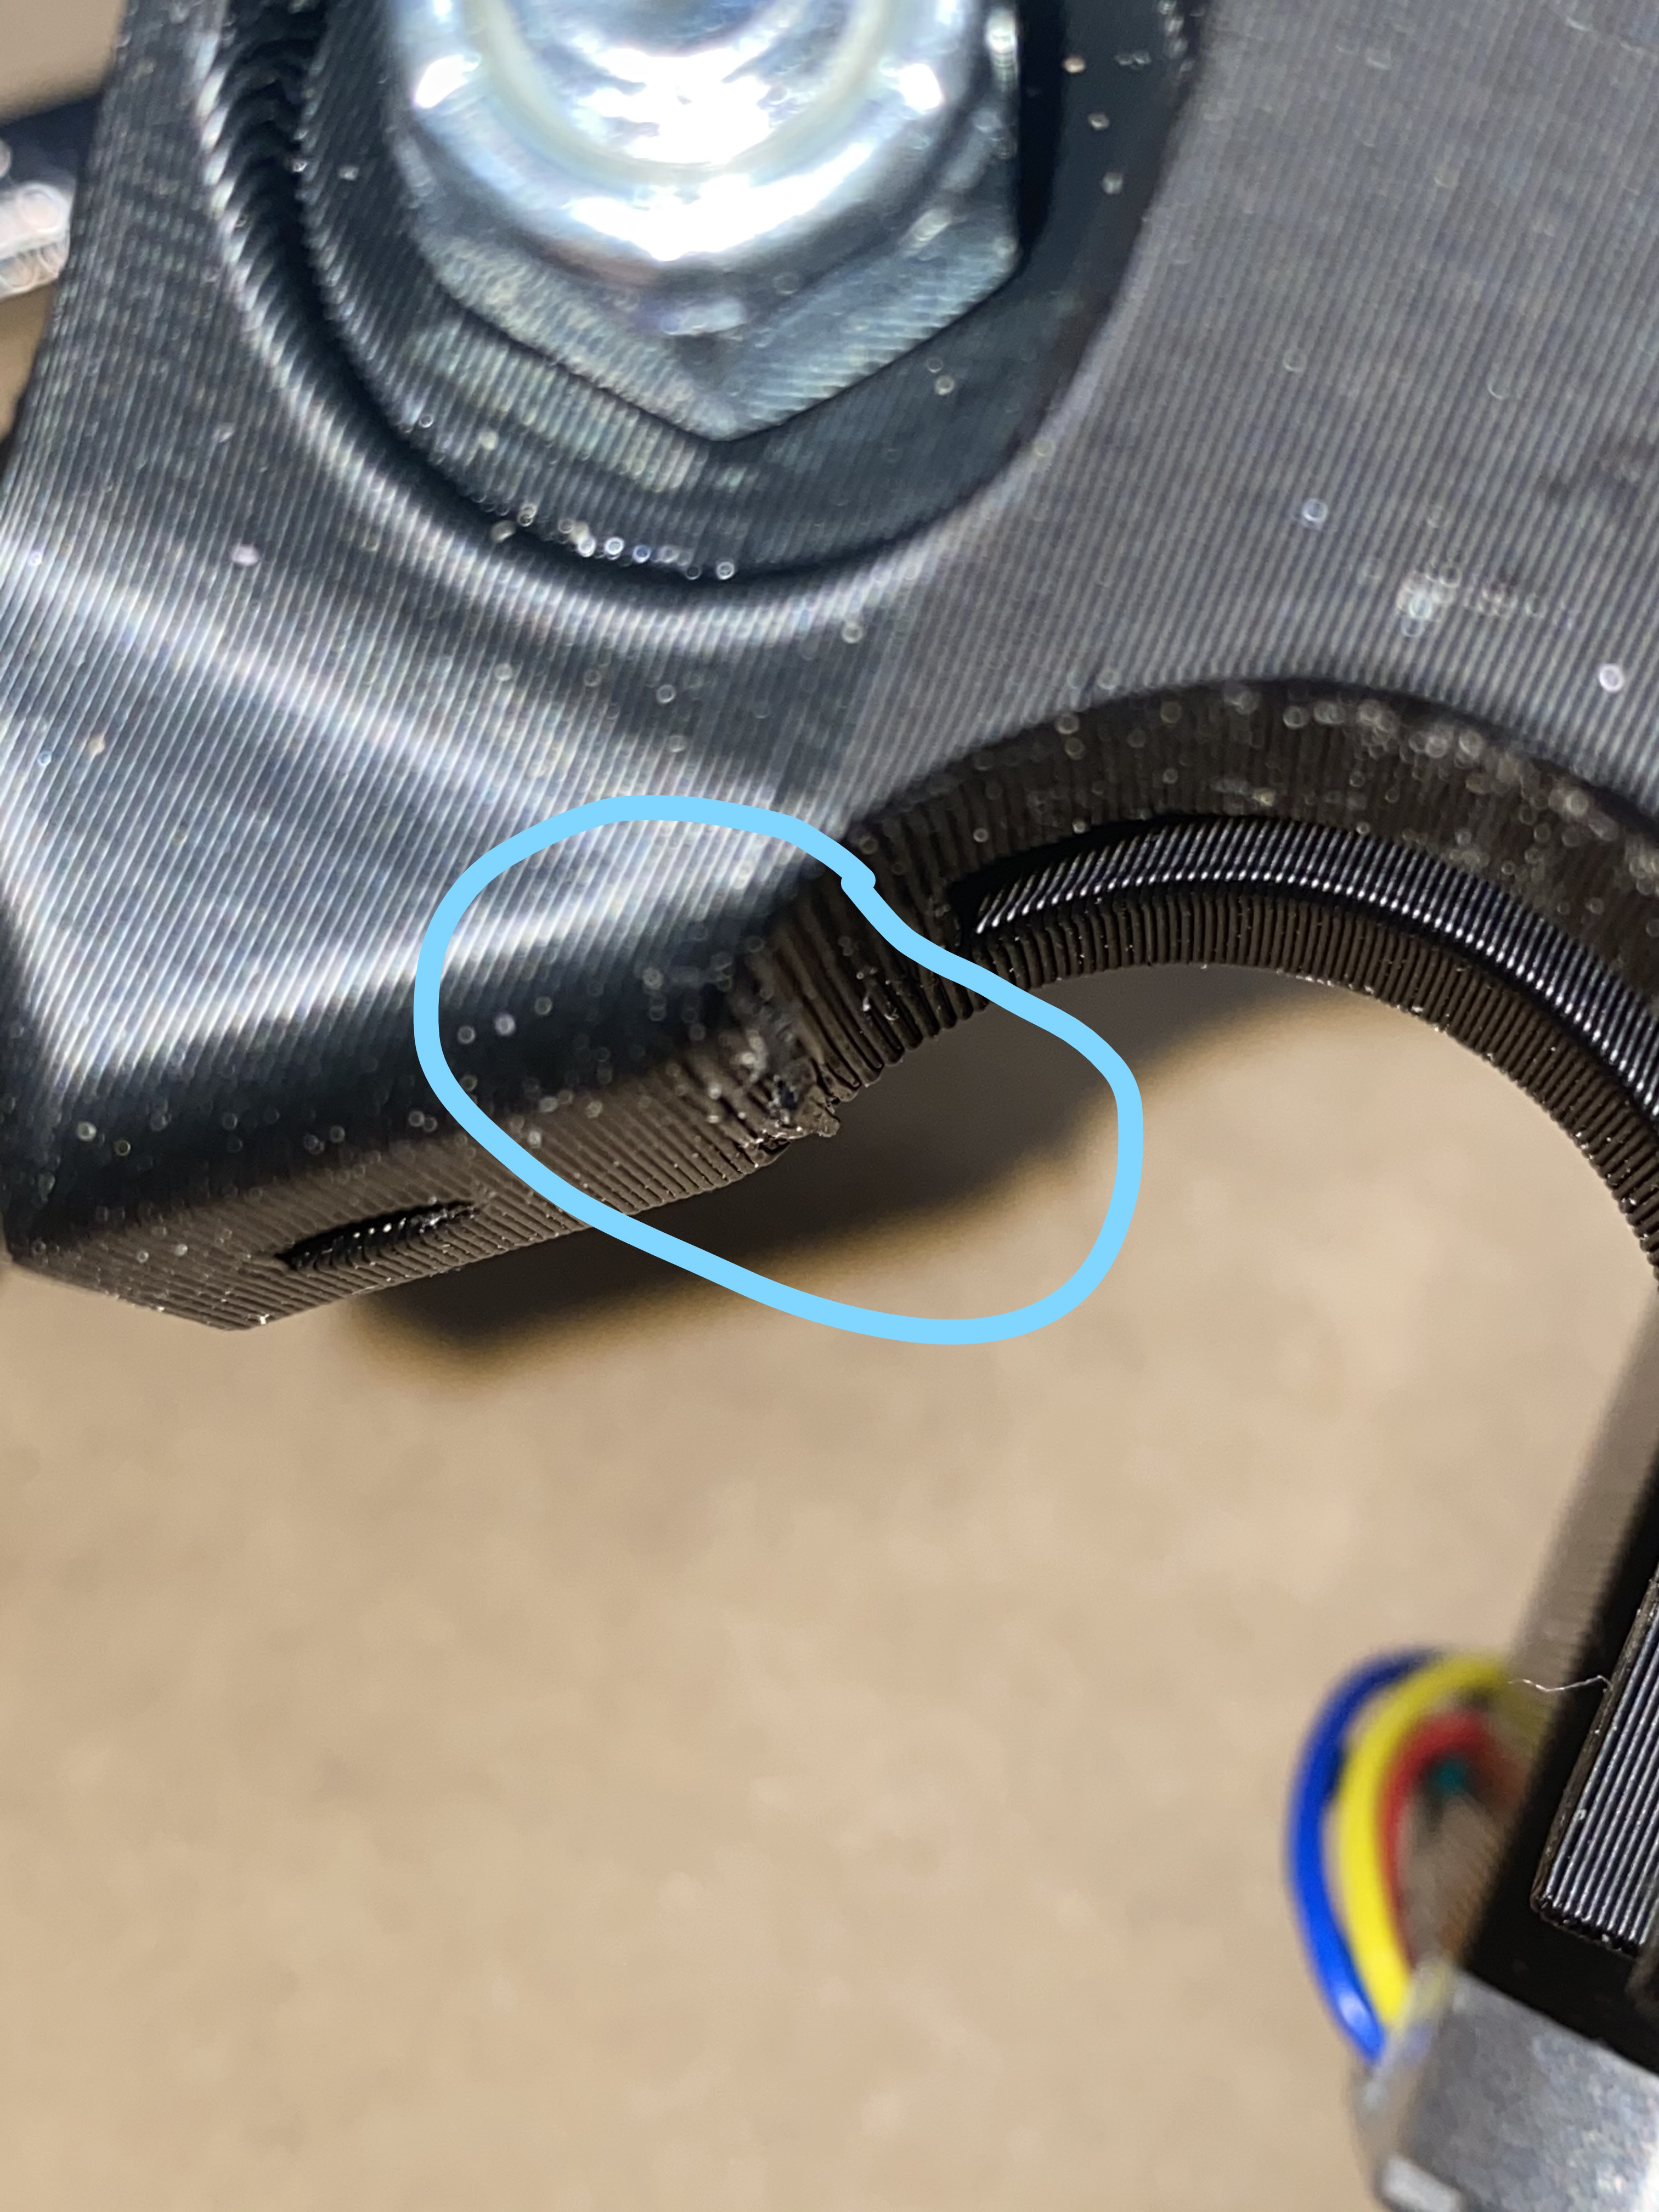
MPCNC: The MPCNC is the 1” Primo. I got stainless tube from the local supply shop (CoreMark Metals). My only complaint was that I printed using a 0.6 nozzle, where the Prusa is 0.4 standard. I saved some time, but it wasn’t worth the quality in my opinion. I had a couple of extrusions on the inside of the top of the Trucks where the pipe goes that was affecting squareness (pic below). Nothing a file couldn’t fix. 20x24” working space. 4” Z height.
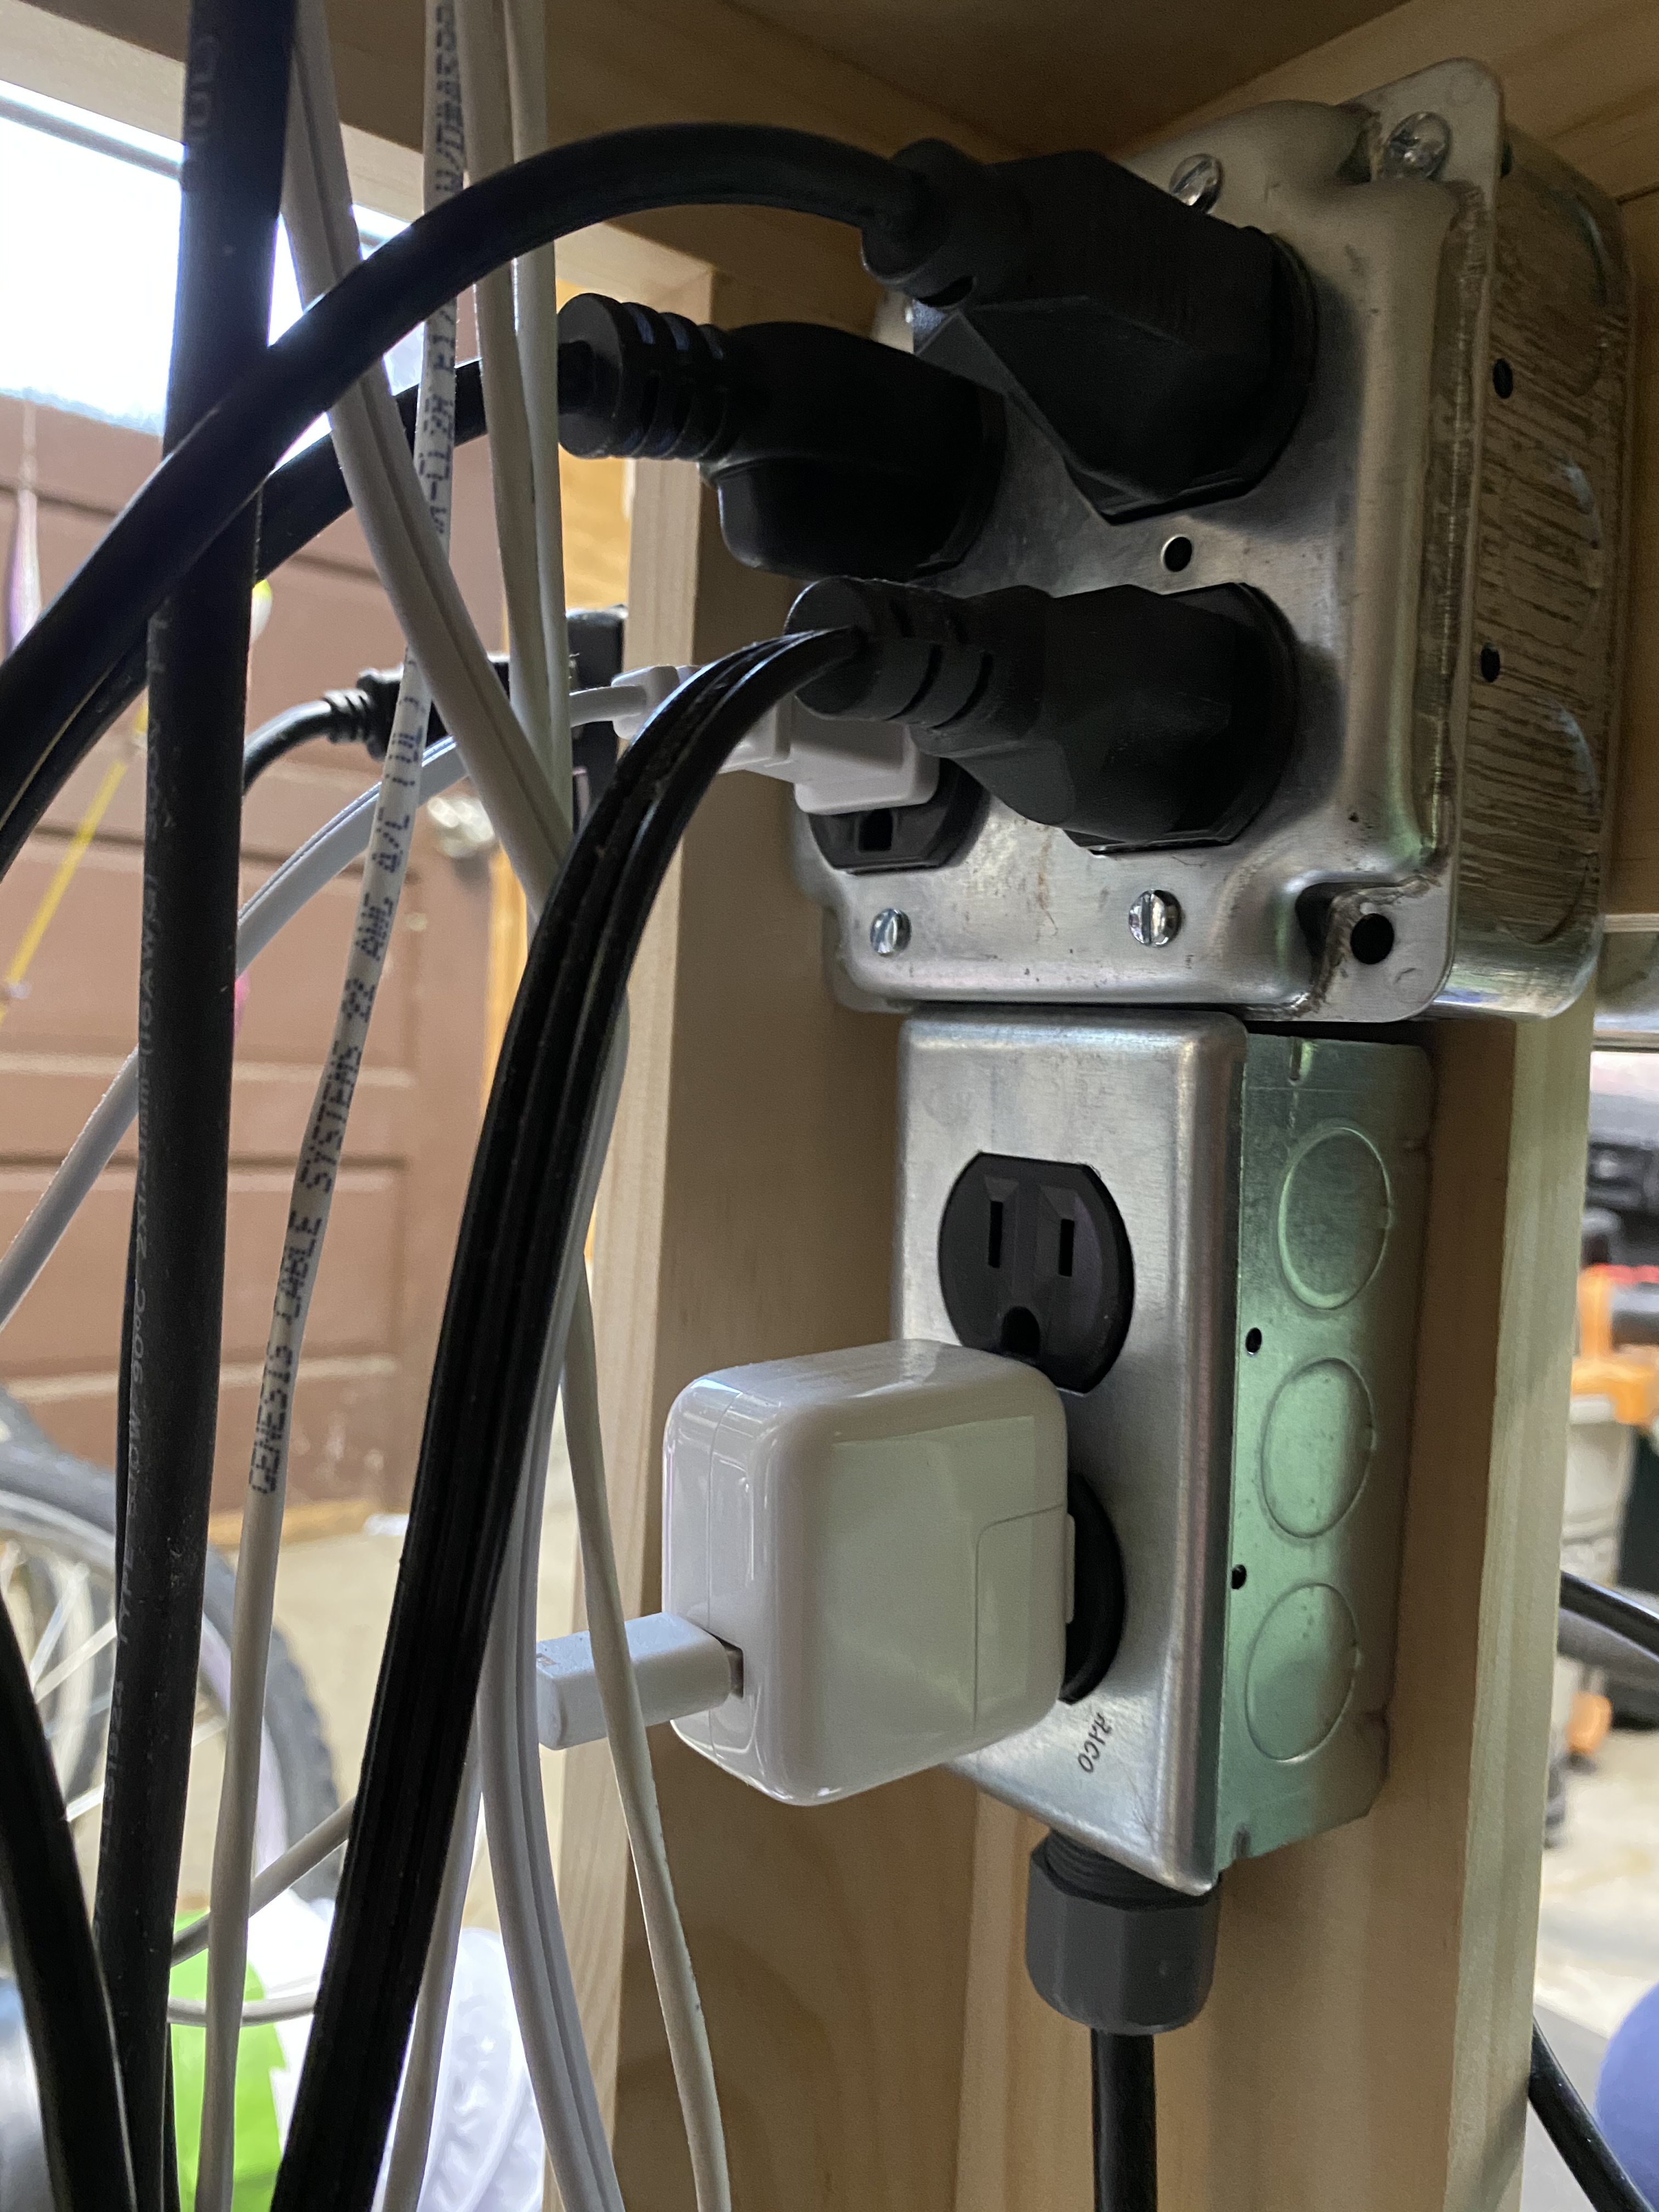
120V wiring: There are 4 switches on the front: spindle, servos, vacuum, light. There are outlets directly behind the switches to plug those items in. There are also 2 always on outlets, and everything is fed from a single cord. I had plans for an emergency switch, but I didn’t end up with one because everything was front and center. I removed the factory cord off the Makita (it has nice screw terminals inside) and added a 16/2 15’ rubber cord. I added Anderson PowerPole connectors about 6in from the router so I could easily remove it without having to take the wire out of the drag chain (10x20x1mm). The drag chain mounts are here https://www.thingiverse.com/thing:4558692. The mounts that go into the pipe must be for a different inner diameter. I whipped up come circular shims to make up the difference. It’s not perfect, but it’s good enough for now.
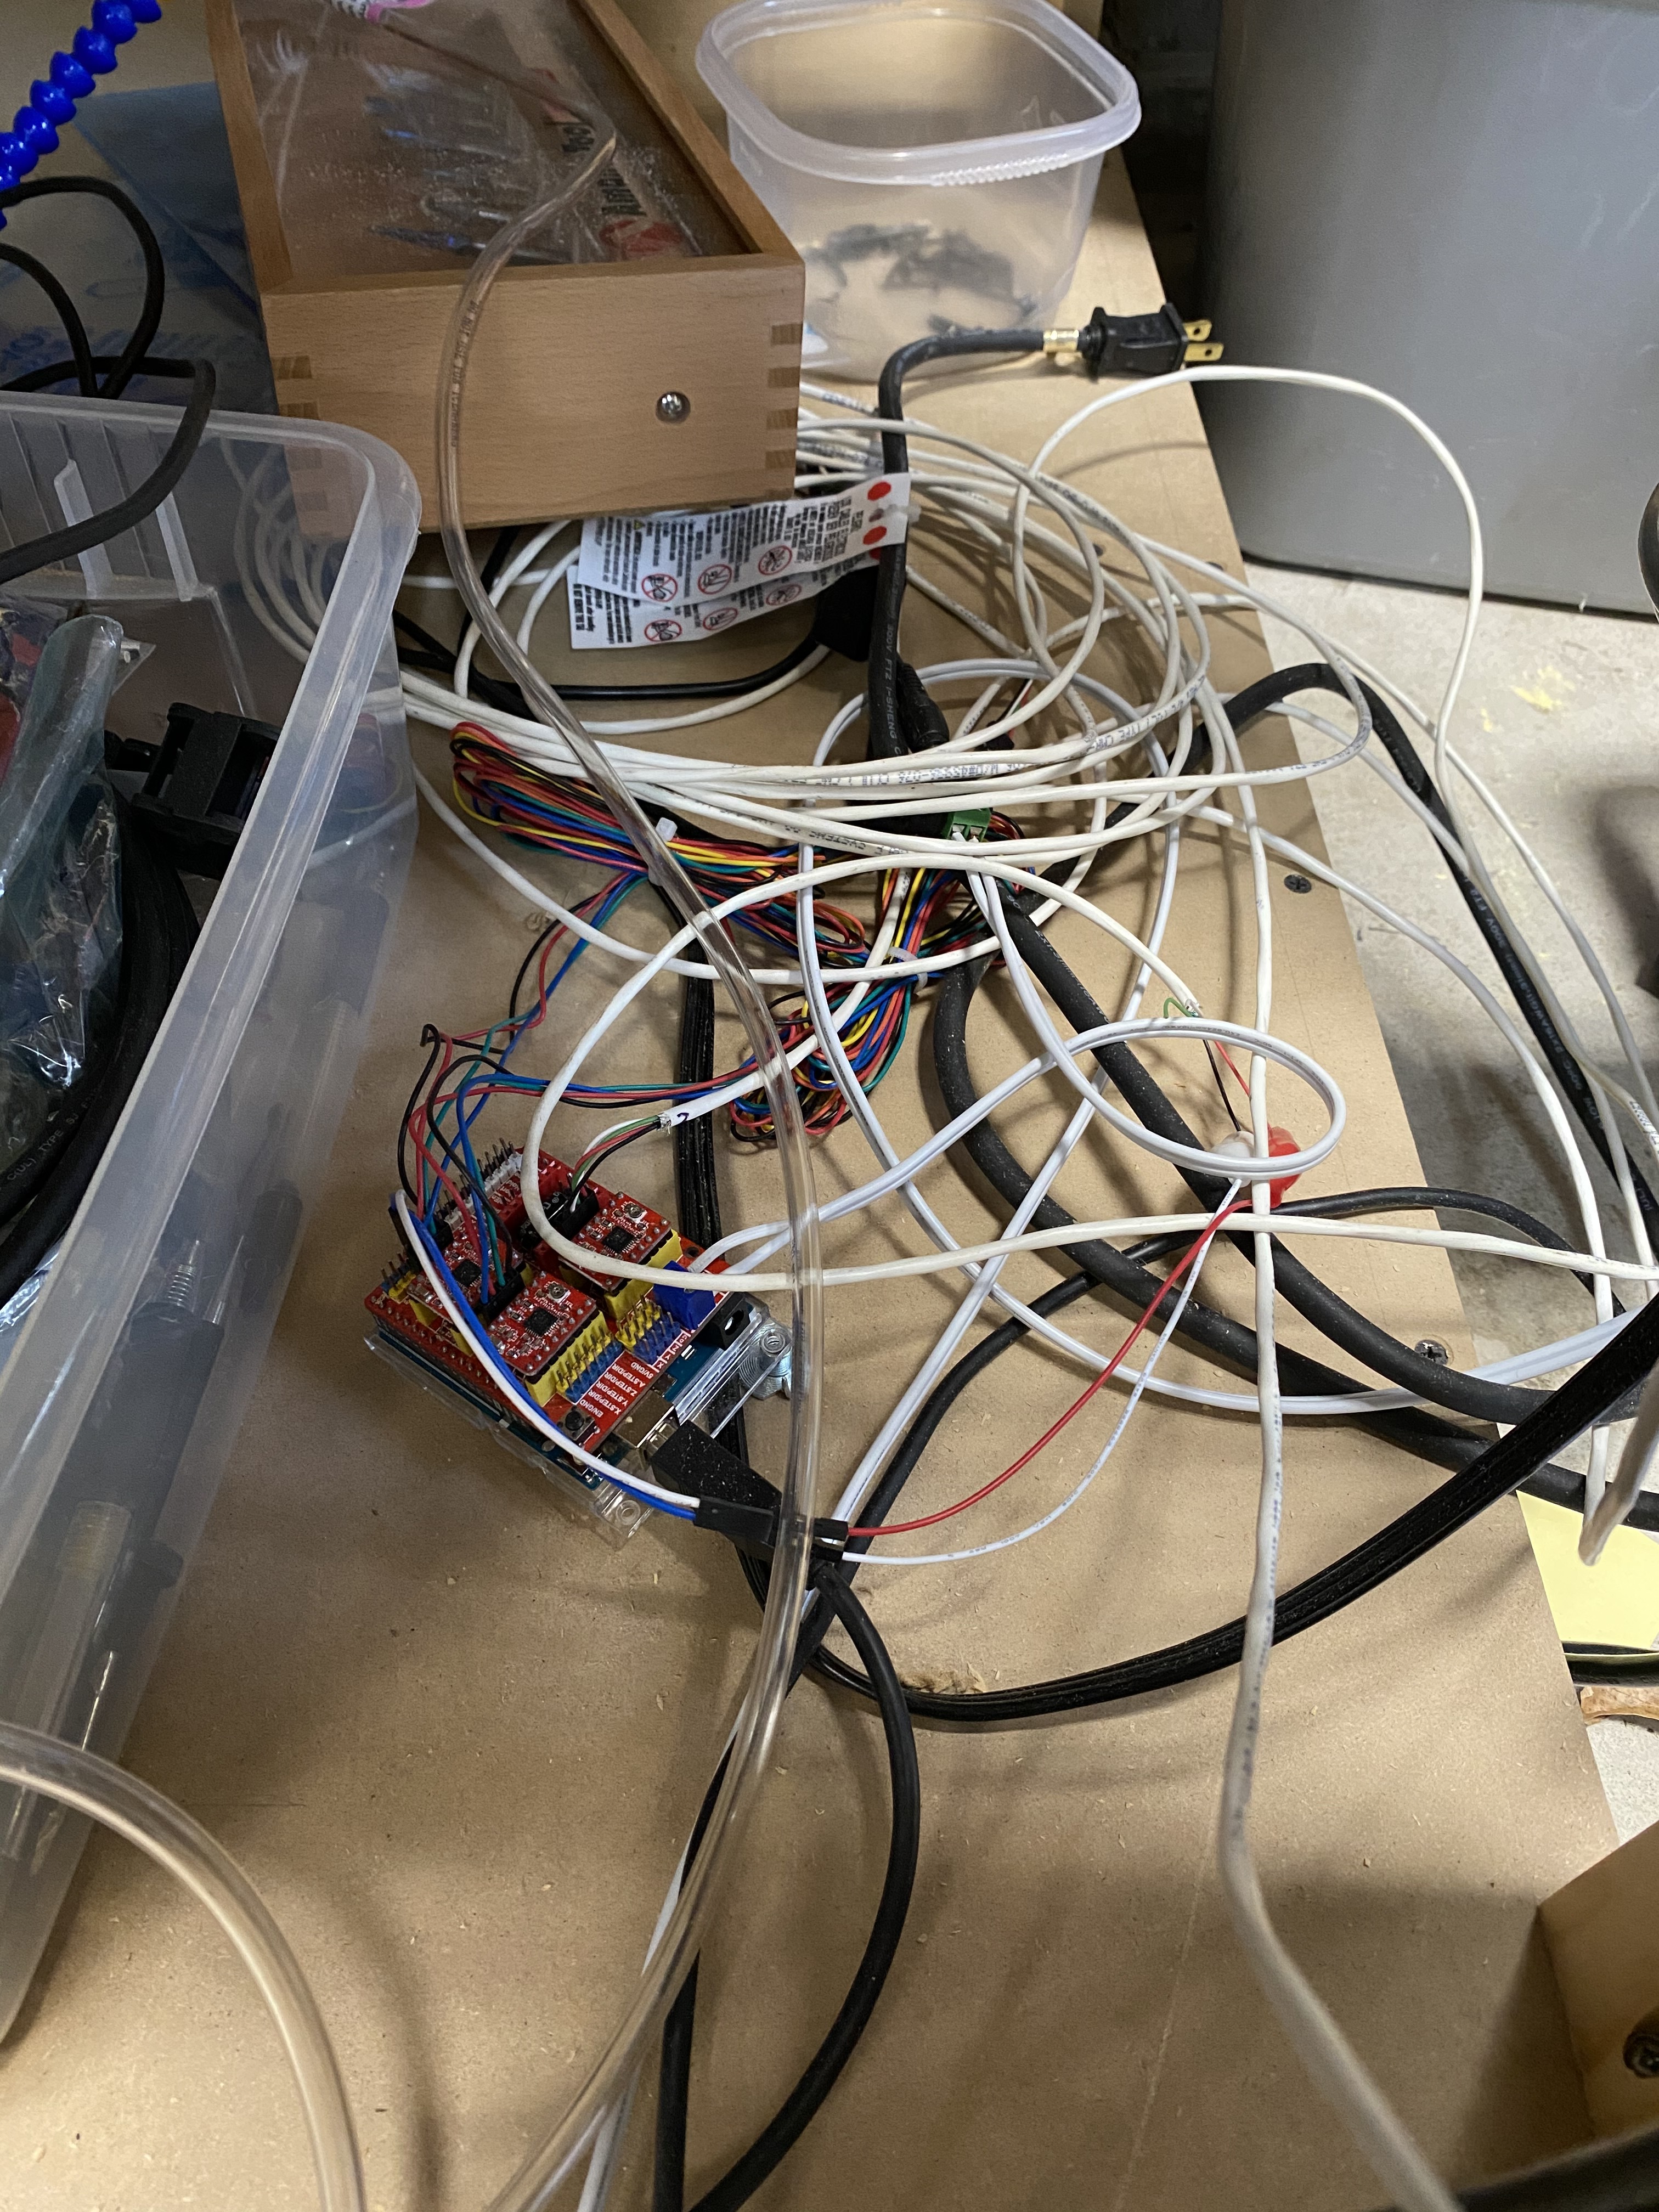
Controls. I use an Arduino Uno with GRBL and a CNC shield. The CNC shield is a knockoff that doesn’t support PWM Spindle (important for laser). If you’re going that route, get the official shield from Protoneer. https://blog.protoneer.co.nz/arduino-cnc-shield/ GRBL is fed from CNCjs that runs on a RaspberryPi. My iPad serves as the control unit when I’m running a job, but I’d like to upgrade that to a pendant at some point. CNCjs supports lots of pendant options. The “servos” switch mentioned above just kills the power to the servos, since they are fed from a separate power supply through the CNC shield. It’s handy to kill the servos and be able to move the gantry manually if needed. All wiring goes through cable chain. Servo wires were extended. I crimped dupont connectors onto new wiring to keep everything modular.
Spoilboard: I spent too many hours thinking about a spoil board. I wanted to be able to replace it easily, and be able to surface it. I didn’t like the designs that had the tee nuts on the spoilboard, as they need to be refitted every time you replace the board. So I put the tee nuts below the spoilboard, below the top surface. When it comes time to replace, I can just put the new board on, and run the program to machine the new holes, surface, and I’m good to go (in theory). I still need to add some holes and tee nuts around the outside of the spoilboard for clamping the edges of the piece. The spoilboard itself is mounted with 5 flat head bolts (each corner and the center), so they are well below the surface of the spoilboard. I got a 1” surfacing bit, but the lack of squareness (work space to spindle) of the MPCNC became apparent when I ran it. There is a stair step effect from the tool path. You can see some of this in the laser pic. I tried shimming, but didn’t have much luck. It’s close enough for now – I may need to surface with a smaller bit in the future.
Software: I run the CNC router with CNCjs. I use Carbide Create (free) or Estlcam (paid). For CAD, I’ve been using Fusion 360, but I’m on the fence about spending more time with it with their recent limitations for free users. Still very easy to use in comparison to what I had tried so far.
Laser. I started with the SainSmart laser kit from Amazon. It was cheap ($150) and I found out I like lasers – of course. My primary complaint with the SainSmart was that the output didn’t appear to be linear. When using 5V PWM from the GRBL board, the laser wouldn’t come on until about 60% duty cycle, where everything I read said it should come on in the 5-10% range. I knew I wanted some more power anyway, so that got returned. The SainSmart was good for wood engraving, but you’re not going to cut much. I also found the lens wasn’t that great once I upgraded.
From there I got an Endurance 10W laser. At the time, lasers just seemed too much of a learning curve and I wanted something turn-key. In retrospect after learning more about them, I should have spent some more time learning and done it DIY or with the el-cheapo. I’m not a fan of the Endurance driver/Laser Box, and I’m working on what I consider the ideal setup. For software, I got started with LaserGRBL and InkScape (free), but very quickly purchased LightBurn. Probably the best $40 I’ve spent in a while. I disconnect the Arduino from CNCjs, and stream gcode right from LightBurn on my laptop.
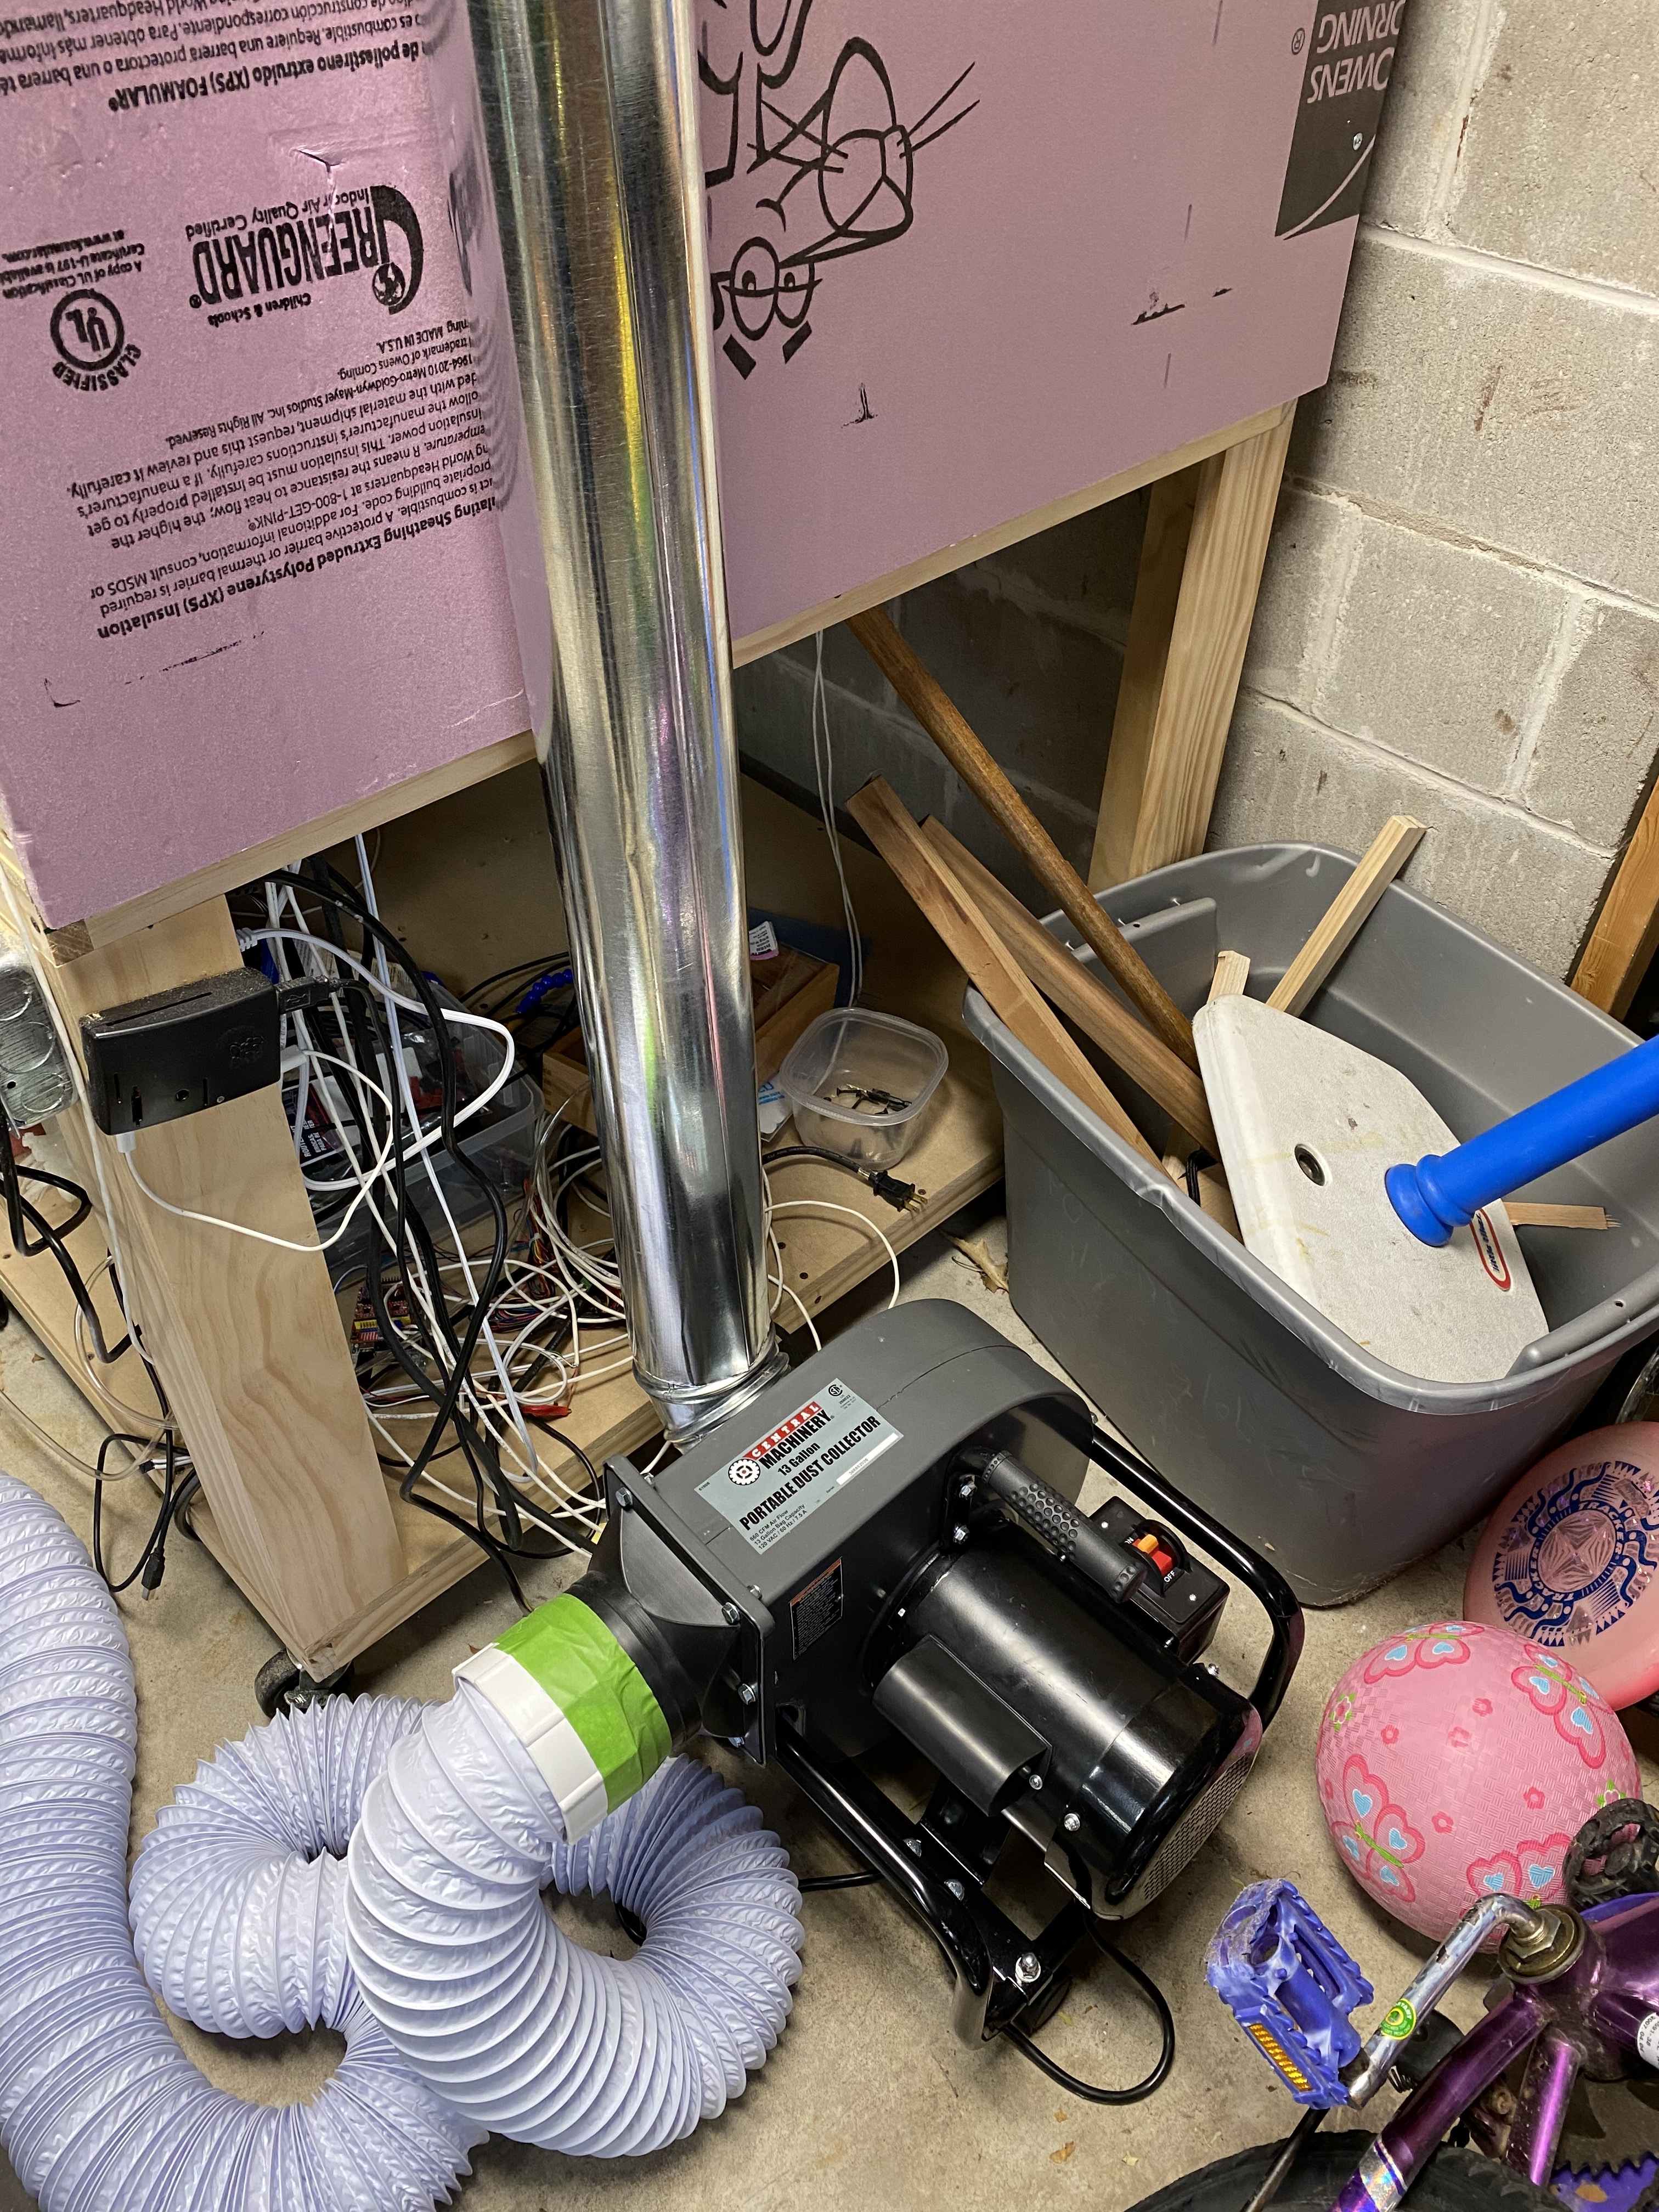
Dust Collection/Fume Extraction: I was on the fence on how to tackle dust collection. When I got the laser, my path became clearer. It didn’t take long to fill the garage with smoke when using a laser, so I knew I needed a way to get fumes out. I tried a 200cfm duct booster fan, but that didn’t move enough air once I got ducts connected to it – and the motor was in the air stream with the smoke and dust. I started looking at craigslist for dust collectors, but didn’t find anything small. So I got a Harbor Freight 1HP dust collector. It sits next to the enclosure with 4” duct that pulls air through the top of the enclosure. A flexible pipe connects to the outlet and goes outside for fume extraction. That can be removed, and the dust bag installed for CNC router work. I don’t think I’m going to worry about getting every chip when using the router, but the air assist from the laser (still a work in progress) will help clear chips from the bit while the dust collector will keep dust under control. Then the occasional vacuum when running a job. I’ll let you know how that goes.
Costs. Can you build the MPCNC itself for less than $500? Yes. Will you spend more than that? Likely – just like any other hobby. This was a brand new hobby for me, so I kept good records of what I purchased for an “all-in” cost. So aside from some incidentals – which I will mention – this is what I paid. (more detail at the end of the post)
- MPCNC: $464. This includes: my original Burly Kit, Primo Upgrade, 20’ 1” stainless tube, Arduino Uno, CNC Shield, Z probe, and filament. The Z probe is a must in my opinion.
- Router & Bits: $402. Makita RT0701C router with plunge base, and Amana Tools AMS-174. I got the plunge base so I could use it for other things, too. I choose to get nice bits to start. In retrospect, I would have gotten the cheapest ones I could get just to figure out which ones I would use. Then buy nicer ones later. Usually I would say buy good tools up front. But for consumables like bits, and for getting started with CNC, start cheap until you know what bits you will use.
- CNCjs: $60. RPi, power supply, case, SD Card. I had this stuff, so this cost is estimated. I’m using a RPI3, and it’s been working fine.
- Base and Enclosure: $154. MDF, 1x2s, 1x4s, Foamular, tee nuts, bolts, wheels. Doesn’t include screws as I had some, and I got a Kreg jig with a pack of screws. Mentioned below in things I aquired.
- Enclosure Wiring: $101. Dupont connectors, Anderson plugs, aluminum L channel, drag chain, electrical boxes, switches, outlets, LED worklight. None of this is needed to make chips with the CNC, but it makes running the machine much easier.
- Dust Collection: $236. Harbor Freight dust collector, 4” duct, elbows, 4” flex duct, dryer vent
- Software: $99. Estlcam, LightBurn
- Laser: $733. Endurance 10W, 2x Safety Glasses. Get reputable safety glasses if you like your eyes. A 10W laser is a Class 4 laser and should be taken seriously. I got an extra pair for others who may join in the fun.
- Incidentals: screws, 14ga wire (romex), 22/4 wire (servos), zip ties, glue, tools to build it all.
Total Costs:
I spent $2249 as outlined above. Without the laser and LightBurn, it would be $1476. If you take out some of the “nice” things like all the switches/outlets, nice bits, dust collection, CNCjs/RPi, and software, it gets around $1000 (includes a router). I knew this wasn’t going to be a cheap hobby going into it, but I wish I would have had this perspective starting out. So here it is for someone else.
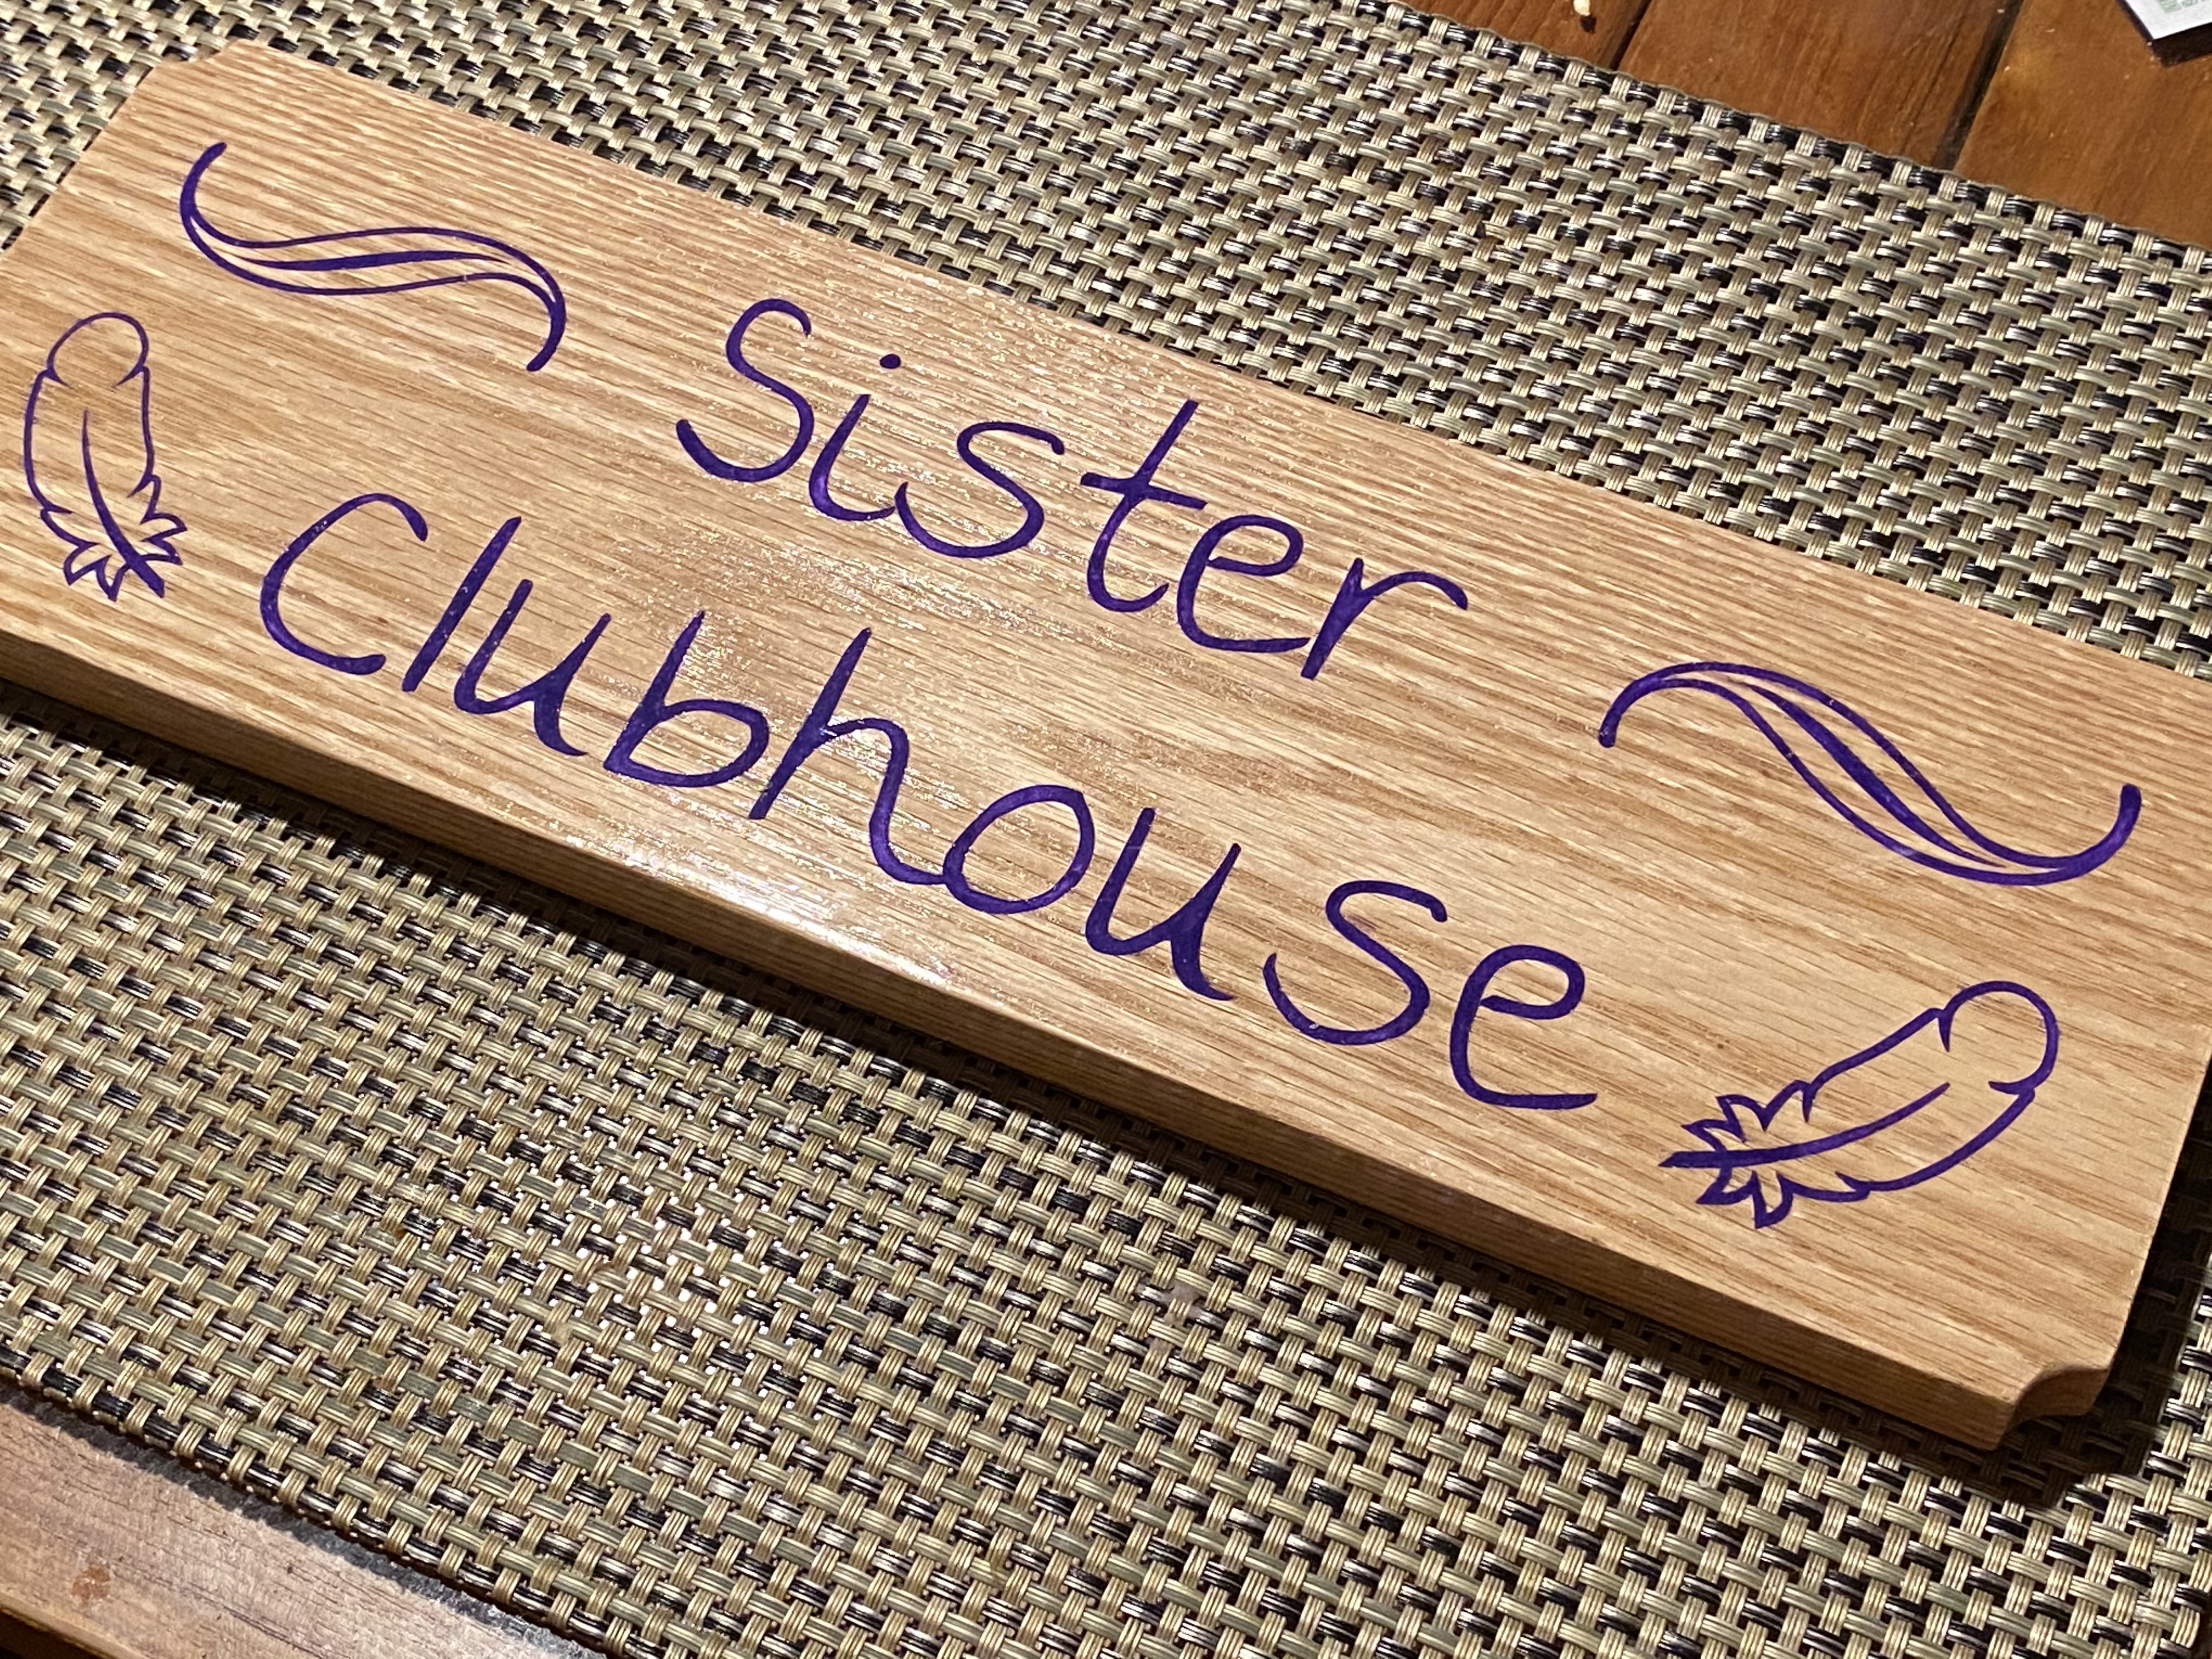
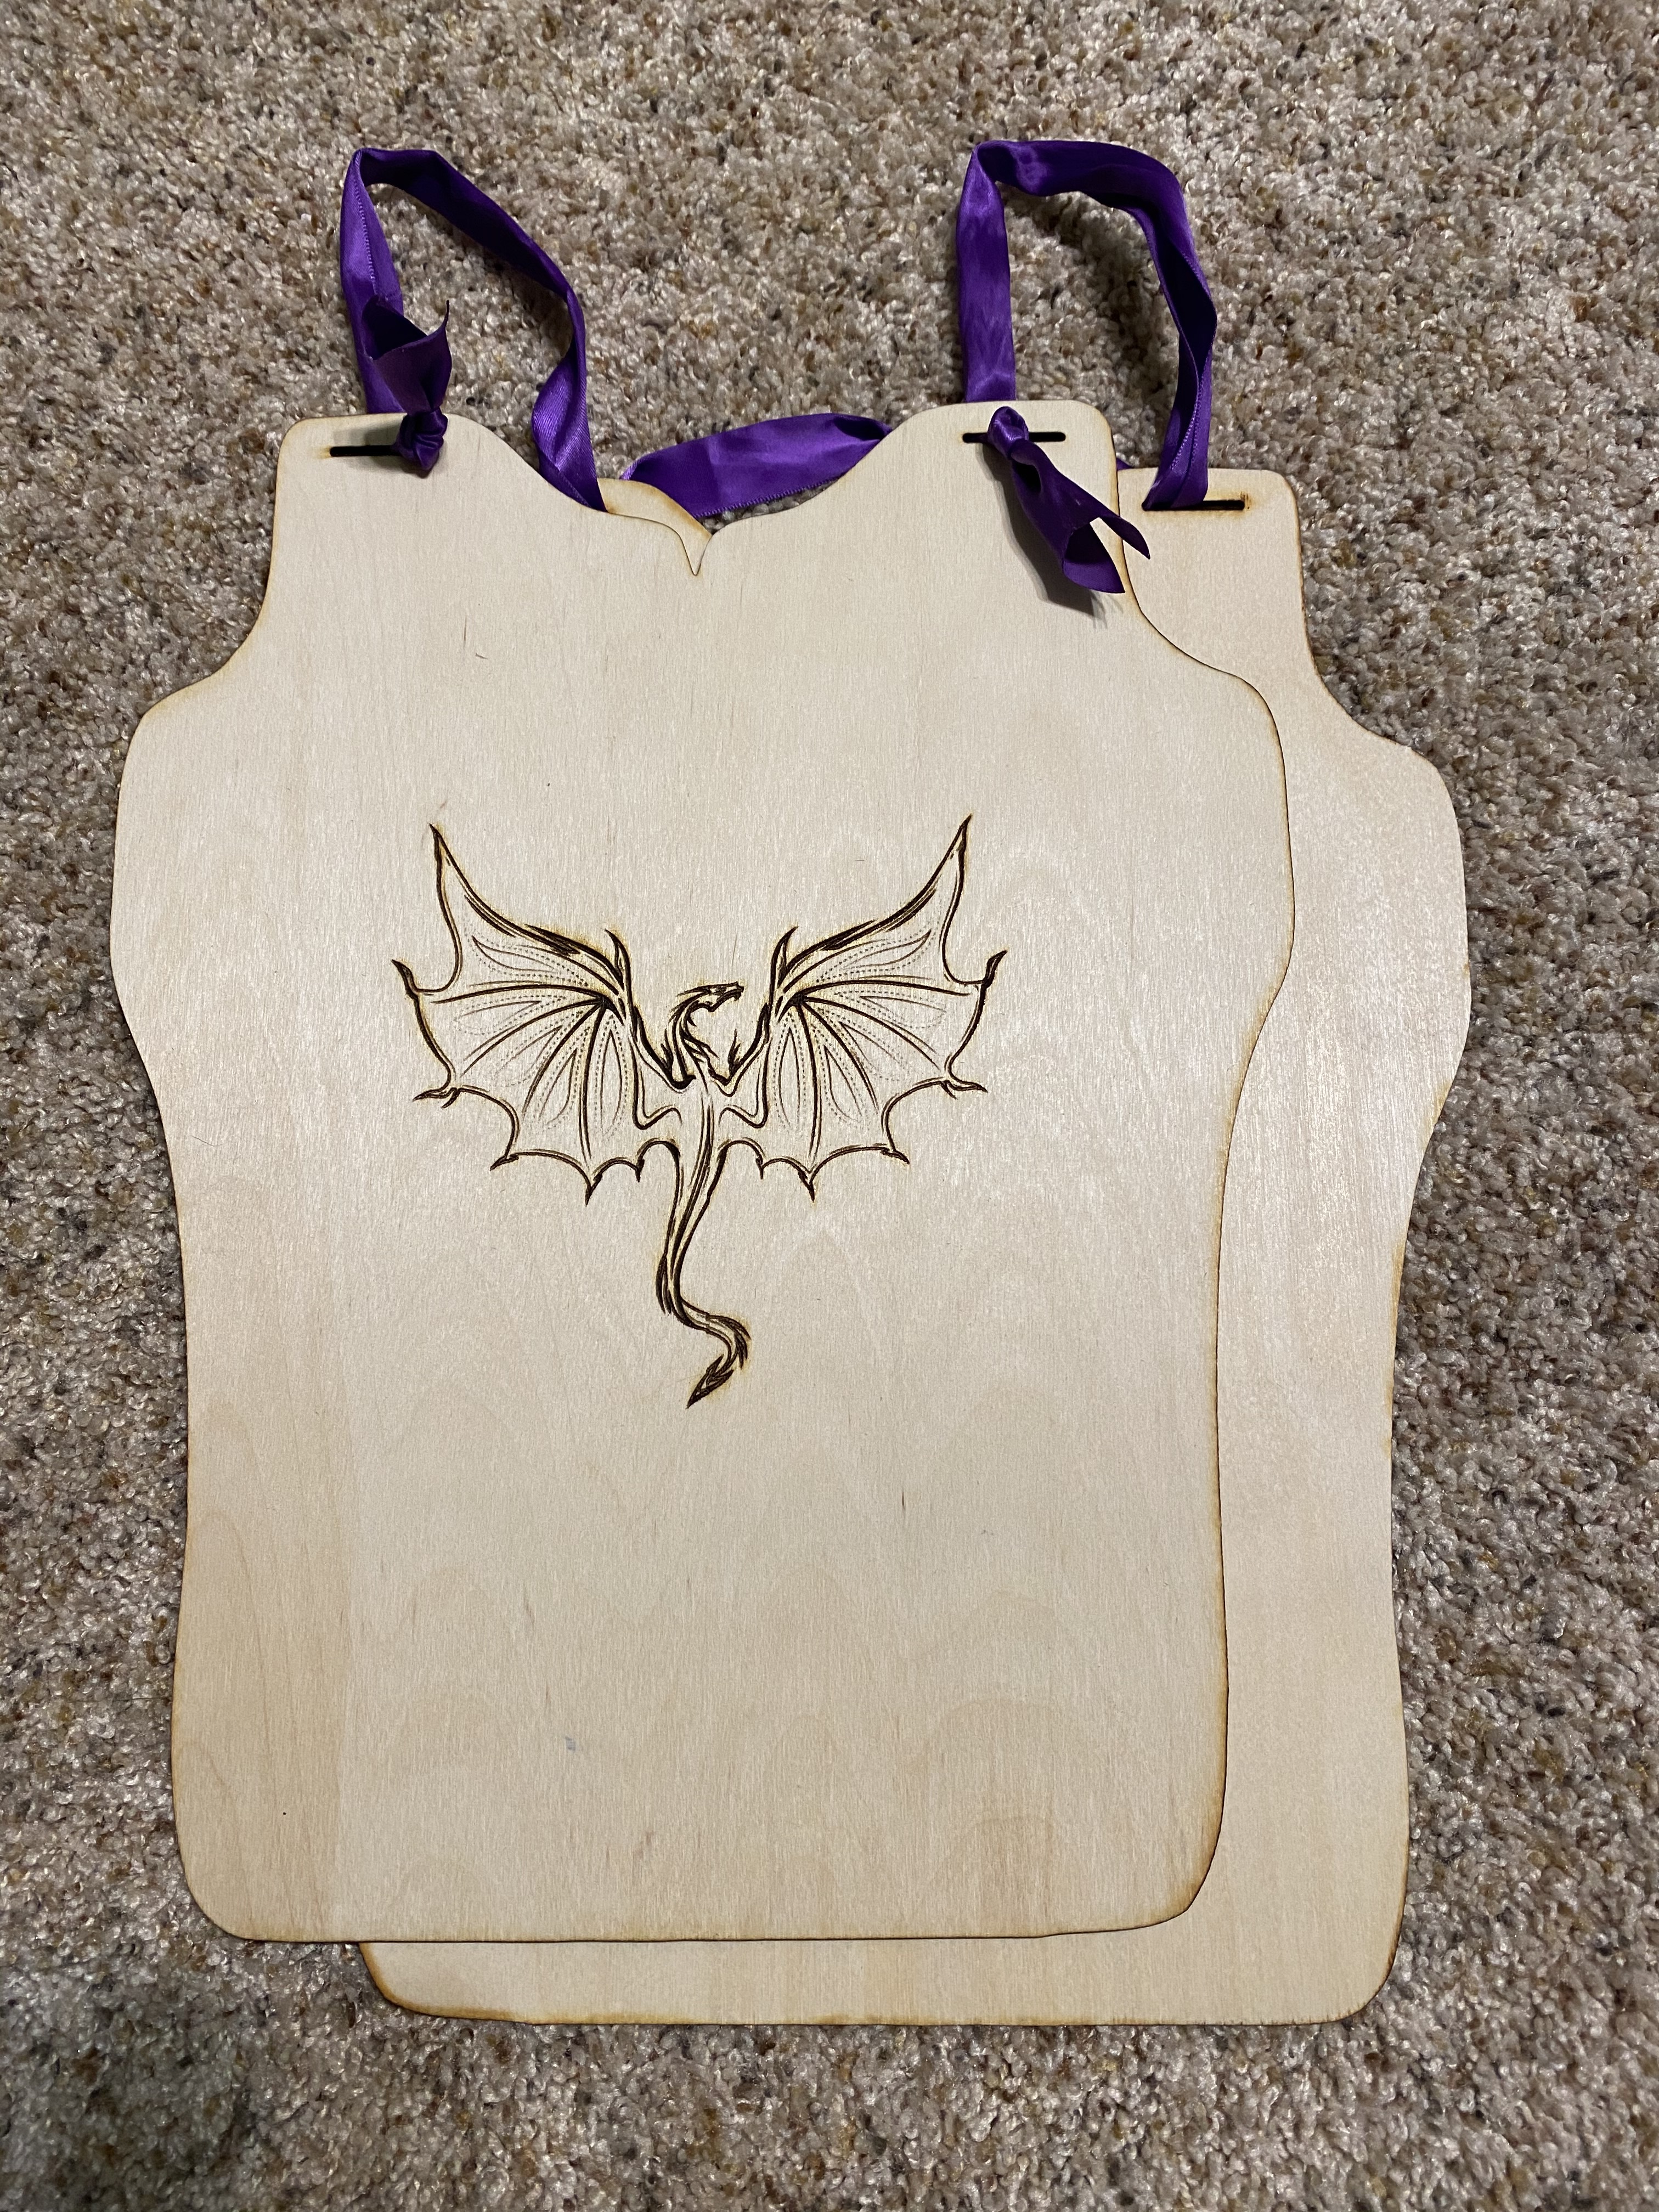
There have been other costs I did not outline. I spent some money on the original Burly (filament, 2x4s, MDF, conduit). I acquired some tools as outlined below. I’ve also purchased different materials to mess with. For the CNC: different types of woods and plastics. For the laser: glass, plastic, foam board, 1/16” plywood, and wood coin blanks. Also finishes for projects: stain and epoxy.
Things I acquired:
• Surfacing Bit: not really needed. Would not buy again.
• Dial Indicator: not needed. Didn’t have a way to mount it. Space to use it is an issue. Would not buy again.
• Good Crimper: Astro 9477. Would buy again, but it doesn’t have the “official” crimp die for the Anderson connectors. Still made it work.
• Kreg Pocket screw jig. Awesome little tool. Would buy again.
Below is the detailed cost spreadsheet.
| Category | Vendor | Description | Qty | Cost | Subtotal |
|---|---|---|---|---|---|
| CNC | V1 Engineering | Burly Kit, 1/8" Bits | 1 | $242 | $242 |
| CNC | V1 Engineering | Primo Upgrade | 1 | $65 | $65 |
| CNC | CoreMark | 20’ 1" Stainless | 1 | $65 | $65 |
| CNC | Amazon | CNC Shield | 1 | $8 | $8 |
| CNC | Amazon | Z Probe | 1 | $11 | $11 |
| CNC | N/A | Arduino Uno | 1 | $23 | $23 |
| CNC | Amazon | Filament | 2 | $25 | $50 |
| CNCJS | N/A | RPI 3 | 1 | $30 | $30 |
| CNCJS | N/A | SD Card | 1 | $10 | $10 |
| CNCJS | N/A | RPI Case | 1 | $10 | $10 |
| CNCJS | N/A | RPI Power Supply | 1 | $10 | $10 |
| CNC-Tools-Bits | Amazon | Makita Router | 1 | $149 | $149 |
| CNC-Tools-Bits | Amazon | Amana AMS-174 | 1 | $253 | $253 |
| Dust Collection | Harbor Freight | dust collector | 1 | $167 | $167 |
| Dust Collection | Big Box | furnace pipe 4"x5’ | 2 | $8 | $17 |
| Dust Collection | Big Box | vent cap | 1 | $4 | $4 |
| Dust Collection | Big Box | 4" duct connector | 1 | $6 | $6 |
| Dust Collection | Big Box | 4" duct elbow | 2 | $4 | $8 |
| Dust Collection | Big Box | 4" dryer outlet | 1 | $7 | $7 |
| Dust Collection | Big Box | 4"x8’ aluminum flex duct | 1 | $14 | $14 |
| Dust Collection | Big Box | 4" plastic coupler | 1 | $3 | $3 |
| Dust Collection | Big Box | 4" plastic flex duct | 1 | $10 | $10 |
| Enclosure | Big Box | 3" Wheels (4pk) | 1 | $10 | $10 |
| Enclosure | Big Box | 4x4x1/2 MDF | 2 | $13 | $26 |
| Enclosure | Big Box | 4x8x1/2 Fomular | 2 | $10 | $20 |
| Enclosure | Big Box | T Nuts (25pk) | 2 | $4 | $8 |
| Enclosure | Big Box | 1x4x8 Pine Select | 3 | $7 | $20 |
| Enclosure | Big Box | Flathead 1/4-20 bolts | 5 | $1 | $7 |
| Enclosure | Big Box | 1x2x8 Pine | 14 | $3 | $46 |
| Enclosure | Big Box | 4x4x3/4 MDF | 1 | $17 | $17 |
| Enclosure-Wiring | Amazon | Dupont Connectors | 0.1 | $12 | $1 |
| Enclosure-Wiring | Amazon | Anderson Covers (10) | 0.1 | $9 | $1 |
| Enclosure-Wiring | Amazon | Anderson Plugs (10pr) | 0.2 | $17 | $3 |
| Enclosure-Wiring | Big Box | Aluminum L | 2 | $5 | $9 |
| Enclosure-Wiring | Amazon | Drag Chain 10mmx20mmx1m | 3 | $12 | $36 |
| Enclosure-Wiring | Big Box | 1 Gang Handy Box | 1 | $2 | $2 |
| Enclosure-Wiring | Big Box | Cord Gromet | 1 | $2 | $2 |
| Enclosure-Wiring | Big Box | 2 Gang Outlet Cover | 2 | $1 | $2 |
| Enclosure-Wiring | Big Box | 1 Gang Outlet cover | 1 | $3 | $3 |
| Enclosure-Wiring | Big Box | 2 Gang Switch Cover | 2 | $1 | $2 |
| Enclosure-Wiring | Big Box | LED Light 3’ | 1 | $15 | $15 |
| Enclosure-Wiring | Big Box | Rubber Cord 16/2 15’ | 1 | $10 | $10 |
| Enclosure-Wiring | Big Box | 2 Gang Handy Box | 3 | $3 | $9 |
| Enclosure-Wiring | Big Box | Outlets | 3 | $1 | $4 |
| Enclosure-Wiring | Big Box | Switches | 4 | $1 | $2 |
| Laser | Laser Safety Industries | Safety Glasses | 2 | $94 | $188 |
| Laser | Endurance Laser | 10W Laser | 1 | $545 | $545 |
| Software | Estlcam | Estlcam Software | 1 | $59 | $59 |
| Software | LightBurn | LightBurn Software | 1 | $40 | $40 |


 s. And if you like, here is a
  .
.