I am getting ready to surface my spoilboard and I have a few questions before I get started. I have a Whiteside 6210 bit and DW660. My spoilboard is MDF and I will have threaded inserts coming up from the bottom.
I have wired up my DW660 with a rotary dimmer switch, but I am not sure how to best measure the tool rpm. Do I need a measuring device, or is it something that I judge by ear?
Do you have recommended feed / speed settings for this spindle and bit combination?
Thanks!
I’m not sure about “best,” but back when I was using an external speed control with a DW660, I purchased one of these (not this specific one at the link, just similar) to measure my RPM. There is a “problem” you should be aware of with an external speed control solution. It does not have a feedback loop, so the actual cutting RPM will vary with the load.
recommended feed / speed settings
I’ve only surfaced a spoil board three times, and I found what worked for me did not follow any advised chip load settings. With higher feedrates and/or any significant DOC, I had deflection that left stair stepping in my board. There are other reasons for surfacing to produce stair stepping, but in my case it was deflection. My last and most successful surfacing was done slow, and with a very shallow depth of cut. It was around 0.15mm DOC, 400mm/min, 12mm stepover, and 20,000 RPM. This was using a Mikita. I suggest a few test on a scrap piece of MDF. Oh, and you may get clouds of toxic sawdust. With my first surfacing, I had a significant amount to take off (2mm to 3mm), and I had one hell of a mess to clean up when it was done.
Yeah go easy on it it is a big cutter with small shaft. I usually keep doc around 0.5mm or less, 60% step over conventional cut at 60in/min, spinning 14000rpm. Really though, surfacing for me has meant 0.5mm max. So step down is kinda irrelenvant. I usually probe for the low spot, and set my cut there. If the high spot were more than 0.5mm above then I would step down. Regardless what you start with, keep an eye and ear on it and adjust federate to during the cut to find the sweet spot. It will whine and groan going to fast… will smell Smokey if too slow.
Since it is your first facing job… tramming is really critical for good results. I always check and adjust tramming just before surfacing a spoilboard.
Also, hehe I second the comment on dust! The spoilboard cutter is short and needs to be mounted as short as possible to reduce flex. It is the only bit I use that does not work with my vacuum attachment. Even with me chasing the bit around with the vacuum, the garage ends up with a thin layer of dust even cutting just 0.2mm off. I bet this is a reason why many folks put off resurfacing work.
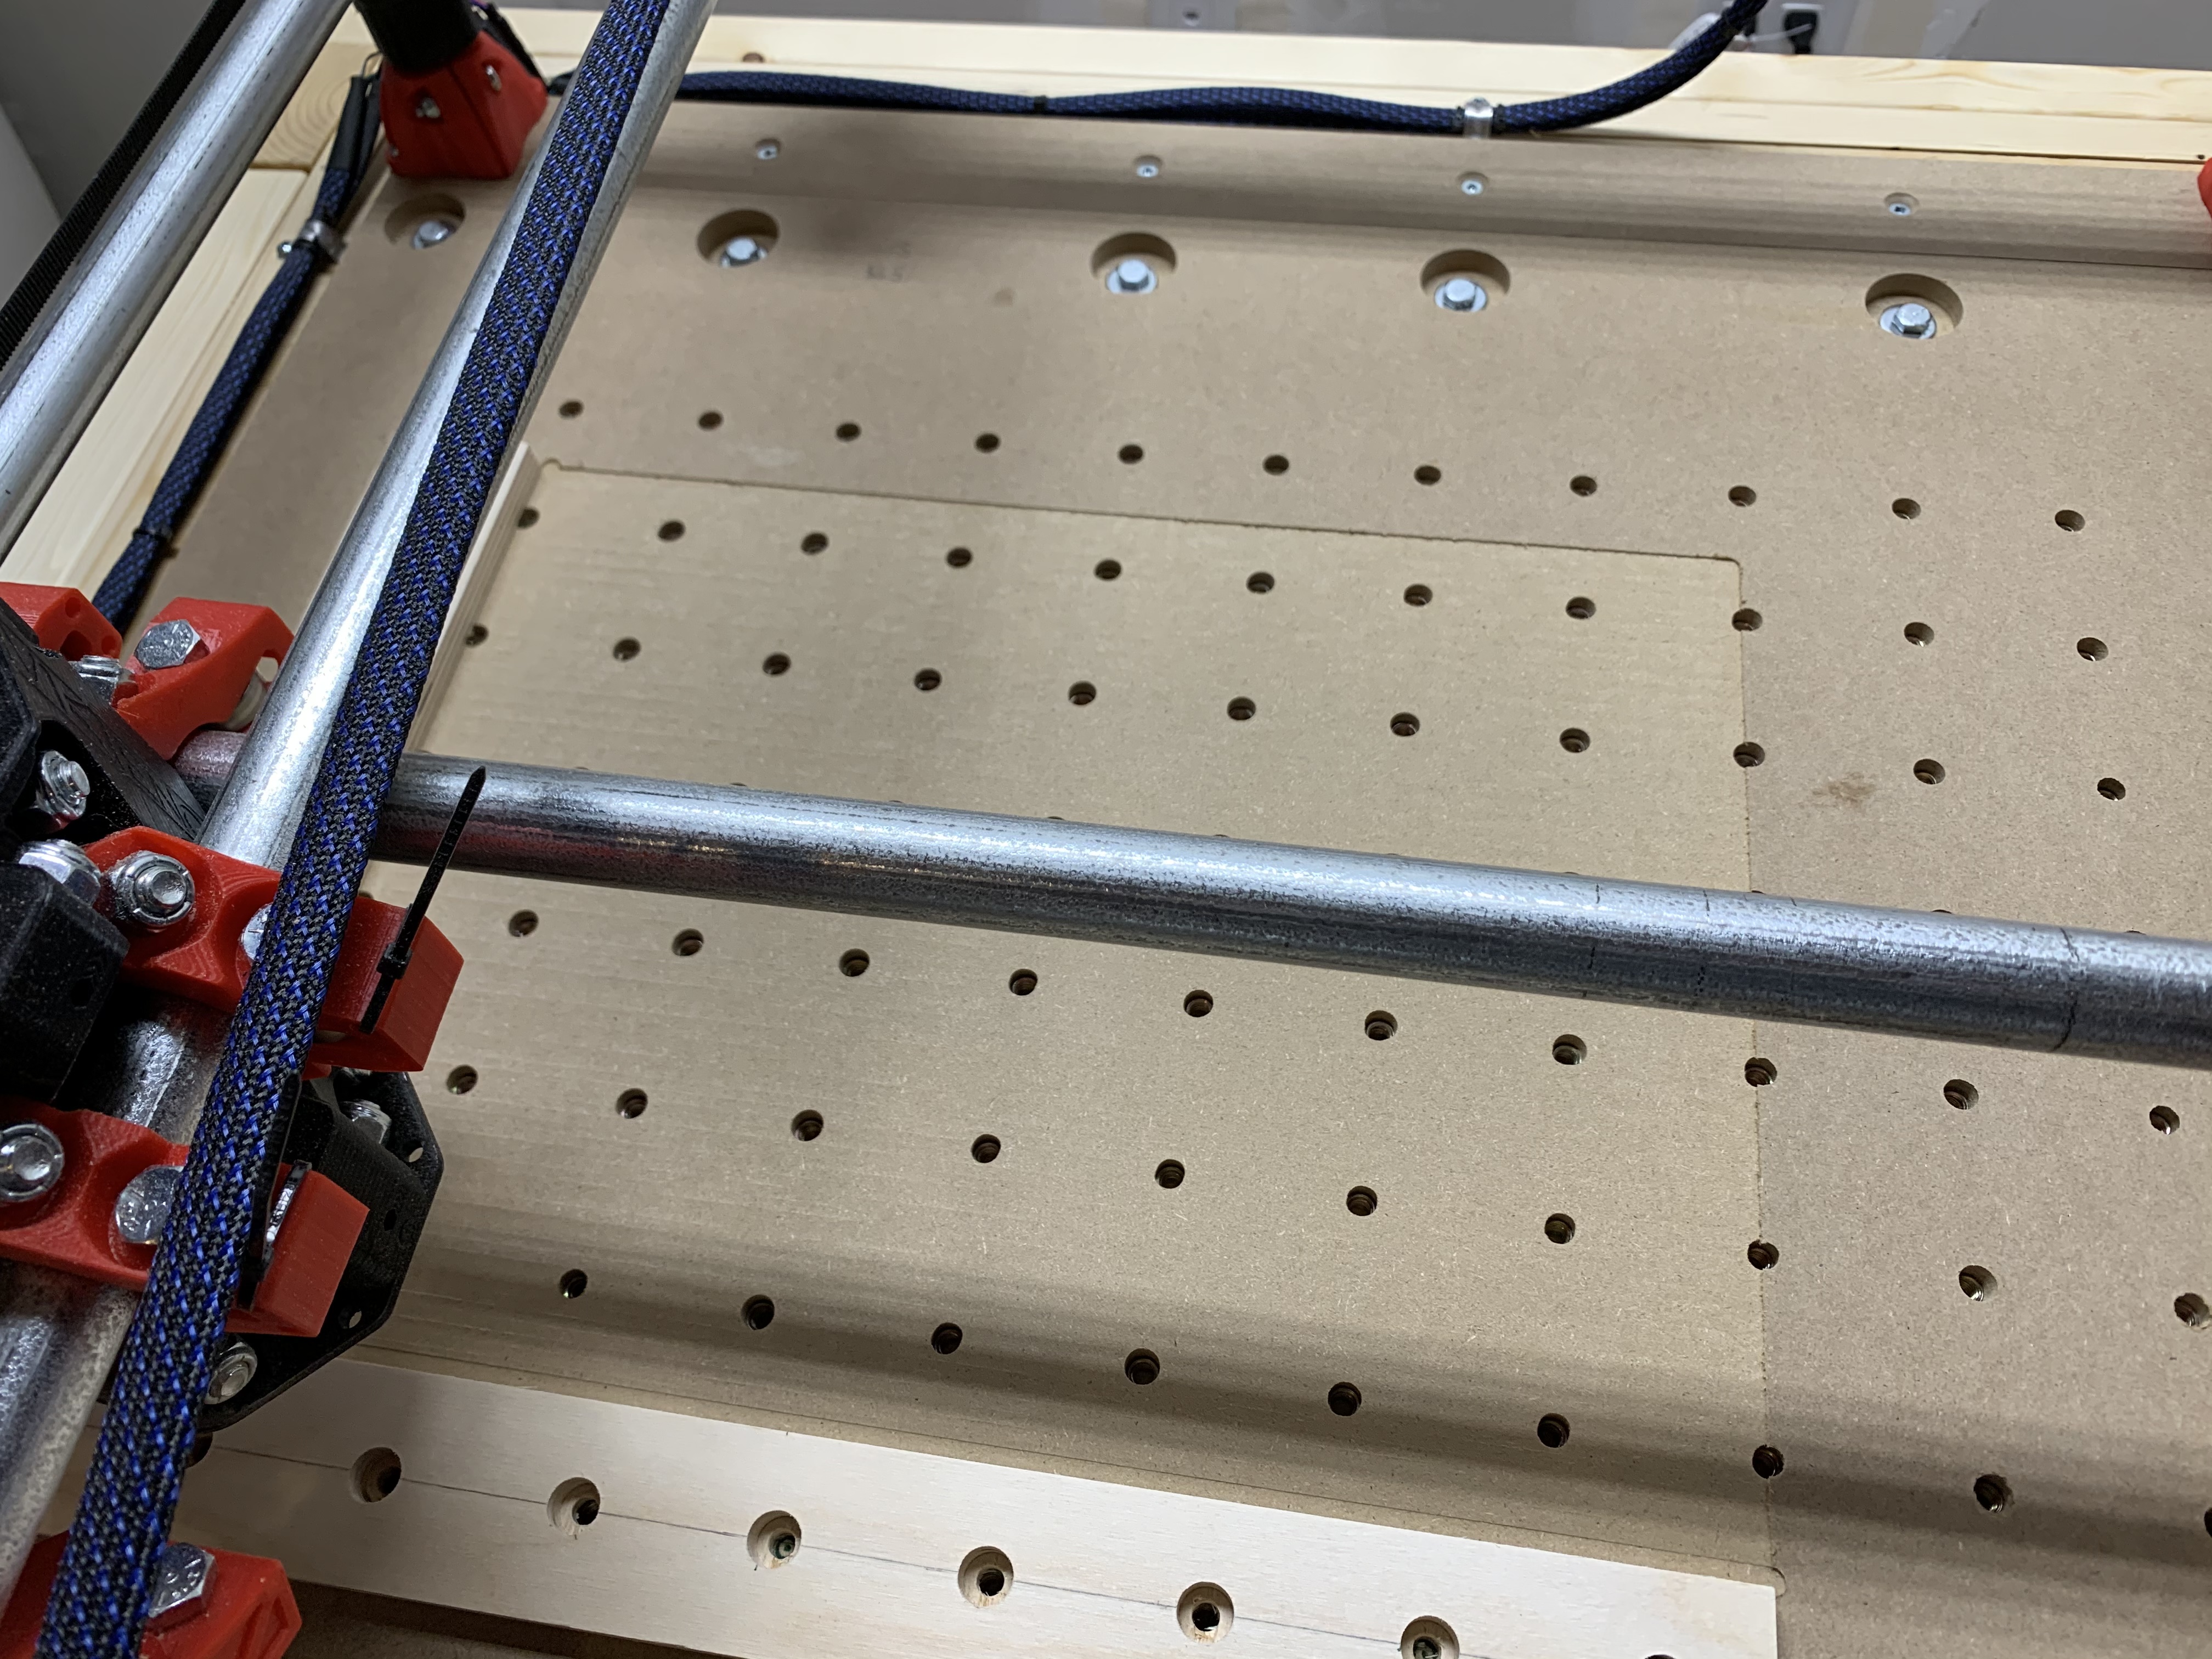
So I just finished surfacing the spoilboard. I ended up doing it with a 1/4" spiral upcut bit. My cutting area is only 400mmx300mm so even though the bit was tiny it only took 42 mins. I went 0.5mm deep. The result looks really good.
I had just installed a fence and cut it to 90 degrees with the 1/4" bit, so I didn’t want to switch to the Whiteside bit and have to redo the fence.
The dust wasn’t too bad. I followed the bit around with the vacuum the entire time.
I wear a dust mask, and I have a couple of air filters in the basement, so that helps too.
Thanks for all of the tips!
Unfortunately I did not save the settings in Estlcam. But looking at the gcode it looks like I did 15mm/s (G1 F900) with a 50% stepover. I used a 1/4" solid carbide spiral upcut bit.
I drew a 400mmx300mm rectangle in Inkscape and created a 0.5mm deep pocket hole in Estlcam from the rectangle.