I’m wondering how you all are holding down your 4x8 MDF spoilboard as down to your table in such a way that corners edges don’t bend upward overtime, and such that the spoilboard is easy to change out and secure down again without too much of a headache. Any ideas and pictures would be great! My table simply has an MDF top with plenty of access from the underside. Thanks!
I’m about to replace mine too, and I’d like to know how others are dealing with this issue.
I just screw it down.
I have a raised guide around 3 edges exactly the right size the MDF just slides into it. Really easy to flip over when the time comes. The guides have threaded inserts going into the table so I can clamp around the edges. There are also threaded inserts that line up with holes in the MDF. If anything I have the opposite problem.. instead of curling up, if I clamp the edges too hard the stock lifts in the middle. I find light clamping works great for big stuff, and for small pieces, double sided CNC tape.
I model the holes in an array that is about 3-4" in from the four corners then make a grid. not too many. Maybe 4 x 8 grid. I counter bore a full 3/8" deep to keep the screw heads well away for the cutting head. I use the 1/8" single flute bit for both operations and also same time drill the clearance hole through then screw it down. Super fast and easy.
I used wooden dowels with wood glue on the edges of the board. Once you need to replace the spoil board, it is easy to remove with a oscillating tool and pin nails through out the spoil board. It works great for me
I’d really like to see this

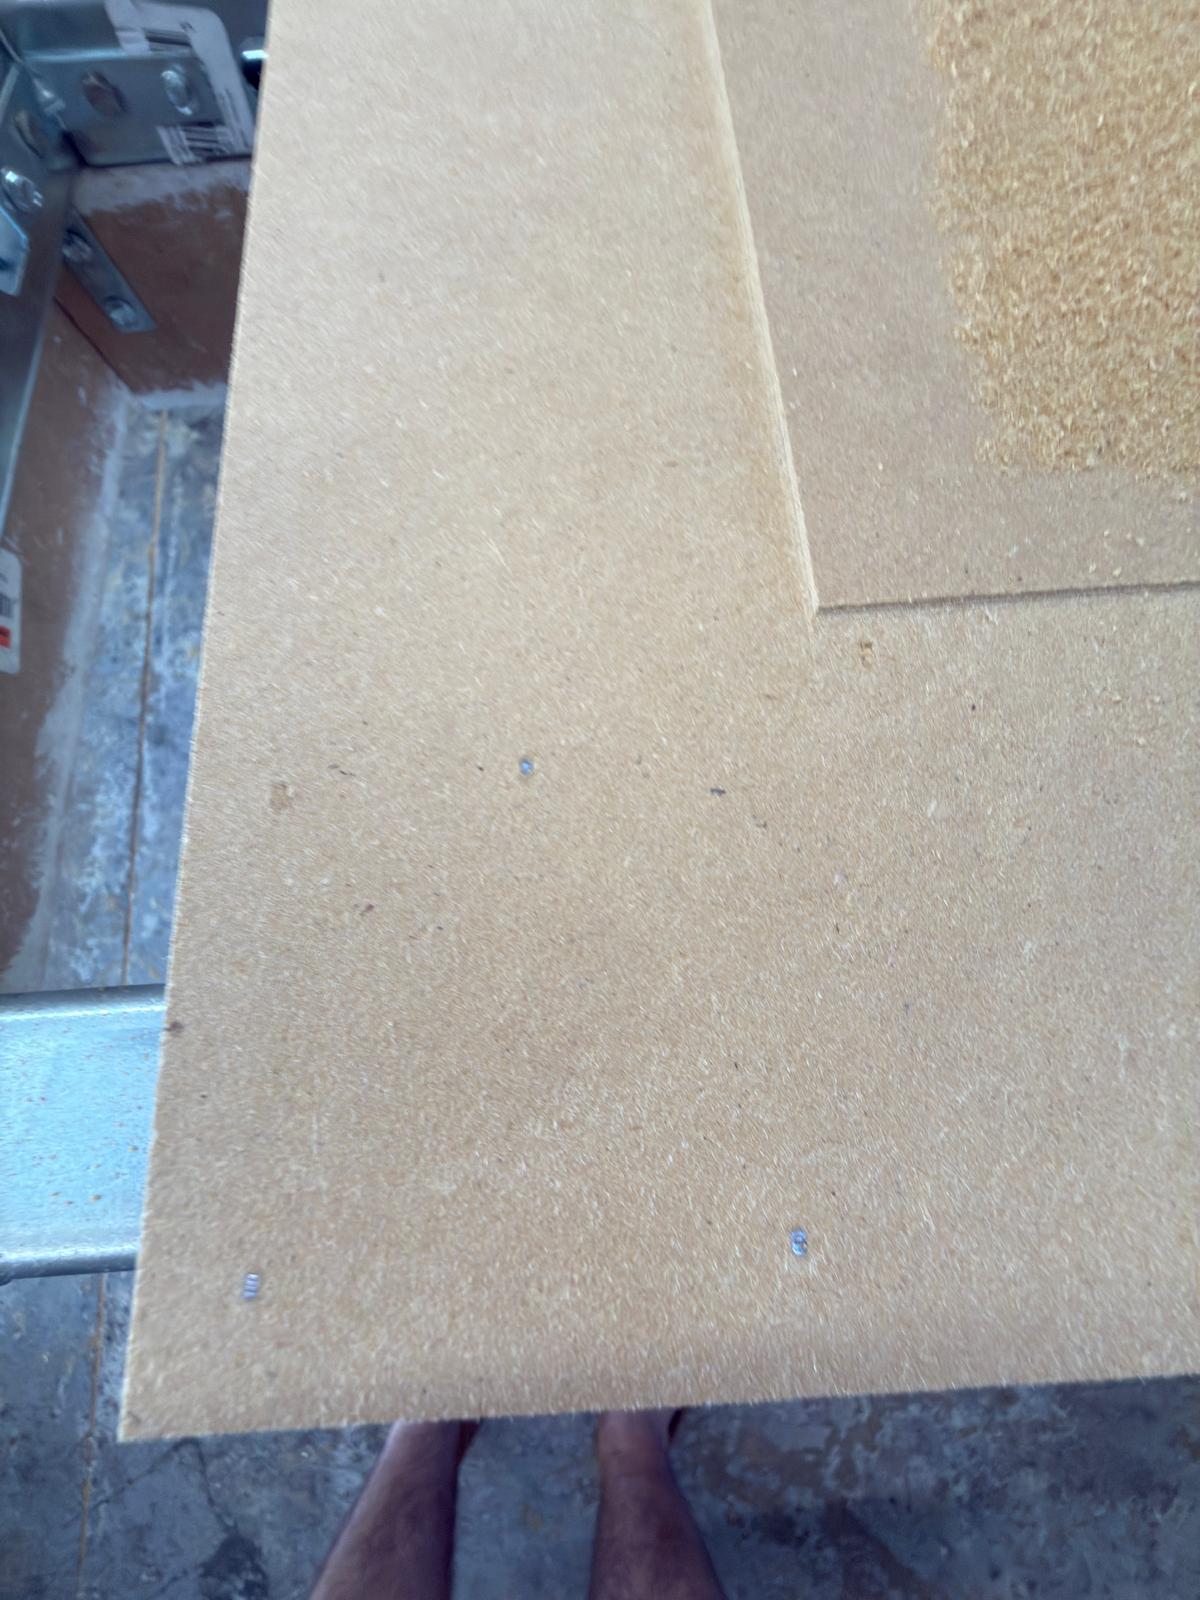

You can see the wooden dowel and the pin nails. I actually just replace the spoil board so I am flattening it now. The hose system I designed works awesome, it spins freely with the machine and causes absolutely zero issues.
Ive tried couple ways. what ive found easy , is surfaced mdf table
now i just throw a sheet of 3mm mdf on table and put material on top and screw material down
most of my material is full sheet or reasonable sixed slabs
i find variance about .5mm over the top sheet , which im all good with for what i do mainly , once it gets bit beat up , i run a 150 grit over it flip it over use other side
Thanks but I think you are missing my question. I am asking how do you secure the spoil board to the permanent tabletop? I don’t want to damage my permanent tabletop because if I had damage, it so much that Id have to replace it, id have to remove the y rails etc. I need a “infinitely” repeatable process to secure a disposable spoil board to my “permanent” tabletop that does not damage that permanent tabletop. ..
Looks great. nice and easy.
Google “composite brad nails”.
They don’t work very well in a standard Brad nailer (ask me how I know). But they supposedly work well with a dedicated composite nailer.
The plastic nails hold the spoil board in place, and won’t damage the router bit if they are run into during a cut.
Interesting. I suppose I am more worried about long term damage to the foundational table top. That is 10x more inconvenient to remove and replace. What are your thoughts in regard to that concern?
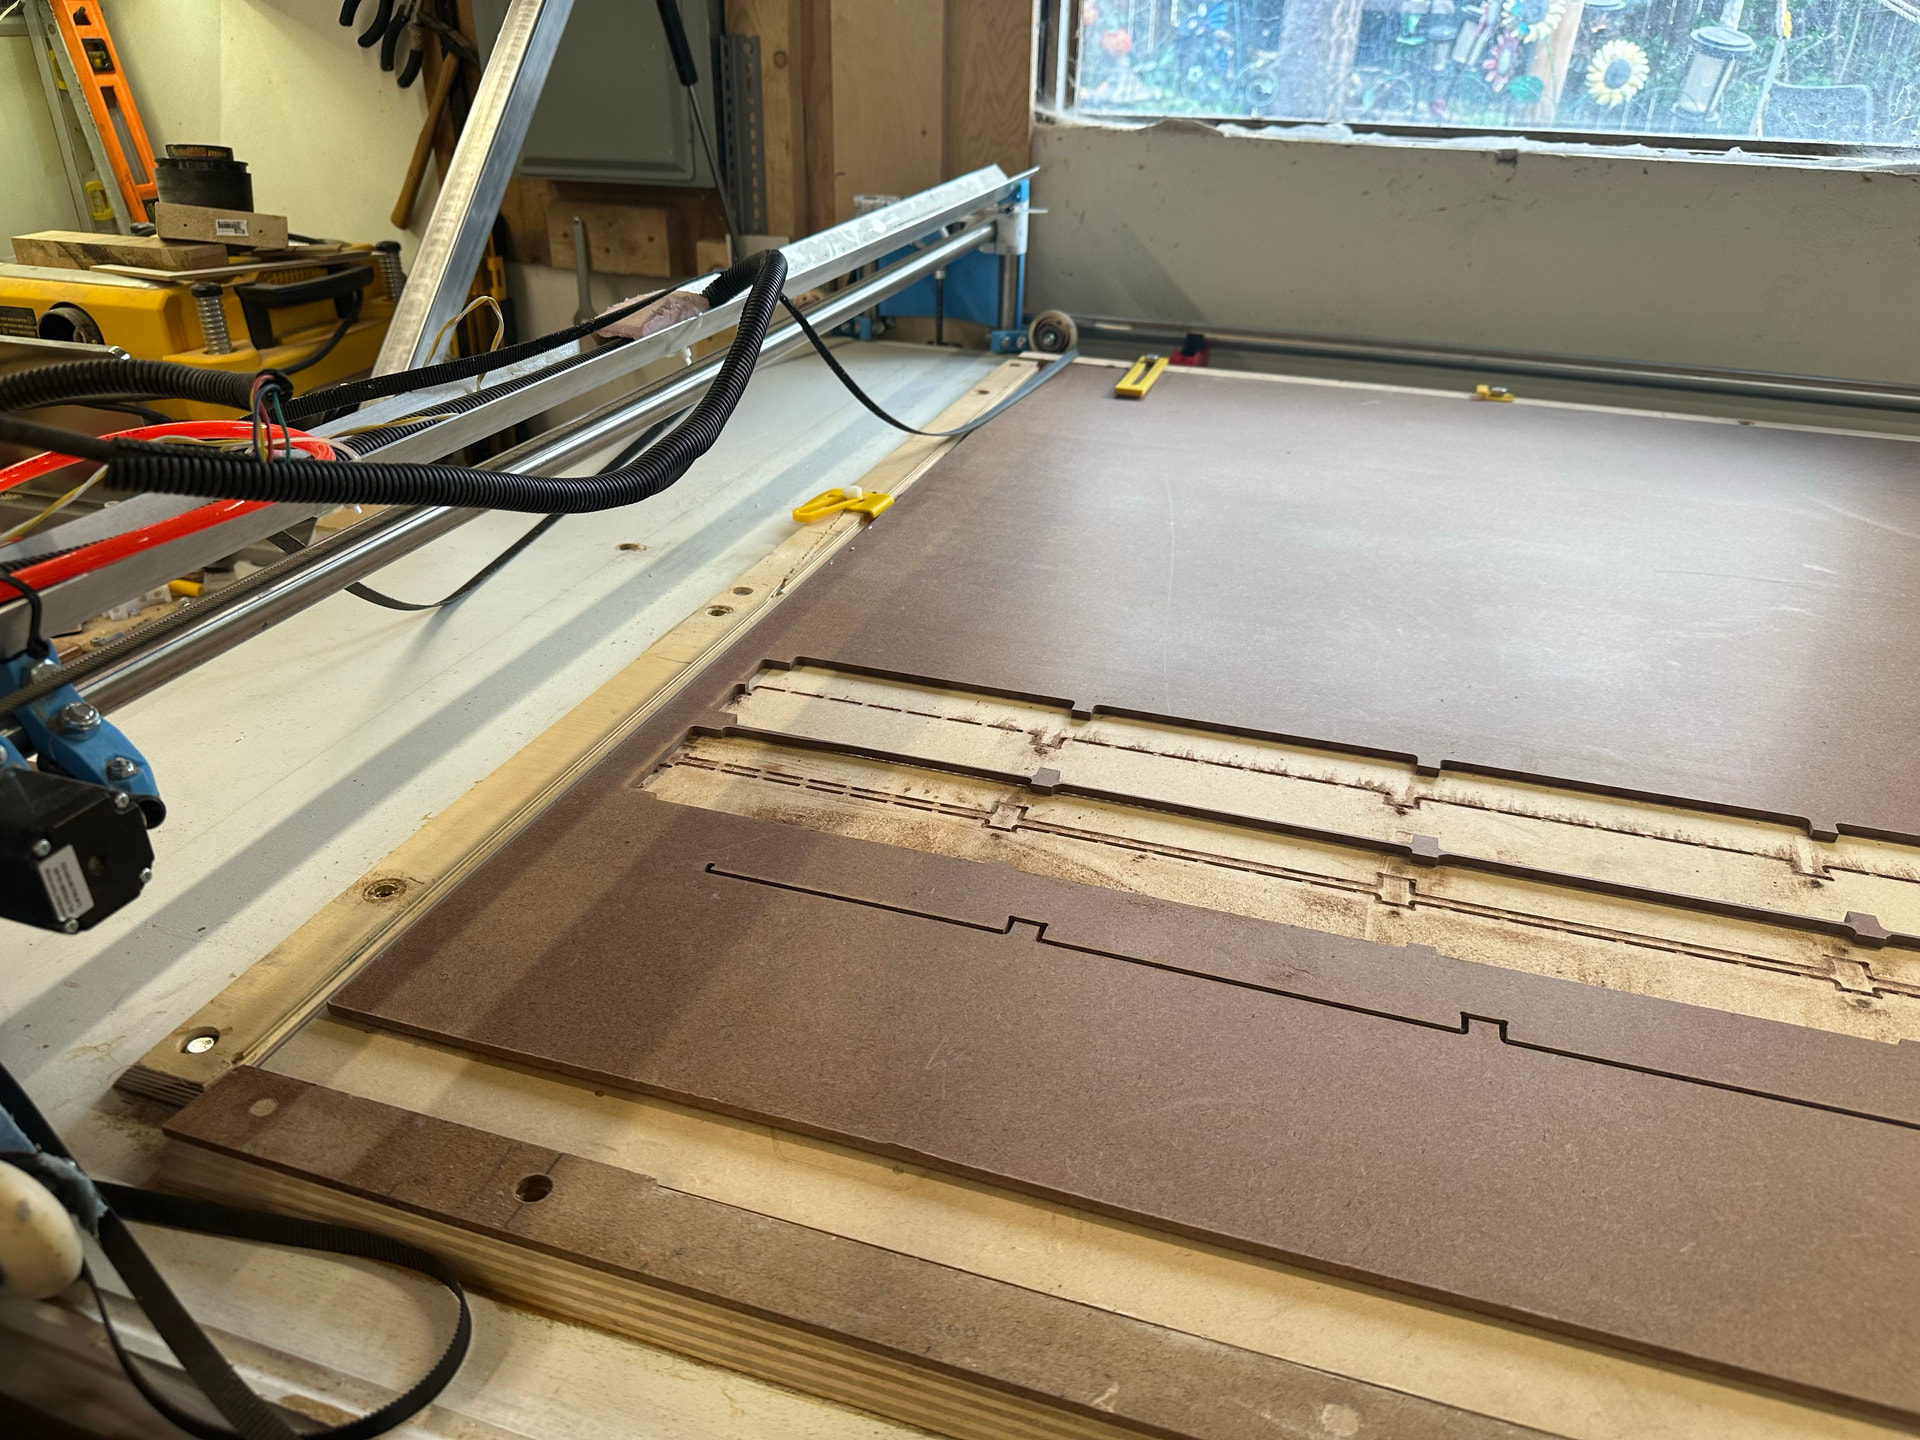
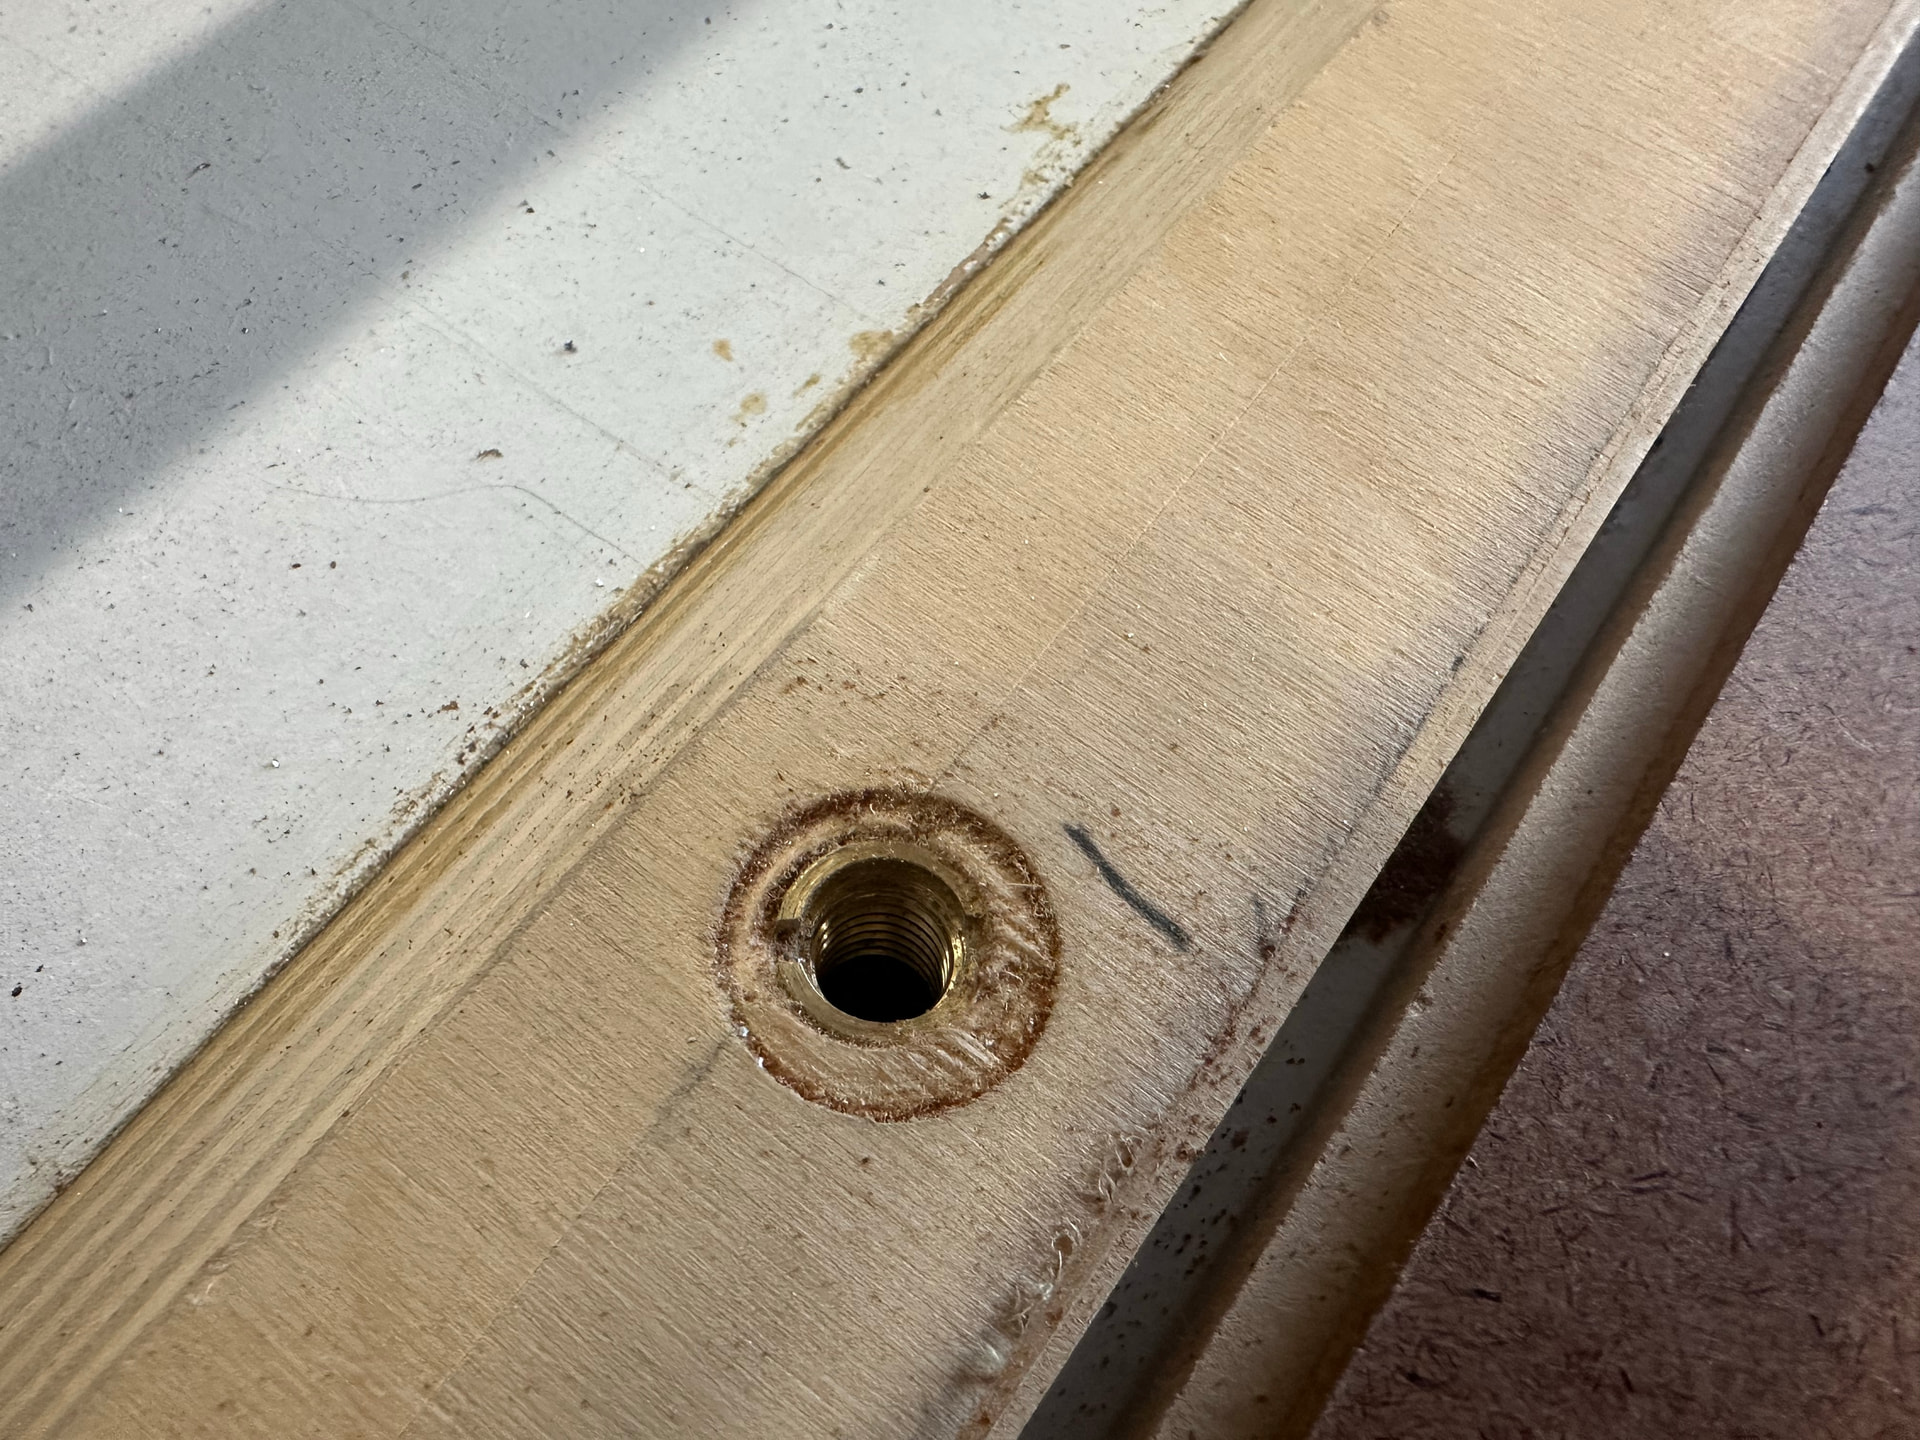
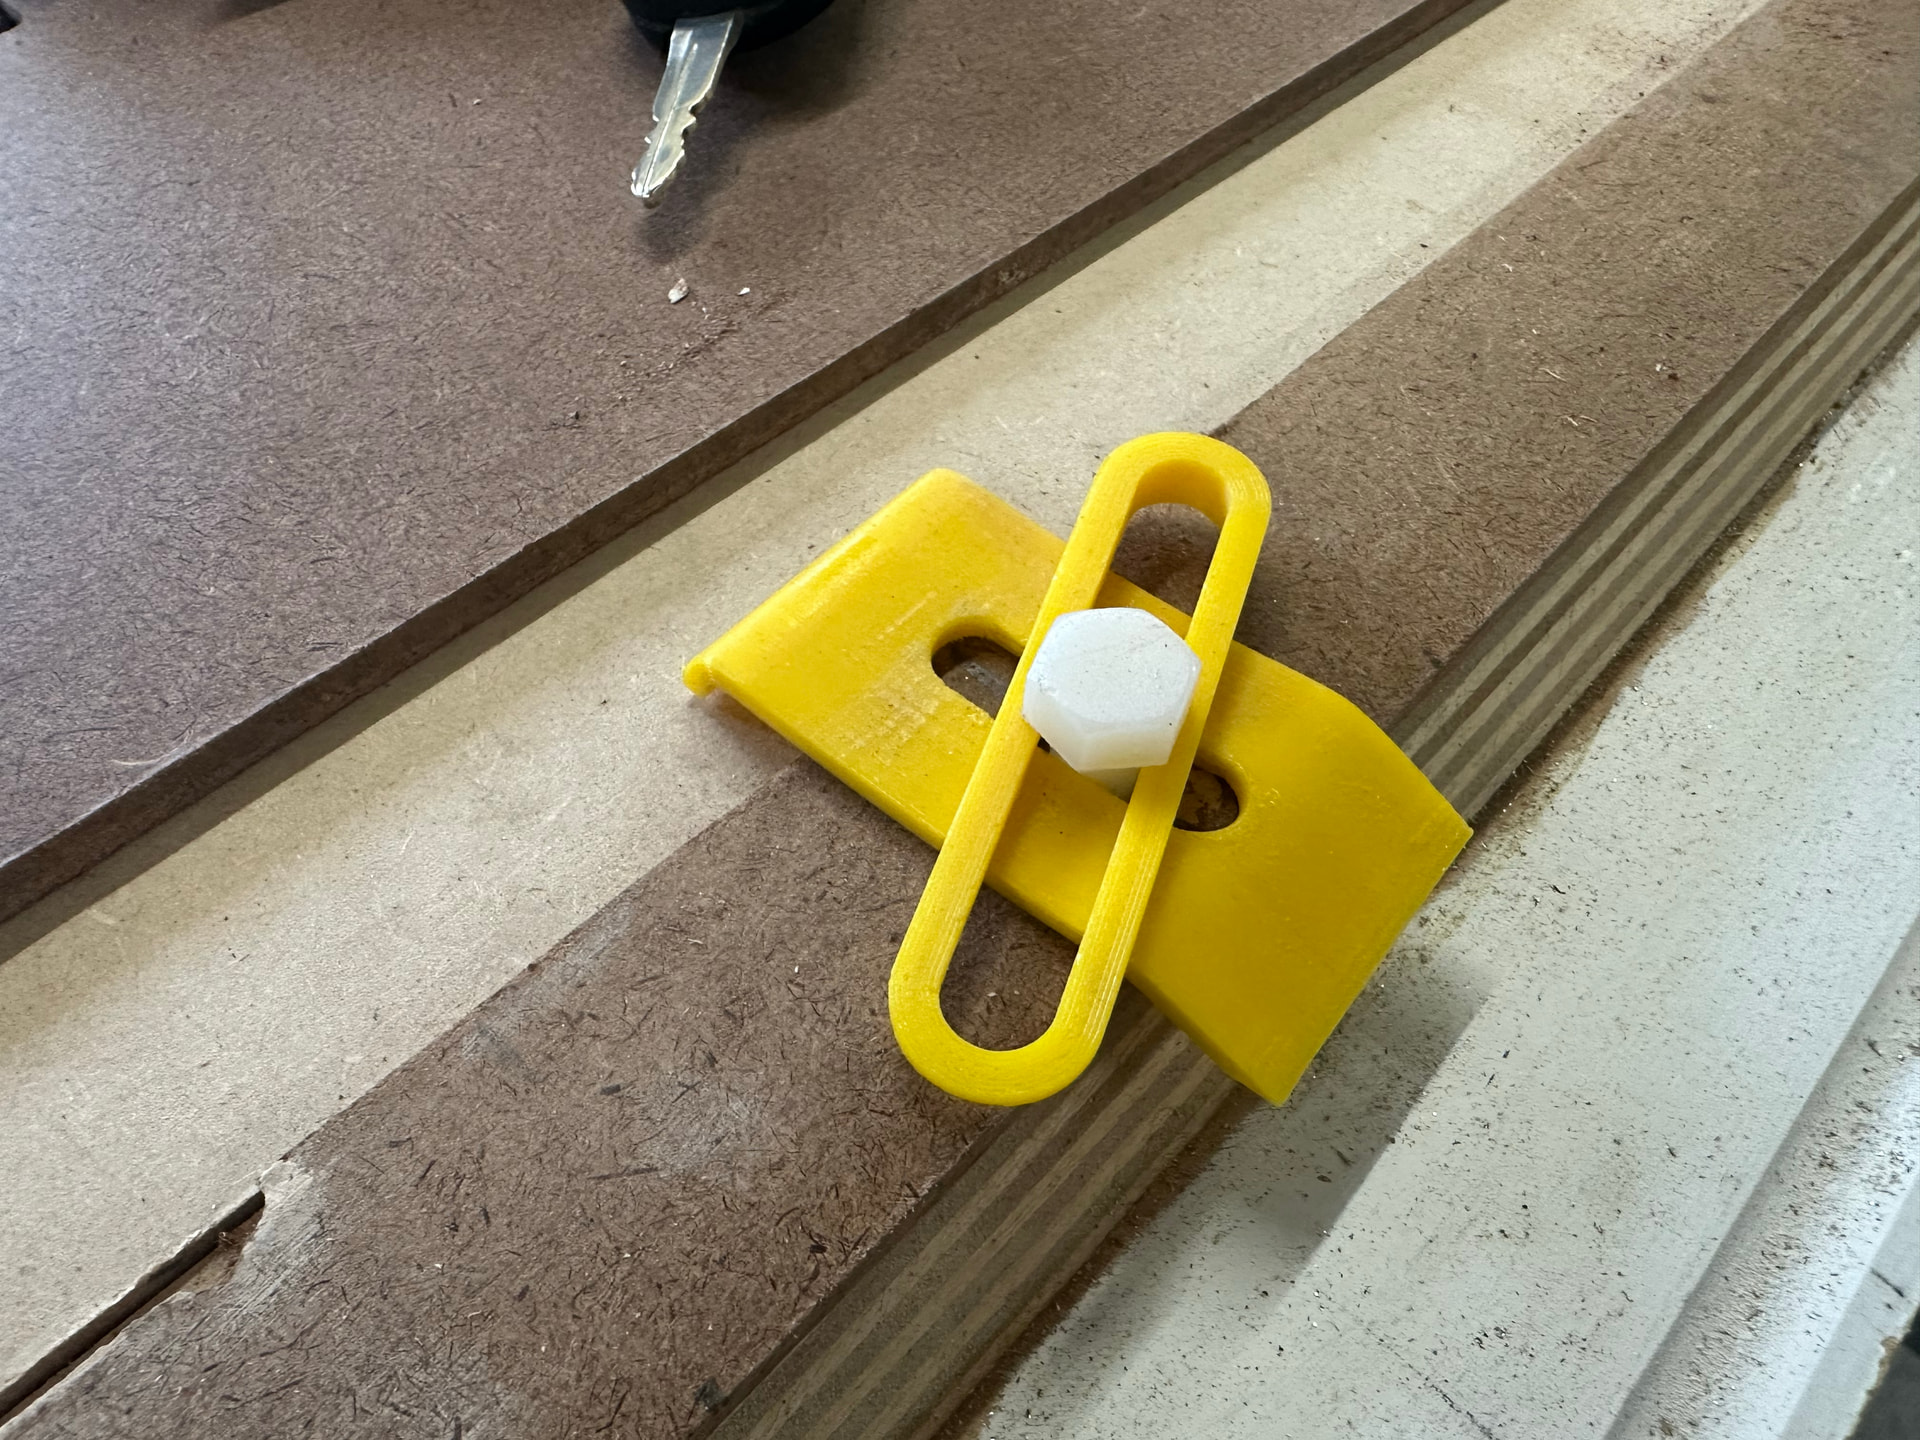
There should be no damage to the underlying table surface. The composite brads will shear off with side pressure, leaving the base pretty much undisturbed. If there is any protruding remnants, they can be removed with a sharp chisel.
oops not sure where last bit disappeared to ,
just have some 3d printed blocks ive made them various heights for sheets
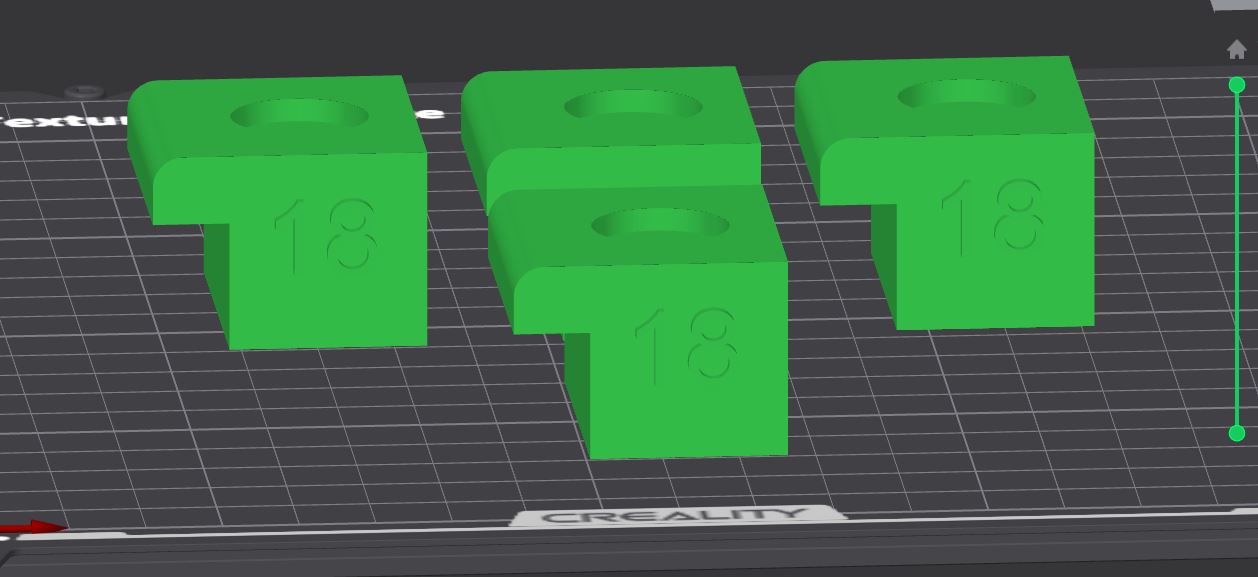
recess is for a washer so screw doesn’t pull through
i just use an 8 gauge screw and screw to main table ,it leaves small screw hole in main board , they fill really easy with say contract filler
end of day i found its trial and error and personal preference and
ive tried dog holes, set screws which worked to a degree but more often than not they were in wrong spot, this way i can put them wherever i want