From https://www.v1engineering.com/some-old-guy-coding-teaches-how-to-do-a-tool-change/
If you have questions, someone might have the answer.
From https://www.v1engineering.com/some-old-guy-coding-teaches-how-to-do-a-tool-change/
If you have questions, someone might have the answer.
Very useful instruction. I will definitely watch the other videos he’s made. Is Some Old Guy Coding on these forums somewhere?
If you don’t have a naturally square machine (mine is pre 525, and maybe not printed by an expert ahem), then you could use two clamps for each direction, one on each side, to hold the roller against. You’d have to make sure they were at the same distance from the end on each side.
If you are using method 4 (which holds the steppers at a “safe place”, and doesn’t use the startup clamps) then you would need to make sure the zsafe was at 0.0, right? I would probably do 0,0,0, unless 0,0,0 was cut out already…
The safe place could be anywhere that has a know z distance. So the cutting surface is easy, but so is the table top or a block. If you use a block or the table then you can move away from your material to give yourself more room to get your hands in to change the tool.
Greetings all, I’ve in the forums, but since Vicious1 went and made me somewhat a celebrity <G>, I decided to get a vanity username - SomeOldGuyCoding.
perhaps it didn’t take. Oh well…
I changed it for you, You should be able to do it in your profile in the top right corner.
Thanks!
I learned quite a bit. I like how you listed and explained the pros and cons of the various methods and how you put the methods in order of least automatic to most automatic. So thanks!
I’ve been using an M17 instead of an M84. Right now I don’t even know the difference, but you certainly peaked my interest to study it.
Greetings all,
I’ve uploaded a tool to help with bit changes.
Thingiverse: http://www.thingiverse.com/thing:2125978
Youtube: https://youtu.be/63TSWRbf6ig
Thanks!
Nice tool. Thank you for sharing!
From one old guy to another, great work! I really appreciate your efforts and your willingness to share what you have learned and all your tools and things.
I hope your celebrity status does not go to your head and you become too famous and good for the rest of us little people.
Oh I will see to that! With the kinds of video he puts out I am going to stop helping people directly and just start linking them to these videos.
Thank you all for your great work, I’m learning CNC and that video seems to be very helpful.
Unfortunately I understand English much on reading than listening.
On this video I can’t read because there is too much compression.
Is there a chance to post pictures of the methods ?
Thanks
I love Some Old Guy Coding’s videos. I’ve watched most of them and have learned a ton. My only complaint is the background music - especially after spending a couple hours binging through playlists.
Hey all,
Thanks to all for sharing sharing your experience on this topic. It’s got me 99% of the way there, but I am hitting an odd issue and was wondering if anyone ran into this. I took the #4 approach from SomeOldGuyCoding’s youtube, to move to a safe place. Thank you SomeOldGuyCoding - great videos!
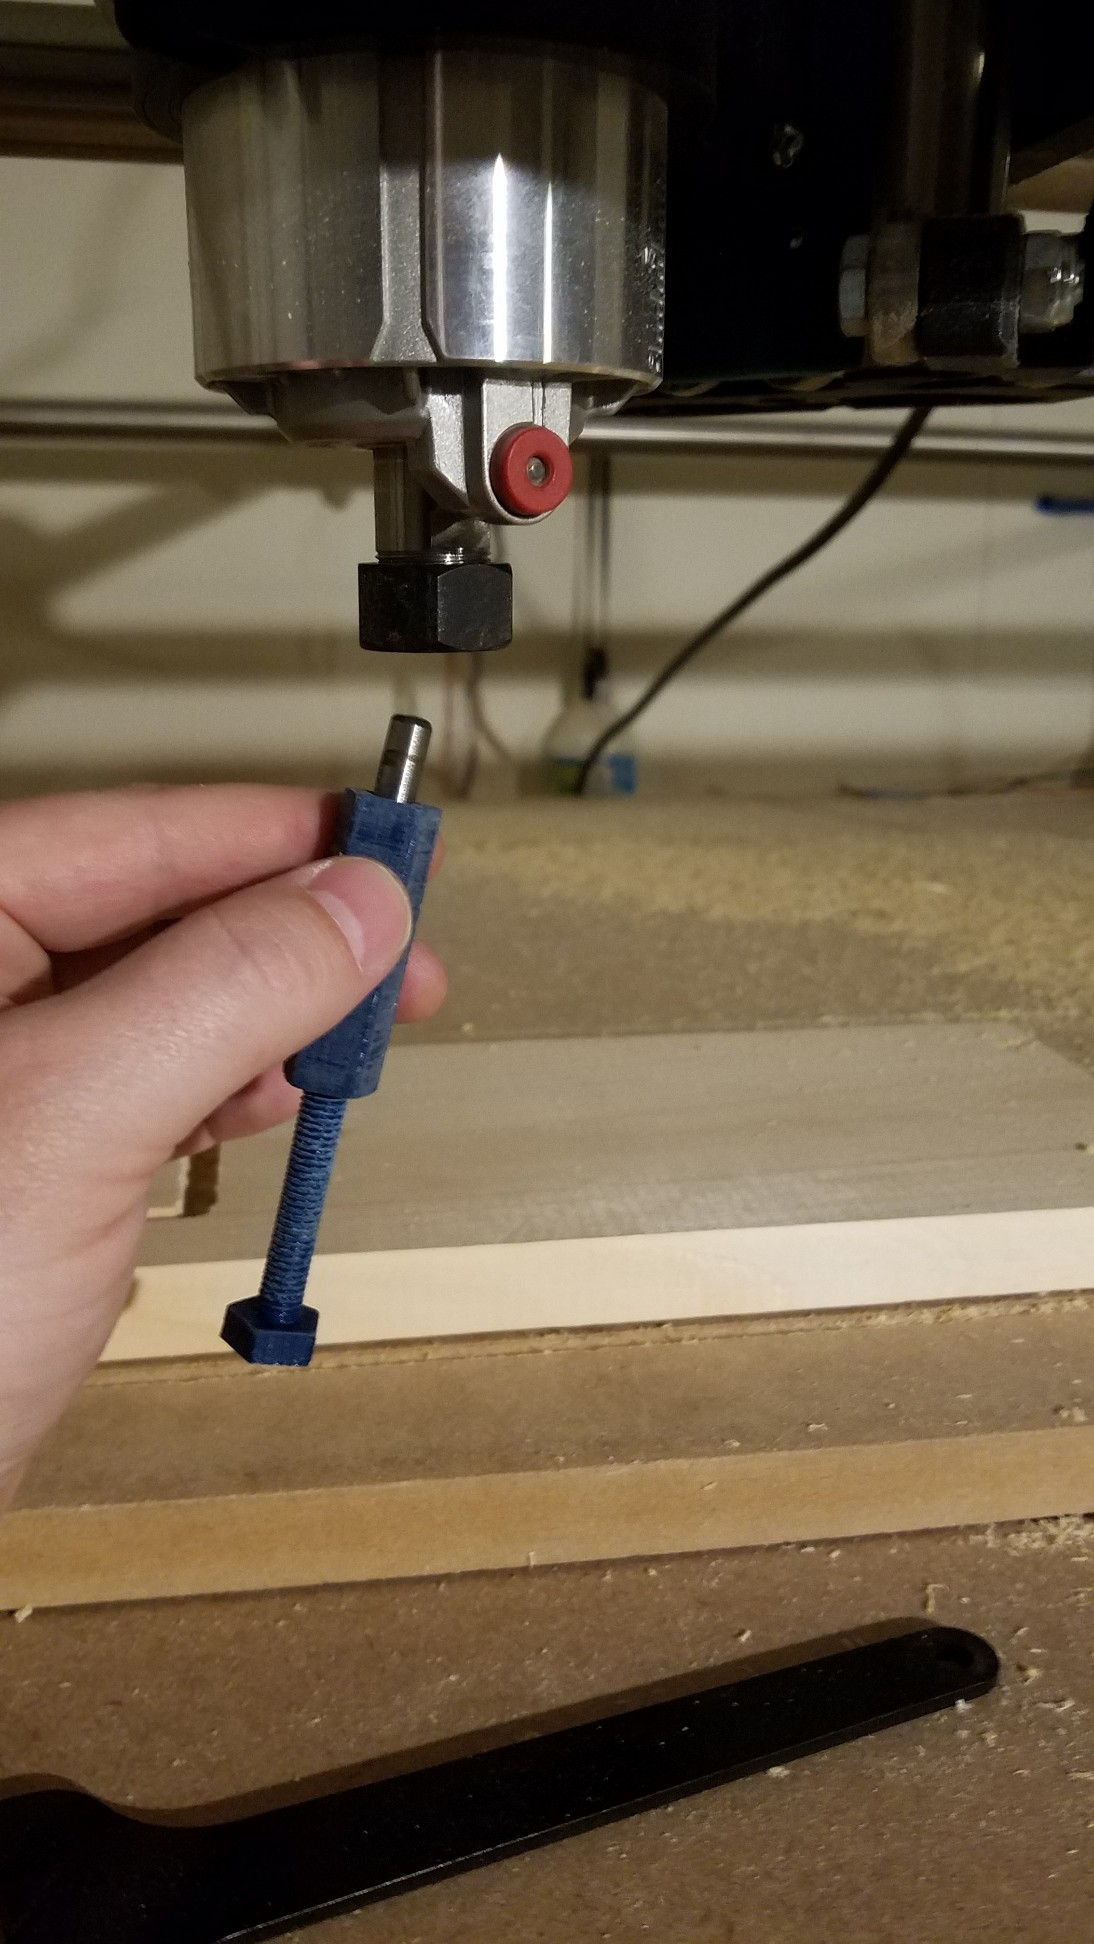
I also ended up making my own Jig for the bit depth. pictures below, just a nut/bolt 
I then set my Tool Change script to the following with an additional G0 after PAUSE
;No. 2: estl cam tosses this in
G0 Z60 ; move Z 60 mm up
G0 Y-100 ; Move Y to negative 100 (off the work piece for me)
M84 S999 ; enable steppers “forever”
M00 ; Pause for the slow human
G0 Z0 X0 Y0 ; Bring my coordinates to 0 after it starts again
I set my Z to 0 because the very next instruction is for the finishing operation brings it up to 1.5 and I wanted to watch it drop to Z0
G01 X12.7200 Y12.7200 Z1.5000 F1800 S30000 ; first finishing pass instruction
This resulted in a failure, the finishing bit was off by maybe 12-15mm and plunged into solid wood.
It feels like I’m upsetting some offsets, but I wanted to ask if Marlin will execute the above gcode as I would expect? It’s still absolute positioned, so I don’t see why it wouldn’t… Is there any reason the above would be failing? Is it possible the lack of FEED SPEEDS i’m losing steps or something? The piece cut perfectly on Roughing, and the Gantry did not move at all during tool change.
Any thoughts/things to try welcome, thanks in advance!
-Marc
Nice tool, and thanks for your kind comments.
Seems like it should work to me, maybe someone else can find a problem.
A couple of questions.
if You add an M00 after your G0 X0 Y0 Z0, does it actually end up back in the starting position?
Is the error only on one axis, or xy, or all?
sogc
Is the second tool sticking out the same amount as the first, or how do you adjust for that?
Hi SomeOldGuyCoding,
Thanks for replying!
#1 - Definitely going to try a pause after the 0 positioning. I was kicking myself that I didn’t
#2 - Ah I wish I could say. It was a bit hectic when it plunged fully into uncut wood. But based on the erroneous cut, it looks like just the Y axis
The sticking out bit is controlled by the little screw tool. In the image above is a 1/4" end mill for rough cutting… The shank side anyway! I hold it up against the colet while I screw it in.
I don’t know if this will be helpful or not. I have been reading about M0 Goode command. According to reprap wiki it will pause while holding the steppers engaged. But then after you click the button and the pause ends it will disengage the steppers and thereby lose its position. I have tried to experiment with this and yes I have seen it lose its position after a pause. But not always. I don’t know why it does that sometimes but not all the time.
anyway. You might want to consider adding an offset command right after your pause. So it would look like this.
G01 x0 y-100 z60; move to clean area away from work piece.
M00 Change Tool; pause
G91 X0 Y-100 Z60; use offset to remind the machine where it is just in case it forgot.
Oh no. Crap that makes no sense why they would do that. We have two options here to keep things accurate if this is true. Home after an M0, or change the firmware.