Just started printing the updated Primo files and ordered a upgrade kit from Ryan. I figured I would start a thread for the upgrade. I have been very busy so I suspect this will be a slow upgrade but I intend to finish it and make some cool stuff. Again thanks Ryan!
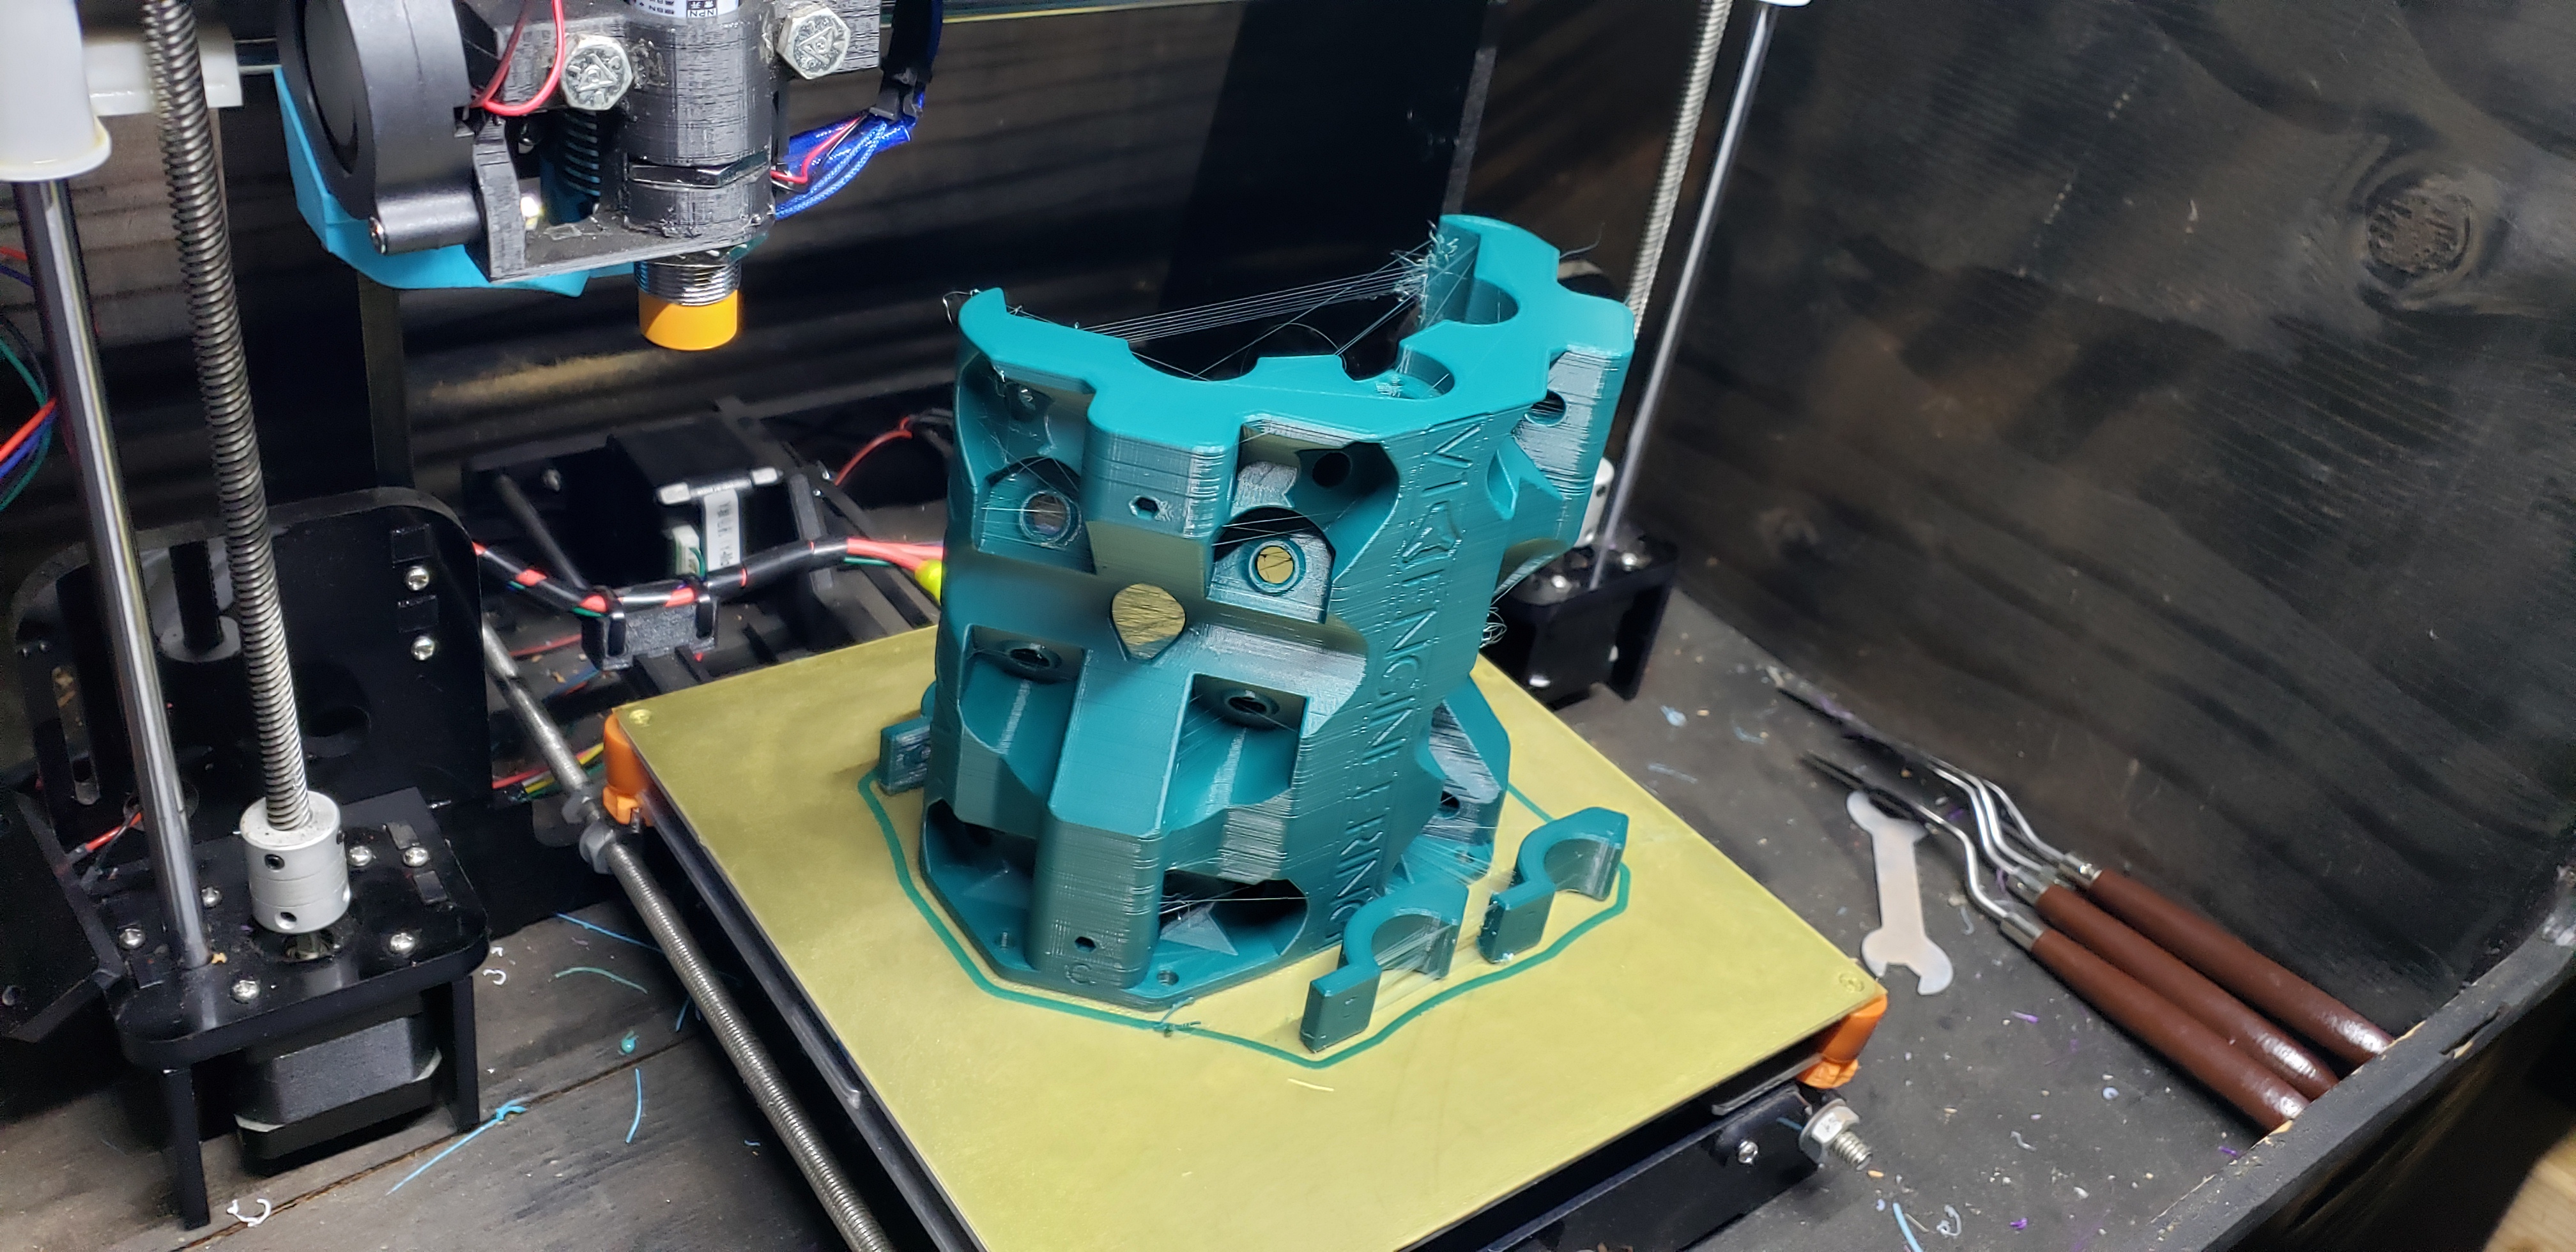
Edit: Had a few failures for different reasons but still printing. I had a fail on one truck the ran out of filament half through the replacement for the failed one. Added some print pictures!
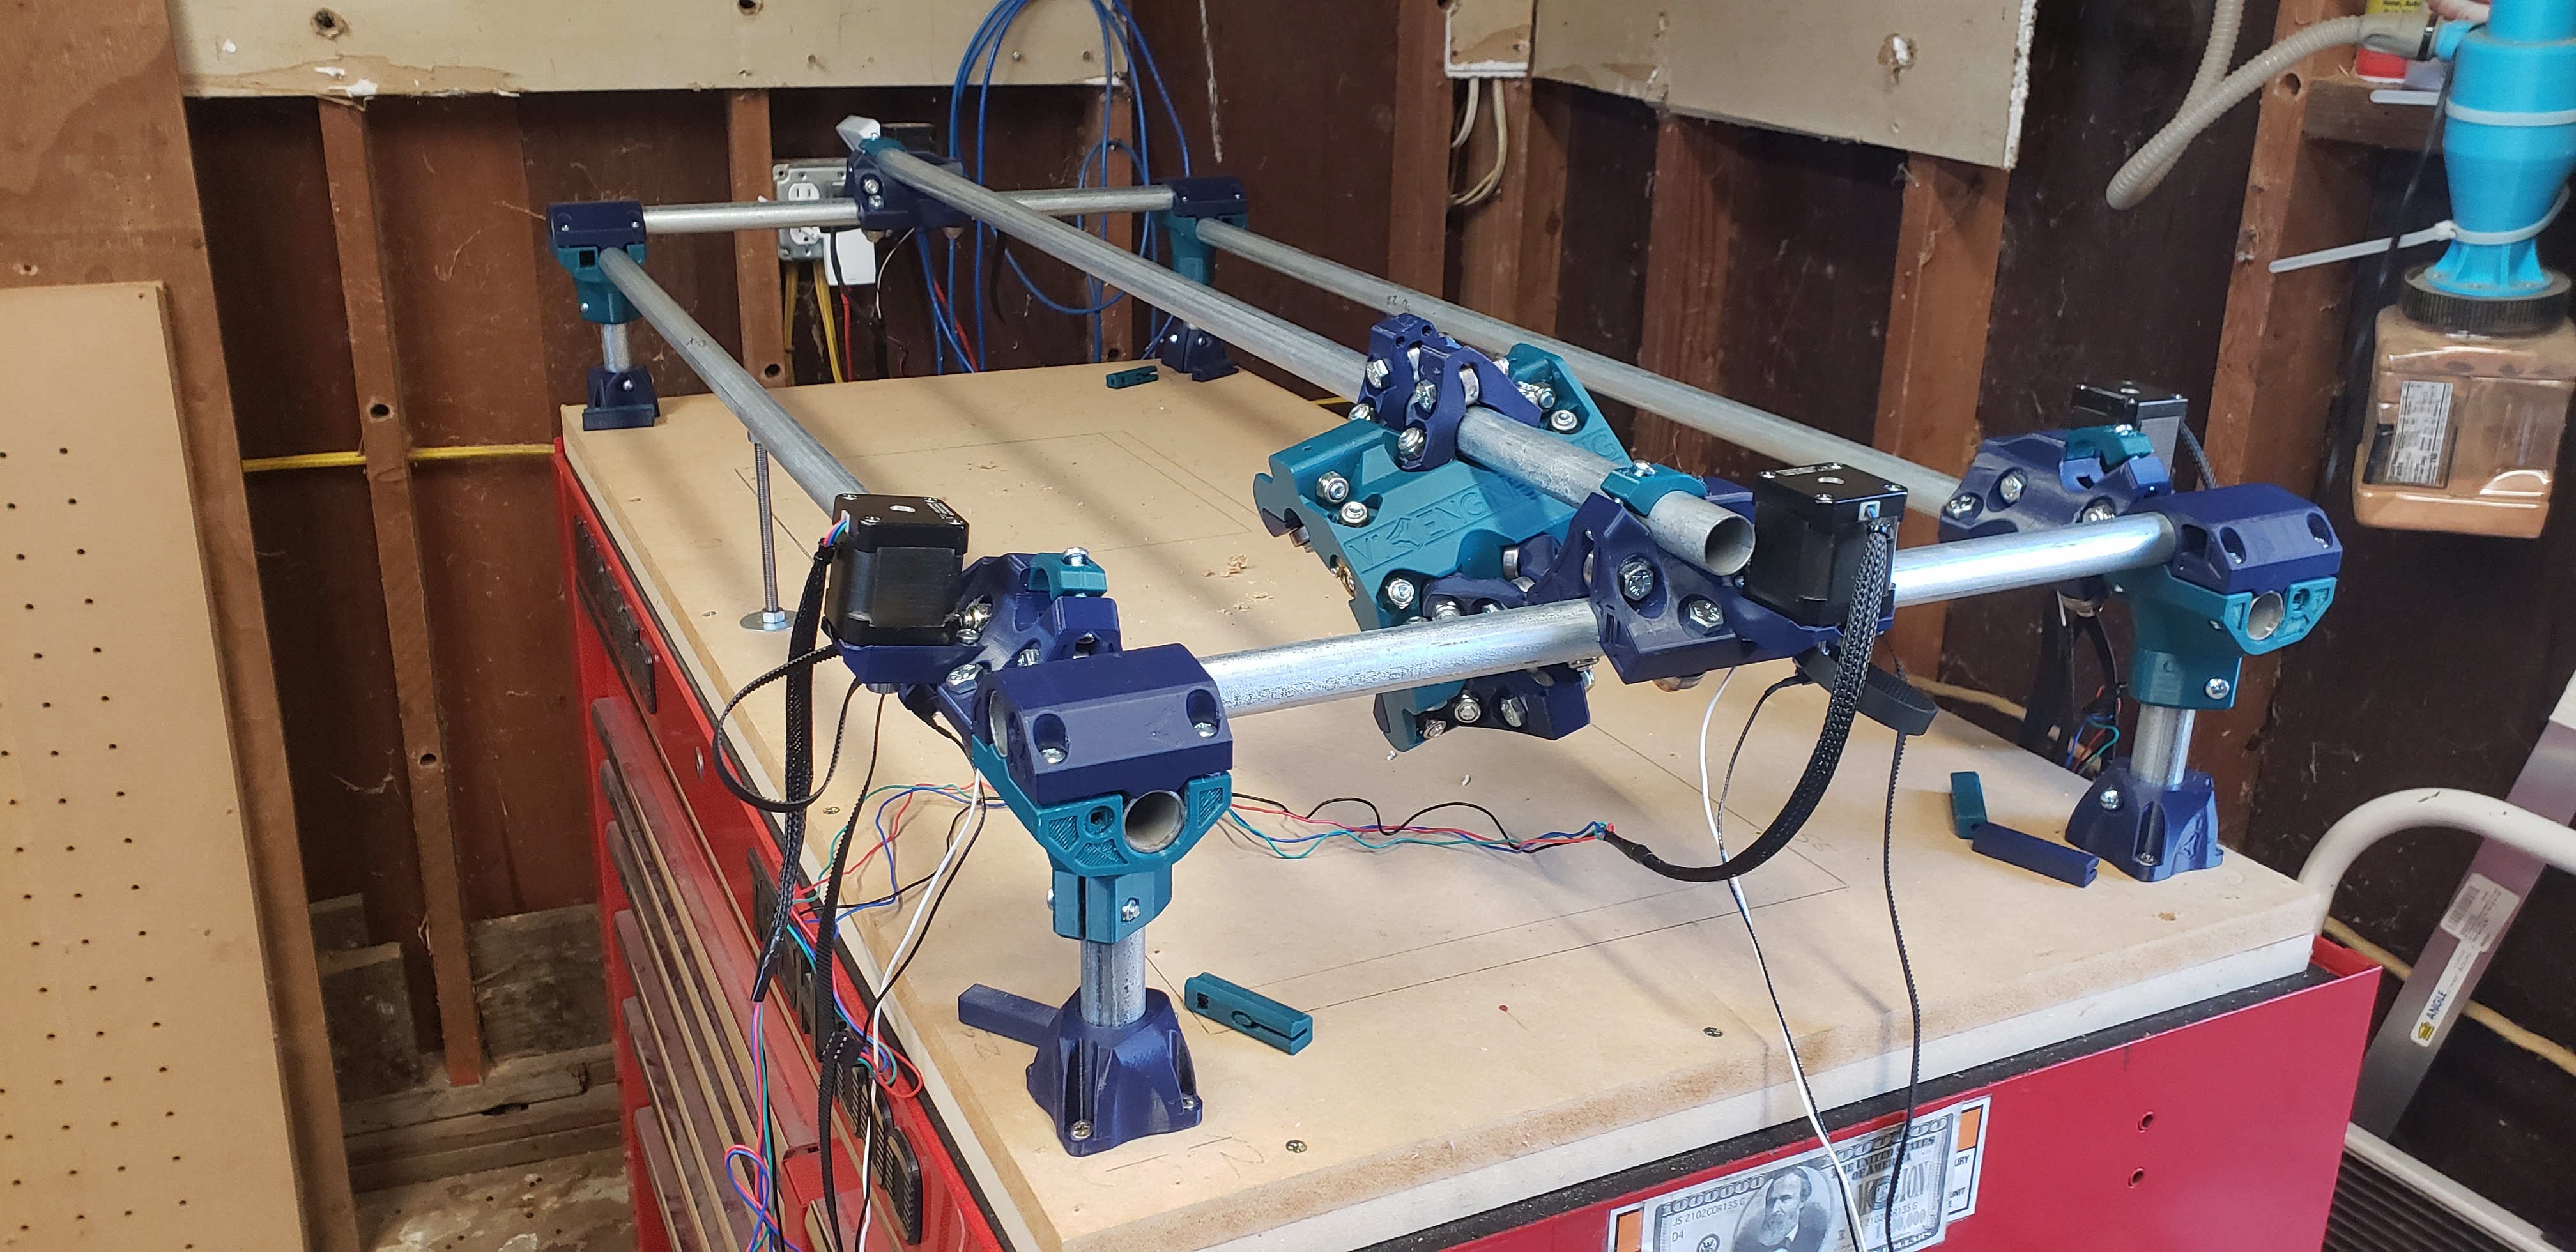
Made some more progress. I got to where I was installing the core when I realized I placed the rails wrong for it to have a left front 0,0. Is there any reason having the 0,0 on the front right is a problem? I know I can set it up in cam but other than that, problems?
Happy new year! I am going to try and make some progress this weekend. I was thinking of using my inch pound torque wrench to get the belt tensions equal on the adjustment screw. What does everyone think might be a good torque? I was thinking of starting at like 30-40 in lbs
I think that the belts don’t need to be very tight. Mine just go “thunk” when I pluck them and my crown test was very clean. Like Ryan says, most of us try to tighten everything too much.
@h0m3r2000 I think I remember reading in the docs that it’s 6-10 lbs. It was mentioned in that article to start loose and then tighten if needed, and that most people overestimate how tight the belts need to be. https://docs.v1engineering.com/mpcnc/PBelts/
I’m with you there. I’m just aiming to get them as equal as I can. I admit I have a hard time having a light touch. I’m a bus mechanic and most things are higher torque. I like having torque specs when available. I appreciate the help.
Yeah I read that but I think that is deflection torque. I’m wanting to torque the actual screws. I don’t have a belt deflection gauge at home. I appreciate the help.
I bumped into a topic on this forum recently where the builder used a guitar tuning app on his phone to set the belt tension. By assuring all the belts had the same (in his case D#) note, he had a method to assure that all the belts have the same tension. This seem out of the box for me, but then I found the following from this article:
Similar to a guitar string, a synchronous belt will vibrate at its resonant frequency when it is “plucked,” and the frequency of vibration is directly related to the tension of the belt. Sonic (also referred to acoustic) tension meters sense and record the belt’s vibration when it is plucked, or tapped. The tension force is then calculated based on this vibration frequency, the length of the vibrating belt span, and the mass of the belt.
So vibration seems to be one way mechanics set tension on timing belts. So if we had some data relating the “guitar note” to the belt tension on the MPCNC, maybe we would have a method of setting tension besides just guessing.
I’m not overly concerned with the belts. I like the idea of them being equally tensioned and having a repeatable way of setting tension appeals to me. I appreciate all the input.
I used the standard EMT 3/4 conduit. Kinda wish I had upgraded to the stainless steel pipe but I had got excited about Primo and started printing without thinking about upgrading. That being said I haven’t had issues with the conduit. Didn’t even have mid span support before.
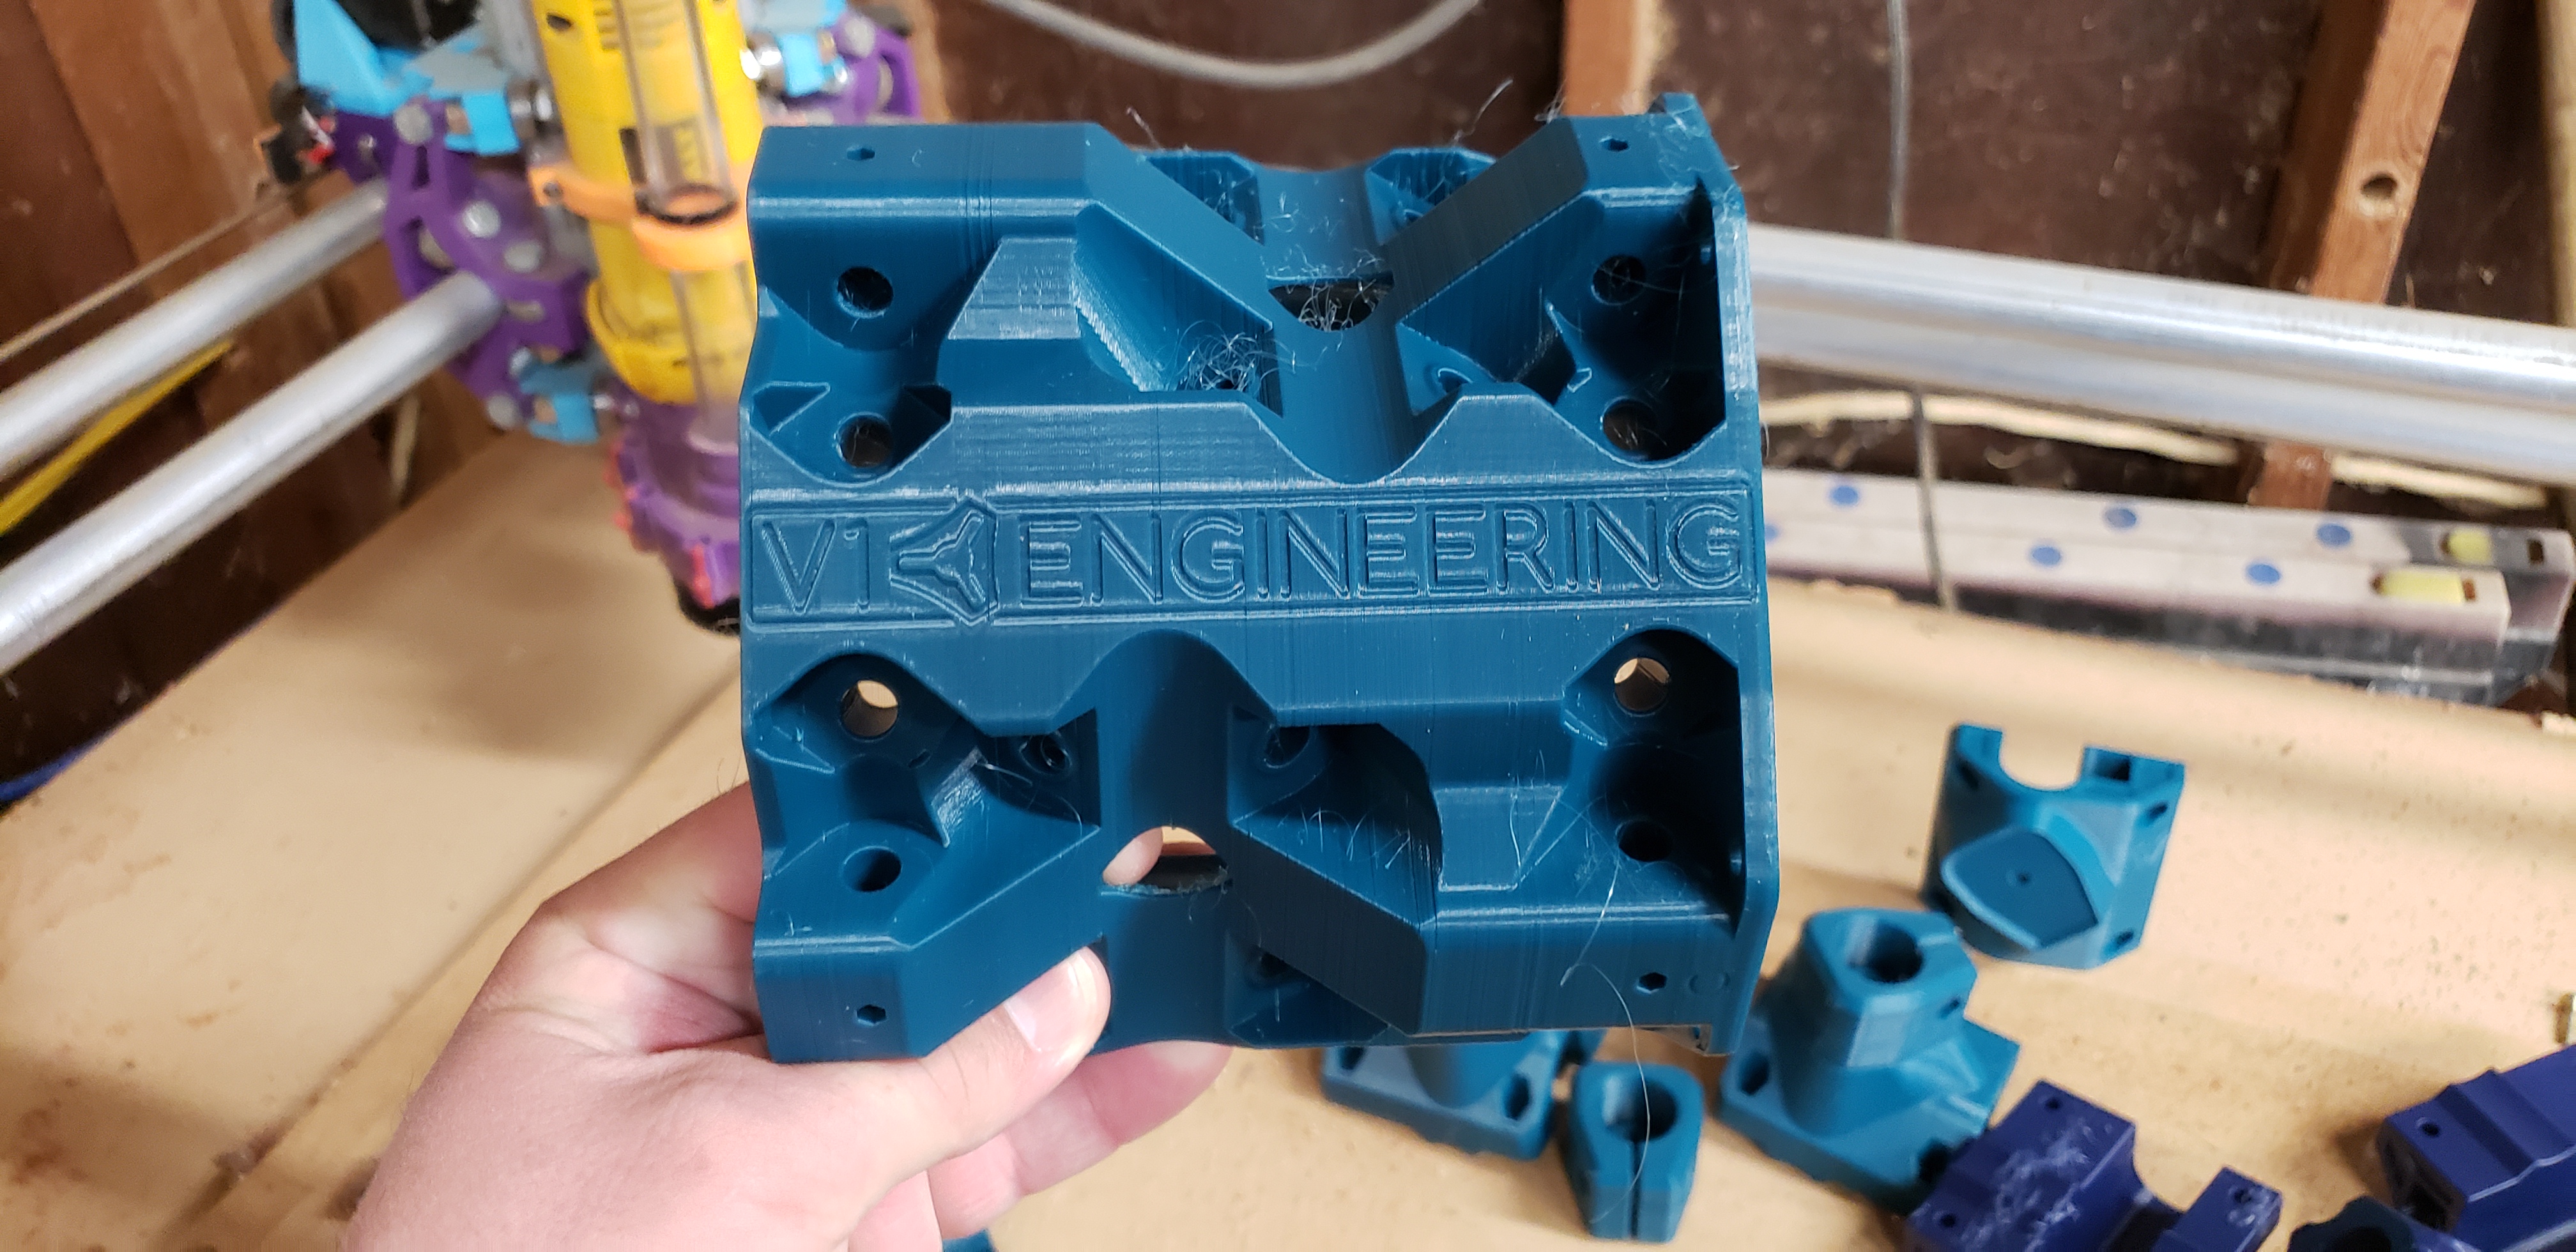
 Added some print pictures!


 I appreciate how helpful this community has been for so long. I used eSUN PLA+
