is there any videos showing how to set up all this. i cant get my head around it from reading all this , but a video would help.
Start with G92 X0 Y0 Z0 - Check this box and where the tip is will be 0,0,0. I suggest starting the tip just above the paper. * Z level for tip-down - Make this number more negative if you find some of your marks are not hitting the paper, but you want as light a touch as possible. * Z level for tip-up - You can go as high as you need to not drag the pen tip. * Feedrate - This is set at a safe travel rate. The Default is safe. * Extents - This is where you set the dimensions of your table. The further apart the marks, the more accurate your table will be.
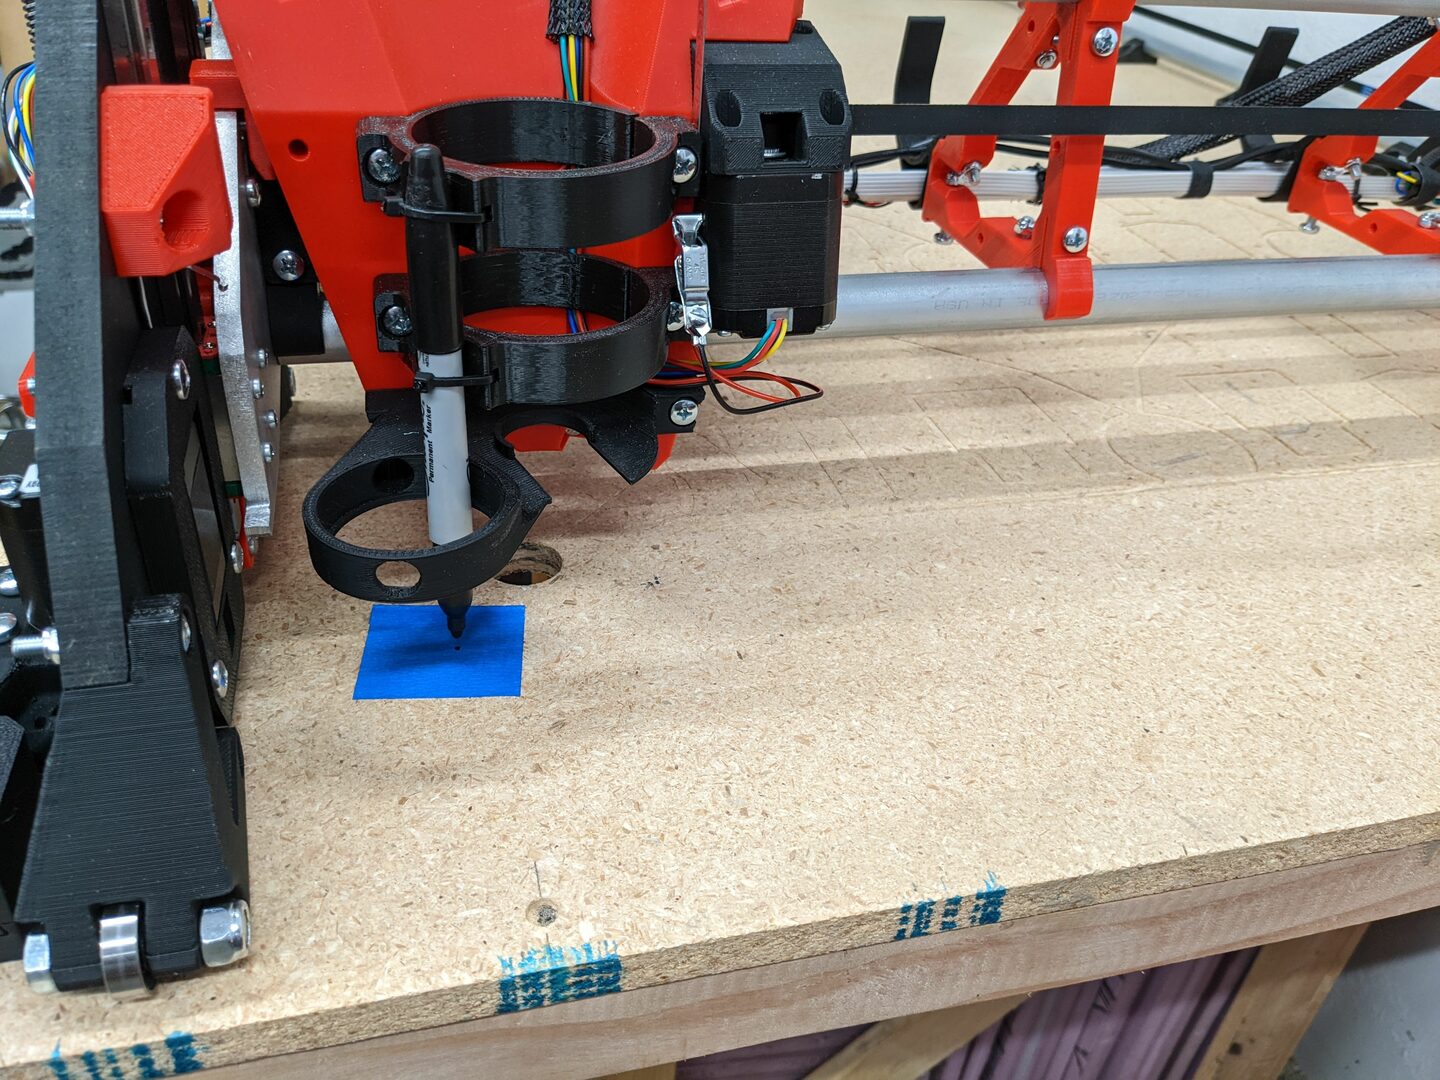
- I use tape, so I can be sure I am using the correct mark.
- Home the X and Y axis. This step is important.
- Use the Z axis to mark a small dot at 0,0.
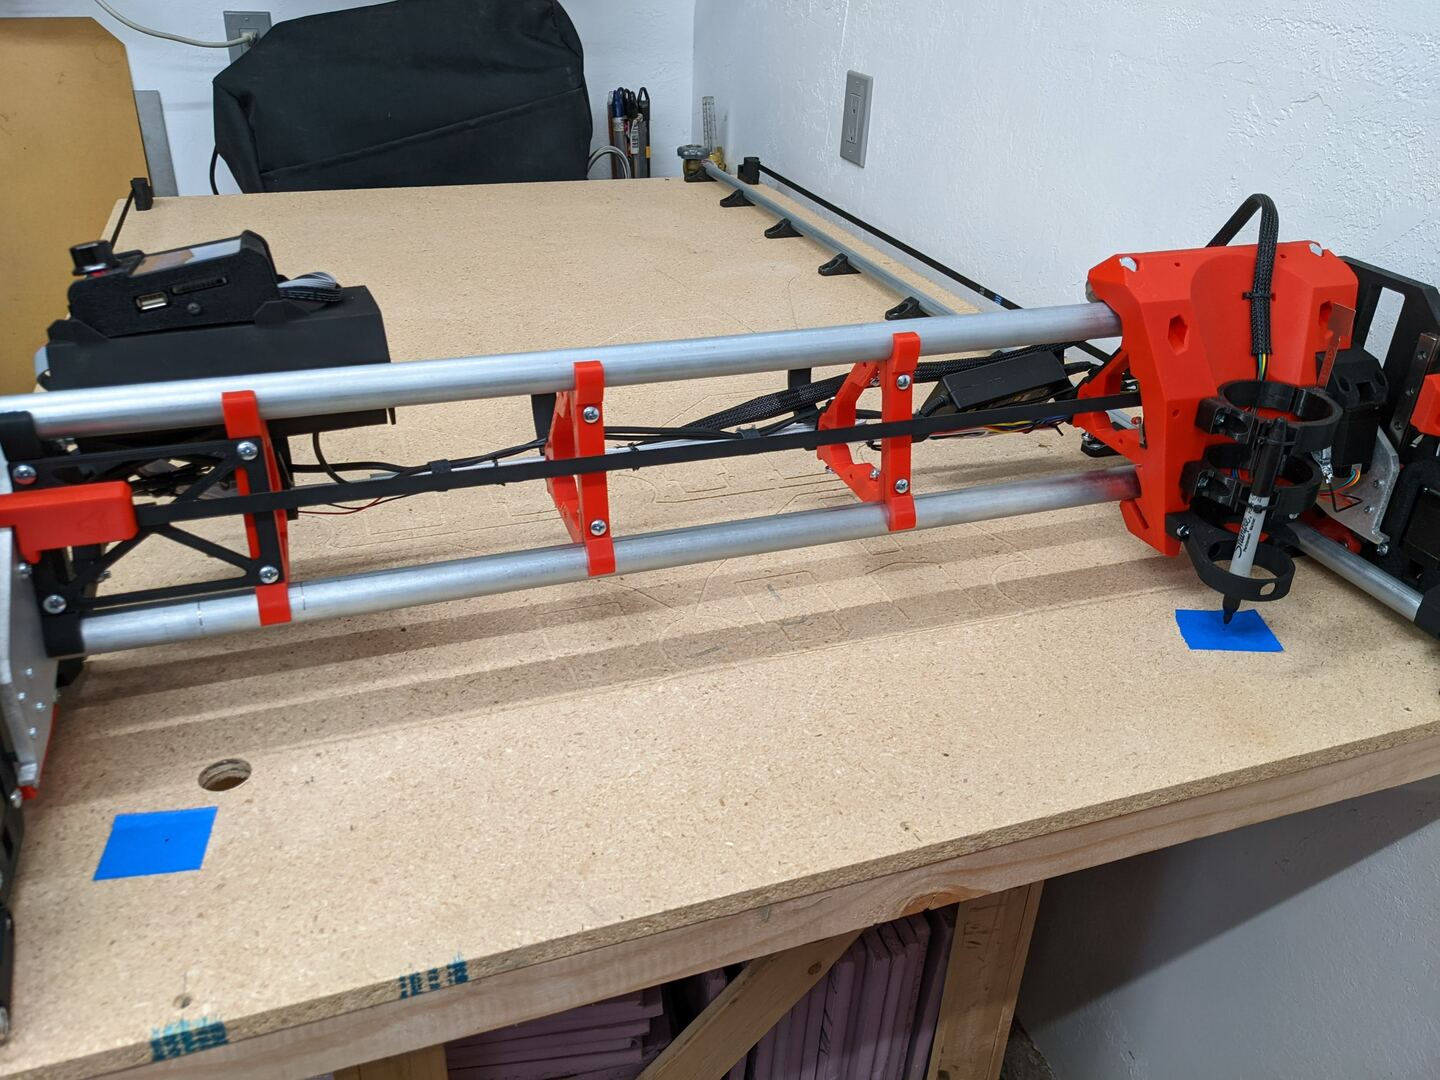
- Now drive the machine to your X axis furthest point (or very close to it).
- Use the Z to mark the dot.
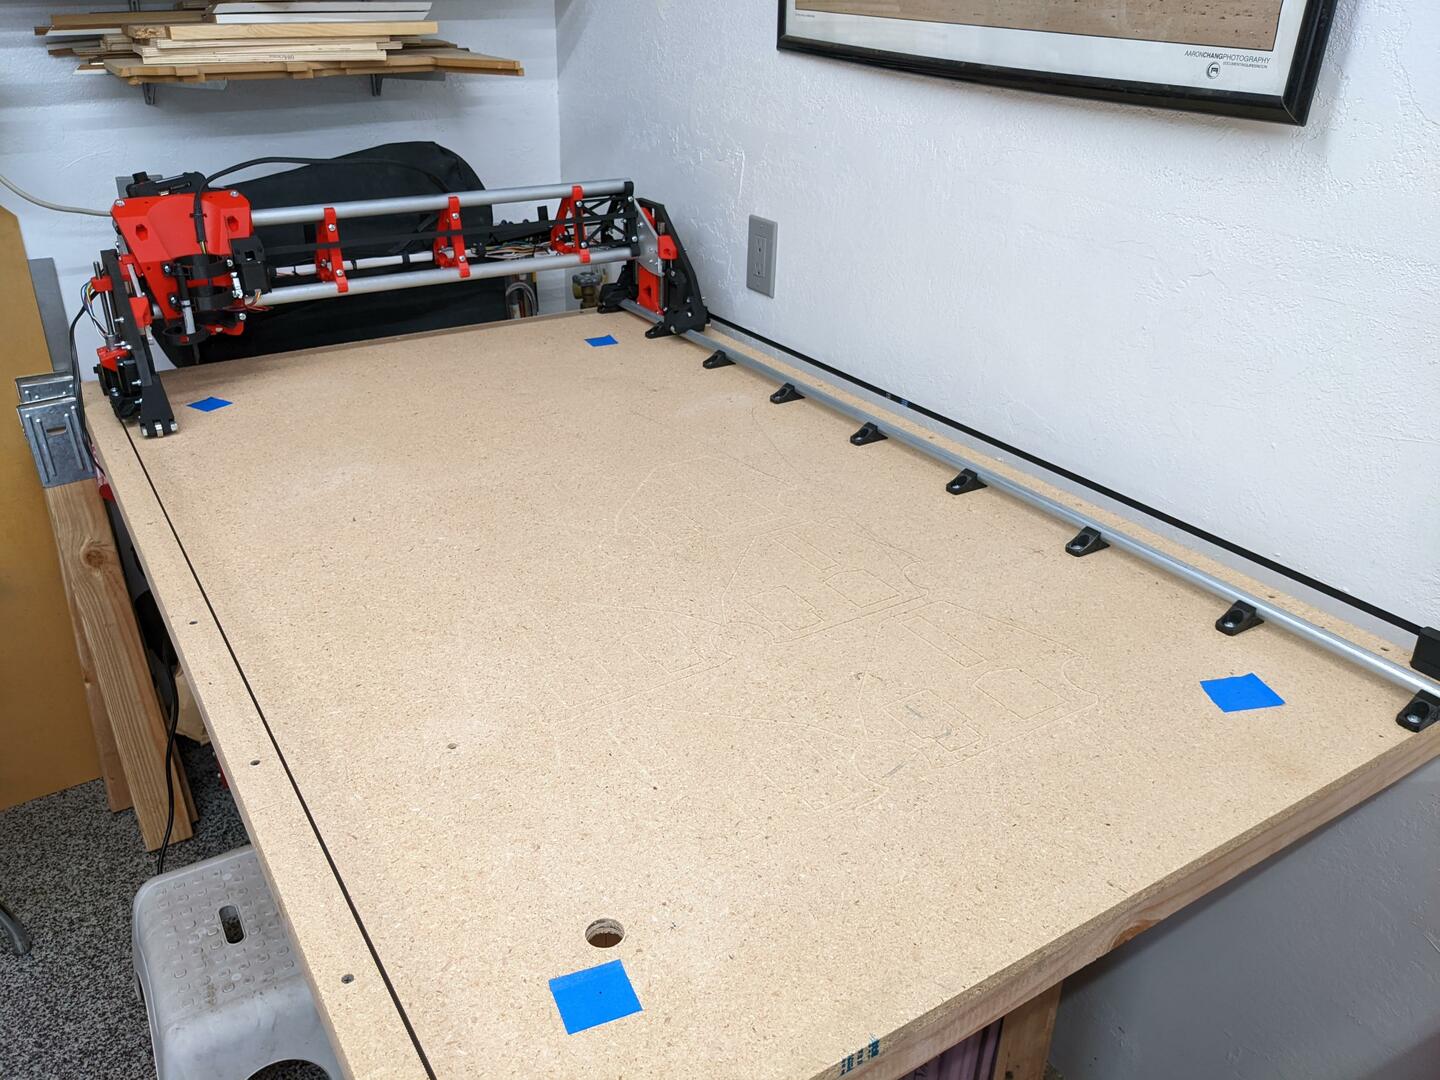
- Drive to the Y extreme and repeat the process for the back two corners.

- Now measure the diagonals to the best of your ability. Note the longer one, and subtract to find the difference. Under 1mm is very good.
SKR Pro / Marlin - If you are over 1mm in difference you can use the terminal on your SKR Pro or a USB connection and repetier host to add a homing offset. “M666 Y0.5” will move your Y1 stepper 0.5mm away from the stop block after it homes. “M666 Y-0.5” will move your Y2 stepper away instead. You want to move the longer dimension side away from the block. A good first guess is the difference in your measurements (or you can use a trig calculator and add a bit because your end stops are further away than the dots). Now Use “M500” to save it to the EEPROM. Re-home X and Y and test it again.
