Hi Folks.
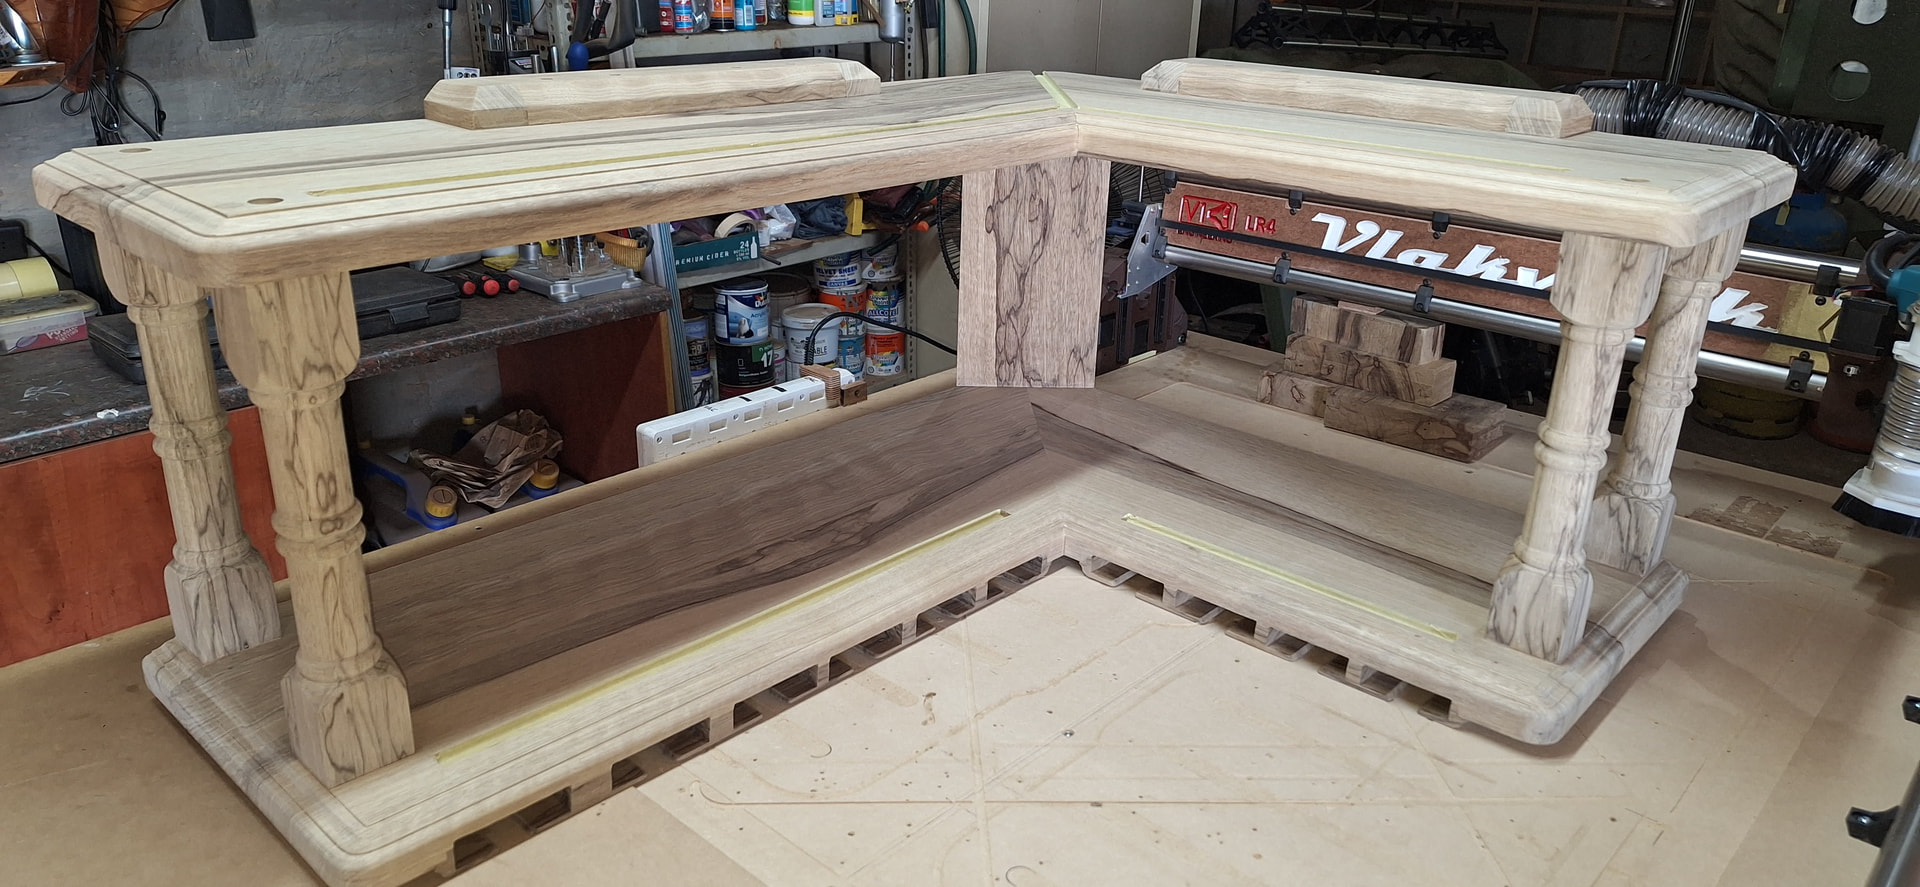
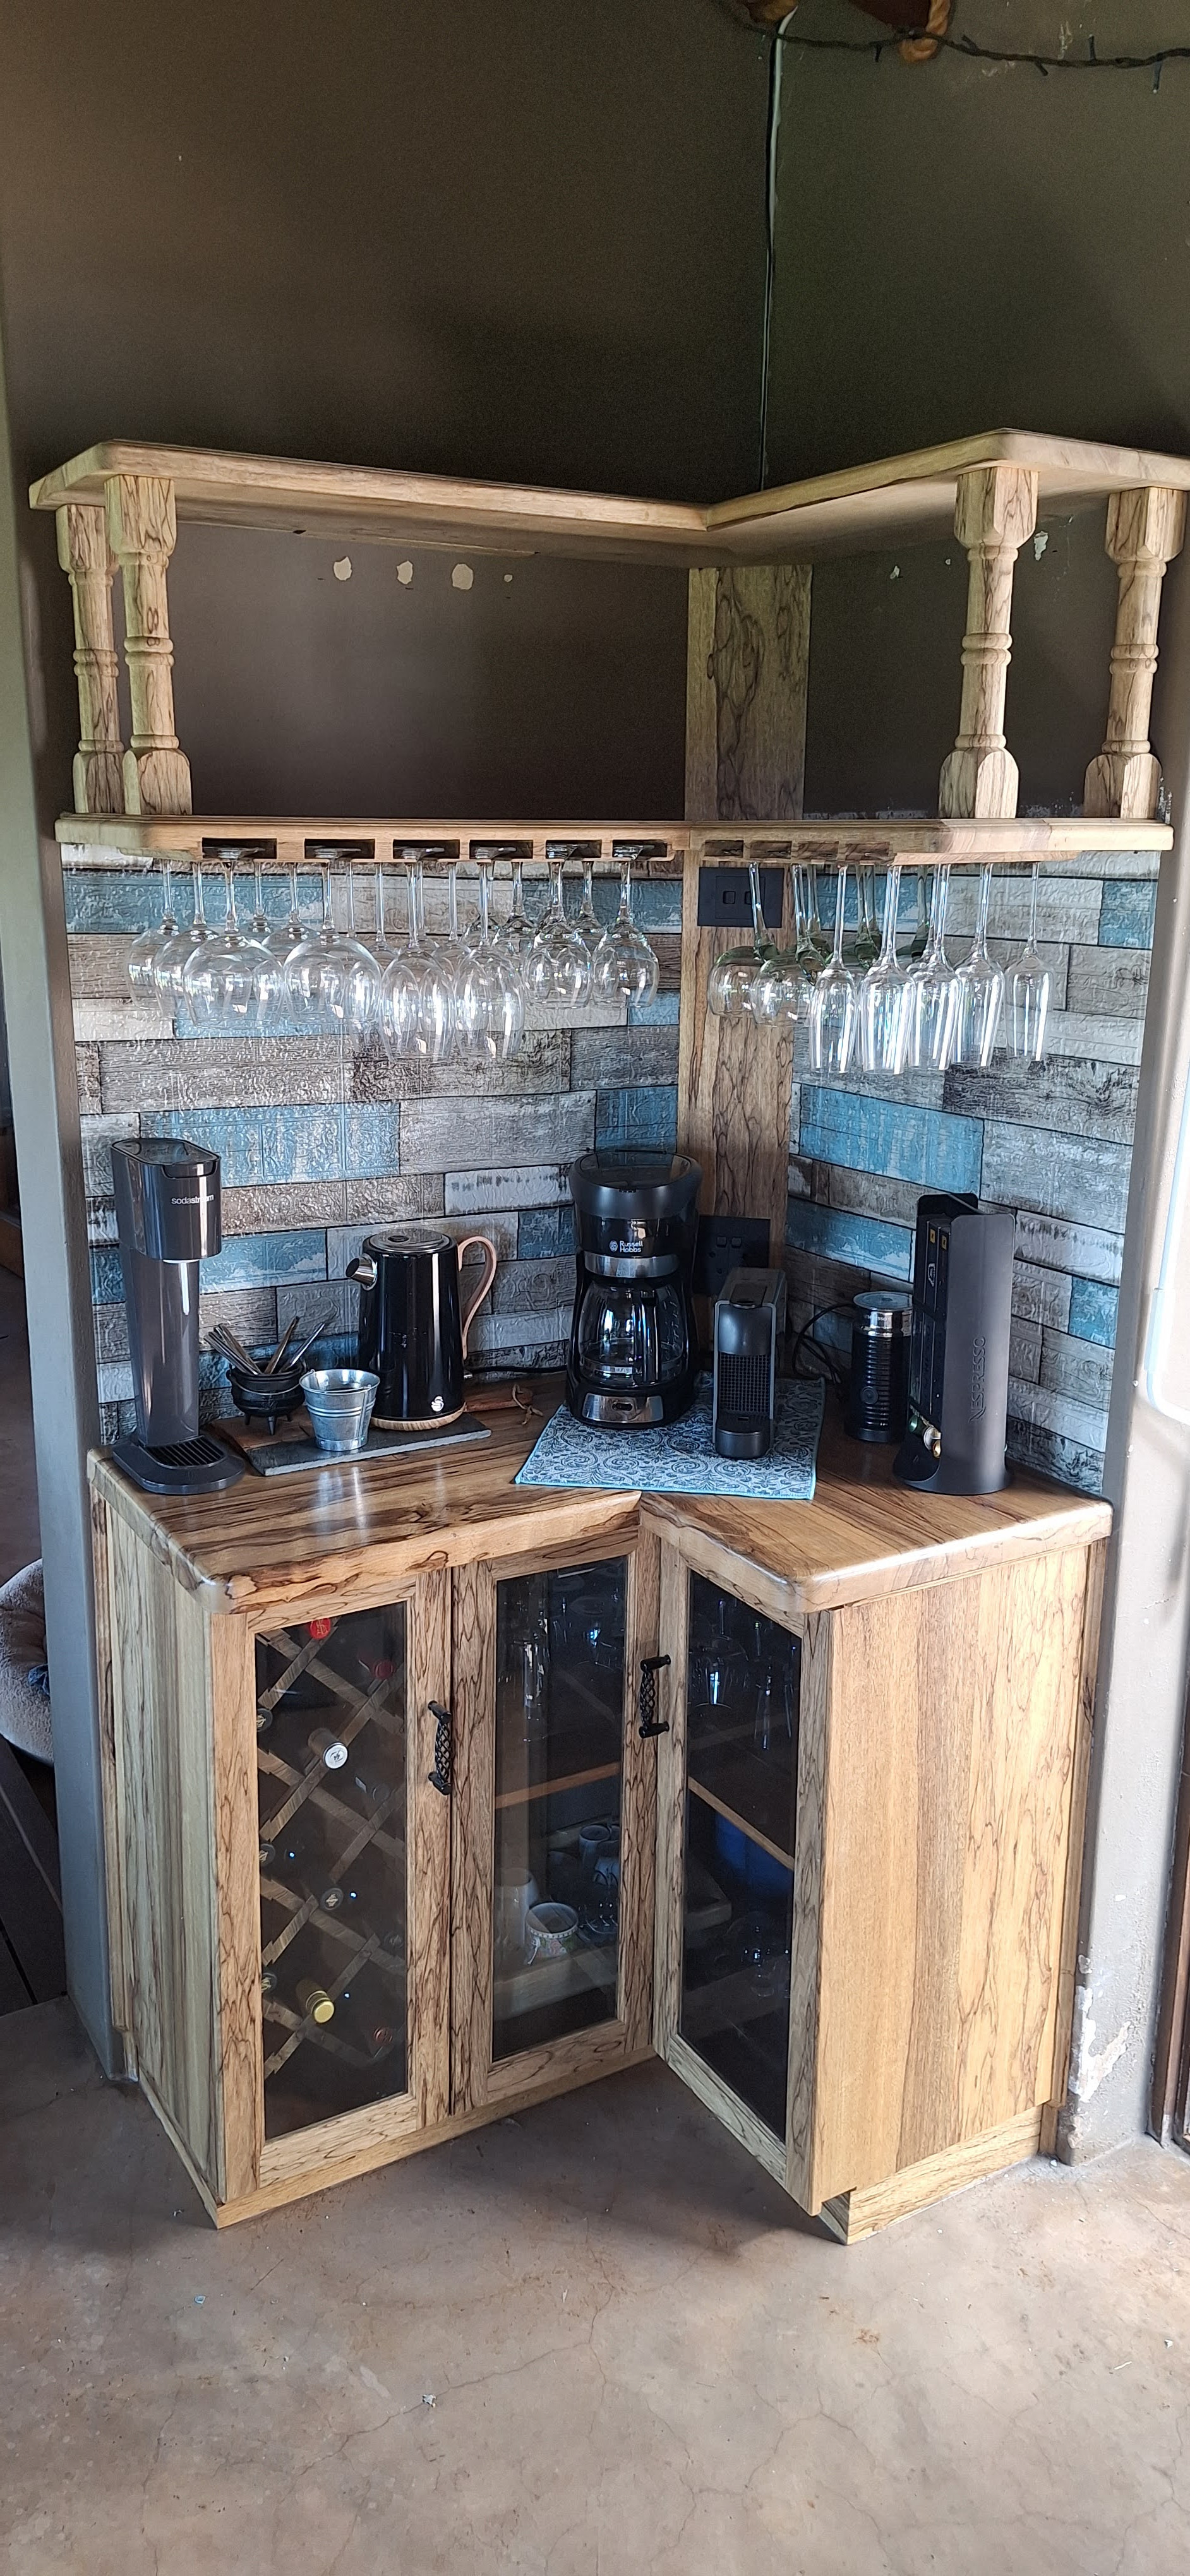
Made this shelf with my LR4 to go above the coffee station.
The wood used is called Black Ofram (AKA Black Limba). Very nice wood to work with. Not too hard and quite oily with a unique odour when being worked on.
I use Autodesk Fusion to design, Vcarve Pro to create vectors and tool paths and an App called Fluid Control on my android tablet. The tablet is connected to the LR4 via a standalone WiFi network in my workshop which is created using an old rooter we no longer use for internet connectivity.
Only 2 things not done on the LR4 are the turned posts which I did on my lathe using the copy attachment and a 3-D printed profile matching the table legs in the room. Will get a rotary axis for the LR4 going some day….The other is the edge molding which was done on my router table.
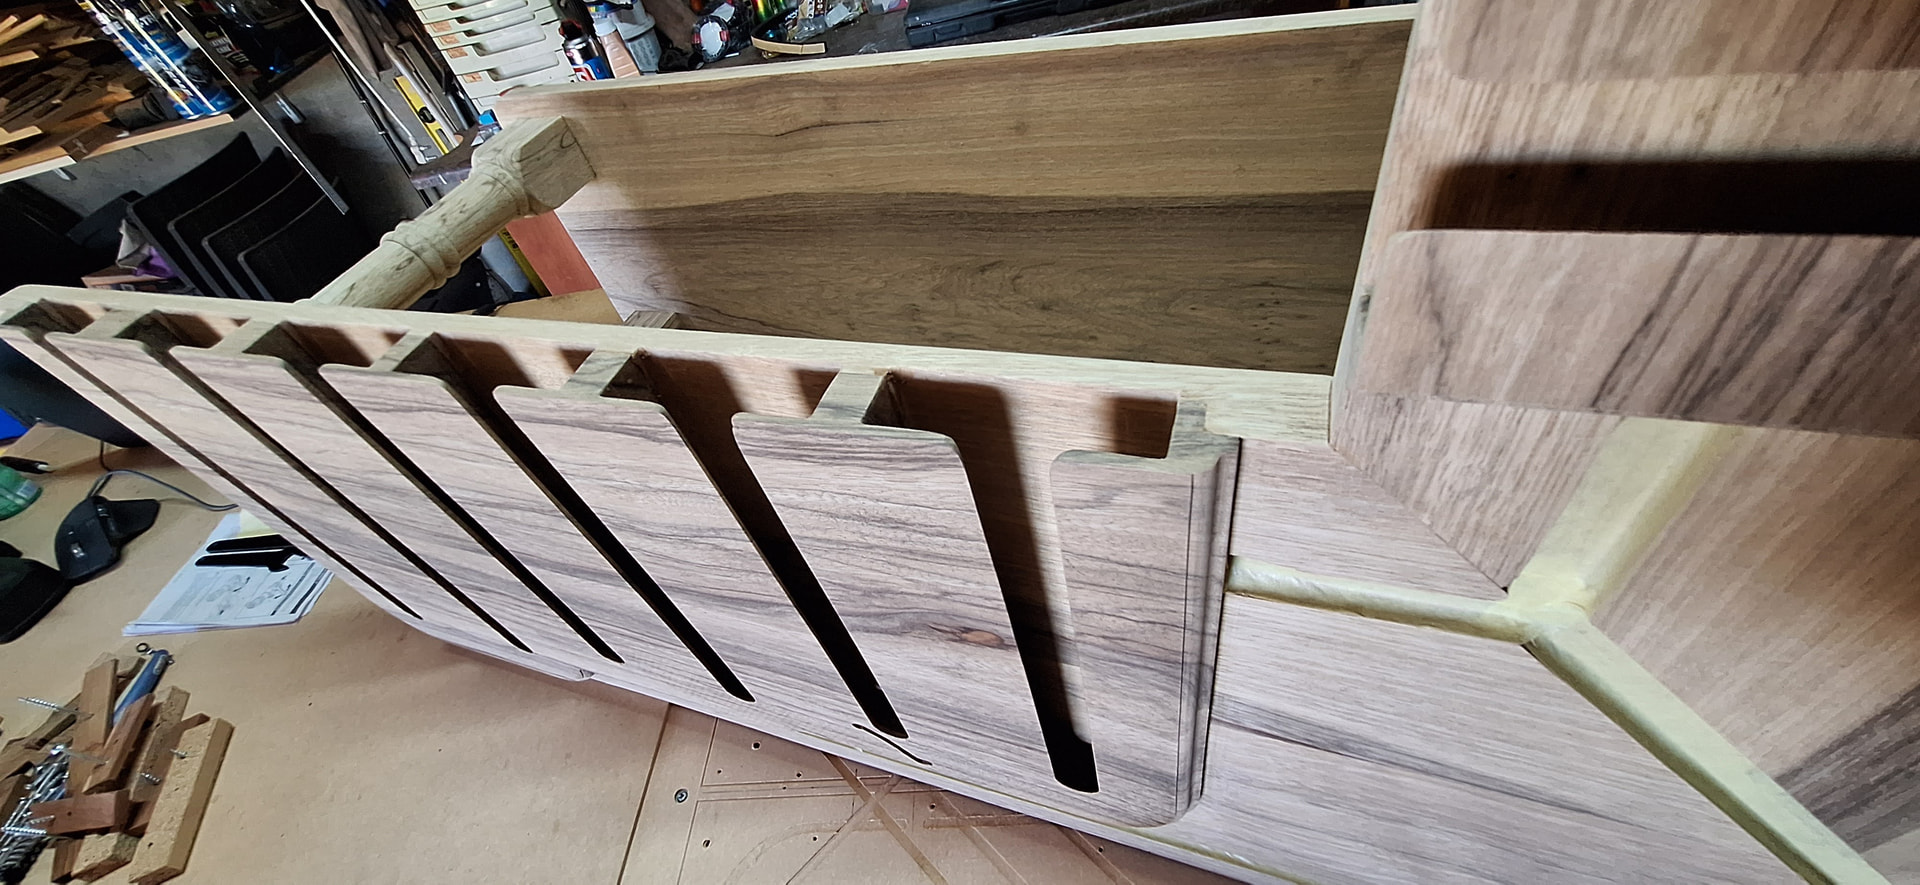
As we all know, walls are NEVER perpendicular and using the LR4 enables one to cut the 45 miter joint in a two step process. First cut 45 then do trial fit against the walls where it will go and measure actual deviation. Do a few calculations, change the vectors, place the pieces back on the table using the locating blocks and trim to exact required angle for a perfect fit.![]()
Took a while but it is now ready for sealing. The masked channels you see are for LED channeling. Do not want to get sealer in there as its a very snug fit as possible with the accuracy of the LR4.
Here are a few more pics and some clips of the LR4 “Vlakvark” in action. At least I hope the video clips work as I have never added video on Forum.
- Cutting out the shelf profile with correct miter angle
- Adjusting corner Radius
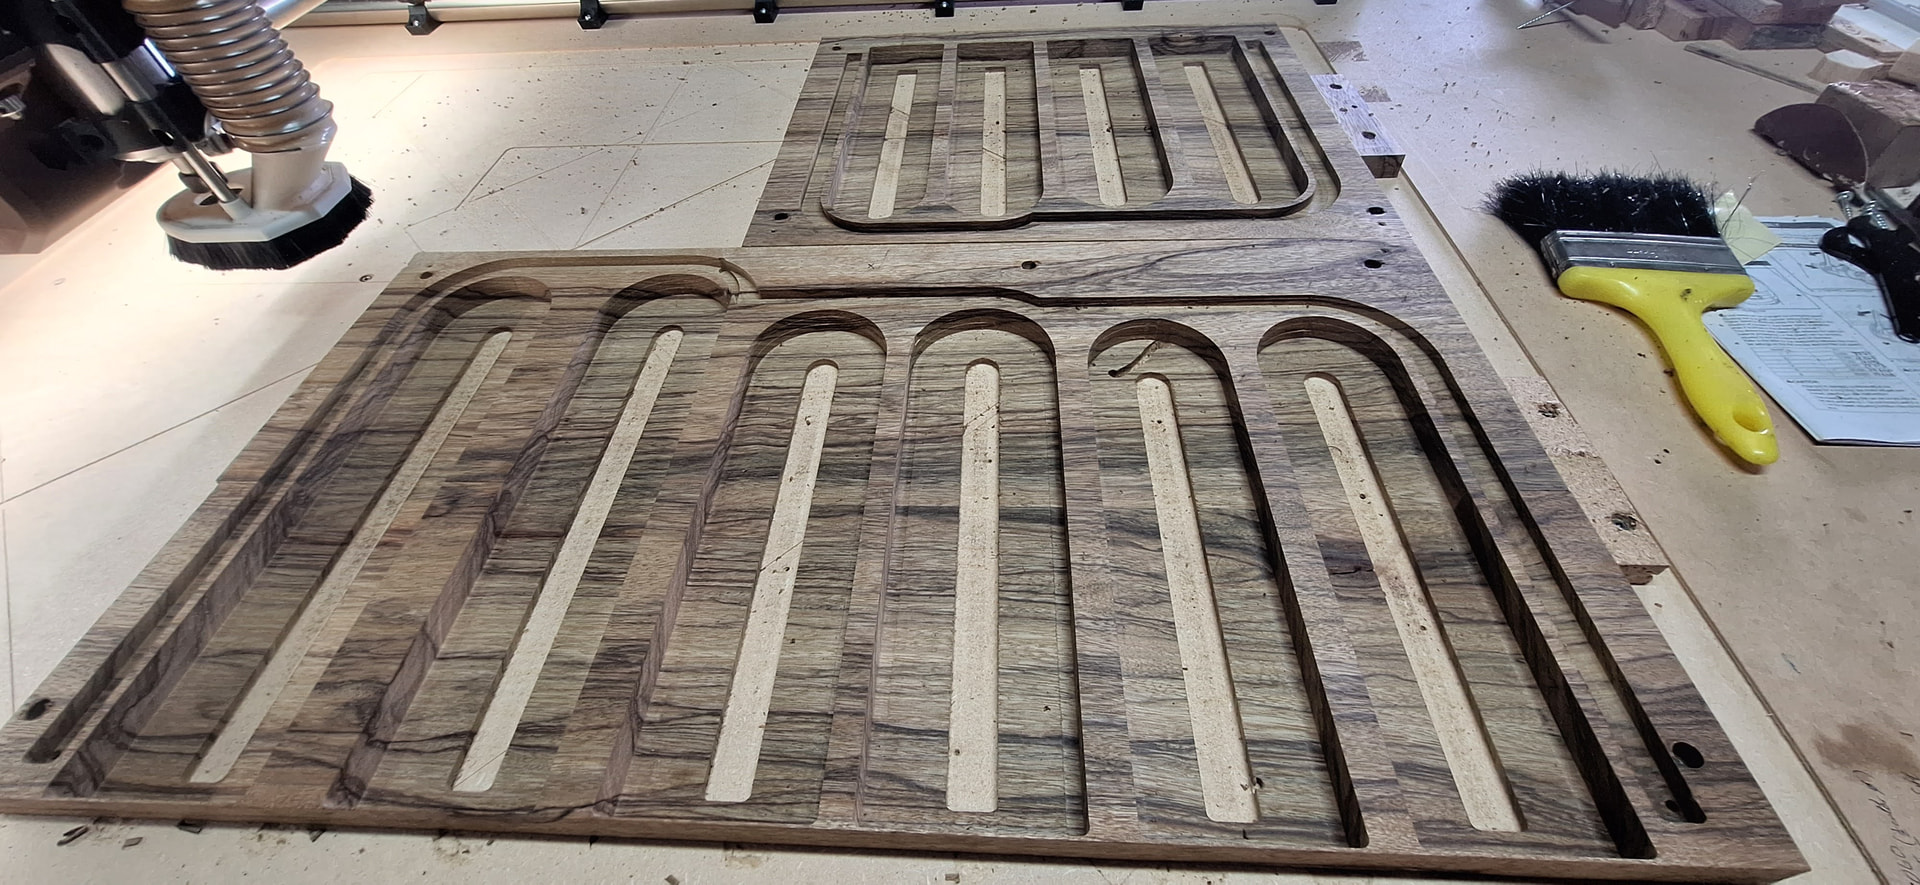
- Cutting out Wineglass holder pocket in underside of shelf
- Cutting out Wineglass inserts (Plug in inlay context) from new material.
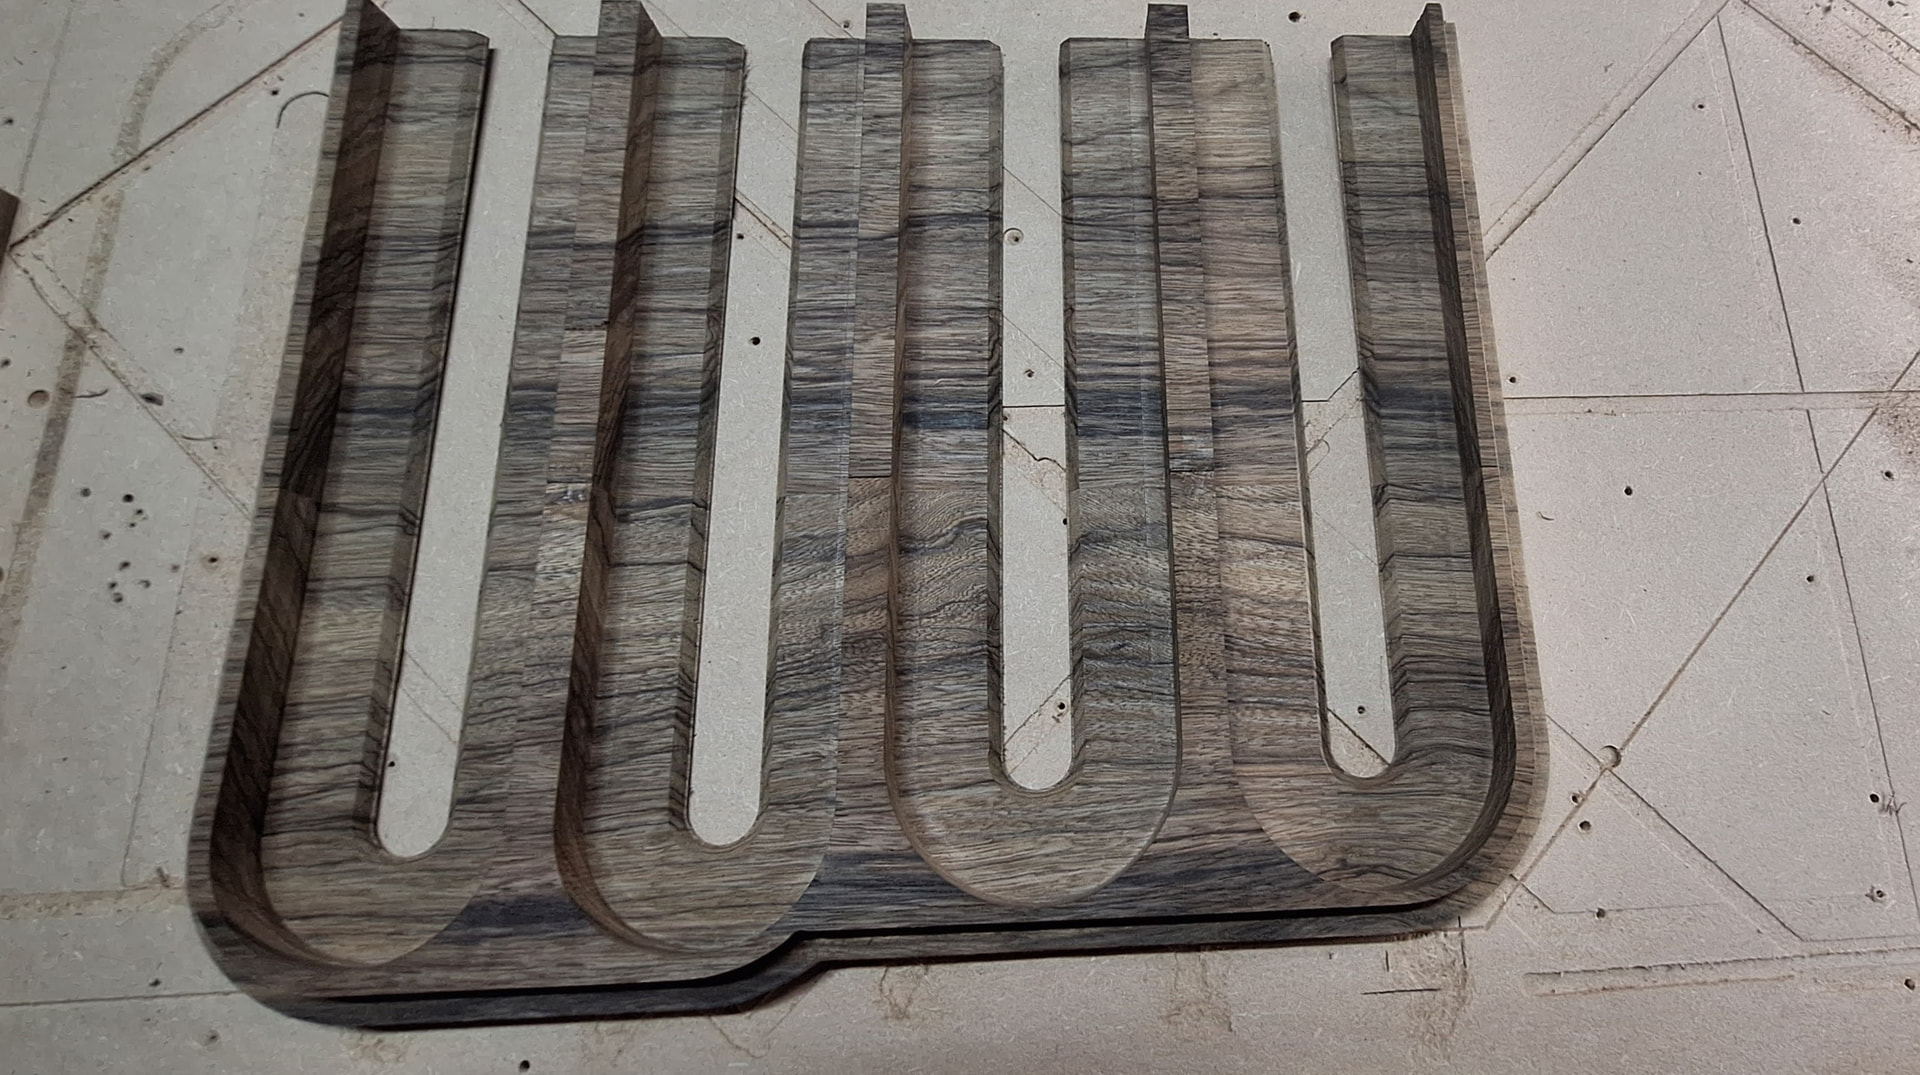
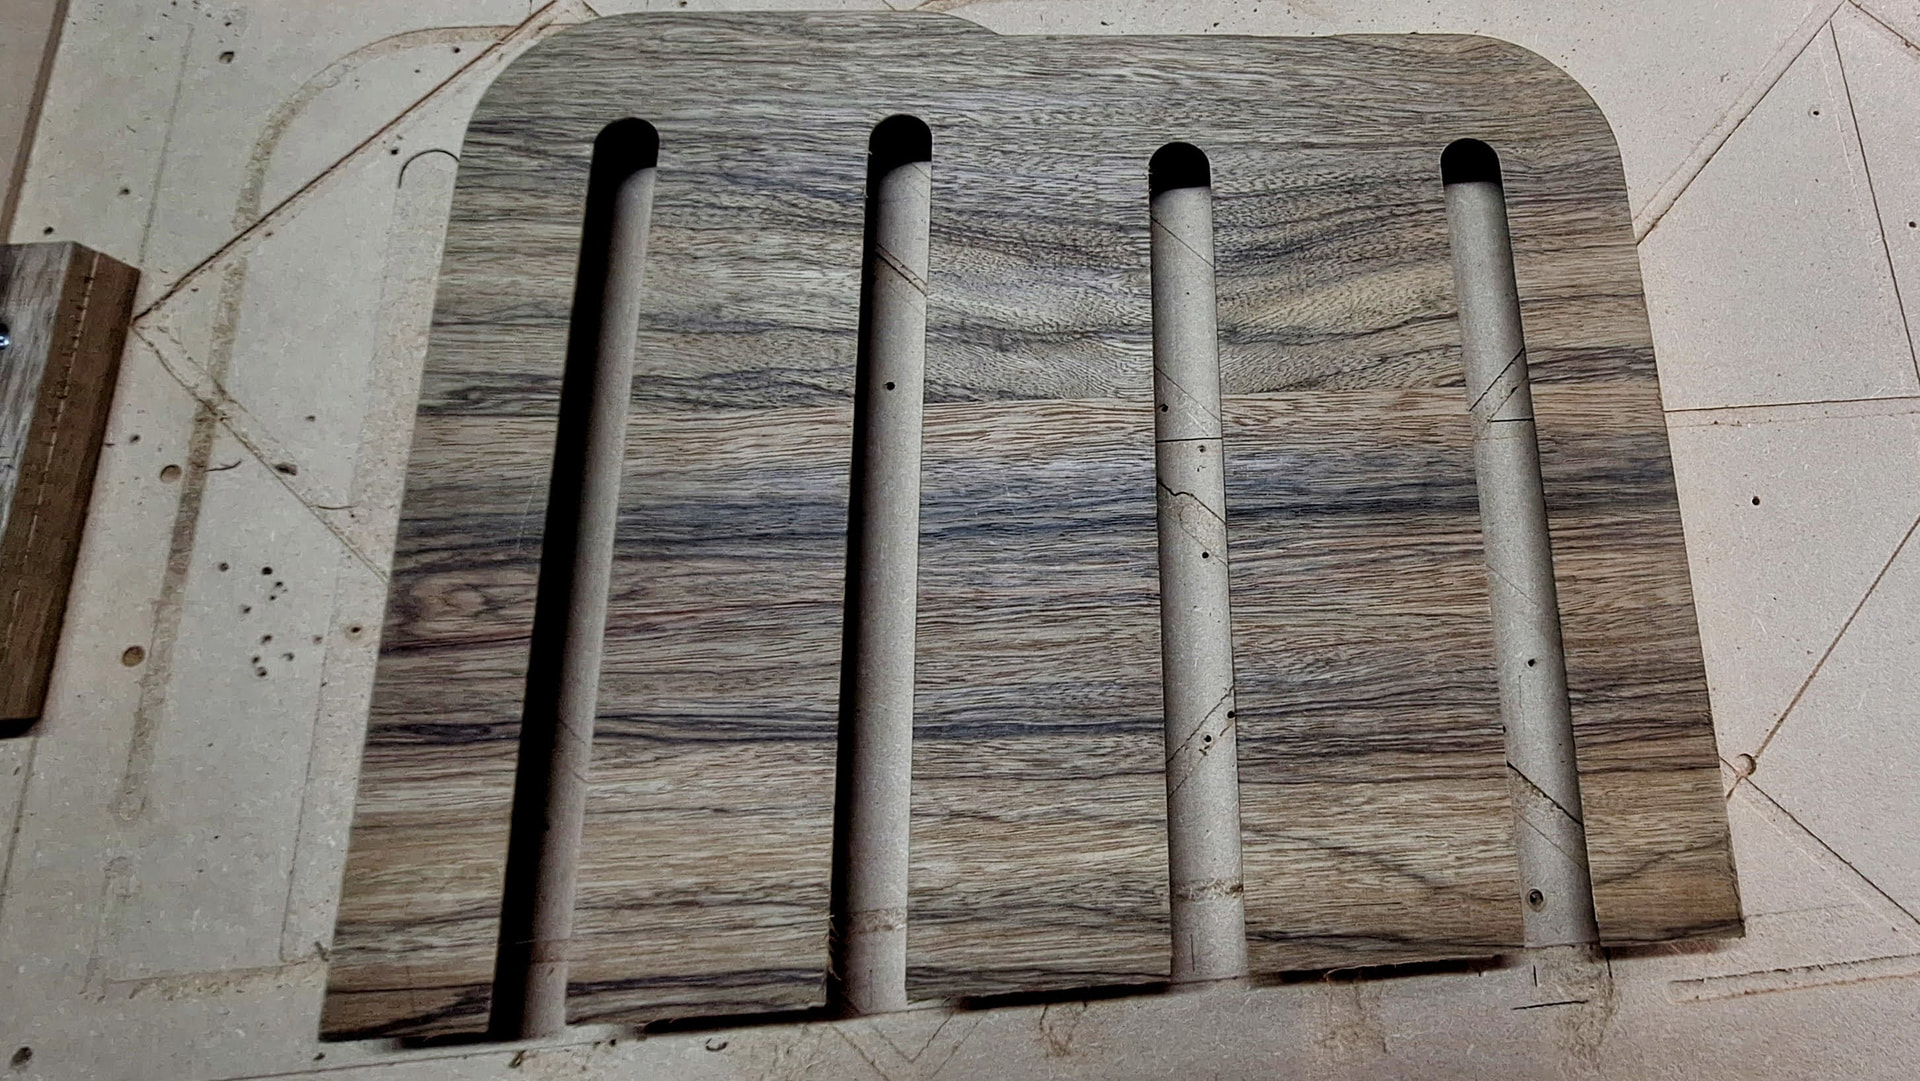
- Wineglass inserts in place under shelf
The bigger picture
Thanks for checking this out and hope it is a valued contribution to demonstrate the endless possibilities of the LR4.
Thank you Ryan and team for making CNC affordable to us hobbyists.