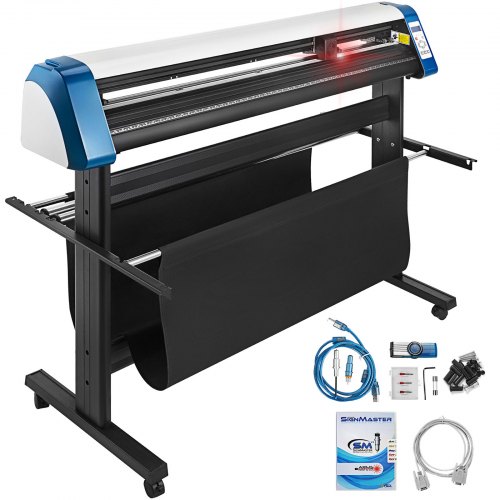
VEVOR 53 Inch Vinyl Cutter Machine, with Floor Stand and Signmaster Software, $427.99
The above is not an affiliate link. However, if anyone here wants to buy this and doesn’t mind letting me get affiliate credit, here’s an affiliate link. Affiliate link.
Backstory
I’ve mentioned previously that I have some experience in sign making. Part of that is in vinyl cutters. About 32 years ago, I bought a Roland DG (high quality, expensive) vinyl sign cutter. I could not afford a big one. I paid about $2300 for one that could only cut about 11 inch tall (x length of roll for width), and had no bells and whistles that modern ones can have. Like anything, they have come down in price, and the cheap knock-offs have gotten better and better. The small, old Roland still works, but my last computer with a COM port finally bit the dust recently. So, I finally bought a new one, and it’s huge (can cut 50" tall content).
Review
This thing is nice, and I only paid a little over $400 for it, and it has some bells and whistles on it, such as a sensor for aligning contour cut-outs of color images that have been printed (i.e. on inkjet) on printable adhesive-backed vinyl, and it has a nice LED light strip shining down on the cut area. I just cut my first thing with it (a Design8Studio logo nameplate to go onto the machine itself), and this thing cuts just like the expensive Roland one.
Note: this is not a print-and-cut machine. It’s a cutter only. You can print in color on printable vinyl using an inkjet (such as my HP DesignJet T120), and then transport the printed vinyl to this machine for cutting.
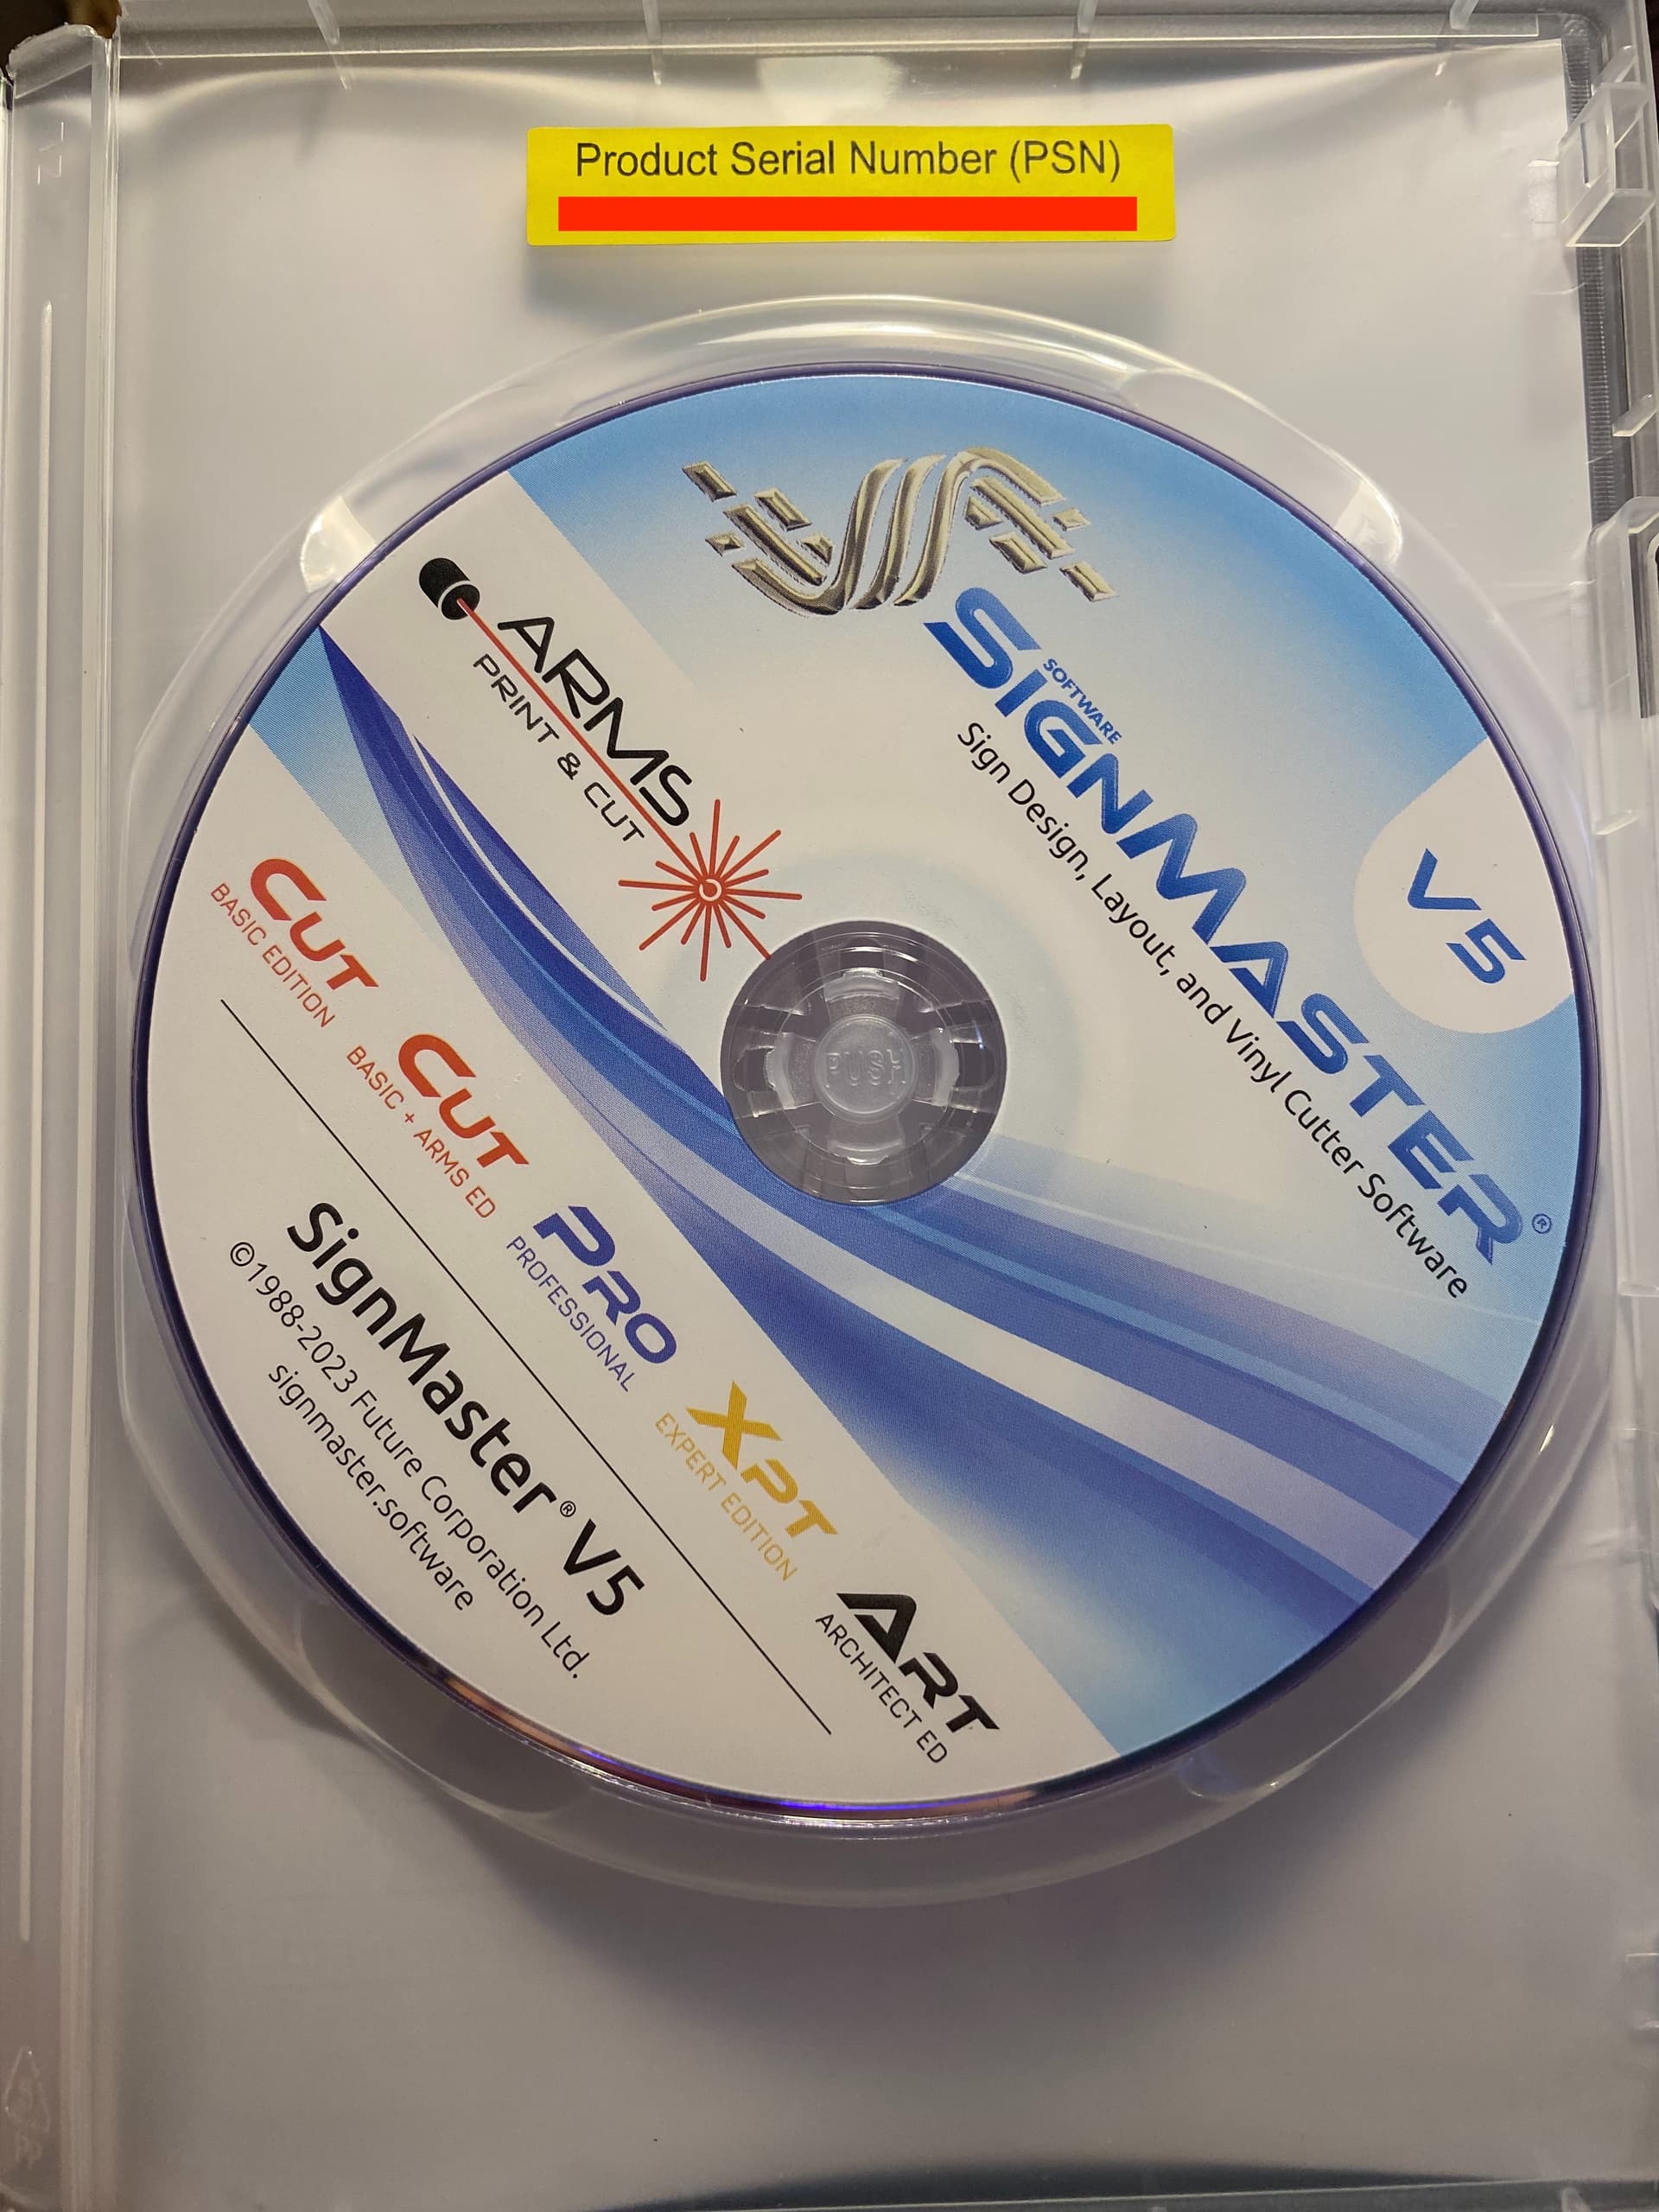
It comes with some nice sign cutting software, called SignMaster CUT v5, and the software is provided via both a USB thumbdrive, and CD disc in a case (inside of which is the serial number that’s needed), and it can be downloaded from the SignMaster.software website.
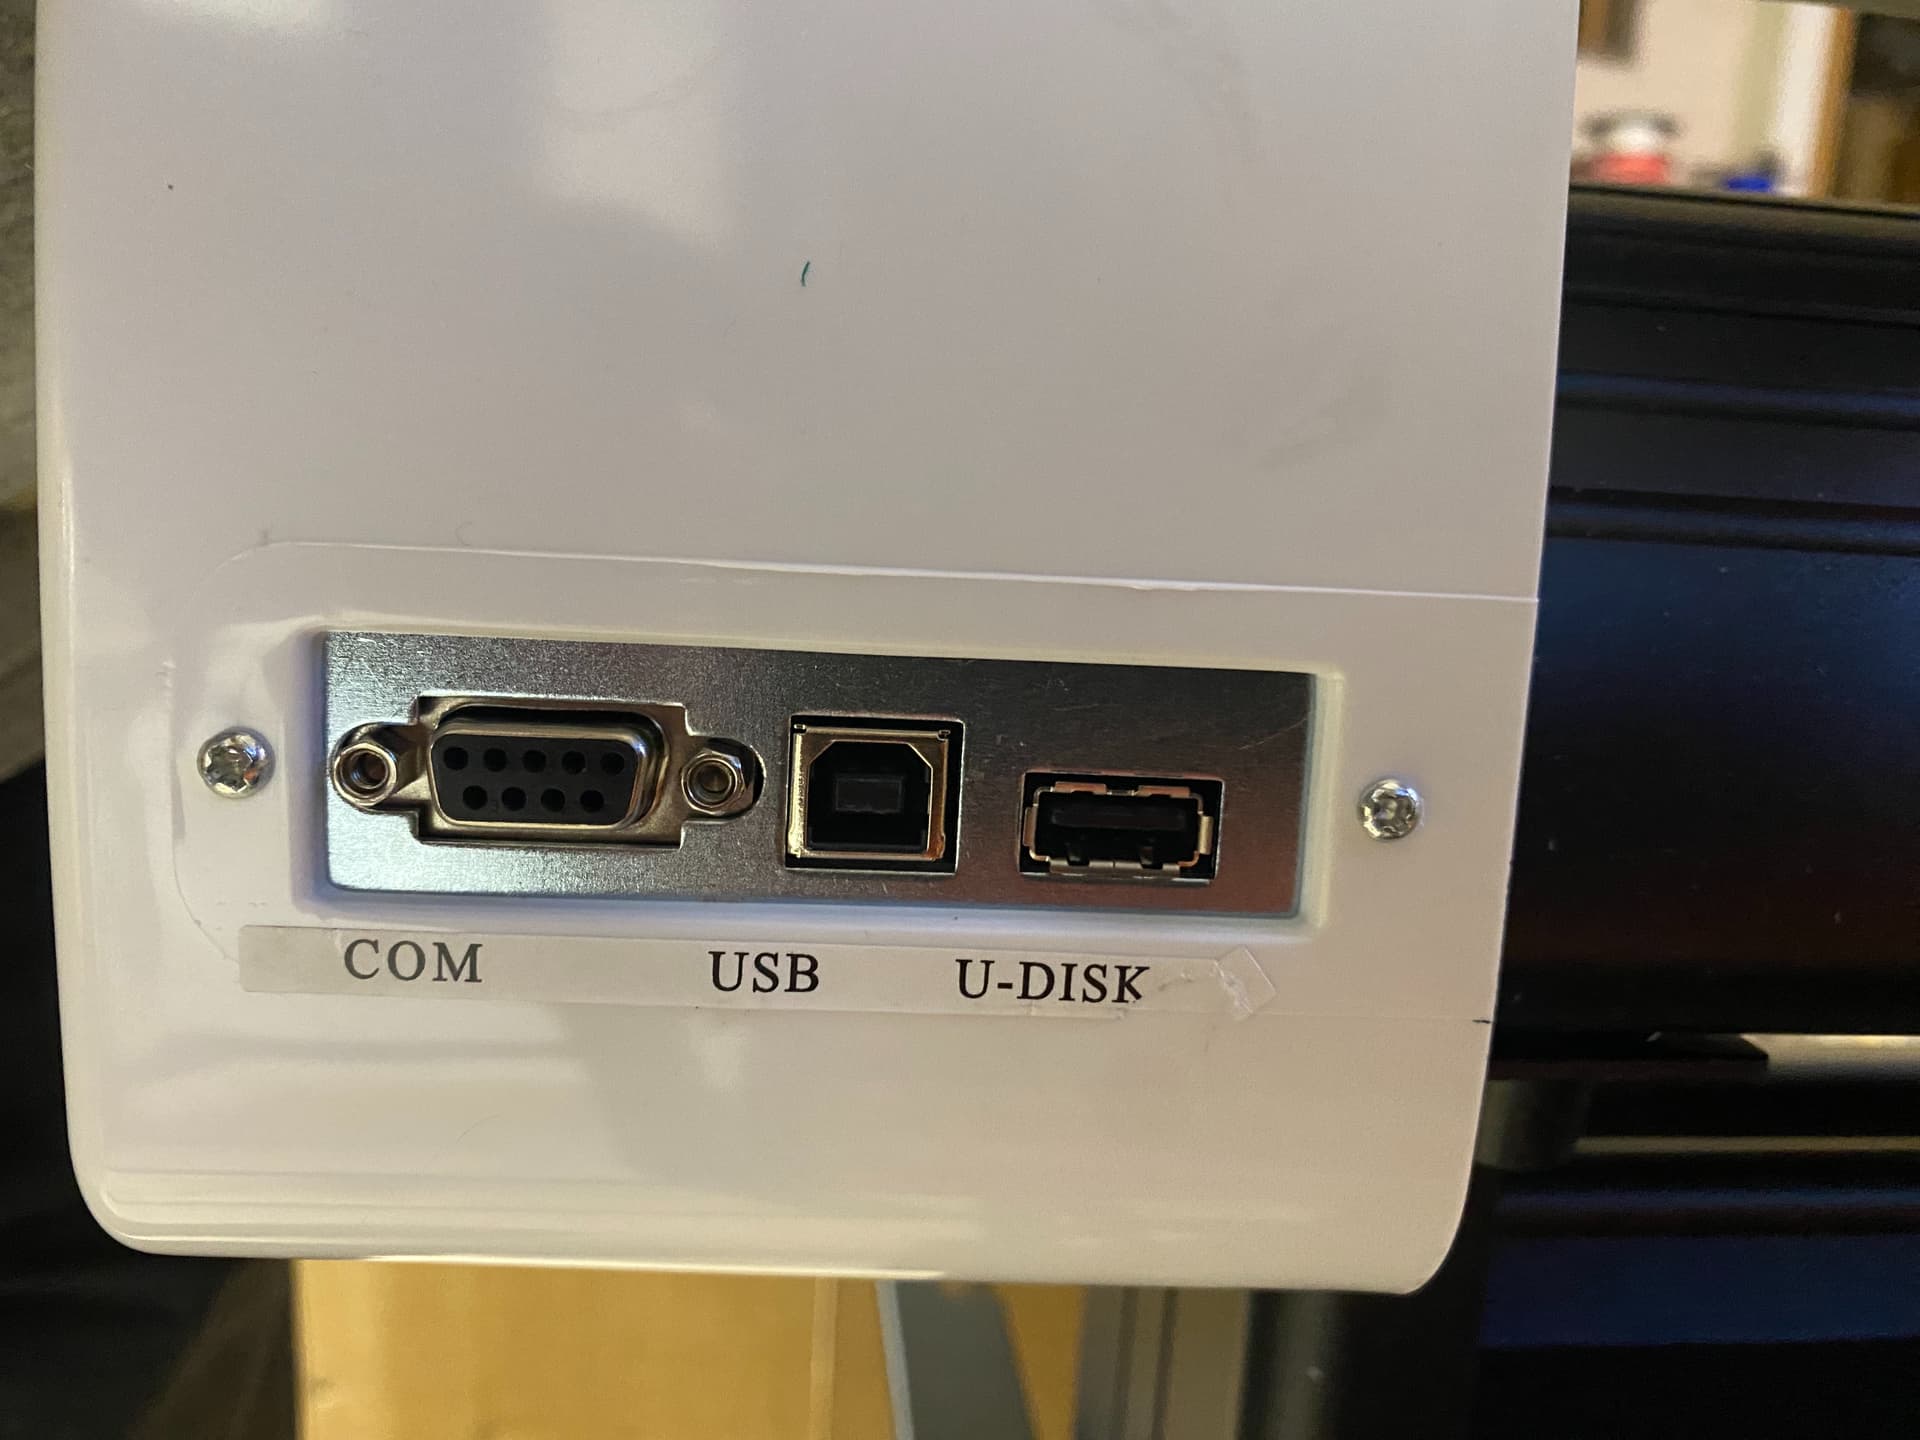
The software is pretty nice. Previously, with the Roland, I’d design my cuts in CorelDRAW, and then use a Windows-based printer driver for cutting (you “print” in Windows to cut). With this, there is a “cut” icon and it lets you verify the USB port (or whatever COM port, as the unit does come with a COM port on it, and a COM cable, in addition to the USB port and USB cable) and check all the cut options before pulling the trigger. On the Roland, I’d have to manually draw rectangles and lines (outside the final elements) to make weeding easier. With this software, just click a checkbox during cut prep (in the cut dialog box) and it adds those things for you automatically.
When installing the software, you choose the model name, from the software drop-down menu, that matches the model on the label on the back of the cutter machine:

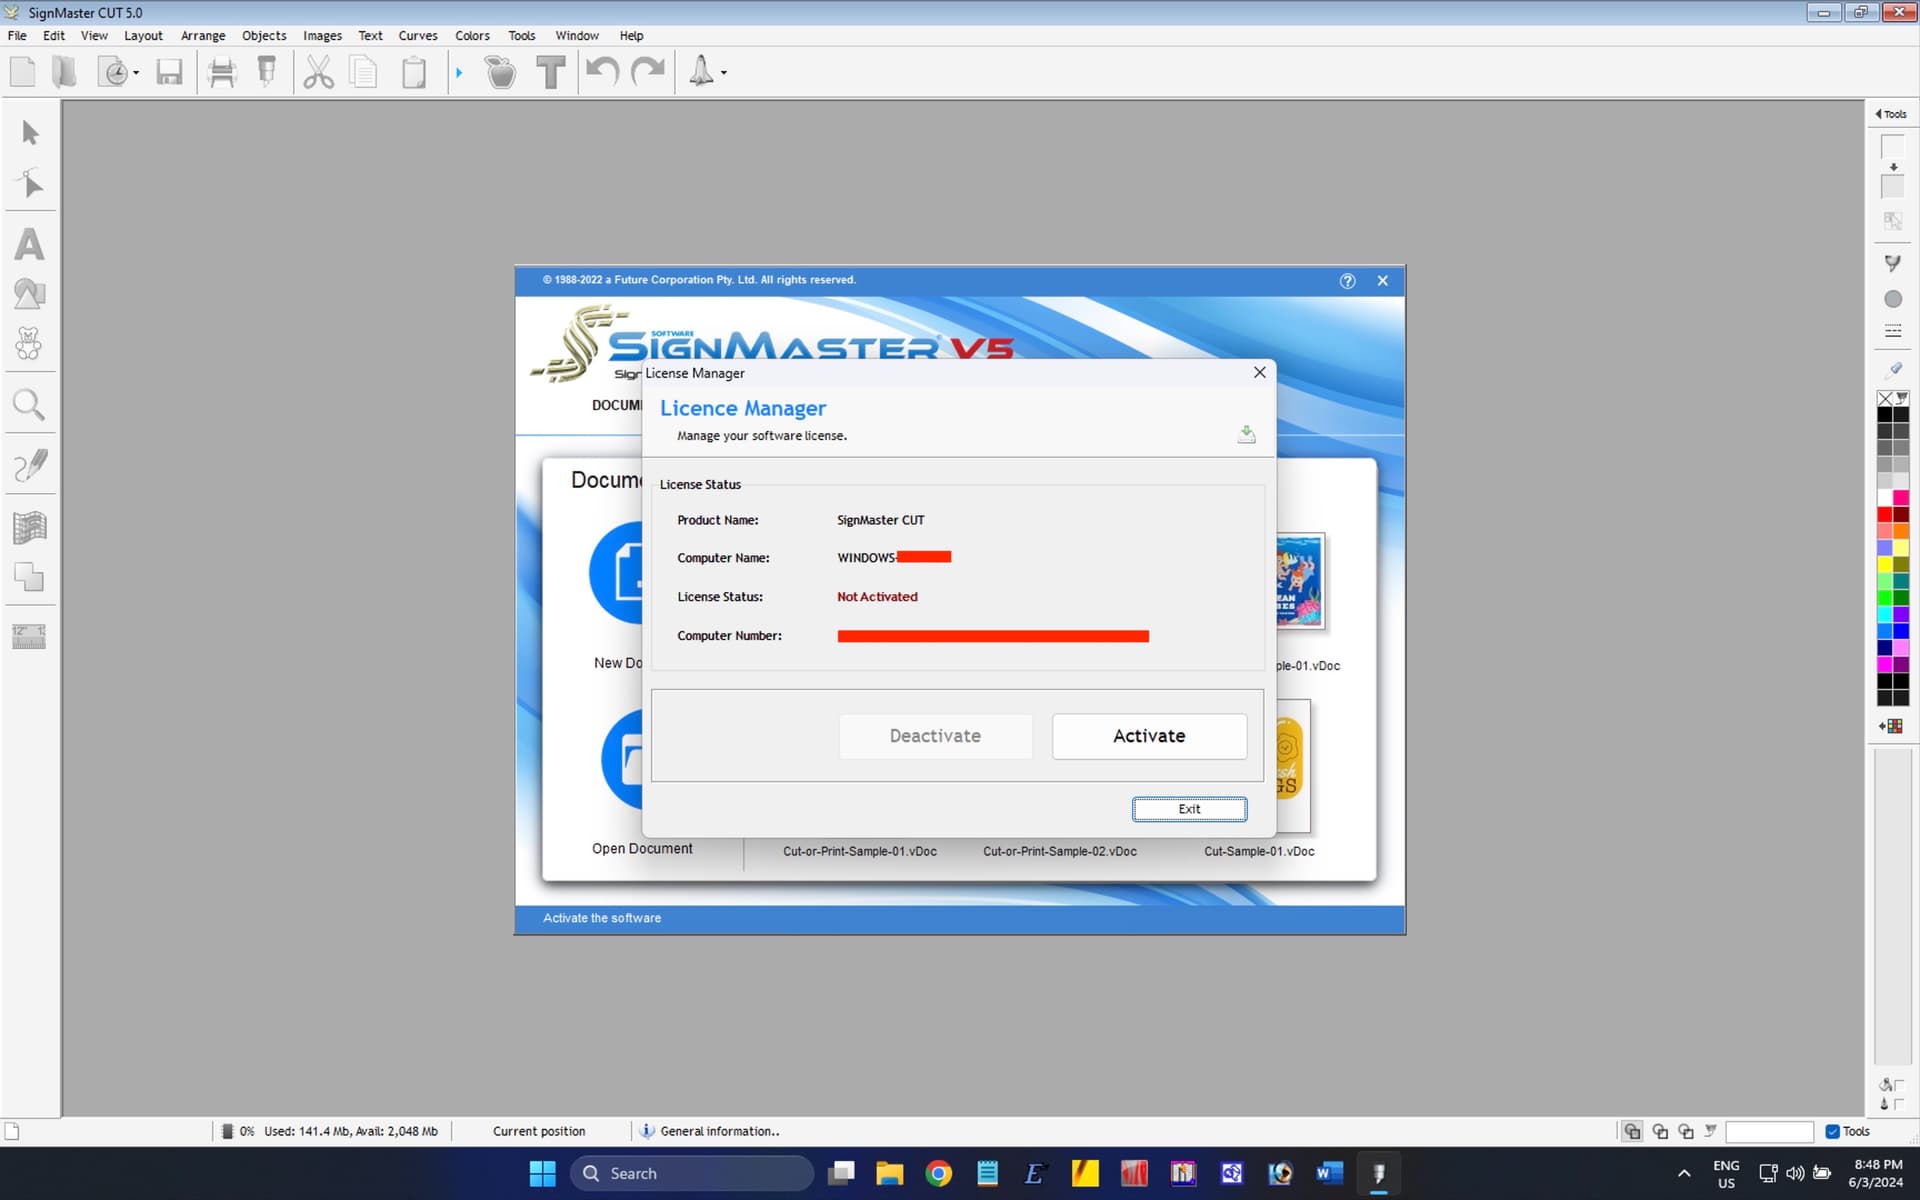
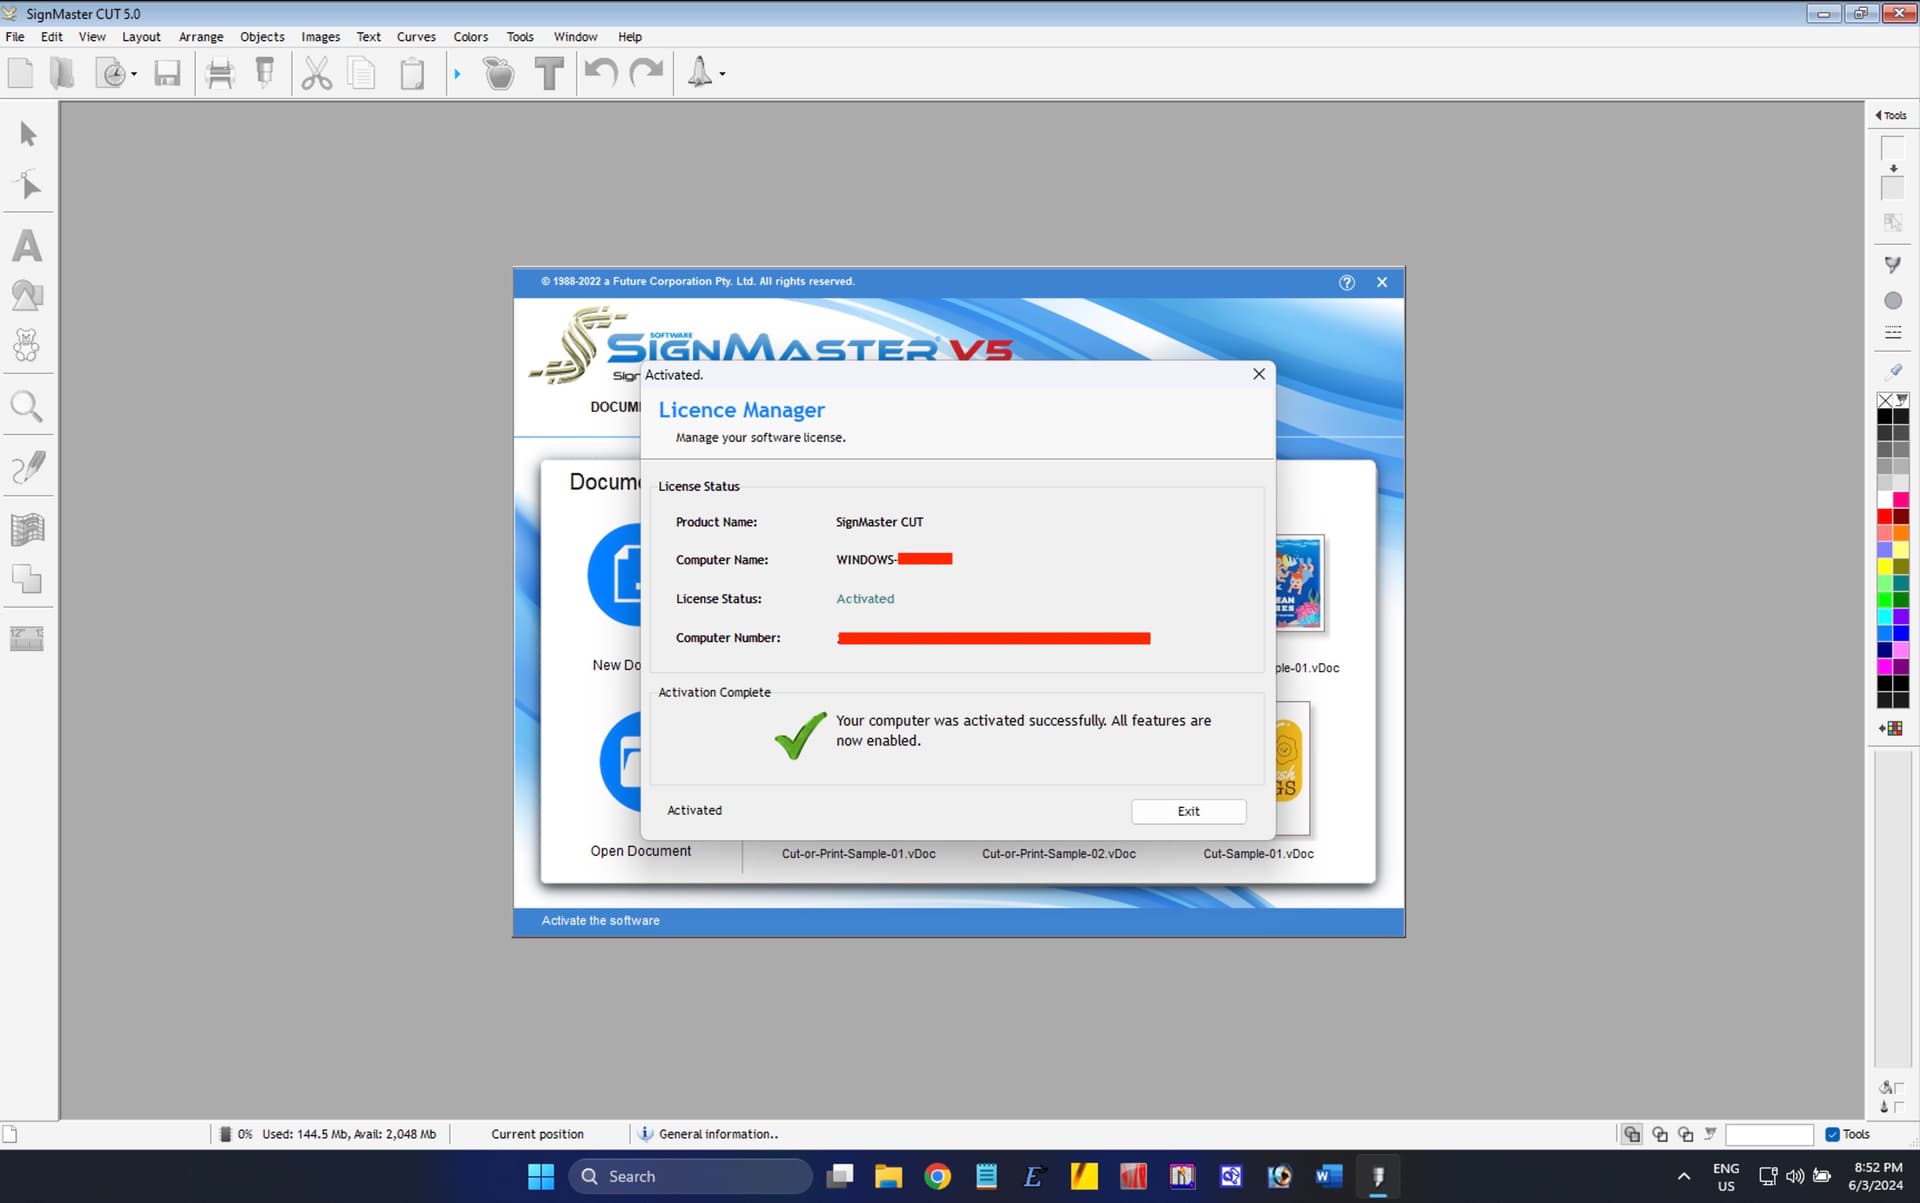
Once installed, you can register using an internet connection, and your software is officially activated on the given Windows computer you are using.
NOTE: the software is Windows only. I am using Mac, but I have software called Parallels Desktop which lets me install and run Windows.
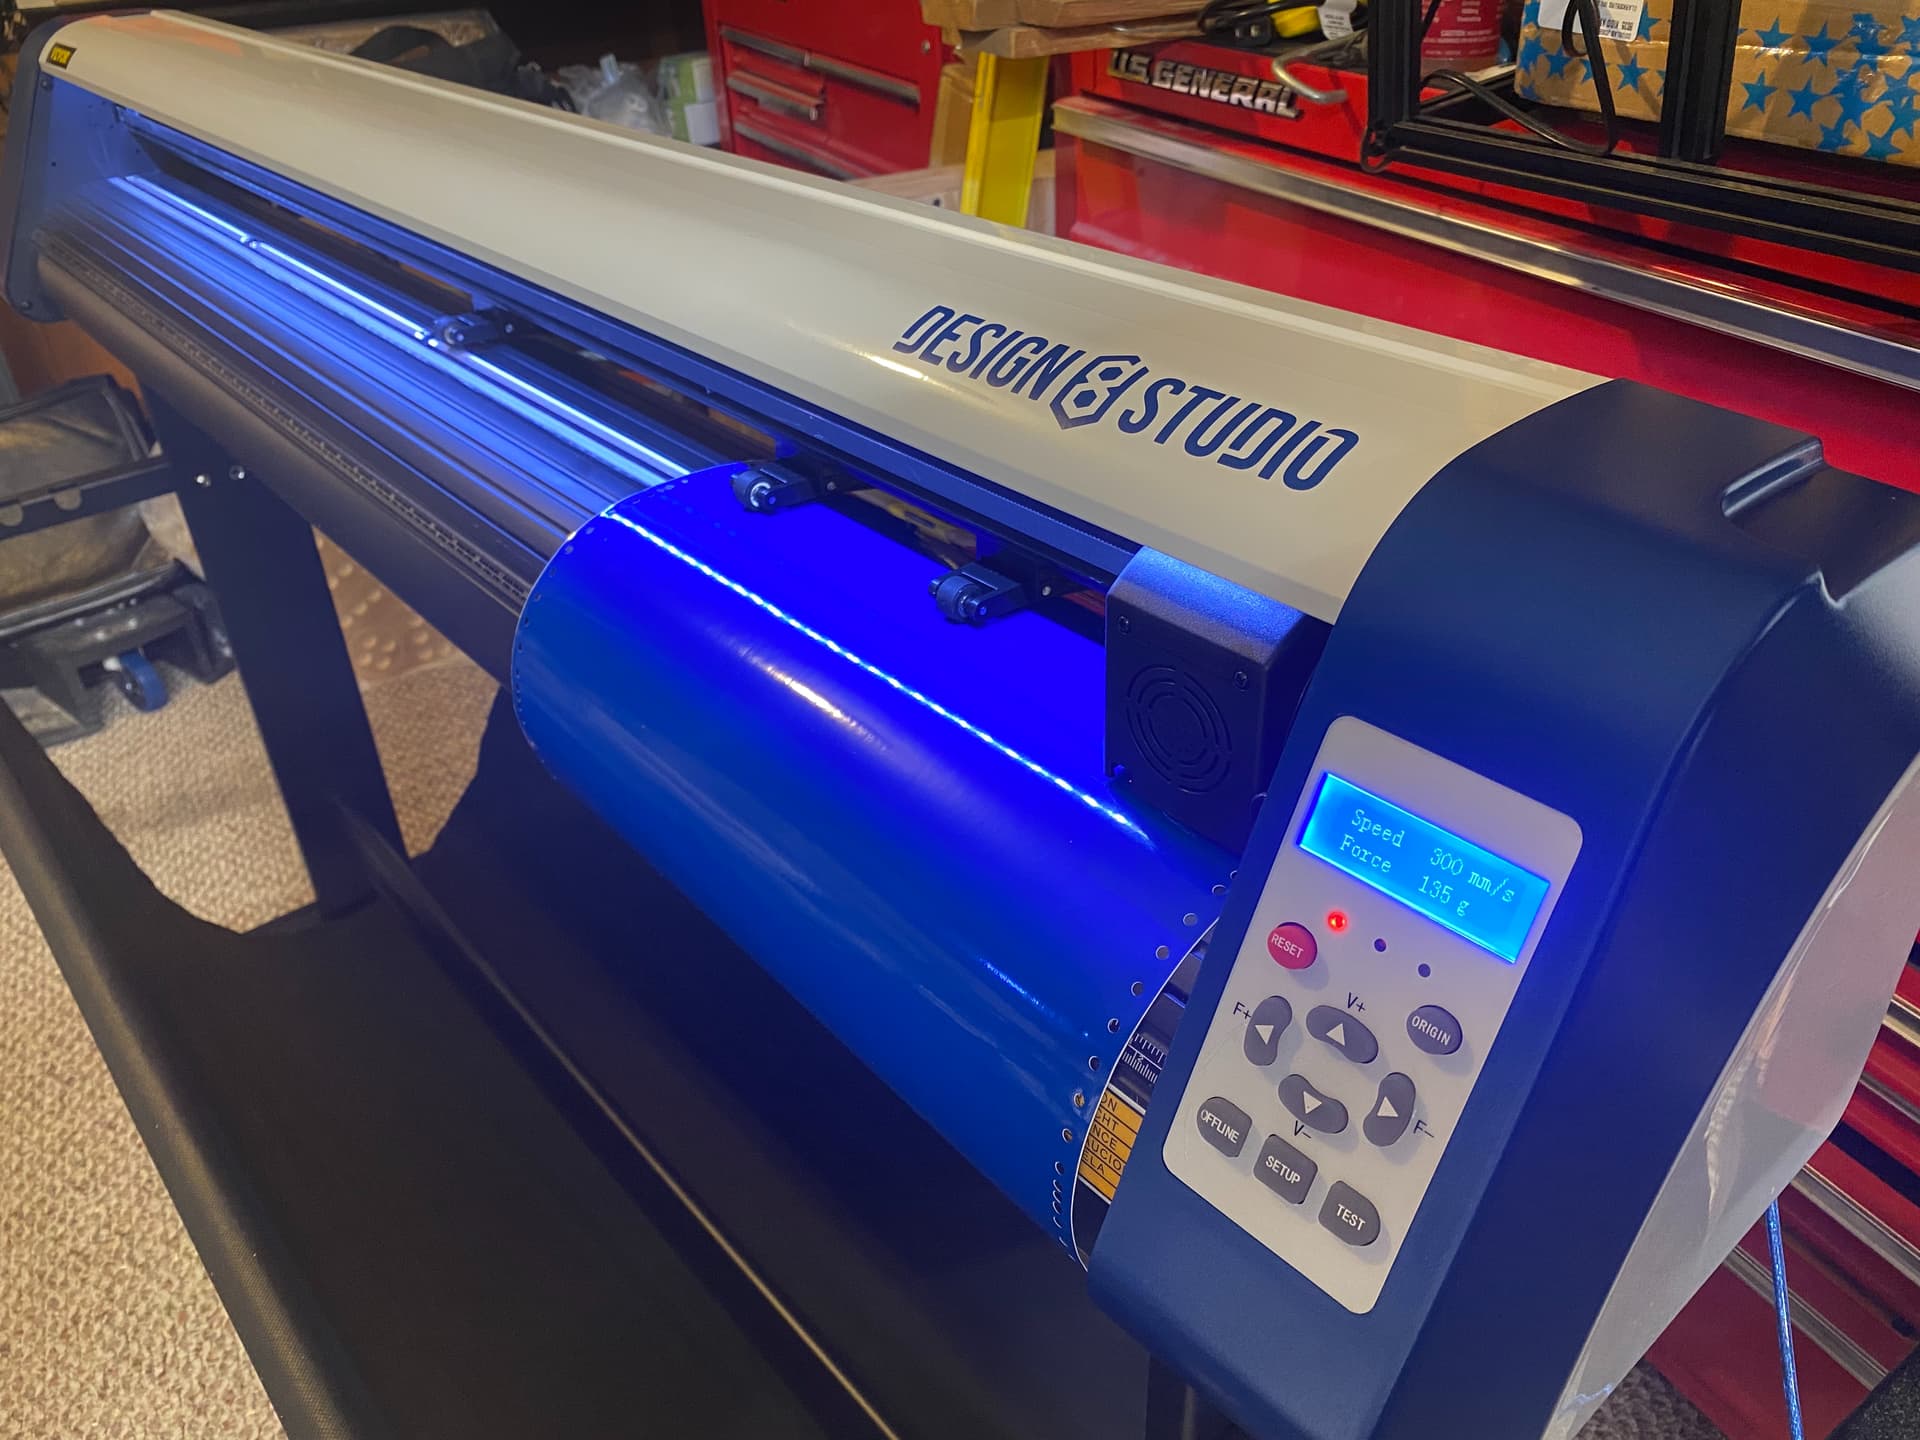
This unit come with a nice stand/base, that includes rollers for holding a vinyl roll, and a “catch cloth” to prevent long banners / signs from dropping to the floor during cutting.
For several videos of instructions / how to setup / how to assemble the stand/base, look no further than the USB thumbdrive that has the software on it. One criticism here. The videos are all pretty good, except the one on software installation. On that one video, the audio is too low to hear. Really, really low.
Once the stand/base is built, and the machine is connected via the provided USB cable,
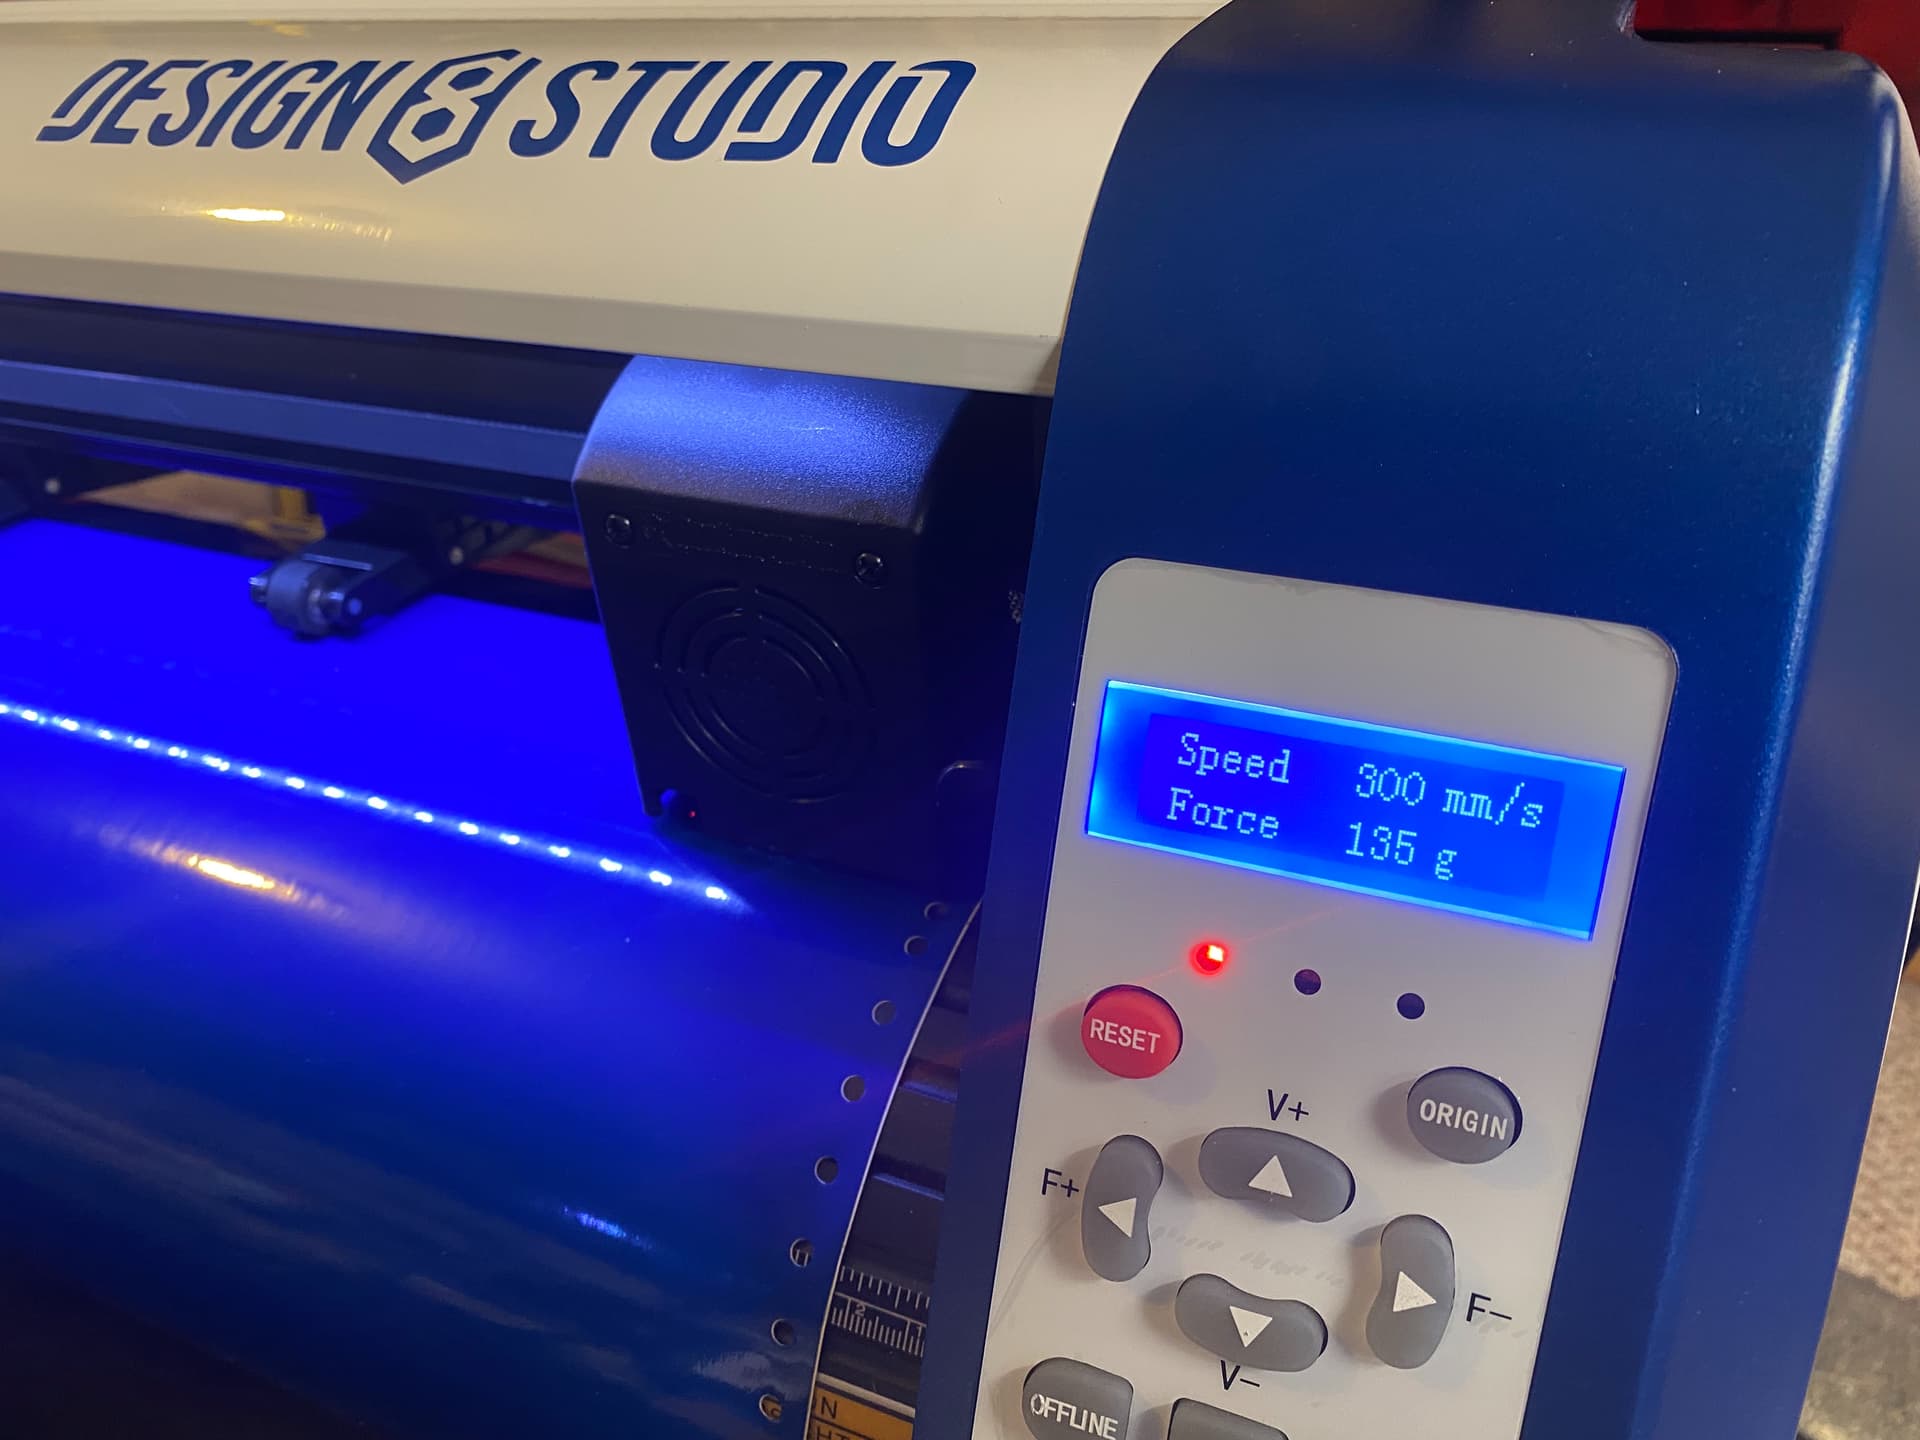
…and the software is installed, and the blade was inserted into the holder, and the holder installed into the machine, I turned my attention to the user interface screen and buttons. It’s remarkably familiar to me; it’s basically almost identical to the interface on the old, expensive, small Roland cutter I’m used to.
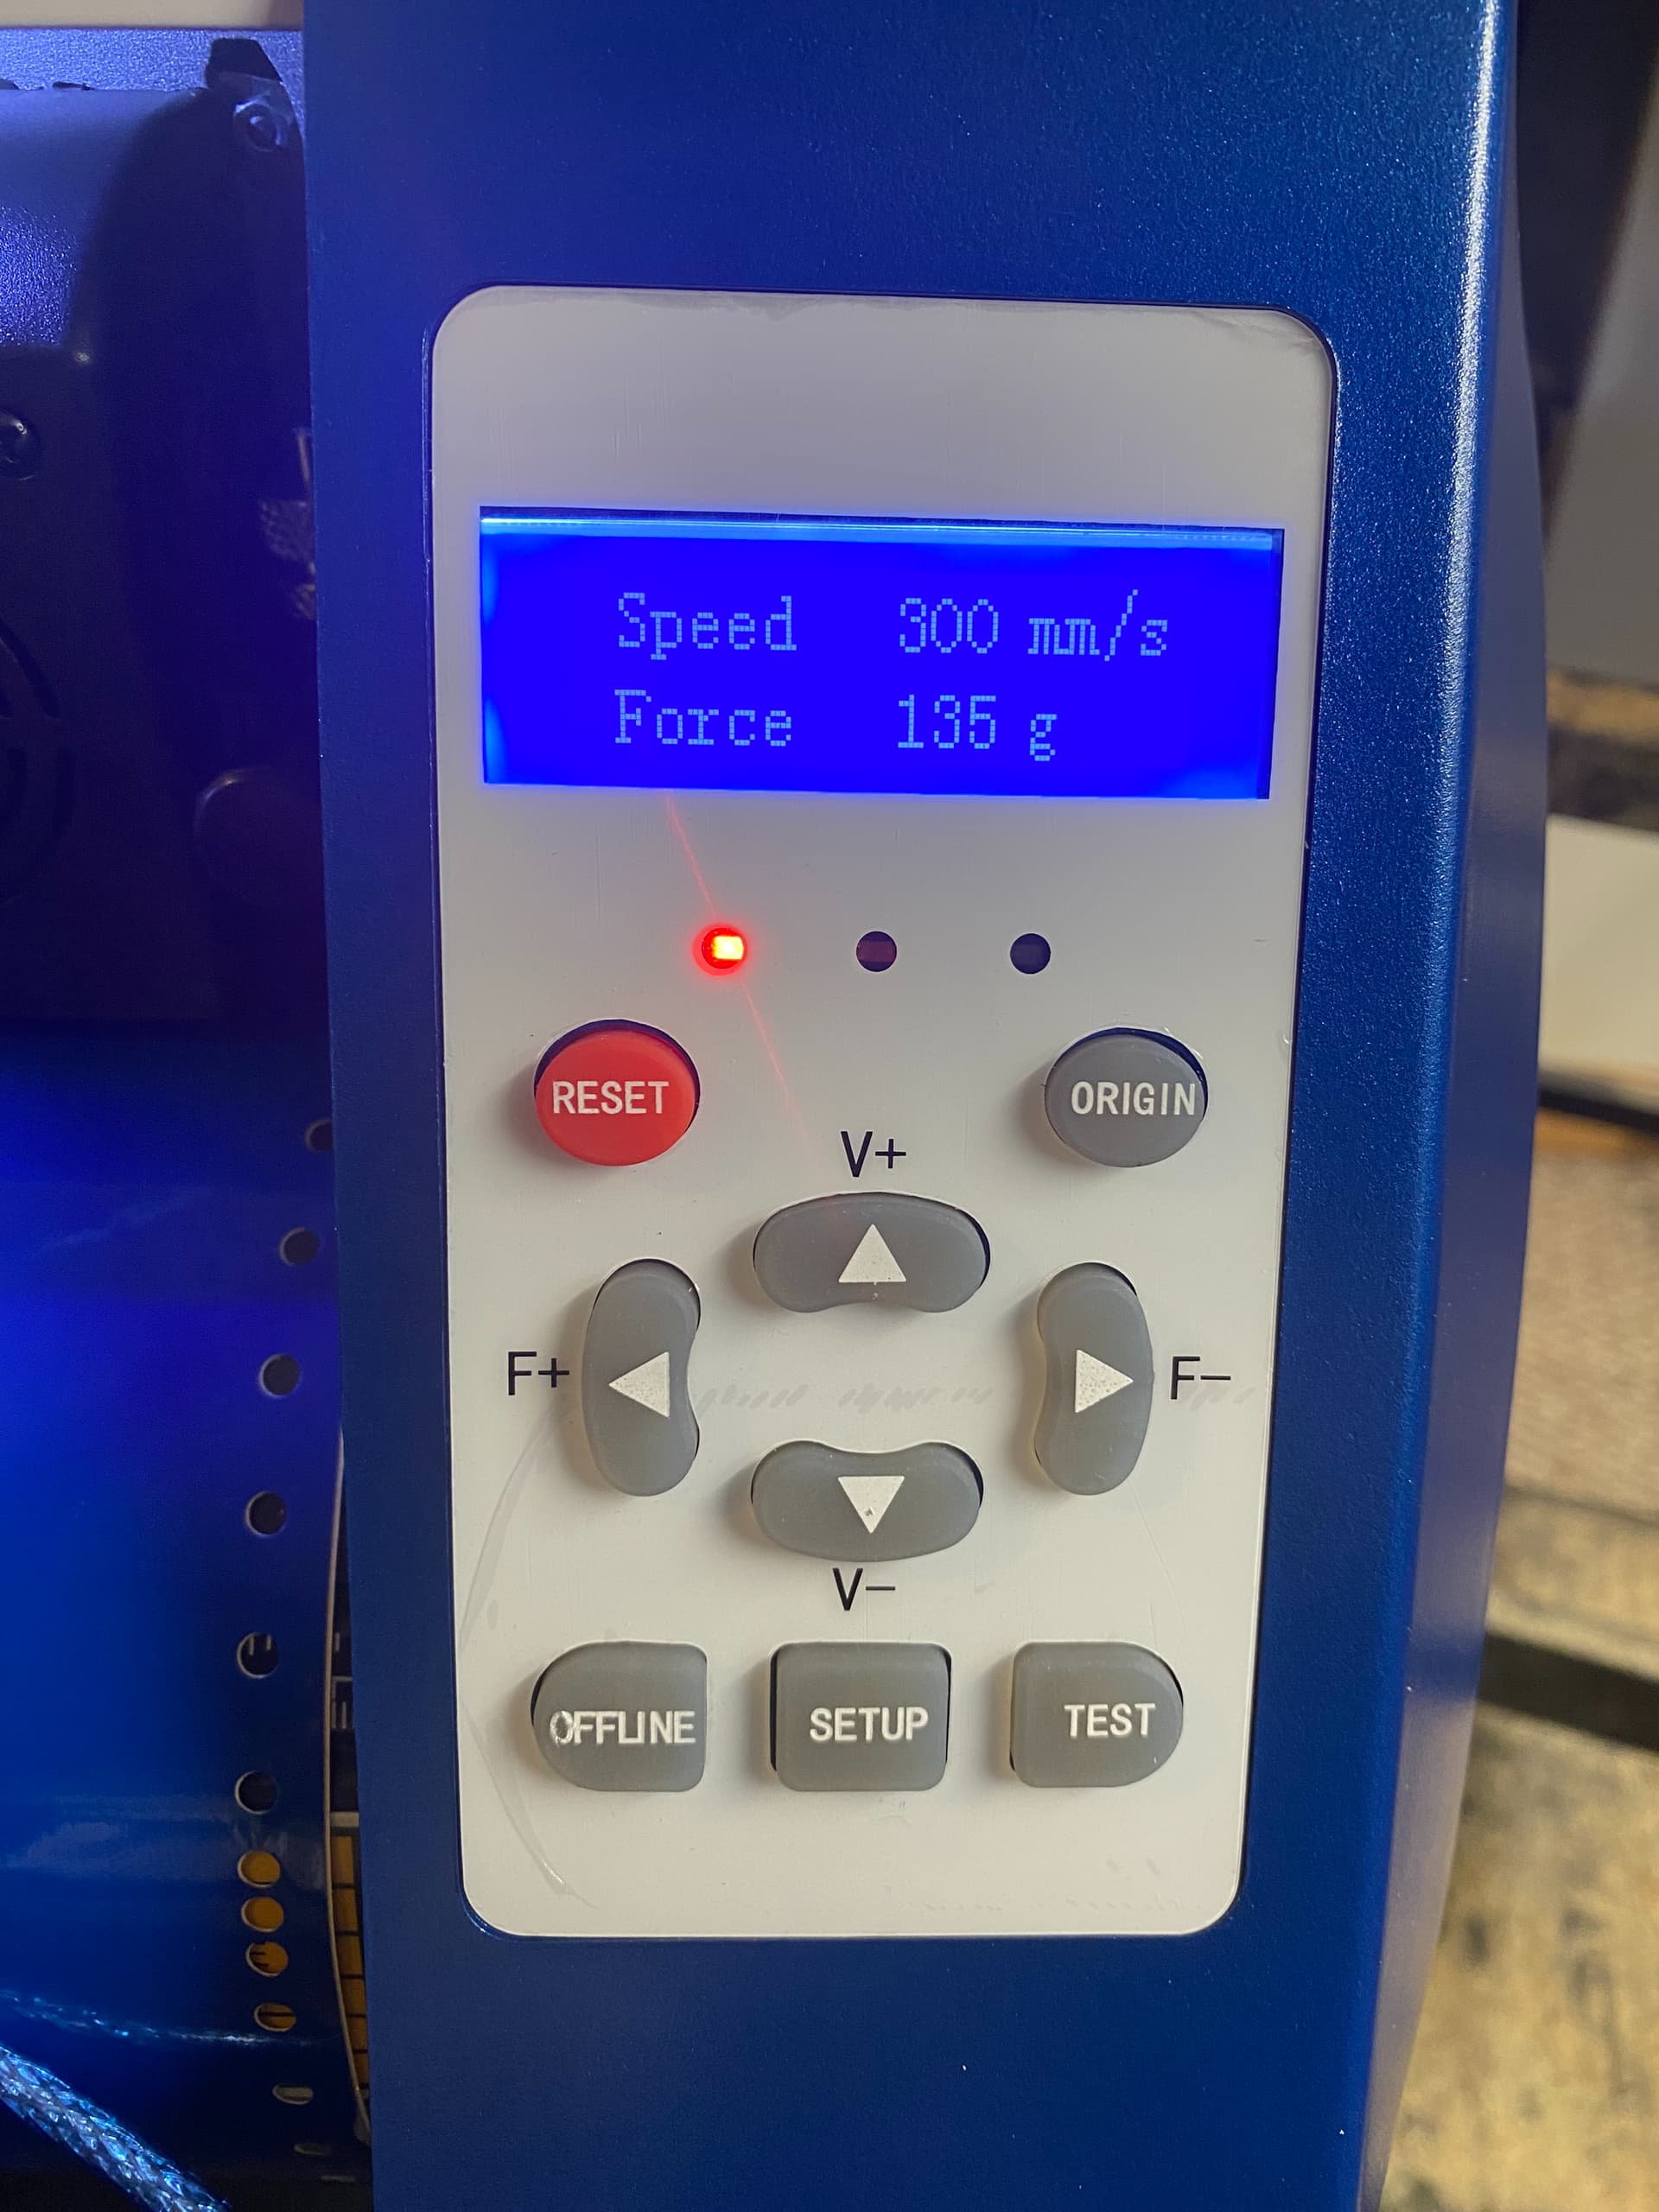
In normal mode, the 4 cardinal direction buttons (two vertical + and -, and two horizontal + and -) take care of adjusting both speed and downward pressure (in grams). For speed, about 300 mm per second is a good starting point, and for pressure, about 100 to 135 grams of downward force is a good starting point.
Then you insert some vinyl, and position and clamp the upper rollers down on the vinyl (at least two on each side, preferably at least three, with one in the middle), making sure the clamped-down rollers are over the large parts of the main lower roller that are knurled (as opposed to being in the small “in between” areas outside of the knurled main operational “push-pull” areas), and making sure the outer clamped upper rollers are positioned horizontally such that they are between about 1/2" to 1 1/2" from the outside edges of the vinyl. Make sure the vinyl is running straight (perpendicular to the cutter’s main lower knurled roller pin).
Then, press the “Offline” button to take the interface into the movement mode. Use the 4 cardinal direction buttons (two vertical + and -, and two horizontal + and -) to move the cutter head left and right to prep for a cut, and to roll the vinyl forward or backward to prep for a cut. The first cut will be a test cut to check cutting pressure (downward force in grams), to make sure it cuts through vinyl but not through backing.
Once the position is right, press the “Origin” button to tell the machine that’s the Y=0 and X=0 spot. The machine does cuts that proceed from the front right corner, so you need cut ample room to the left side of the origin spot, and ample cut length on the roll coming from the back side of the cutter.
Then press the “Test” button. A small square will be cut. If you can remove the square easily without the backing layer of glossy non-stick paper having been cut, then you should be good.
Then import a vector graphic or use the built in tools to create text and shapes, and select what you want to cut, and press the “cut” icon in the upper left.
After the sign / artwork has been cut out by the machine (and severed from the roll), you then “weed” it to remove the parts of cut vinyl that are not intended as the sign (the parts around or outside of the content).
Then, you apply a sheet or strip of “application tape” — and press it on with a credit card or squeegee. Then, when you are ready to install the signage, you peel the waxy backing paper off, leaving the signage on the application tape, and then you position the application tape and smoothly (starting from one of the edges and proceeding the opposite direction, seeking to avoid bubbles), press the signage into position. Then you press against the backside of the application tape, and finally carefully peel away the the application tape. Your new sign is left in position! Easy peasy.
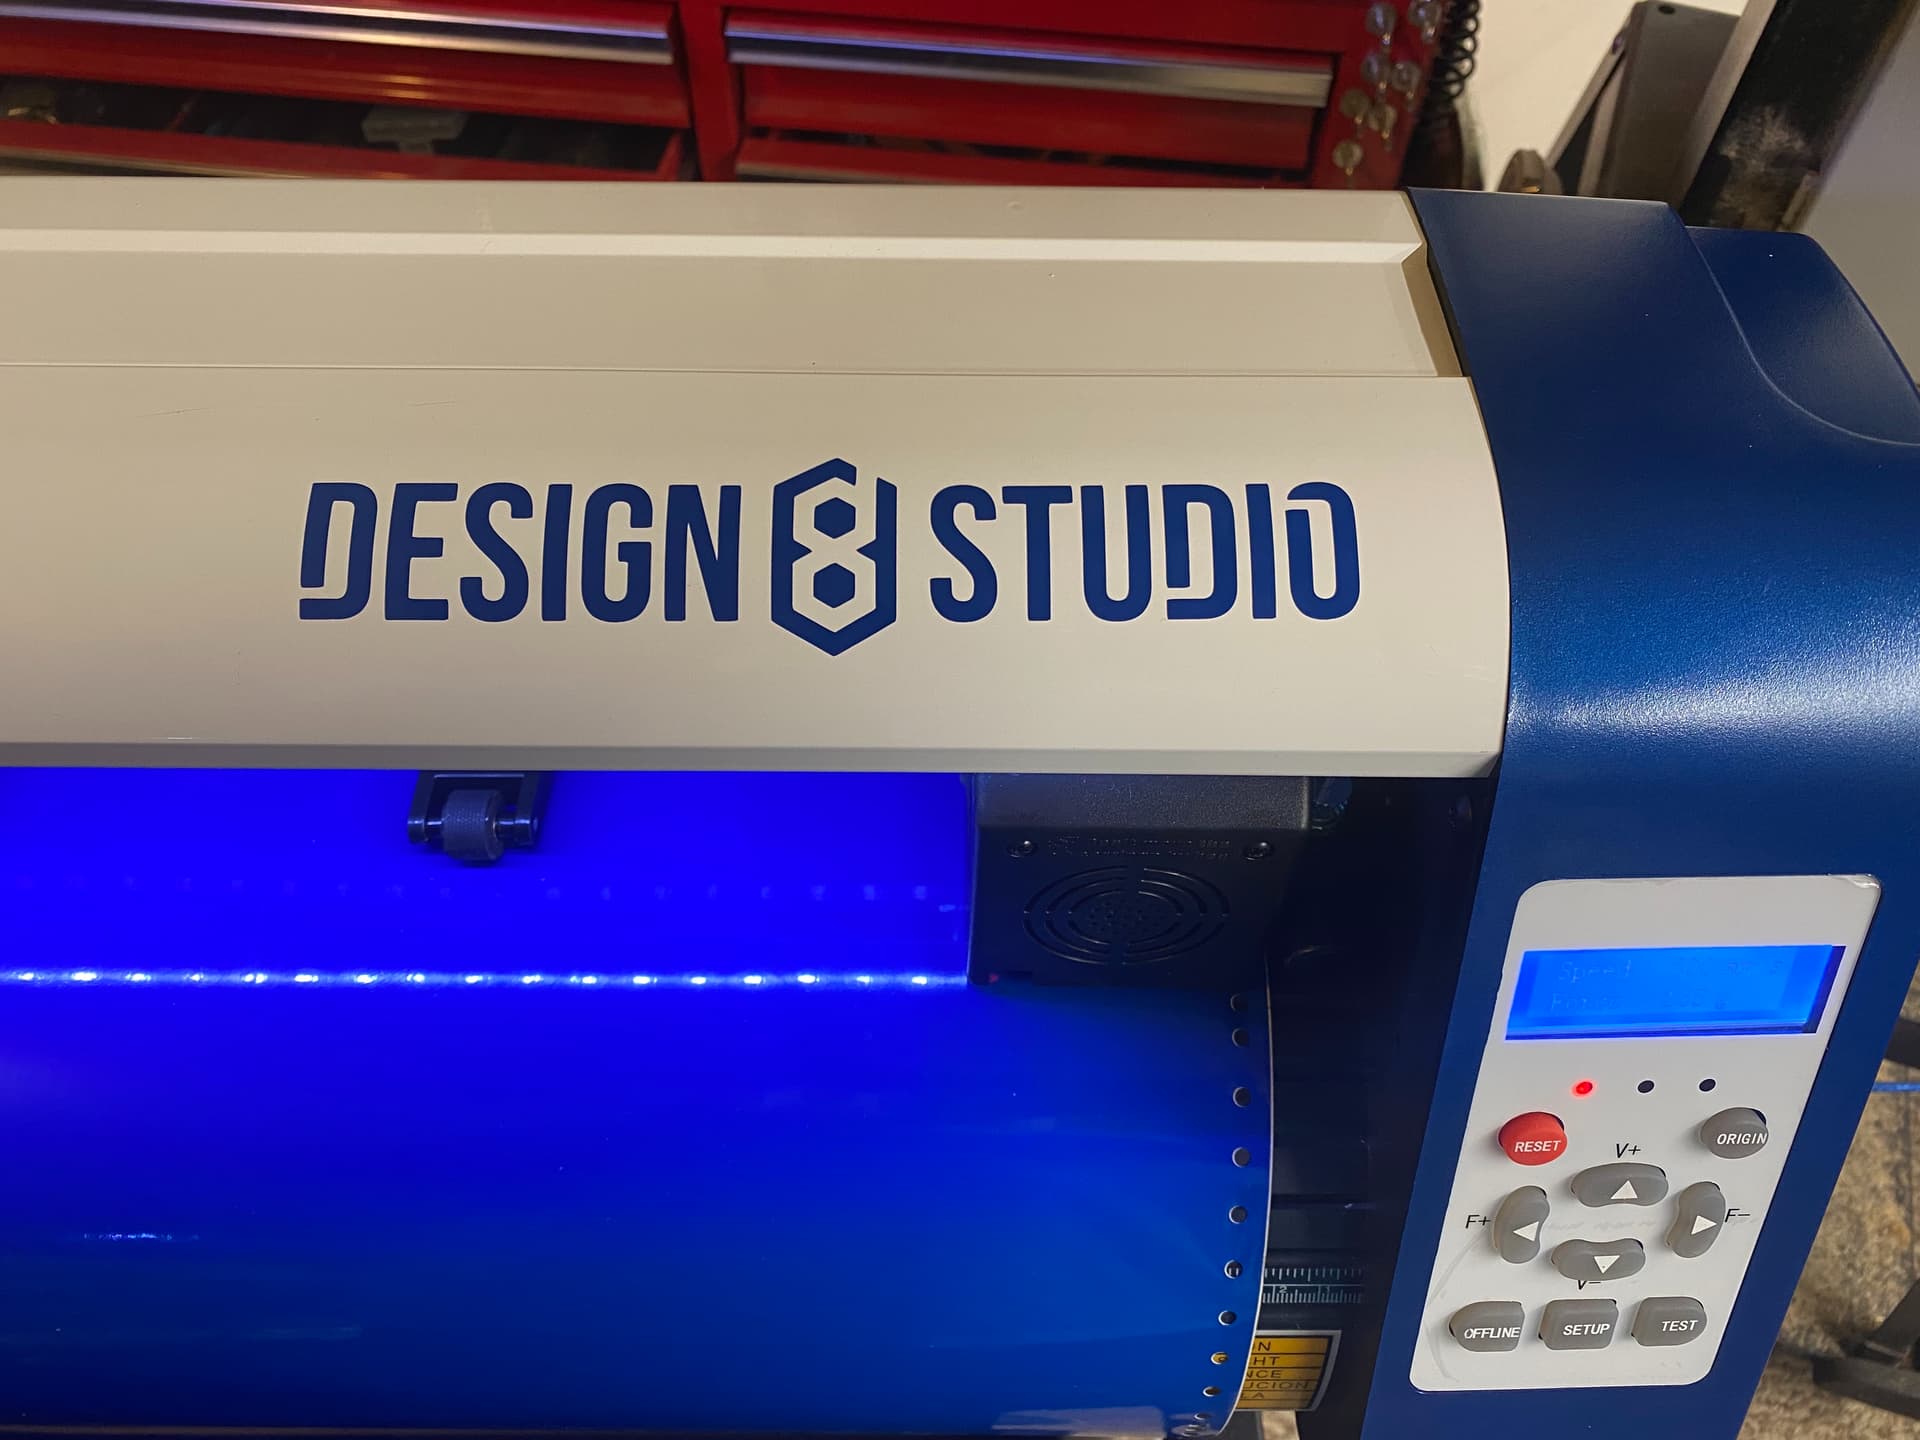
Here are pics of my machine, and the Design8Studio logo nameplate now installed, which was my first cut. It went flawless. I’m thrilled with this machine.