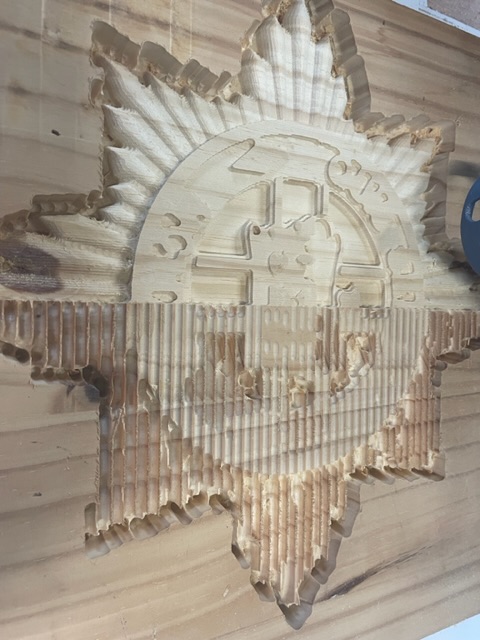
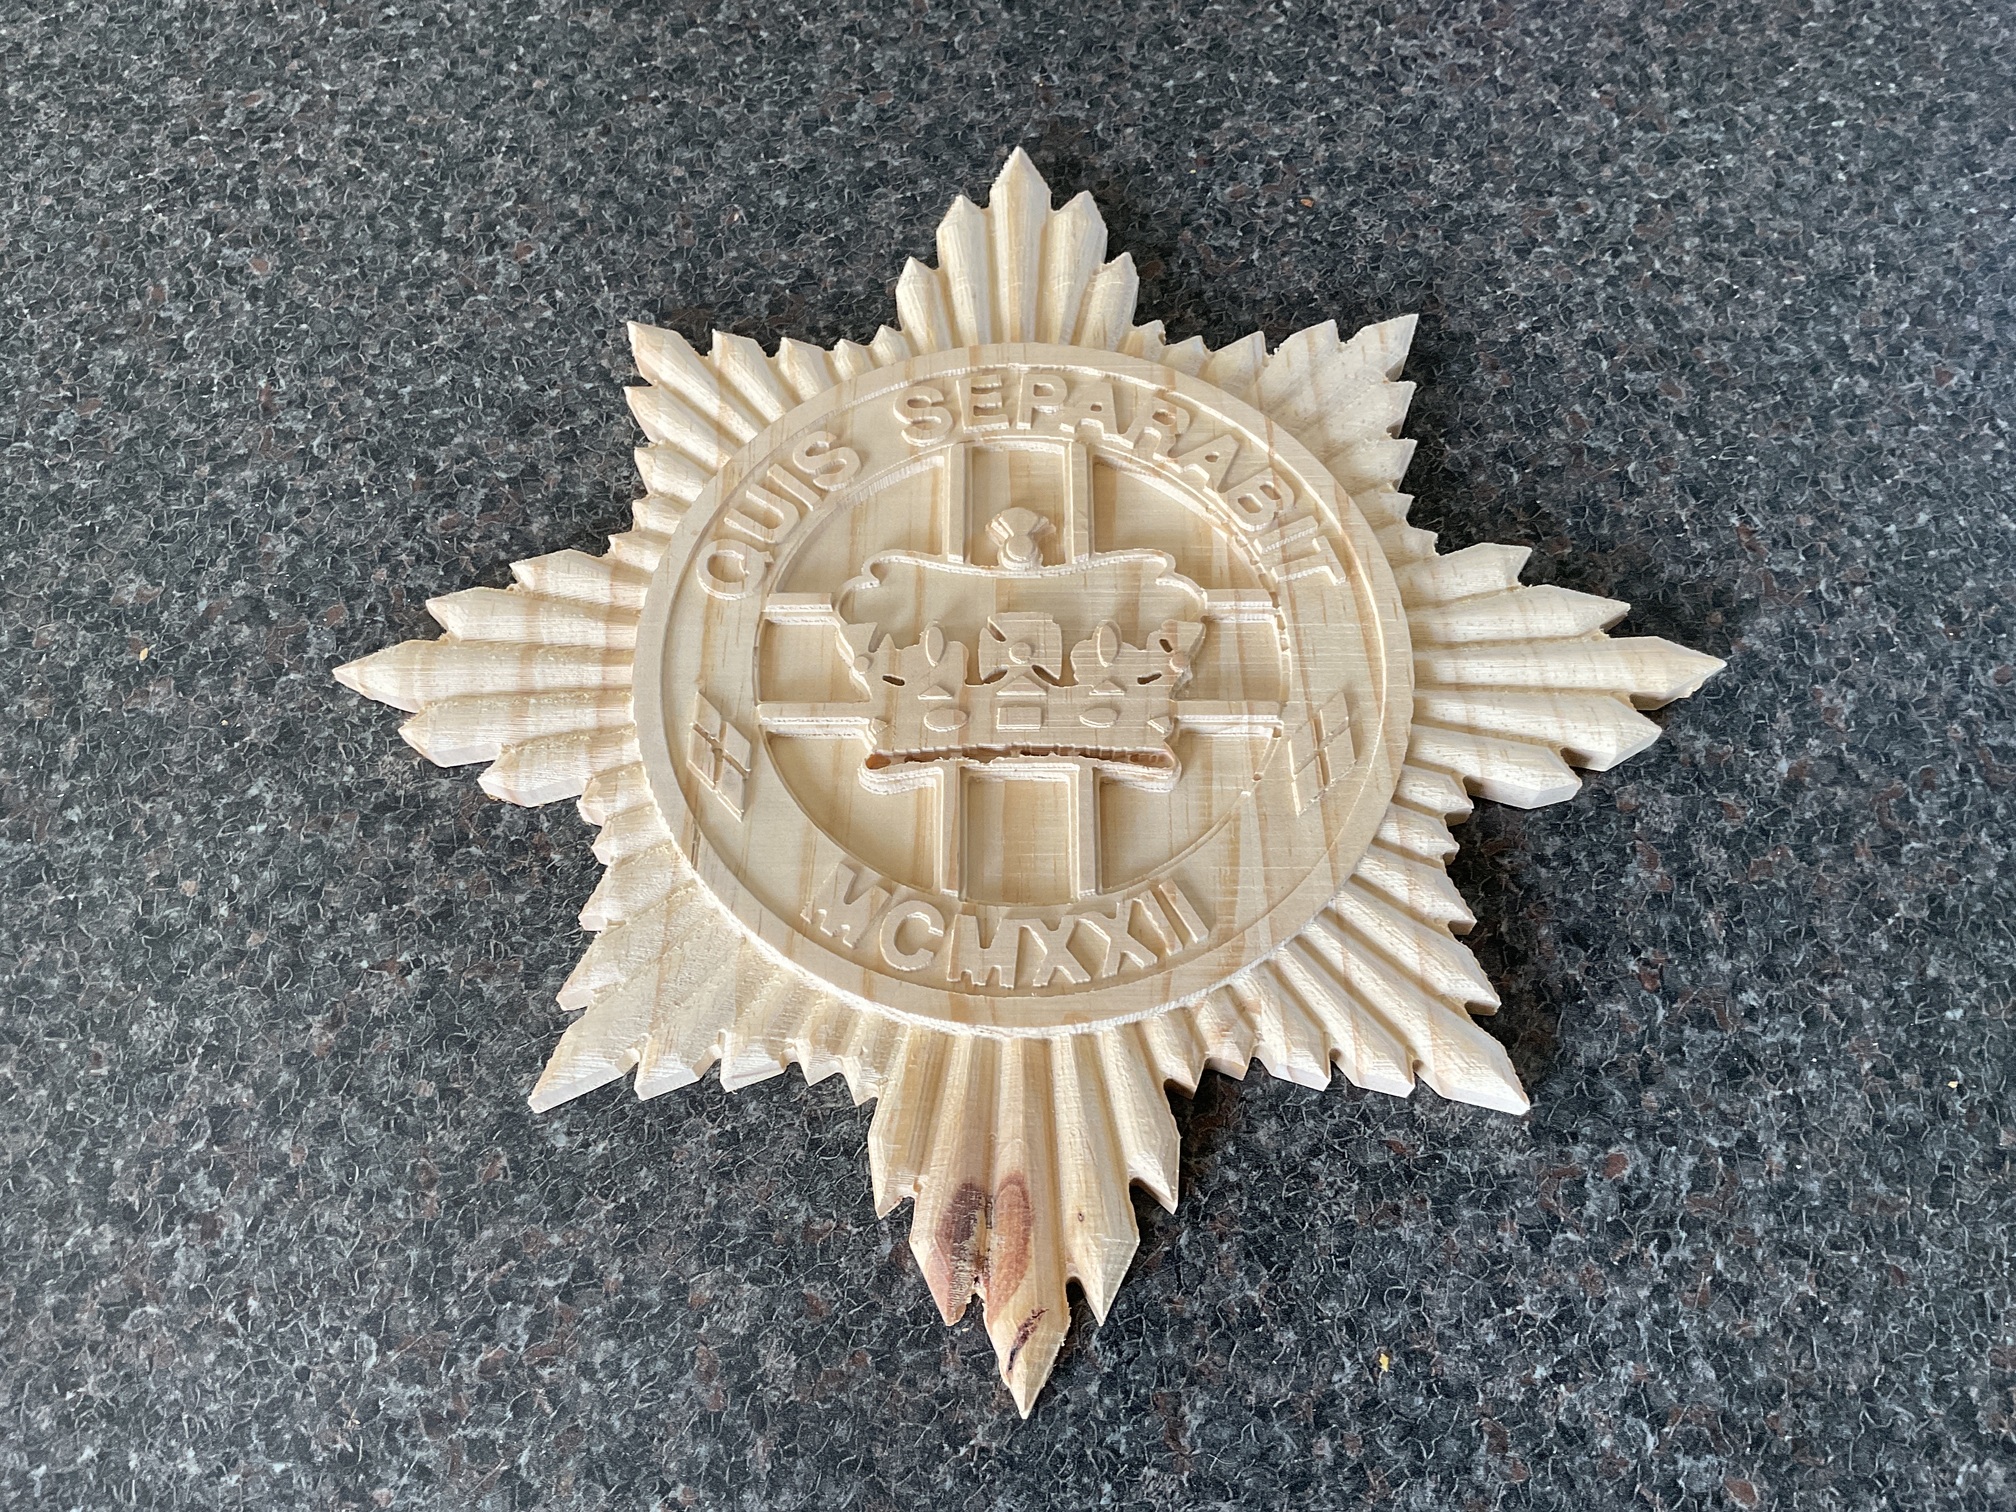
I’m having my first attempting at carving. It’s a 300mm across copy of a regimental cap badge.
Modified and imported an STL into Estlcam and did a roughing pass with a 6mm ball nose. Then finishing with a 3mm end mill and 1.5mm end mill.
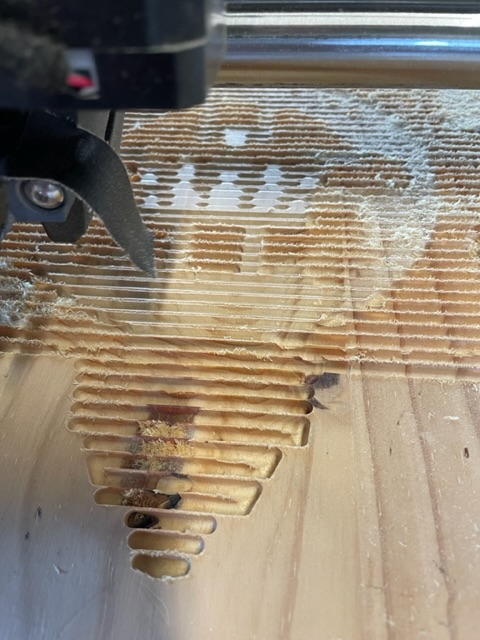
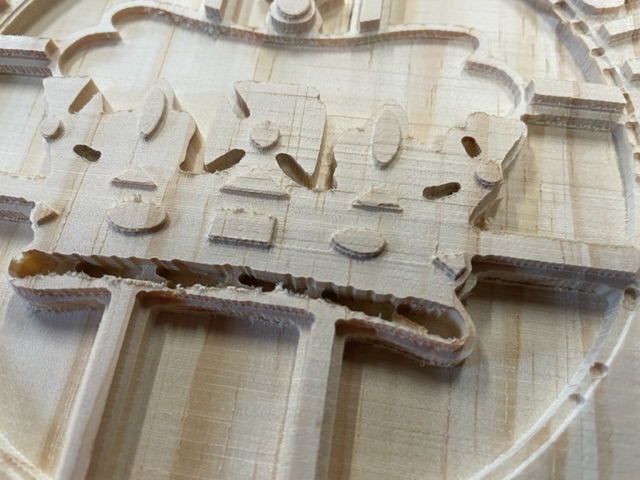
Here’s the issue: I want to pick up the outline of a couple of features that the linear toolpath just isn’t getting. Around the circumference for example, the lettering and the diamonds.
Is there any way of selecting features and having a tool path created just for those? I’ve used estlcam but even in Kiri-moto or fusion 360.
Yeah if you want that sort of granular control you will need to use fusion or maybe Kiri.
The paths should come through if your tool is small enough in estlcam. From the pictures provided, I would decrease the step over of all your tools and that should help. That first roughing pass was too rough, leaving a lot of material in some places for the next step.
Agree about the step over, I think it was the default 80% that’s why I did the next pass at 90 degrees.
I’m playing with fusion right now to try and project all the edges to a sketch and make a dxf and use that 2.5D milling trick you mention in the docs. As always, fusion and STLs are not a good time.
With a ball nose I would do like 20 roughing, and 5 finishing.
I think you can cheat and do it in estlcam you just need to be careful about travel and safe height. Either way you will need some real sketch edges, not just an STL I would assume. I don’t carve much.
This is my first attempt so it’s an education if nothing else.
20 and 5, I’ll make a note of that thanks. I did a projected sketch and exported it to a dxf and I think this’ll work. I did the 1mm offset on the free machining in estlcam so I didn’t have to surface it so I’ll need to add that to the depth of any path - probably safer to do that than use the ‘start from’ option.
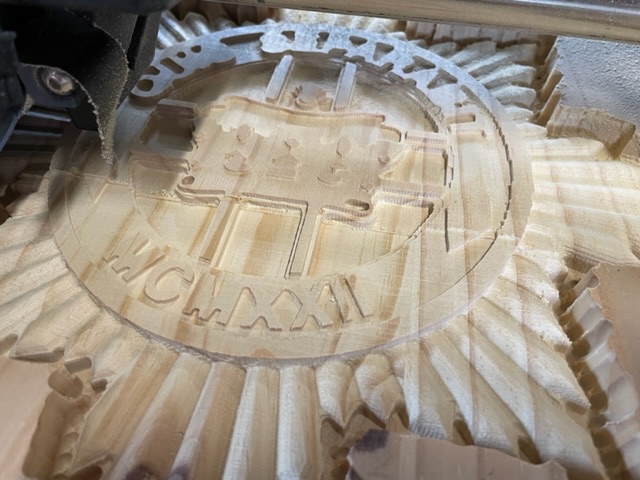
It’s slow (been tinkering at this all day) but very satisfying to see it working. It’s neat to consider I could make the same thing a meter across - but that would take days and days to finish.
I haven’t got much to go on - what’s the normal thing? Rough with ball nose finish with square end or vice versa?
A real goal would be to find something that I can make and sell for enough profit to buy more materials and workshop stuff but I’m not there yet. I tried doing some engraved tabletops but kept getting tear out so I’ve given up on that for the moment. Another idea was custom pylo boxes but I don’t think there’s enough volume or margin to make it worthwhile.
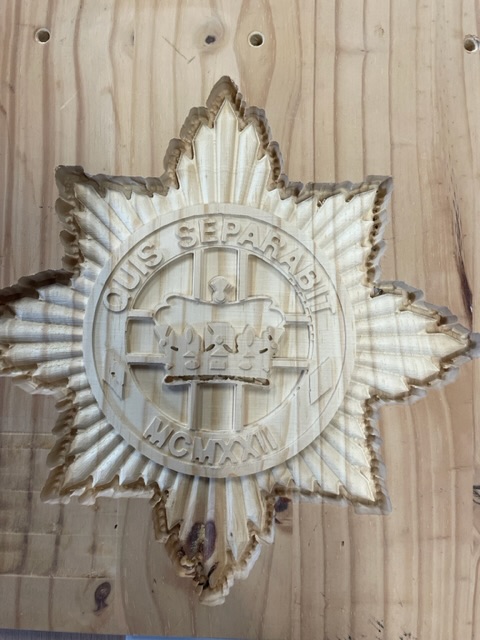
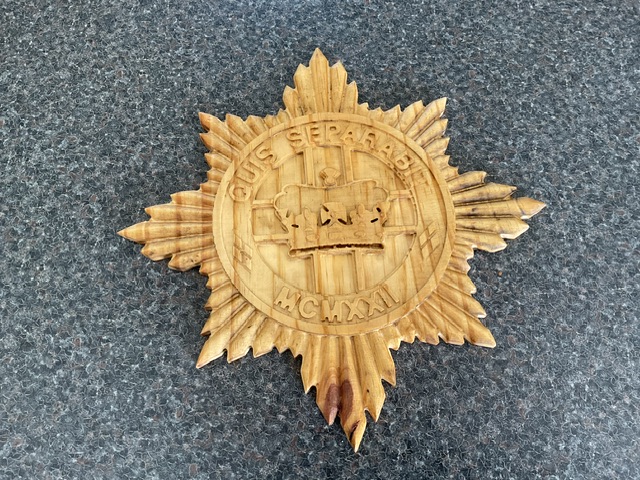
Going out on a limb and guess Royal Dragoon Guards? Based on what I saw of official badges, it was that or Irish Guards, but the dates are off on the IG, plus the barding in the background in on the diagonal, so I’m assuming some minor changes were made for the cap badge (motto vs name, crown vs castle [Inniskilling]).
Anyway, I was trying to see what the source material was to see armchair advice might be forthcoming. My initial thoughts are that it’s not going to be simple. You’ve done it as an engraving, which is simple, but as you see, can be… sub-optimal. What might give better results, but take much more prep work, is to break the job up into multiple portions. Some engraving jobs for things like the starburst, but then rework the details and text as pockets and islands, or engravings with a v-bit (you can get nice, crisp inside corners). You could even get crafty, and use a v-bit for the crown, or some other sort of visual trickery to give it some some apparent finery. But again, that will require breaking the job into parts, and using multiple tools (bits), all of which makes things more complicated.
4th / 7th RDG indeed. I was working from an STL so that added some challenges but since I did manage to get a DXF from it I would be able to do as you suggest - it took multiple tool changes anyway so breaking it into smaller jobs is actually preferable in that case. I’ll do that next time.
You can also try waterline milling in estlcam. That will tend to leave a smooth external perimeter so you don’t have to try for super tiny stepover to get a smooth vertical walls.
Larger boards (2x10" in the US) are cut from the center of the tree, so they will have clearer wood (fewer knots). You may also benefit from cutting it apart, milling it, and glueing only the clearest pieces back together. You’ll still end up with something with wide grain patterns (the fast growth is what makes it cheap).
There are also “preconditioner” finishes for pine. I haven’t used them. But it might be worth it to see if the grain is less pronounced.
It is also totally fine to stain pine. Making it darker might also make it a bit less about the grain.