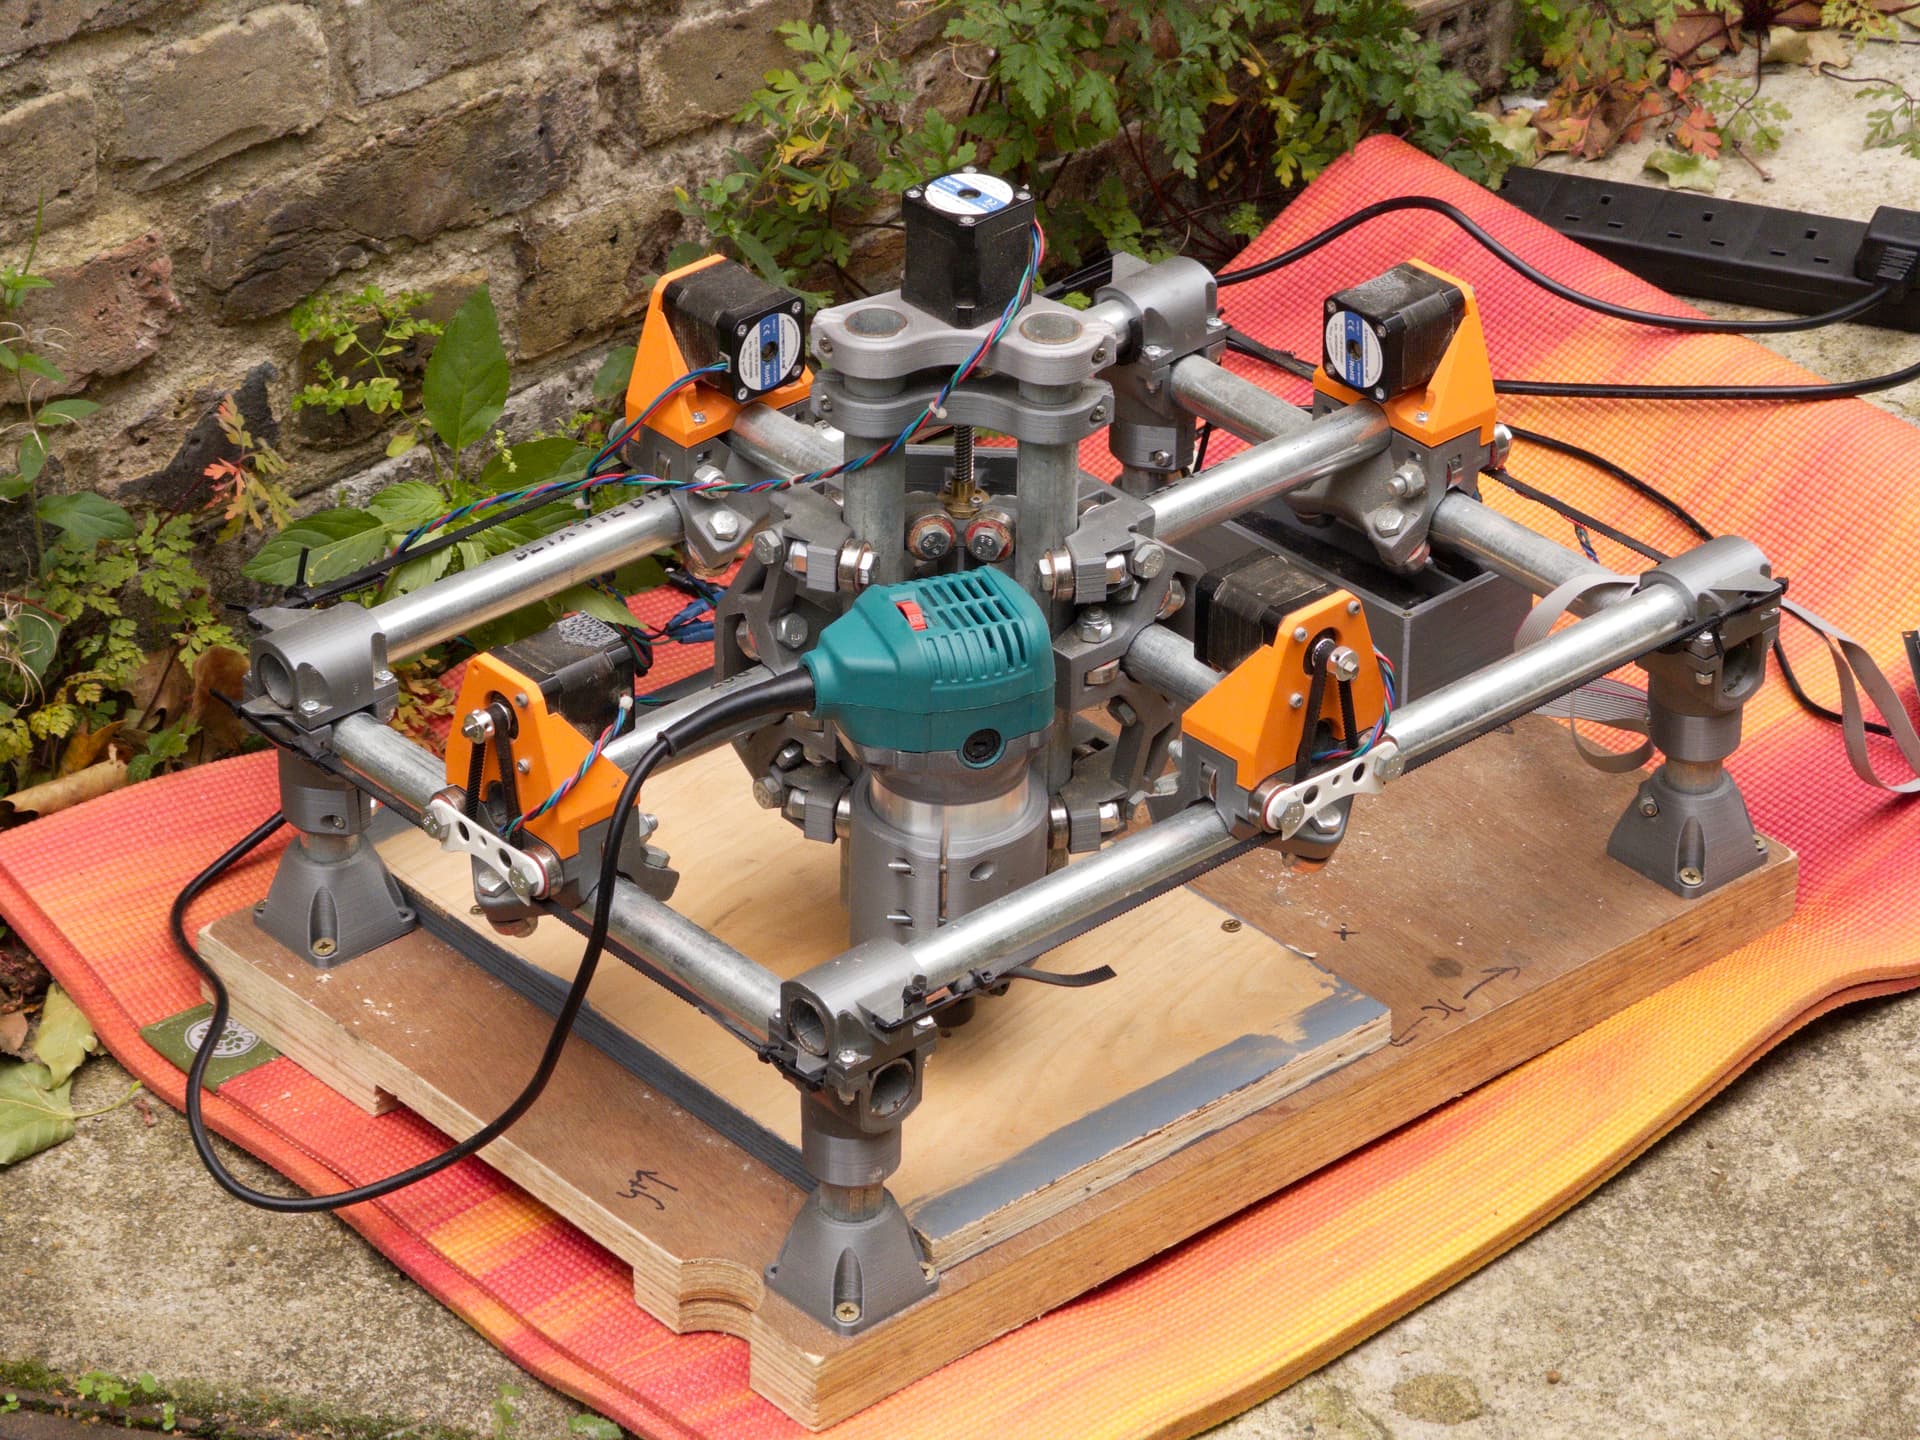
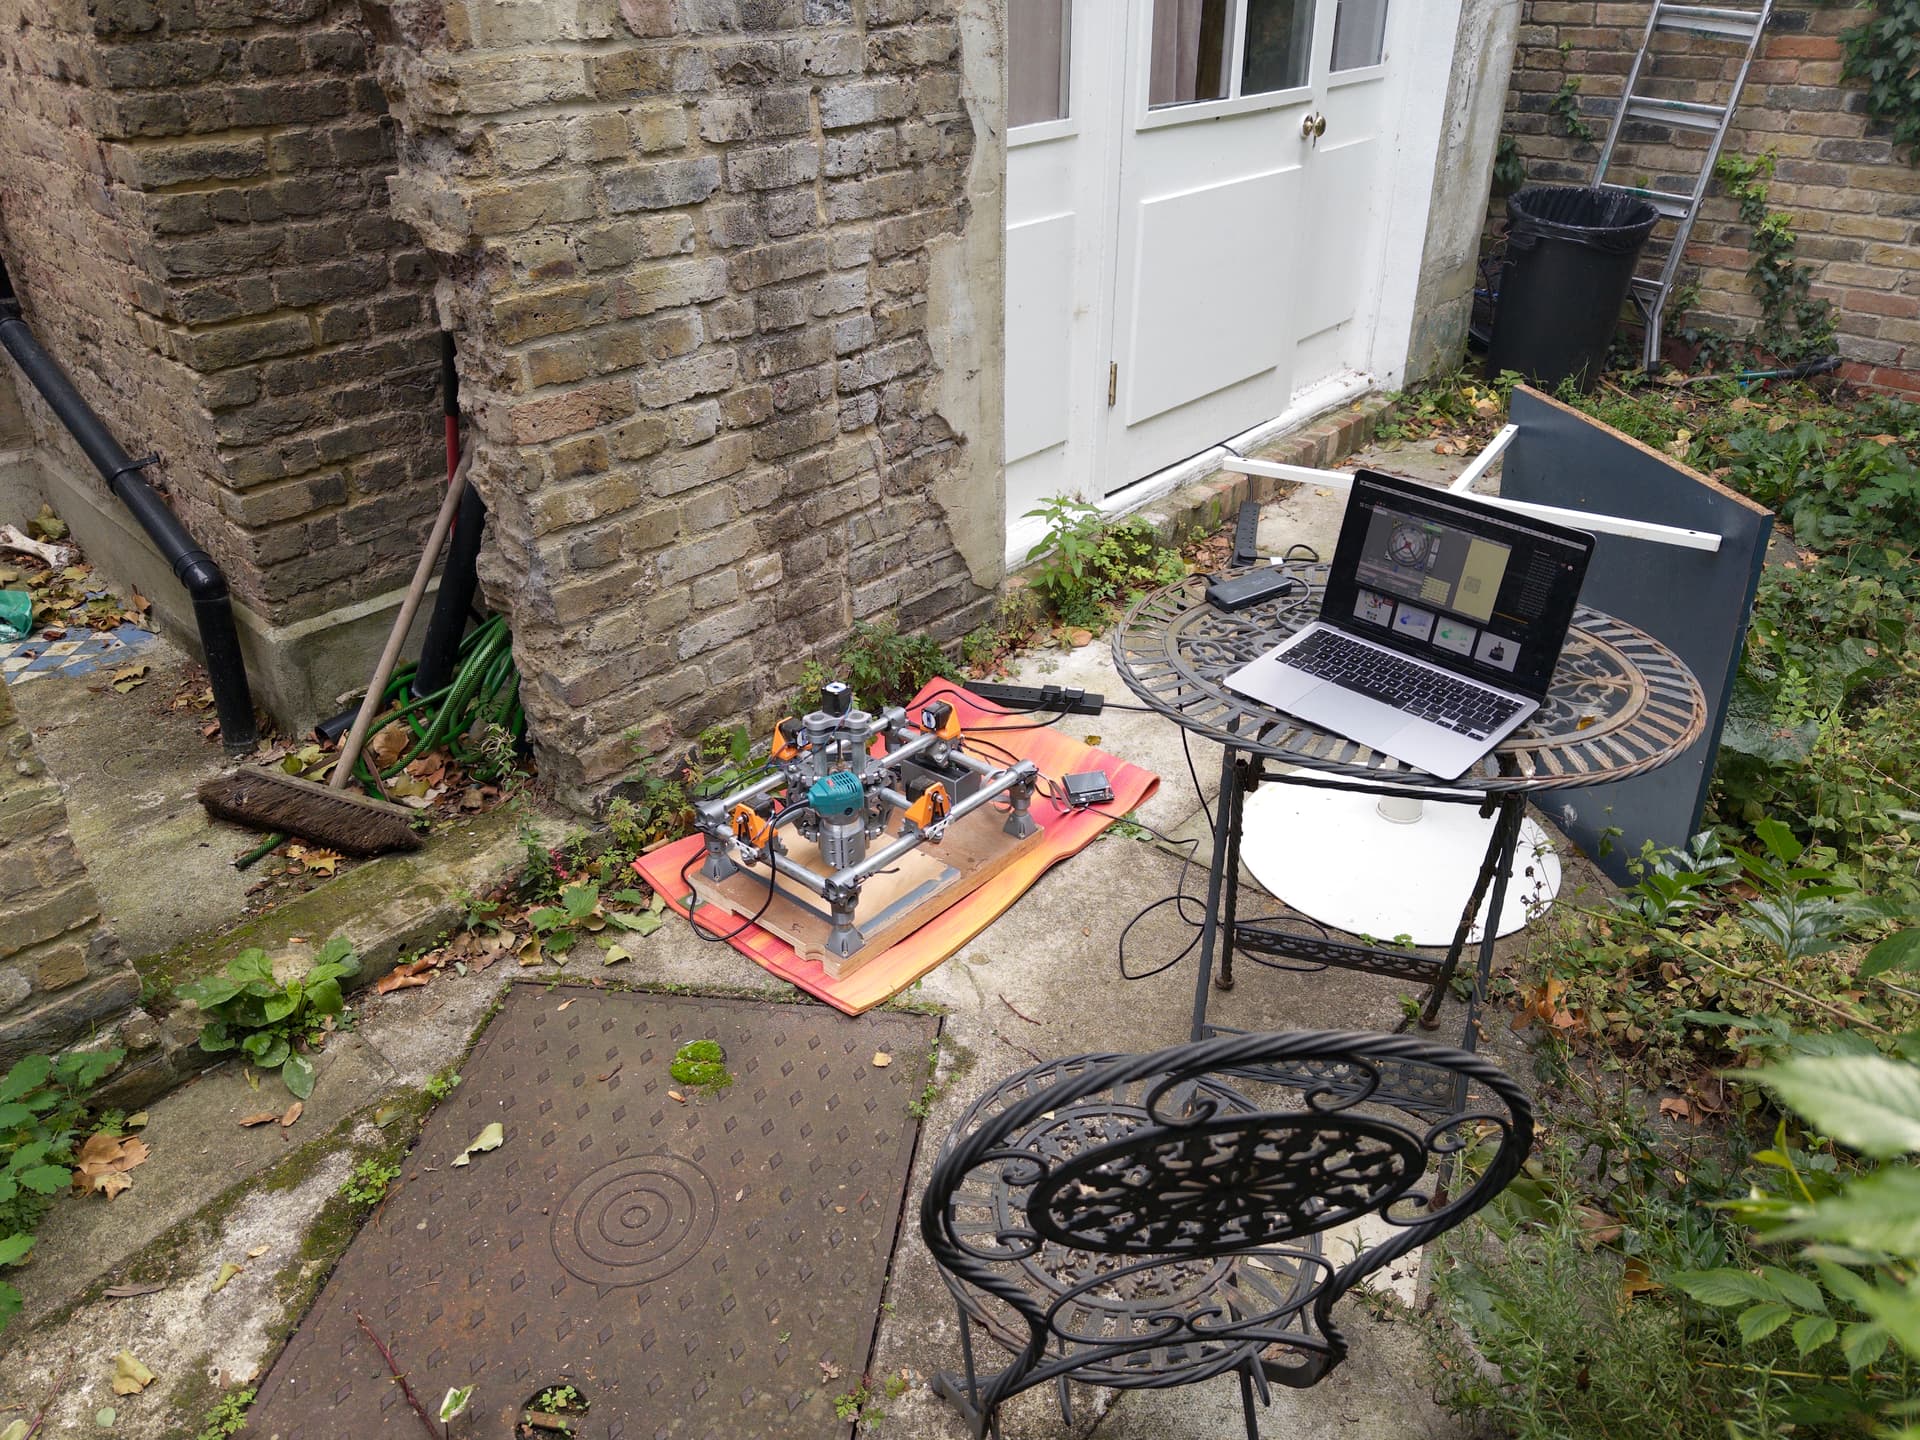
I’ve dusted off my old MPCNC to take it into 2024.
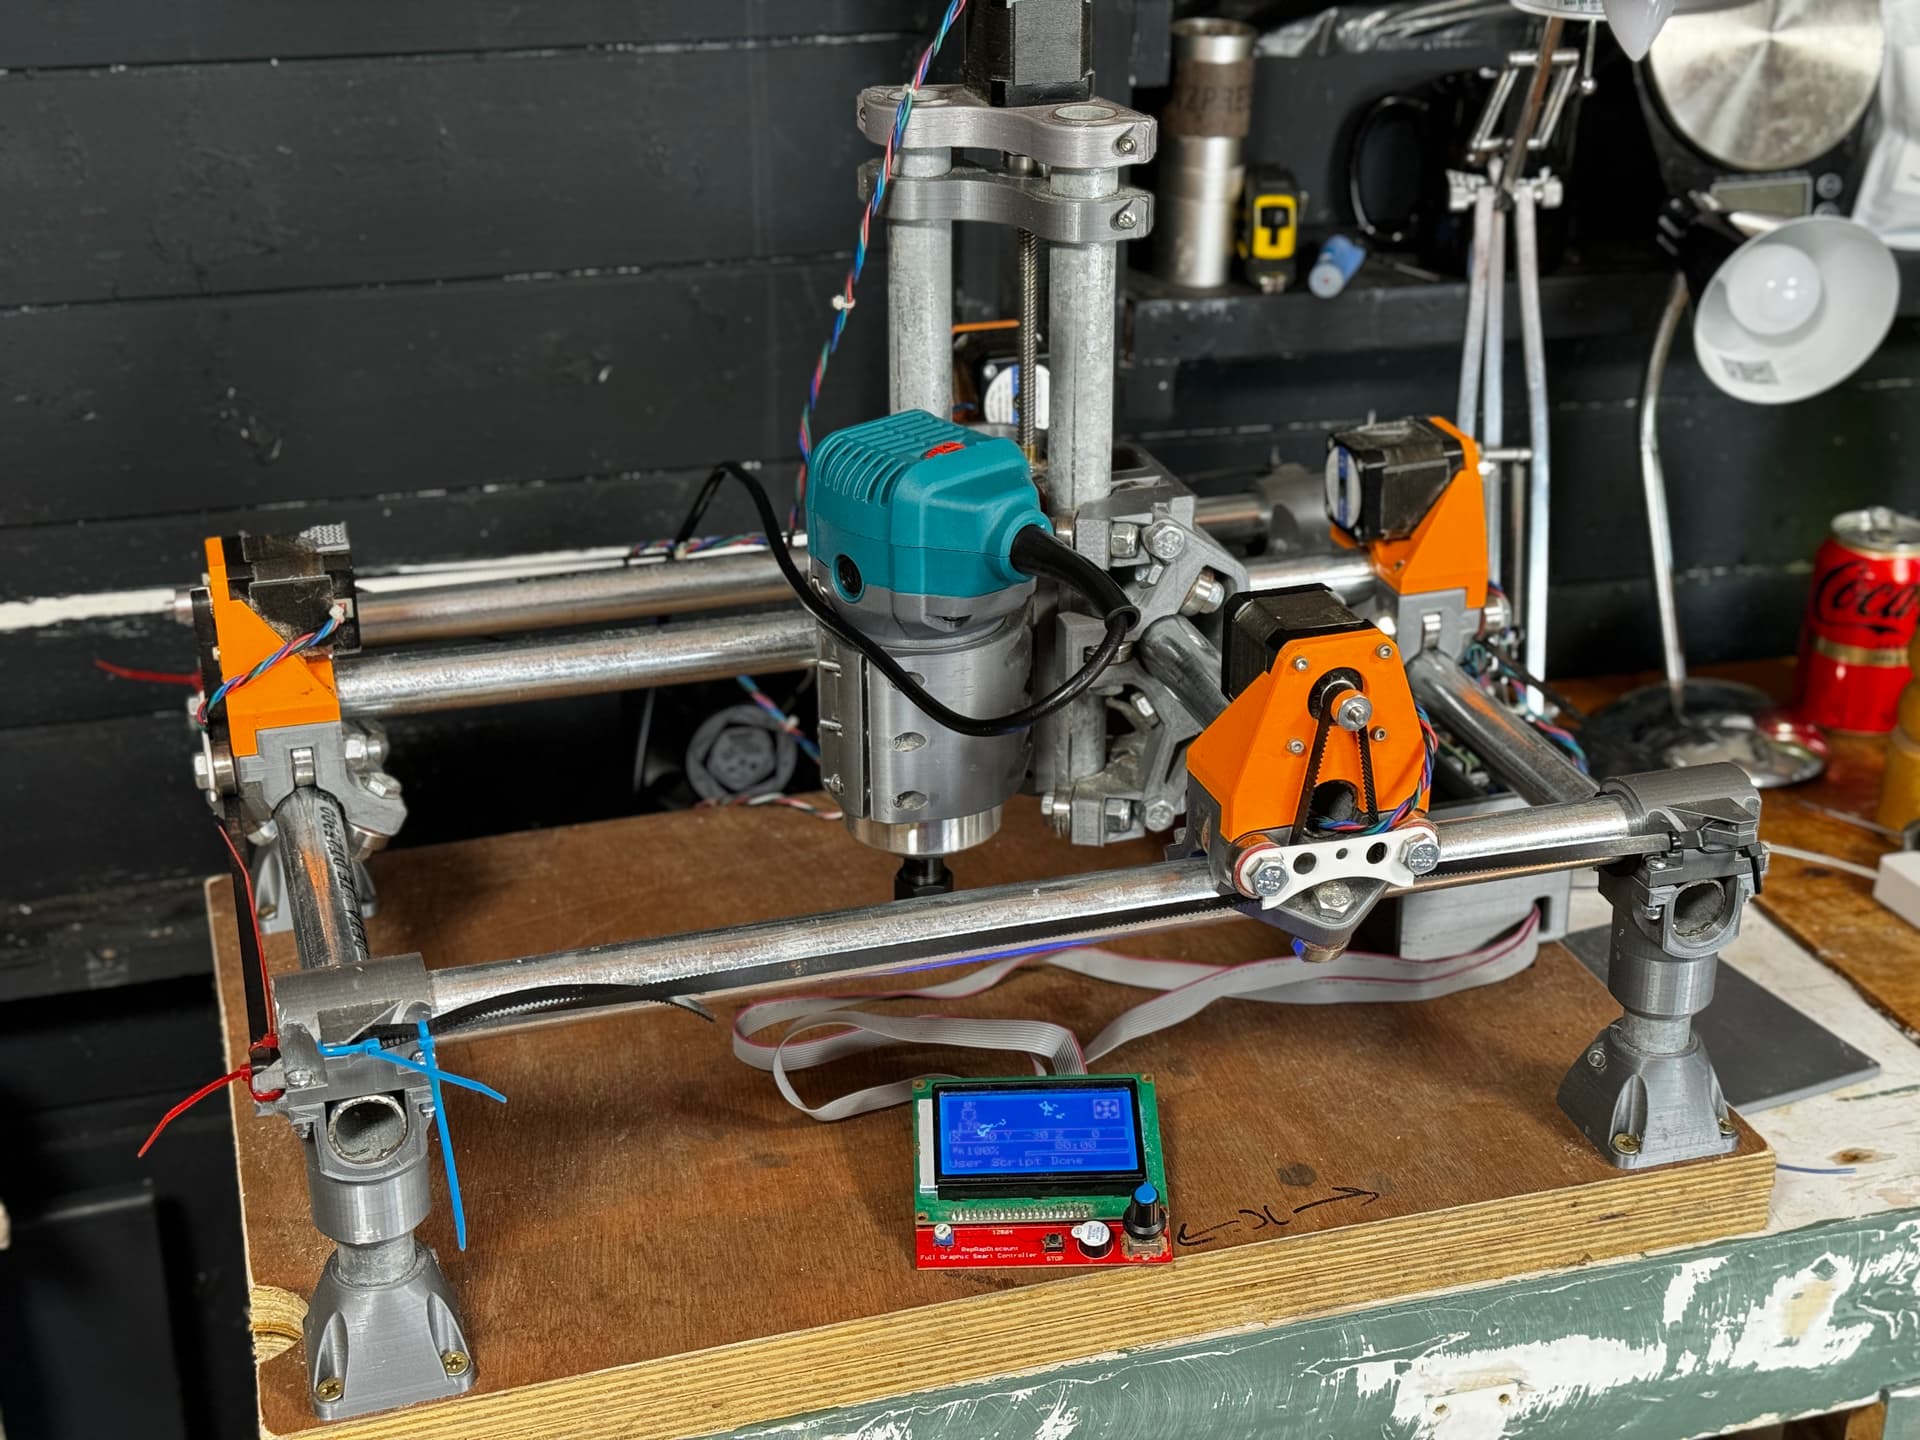
What you see below are the original parts from my first burly MPCNC. A few months ago they were all in a cardboard box broken down. I got some tube and rebuilt it into a tiny mpcnc a few months ago. I had no router but wanted to make sure everything worked.
After testing it out I’ve decided upgrading to Primo is the right call.
The gantry deflects a lot when I try flex the router a bit. I think the 10mm belts and redesigned tensioner will do good things for stiffness
The control board is Mini Rambo. I want dual endstops and a z-probe. Tool changes back in the day were super hard
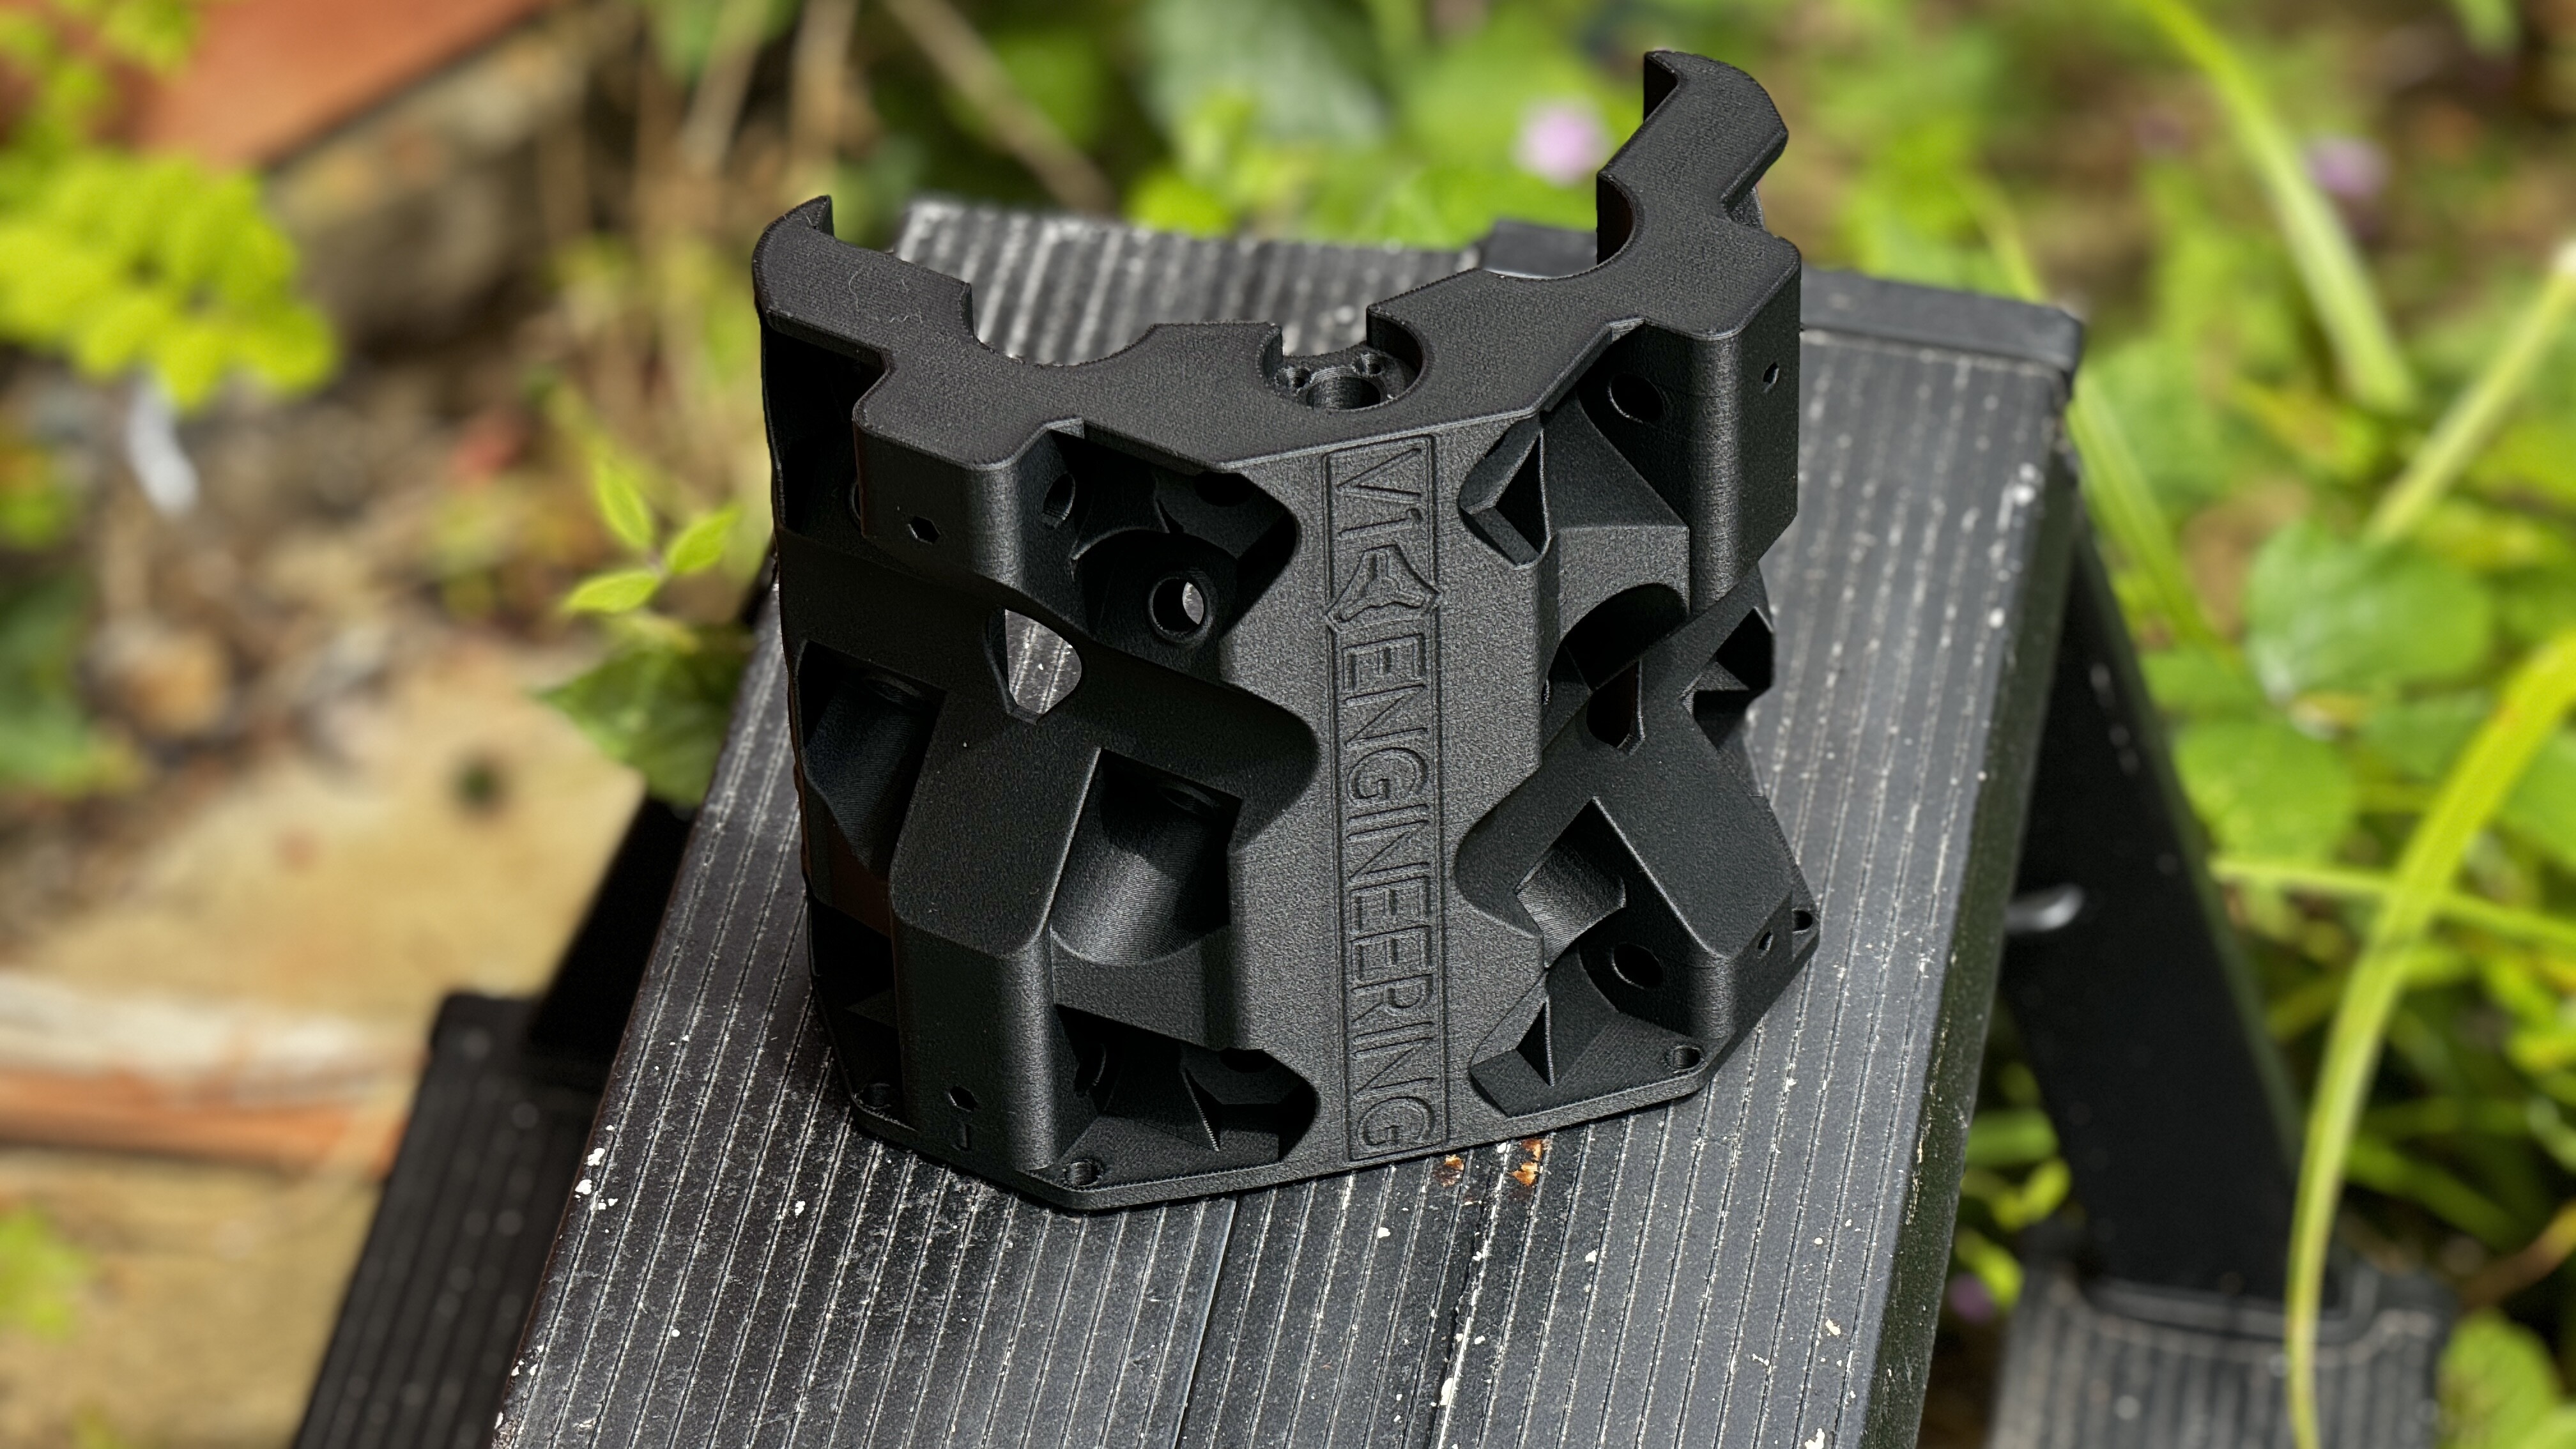
I’m thinking of making my Primo all black. Probably from PETG carbon fibre or PLA carbon fibre. PETG is more robust but less fragile. PLA CF is very rigid and has equal heat resistance (so can’t be worse than PLA I think).
I’ve ordered:
Katsu Router for £43.60
SKR Pro 1.2 with 6 TMC2209 v1.2 Drivers and TFT35 for £78
POWGE GT 16 teeth 10mm 2GT Black pulleys
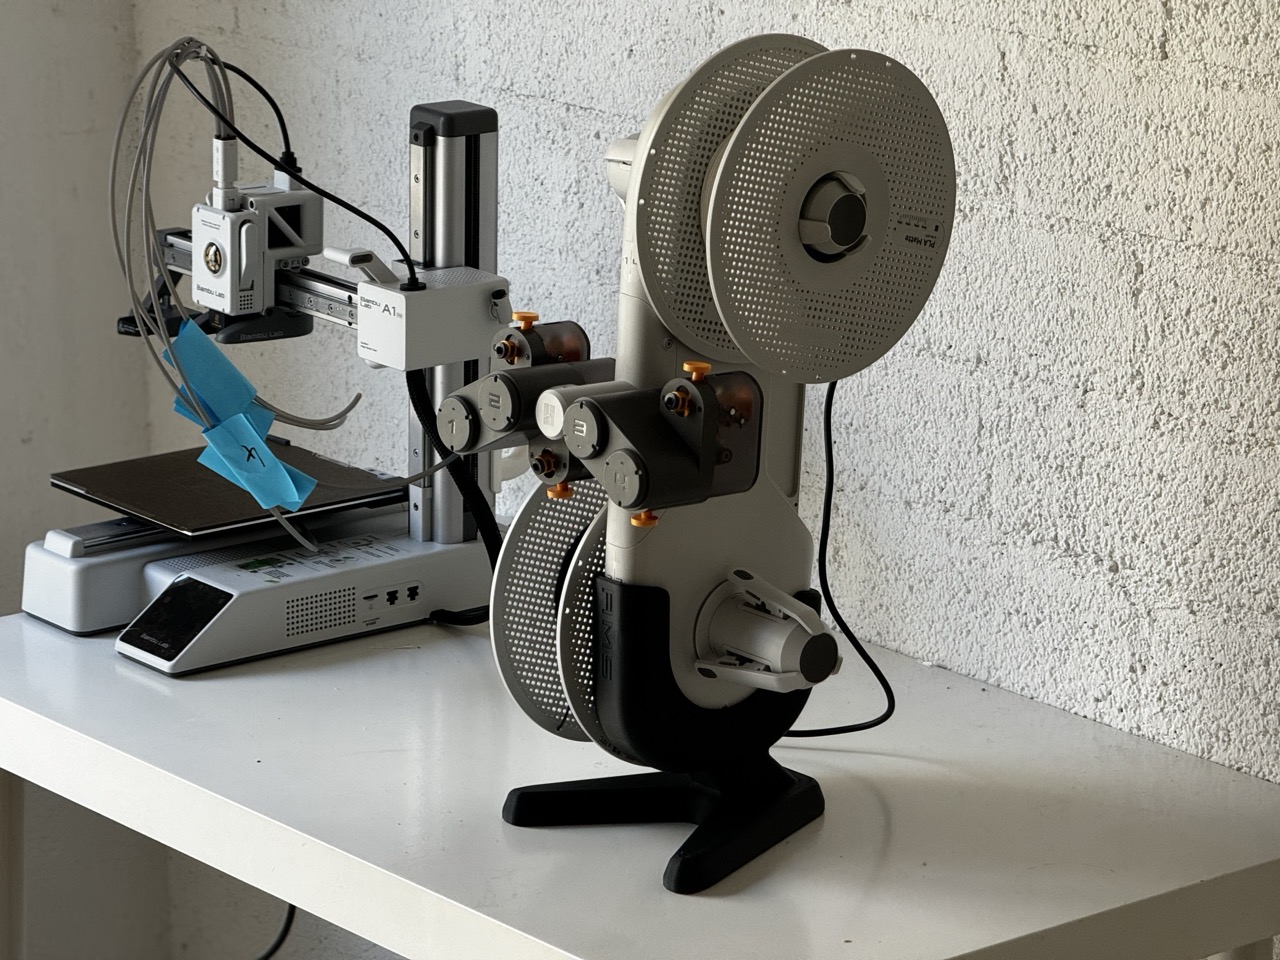
All the parts will be printed on my Bambu Lab A1 Mini.
Size:
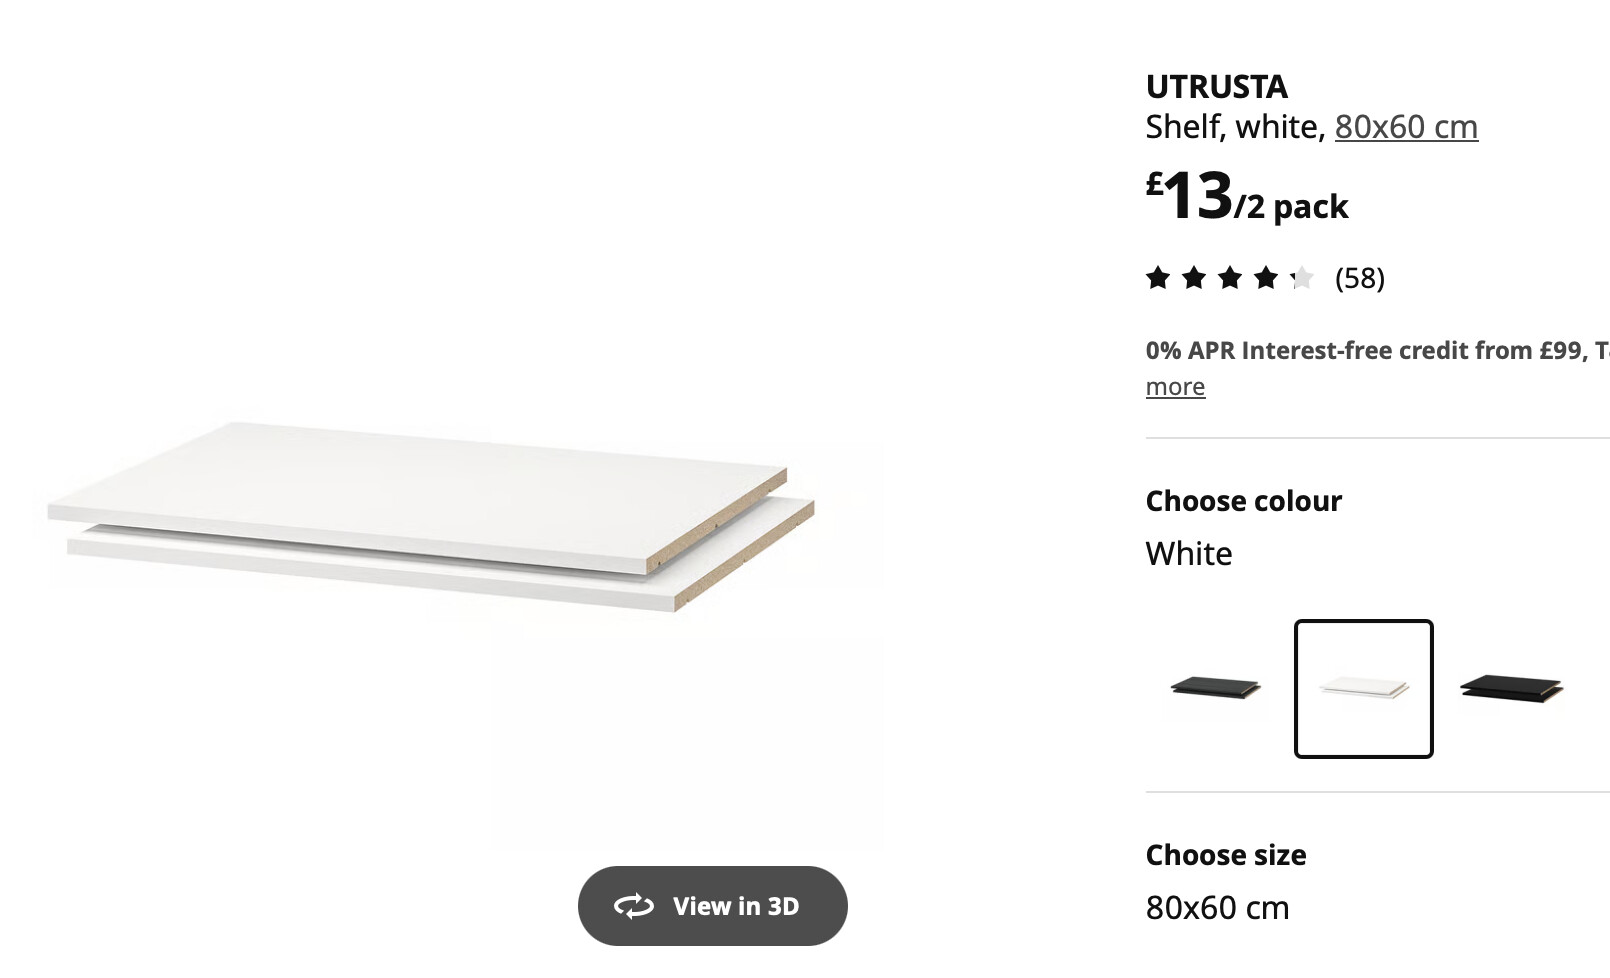
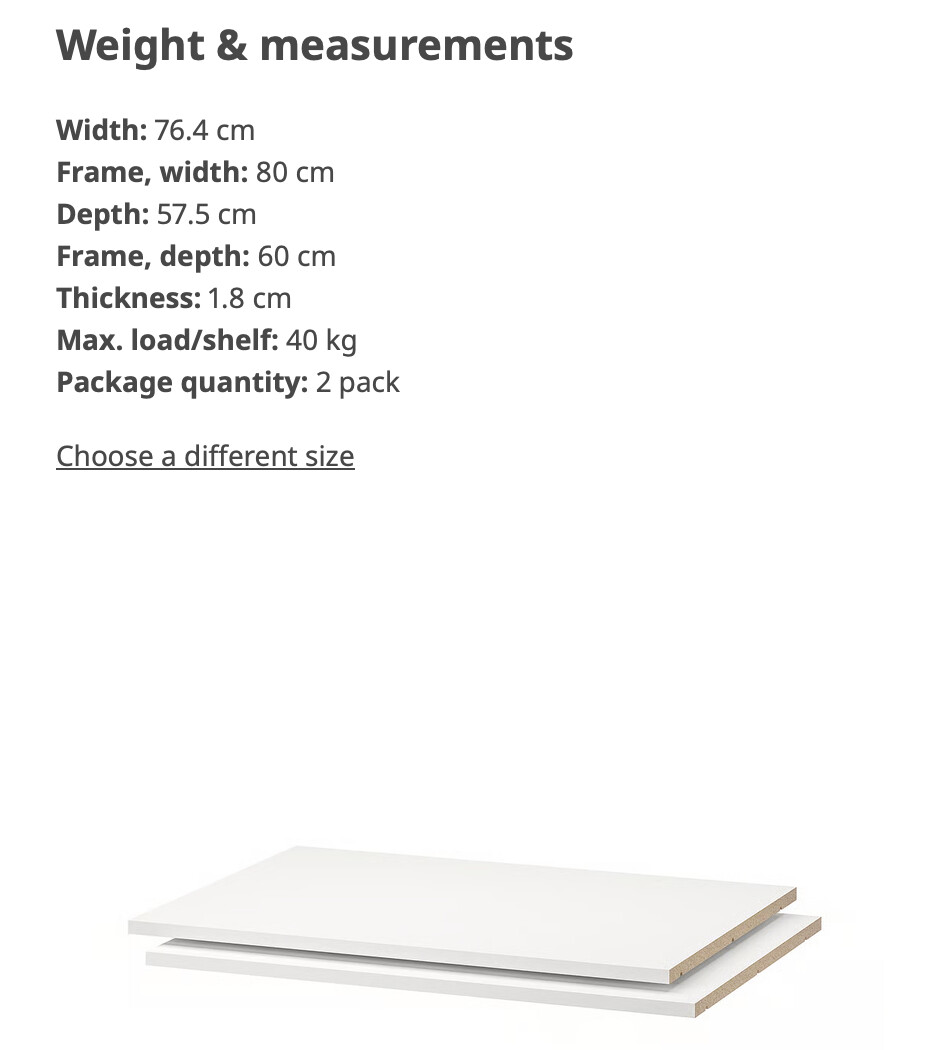
I want my X axis to be 650mm (roughly 25 inches). This will let me load in sheets of 1220 x 606mm they sell at wickes.
I’m debating the Y axis length. I’m tempted to make it square at 650mm x 650mm so I could do a full sheet of 1220 x 606mm in 2 jobs tiled. But I’m also worried about space and having it no more than 600mm deep in footprint would be nice.
A work area of 650mm by 330mm would give a table size of 920mm by 609mm
A work area of 650 by 650mm would be 920mm by 929mm
I’m planning on making the plywood base a little wider so I can rest it against a wall vertically if I need to store it for a period.
I’ll be ordering most of the parts from aliexpress this week. And will begin to disassemble my burly too.
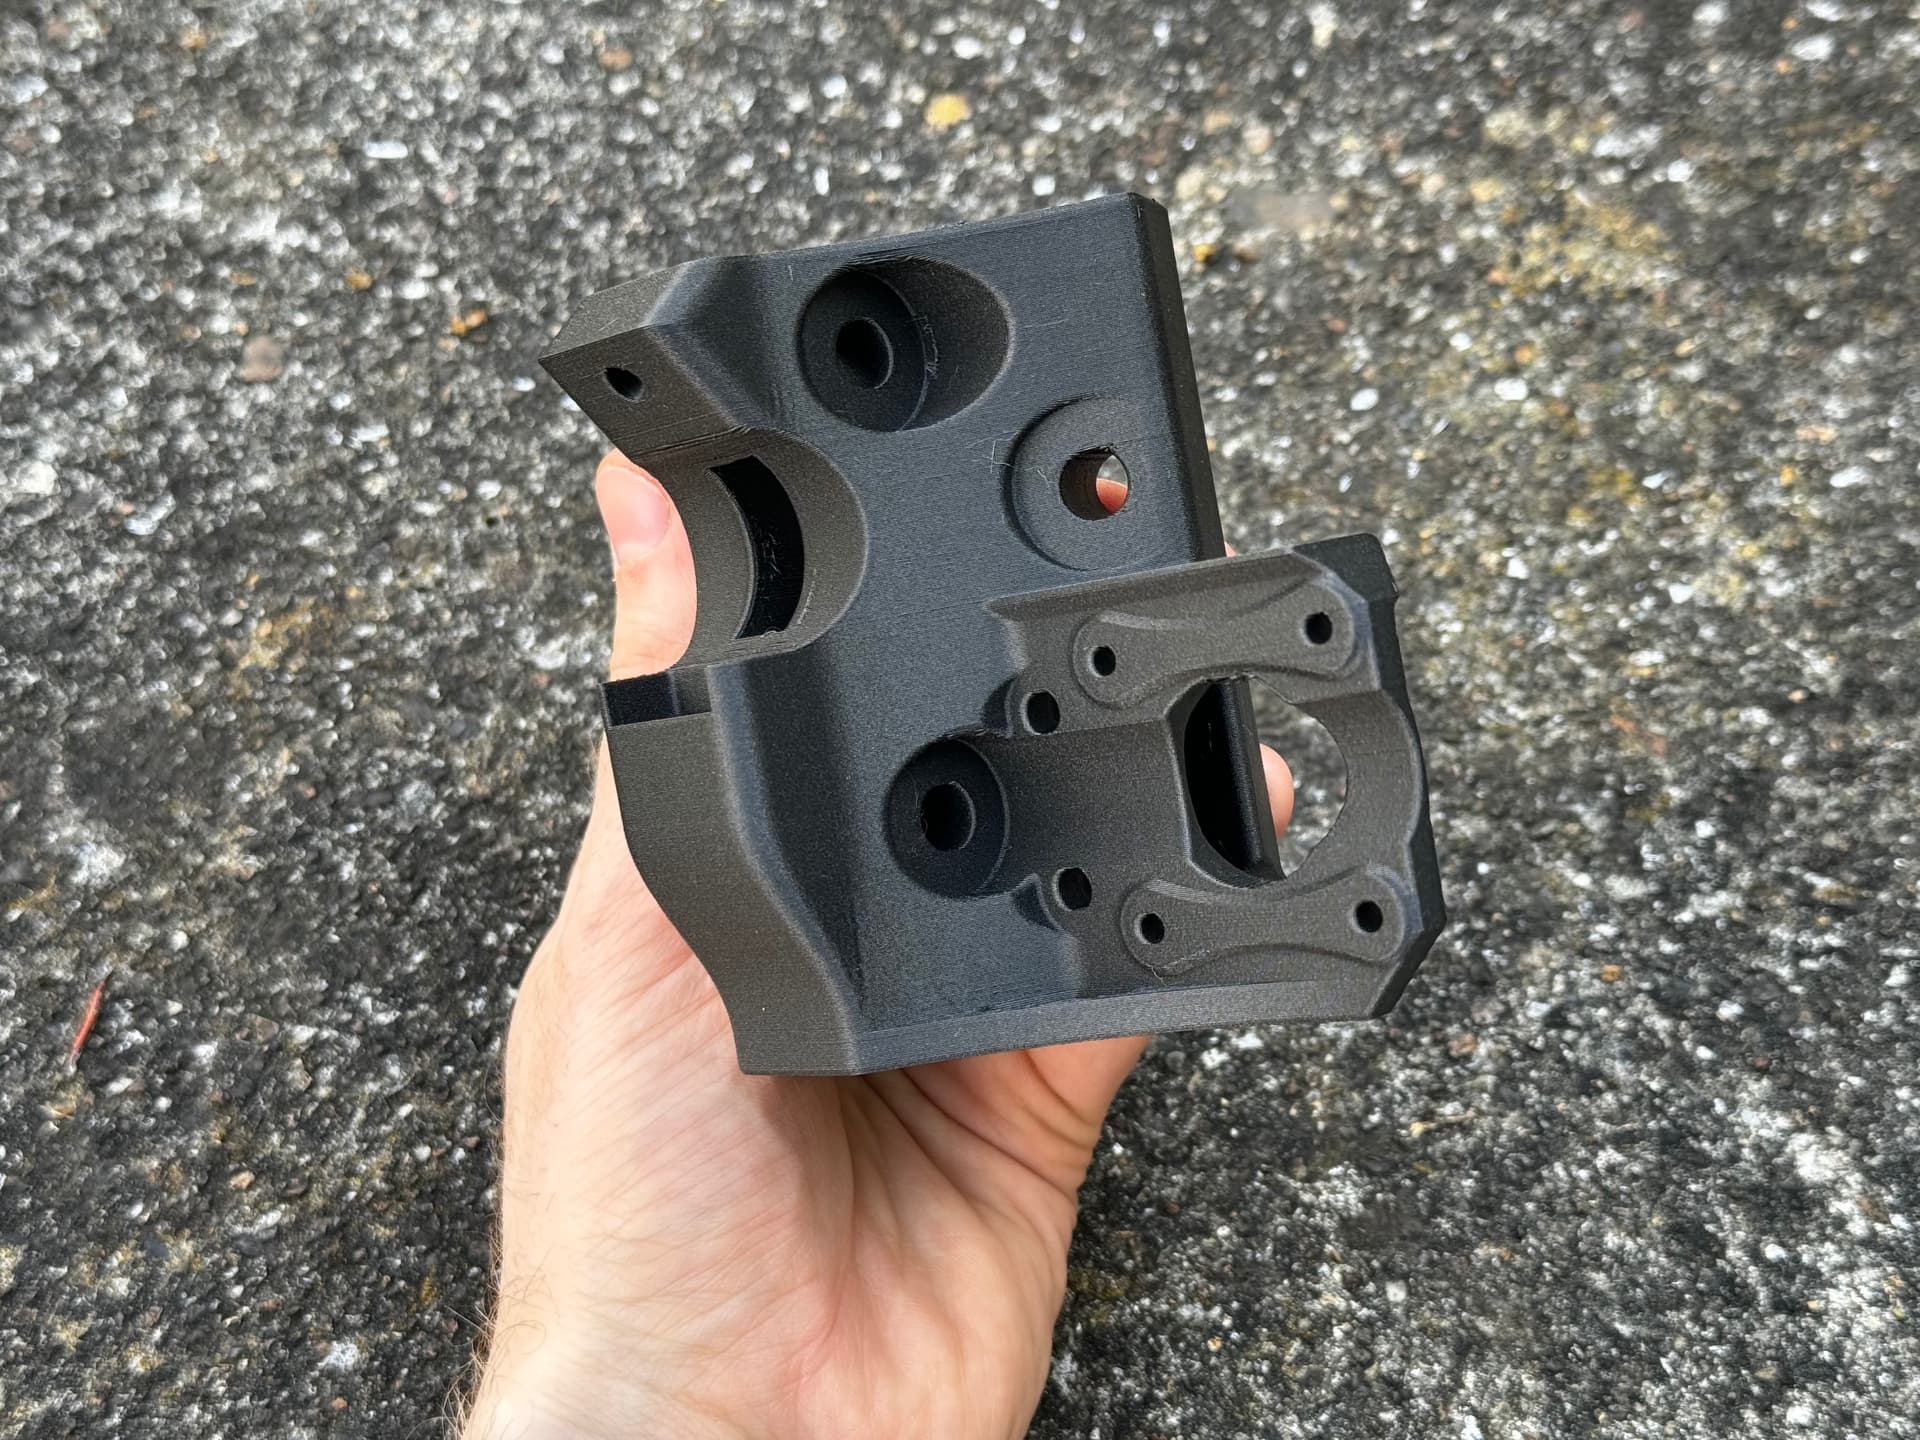
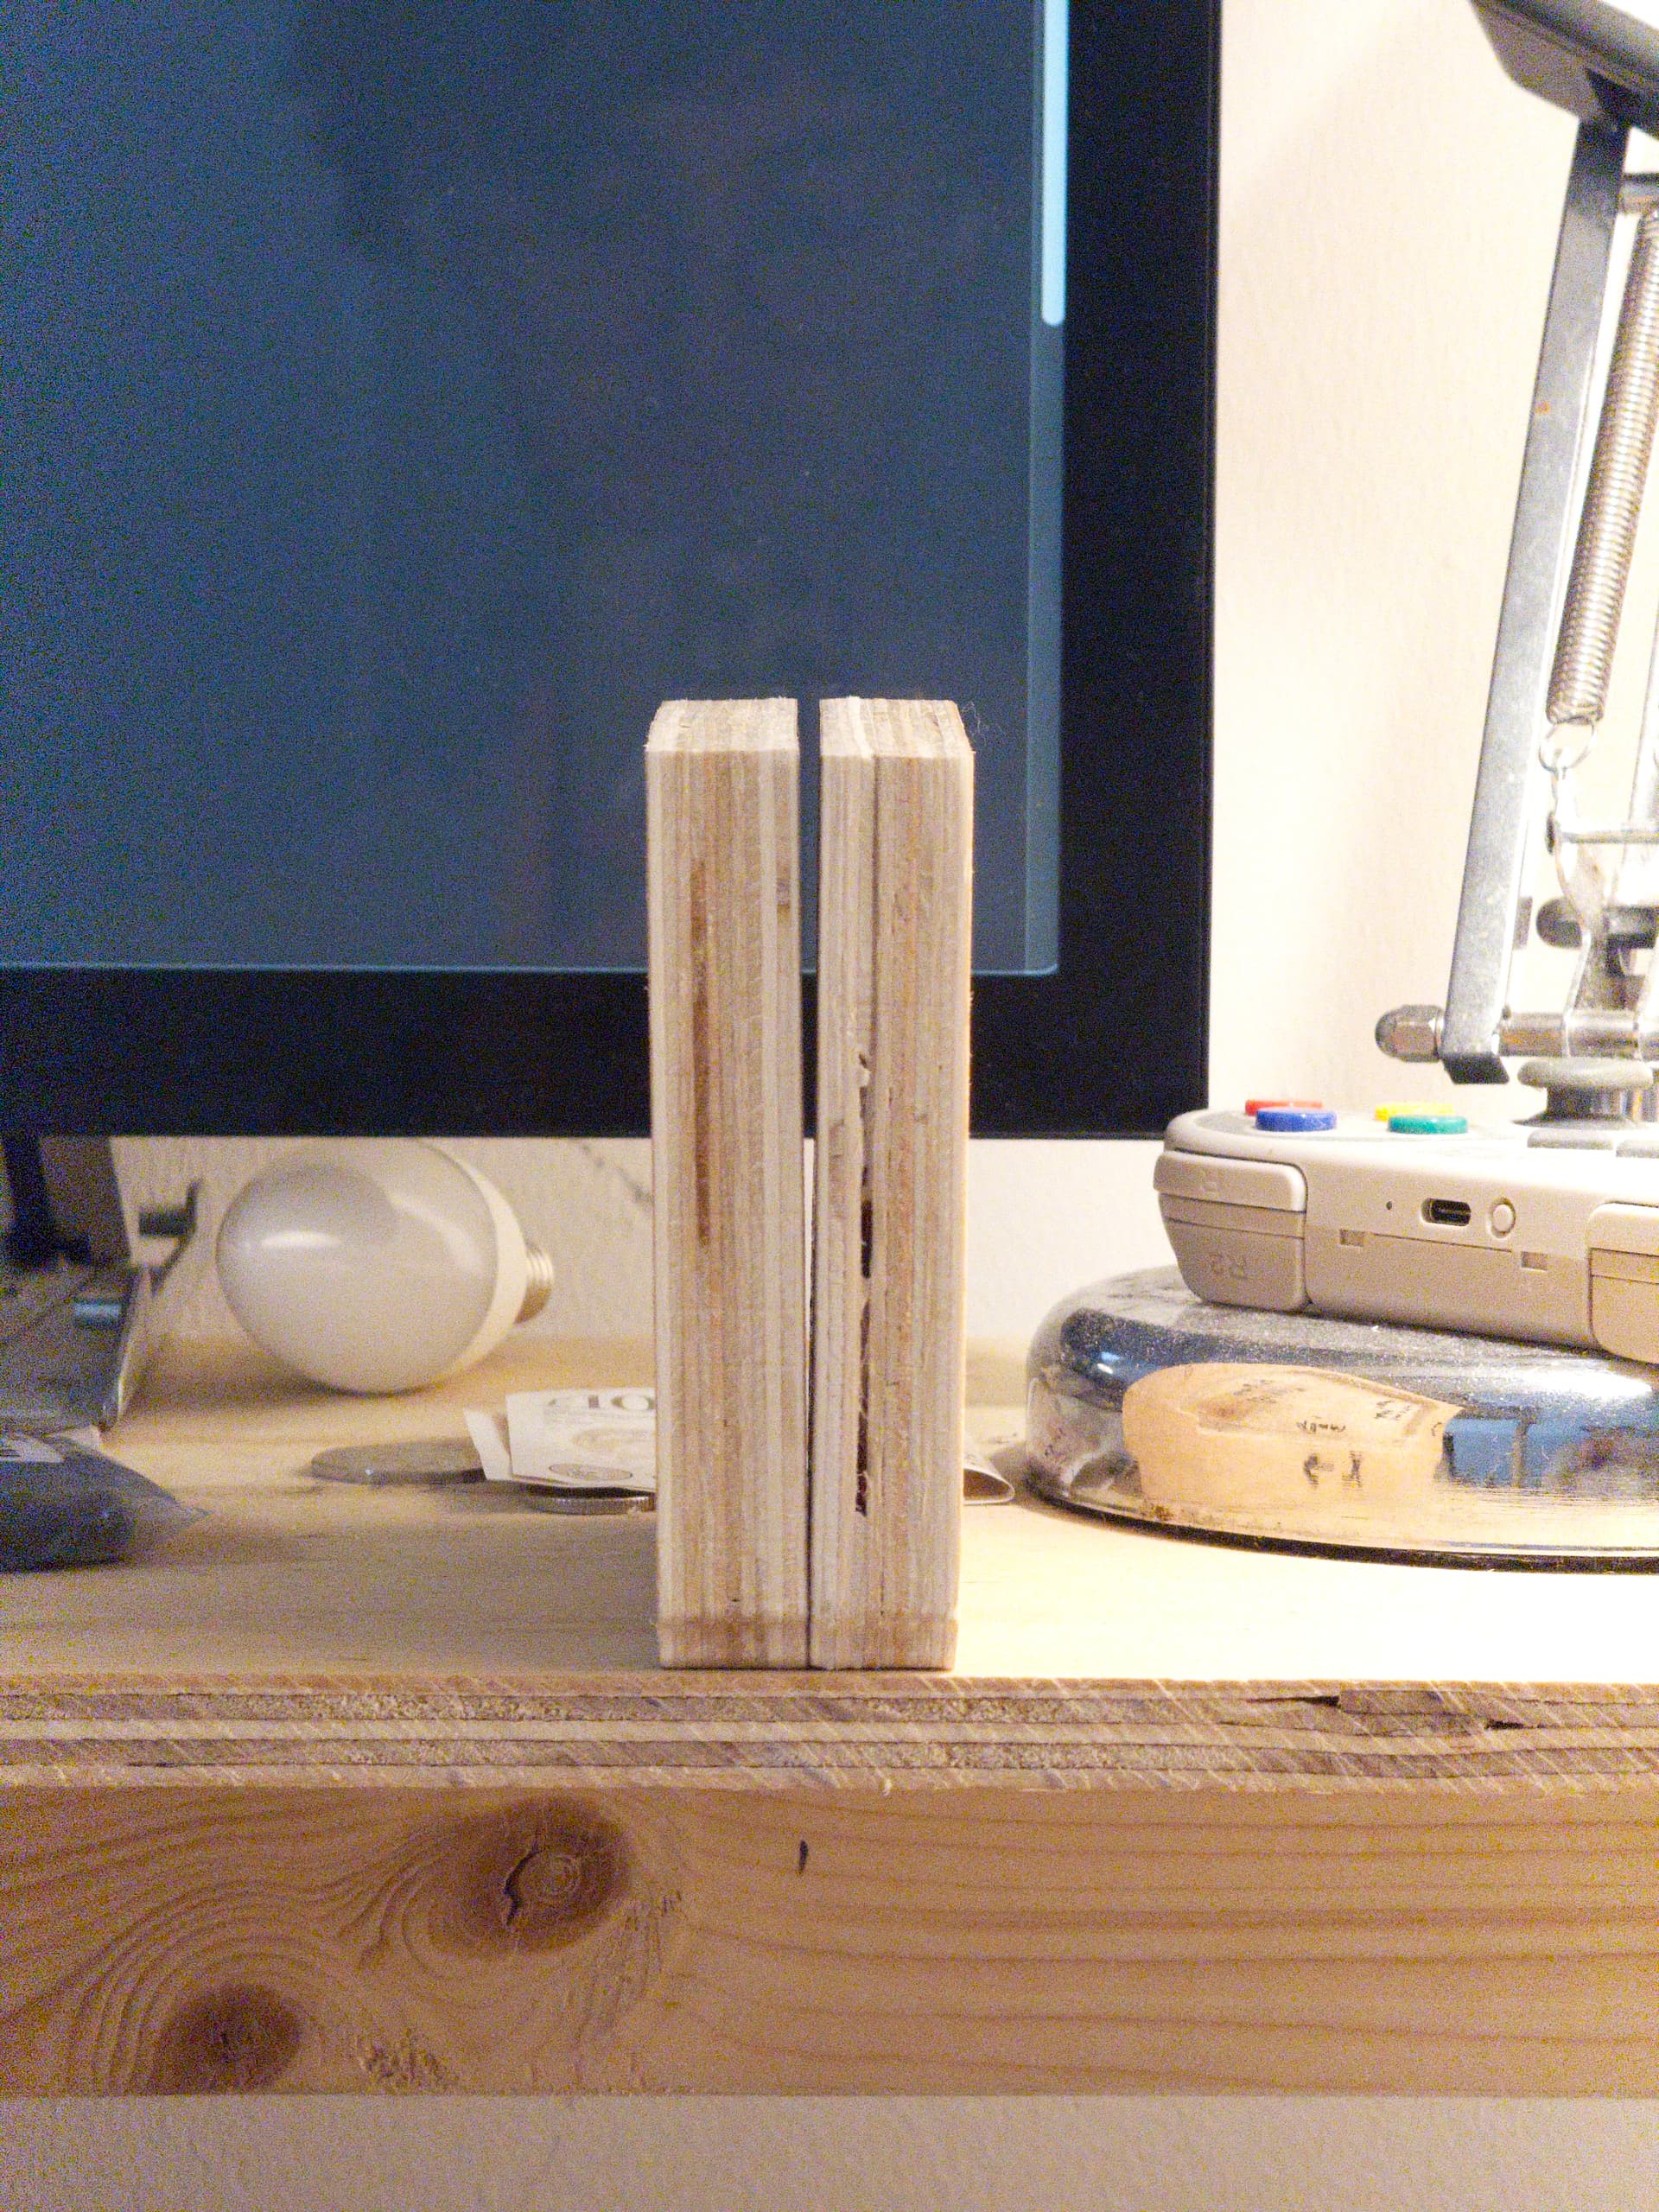
I ordered a roll of Bambu Lab PLA-CF to print the Core and Core Clamps parts.
I was using Eryone PETG CF for all non core parts. I think that’s totally fine. But there isn’t a technical data sheet like on more reputable brands of filament. So I couldn’t be sure how rigid it would be.
Some PETG CF is just carbon powders that don’t boost rigidity much. And it was cheap.
Need to order the tube this week. Think I’ll be going close to stock size on calculator. 450 x 300mm ish work area. I’ll be ordered the tube precut. So I’m going to add a few mm to each to make them easy numbers. Ie 700mm vs 688mm.
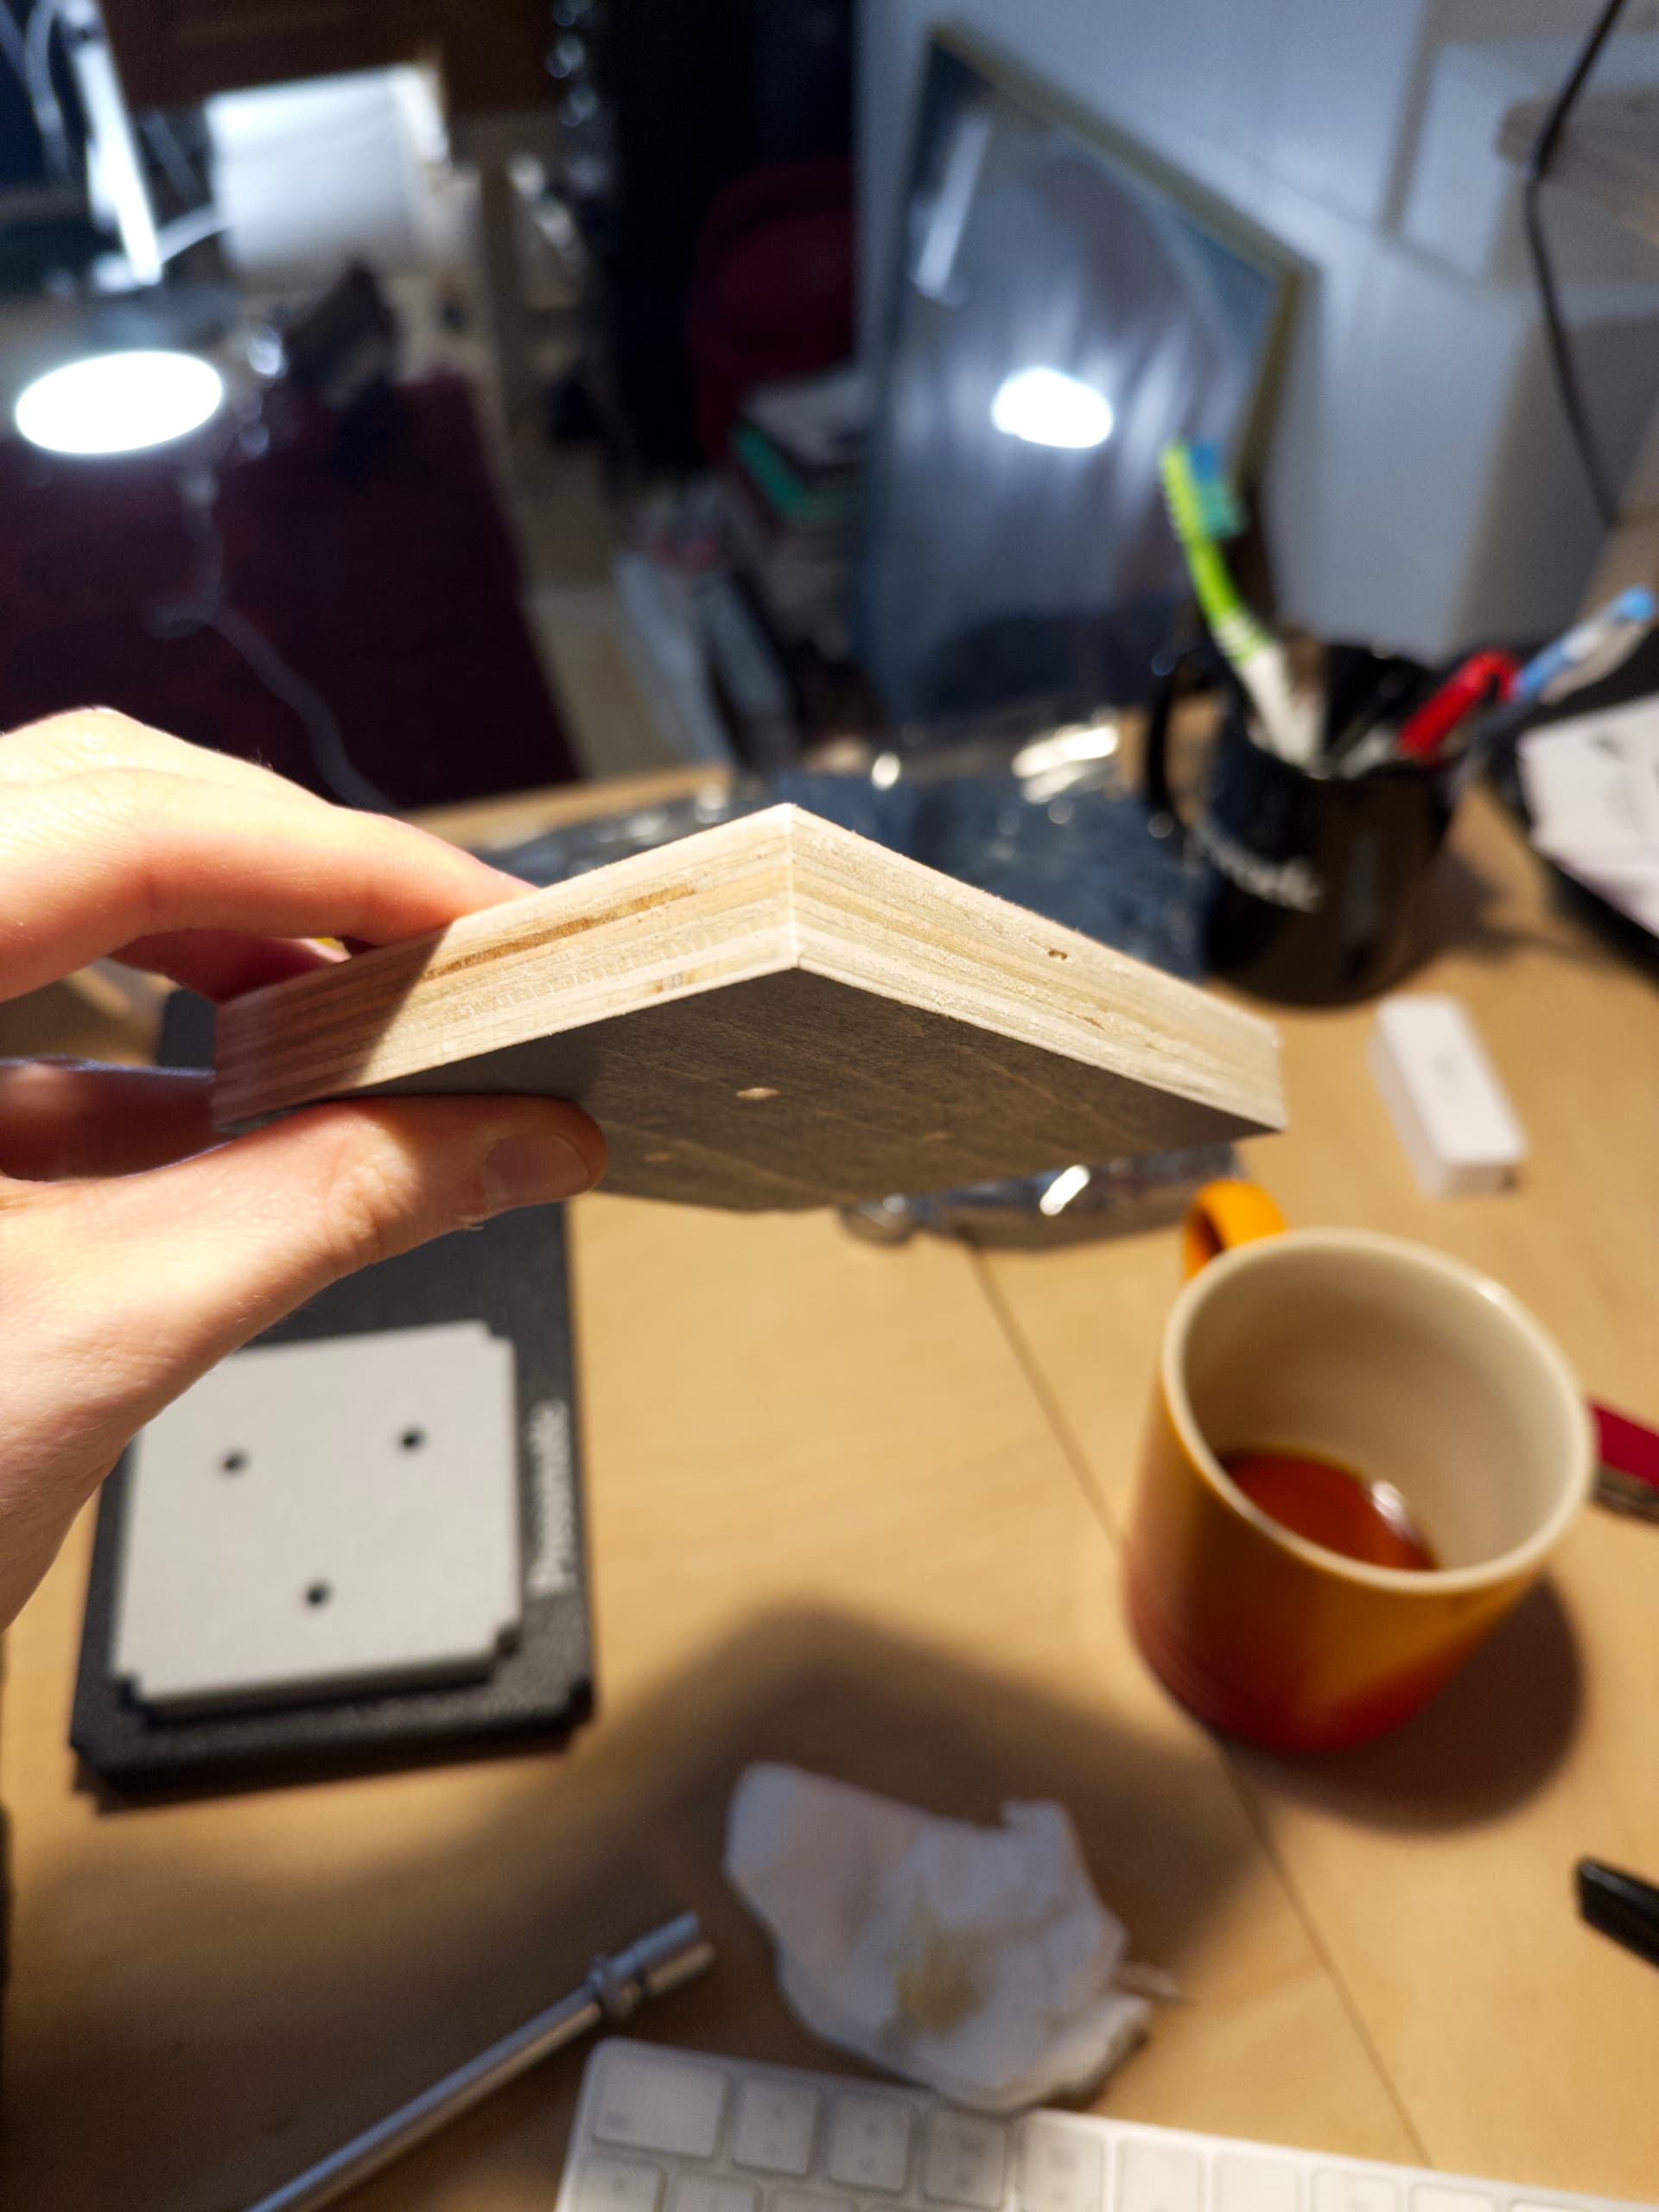
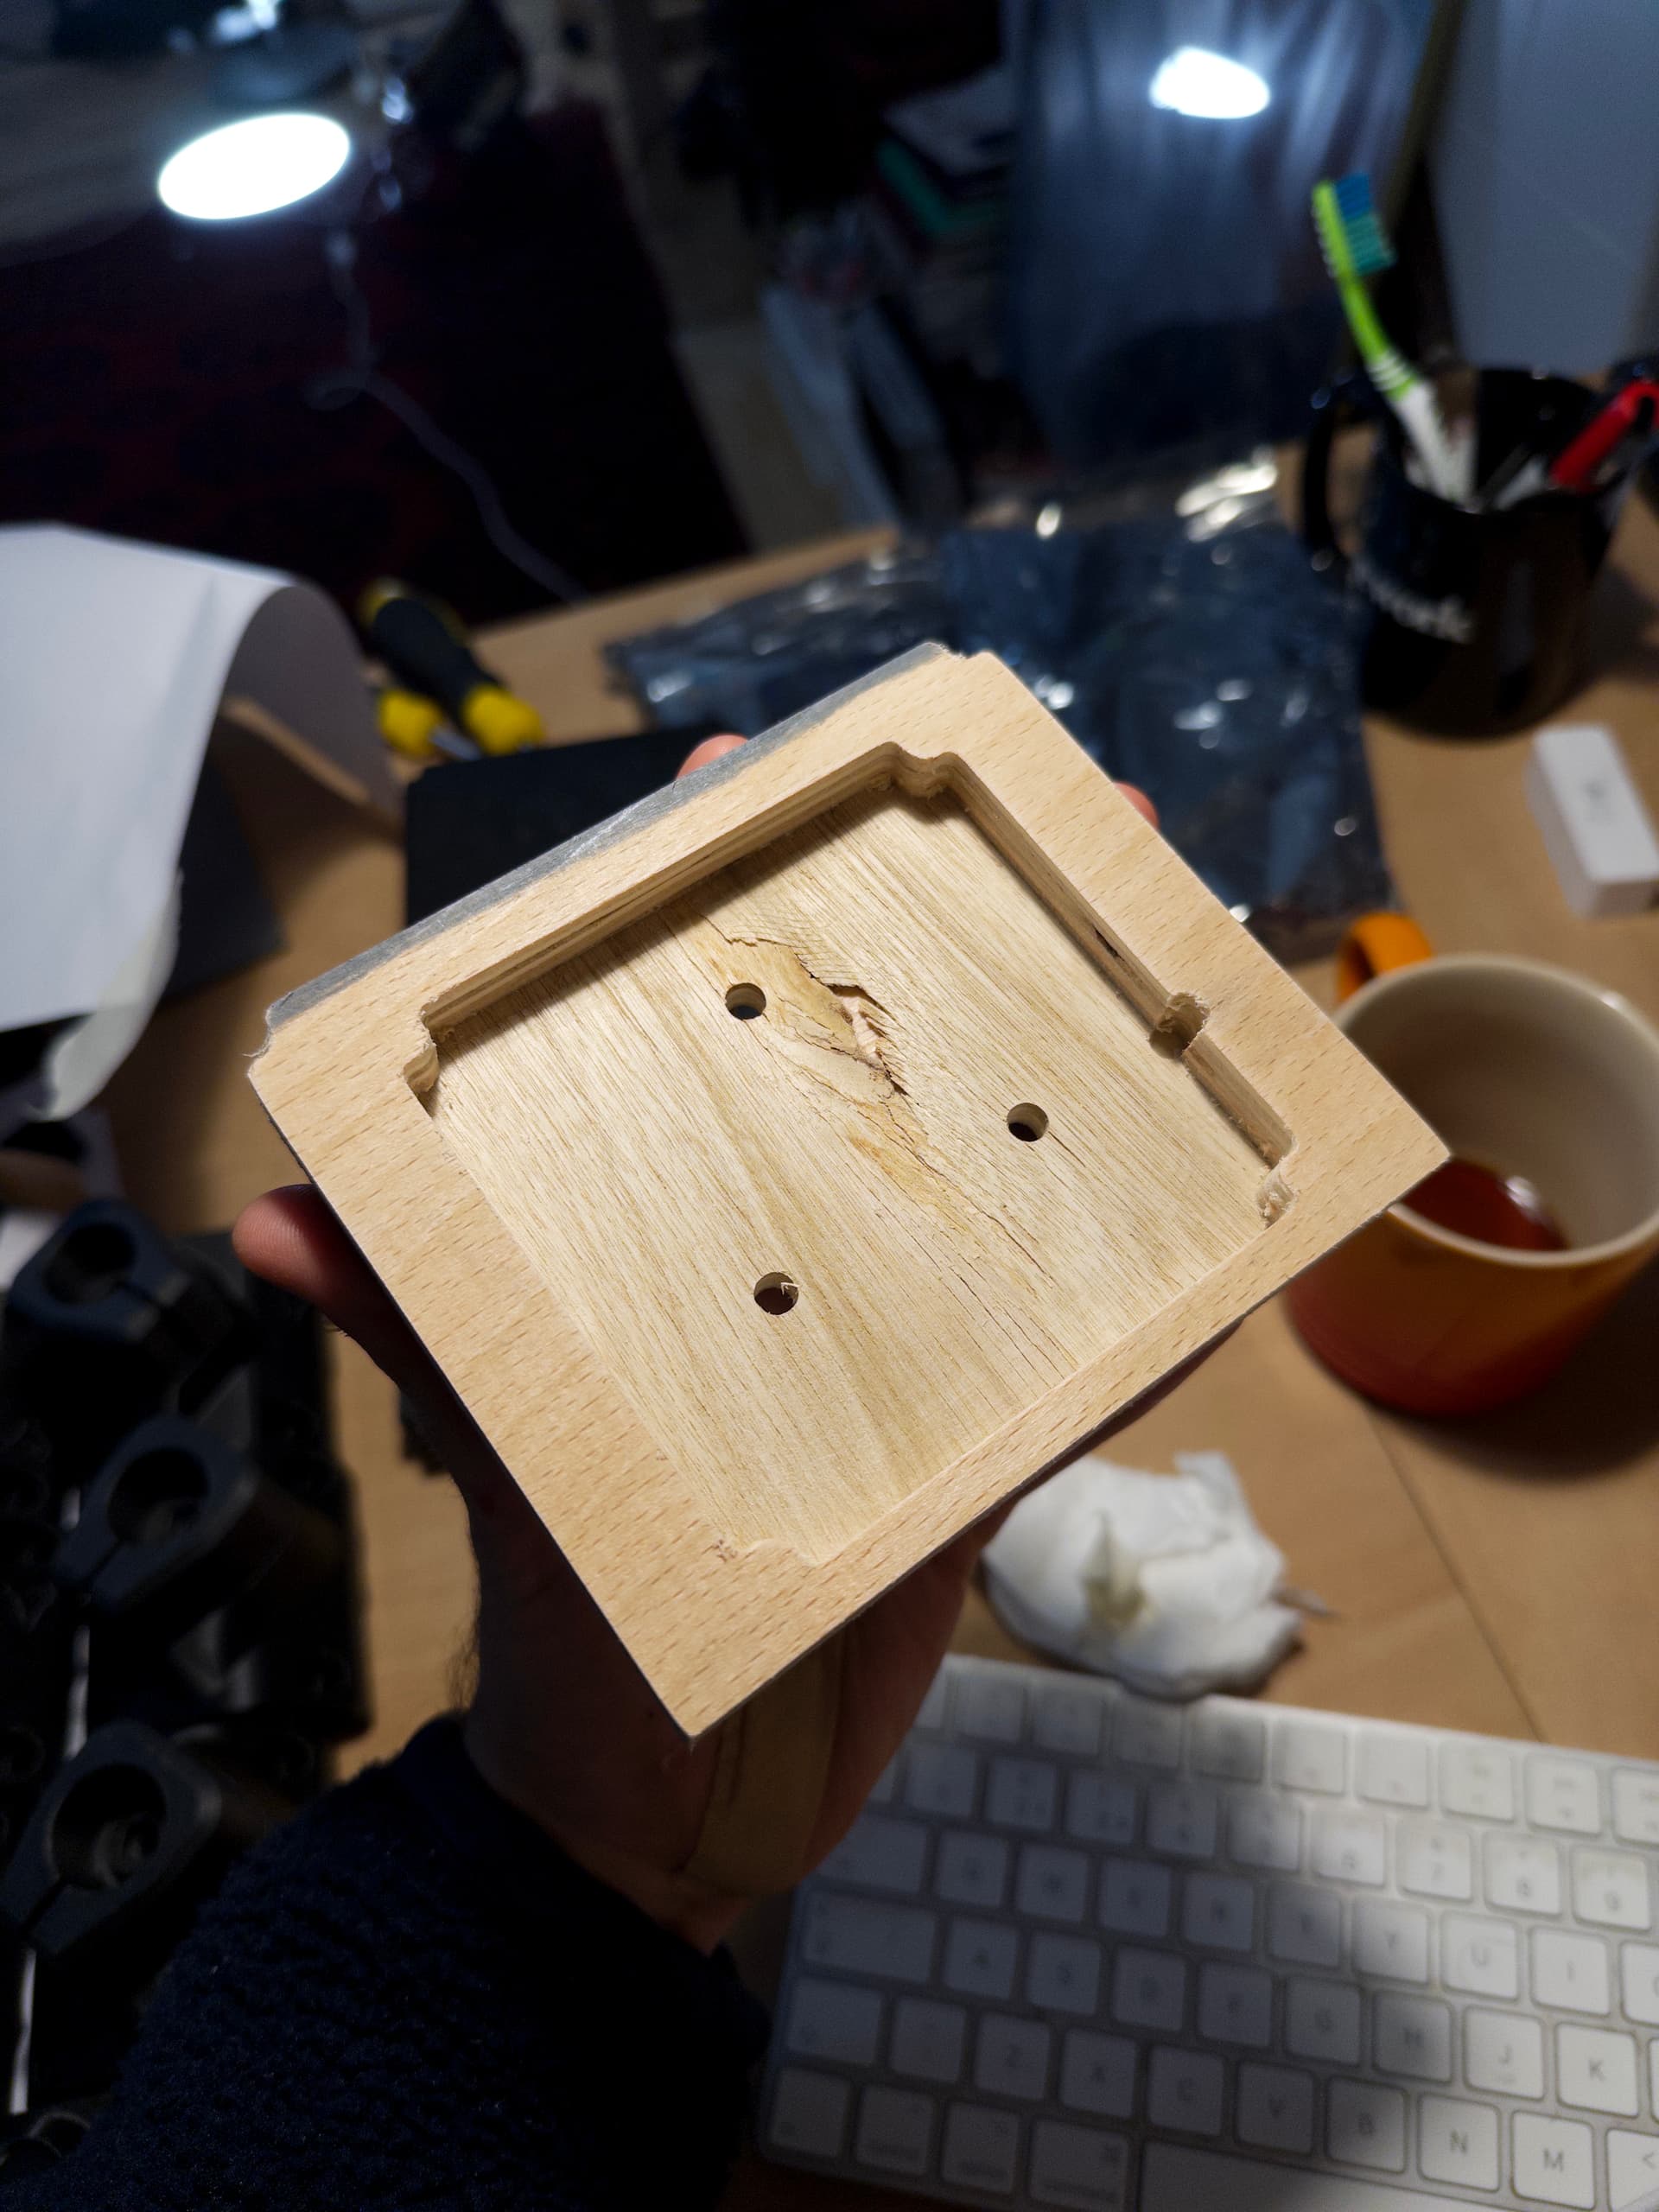
I’ll double check the gcode but pretty sure it was 15hrs ish. I was using Bambu lab strength profile (slows down outer wall speed) with 70% infill and 4 perimeters.
My part was useable but a little off on dimensions, worse on Y axis. The belts don’t have super even tension but I’m not sure how to move forward on that. Maybe redo both tighter.
I’m now chasing a bit of speed so my next test running is:
2D Adaptive Clearing at 4.25mm DOC, 900mm/min, 1mm stepover
2D Contour at 3mm DOC, 900mm/min.
It’s looking like Speed Test 2 is running nicely. No bad sounds. Will report back.