When browsing random threads here, I keep seeing lots of helpful advice (cuz y’all are awesome) regarding finishing passes. I’m not currently using finishing passes at all when I do my 2.5D cuts, because I don’t really understand how to program them in Estlcam?
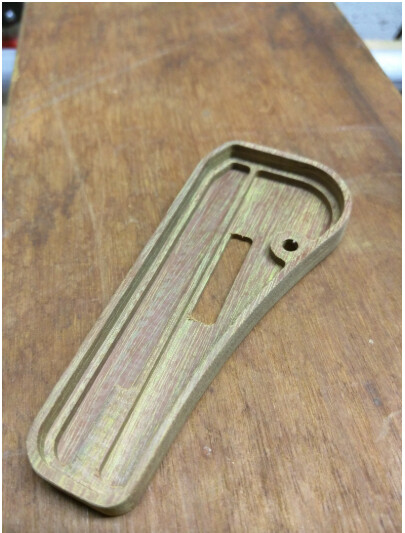
For example, let’s say I’m going to cut out a simple rectangle out of plywood to use as a desk top. Currently, in Estlcam I:
- Import my rectangle DXF
- Select the drawing
- Click “Part”
- Enter my material thickness + like 1-2 mm to make sure I cut through it
- Add some tabs
- Preview
- Export
- Cut
This works, but I routinely have to sand my edges and I see some wobbles (for lack of a better term) in my remaining stock. Now this could be due to many factors, but I want to focus on the finish pass(es) for this discussion, because of all the posts I’m seeing about how they are what gets your dimensions, they reduce manual post processing (sanding etc), and all that good stuff.
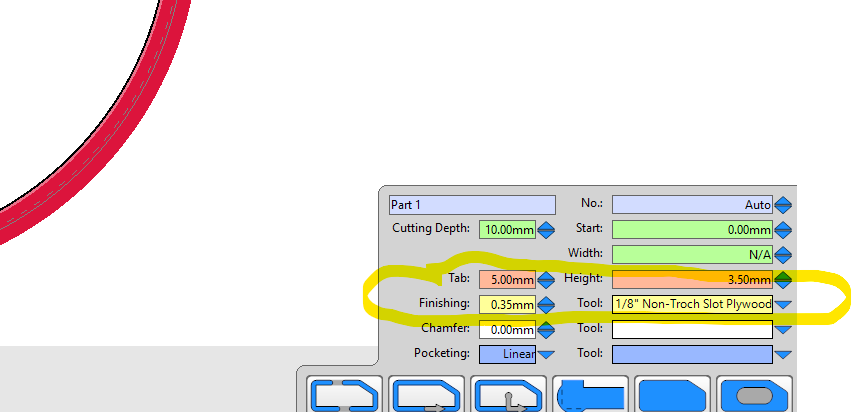
So do I do my steps above, but make another “part” cut with a different tool so the settings are right for a finishing pass? If so, what’s the theory behind said settings? If not, is there a simple setting to automatically do a finishing pass?
I’d love to have a definitive write up to add to the docs like “here’s how to cut a 2.5D shape like a professional”, so your input is much appreciated! Maybe this is already done somewhere and I’m forgetting about it, if so pls link it to me and ill happily do some reading!