I need some drag chains for my X and Y axes. I’ve got a bunch of 25mmish width drag chains that I printed but I don’t have any adapters or parts to affix them to the table/feet/steppers.
Aluminum extrusions are kinda pricey by me, so I was wondering if there were any recs for printable drag chains and mounts for a Primo that lets the chains take up the weight? There’s plenty of mounts that are out there for Amazon chains, but printable chains = way cooler colors.
I already have a tape measure for the Z axis, but it’s a bit stiff and tends to cut into the nylon braid I’ve got in place.
Yeah, I know it’s available, I’m just always out to avoid extra purchases if at all possible. The other part is that it’s been tough to find mounts that either have printable chain links to match or don’t have a way to clamp onto a printed chain.
I hear yeah
And I am sure you can see what’s around and available near you and make something work. The drag chain is pretty light. Doesn’t have to be fancy
Don’t have one in particular to recommend but definitely print one with clips to make it easier to run the wire. Like this one. Adding and removing wires is a royal pain without them.
Is there a mount I can use for this on the MPCNC? That’s been the tricky part; lots of printable drag chains but no “here’s what you want to use to mount it on a stepper” that fits.
Edit: 2" wide by 36" aluminum strips are $15 each by me, that seems like a bit of a ripoff :-/
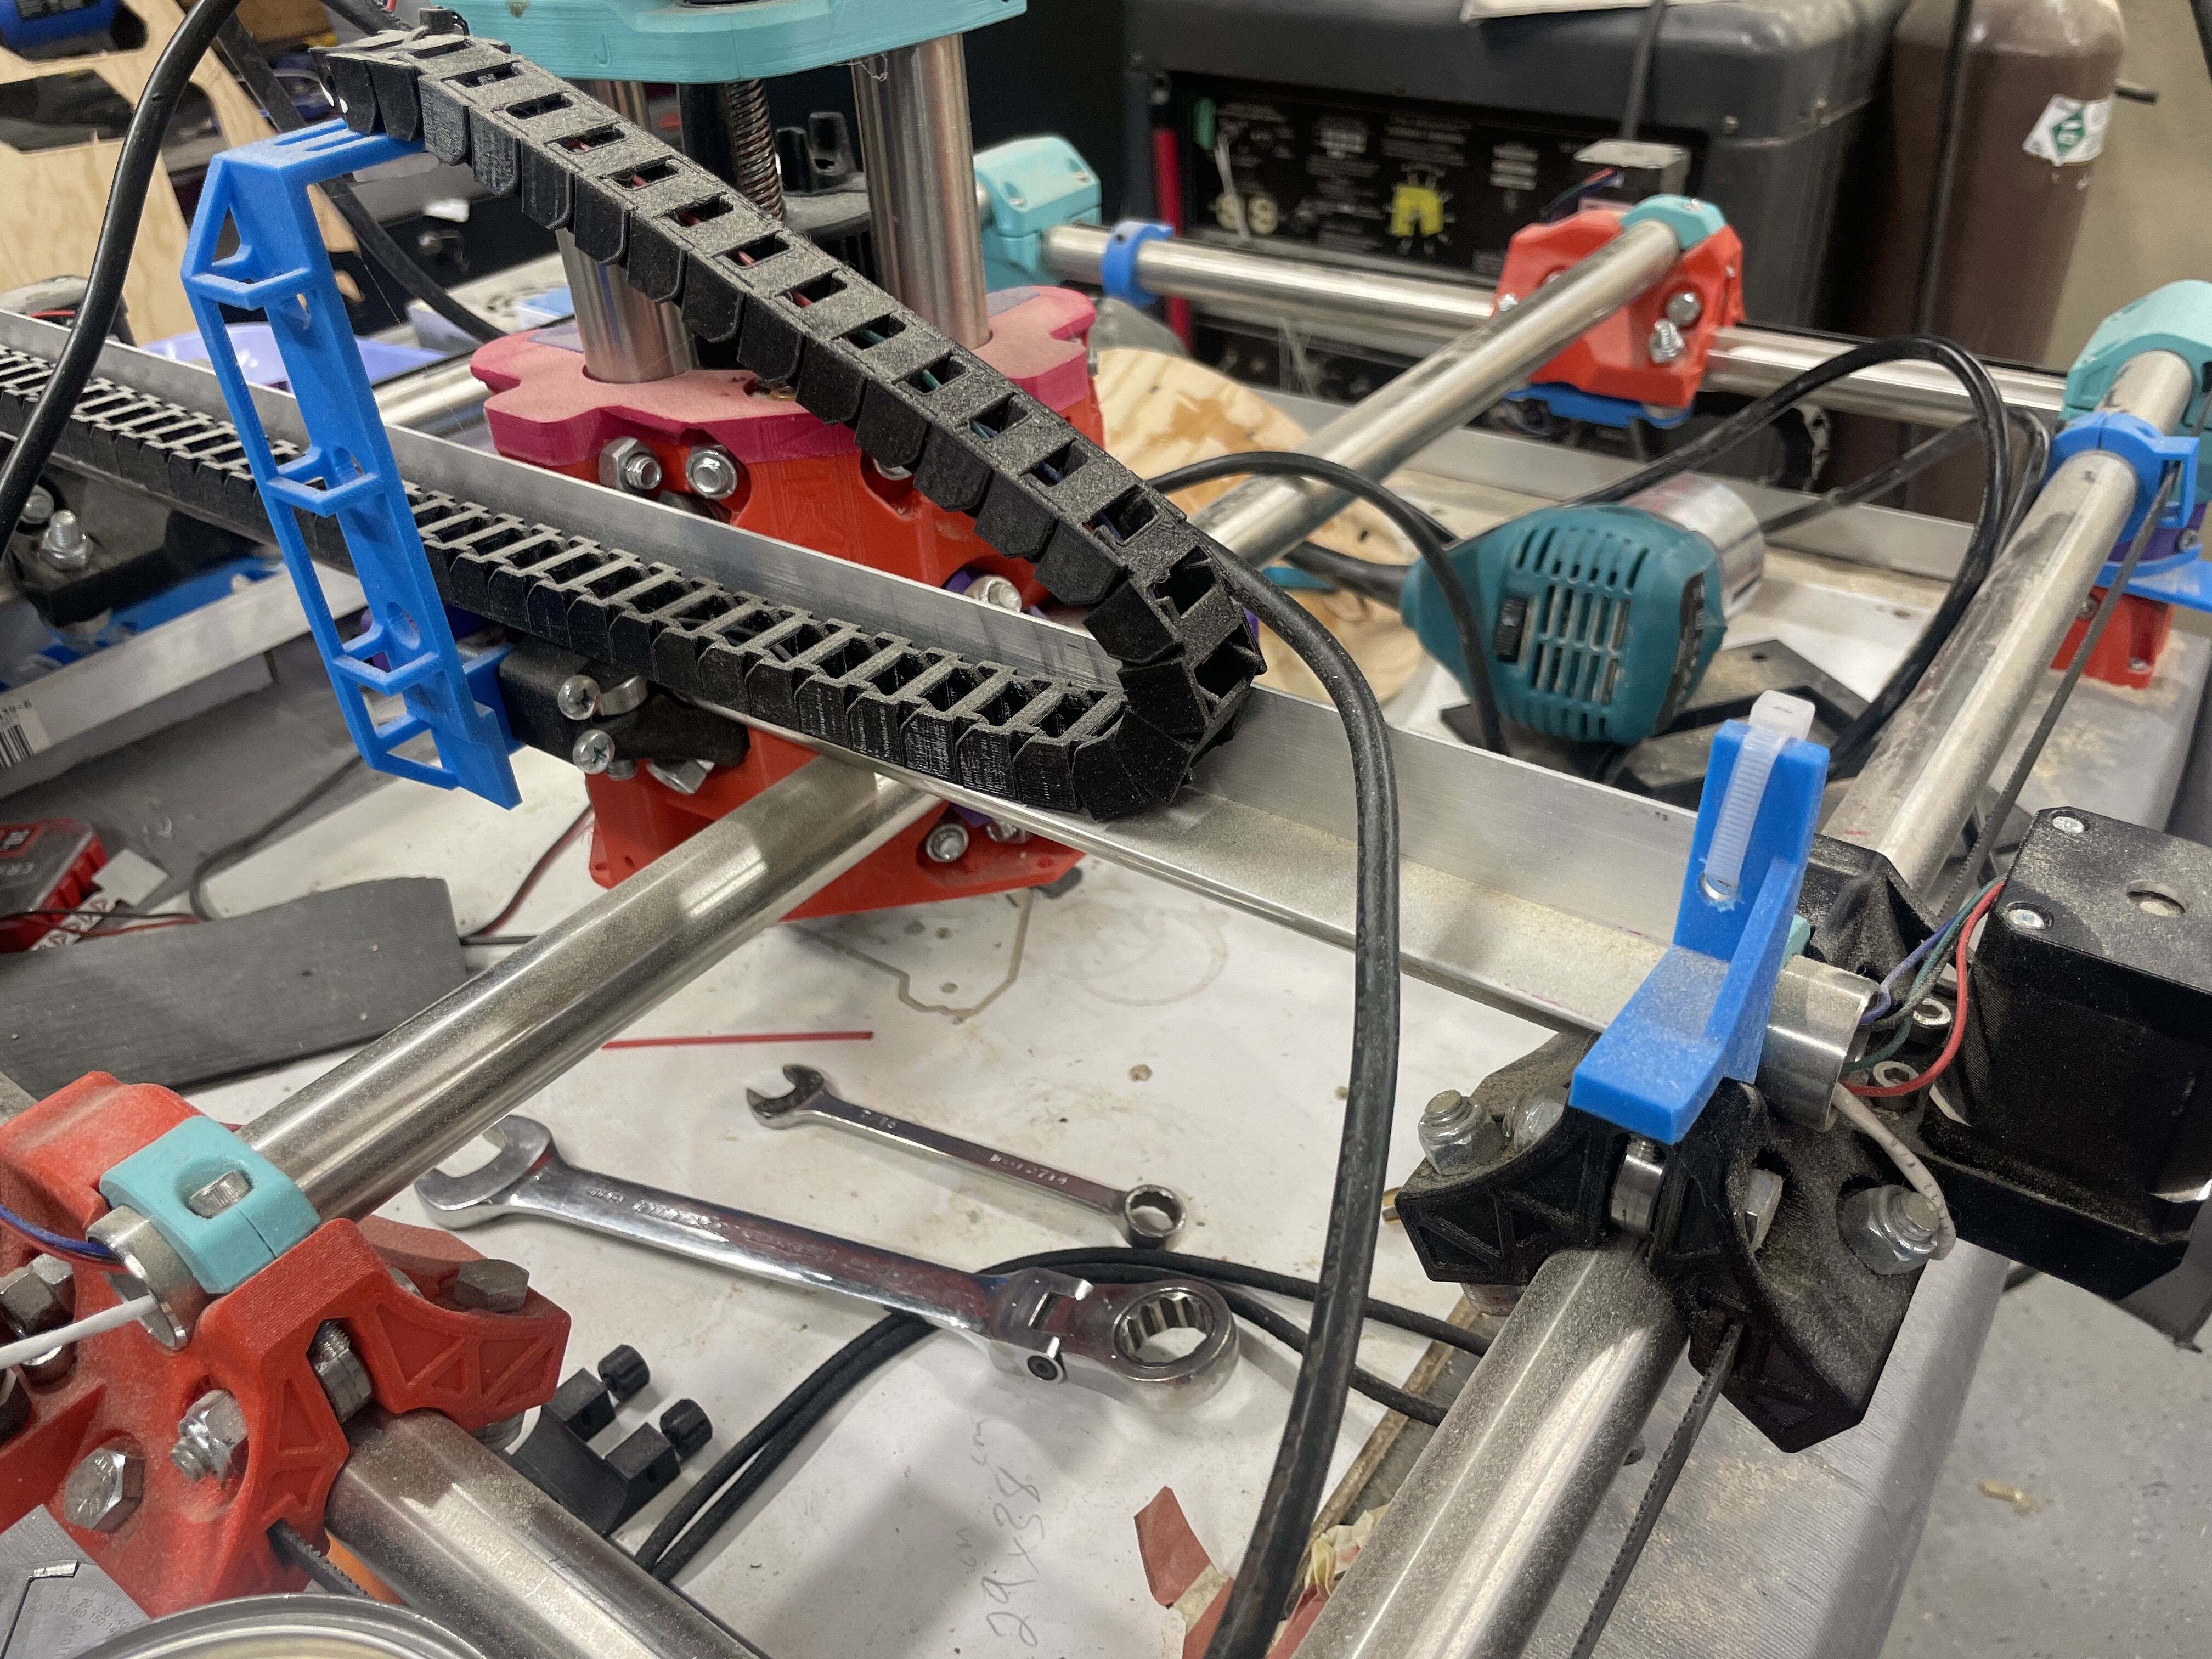
I found these brackets on thingiverse and made some edits to fit like I wanted. They use the same hardware that comes in the kit. Chains mount by drilling a hole wherever you like and installing a screw/nut.
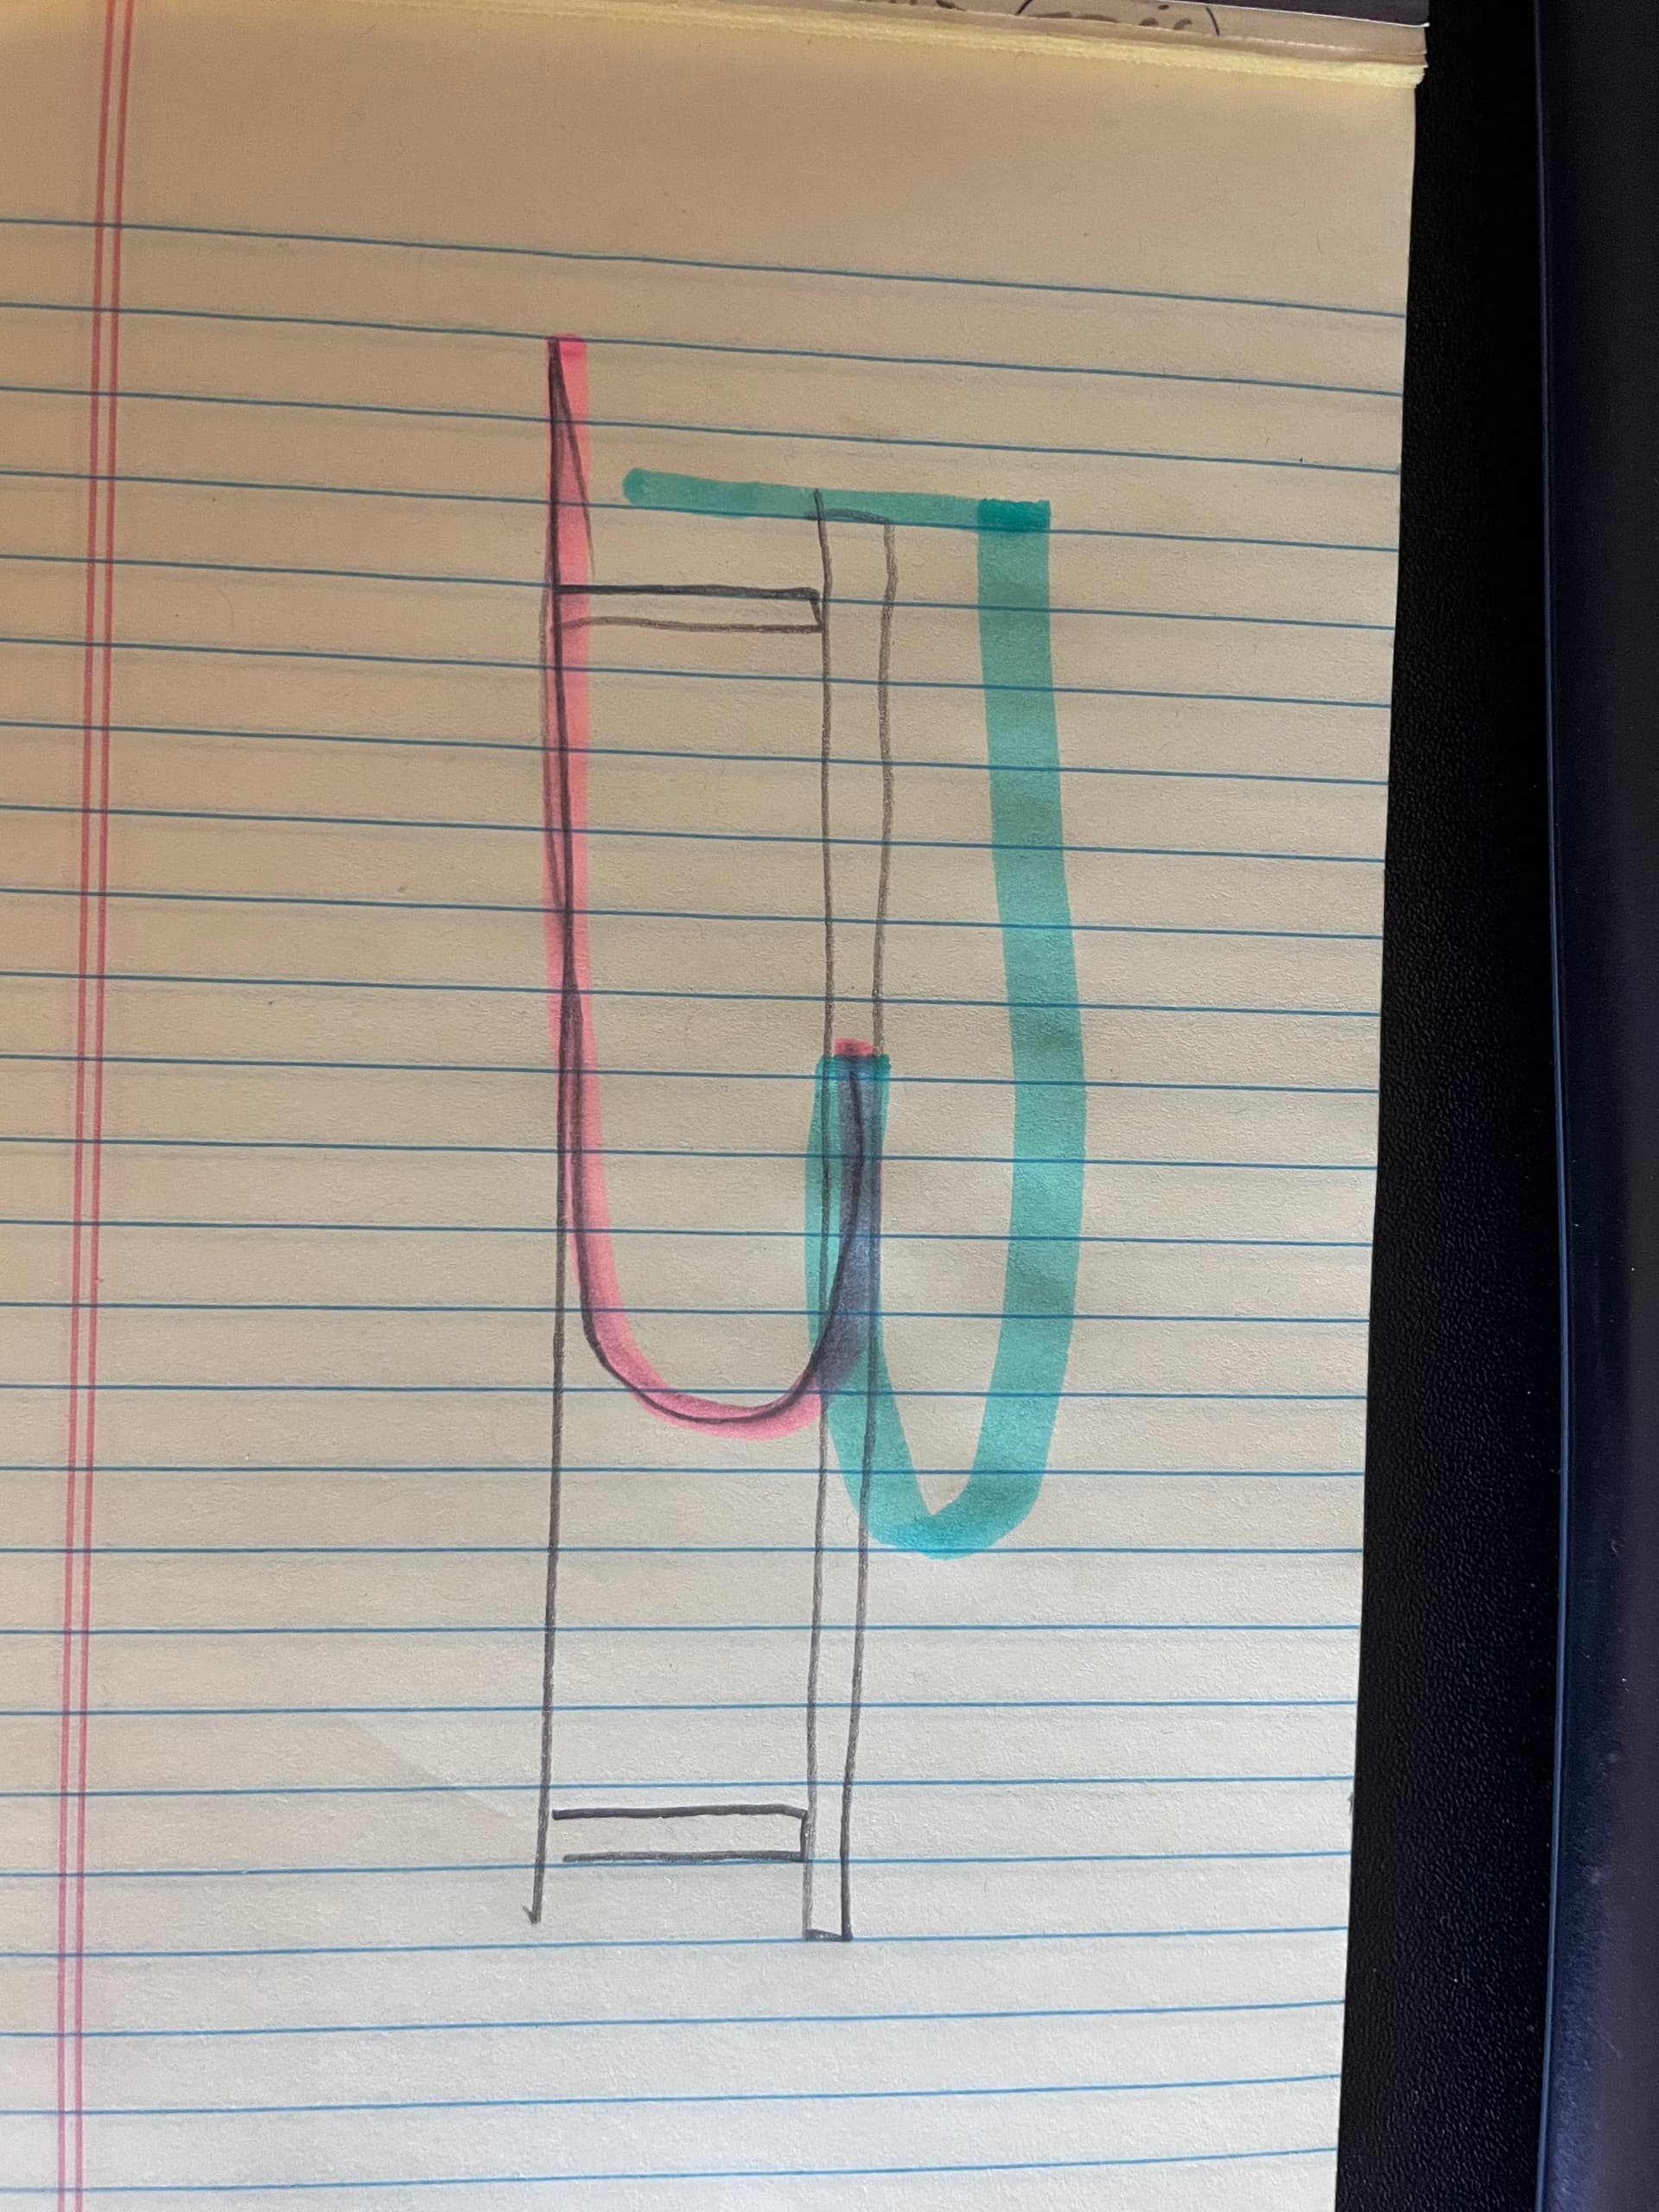
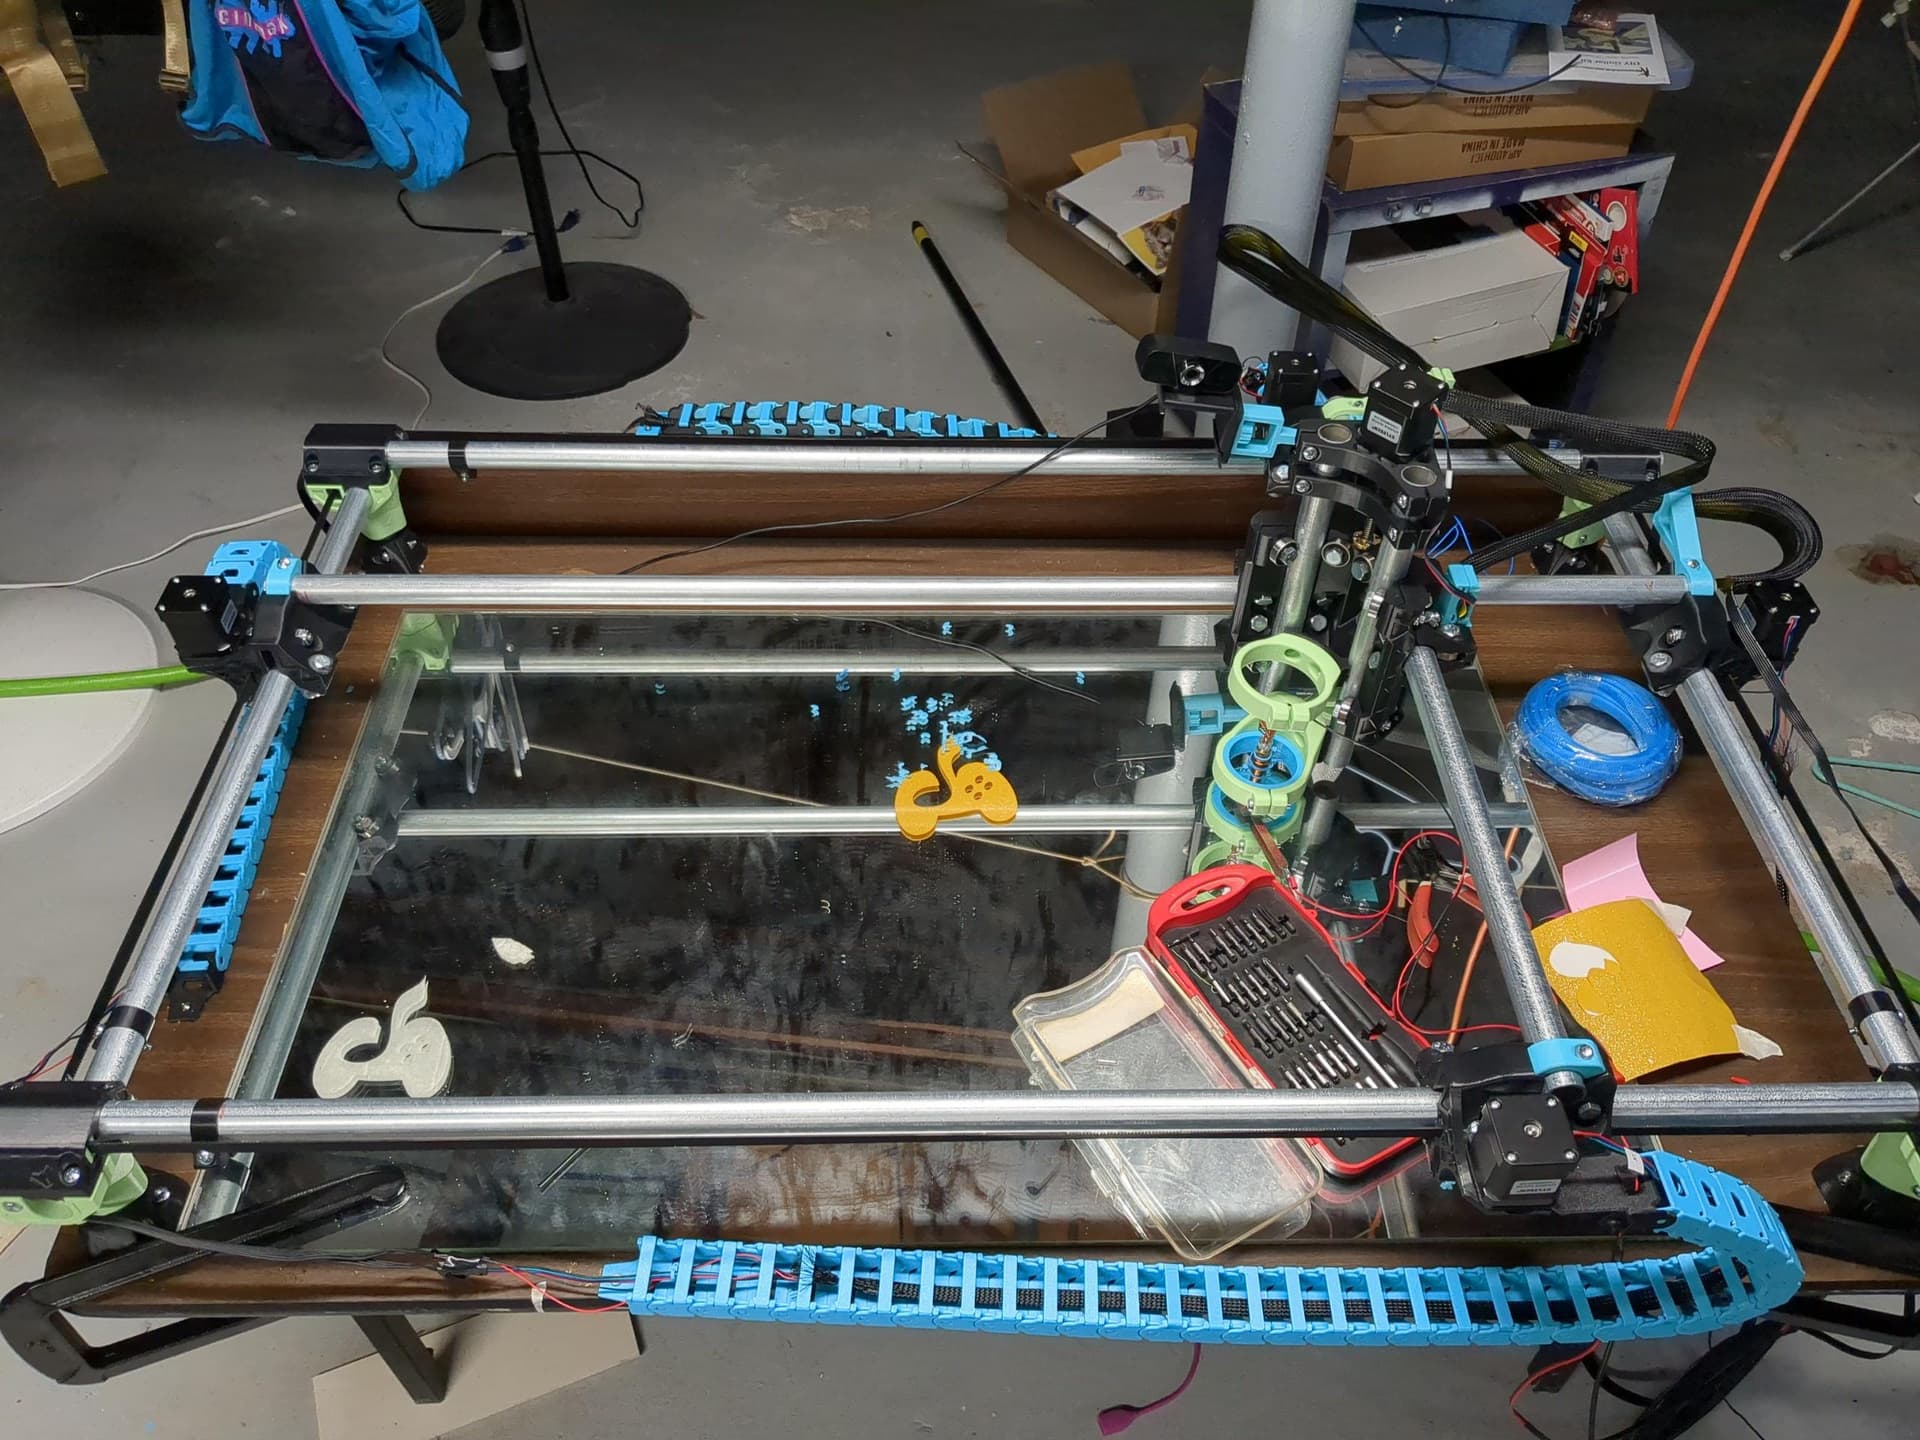
I see that you have routed the chains so they lay on the table as the machine moves.
In my experience that works fine, except that you can’t slide anything under the rails one the chain side. While that doesn’t seen too much of a problem, in my case it seemed that I was always working around them.
Also, if you want to “tile” a piece across the machine it gets pretty tough.
Sorry for the crude drawing, but you have the chain in the red position, I’m suggesting you could route in the blue position. You would need to change the mounts at the ends.
I have only had to do that once and just temporarily disconnected the chain from the table. If it was a common use scenario for me, I would probably install some angle to raise it up enough to pass a work piece underneath.
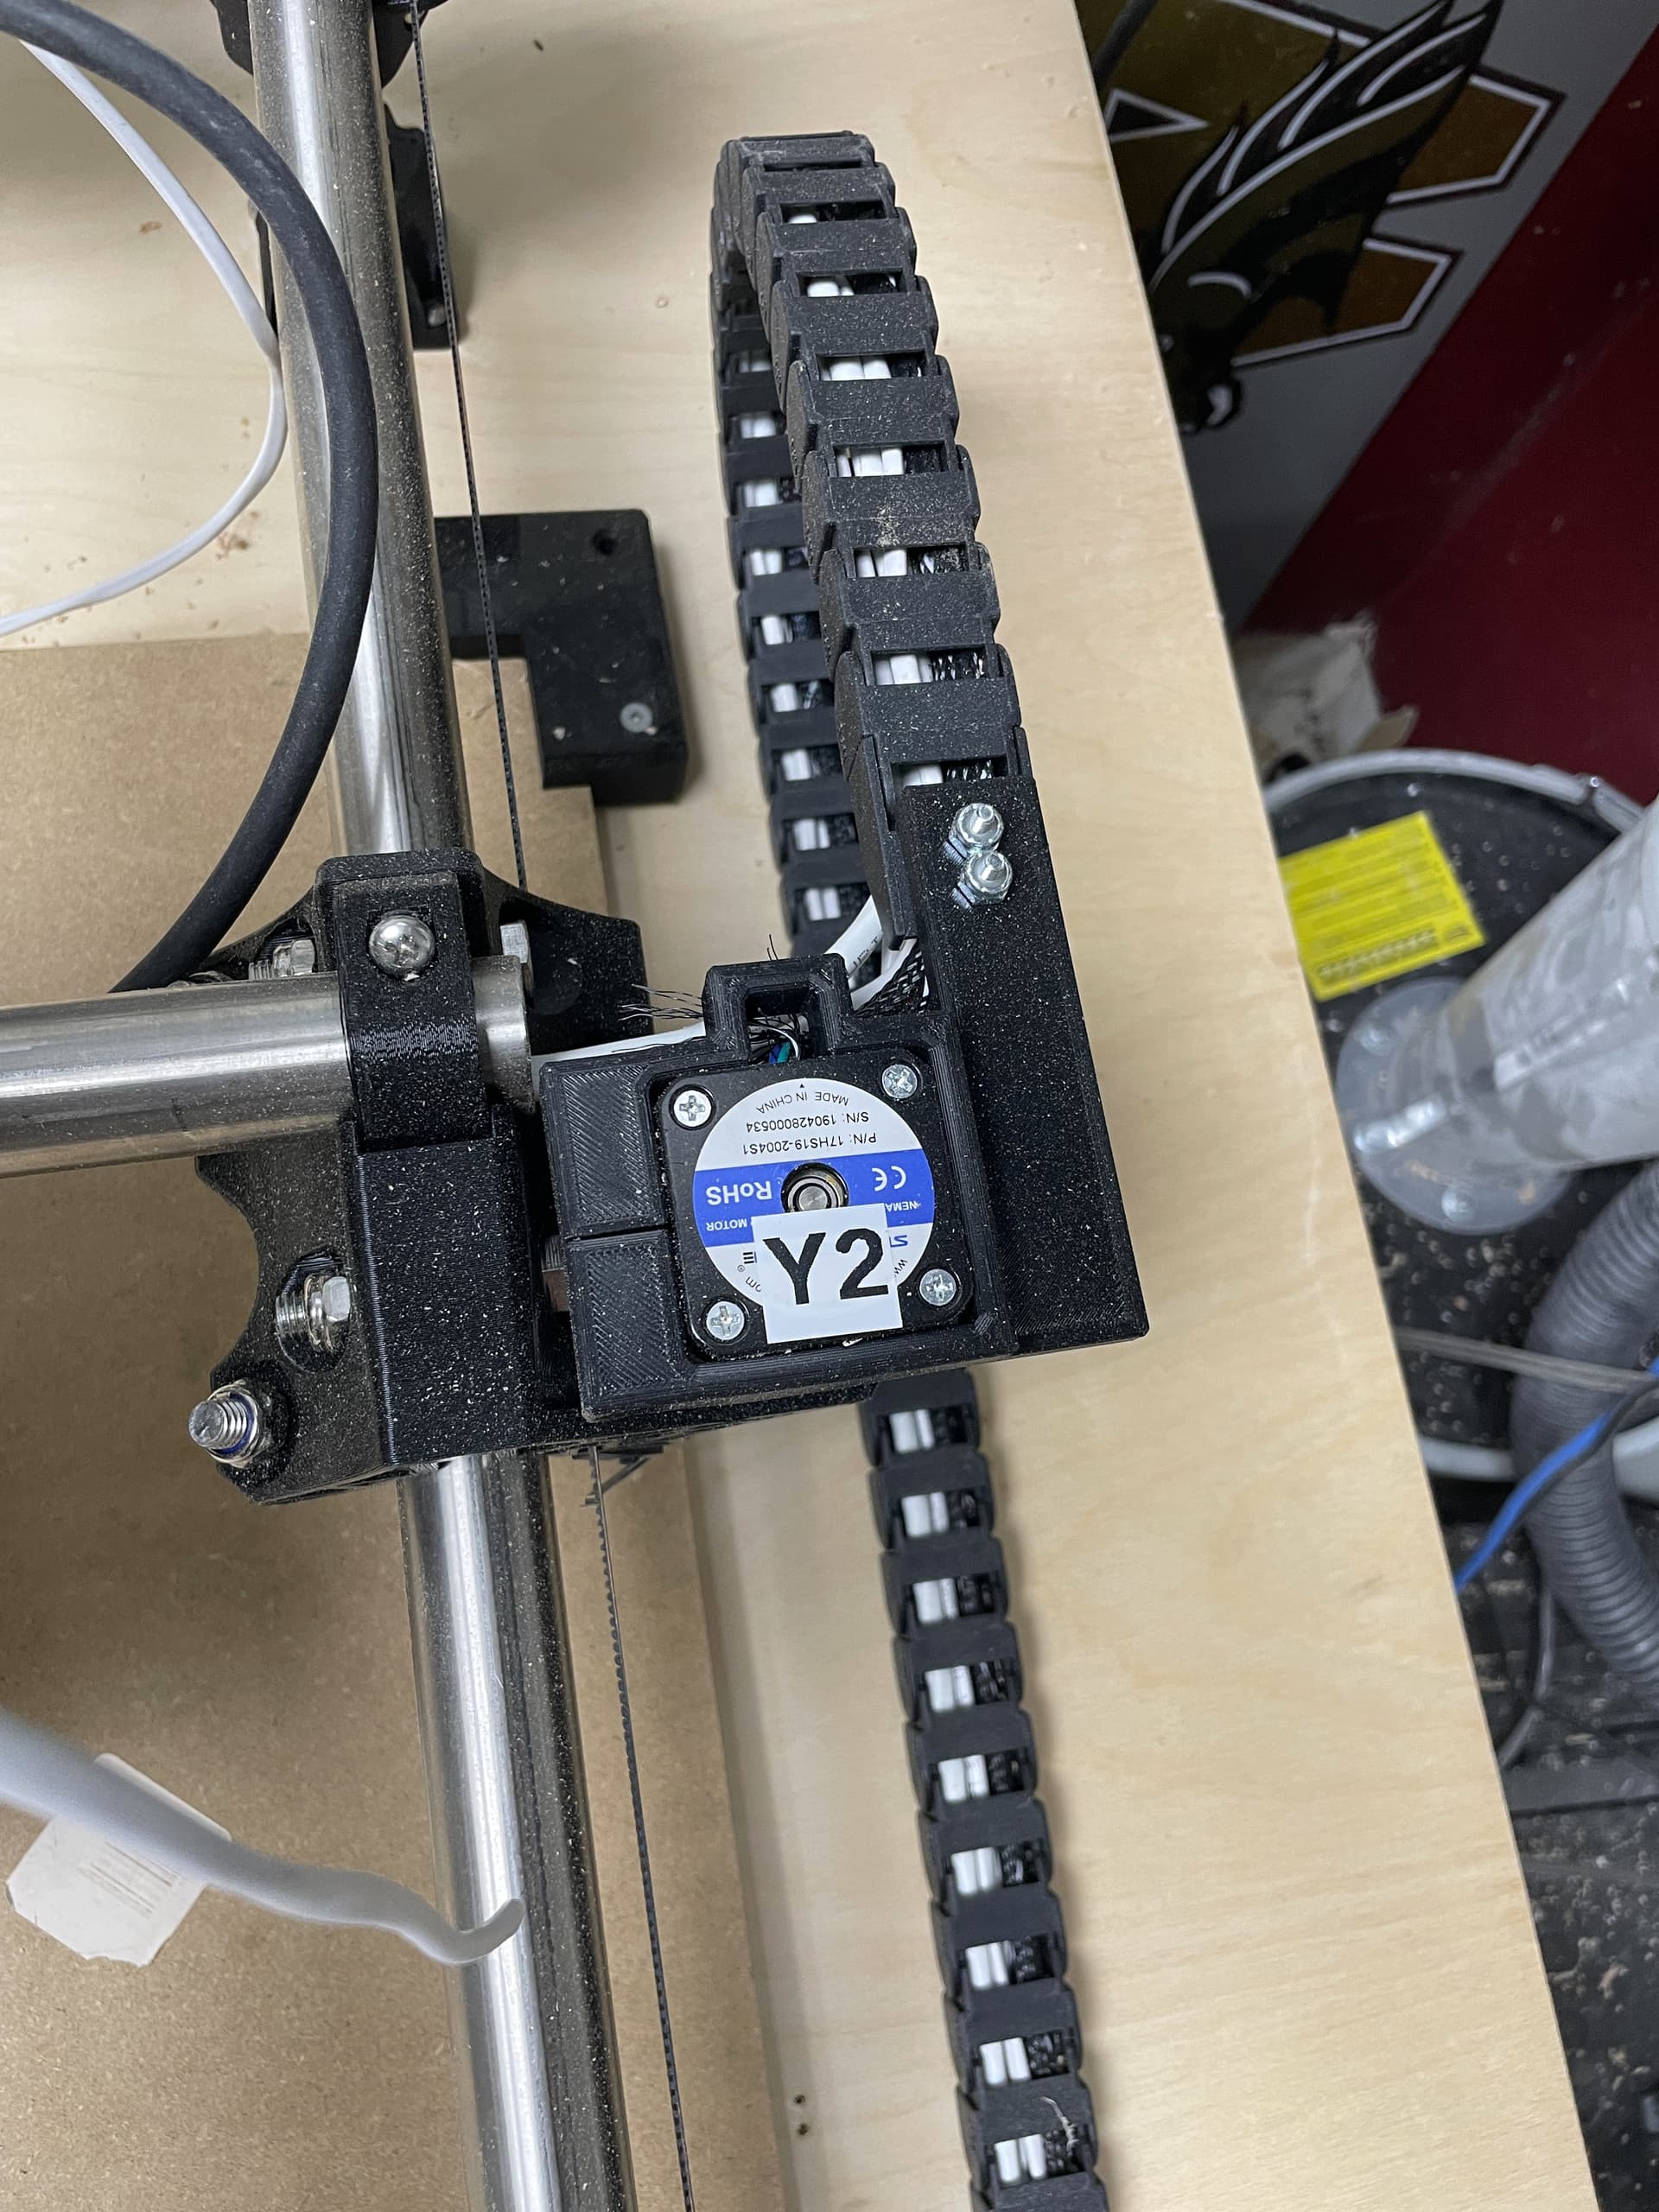
These motor mounts and support brackets (Same print settings). I had to cut the Z mount, re-align it, and add an extra square to get it to clear the back bracket of my table)
The screws into the table are a bit loose to allow the X and Y chains to have a little lateral movement given the table dimensions. Ignore the fact that the rear X chain has three different colors, it’s totally intentional… artistic merit or something like that.