Primo Upgrade Medina, OH (Now with lasers!)

Mind blown! :exploding_head:

:wink: :stuck_out_tongue_winking_eye:

The early versions were more so, but yes I got the logo from the skirts left on the bed from printing lots of prototypes a year or two in…vicious circle, to V1 Engineering.

4 Likes

I have the same laser. I have yet to install it, but I have an air assist. If you want to cut deeper, you’ll want that so the smoke doesn’t reflect the laser and it’ll cut deeper.

Yeah, it helps for sure. I added air-assist a while back. See post #50.

Here’s another sign. Same Anvil logo, but this time I used a fill strategy instead of just lines. Looks way better I think. If only I didn’t zero my axes backwards the first time I started, it would’ve been great😪

2 Likes

In progress. The one above took about an hour. This one says about 37 minutes.

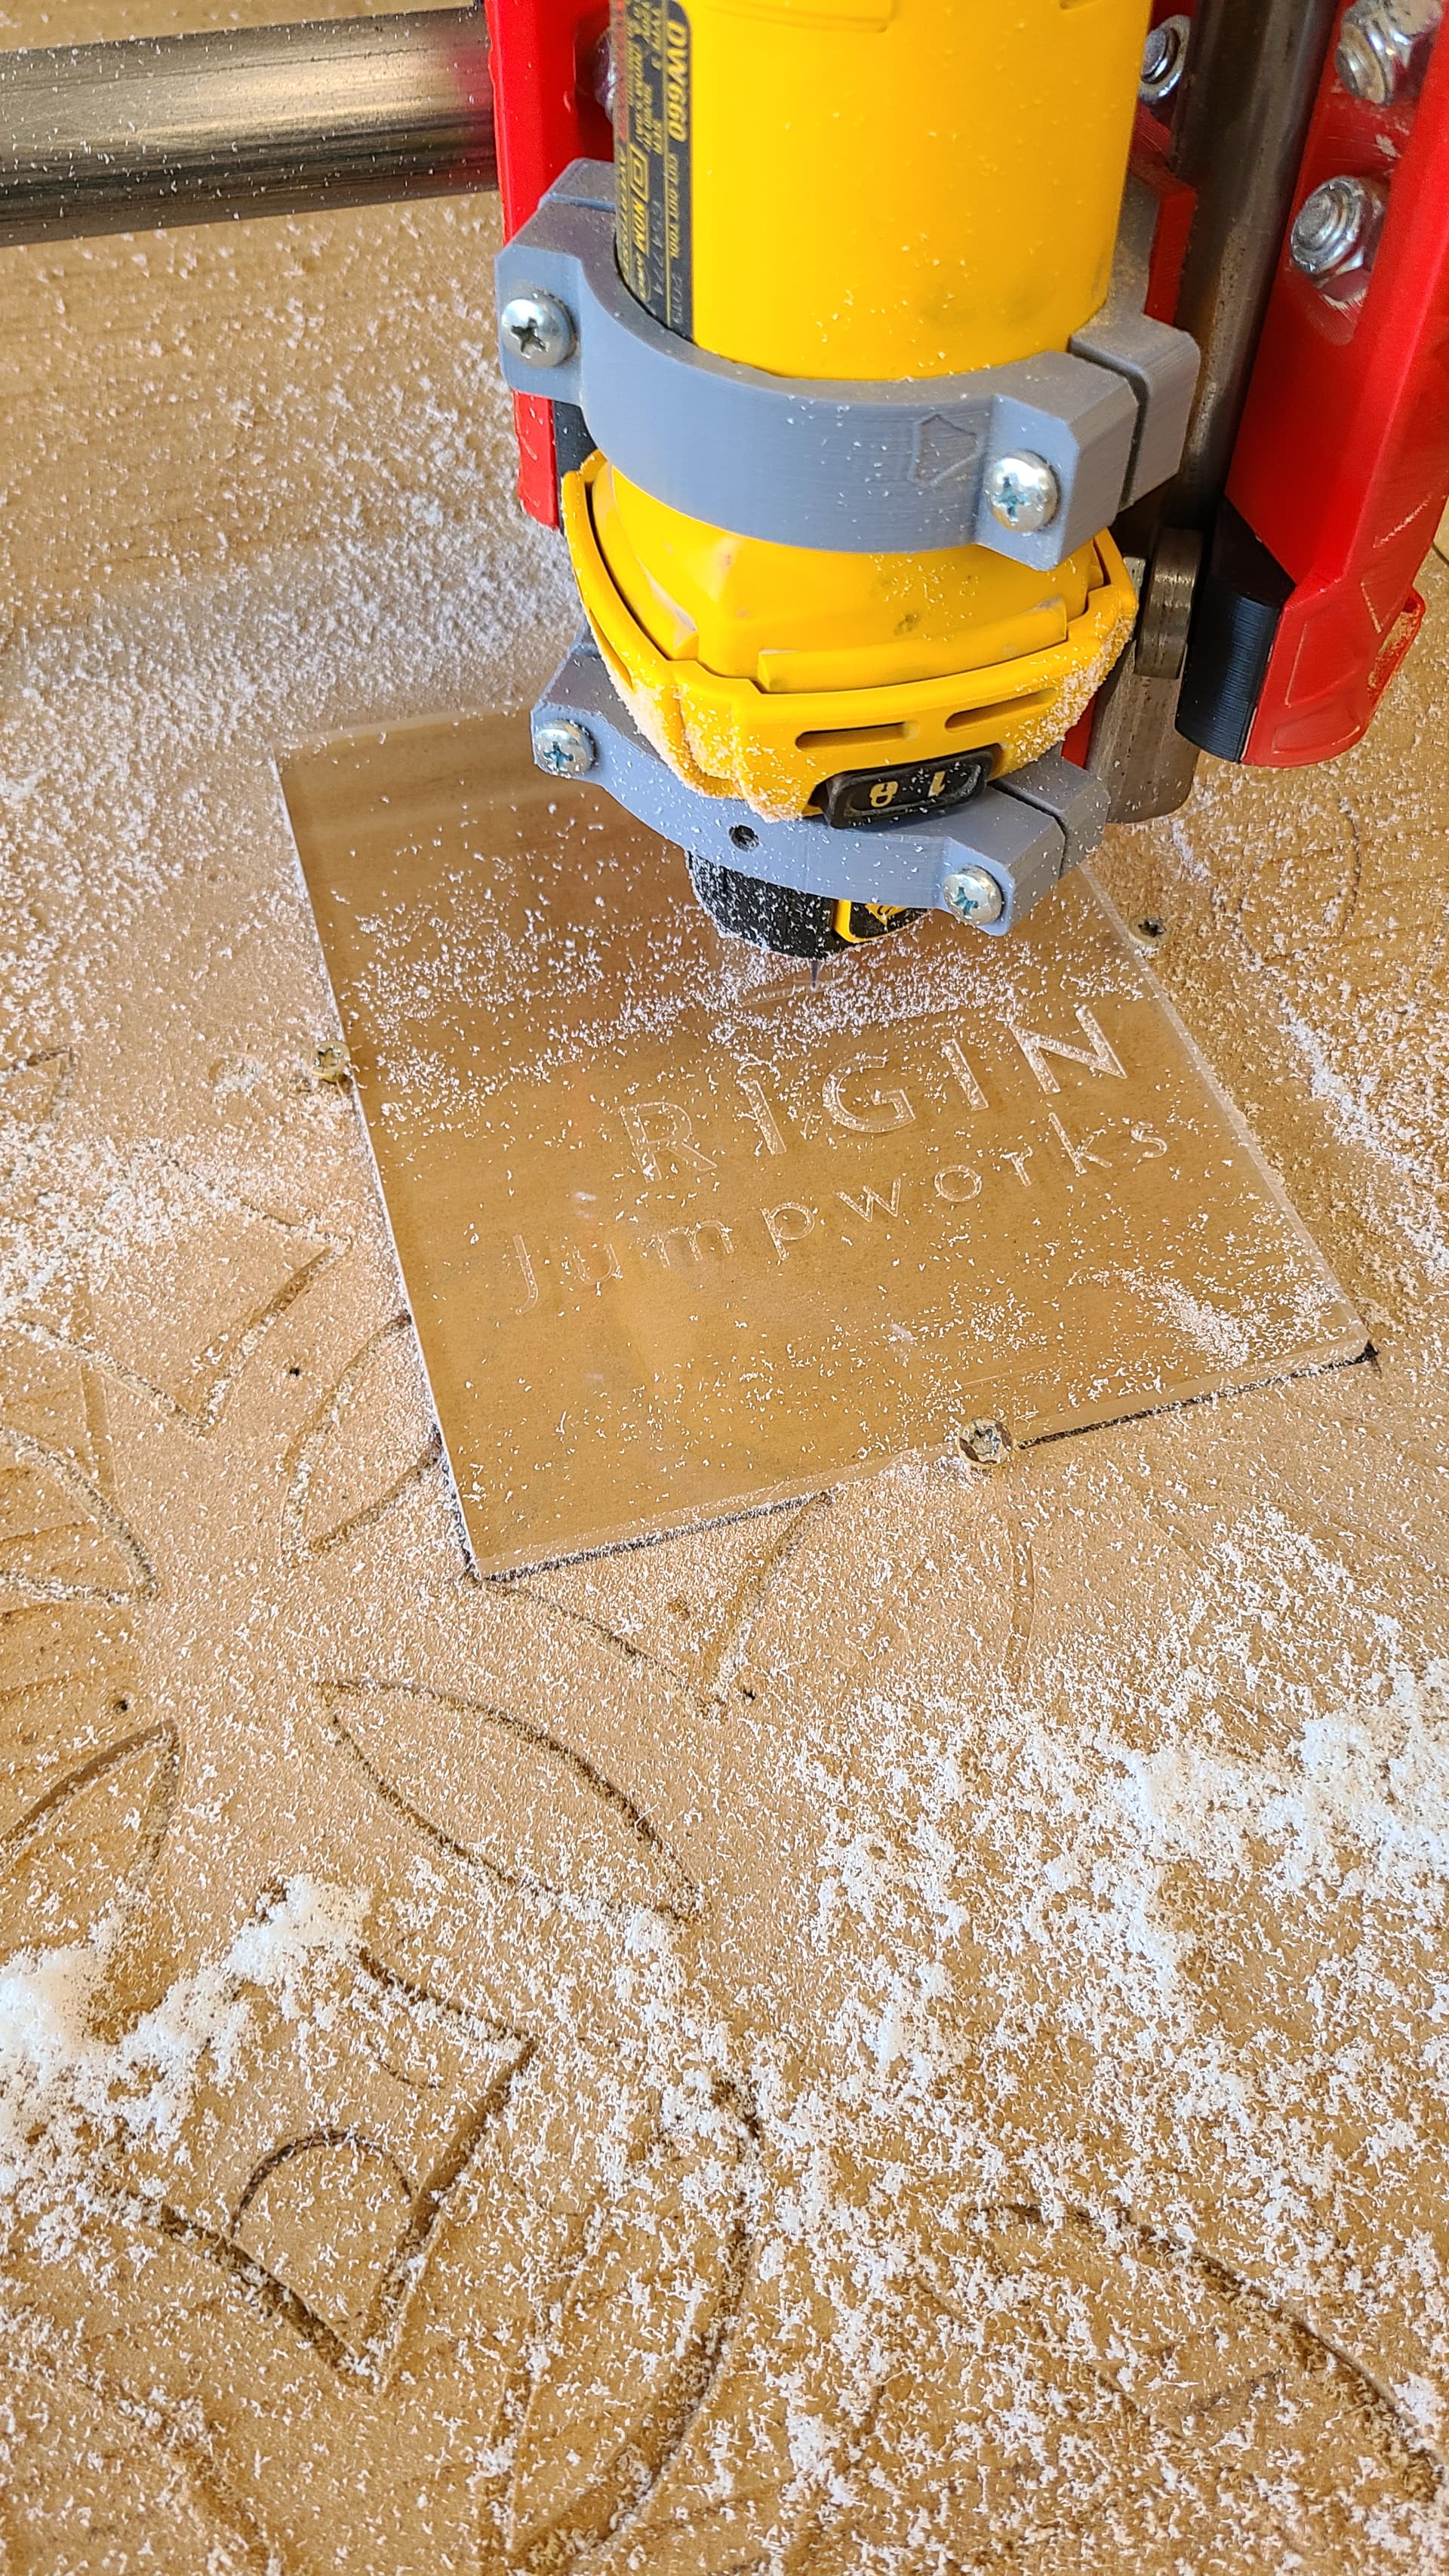
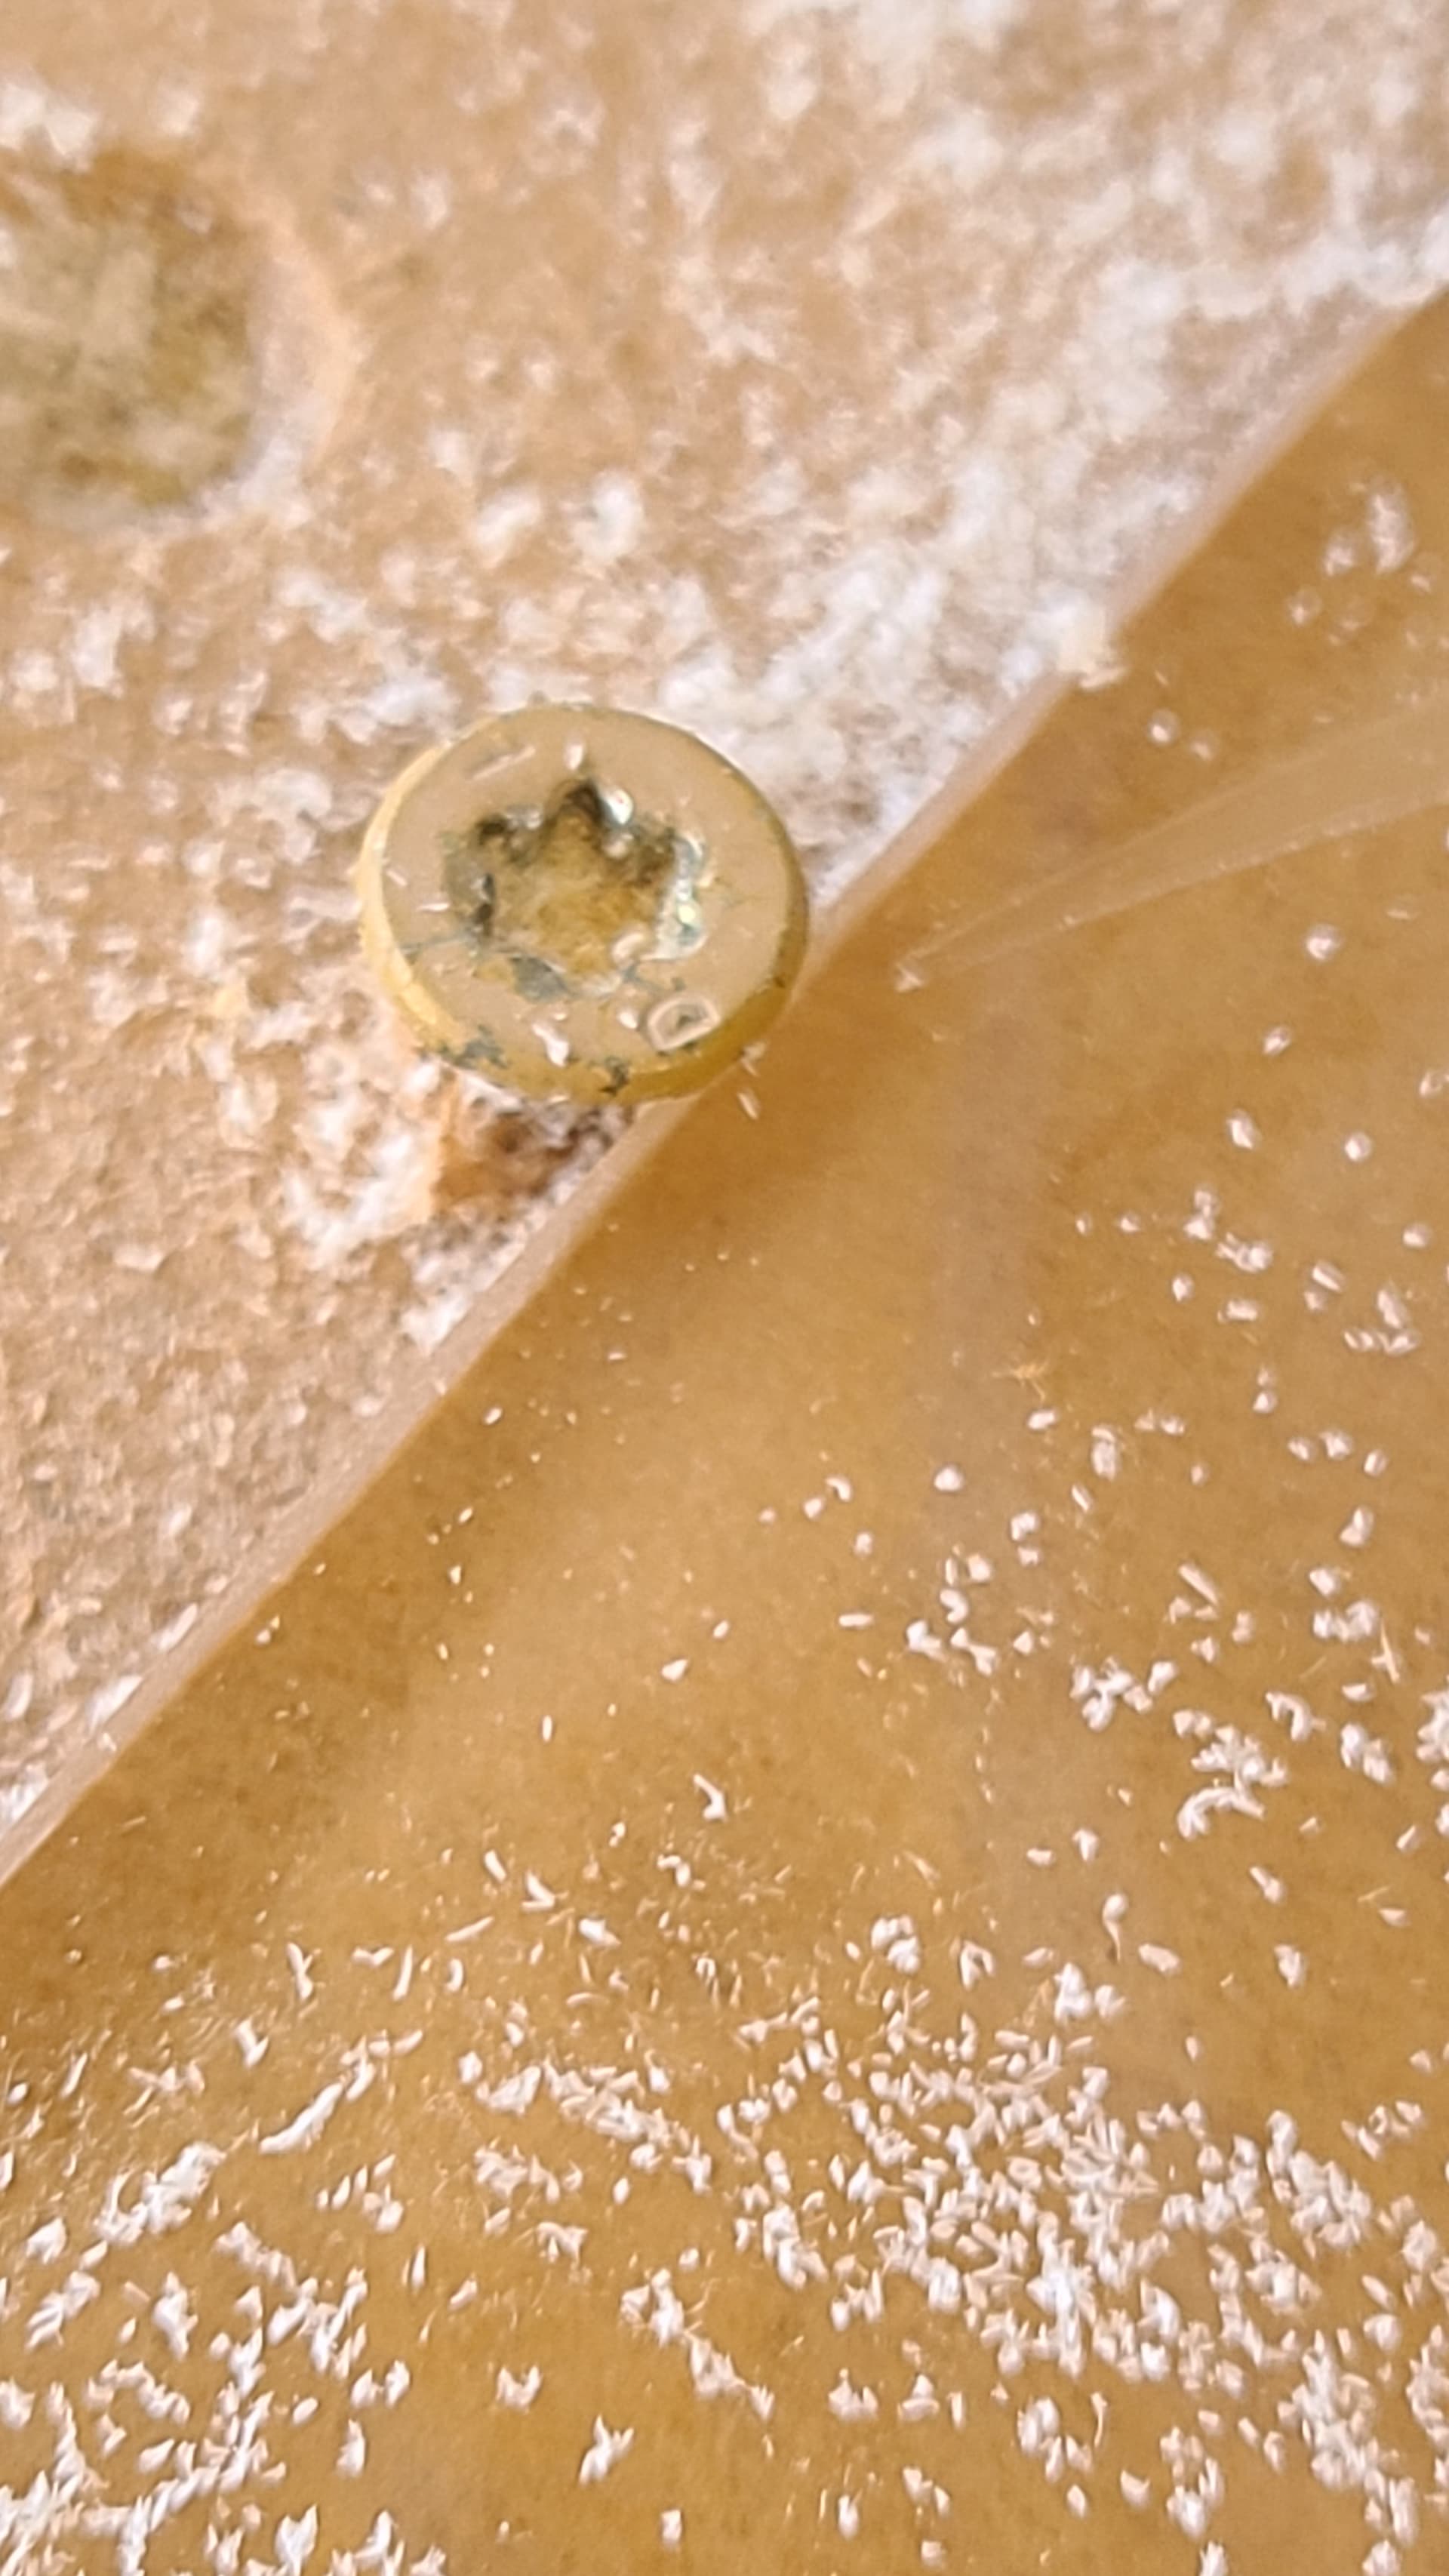
The logo goes almost edge-to-edge. I just hope it wont hit my hold-down screws! :pray:

Edit: Whew!

Well, I think I have a favorite!

These “filled” logos were done with a .5mm ball end, .25mm DOC, 1000mm/min XY feed, 20% stepover, 150mm/min Z, 30° plunge lead in.

5 Likes

How do they look without the light in a normal room?

Hard to get a good pic with a light background.

EDIT: Here’s lit in a lighted room, at about 40% brightness. (Same as in the dark room picture)

9 Likes

Super clean.

2 Likes

Thank you! But then there’s the base… :face_vomiting:

:rofl:

5 Likes

If you can’t see it, it doesn’t exist

9 Likes

Anthony Daniels (actor who plays C3PO) was a friend of the man who ran our graduate program, and he came to our inaugural production. He told us a great story of being on the Millennium Falcon set and by moving his head about 4" mentally shifted from “a galaxy far far away” to seeing the crew’s Styrofoam coffee cups tucked in the gaps on the back of the walls.

I love knowing how much of the “magic” behind the scenes is done, and as long as it is outside the audience’s view, it’s exactly the solution that’s needed.

8 Likes

Everything about that post is awesome!!

2 Likes

After drawing inspiration from @dkj4linux 's thread HERE I bought some 4x4 mirror tiles and tried some lazing.

Lighted room, unlit

Lighted room, lit

Dark room, lit

This was just burning the backing off, image reversed, at 1200mm/min, 80% pow, 30(7)watt NEJE laser.

It ablated the glass as it burned the backing, leaving a frosted finish. Zooming in you can see the stair-stepping on the shapes. I think I need to adjust my line interval a bit. This was at .1mm. This was just an quick test with an easy shape I had from when I made some slate coasters, I’m actually more of a VW fan :wink:

7 Likes

Super clean!

3 Likes

Edge-lit. Though, it doesn’t seem to diffuse all that well.

3 Likes

Jason made a write up a long time ago about lasing mirrors:

https://docs.v1engineering.com/tools/laser-engraving-mirrors/

It could maybe use an update. These neje lasers are a lot stronger than the ones we were using in 2016.

Your final product looks very sharp.

3 Likes

Here’s another one. Kinda reminds me of those framed mirrors you win at an amusement park for getting a ring around a bottle. Maybe the next one will be Led Zeppelin related. :guitar:

5 Likes

As promised. Nothing quite like spending $20 to win a $2 prize… totally worth it.

6 Likes

Ok, so using the Lightburn settings recommended by @dkj4linux, but adjusted for my 7watt laser (just a little faster feed rate), I got this.

My sister’s late cat.

Back-lit

Un-lit

Edge-lit really doesn’t work very well on this one.

Thank you David for all of your testing and research on the photo stuff! It’s been a big help for me!

7 Likes