Well it’s been just over 2 years since I assembled the Burly. First Generation
After sitting idle in the corner for almost 12 months, I finally decided to upgrade to the Primo. Getting my own 3d printer XMas 2021 was a huge push towards making the jump. (My Burly was printed by a friend).
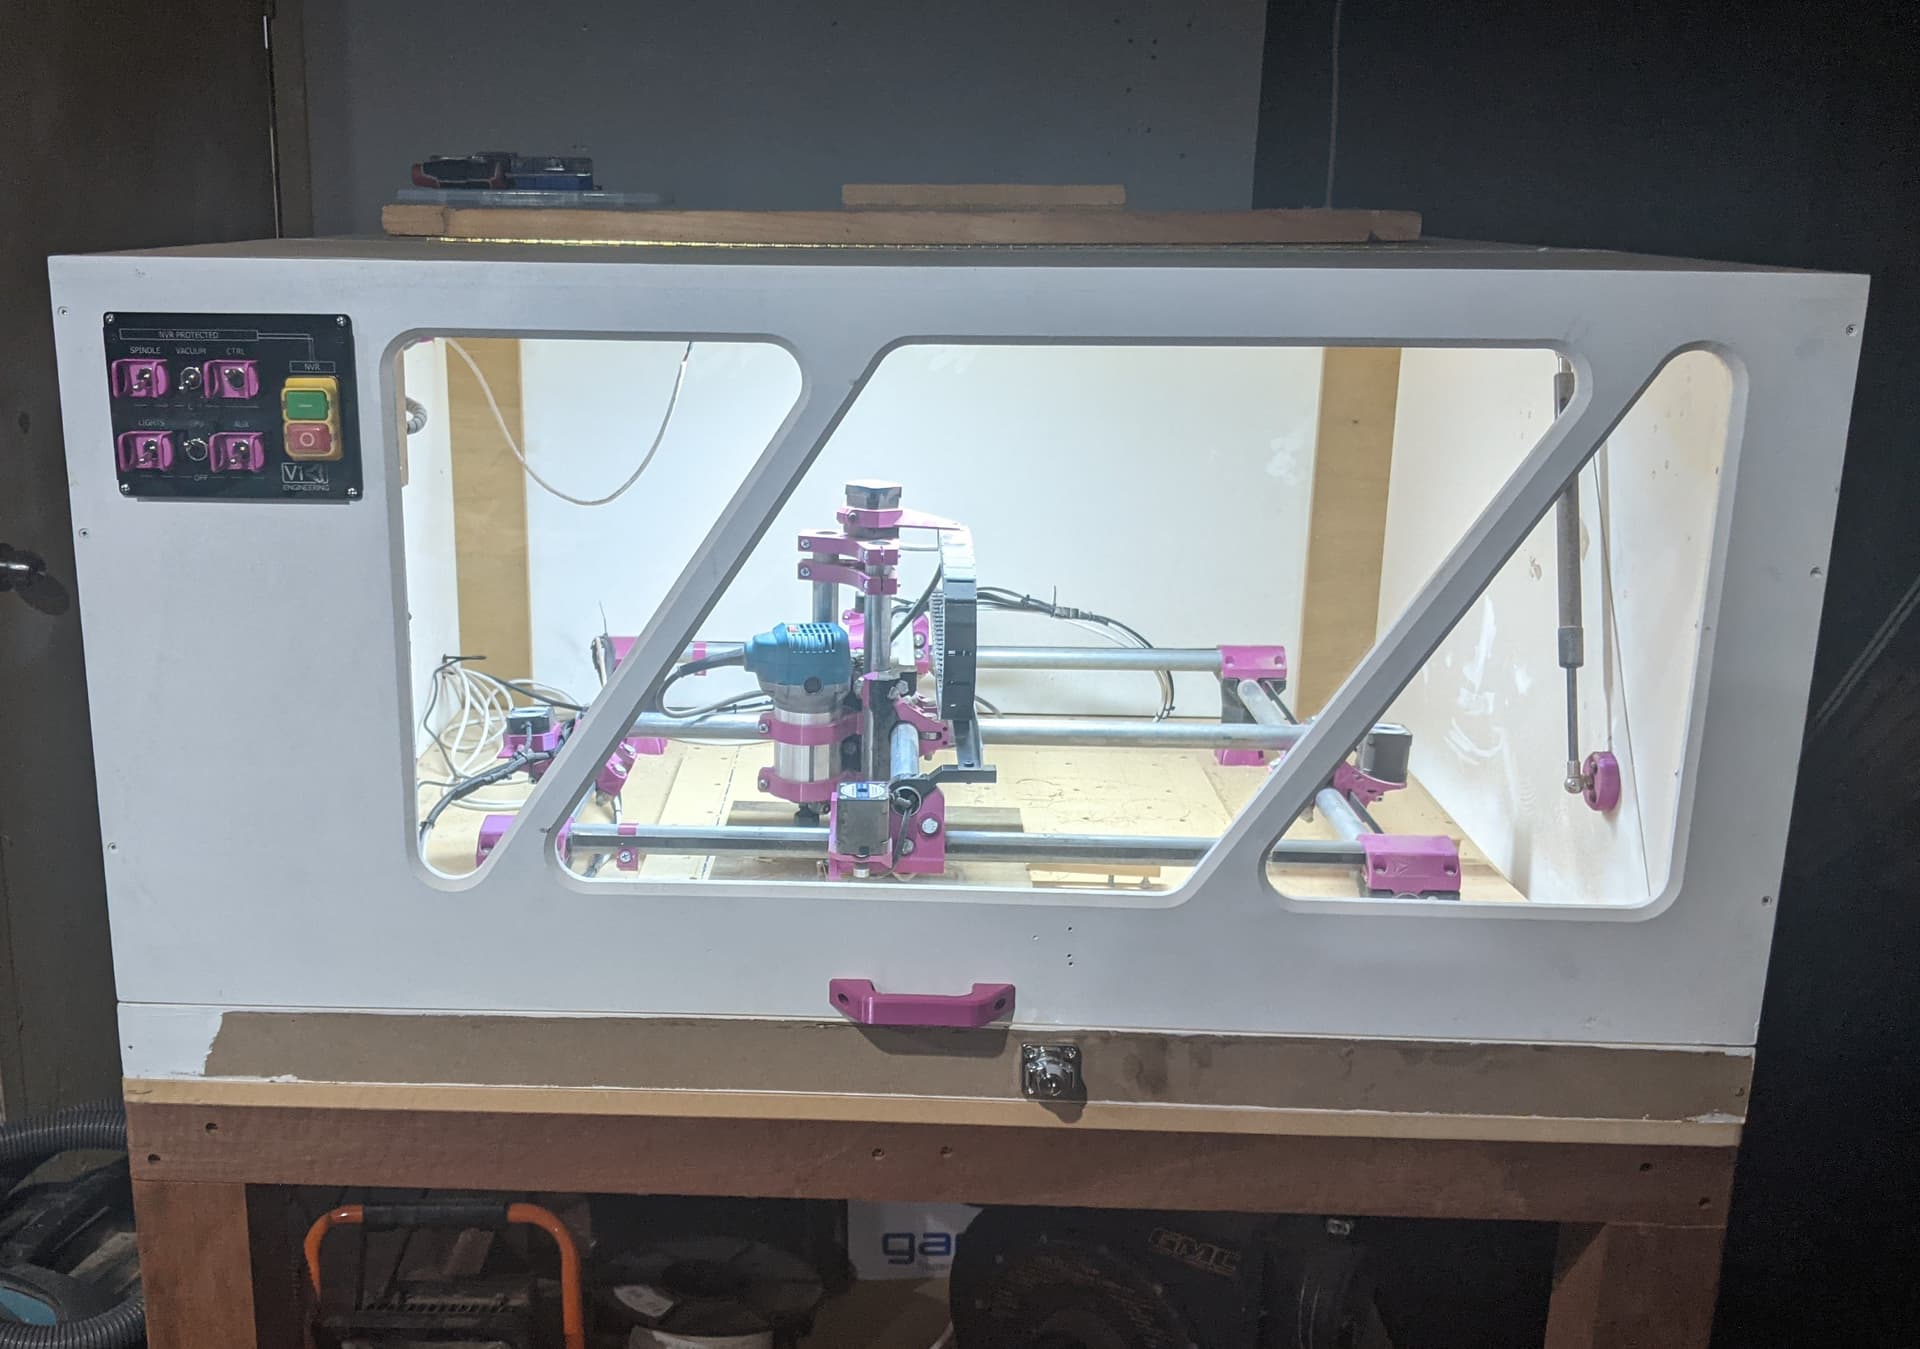
One of the main slow points was my obsession this time around in getting my cabling a lot neater. The Burly edition had cables everywhere and it always annoyed me. The other major upgrade was the enclosure. The Burly was quite good at putting dust every where and I wanted to avoid that.
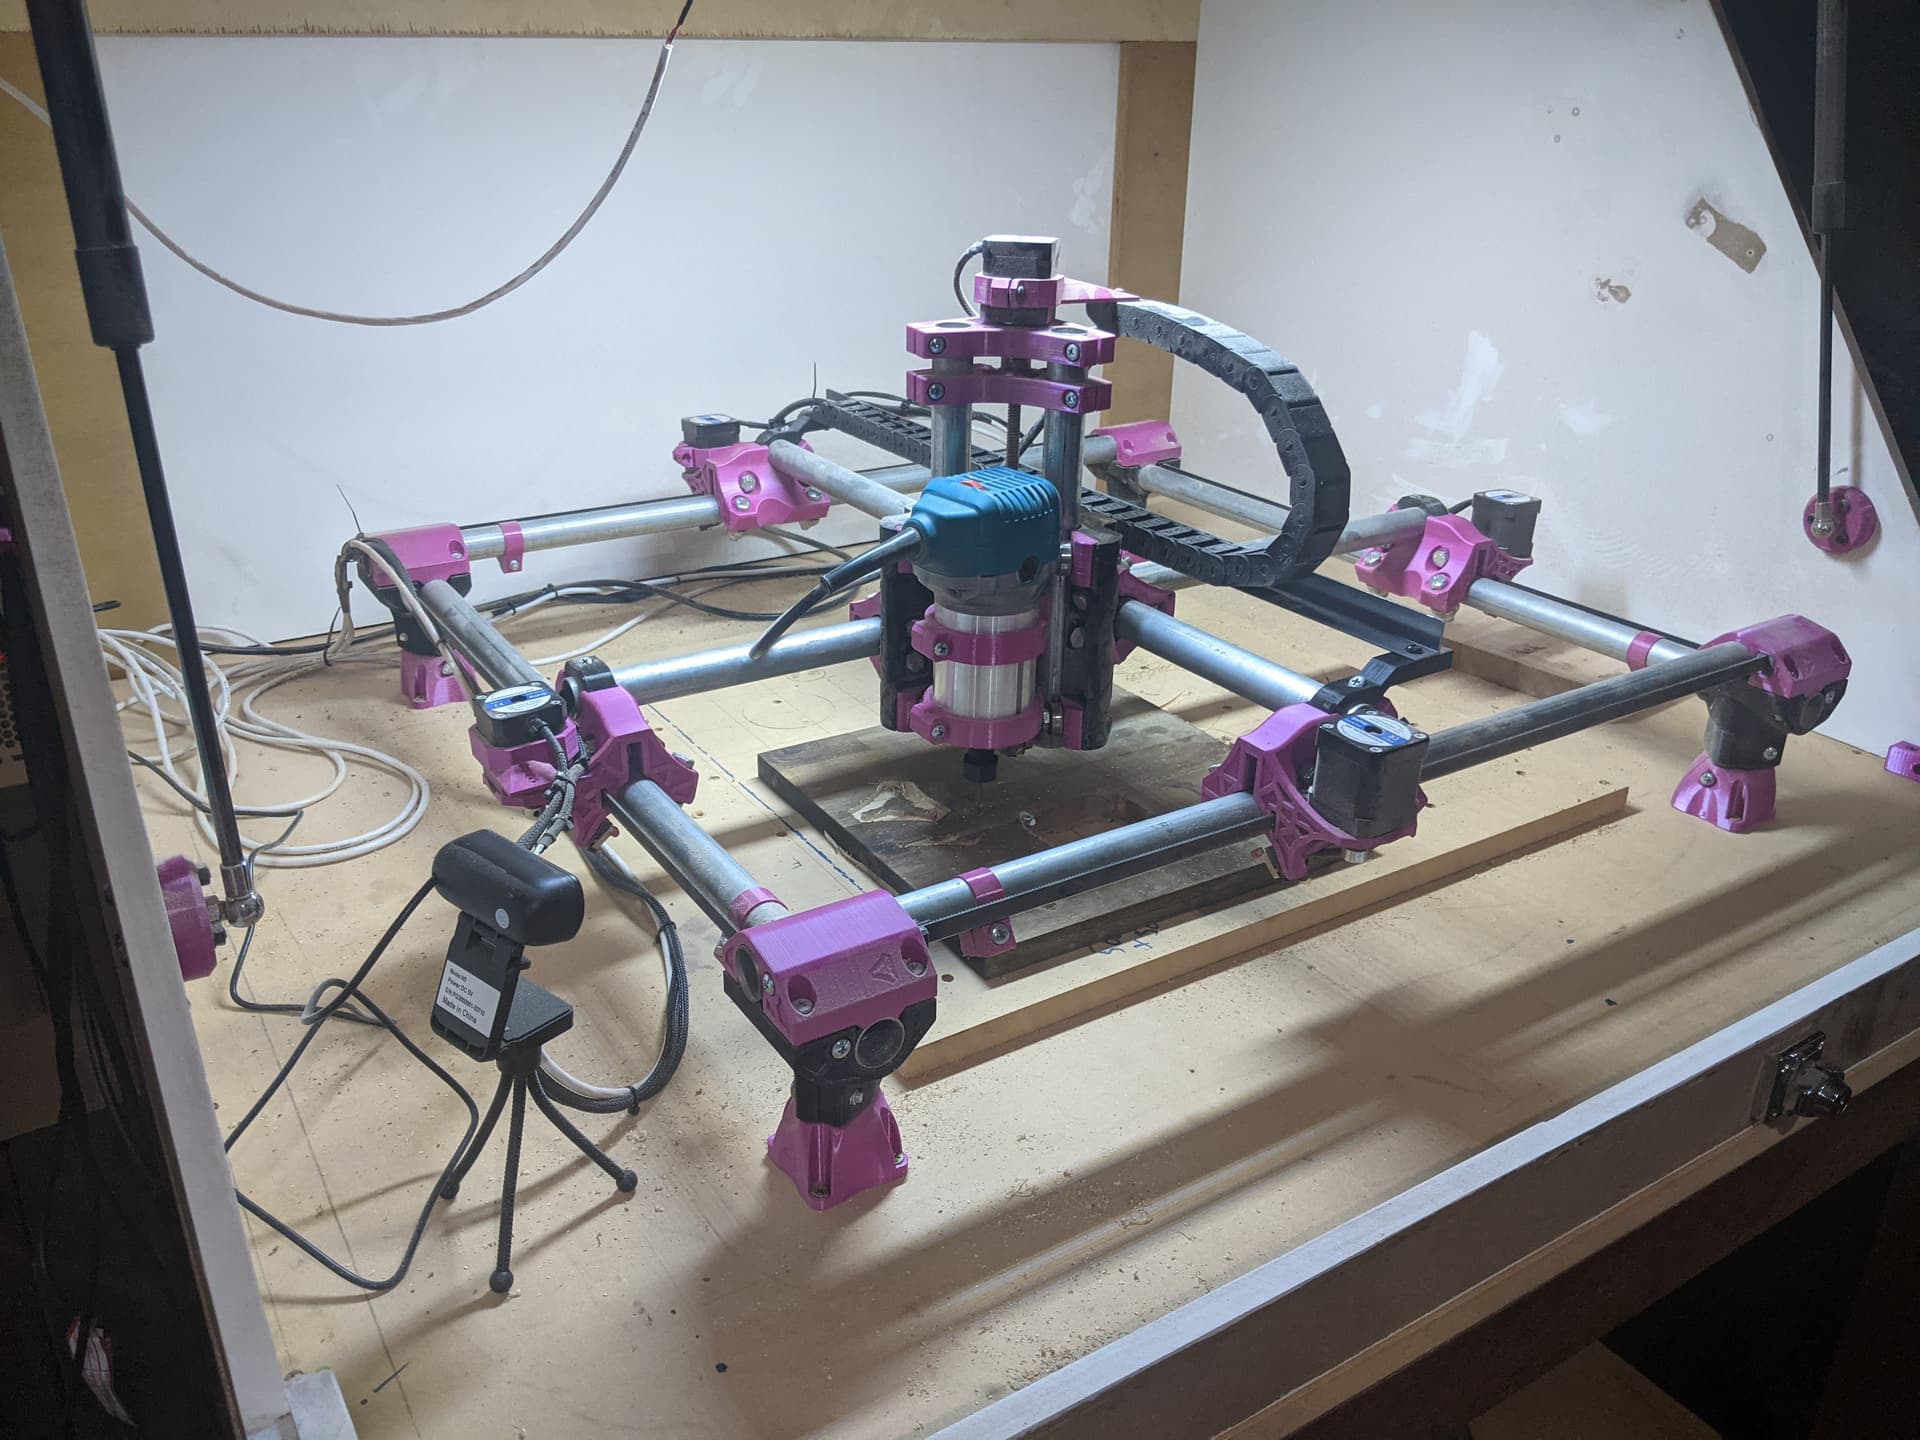
I’ve already noticed that the Primo is a lot more rigid than my previous machine. I put that down to both the chunkier Primo parts, but also the reduced work size and not rushing the build process.
I still have to finish and paint the exterior of the enclosure, still some cable management on the X/Y axis and just some final tweaks, but the machine has already been making chips.
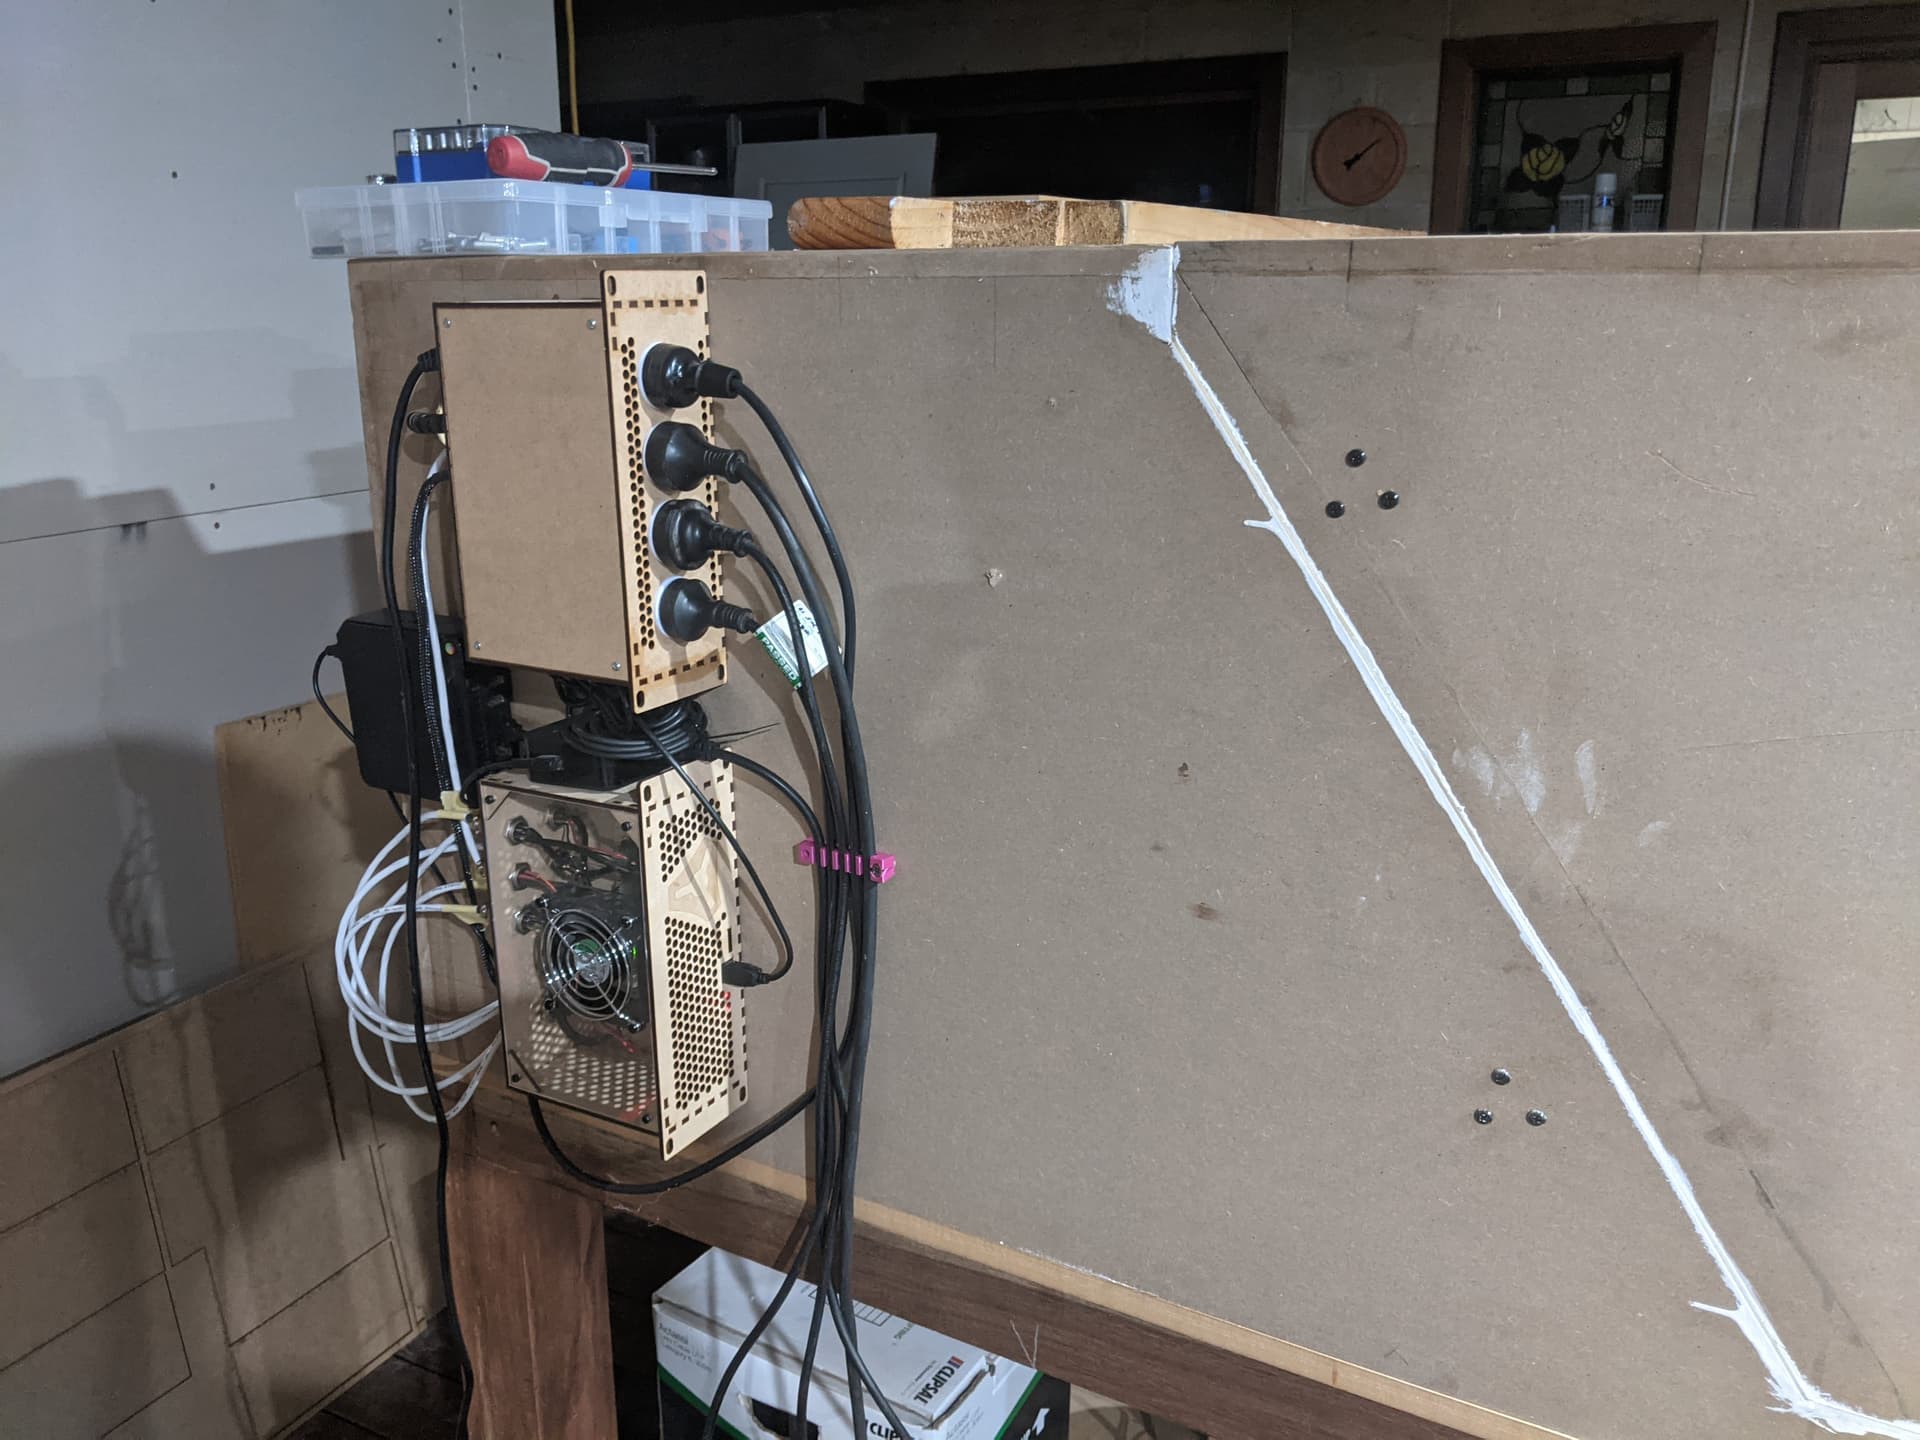
I’m still working on the bits for mine but I have to say that I like the Space Shuttle style switch guards and the proper orientation of the toggle switches. The rest of the build is pretty snazzy too.
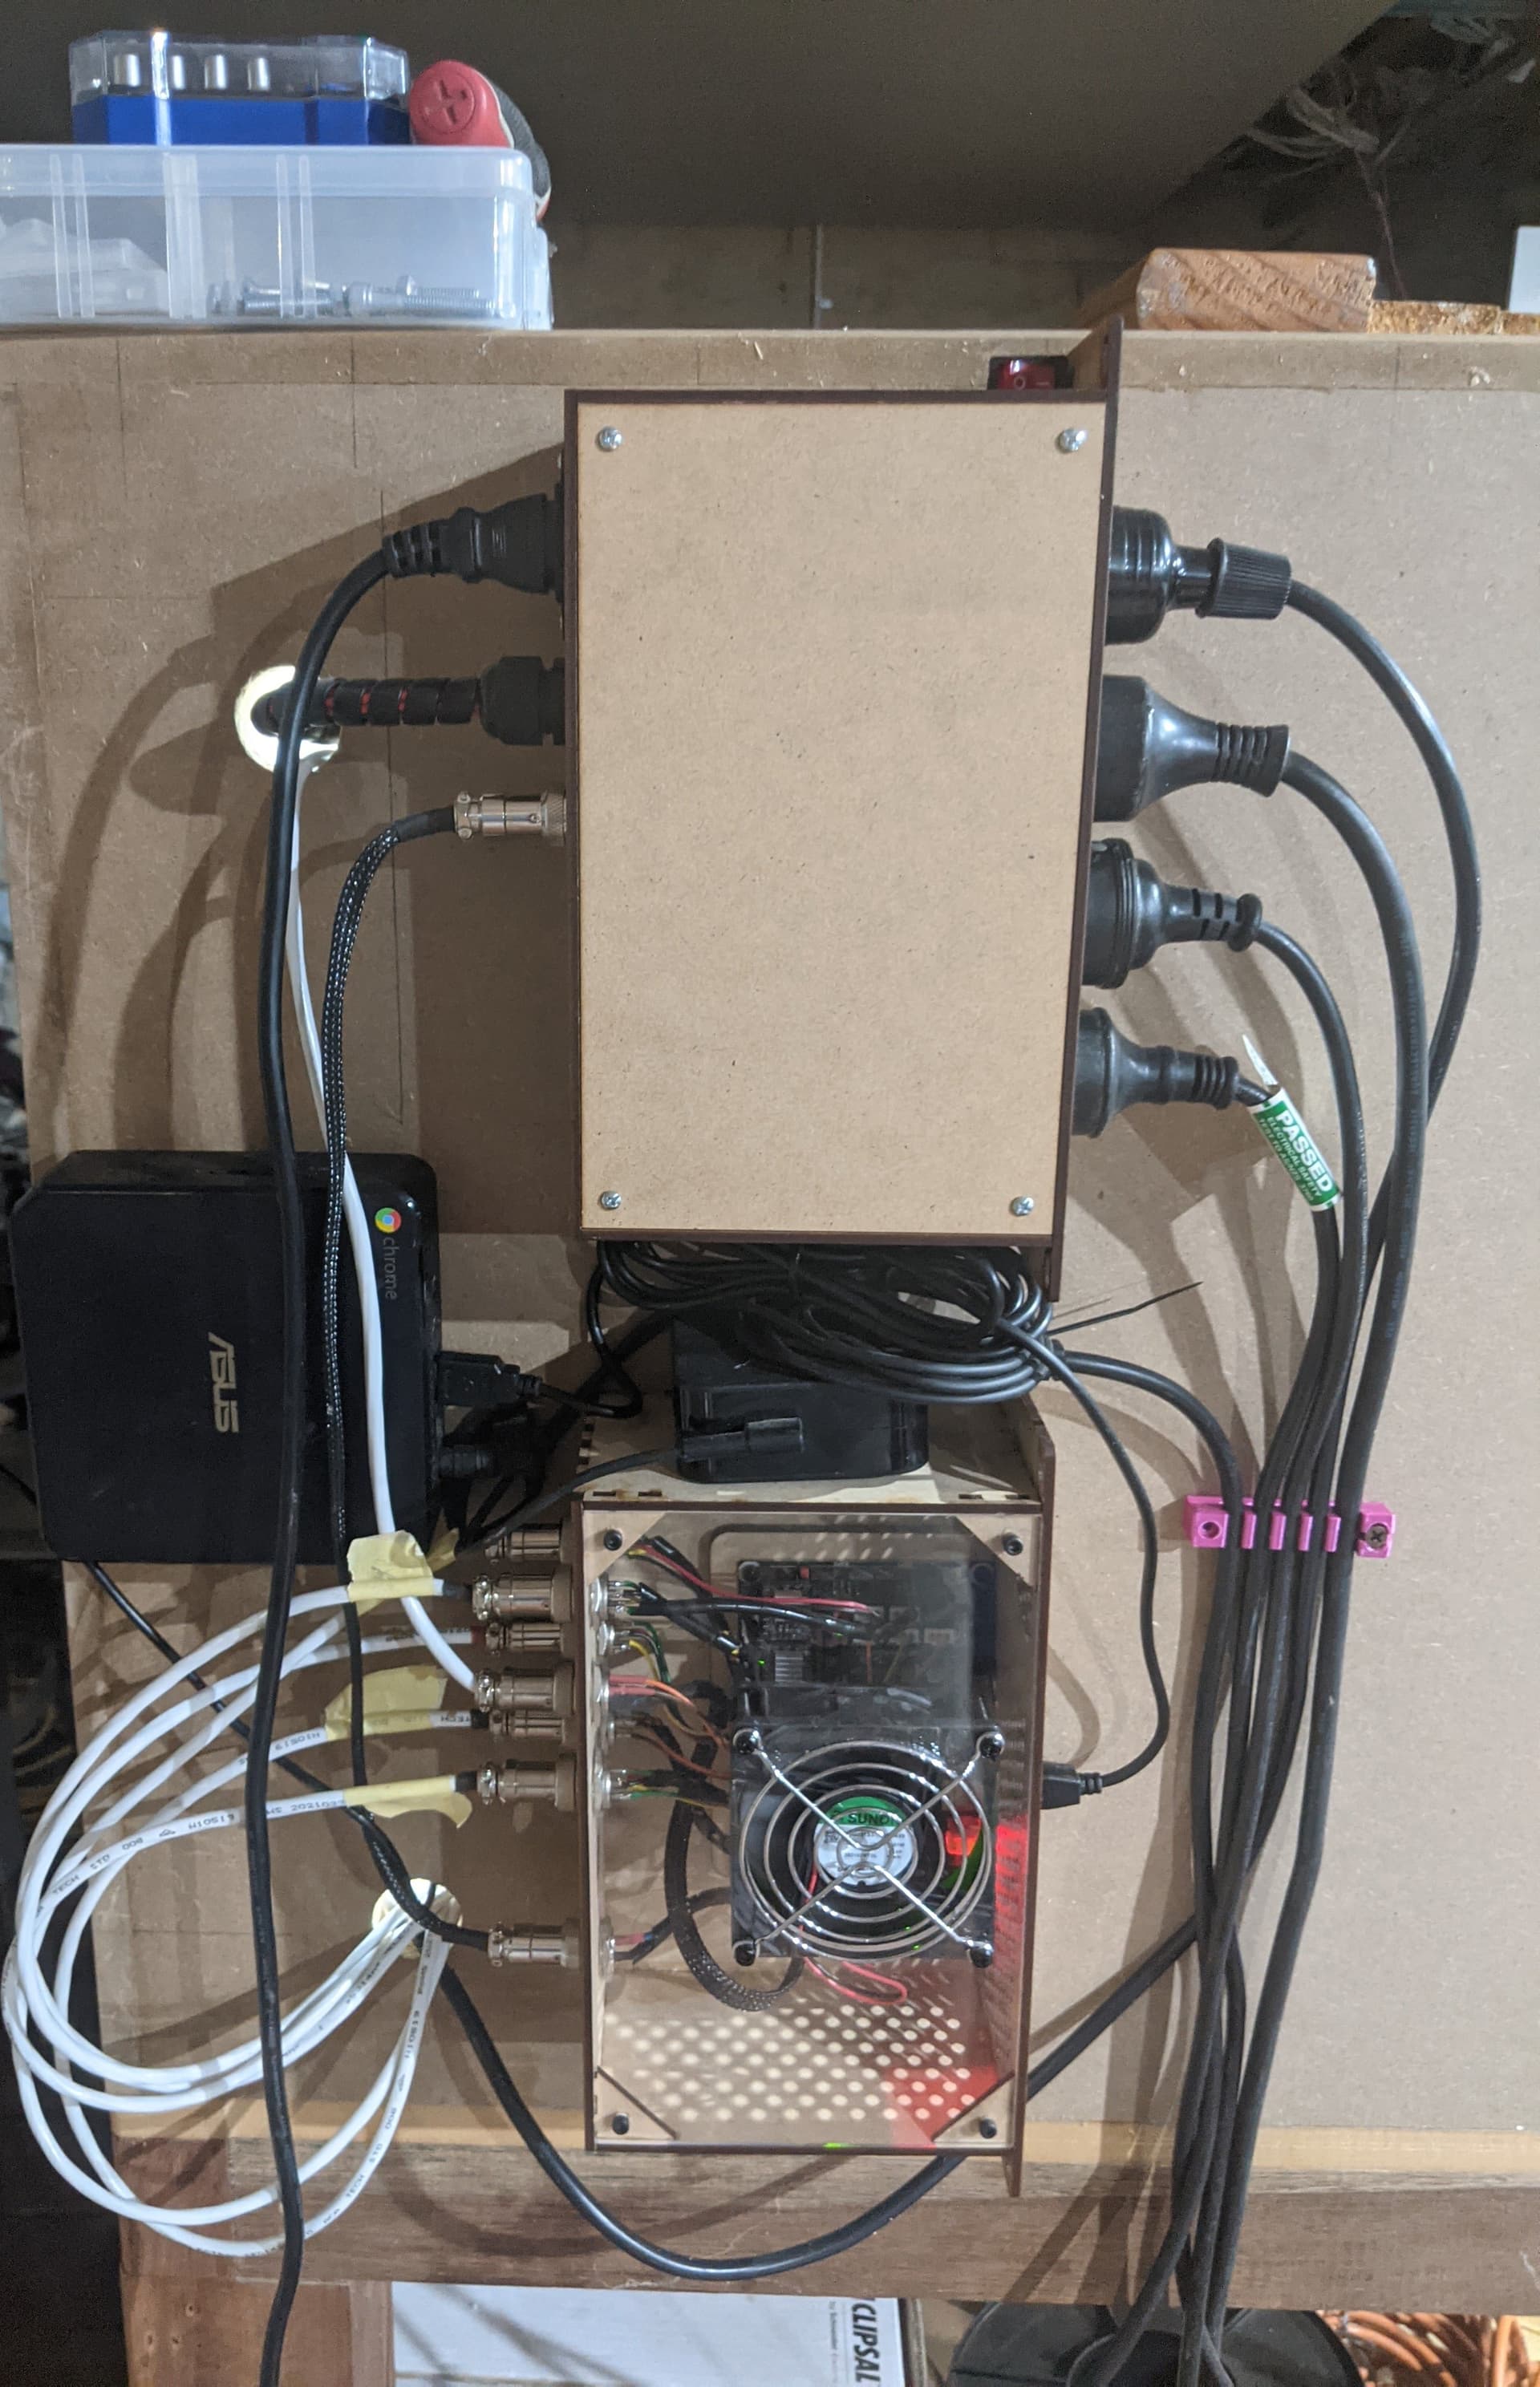
I may have got carried away with the control board. I also spent a fair bit of time with the power/controller boxes as well. The controller box went through a few iterations.
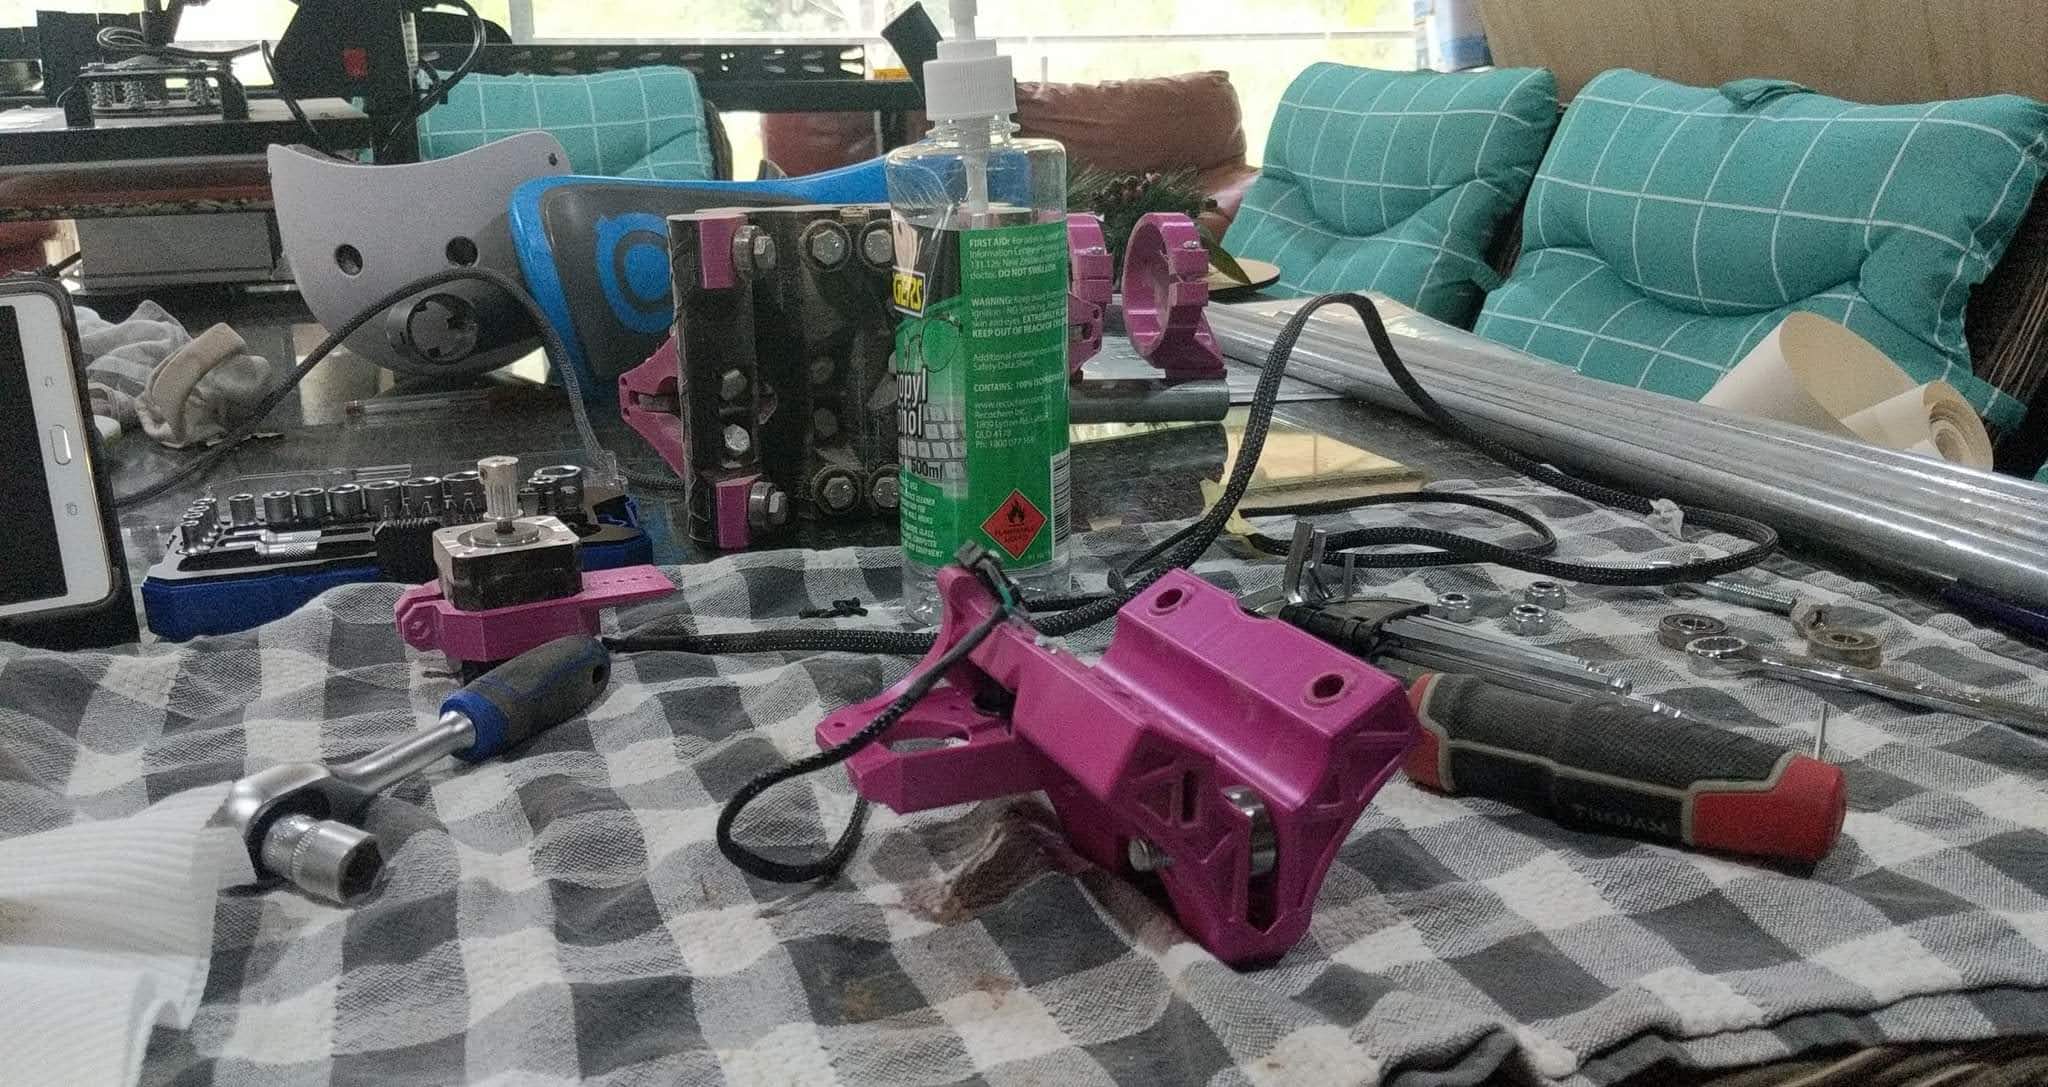
But it was fun combining 3d printing and the CO2 laser to make parts for a CNC routers.
So it’s been a few months now since I finished assembling the rebuild. I haven’t had as much time using it as I would have liked, but during that time I discovered a few issues.
Tramming - The router has a noticeable tilt, I’ve tried shimming the mount but I haven’t eliminated it. I also suspect some of those may be caused by the core as not all the bearings are contacting the rails.
Loose parts. I had trucks that could tilt back and forth on the rails. I found this while trying to work out why I had chatter.
Z-Axis screws coming loose - Loctite!
Not all bearings contacting bars - I think this is a symptom of me trying to fix the loose parts / chatter issue. With all the tweaking and loosening and tightening of bolts I probably caused this issue.
Dimension accuracy on parts - I think this may be caused by a combination of the previous issues.
My plans now is to strip the machine back down and rebuild. This will allow me to check the printed parts for any damage, clean and check all the bearings, and also check all the parts as I reassemble them for the issues I had above.
With that in mind, would it be worth replacing the galvanized rails with stainless? My plan is to eventually mill aluminium parts and I am not sure if the extra cost will add that much to the rigidity.
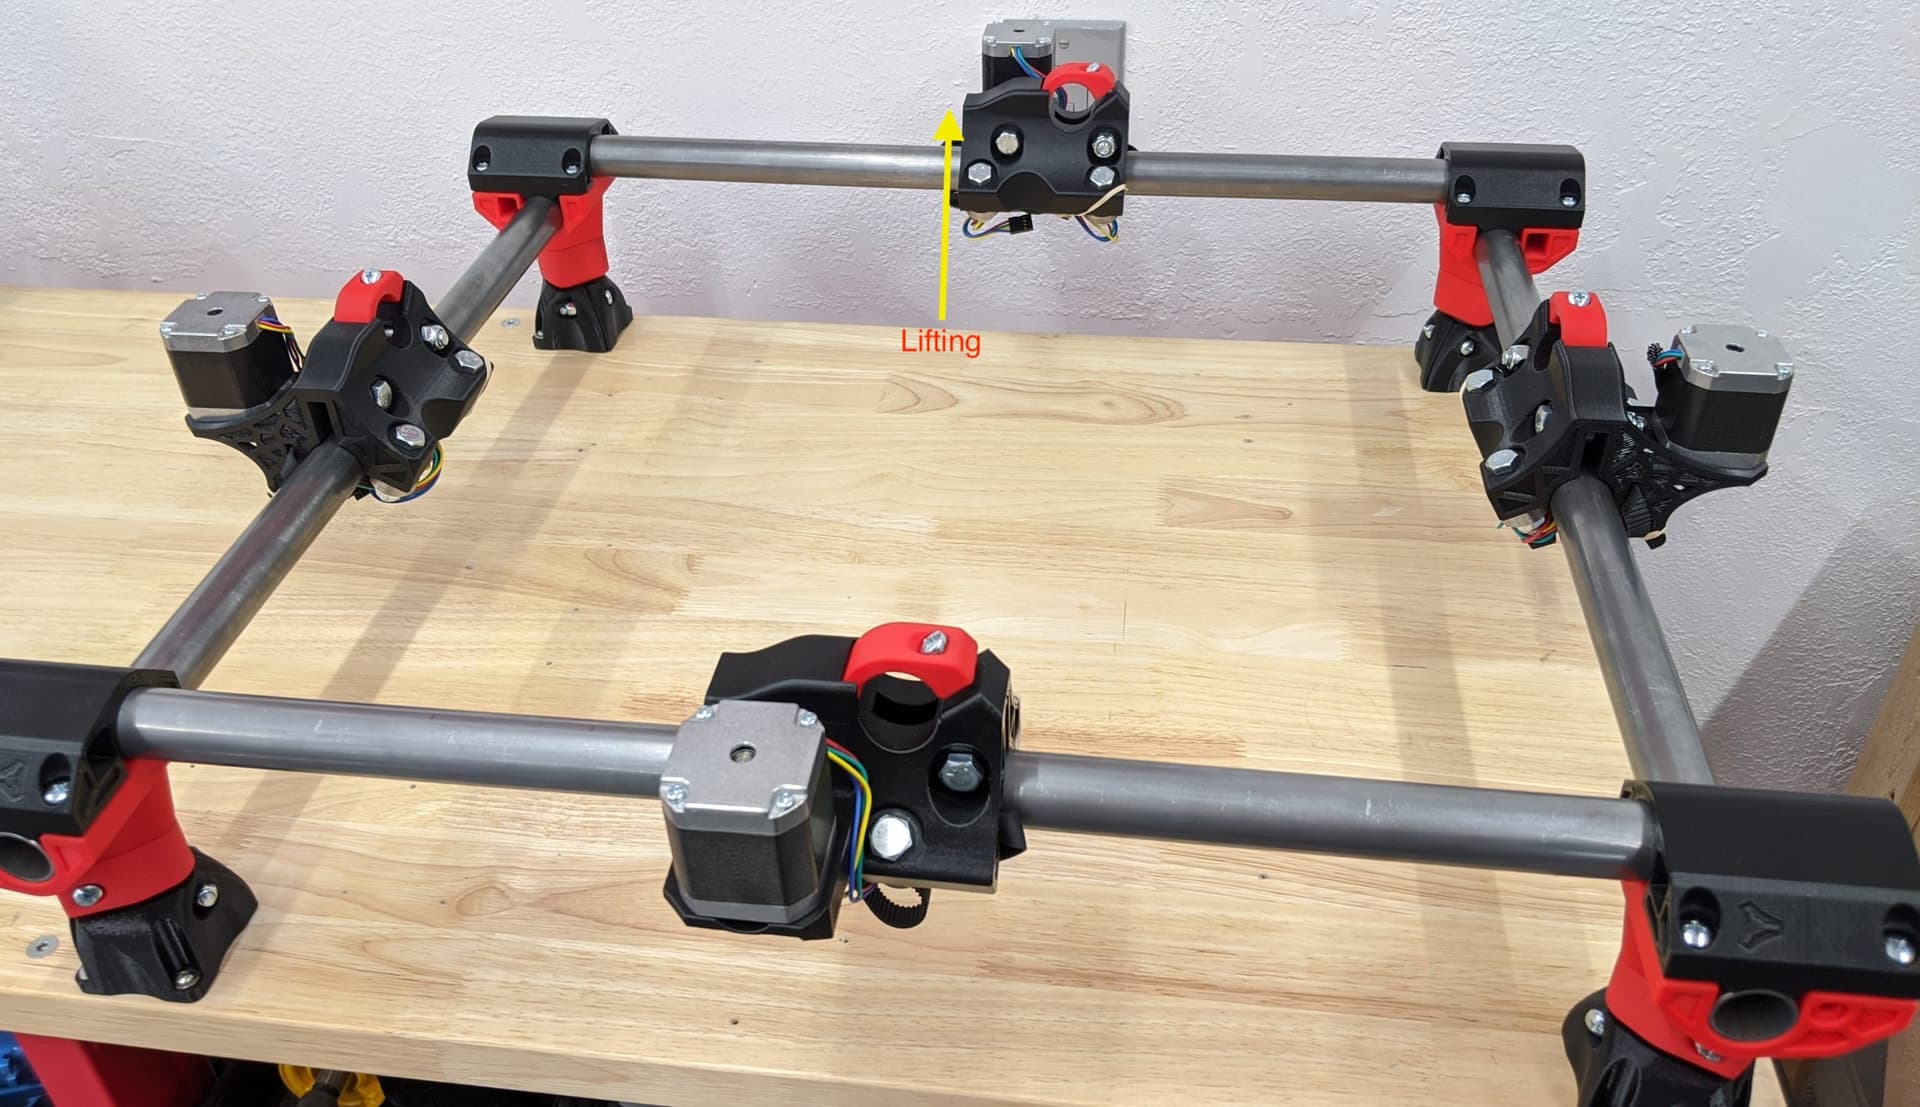
Everything came off except the feet and bottoms corners. All the trucks are cleaned up, rebuilt and squared up to <1mm. Then I noticed that the far X-Axis truck I installed the bolts in reverse.
That X-Axis truck has noticeable vertical movement compared to the others. Tension was good when I checked. @Ryan is this an issue at all? The other 3 trucks flex slightly in that area not as much. It may sort itself out once I swap the bolt direction.
Tonight’s job is the strip down, clean and rebuild the core and Z-Axis. I am hoping that this will eliminate or reduce the tramming issue I had previously.
I don’t think it is an issue but it sounds like a tension issue on those bolts. Best to always start loose and go until the bearings touch just barely, then set the squaring.