Well, build #2 is complete! After using the Burley for over a year, making many neat gifts for my grandchildren and others, I thought I would share a few adventures in the building of the Primo
I actually didn’t know there was a new machine designed until earlier this year and when I saw videos of metal being cut on it via YouTube.
I ordered up the hardware kit for the new machine through V1 Engineering, and was off printing the new parts. By the way, the parts kit shows the belts in the listing, but they aren’t included. You will need to order the 10mm belt separately. This mistake on my part cost me another week of waiting for the order to arrive.
What the upgrade kit did do, was save me the time to find all the parts and get them ordered up. That was a plus.
I decided to go with the 1" version with the obvious idea of getting the best accuracy possible out of this machine.
Everything went together very well. The plastic build time was 196 hours and the parts came out flawless. Ryan, your engineering skills are excellent! As parts were being built, I kept looking at how each part was designed, and well, I’m fully impressed.
I’m not going to say the build was easy. It wasn’t. The instructions come from the engineer who fully understand the intent and design of each part. Without that, in my case, I really didn’t understand the instructions to align the trucks properly. This cost me a ton of time.
I also found it somewhat time consuming to figure out where the Dewalt router mount was on Thingiverse. I thought it would be nice if that link was in the build instructions. I did finally find it, and the parts work flawlessly.
The rest of the build went well. Truly, I’m very grateful to have this new machine to find out what it’s capable of producing ahead. Especially with aluminum parts.
My first move of the machine was to find out how accurate it is, and wasn’t I surprised to find the repeatability of moves was close to perfect! I find this hugely impressive for a machine made out of plastic parts.
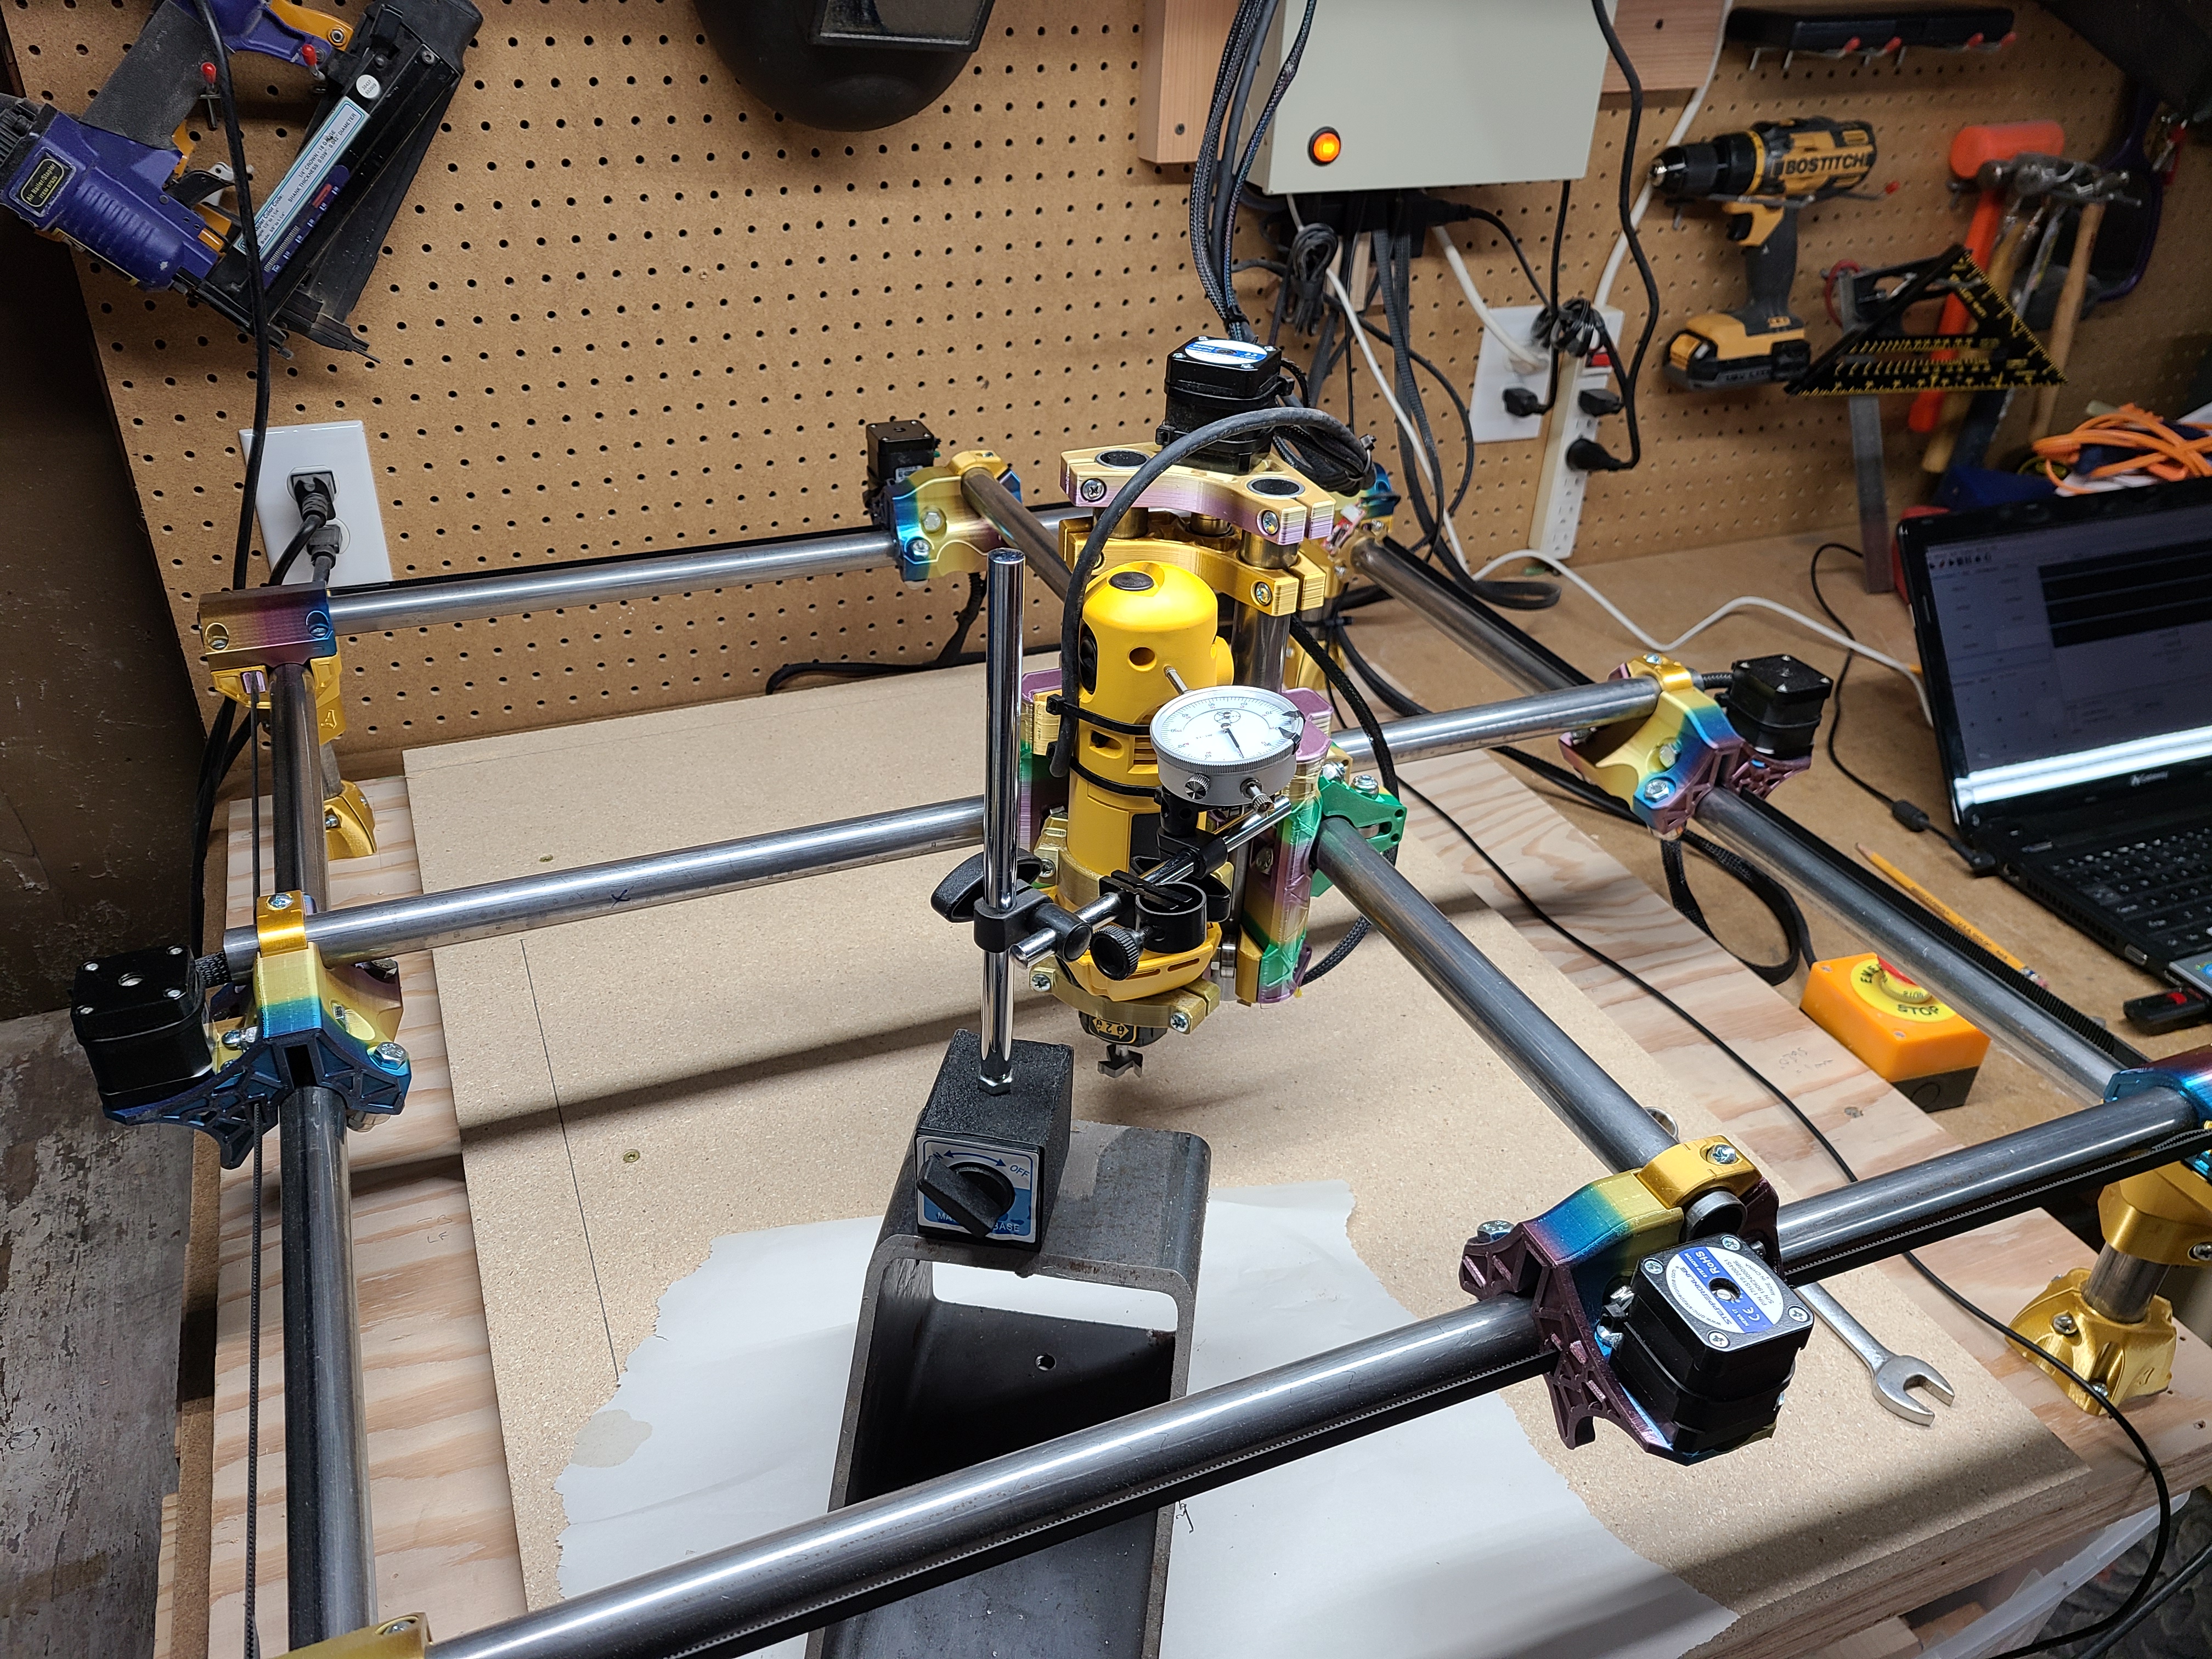
I set up a dial indicator as you will see in the photo and set the indicator at the x,y, and z zero point. Then I kept going back to home and then to the zero point, each time showing almost a perfect precision move. Each one was well under .001". That is amazing to me!
Anyway, for those who are thinking about building this machine, go for it! It’s truly an amazing way to get into a CNC Router at a pretty low cost.
I use an arduino board with grbl… Also using Universal Gcode Sender for the software side and all of this works perfectly for me.
Ryan is great at getting parts out quickly, and I’ve found the parts he uses to be good choices for the build.
Thanks again to Ryan for all the incredible work to keep upgrading these machines.
Best regards

 they look awesome. Congrats on getting the precision really dialed in too on the setup.