Okay, I know (now) that I was supposed to create this thread when I started but instead I’m posting it when I’ve got it complete.
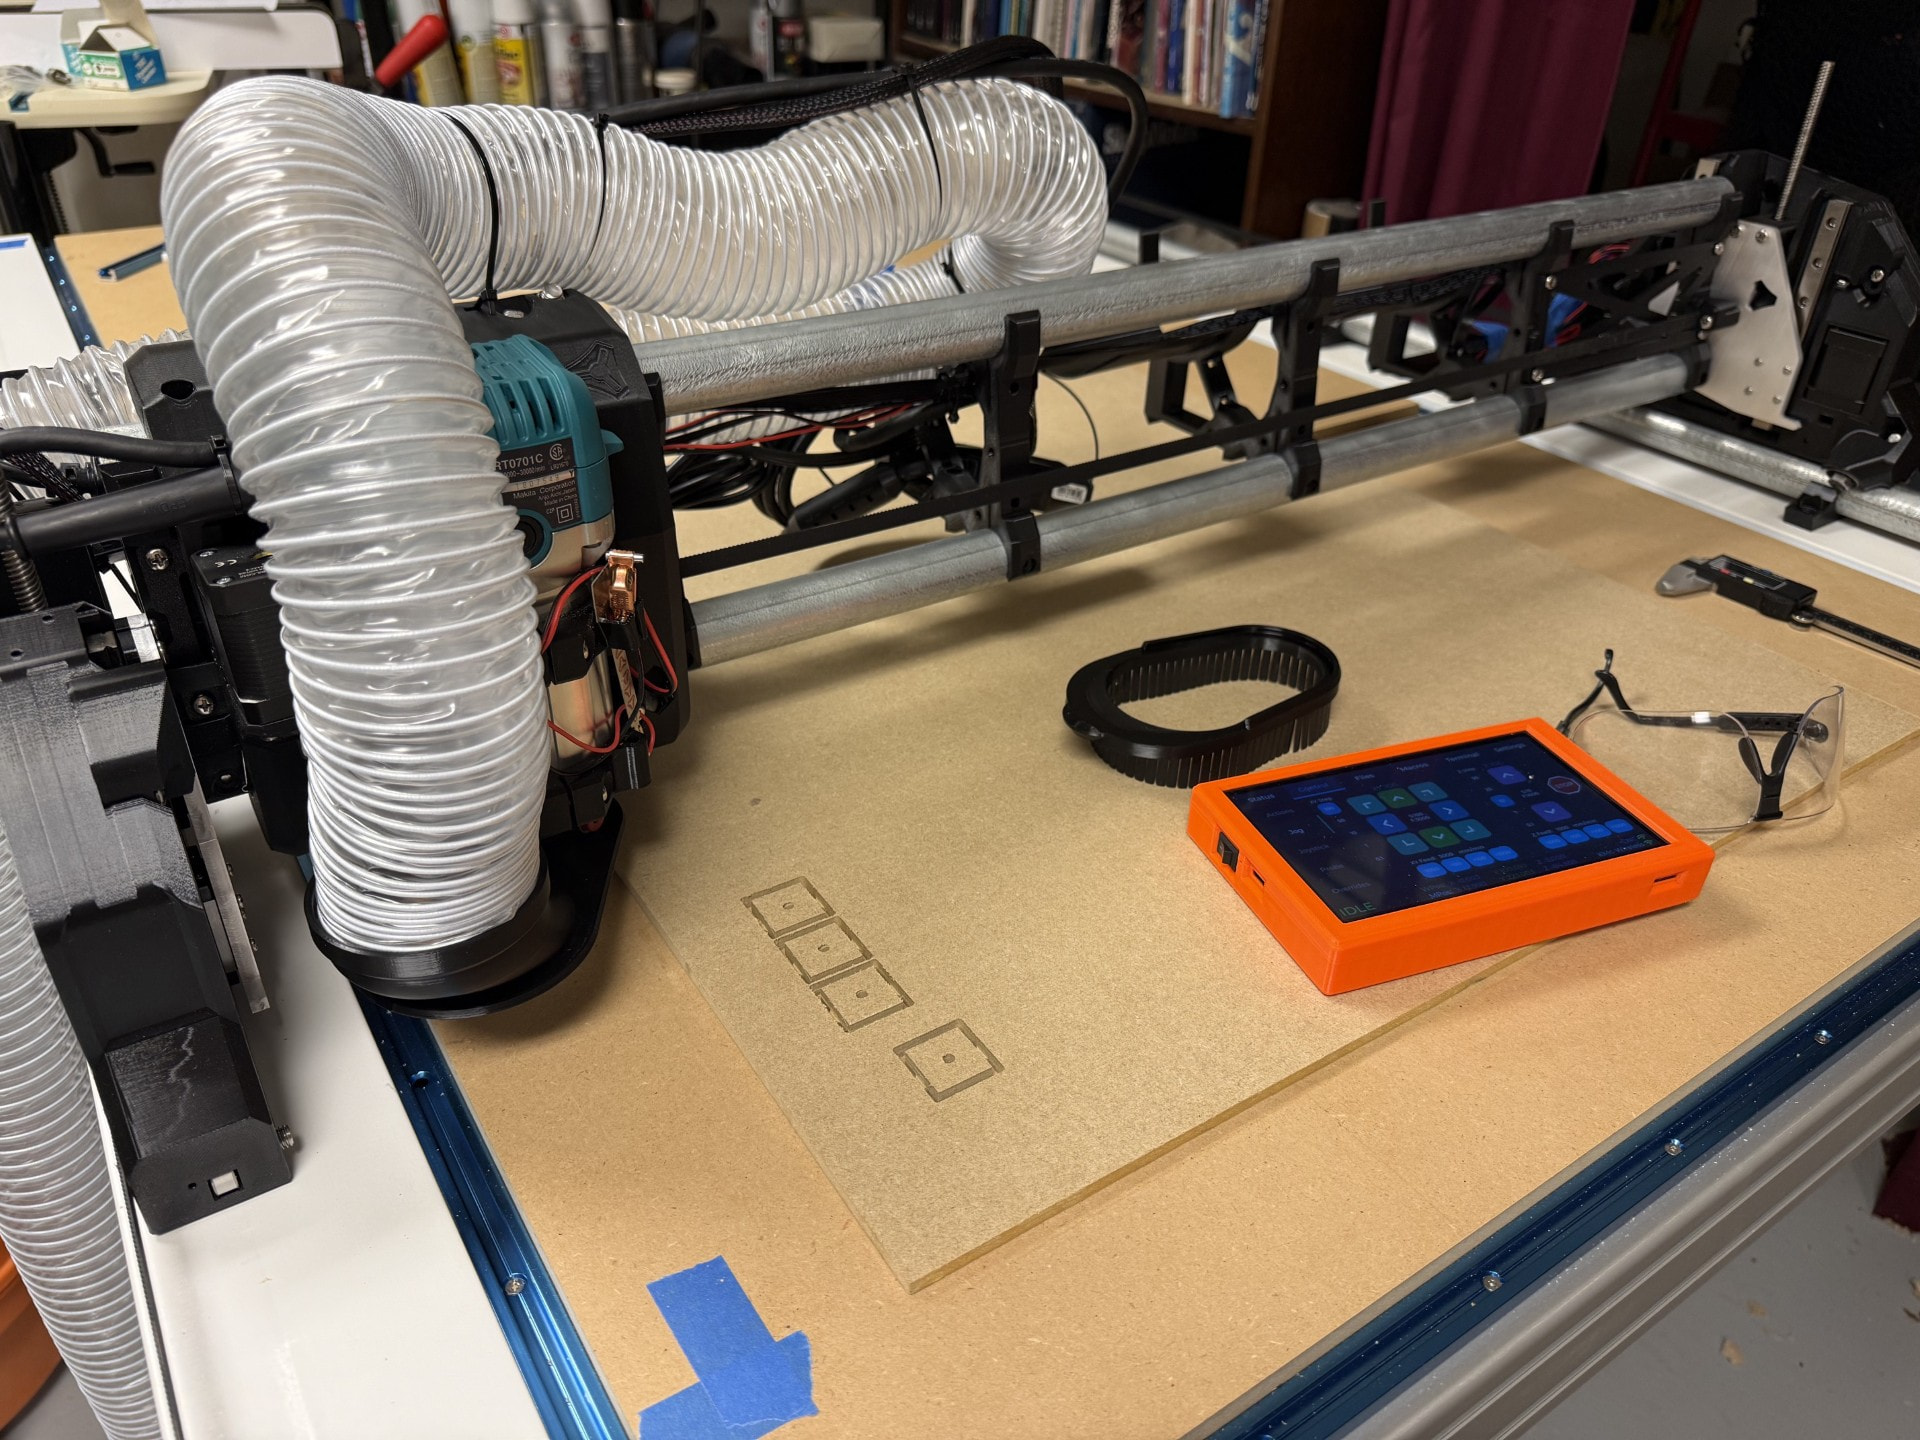
Built a table out of aluminum extrusions with t-track and easily replaceable MDF spoil boards. I use my table saw as the table base for space saving, so the spoil boards were important to make easy to remove to reduce weight when I want to use the saw (plan is to remove the y belts and then remove the gantry and spoil boards and then move the table).
Build went relatively straightforward - I did need to read the documentation through a few times to make sure I got it all straight but the only place I didn’t have full confidence in what I was doing was getting things wired up. But I also knew what getting the plugs wrong in some way was easy to fix.
Cutting has been going well although I’ve mostly only done test cuts and my strut plates so as I move into my own projects, I need to figure out the software workflow I’m happy with. I mostly use Fusion for design although I’m trying out FreeCAD right now so will need to play with the post-processing in those first. I have EstlCAM working (although I don’t love it) and I’m seeing potential in PureCutCNC if I have to move to exporting to dedicated CAM software.
I do have one question for anyone that can advise: I have been doing test cuts with a few different bits to dial in speeds/depths/etc. I’ve mostly been cutting 25mm squares with a finishing pass and have relatively good accuracy but I have found that if I want to get really close, I need to use a bit diameter that is slightly different than I expected. My main bit so far is the 1/8" upcut from Ryan’s store - it is labeled as 3.175 diameter but I found that I needed to put in 3.1 to get the square the most accurate. I have done the alignment steps and gotten things under a mm of difference across 1300mm of travel in the belt calibration, so I assume that part is correct. Is there anything else I should look at or is adjusting bit diameter an acceptable solution?
I seem to have taken very few photos along the way so I’ll need to grab a few more next time I’m in my shop to show the table better and the final build with struts and better wiring but a few are attached here.

 Welcome to the party.

