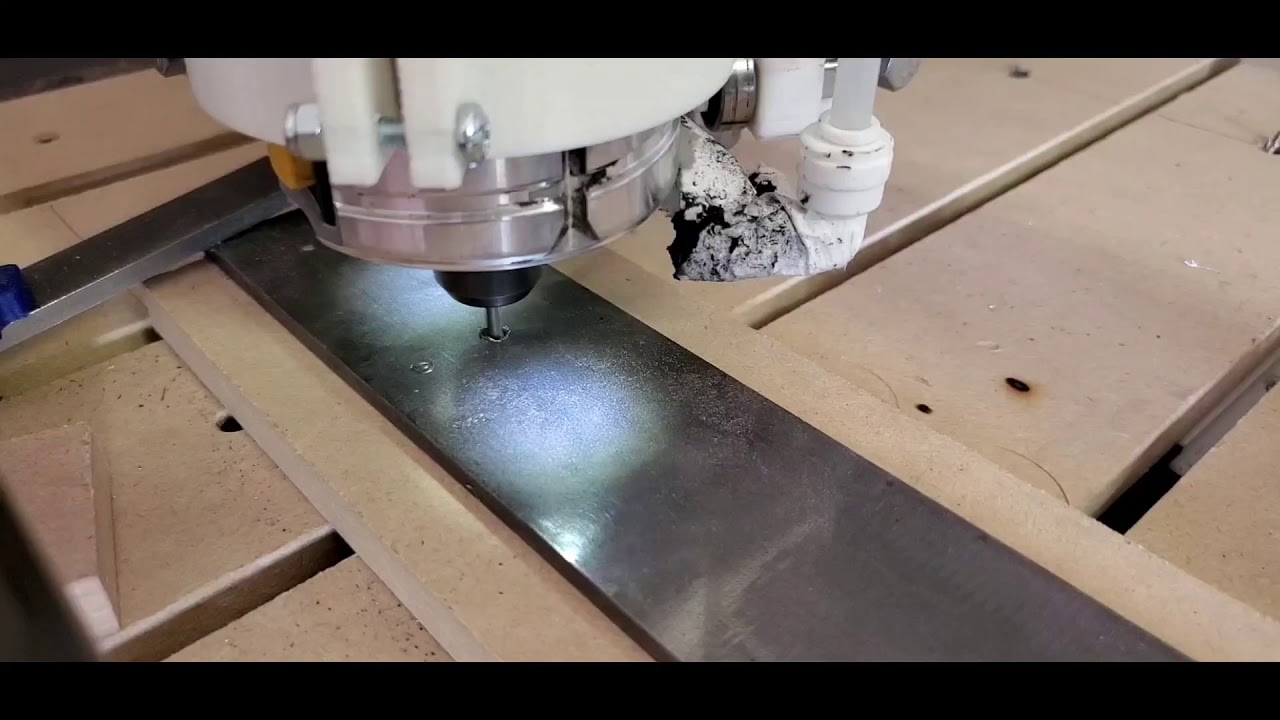
Please Help - In depth technical advice requested. Longish read

These two requirements seem like the hardest to meet. I would decide which one is more important to you and either make a 18x18x3" aluminum build or a 30x30x3" wood build. Once you have a machine for a while, you will quickly learn what is important to you, and decide if you need a second MPCNC, a Low Rider, or some expensive workhorse.

The preferred SKR used here is the Skr Pro v1.2. The mini is different and the 2.0 has not been picked up for use here. The Skr Pro v1.2 is a great board for many things, including an MPCNC.

This machine will be yours and you can do what you like with it. The goal of the docs and Ryan’s advice is to have a “yellow brick road” you can follow to have some success. This includes using Marlin firmware. You will have a good chance at success, but a grbl board, either the esp32 variety or just a CNC shield will work fine.

My recommendation is to just try it with PLA first. It is a very rigid material, and very inexpensive. Things like PETG are more flexible and work. Nylon is not something I’ve used, but my impression is that it can be a pain to print and is expensive.

This really is a “Choose your own adventure” project. But if you are looking for no nonsense, reliability, and to hit the ground running, then you should follow the yellow brick road, get a kit from the store, follow the estlcam basics and consider the machine an investment in your brain. Once you’ve spent a few dozen hours on the machine, you will be able to tell where to go next (moar v1 machines, bigger CNC machines, etc.). You may also decide to change the size, replace the controller, or spindle, or print some parts in nylon, but you will do that with the first hand knowledge of using the MPCNC for your business.

Just don’t fall for the hype. You don’t have to spend thousands to have a machine that can make you money and you don’t have to buy expensive software to control a 3 axis router. Any CNC router will have failed workpieces. Any CNC operator has a lot to learn. I would rather learn and make those mistakes on a $500 machine than a $10,000 machine. The $10,000 machine can probably cut bigger items in metals, and it can probably cut faster, but not 20x faster.

You will need a healthy dose of confidence and some patience. It sounds like you’ve got that already.
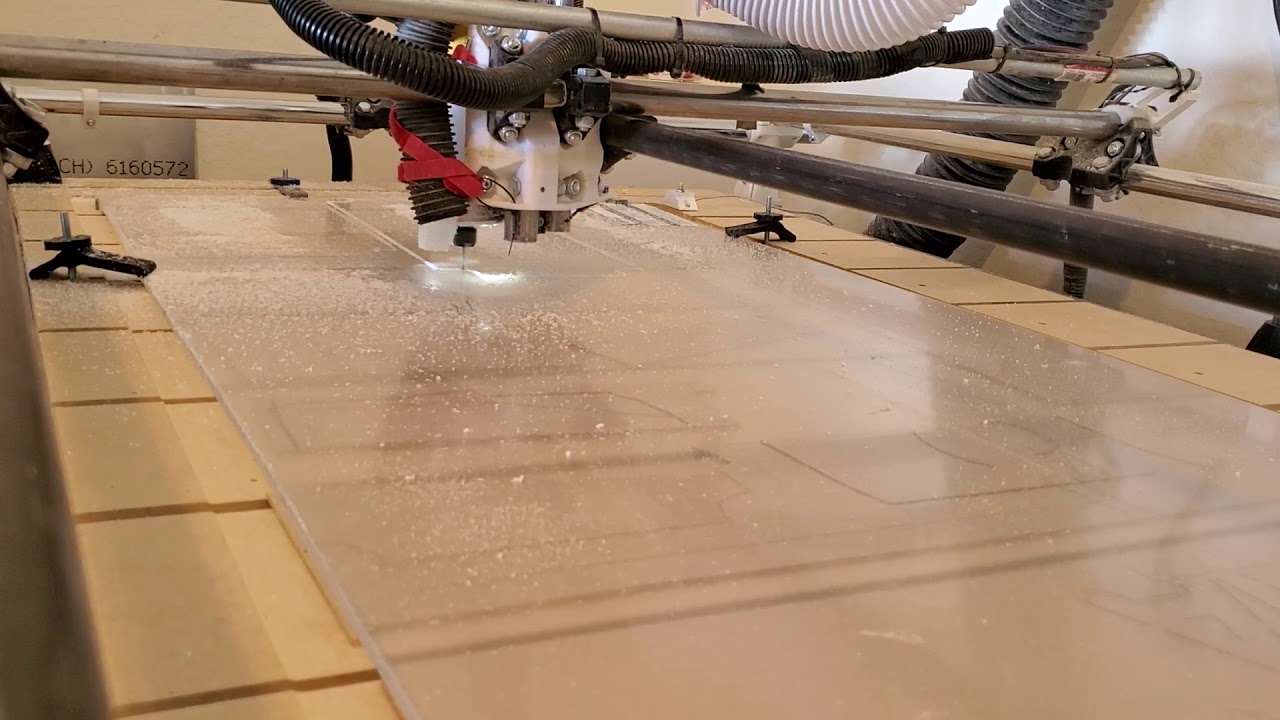
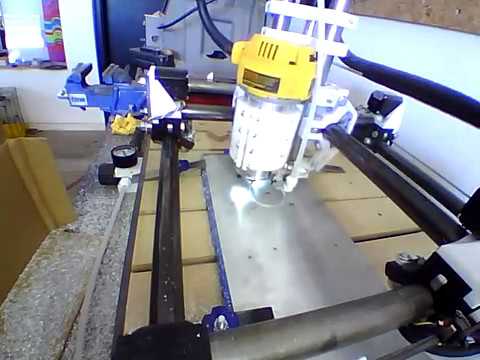
Having built several of these, and following the excellent feedback above, I don’t have a lot to add.

30x30 is OK, but aluminum will be painfully slow on it. I built a 10x12 (teeny tiny burly) that did great on aluminum and even cut some steel, but I think I could have gone as high as 12x18 without losing anything. I’ve also cut 1/8" aluminum on my 2x4ft primo, but only from much smaller sheets (about 1x2).

You should come in well under 3k for your build and tooling. In fact, you could build several mpcncs for that, and really, that’s a great way to increase your output compared to buying a faster machine.

A while back i looked at tormachs for a comparison. That’s what I would consider an actual step up from diy cncs. Something like 15k to start, not counting tools and tool holding, work holding, etc. On top of that, the envelope is quite small (8x12, from memory). Maybe the maintenance is less frequent, i don’t know, but unless you are turning out part after part after part, that’s A LOT to pay for. I added another build to my shop for a very specific type of job and increased flexibility, and I’m in it for about 2500 usd now. The machines “in a box” under 4k that I’ve seen are not substantially better than the mpcnc, just perhaps more flexible as larger machines. Again, i think you can build 2 for under 1k if you’re careful.

If you need flexibility or high output, definitely plan for multiple machines. Smaller machines are easier to learn on, but a few of us have used larger machines to make placement holes for the legs on smaller machines.

For software, download the programs you are interested in and see what you like. Estlcam is simple and easy to learn, lots of support here. Freecad is comprehensive and improving, but the sketch tools suck. Fusion is free-ish but unless you subscribe it is fairly crippled (depending on what you need) and have shown that they’ll pull the rug out from under you if it suits them. Solidworks is solidworks, and a while ago I think you could get a free or discounted copy of you were in an aviation club (which was cheap) but that may have changed.

In terms of rigidity, in most cases the plastic will flex before the tube so don’t sweat it too much. I had a 2x4ft primo, and epoxied some 1/2 in conduit i the longer gantry tube. The difference was noticeable and measurable (hanging weights) but that is extreme size and probably not applicable to appropriately sized machines.

The recommended steppers are plenty. Your machine WILL flex before you lose steps as long as your tools are in good shape.

In terms of boards… I’m still running mine on a mega/ramps and don’t feel limited.

And finally, don’t hesitate to make a post and ask questions. Even if you want to learn it for yourself, there are tons of really smart people here and many of them can point you to resources if that suits you better. This crew really is the best, and it’s been a long time since i was in a community that was even close.

2 Likes

The main mission of this machine would be 60/40 Aluminum/Wood. I plan on putting 2 more of these together as a separate laser cutter, and swivel knife(maybe, it will probably end up being a second setup of one of the other two), and/or a lowrider for the full sheet/large format capabilities. Variable speed control seems to be almost a requirement for cutting aluminum, and i’m not sure the best way to go about that yet besides spindle and VFD. I think the best results I have read about with variable speed have been with the makita. I’m completely open to rebuilding and upgrading in the future, that’s why i’m insisting on this platform because the possibilities are endless when it comes to size and ability.

Yeah, I don’t see anyone saying “don’t do that” around here. I’m not dead set on 30x30, and I understand what you’re saying about smaller=more rigid, I was trying to push the envelope a bit there. Z travel will likely be the recommended height or just above it. I don’t plan on cutting 5" thick material or anything, and if I ever do I can alter the machine as needed. I have dug through a bunch of the lowrider threads, love what they did in that regard. This whole project reminds me of the Dave Gingery book series, thats how I got into this kind of thing when I was a teenager. Build your own metalworking shop from scratch. This is basically that with computers and I love it. The mass/momentum in changing directions I understand from 3D printing. Usually referred to as jerk settings in cura and has other names in firmwares like klipper. It should be the same with a CNC except you have to account for extra weight and rotational force, correct? I know that’s something that will come with learning how to use everything. I have seen it said in many places that it is a balance with the frame/hardware. Grbl or estlcam is kinda what I was aiming for, something catered to CNCs.

1 Like

I think most of the major points have been hit already, but I’ll throw in my 2 cents.

This is a DIY setup by the very definition of it. You can get away with not knowing a lot about electronics by using the pre-built kits and getting basic help here on the forums. But keep in mind that the kits and instructions are NOT to make a 100% complete CNC machine! Yes, it takes care of 90% of it, but you still need to engineer a few things yourself. That includes cable management to keep wires organized and out of the way, plus a way to hold down your material being milled/cut. Thats not to say that you can’t use other’s ideas (some even offer their down designs you can print up), but its not as straight forward as building the MPCNC itself.

My suggestion would be to check out a ton of the threads made by us that built our own already and get an idea for the cable management and material mounting before diving into this at full throttle. Its honestly not that hard, but you’ll have to have a bit of engineering skill in you to build a 100% functional CNC machine.

Touching on a few questions you had…

Great choice. It can handle most if not all of the materials you want to attack. I have one myself and its perfect. You’ll only need a more powerful spindle if you want to go faster, but that will introduce new problems. Start with the Makita and you can always swap out tools later.

I bouught the 5-pack off of Amazon that is linked in the directions. They go up to 2 Amps which is the highest power you’ll get from these sized motors with the exception of VERY expensive custom models. As others said though, these motors are more than powerful enough. Keep in mind that the X and Y axis are powered by two motors each.

Second to software, this will be the biggest option to pick from. I personally don’t have a stand-alone board, but rather have a whole PC running LinuxCNC that connects to a driver box I built, and it controlls everything. There is even the option to use a Rapberry Pi. Lots of options.

Same as above, if not more complex with options. You’ll see a lot of people talk about EstlCAM, which also prefer. But still, there are a ton of options.

Be prepared to build and disassemble the whole system at least a couple times. When I first built my MPCNC, I thought I was doing it perfectly. Then I ran the machine. I ended up almost completely taking it apart and rebuilding it with better adjustments.
Its certainly a journey, but worth it in the end. The MPCNC is an amazing piece of machinery, but it has a learning curve. Build it, research the electronics/software, and start cutting!

You’ll fit in just fine :rofl:

2 Likes

Not a lot to add, but welcome!

I have a 25X37 Primo. I am not planning to use it for aluminum in this configuration, but now I have a LowRider, so I plan to reduce the size on the Primo so that I can use it for harder materials, like aluminum. Both my Primo and LowRider use the Makita RT0701C

In general we move the router pretty slowly when cutting, so acceleration isn’t as complicated as all that.It is set lower, but when we’re going to a lower speed. Since we’re basically using 3D printer software, we use the same settings, just set slower. The default V1 firmware is plenty reasonable.

1 Like

I don’t think anyone else has addressed this yet… I don’t think you’ll have any issues staying well below this cost. If I remember correctly, I think my total out of pocket was around $500 to build the entire machine included a base.

I’ll second most of the other statements. 30x30 and aluminum go against each other. I’d start with the 30x30 knowing that it will do well with wood. Then build a smaller, stronger MPCNC for tackling the aluminum.

I would recommend going stainless. I went with DOM and am thinking of replacing my tubes. This is partially for the more regidity, and partially because my DOM tubes were ever sow slightly bent.

2 Likes

The makita will be great for aluminum. I’m using a dewalt 611 and rigidity is the limiting factor. They both have a speed control that maintains the rpm for you, so as long as you know the set rpm pretty close (within 1krpm or so) it will be close enough for the chipload to work out well.

It seems to me that it would be better to build a smaller platform that will machine aluminum and wood, then build a larger one for just wood when it is needed. 30x30 is still rather small IMO, I know it’s not for what is being built but the machine obviously has its limits. I have considered an expensive workhorse, but the only reason I can really find to buy something like that is for something like a diabase 5-axis small platform. More would be better but it gets into big money really fast. It just doesn’t make sense to me to buy a $5,000 “workhorse” with practically the same capabilities as an MPCNC or a lowrider. There are a lot of variables to that obviously but for the most part I haven’t found them to significantly outperform what has been done with these for what I intend on using it for. The game changes when you get into 4 or 5 axis machining but I don’t really see a need for that anytime soon. Thank you for the input.

Thank you, this is the direction I was hoping this would take. 12x18 would be ok, but damn that’s small. I was really looking to get the first build nailed down (if that’s even possible) electronics wise, then build more. 15k is about what I have to play with machine wise, and 10 MPCNCs sound way better to me than 1 or 2 pre-built machines. I find the platform here is miles above the mainstream hobbyist offerings, for both laser cutting and CNCs. I like extreme size and inappropriately sized machines, that’s what this platform is for, pushing the limits right? Do you have a link to that thread if you made one?

Yeah I understand. I believe the kids here are designed to maximize access for everyone, so cheap simple and effective. There are just so many options and alot of the threads on many of these topics are so old, half of the information isn’t even valid. That’s not always the case, but I have found it to be the case enough to worry about it. Technology is just moving so fast it’s unreal. I’m not nearly as intimidated by minor engineering tasks surrounding the machine as I am the sheer number of options that are available these days in terms of electronics and software/firmware. There’s alot, so I was just kinda hoping what everyones experience was from basic to professional softwares. Such as the comparison between using EstleCAM and RhinoCAM Professional. Not necessarily exactly that comparison, but you get the idea. I would be very very interested in knowing more about your LinuxCNC/Laptop setup. I would be super happy to go for that. My wife has wanted a new laptop anyways and her old one would be perfect for this project. I remember when I started 3D printing and did exactly that 3 or 4 times until I was satisfied with the build. I enjoy doing it so i’m really looking forward to that part. Thank you for the input.

The videos are old, and I should really get around to making new ones, but I’m in a temporary housing situation for the last year. Not ideal for anything.

2x4 prior to epoxy tube

If I were starting over, this is what I’d have done.

The 25X37 platform that I have isn’t actually quite big enough for some projects that I’d like to do, but it’s getting pretty big for a Primo. That’s why I built a LowRider. My LowRider isn’t as big as it gets, but it’s bigger, and enough so that I can do the couple of things that the Primo wouldn’t quite take. If I ever need it bigger, I just need the table to put it on. Or, say a 4X8 sheet of plywood and a couple of 10’ 2X4s…

So I’ll be cutting down the Primo to a smaller size, so I can start playing with other materials.

1 Like

Welcome to the madness!!
After all the great replyes I don’t have much to add. Just that I started with a Burly that was 24x48 ( I know way to big for a Burly) after that, Ryan was Kind enoth to let me be a Beta tester for the Primo build. The primo was cut down to a size 18x18 ish, with that size I’ve been able to cut wood, aluminium and Steel also I add a laser to it. For the bigger stuff I built a Lowrider that is big enothg for all I do so far… 32"x60".
I do agree that you will need a little bit of engenuaty when it comes to cable management, other then that this machine is a no brainer.
As far as Cad goes, you have a buch of opitions, I use Fusion 360, but you also have OpenSCad, FreeCad, Onshape just to name a few and for the CAN side EstlCAM is a good starting point.

2 Likes

You got a lot of great advice already but no one has really addressed the business side of things. Save your 15k nest egg build a basic machine and start getting orders. A good quality mpcnc will run you $500-$600.

Just buy a kit and be done with the thinking part save that for your second machine once you get your head around the basics. You need to focus on getting business into the shop first and honing your skills second. A small, stock machine is easier to do that with. We hobbyists enjoy playing in our spare time but you have bills to pay.

Let the work define your machine requirements. Start with an inexpensive vanilla machine. Something like a 12x30 is rigid enough to cut your teeth on aluminum and do some signs etc. it also fits on a 2x4 sheet of ply which makes it portable in your workshop. It’s a days work and a new set of pipes to refit the mpcnc to a new size if you get larger projects or build a second machine if start doing a lot of aluminum.

Once you get enough business you may outgrow the mpcnc and be thankful you have $14,400 left in the bank as a down payment on the next step.

Just my $.02

6 Likes

Not really. Especially for the MPCNC.

At this point, we know most of the limits of the MPCNC. Pushing the limits have already been done. What we’ve already discovered is that cutting aluminum needs a smaller machine. We’ve also learned that 30"-36" is pretty much the max you can go with a MPCNC. It’s why the LowRider was designed in the first place.

There’s not a lot of sense trying to push the boundaries of an MPCNC at this point. You’ll waste time and money trying to get the machine to do something outside of it’s scope.

1 Like

I think where the limits are being pushed is in the addition or expansion of interesting tools rather than in overall machine size. Lots of interesting laser work, cardboard cutting and scoring/folding, vinyl and fabric work leveraging a variety of tool heads and the “universal” mounting system that makes it easy to adapt for mounting whatever you can imagine.

3 Likes

Im also running a lowrider and an MPCNC
MPCNC is 395x395mm (about 15 inches square) that I run aluminum and acrylic on.
Timber is done on a lowrider2 thats 1.3m (x) and 2.5m (y) (4.2 feet by 8.5 feet)
I use the 2 machines for different things, the lowrider has VAC, while the MPCNC is enclosed and has air blast.

As so many others have stated here, rigidity is king when cutting metals.

Answers on your comments.

  1. Dimensional accuracy, both my machines are running to under 0.1mm per 100mm, so its 0.1%
    be prepared to spend some time getting them dialed in to get it to that point though, i am running duel end stops on both, is very important to make sure its square and this can take some time.
    Also i had to use non integer values in the firmware for my steps per mm and let GRBL do the math, cause I was not running small enough microsteps on the lowrider to make it a whole number and not get any drift.

  2. For Aluminum rigidity is king, and smaller is better in that respect, timber not so important.

  3. My machines have been very reliable, i blew a stepper motor driver today but that was my own fault and was a 2min fix. Mechanically i have never had an issue, and most of the electrical problems have been cause I did something dumb (shorted something with a screwdriver, unplugged a stepper while it was live, etc etc)

Im also running a Makita, and they are great.

Stepper motors, Ryan sells nice ones, but so do a ton of other places, im running 2 amp ones from stepper motors online. (sorry Ryan but Australia is expensive to get stuff to)

Main board, its much easier to get support around here if you use the ramps boards Ryan sells, however I am using GT2560 controllers for both my machines, use what you know if you can, it makes trouble shooting much much easier.

Firmware, again use what you know (or are willing to learn) im running GRBL on the boards, but again personal preference, for software I am using ESTLCAM for the cam work, and bCNC on the laptop to drive the machine. I am a linux tech by trade and like open source where I can get it.
ESTLCAM is cheap and i have found it to be reliable and easy to use
GRBL, because its open source, and there is a TON of gcode streaming packages that work with it (although the same can be said of most firmware packages now)
bCNC, cause I was having stability issues with openbuilds control running at high feed rates and nodeJS running out of CPU cycles, bCNC is python and so does not break the cpu in the old laptop i run for machine control.

Printed parts, PLA, cheep, easy to print with, and nice and stiff which is what these machines need.

In terms of cost, my total spend on both my machines is a little over 2k
of which $500 was in routers, and another $1000 was in timber / screws for the lowrider2’s table cause its huge. (yes timber is expensive in Australia for some reason)

If you really want 30inch square on aluminum, and timber, and only want to build 1 machine, i would be taking a look at the lowrider2 rather then the MPCNC, as so many others have stated the MPCNC starts running into stiffness problems in aluminum if you make it much larger then I did (even mine is pushing it if you want to run fast in aluminum with no flex)

1 Like

also while i remember.

Z axis height shorter the better, but the MPCNC is MUCH more sensitive.
the MPCNC works from the top down, so the longer the Z axis the more flex at the bottom of the travel
the lowrider works from the bottom up, so it gets more flex at the TOP of its travel.
my MPCNC is 80mm on the Z, and i normally run it with a thick spoil board to reduce it to 40-50mm (about 1.5-2 inches) to get some extra stiffness

my lowrider has 250mm worth of Z travel, but because it gets stiffer near the bottom of the travel, it does not really matter, i normally only use the bottom 50-75mm (2-3 inches) of travel anyway but the extra is there if I need it

finally, end mills, use good ones, you will save SOOO much time its not funny, for aluminum this is really important, for perspective, $1 Chinese end mill vs $15 end mill from Adams bits (Australia again sorry Ryan)

i found the $1 ones that I have will clog in Al if driven at more then 0.5mm depth of cut at 1000mm / min
the $15 one runs fine and makes nice chips at 3mm depth of cut and 2000mm / min
(both using toroidal milling and all other settings / air blast flows etc being identical)
basically turns a 6 hour machine job into 1 hour, and i reckon i could run it faster / deeper but I am happy where it is for now.
if your using these machines to make money, machine time = money, and good bits are totally worth it.
they also last much longer so you have to change them less, and are much harder to break.

Welcome to the forum, and everyone has so far given great advice.

I was like you, a novice when I started my First MPCNC, and new to the 3D printing scene too. Now a veteran of 3 Builds, each to improve on the previous build as well as the improvements made by Ryan.

Only advice I can give is -

  • Just do it!

  • Use what you are comfortable with. If you have a SKR Mini and comfortable on how to program it, use it. It will do the job.

  • 100% infill. Always, forget saving material. Strength before economy

  • Makita, Elu, they all will work. I love my Makita, I have 3 of them now as I grab them when ever I see one at a Cash Converters. Imported a 3mm collet from Australia.

  • Don’t forget to enjoy the journey, its not just about the destination. You are going to learn so much from doing the build. and bonus over buying one, when things go wrong you can fix it yourself. If you get stuck, there are so many really clever knowledgeable people on this forum who will bend over backwards to help you.

  • Stay with the forum and pay it forward to the next Newbie where you can.

The satisfaction of using something that you build will far outway any time savings of buying something prebuild and I still do not believe you will get anything close to the same features of an MPCNC for the meagre investment.

2 Likes