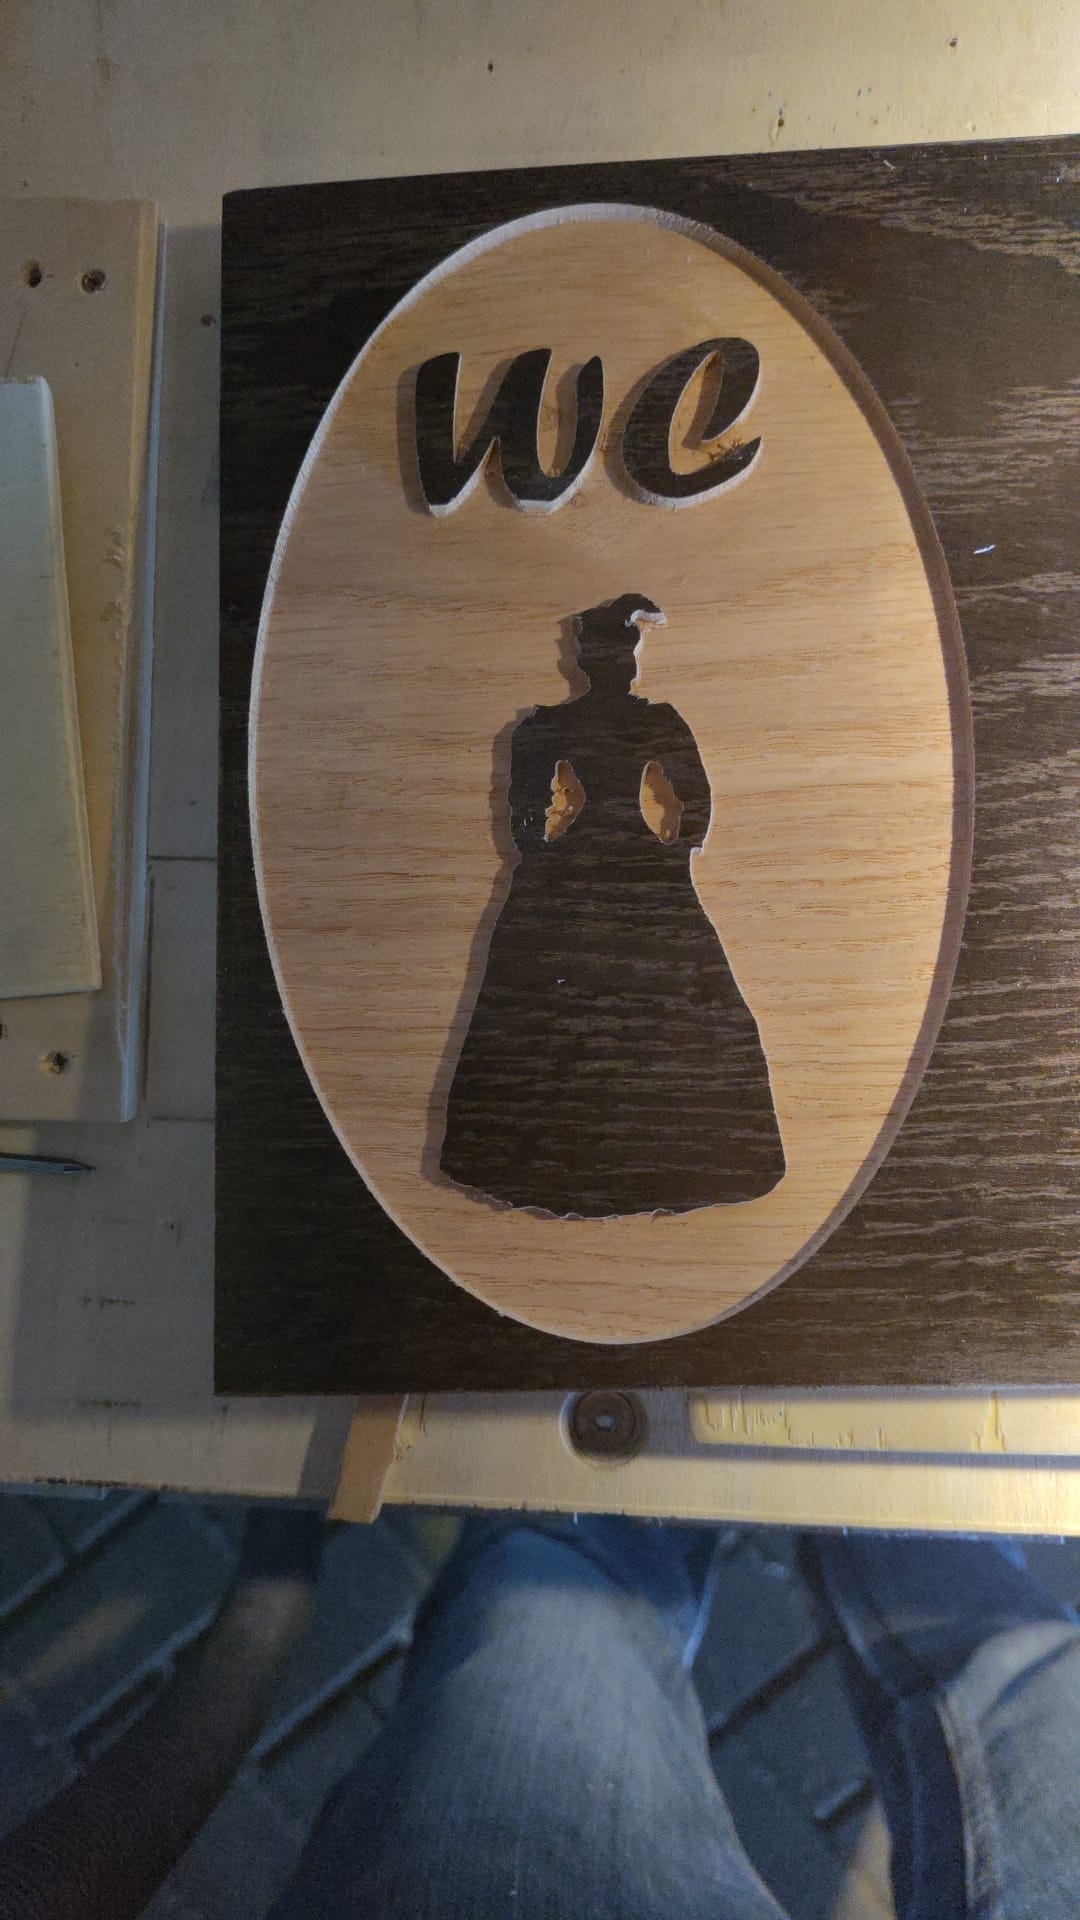

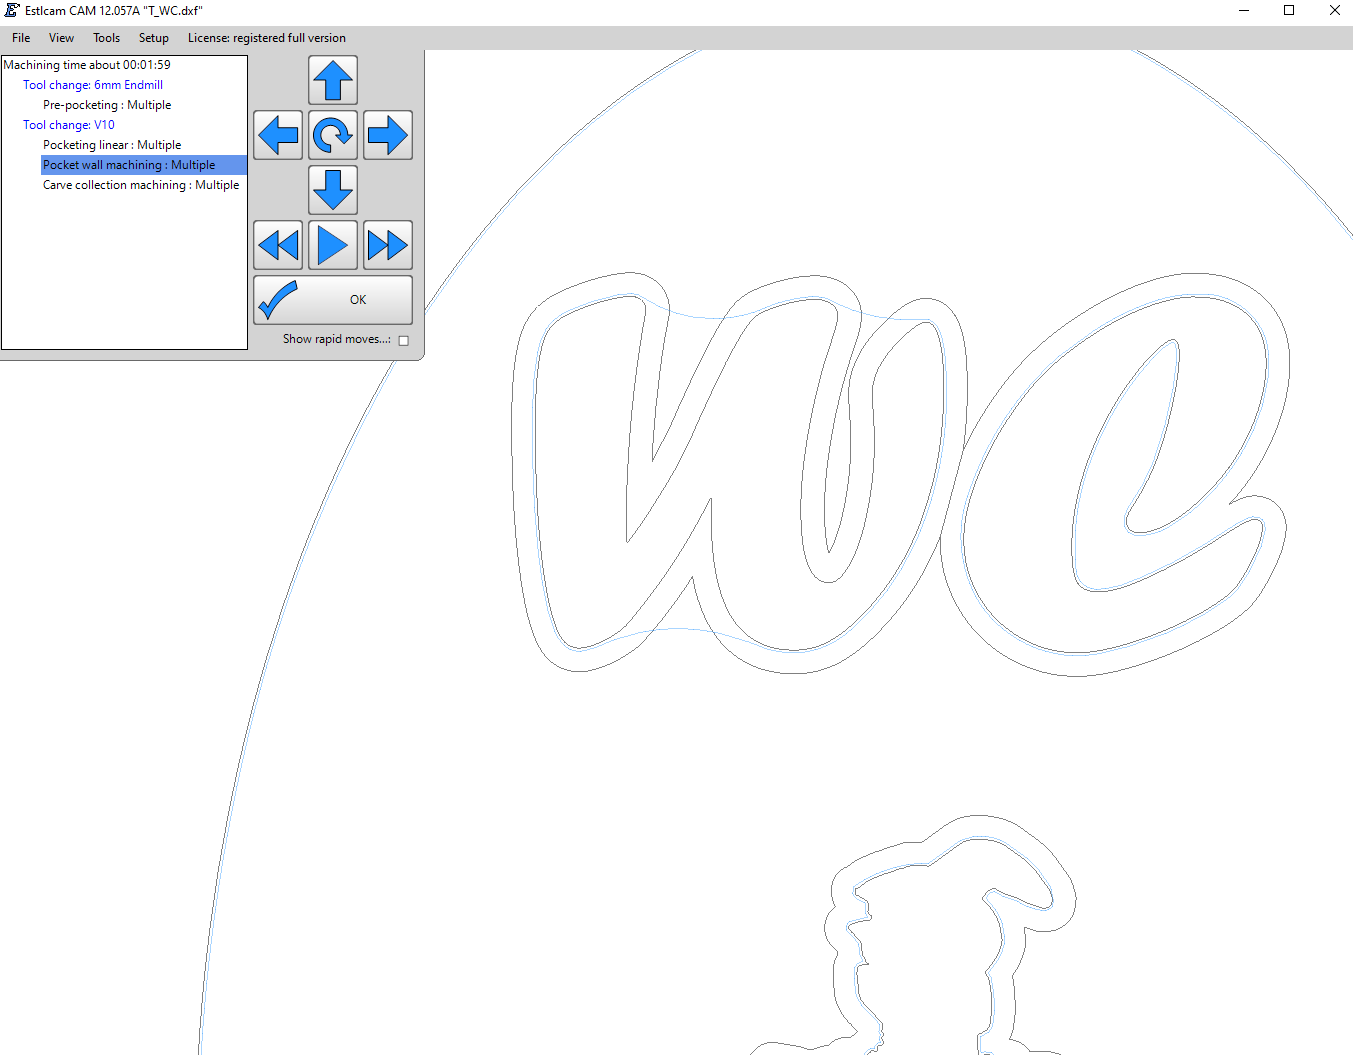
See what happend with “WC” It is distroyed
It tries to make a pass with the selected tool, since it is too big it cuts into the material. If you want to avoid it, make it a carve (ideally with a V endmill) or a very small endmill. Cleanup can be done with a bigger endmill.
Hoi Philipp,
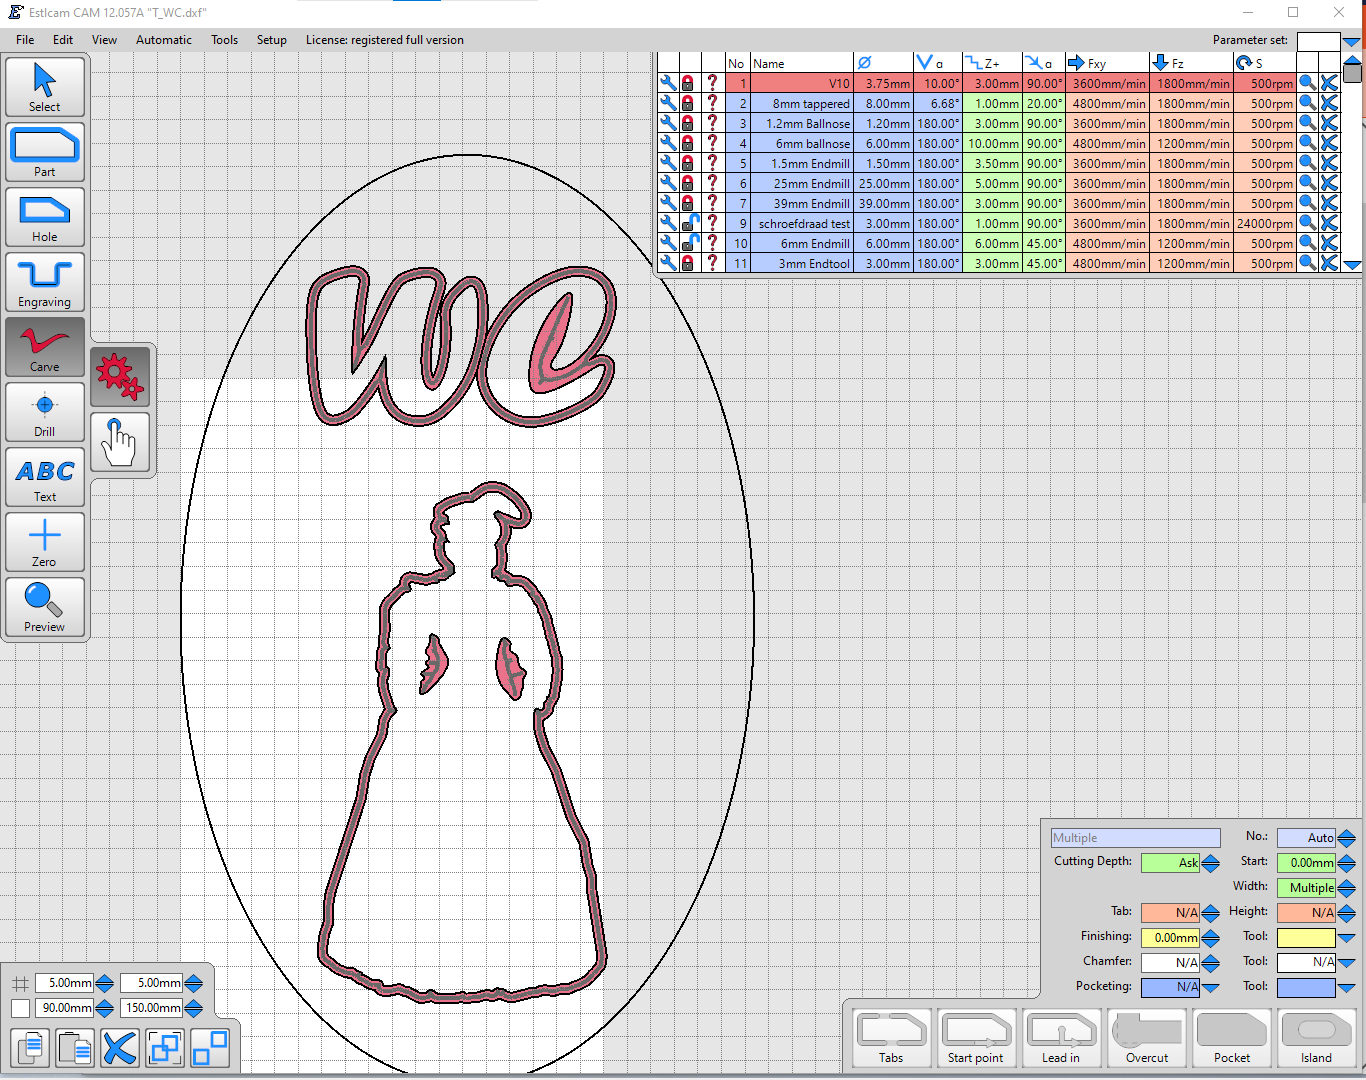
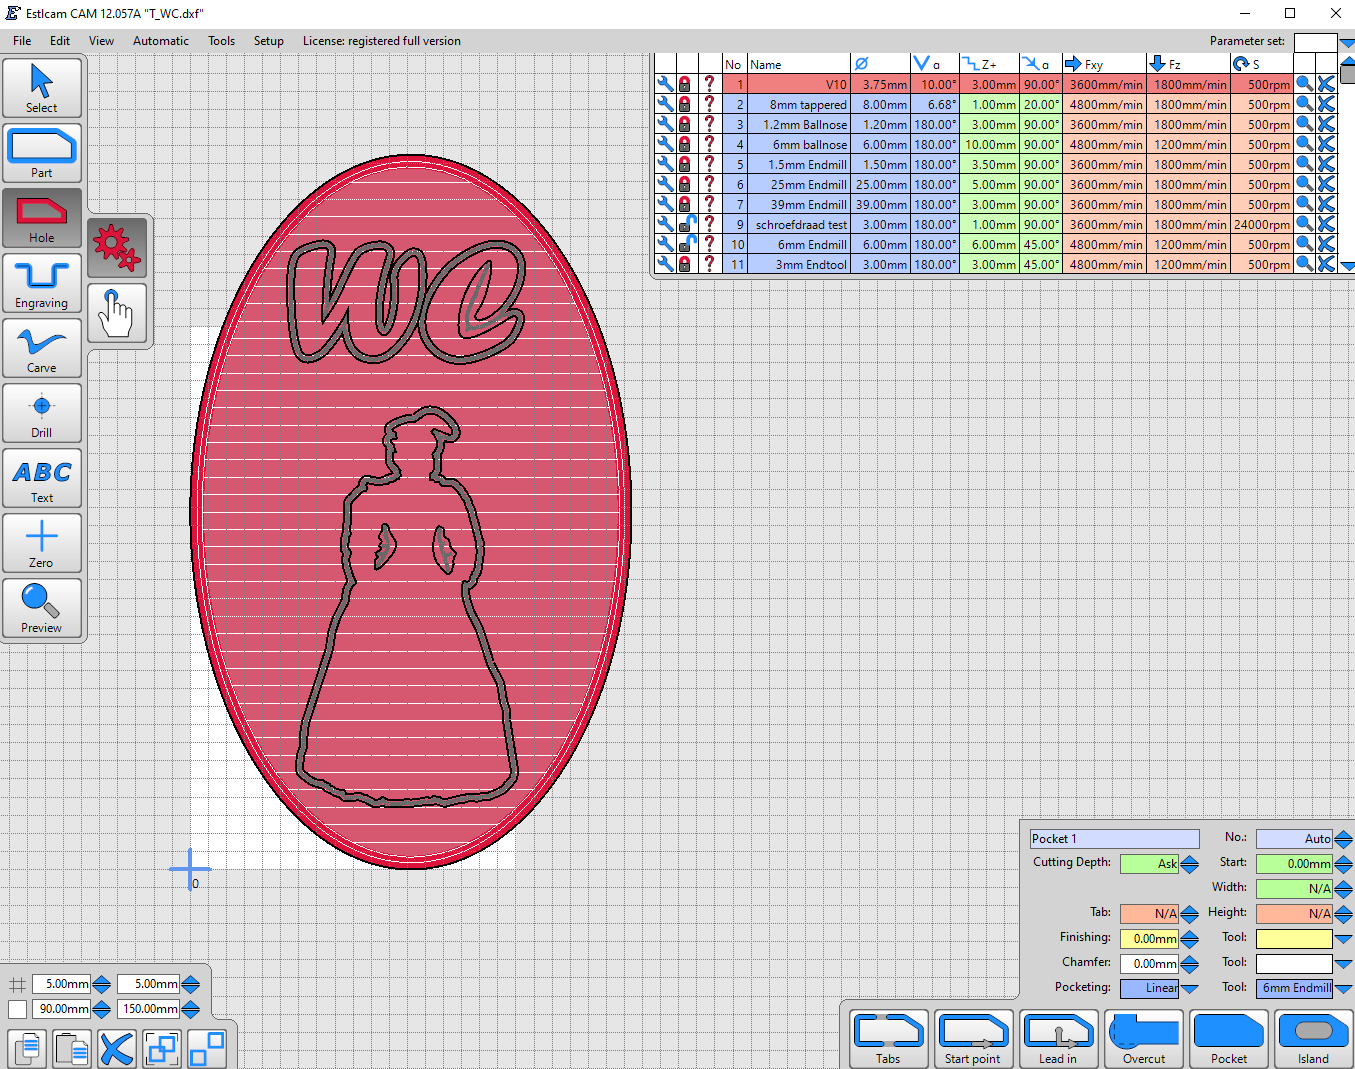
as you can see, the first cut is with a Vbit, the second cut with a small endmill is next to the Vbit the last cut should only remove the rest of the oval.
how can I do the cleanup in the right way with estlcam? (untill now I draw the cleanup line myself)
After your first image add the same V10 tool path to the inside of the ellipse and add a pocketing tool to the ellipse path properties (no Island needed). The process is the same as in v11 with the exception of the Maximum width setting that defaults to maximum instead the v11 minimum.
")
Dave, I understand that with your solution, the Vbit removes all the material. If so, the surface is not smooth because the shape of the point. Besides that, it will take a very long time…
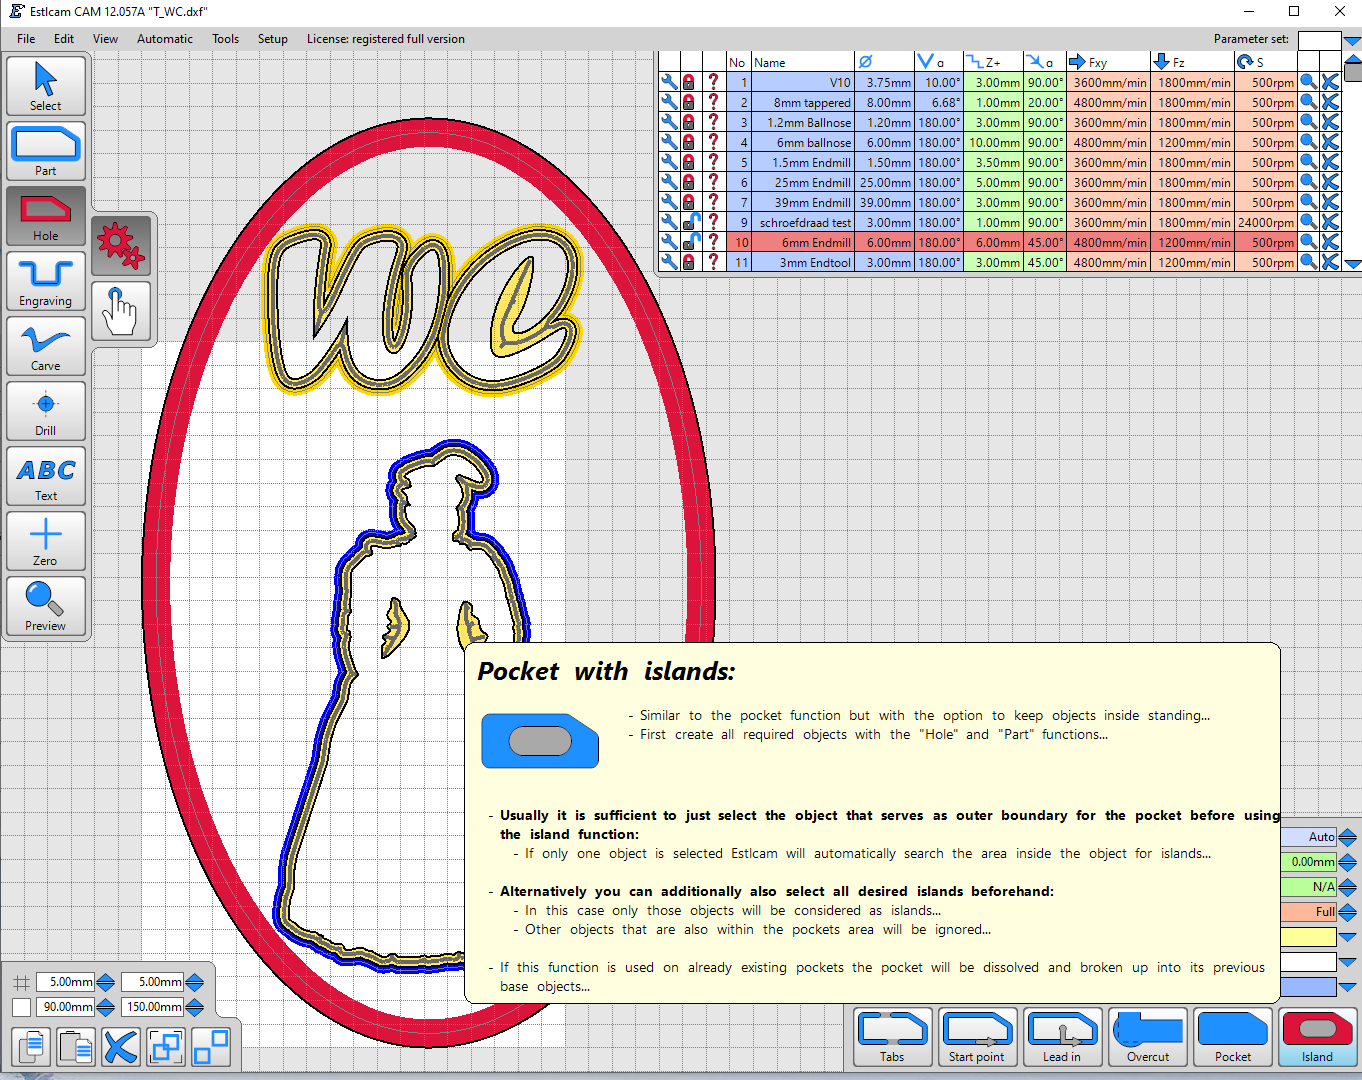
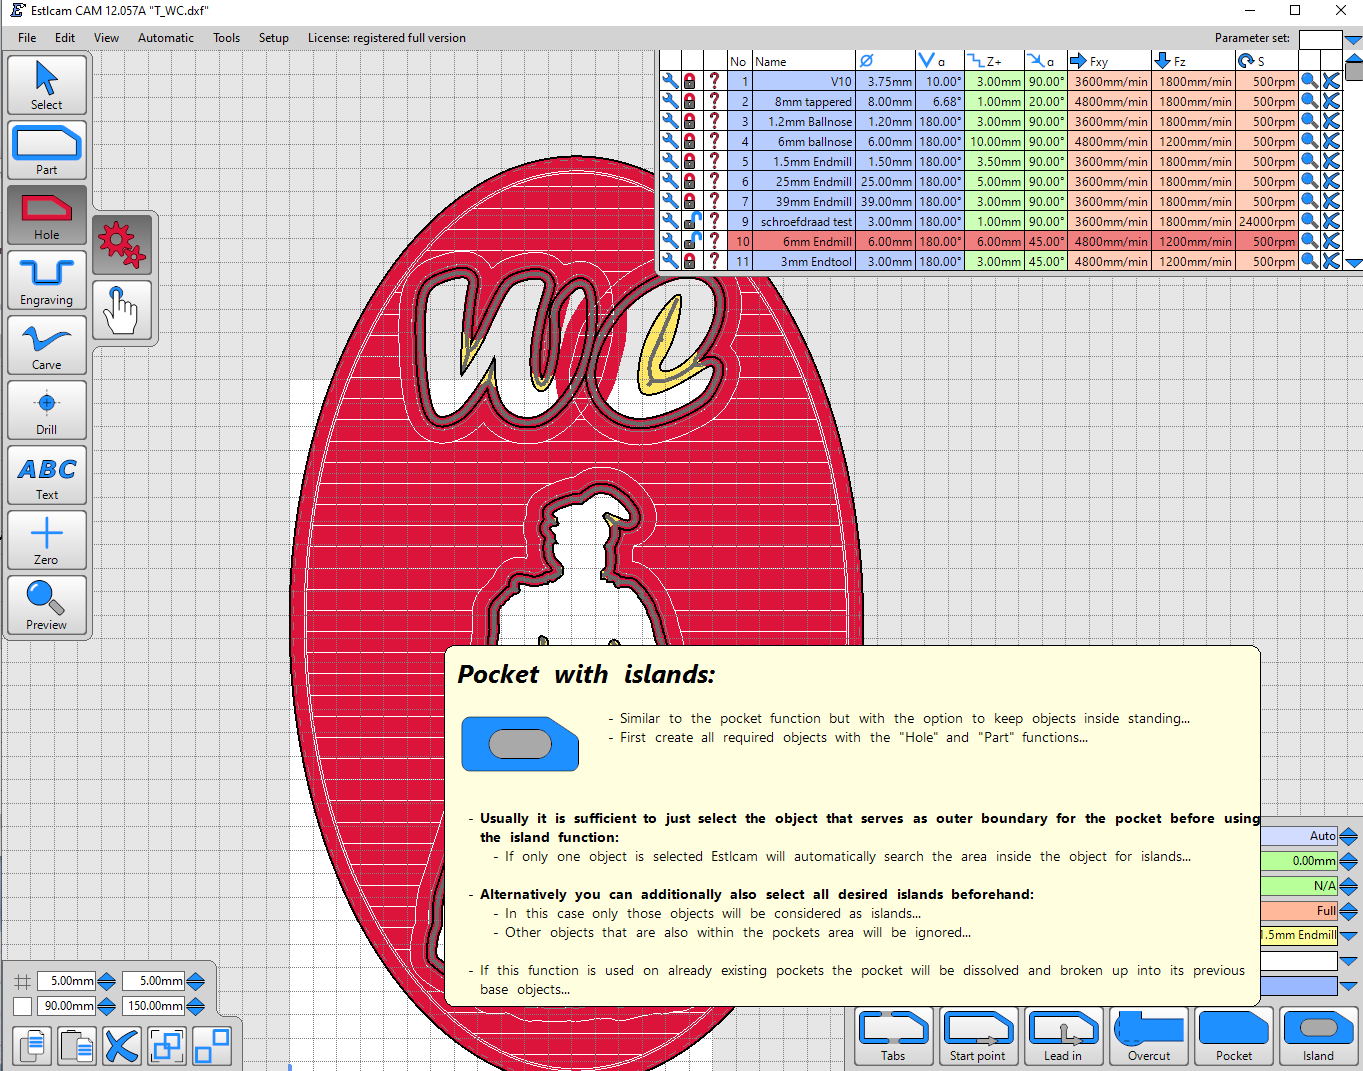
Look again, note the pocketing tool selected (Str2.0) in the perimeter tool path properties box.
That perimeter path needs to be a Carve, not a Hole.
1 Like
if I do as the tutorial tells me, this is the result.
see the carvelines around W
edit: just the pocket wall machining: multiple
1 Like
(…reply to the above post before it was edited) I just noticed your interior shapes have double lines, why? To get the carve pocket to work you need to delete (…less confusing) the outer lines.
All path properties need to be the same for both Carve and Island pockets. Your original Island pocket will only work if you use the same tool for both the island and perimeter paths, i.e. with the 1.5mm OR 6mm tool.
The problem with that original double line approach is that the resulting cross section has to be something like ----V----. The carve only works if the carve is below the level of the flats, but maybe that is what you were after and I’ve totally missed the point.
1 Like
That was my assumption.
The double lines are just for the drawing but were hidden (layer) during selecting.
they appear with the preview
Allmost like your picture but the outside will be a rectangle instead of a oval
For some reason the W was deselected somehow. adding the selection again, the preview was ok.
1 Like
Then do a carve outside on the letters and a carve inside on the circle. Add the tool for cleanup and make the size of the carve bigger so it covers everything. Also limit the depth. ![]()
FWIW, deleted project layers are easy to restore using File : Update drawing.
FWIW, it is not necessary to delete lines or layers, with view, layer list, I hide en expose the layers whenever I want. It is therefor necessary to draw the lines with a good layer structure
1 Like
I was talking about how it’s easy to restore project layers deleted with the X (VS hide) View layers option. File : Update replaces all current project layers with all current DXF layers, i.e. will restore any deleted project layers (assuming they haven’t been deleted from the DXF).
That layer has no use in the current project and I mentioned the ease of restoring it because your not deleting the layer and my not knowing you were hiding a layer made it hard for me to understand what was going on.
That said, it’s nice to hear from someone else making use of layers and I agree that a good layer structure can really help when setting paths.