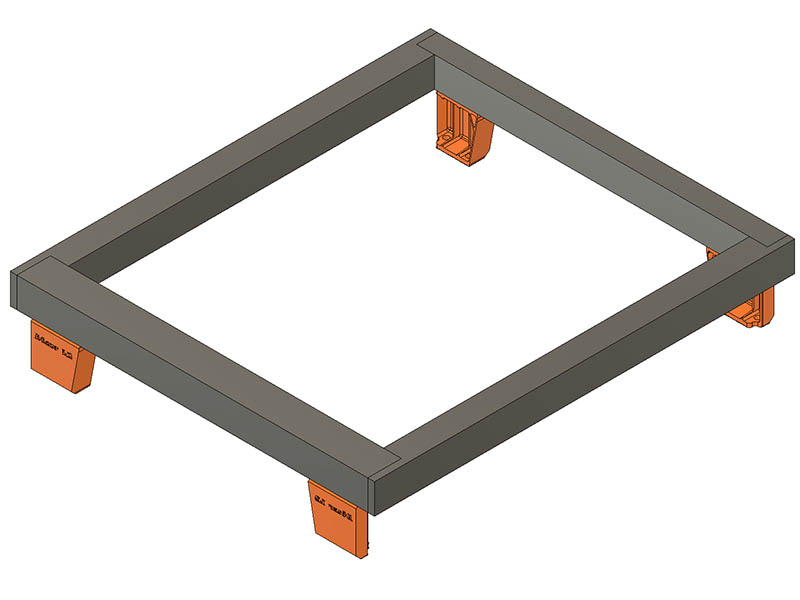
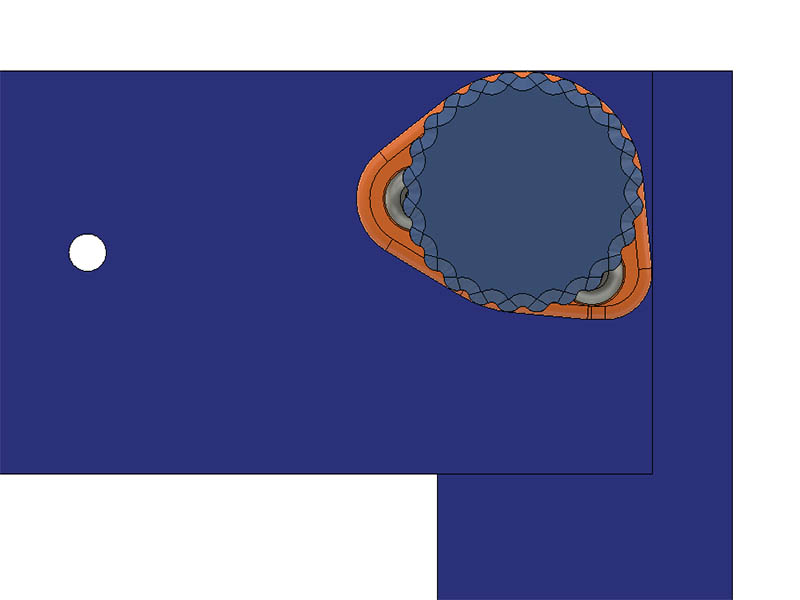
I can’t leave well enough alone, so I decided to see what it would look like to redraw the leg corners for the Atezr L2 24-watt engraver. I did find some ATEZR L2 Leg Extensions here: ATEZR L2 Leg Extensions by 737mechanic - Thingiverse & also redrew them in fusion 360 & they fit ok. My 1st test print of the whole leg redrawn looks pretty good. The plastic feels like it should support each corner sufficiently. This also gives me the option to make the legs any height I want. I could also make thefee look entirely different & give it a little more flair. Here are some images. The 1st image, I would need to adjust the text for the mirrored versions of the feet.
I simplified the design a lot & made a 12mm plastic threads. If I want to make it a lot longer, I can just increase the height of the screw head. I used the coil primitive in fusion 360 to create the threads so I could get more tolerance between the threads.
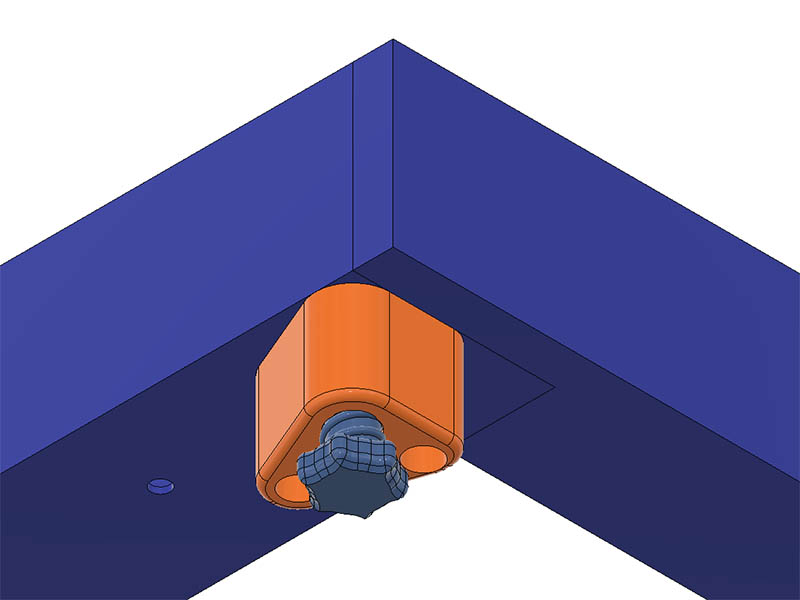
I am still playing with this design. The knob was a little too small to get a good grip on it (24mm). I thought I could only go that big & stay within the frame but was able to get a 36mm diameter by moving it a little more inward. I also increased the threads to 14mm to give it more support if I use longer threaded screw knob. Since the orange leg is currently 29mm high, that gives a single knob of 8mm an adjustment from 37mm - 51.5 mm with half the height of the leg adjustable. I made a knob 21mm high with a kind of hourglass profile cut out of it & that would give an adjustable height from 58mm - 72mm. With this design, I can keep the legs screwed to the frame & just replace the 4 - screw knobs with different heights if I want larger adjustment than what is on there. This looks like it will work good. I am printing a couple to test now.
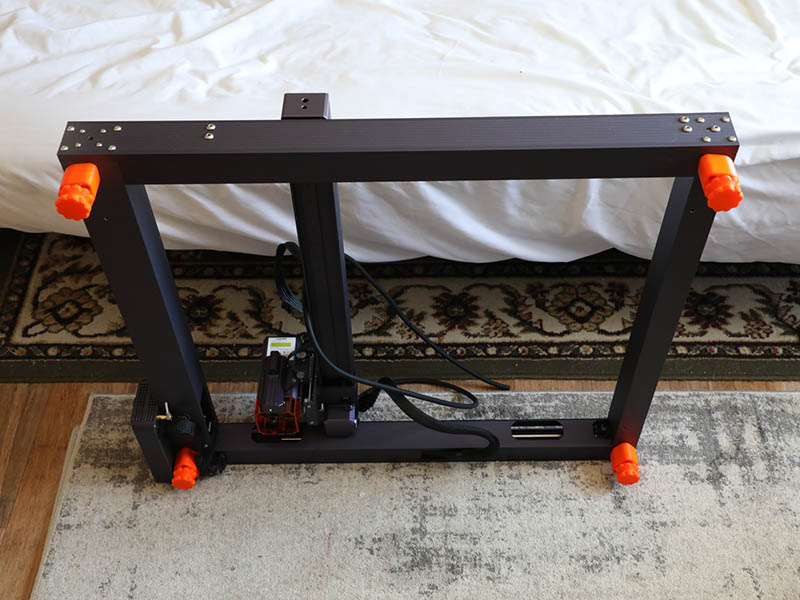
I finally have these installed & they fit well. I also have the frame squared now. There was no problem putting them on. I made the Knob with 9 sided grips since one turn is 9mm each, should be easy to turn them all the same height.
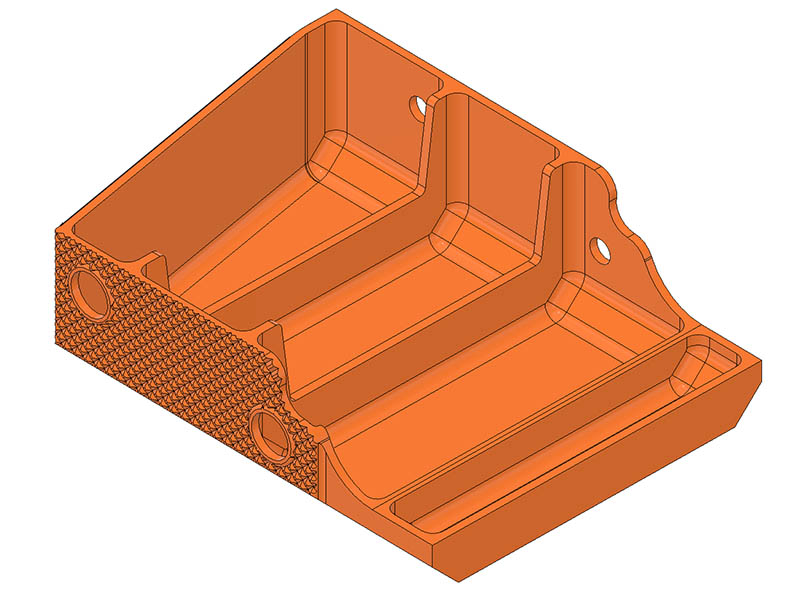
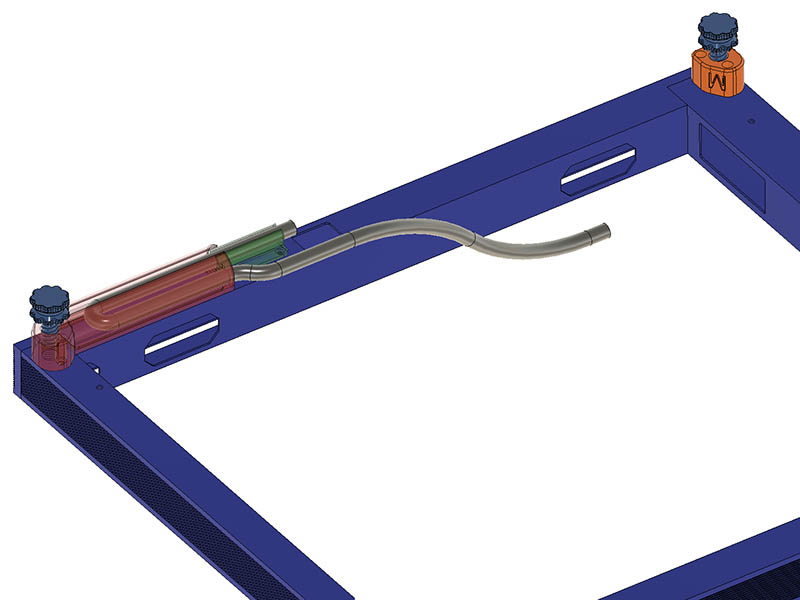
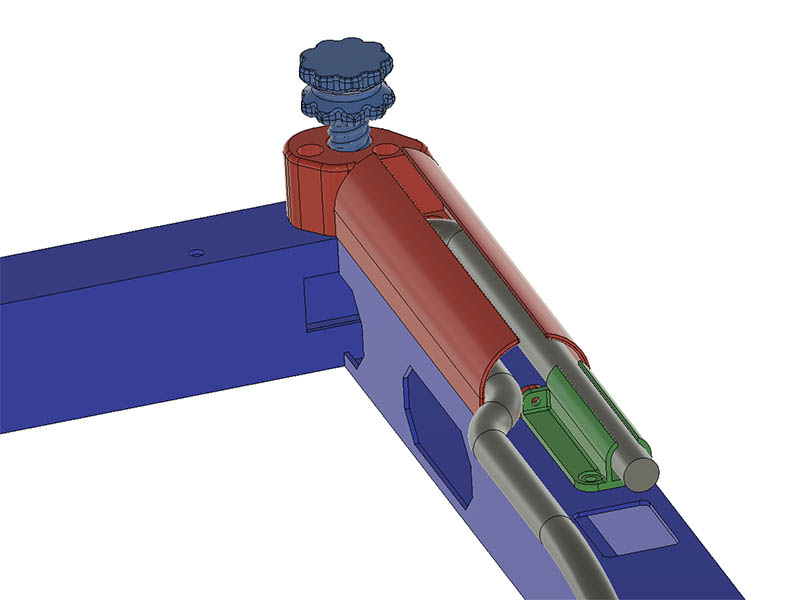
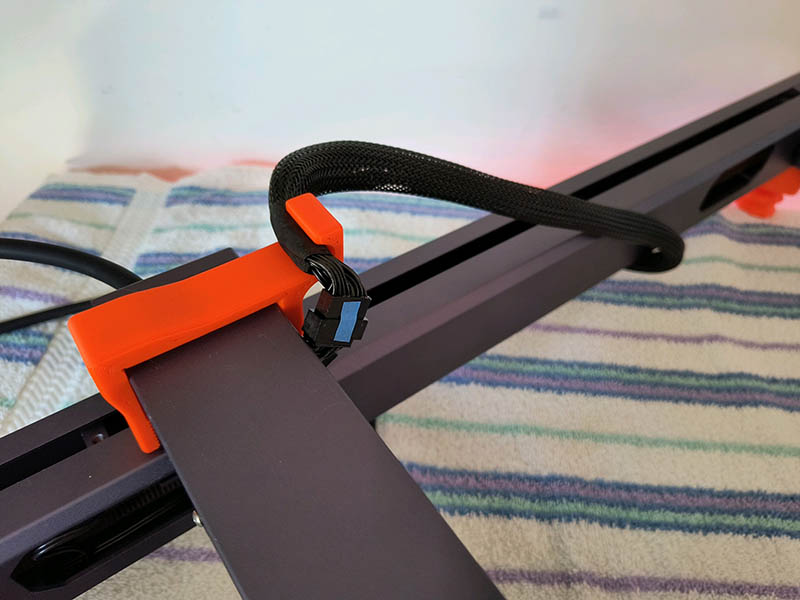
Now that I have those on, I still have that problem with the Y-axis wiring. After a few test prints yesterday, this seems like it has a good chance of working. I tried just using the green part in image below but wasn’t enough to hold it out of the way. With only 1 screw holding it in place it would probably move back & forth over time. Using 2 parts, this might solve the current problems. My thought is this should give the cable freedom to move back & forth within the bigger channel in the red part. I am tying the 2 parts together with a single M3x10mm screw & locknut. The grey part is an approximation of the wiring direction.
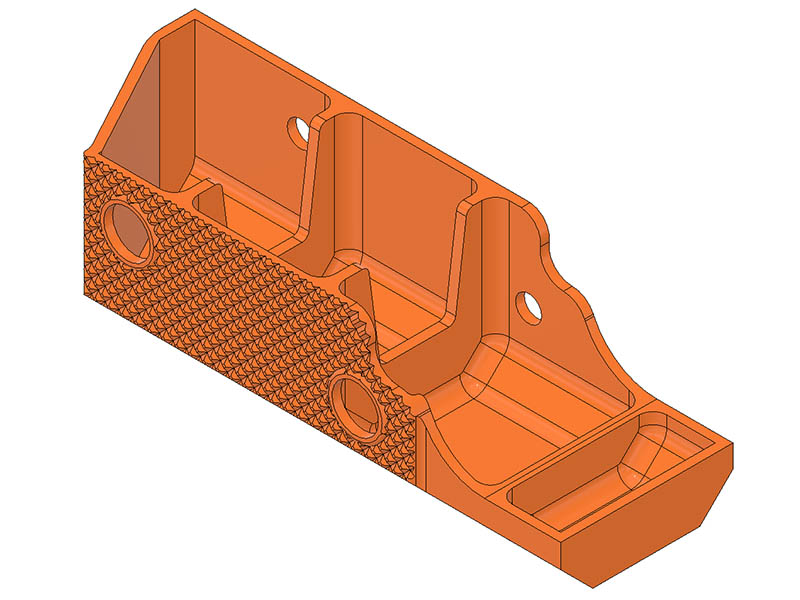
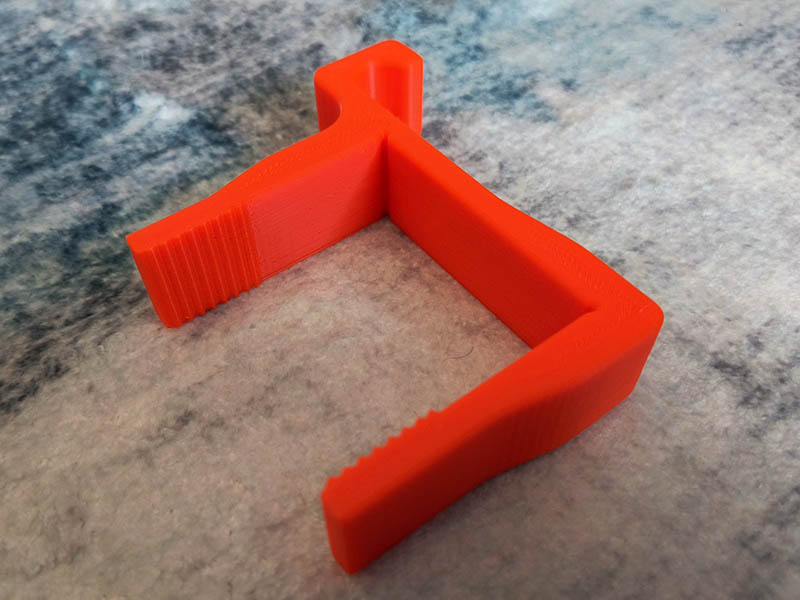
That last design was a dud. Wire harness will not move smooth enough to stay in the channel. I decided to attack the problem from the opposite end. About halfway thru this design, I realized a wire tie would fit underneath that carriage and probably accomplish the same thing. I carried through with the design anyway & I kind of like it & so far it works well. I could also add a small wire tie on there to keep it tied in place better. It took a few trial prints to get the grooves to match the beam. I also had to widen it from a measured 50mm to 50.3mm as my printer was off by that much in that direction.