It’s a kind of mini celebration - after mentioning that I might upload a version of these during my LR2 build (yes, that long ago), I could never crack a proper parametric version of the V1 logo that worked. I’ve had a draft file sitting on Printables for more than a year, but never felt it was quite right.
So I missed the V1 anniversary, but it’s a kind arbitrary one today for me - this is my 250th model for download. The instructions have been a thorn in my side for a couple of days, so I’d greatly appreciate any and all comment, particularly with regard to the parametric explanations.
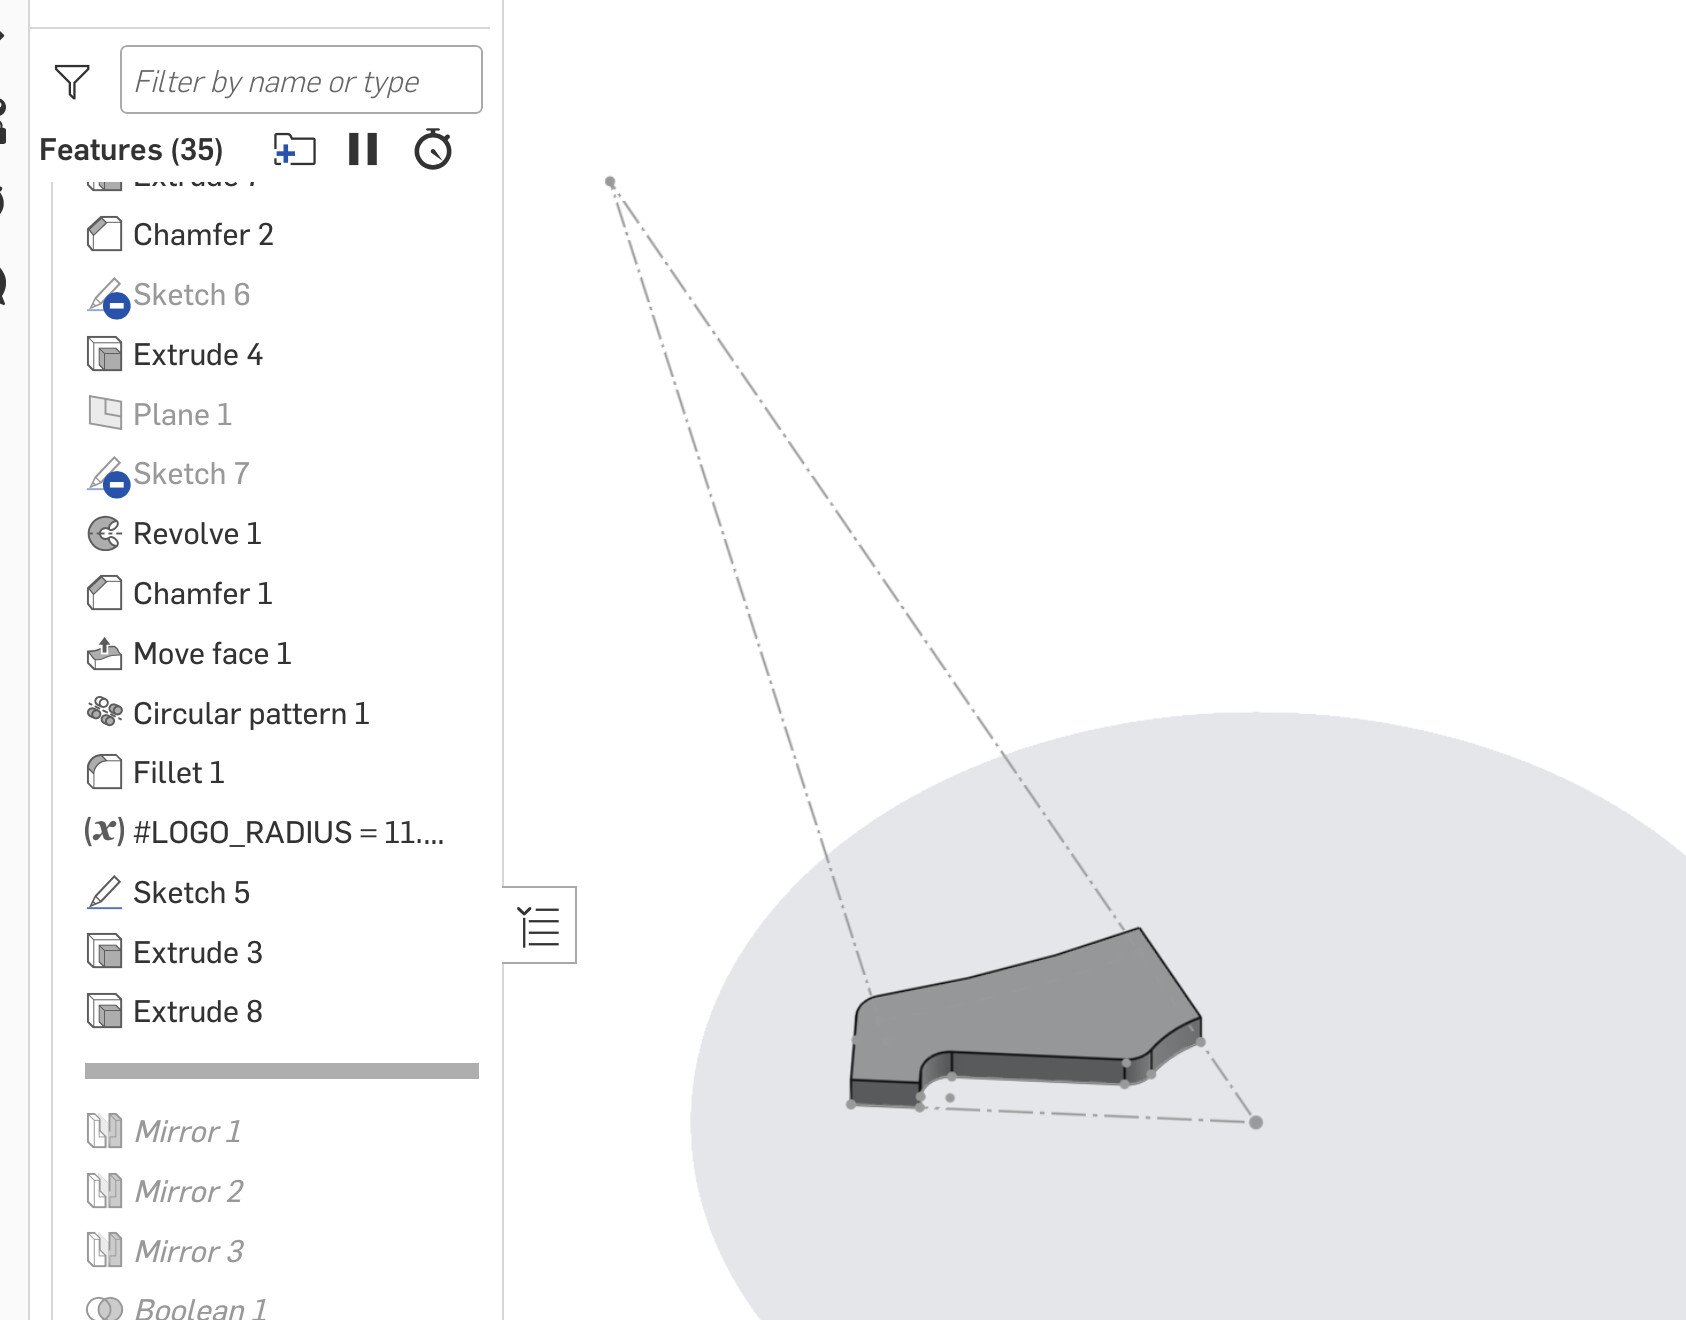
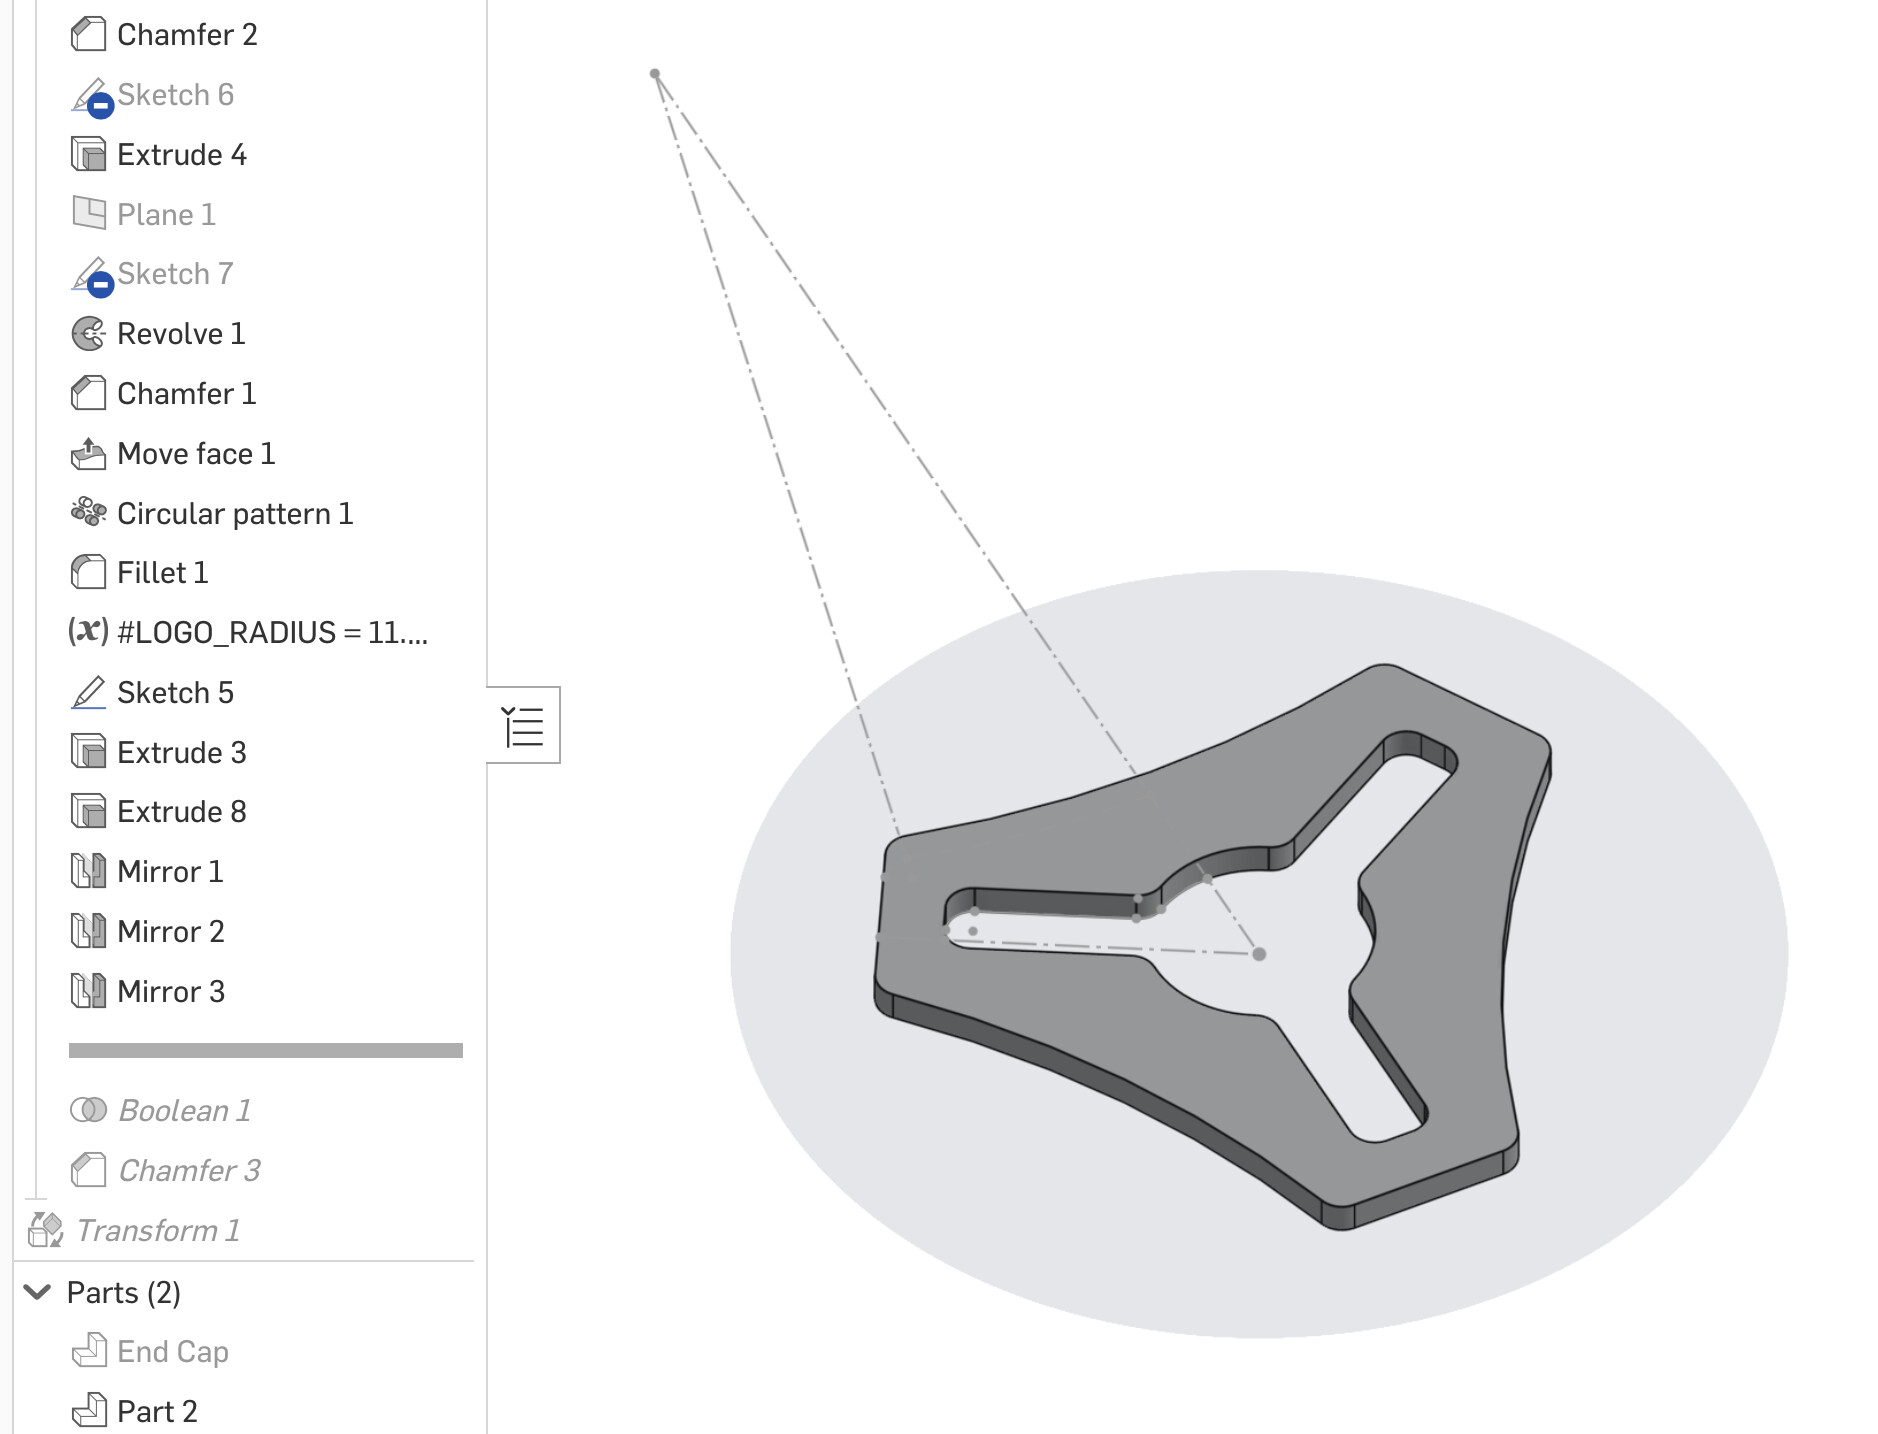
I don’t really have the skills or options other than to offer download links to OnShape, but once you are there it’s a truly simple exercise to modify the model to suit your requirements.
Without further ado, here they are:
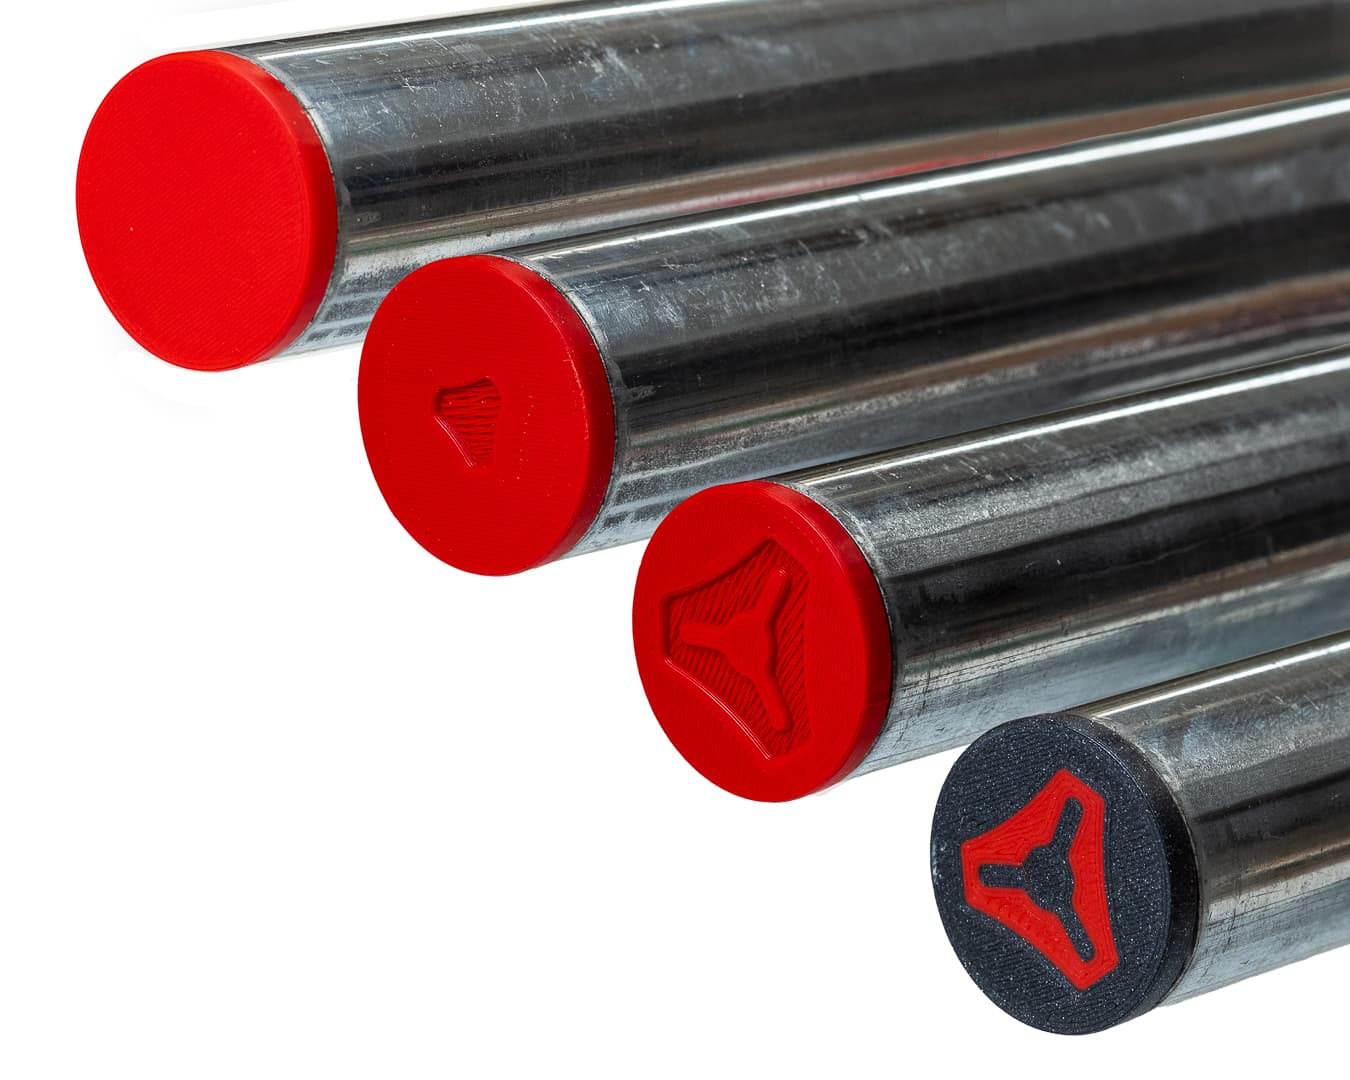
MODEL VARIATIONS
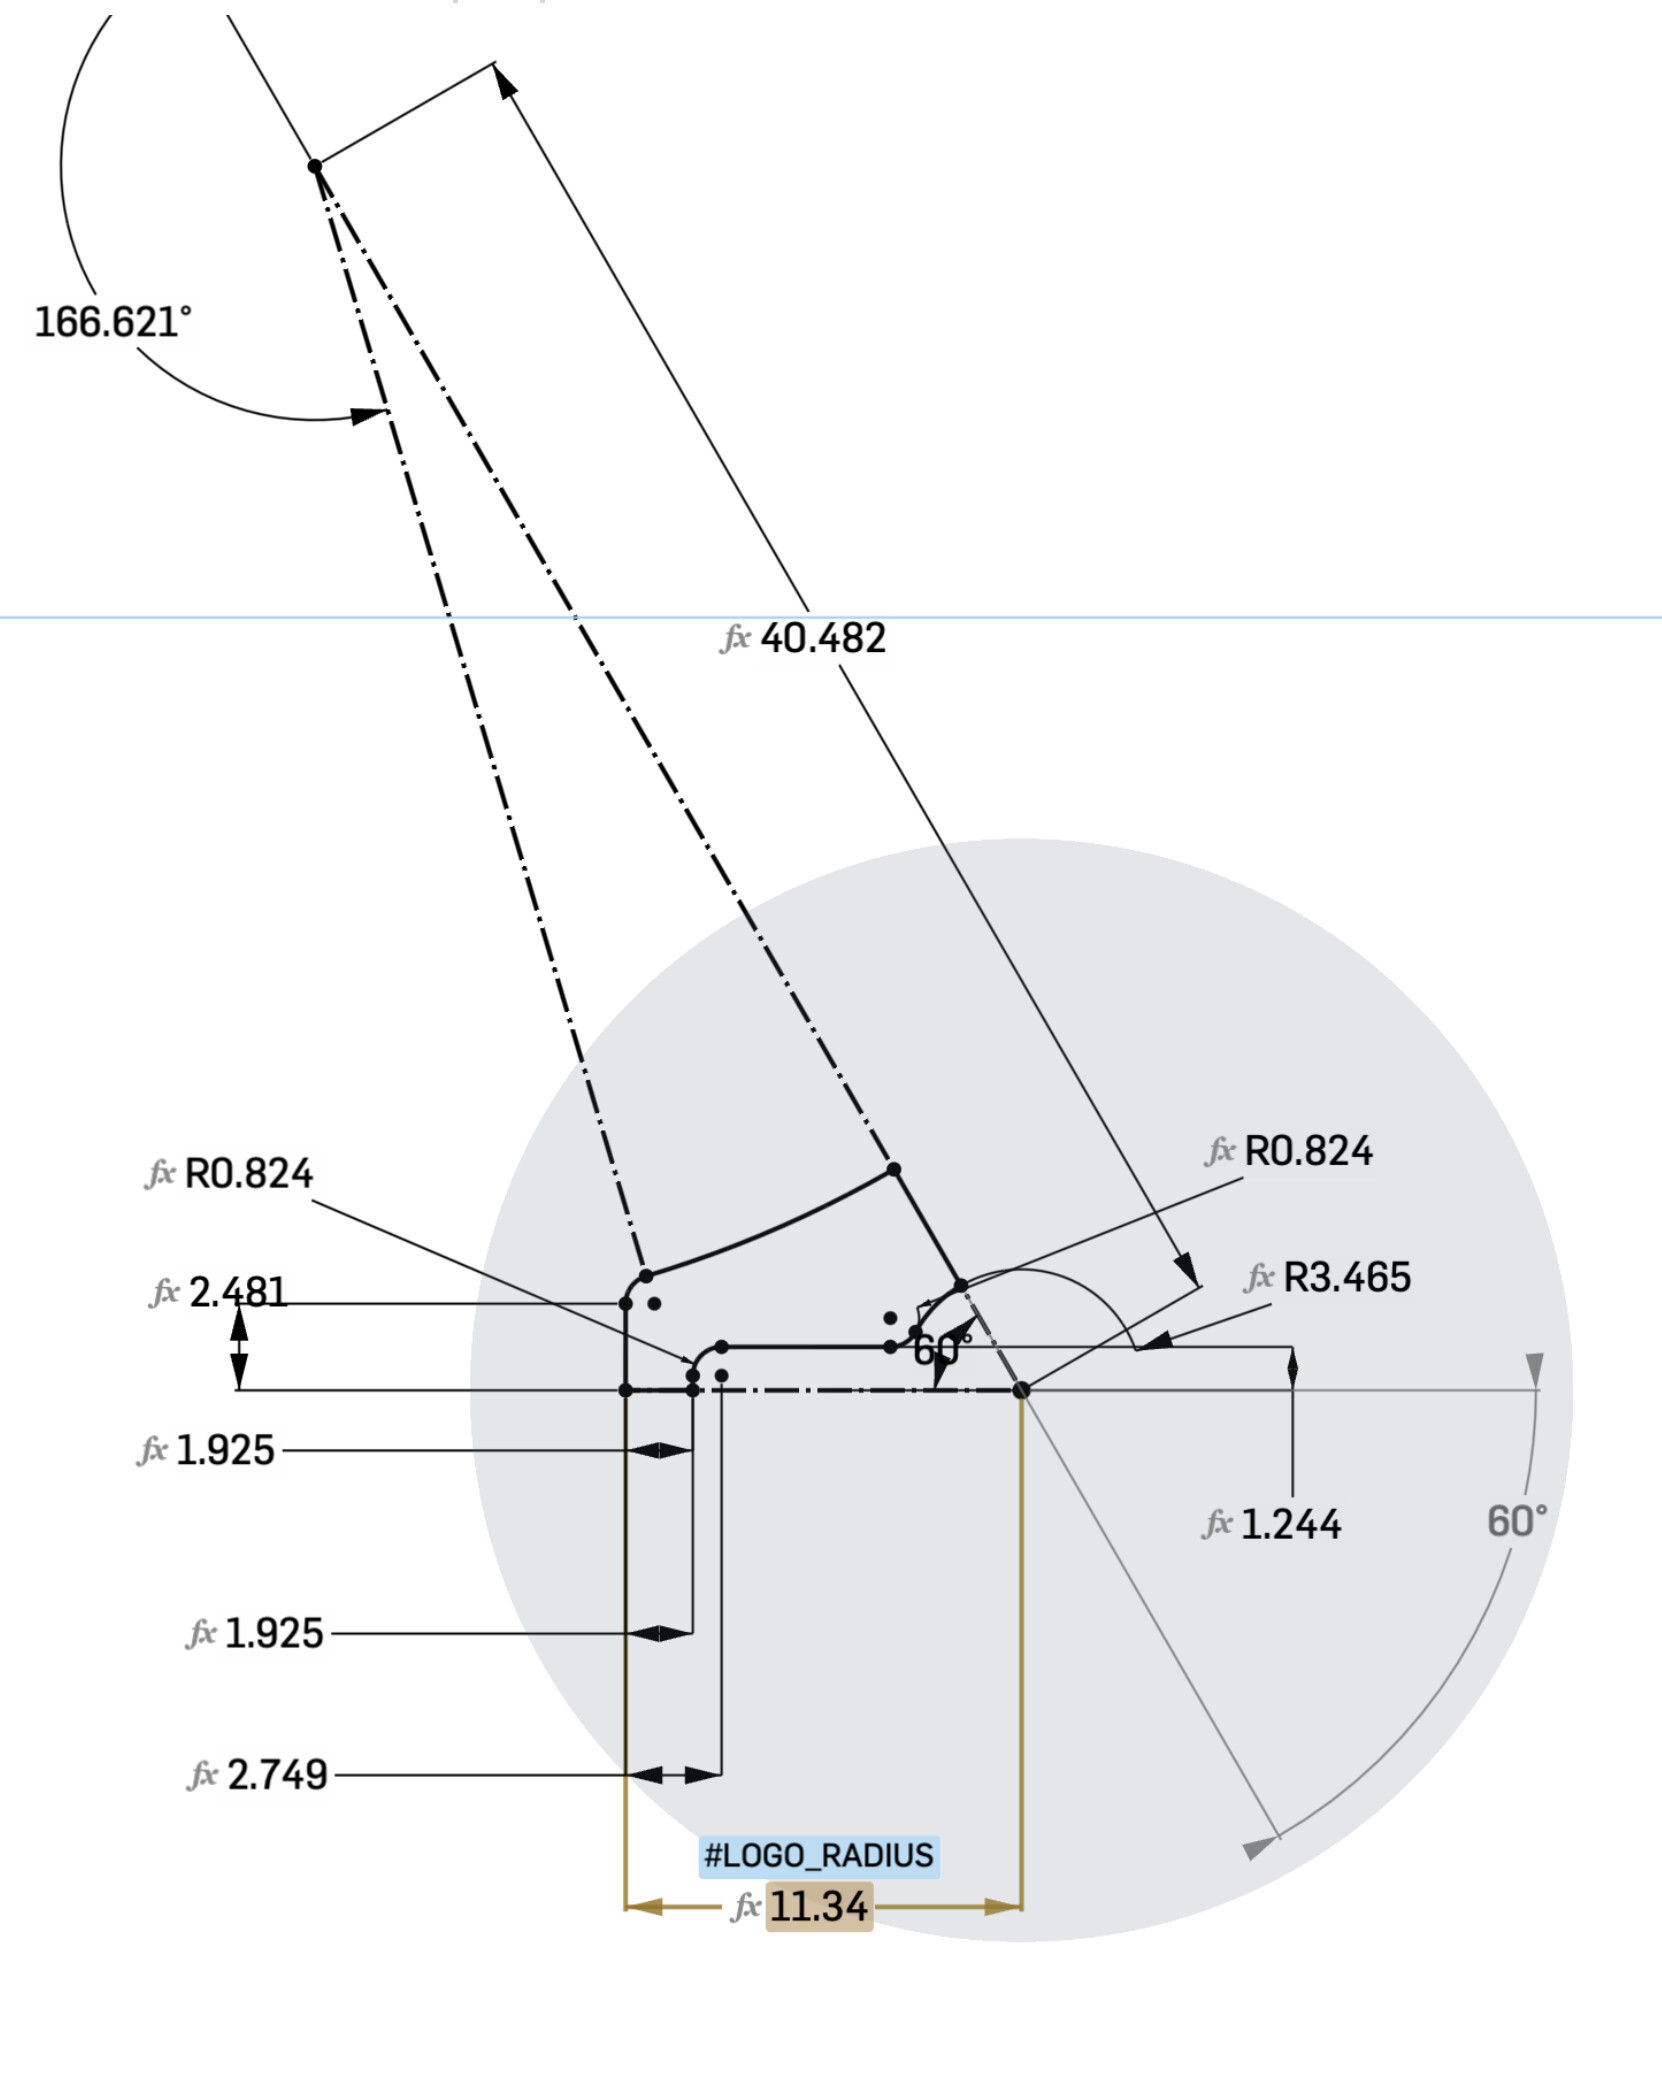
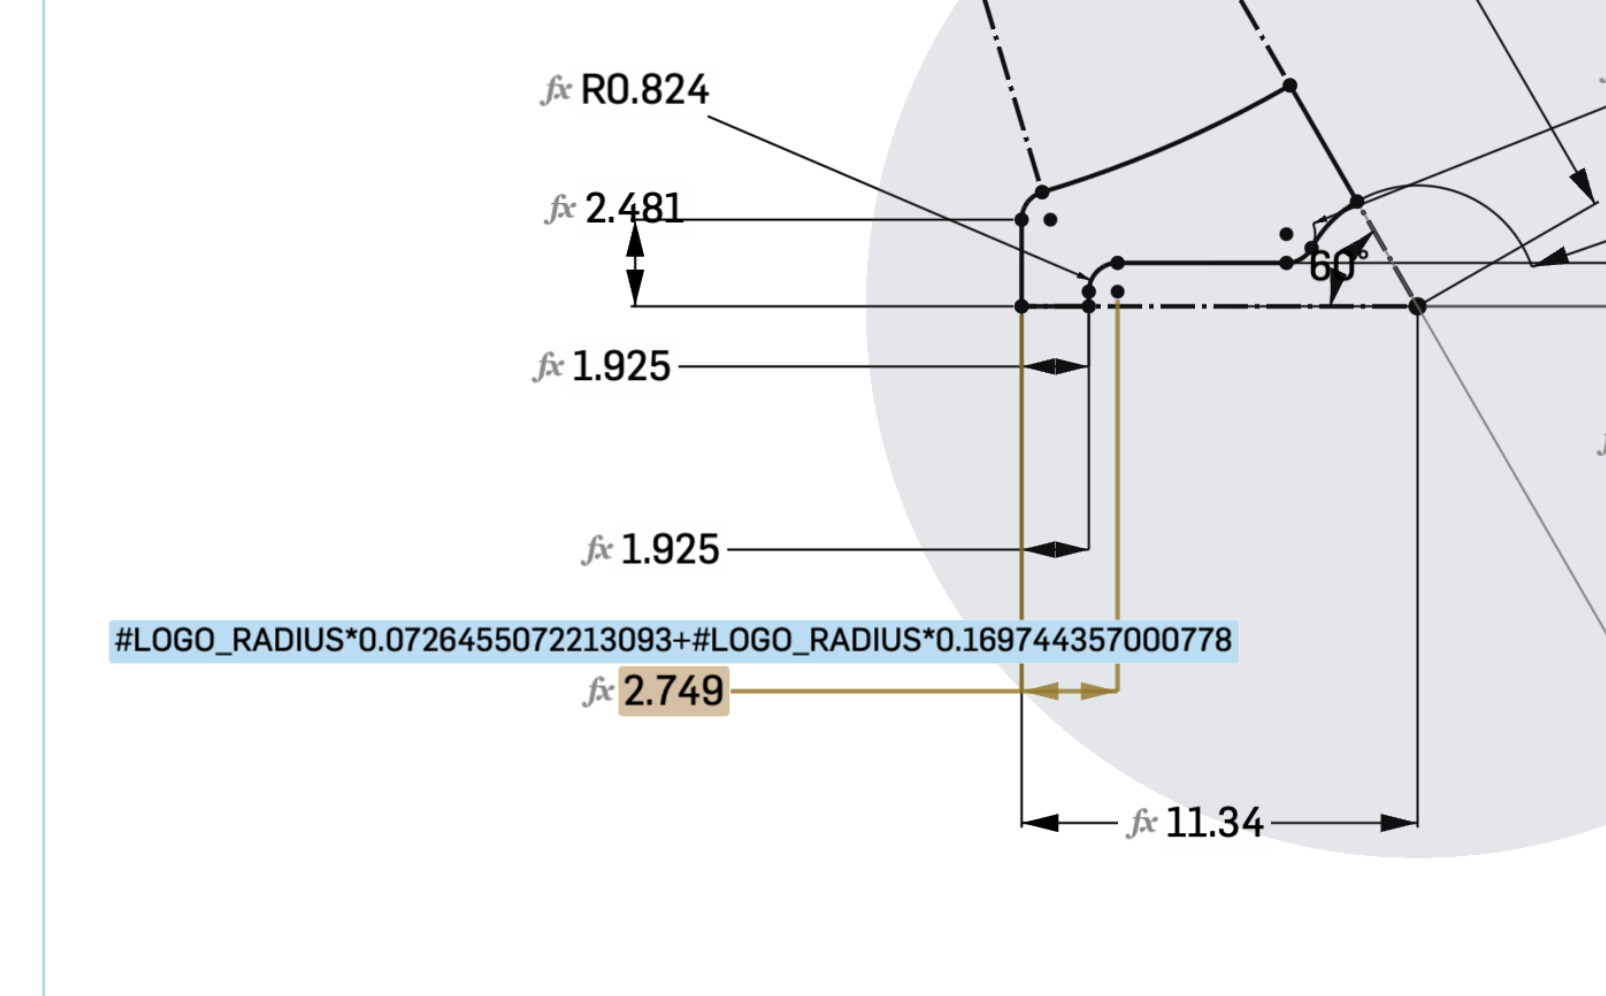
1 - PARAMETRIC V1 FULL LOGO_LARGE
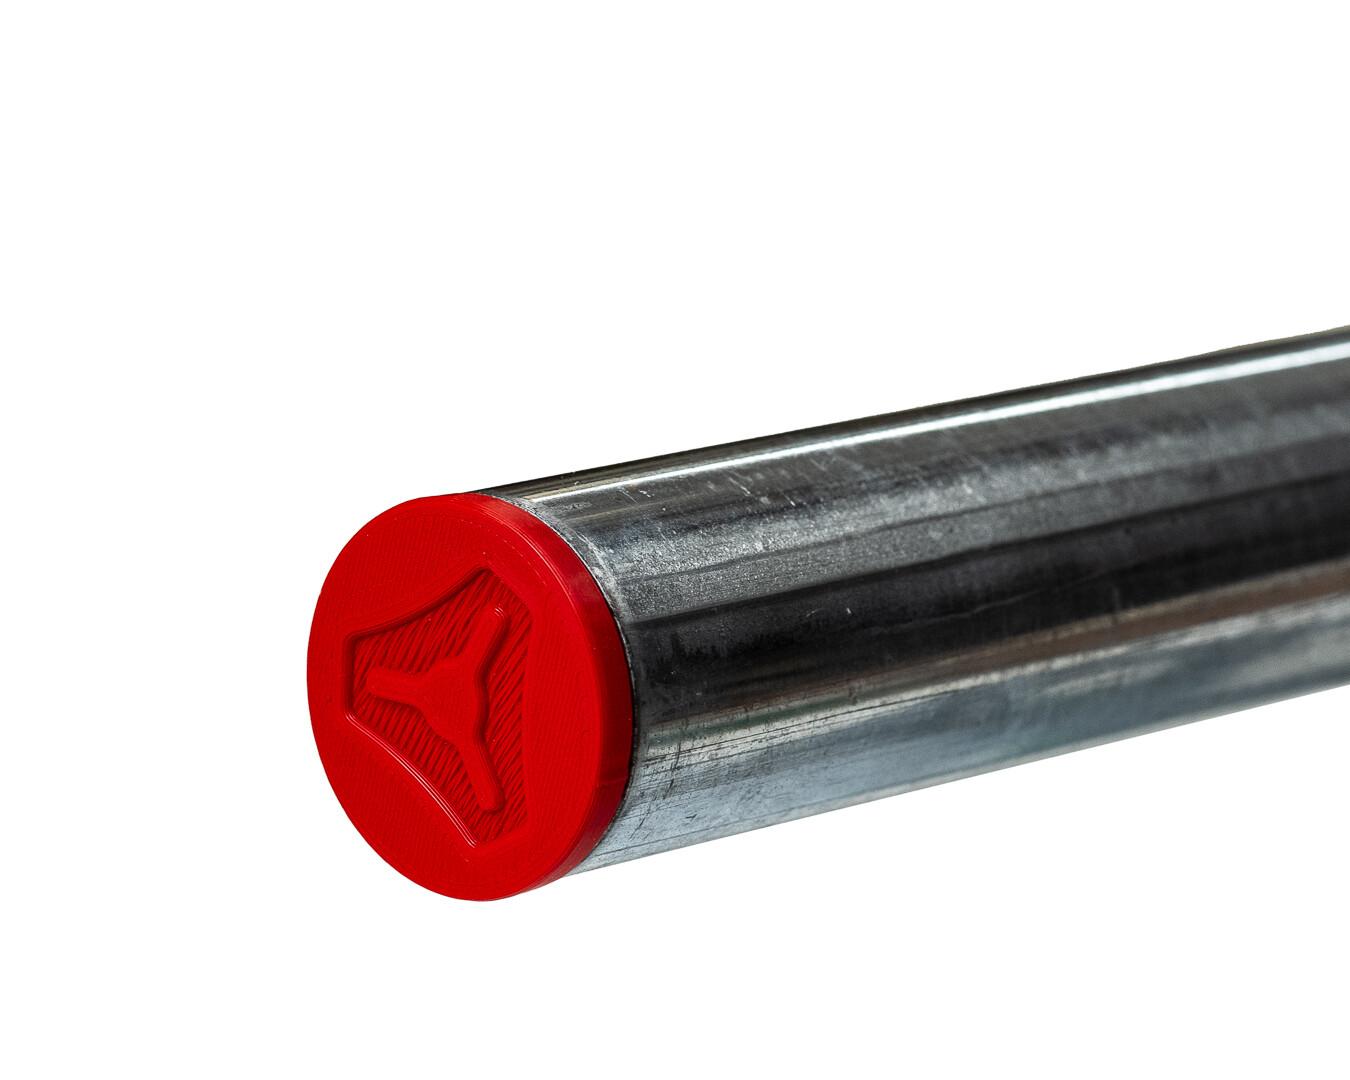
The logo size is proportional to the diameter of the tube. This can be scaled up to any dimension within reason - it would make a nice mailing tube cap for instance, but bridging would become problematic.
Scaling below about 20mm diameter will provide printing issues with the finer points in the centre of the logo - so the outline version might be a better choice.
If you orient the print as it opens you should find that bridging distances have been optimised, and printing should require no support.
2 - PARAMETRIC V1 OUTLINE LOGO_SMALL

I first used a version of this cap on my Lowrider 2 and then the LR3. The logo is now proportionally tied to the diameter of the tube, so eventually if the tube is small enough I guess it will disappear!
No special printing precautions are necessary.
3 - PARAMETRIC END CAP - NO LOGO

As the name implies, this is the one for those of us who prefer to unpick the embroidered polo player off their golf shirts. To each his own! Printing is dead simple - maybe a textured sheet would be nice?
4 - TWO COLOUR FOR MULTI MATERIAL PRINTING
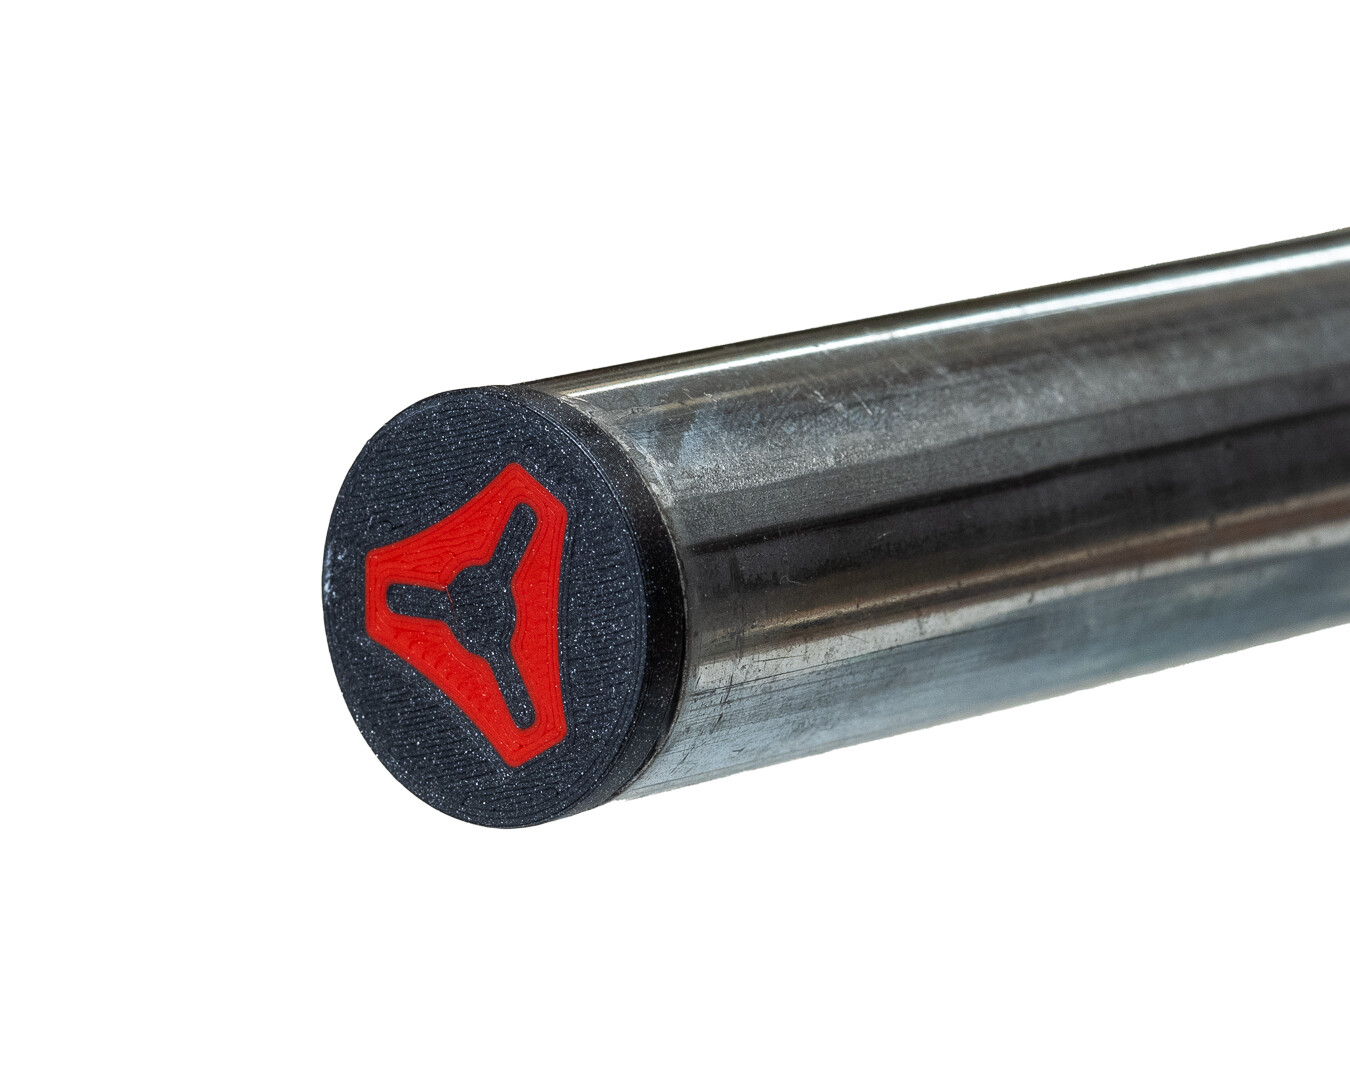
Presumably if you have an MMU or equivalent you don’t need instructions from me, which is just as well, because I don’t!
I have had a lot of success manually swapping filaments on my Mk4 and CoreOne using instructions from @jonnieZG posted HERE on the Prusa Forums. It’s G code modifiers for Marlin, but maybe someone clever could use it as a basis for a Klipper mod?