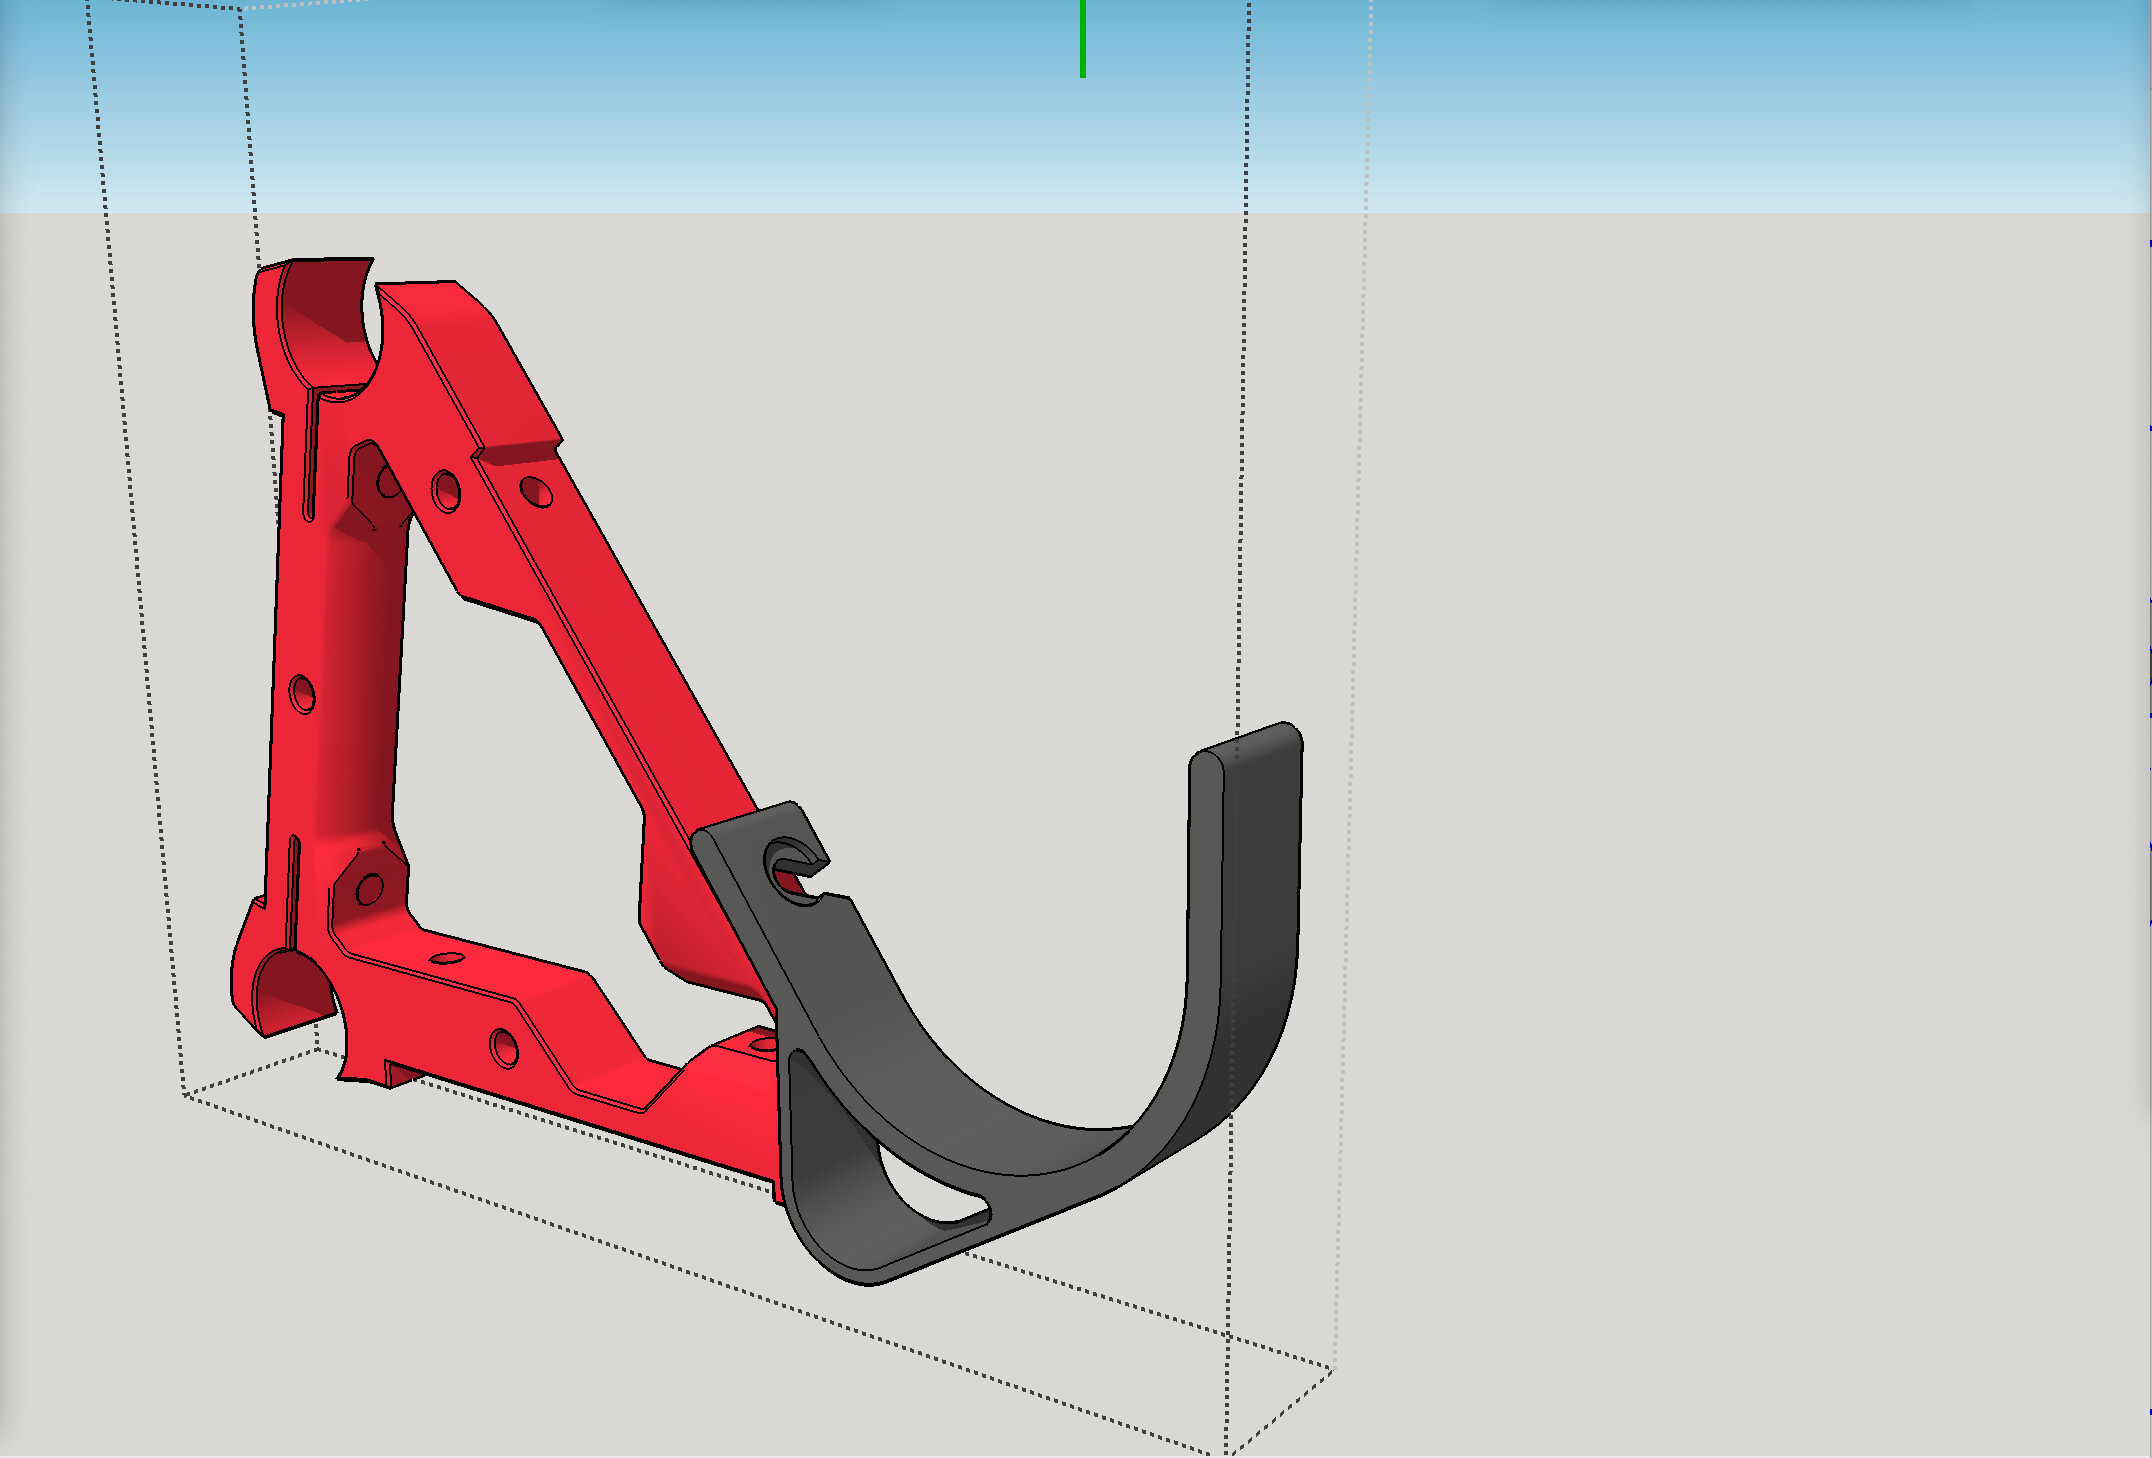
Can’t speak for Ryan, but I think that this looks good. The wings shouldn’t need to take a lot of weight, but there is some tension from the belt tightening that it needs to withstand. My main worry would be the lip that secures everything, if the part is going to fail, that’s where I’d expect it to.
I might consider making an expansion joint at the top of the print, where a screw can be inserted to force the inner part of the part to expand against the walls of the strut. This would take some of the pulling load off of that lip and again change it to compressive force. This would benefit both sides. Alternately, a piece that goes inside the strut to prevent movement added as an auxilliary piece to prevent strain on that lip.
These are worthy considerations. The only things I can say about the lip are that I used a similar type of set up with the LowRider 2 for quite a while with no issues, and the one I was using then did not grip the inside of the strut the way the current design does. The current design makes a pretty good friction fit with the strut.
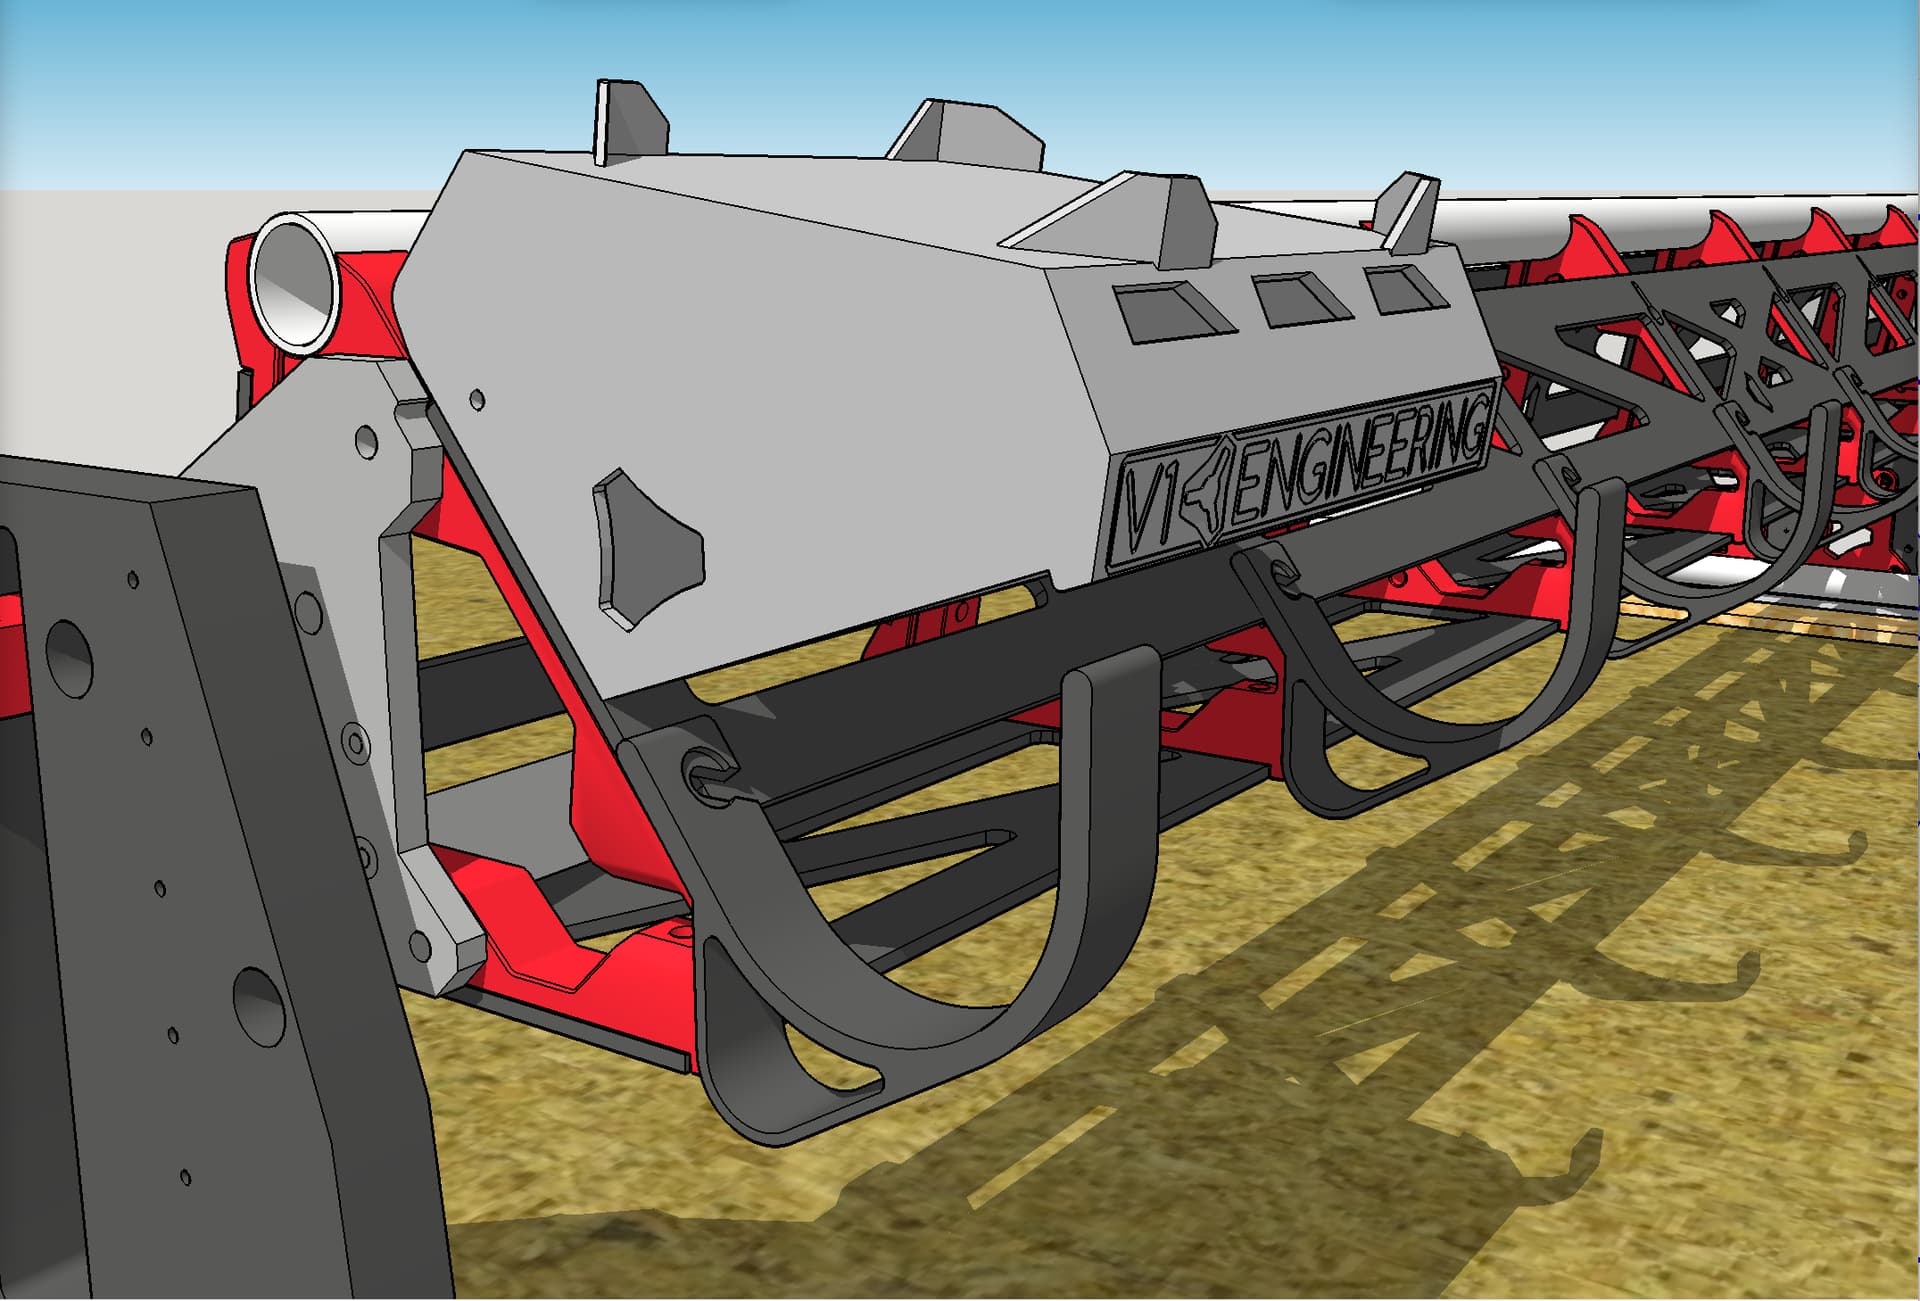
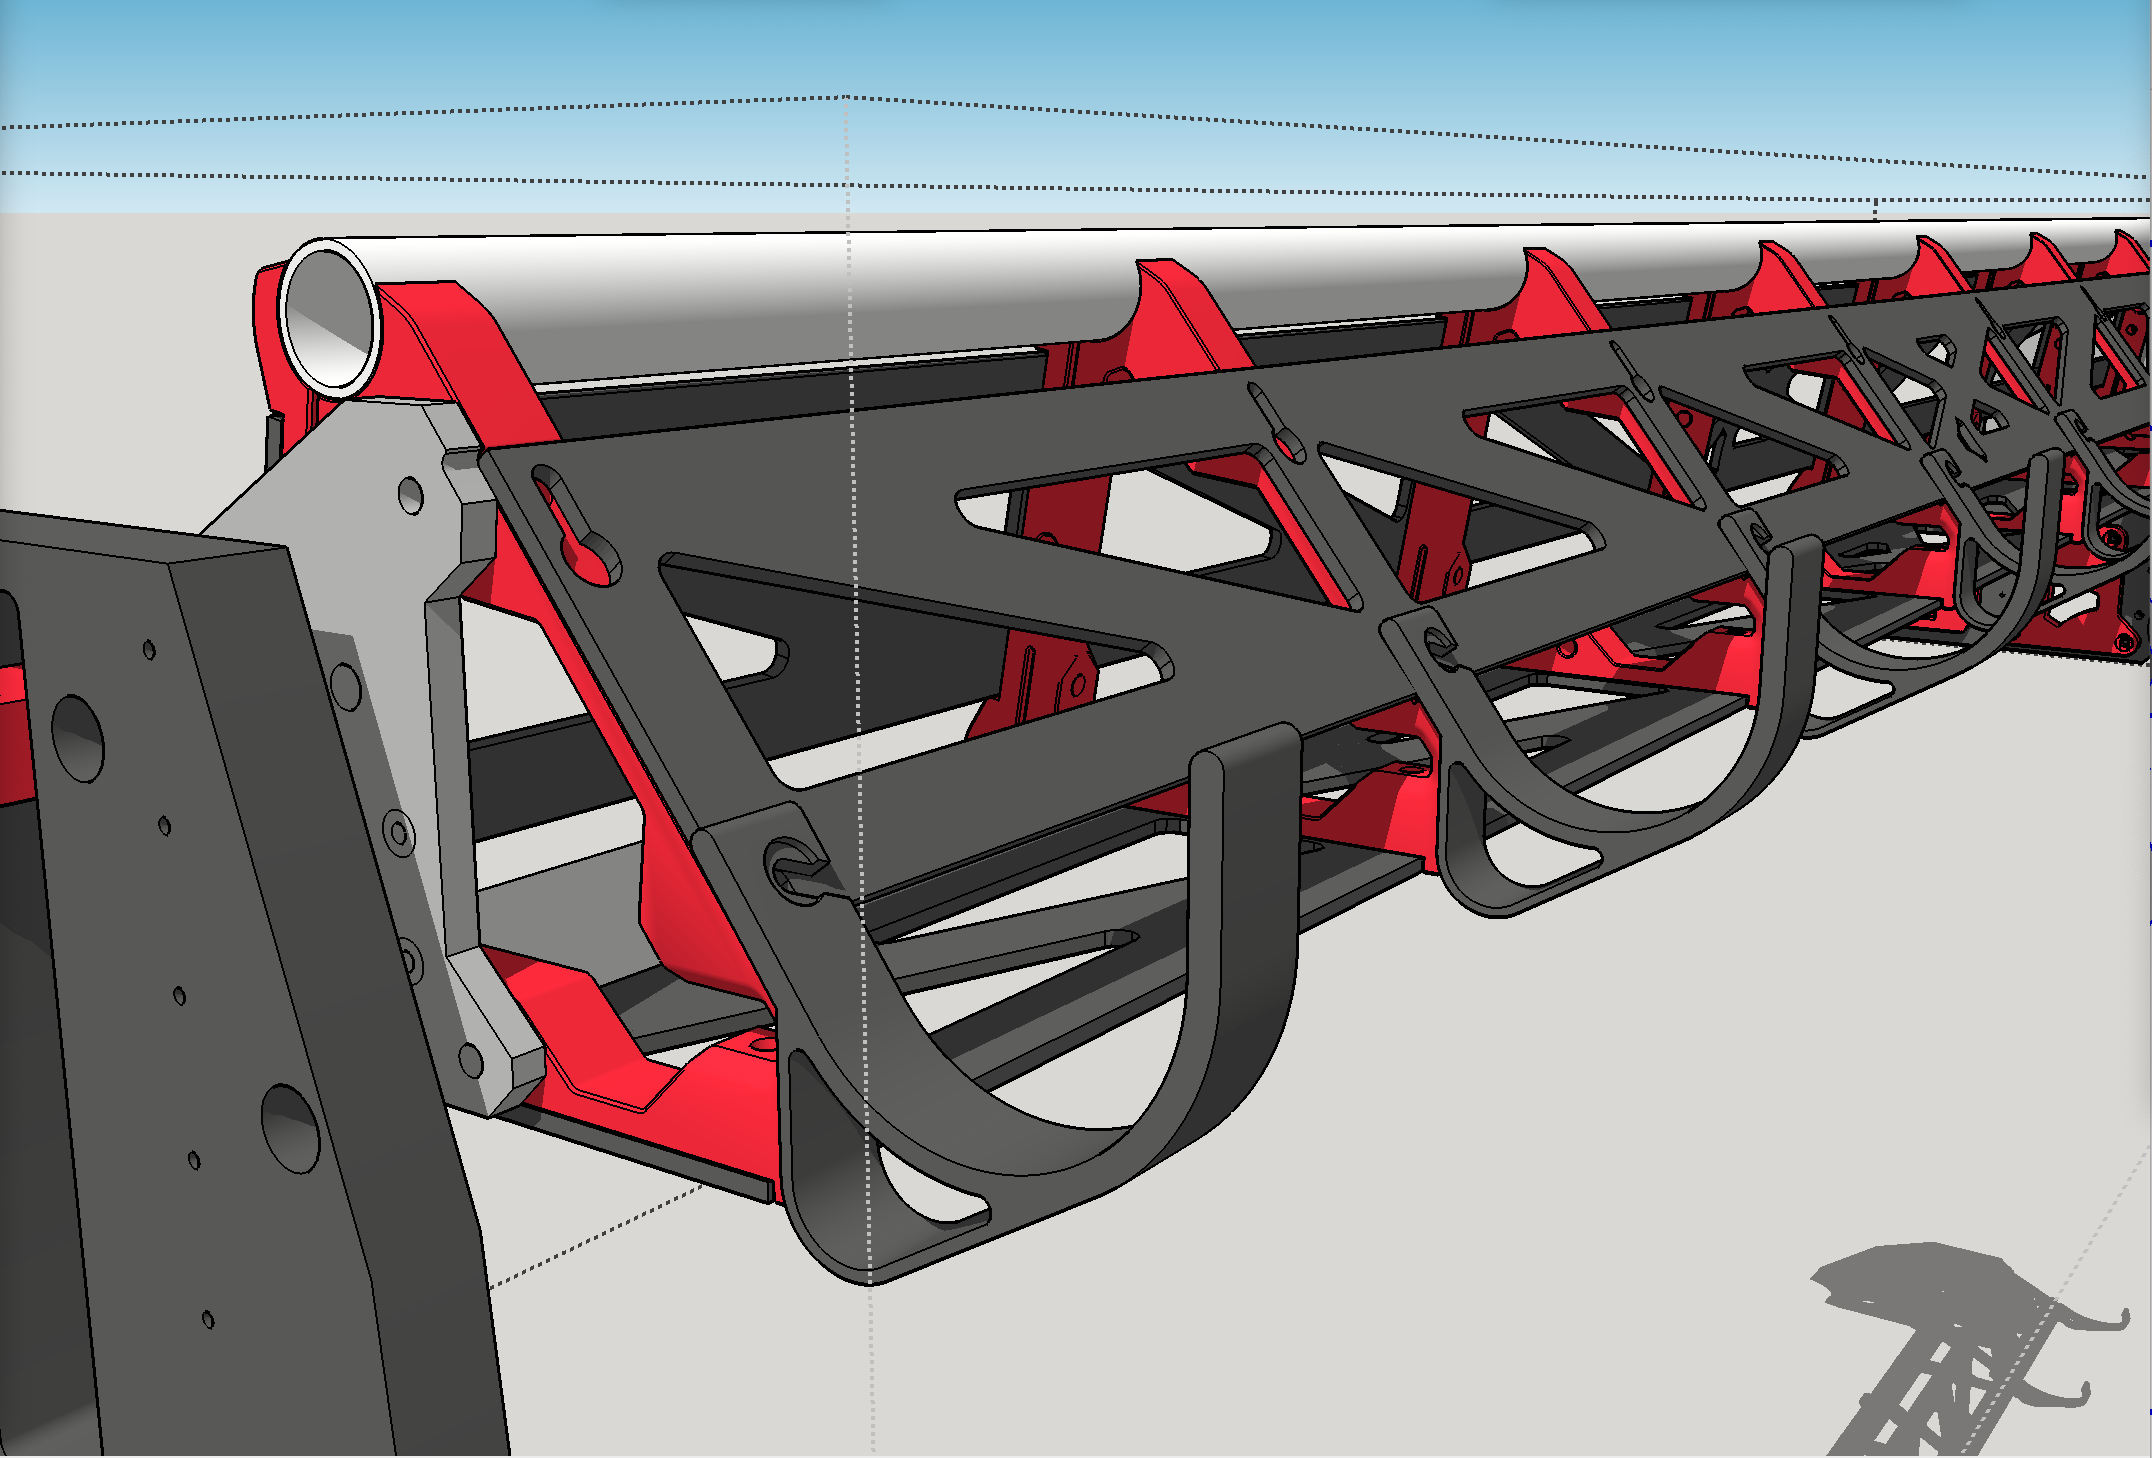
If you plan on using my 2.5" dust shoe remix, and you plan on routing your 2.5" vac hose onto the hose holders (underneath the control box is how Ryan has it), then you can use this part instead of the original hose holders.
I agree - the open design is much more in keeping with the machine. I am a bit with Dan on the fixing too - i would be inclined to use a couple of bolts through the strut and tapped into the print - one each end - countersunk into the strut - might not be necessary but it would make me feel good.
Slow down Doug, I haven’t had time to think up my own mods yet and I’m not even planning on starting till November!
I don’t think there’s a whole lot to tweak to be fair - I like the thought of enclosing the steppers and belt entry from the outside at least, and I do need to widen my table, but the whole setup looks really fantastic.
Once again, despite my brain telling me otherwise, I’m pretty sure I’ll be building “to plan” with the benefit of so many other builds by the time I start.
The LR3 is so far ahead of the LR2 in that regard already. I was talking with @macboy about protecting these, since his use is carving ice. The motors are already almost clear, it’s a simple matter to protect them from the carving area.
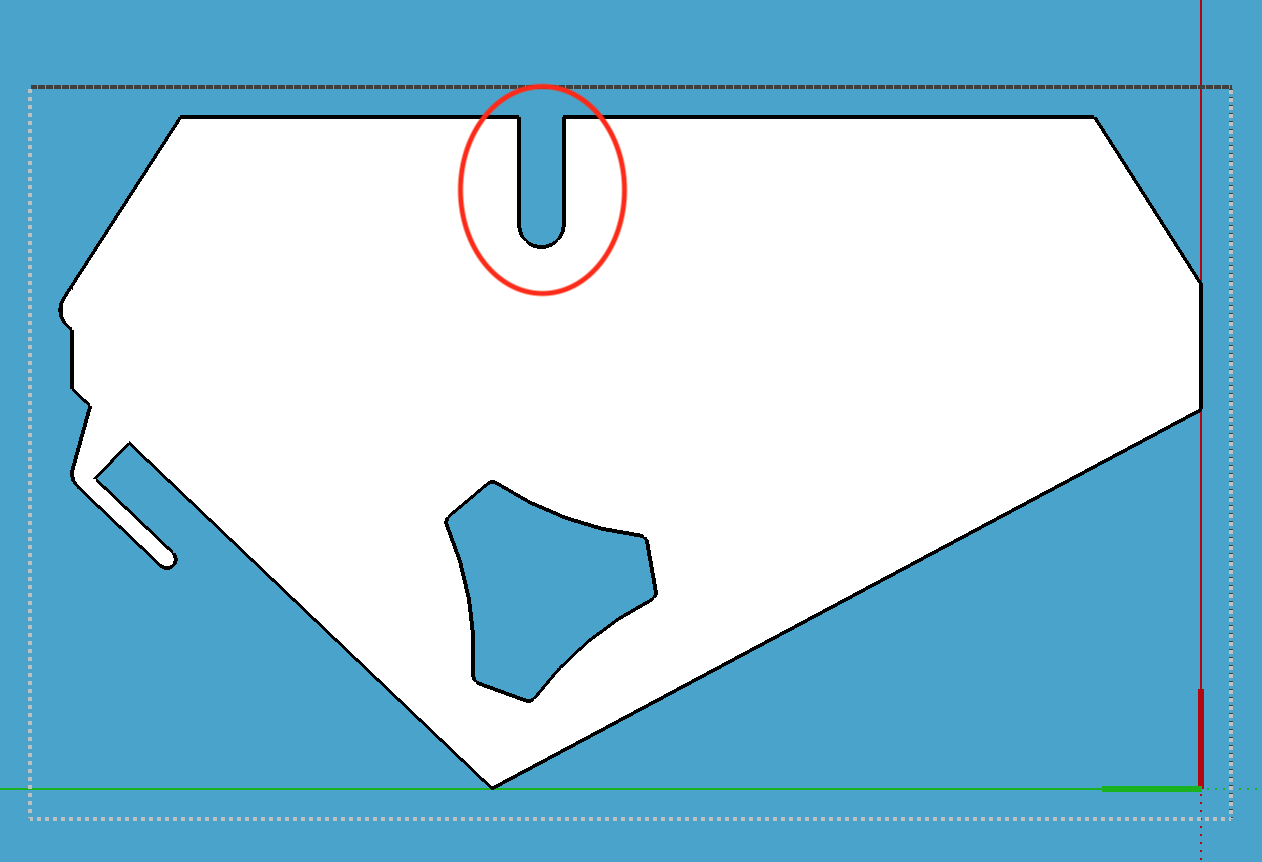
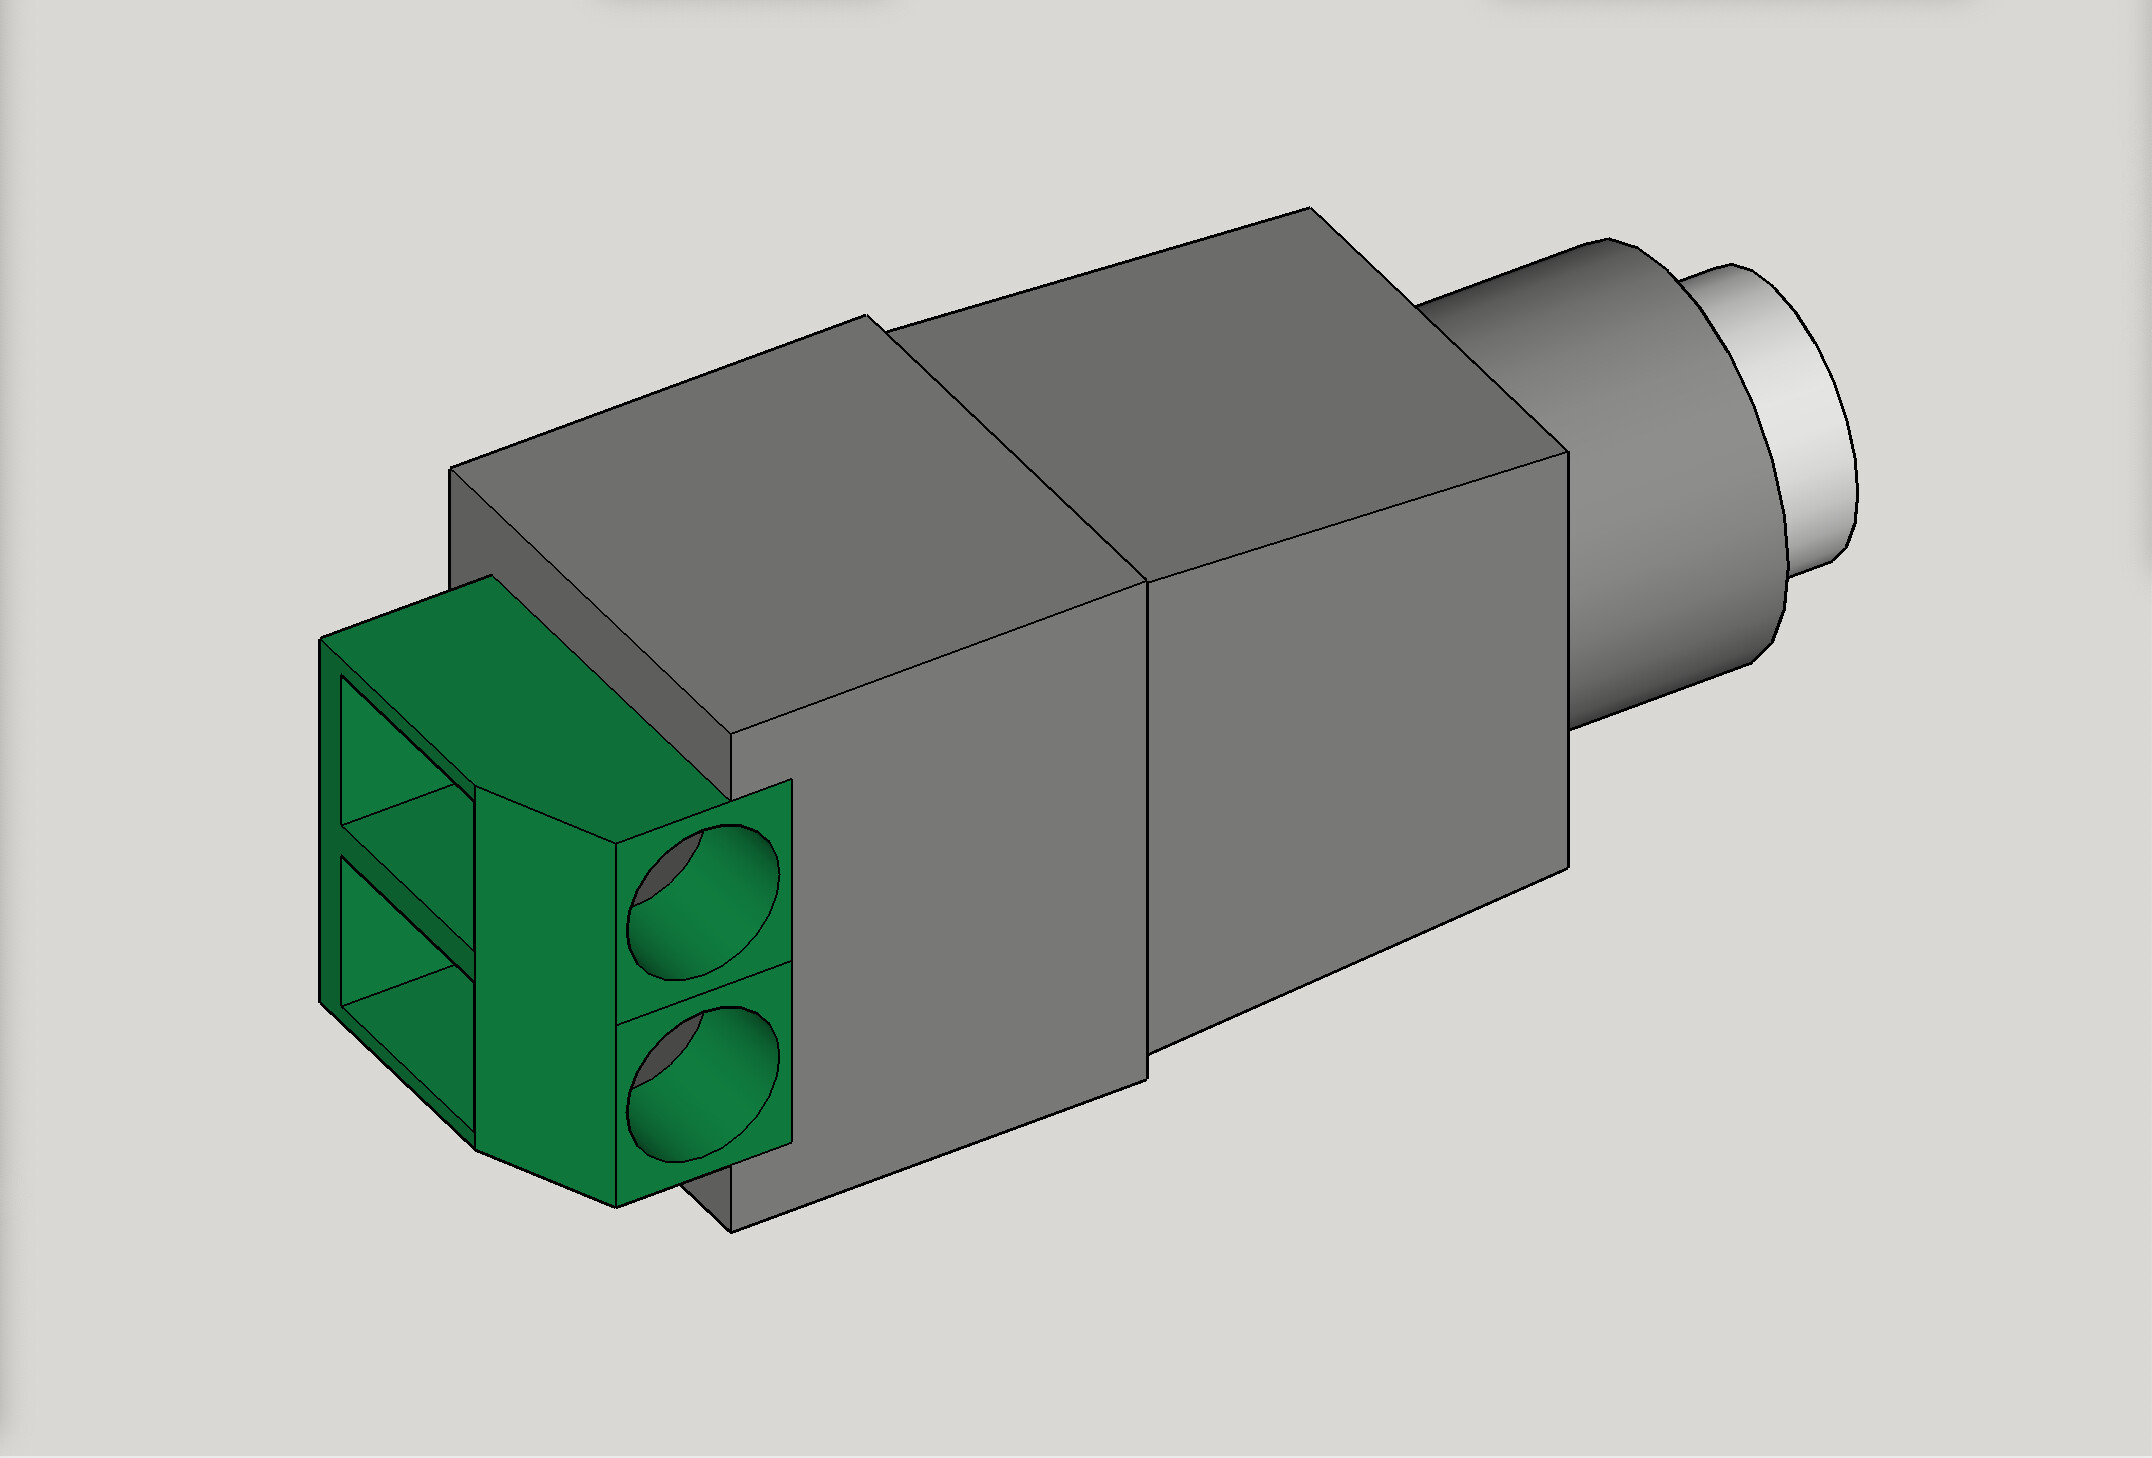
I’m wanting to move my two cooling fans from my existing case, and wondering if I can afford to move this slot and/or delete it. I gather it serves a purpose, I just don’t know what yet.
OK, thanks! That means I can remove that slot, since my LCD cables will connect to the BTT TFT directly through the lid of the case. This will all make sense what I reveal my remix.
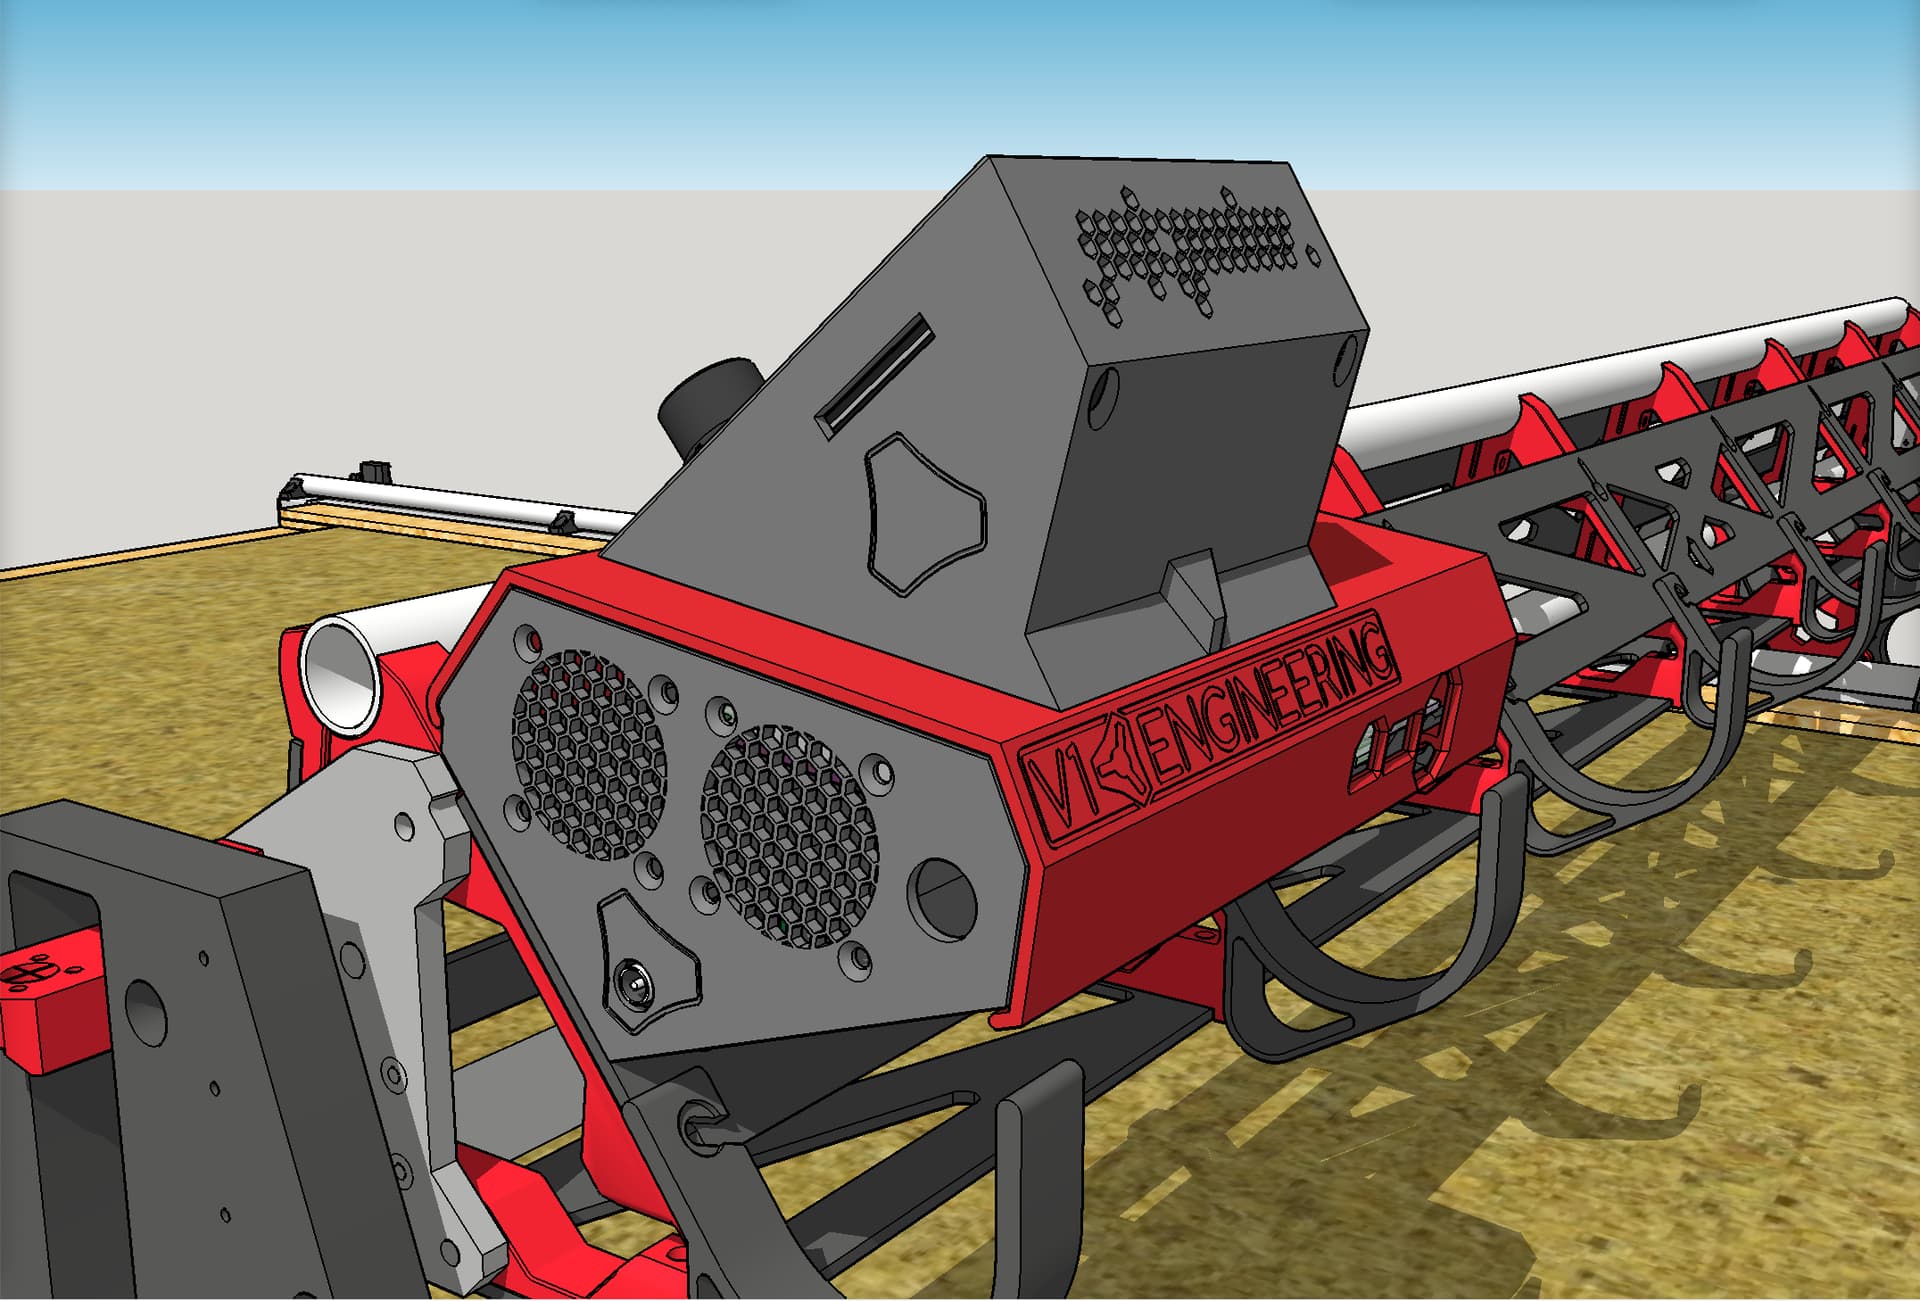
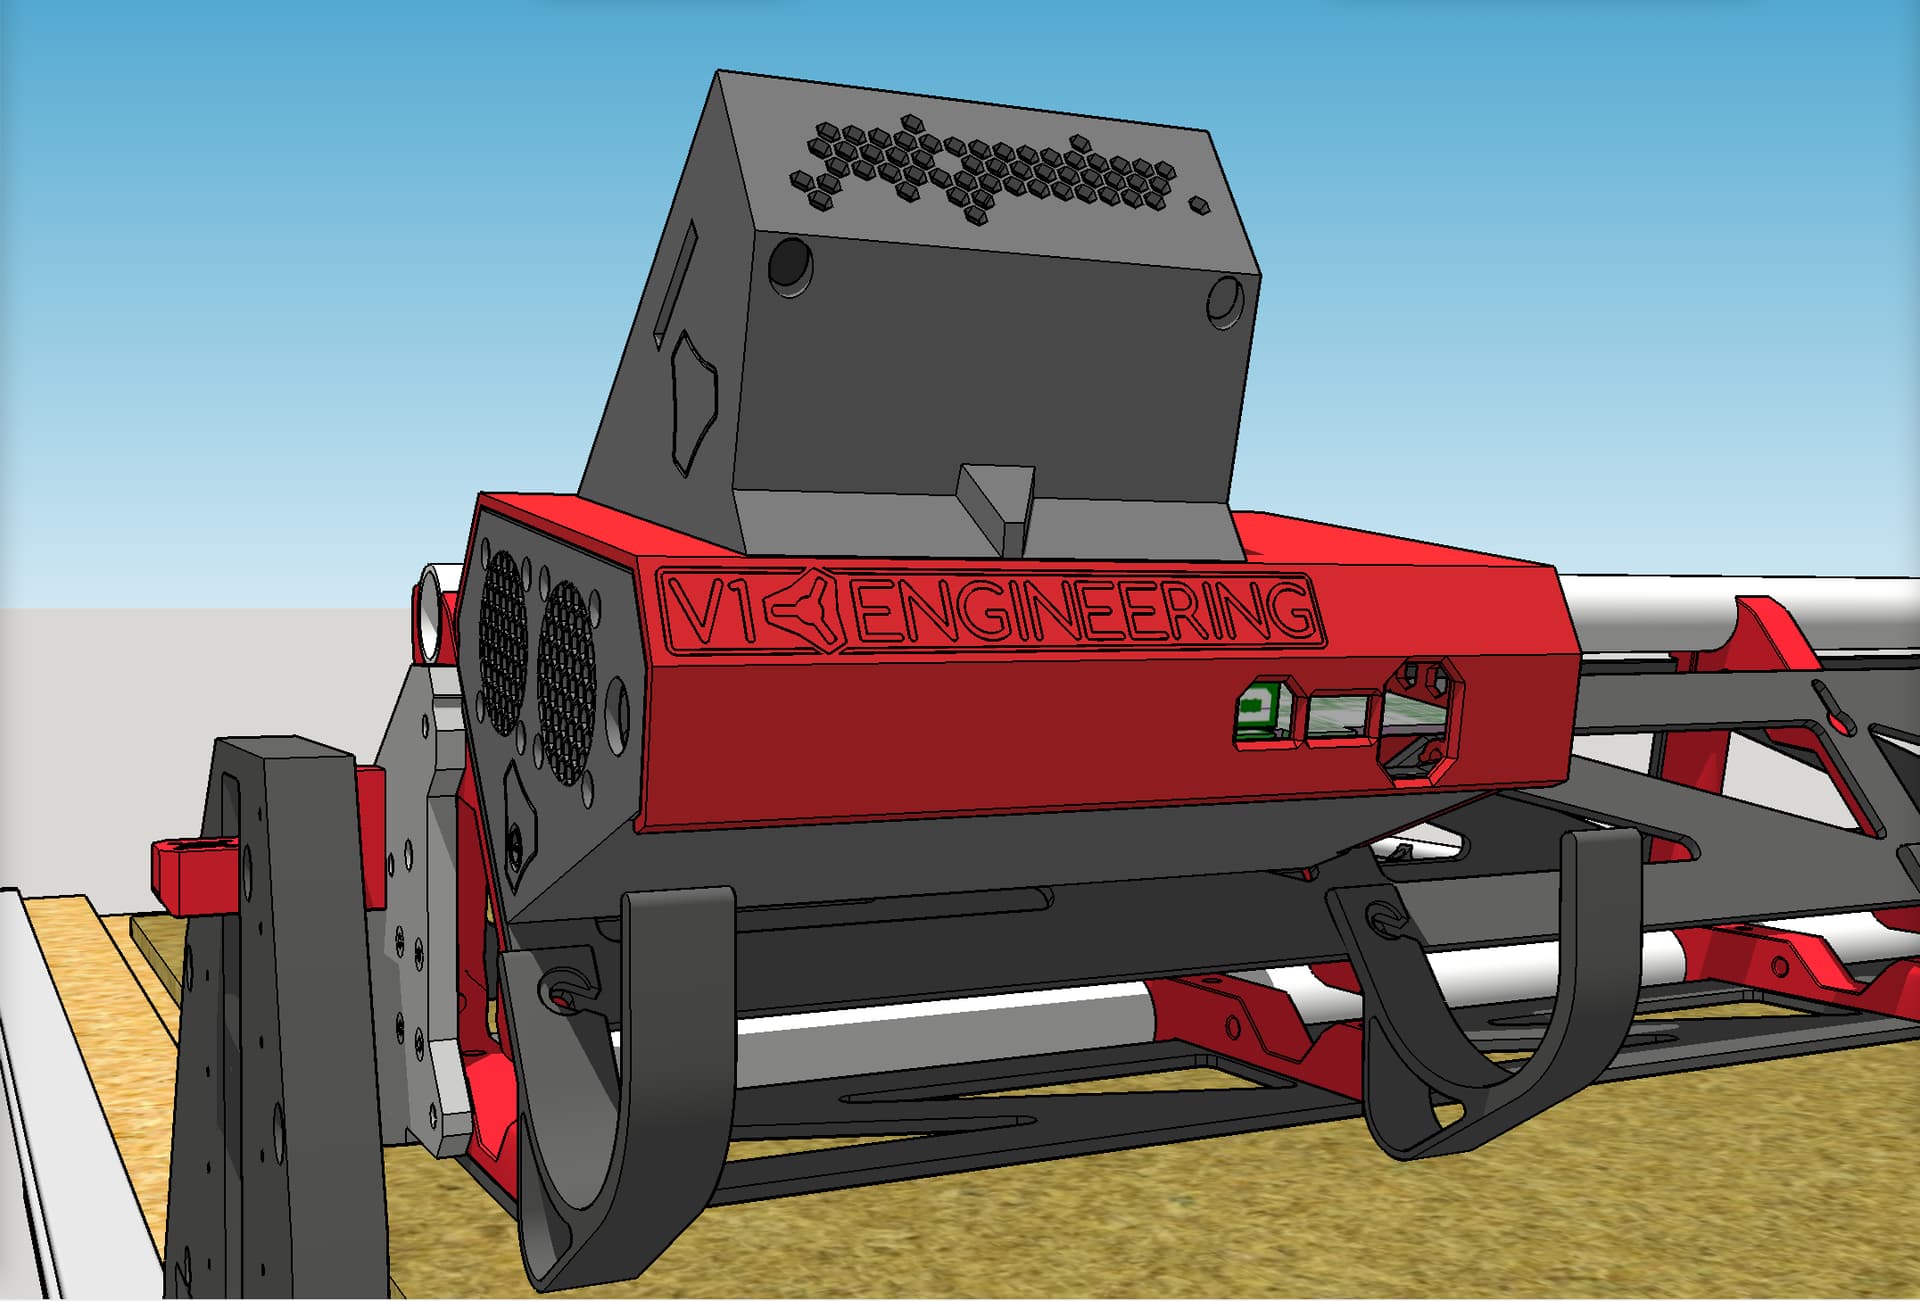
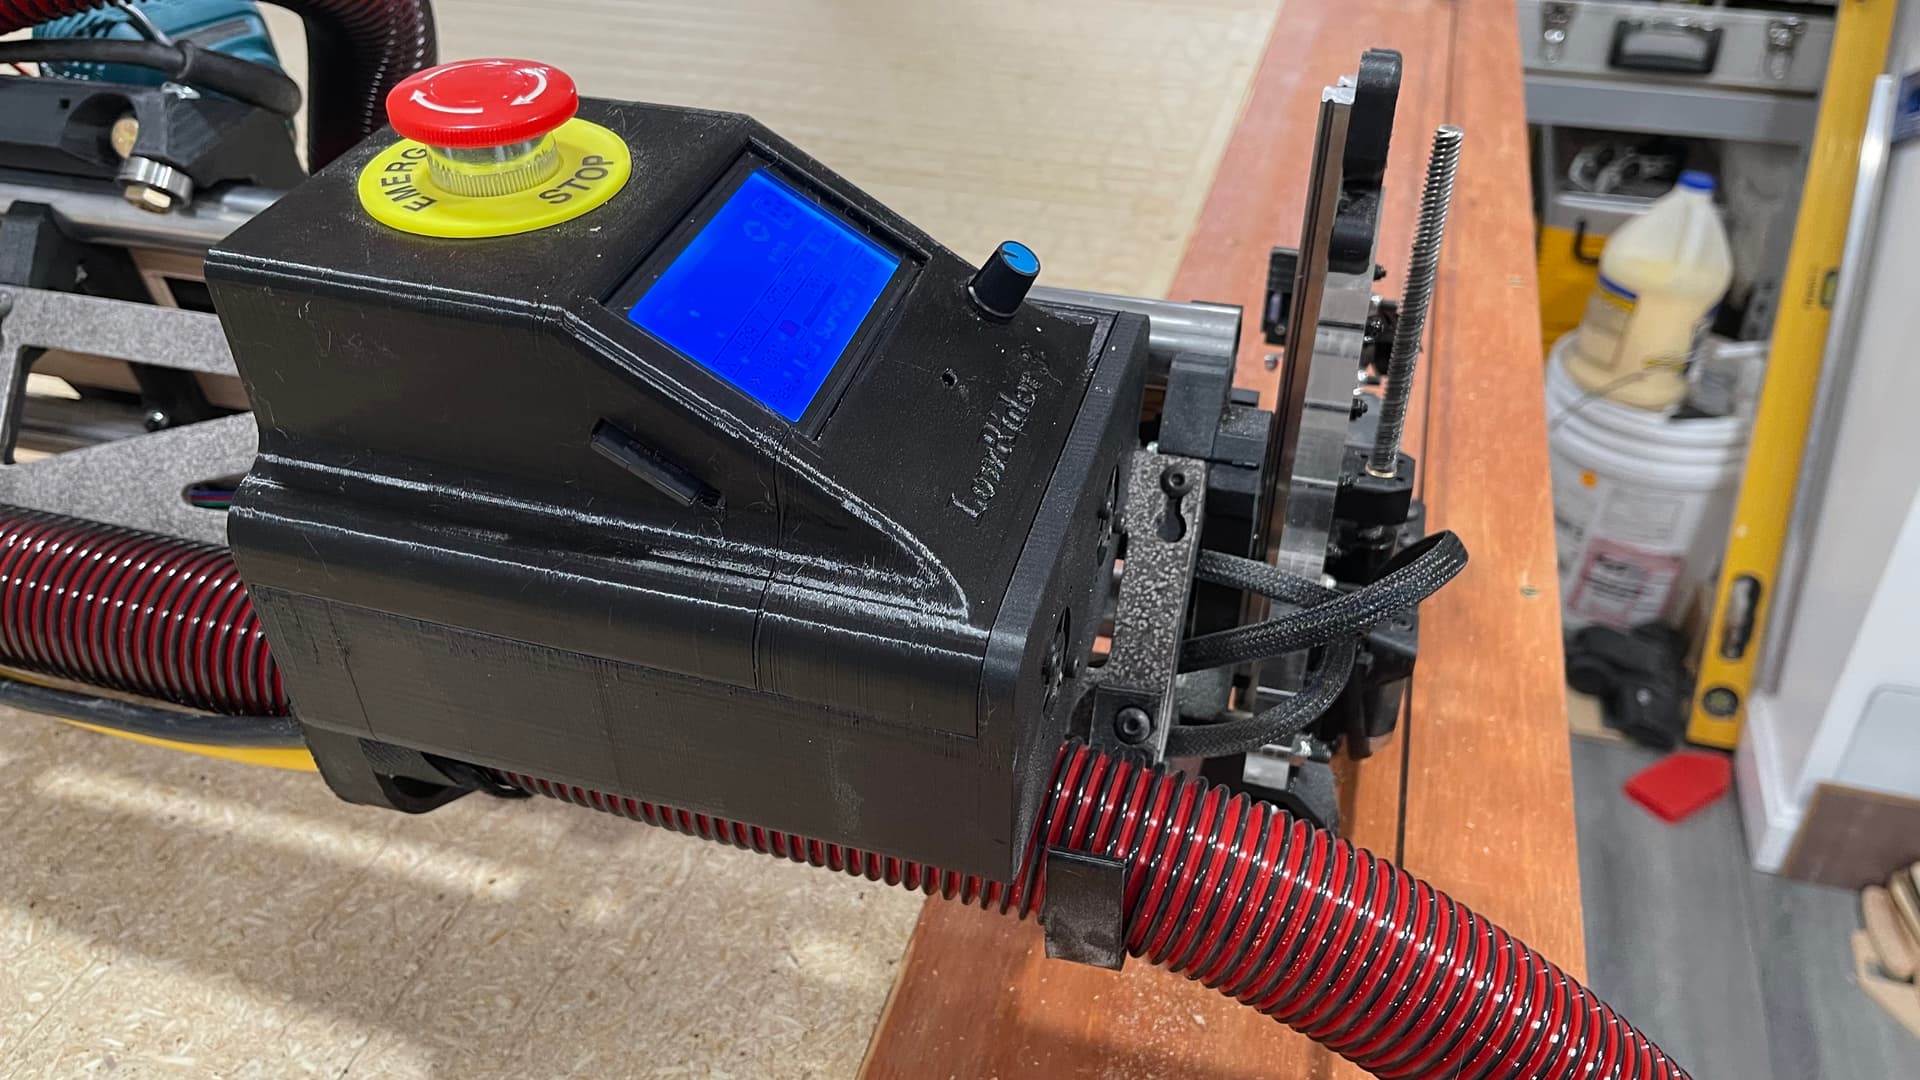
I’ve remixed the excellent “blank case control box” model provided by Ryan, to support SKR Pro 1.2 with TFT35 E3 and with two cooling fans. It also has openings for accessing the main board’s USB slots and SD card slot, and an opening for accessing the touchscreen’s SD card slot.
I’m currently printing it, and it’s a pretty big print run, so hopefully it will come out as desired and not need redoing.
Below is a screen shot and the model parts with print times, which are based on .3 layer height and .6 wall width. I’m accomplishing that print spec with both 0.4 nozzles and 0.6 nozzles.
Part
Print time
Grams of Filament
Base
11h 34m
182g
Lid
6h 20m
106g
TFT Holder
4h 21m
73g
Reset Button
0h 4m
1g
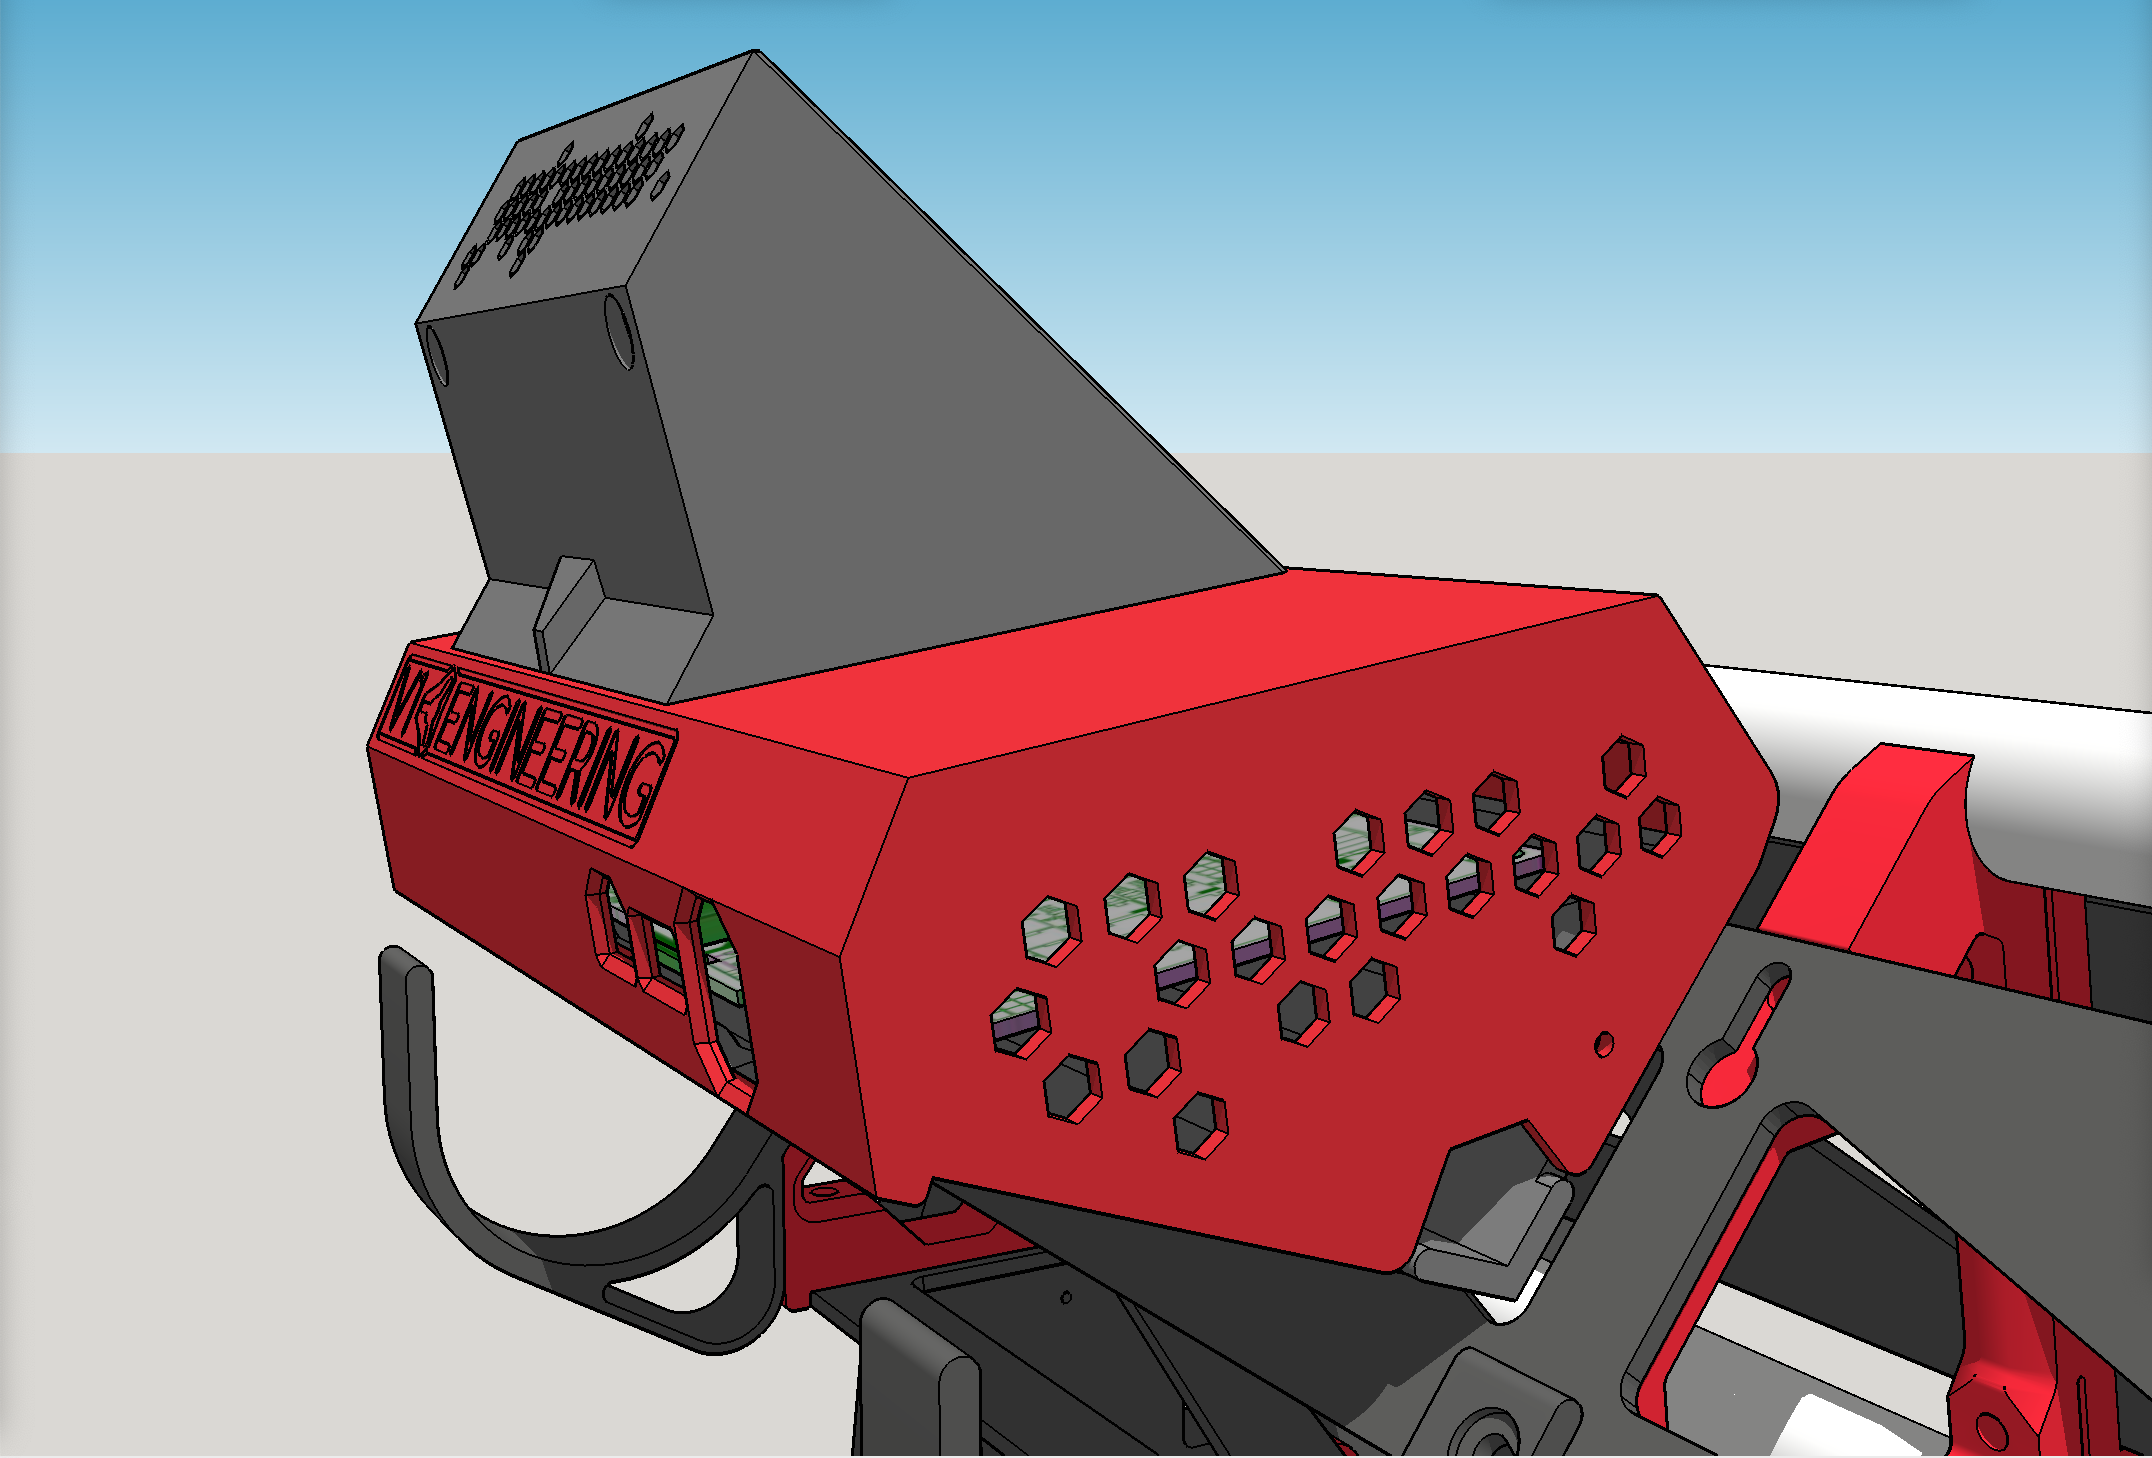
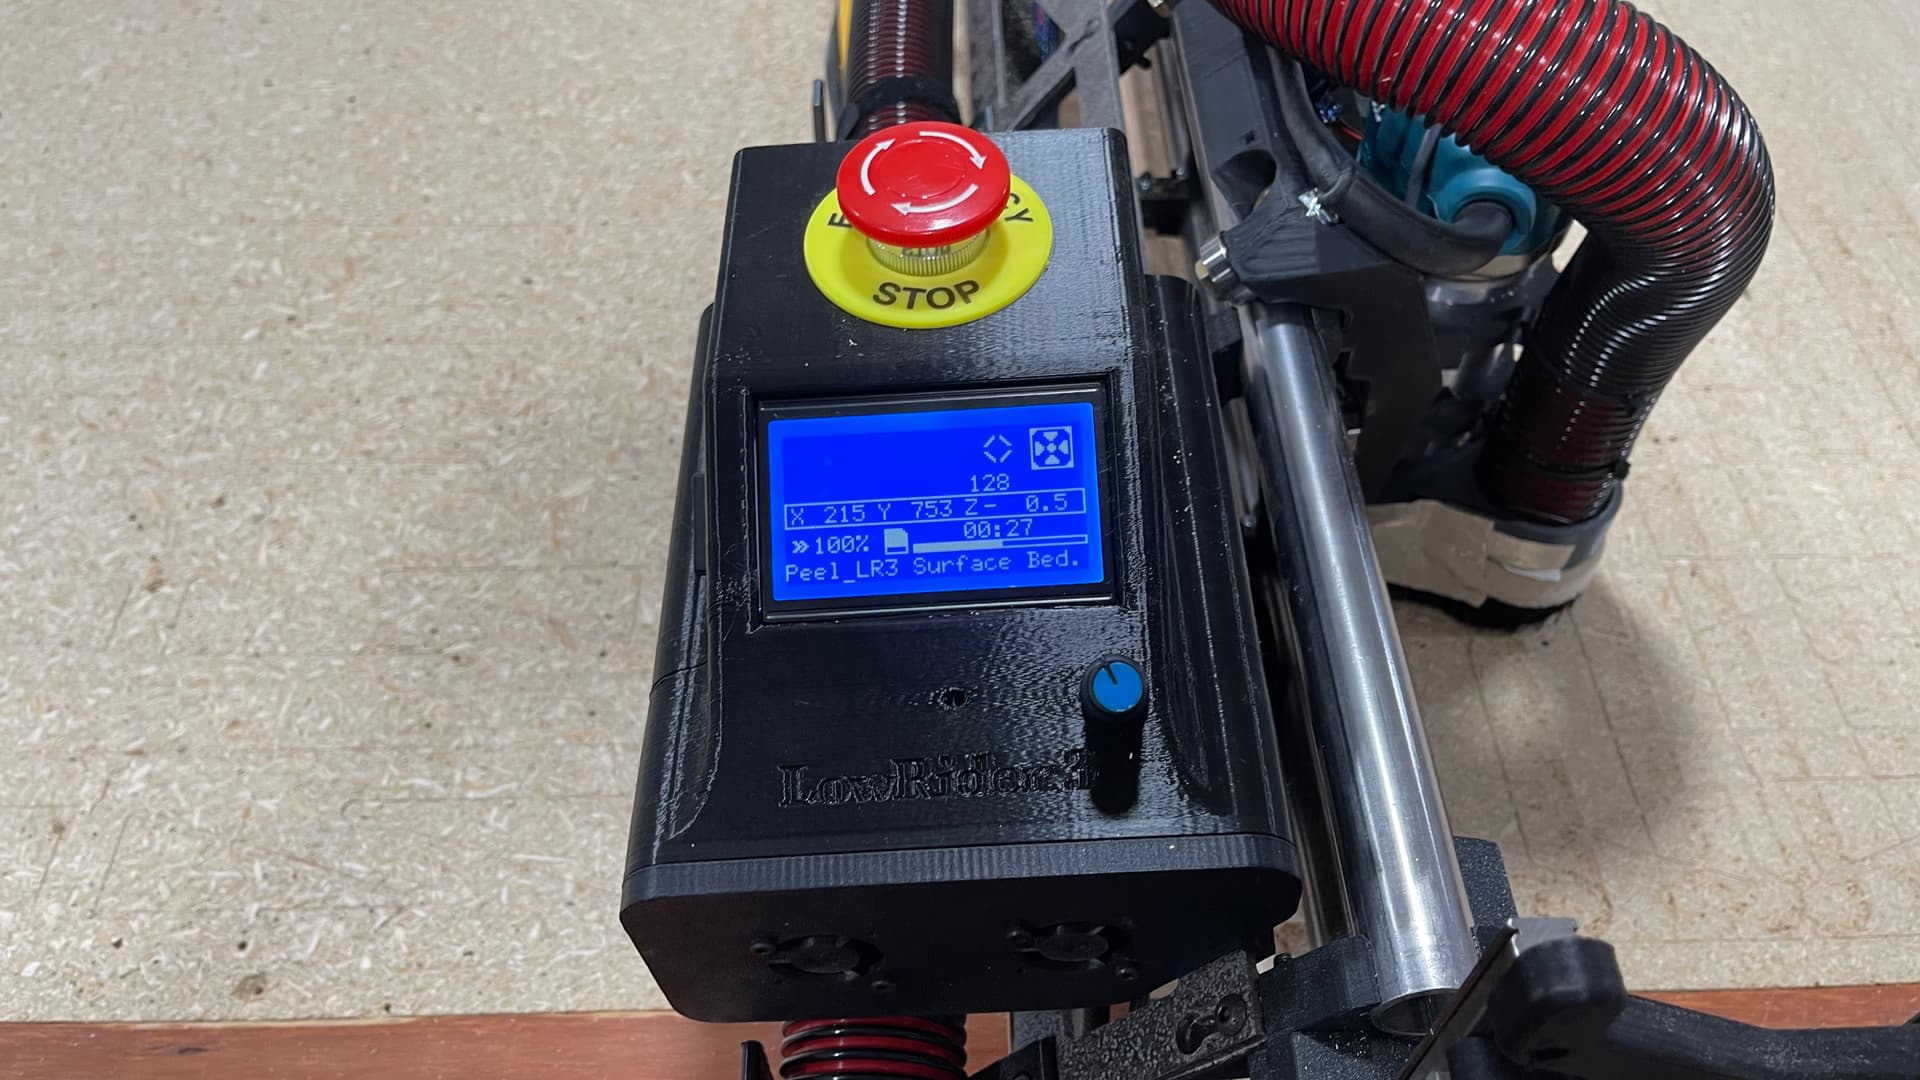
UPDATE (2022-06-06): I switched the orientation of the touchscreen. The following are updated screen shots.
The original design was like yours, 3 parts design… bottom/front, Top/back, screen and no emergency bottom. Now, this is a 2 part design as I have to move the screen forward to accommodate the big stop bottom.


 Get that puppy dirty!!!