Okay, good points. Didn’t know about the TFT bugs or the different g-codes. Oh well - the display’s not where the magic is anyway!
Success! All the axes move in the right directions, and endstops and homing all work! The core is still more wobbly than I would like - gonna make some gcode to move the machine around a bit and then play with the core clamps to see if I can tighten it up.
I’m printing a pen mount now so I can draw some rectangles to measure for square. Are there some files on here that I can use for testing 2d drawing?
Okay, it’s square - woot woot!
Off to find some line drawings to test with.
test crown?
Sandify?
Thanks, Ryan and Jeff! Test crown is what I was thinking of, though I thought there might be some other test files out there to try. Since I was ready to get testing, I used Inkscape to generate a test print. Came out great!
And Sandify would make some awesome test prints - might do a few of those just to show off my electric spirograph - I mean, CNC!
Here’s my test print. Super happy that the gantry is level with the print surface - a little surprised, actually!
Congrats, that looks rad!
Where I have my control box mounted, the fans are pointing right at the work area. Created this shroud to redirect the air inlet and hopefully keep some dust/metal chips out of the electronics.
Okay, got the vacuum hose situated. I was walking around my neighborhood and someone had thrown out this wire shelf - around here stuff like that is left at the curb, for people to take if they want it, so I took it and mounted it over my CNC cubby. Now I have someplace handy to attach hoses and cables.
- That looks really nice and professional.
- What is up with the dewalt on the wall?
- Do you have plans for a drop table? It looks like there mighe be some kind of cavity under the spoilboard. And your Z is pretty long, right?
Looks really clean.
Thanks, Jeff!
I use the old universal tool mount. On the side wall of the cubby I have a holder that can hold 3 or 4 tools with the universal mounts on them. My dewalt and laser are hanging there at the moment.
My z is pretty long, definitely longer than recommended. But the work surface is also raised, so the actual working distance is closer to the core than it appears. The z rails could be cut down, but I can do that later. I used the z rails from my 525 (later burly) build, just swapped them over. My original 525 had a long z because I was planning to hang an extruder on it. I already have multiple 3d printers, so I never ended up doing that with the MPCNC.
There is space under the cubby but no plans for a drop table. Just have plastic bins stored under there. Might put the vac system under there eventually.
I created a clip-on electronics mount for the z axis rails.
I was just looking at a few other builds and realized that - as Jeff noted - my z rails are extra long. My clip-on solution might not fit as well if I had the z rails just long enough for a 40-50 mm z height, like most builds will have. Something to keep in mind if someone is thinking of using this electronics connector mount.
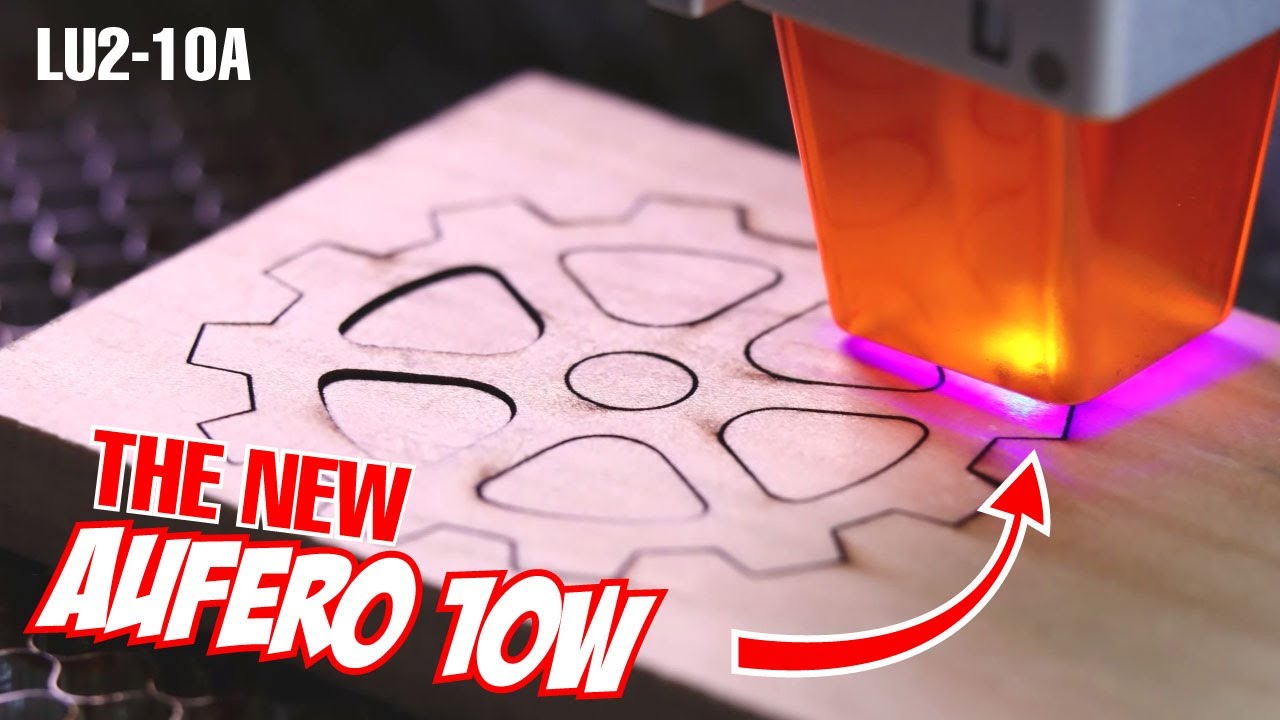
Just for fun, I ordered an Aufero 10w laser - woot! I’m surprised - it’s cheaper than my original 3.7 laser from JTechPhotonics.
I added a shroud for the side vents on the FlyFisher case to protect the electronics from debris.
This reply is a bit late, but would it be considered unwise to put 2 of the 12V fans in series and run them both off one 24V line? Just curious of the benefits or repercussions of doing that. I see the 12V option was used eventually.
The 24V won’t be split evenly. One of the 12V fans will have a little more resistance and get more of that split voltage. So one might be 10V and the other 14V.
There may also be weird dynamics involved where they both get 24V, but at different times.
Fans are pretty tolerant and dumb though. They will probably be fine, but it is definitely out of spec.
Designed a mount for the laser that fits on the universal mounting system. Printables
Okay, I’ve got my spoilboard made and flattened, and my workholding clamps cut. Before I take off the router and start playing with lasers, I need to make a couple of quick signs. I’ve really enjoyed having the dual endstops - makes repeatability much easier.
For these signs, I want to position the tool and reset the zero for all axes. I can do that by just resetting the controller, right?
No, that powers off the steppers.
In the milling basics page it gives you G92 X0 Y0 Z0, that typically goes in your starting Gcode and that will reset the coordinates automatically. There is more to it if you use a touch plate or tool changes. It is all listed there though.
