I think my tension block was probably a bit too tight on the belt, because of ringing with my printer. It definitely does NOT let me slip the belt into it easily. It most certainly does not like to “pop in” – I need to persuade it with a small flat screwdriver.
Gotta get some of that filament. It’s beautiful.
I’m using #6 screws to bolt up the blocks to the table, and there’s some room for fiddling to get it absolutely true and square, so having the pilot holes was okay, nd my diagonal measurements were within 1mm. If I ever have to remove them again, I might use some double sided tape to ensure that they don’t slip.
It seems very susceptible to printer variations. If I am under extruding (which I do try to set the extrusion lower rather than higher) or if I had more or less noise it would make a difference. There have also been a few people who have struggled with that fit with their own printed parts. I don’t think it would be a bad idea to CAD a second part that was a little looser, for people to print themselves.
The filament is from protopasta, HTPLA Empire Strikes Black. It is $30 for 500g though. Definitely for special projects. I am finishing things like the LED brackets with a 1kg roll of silver blue PLA that was normal prices. I don’t usually print that much, so the fancy filament usually lasts me a while.
Well, I print quite a bit, but mostly in monochrome PETg. Special projects are special projects. I have my extrusion about as close as I can get it, because under extruding on structural parts has burned me before. Over extruding on parts that need to fit other parts is also less than good.
I had to re-do the firmware on my ZenXY to try 9000mm/min. That’s a little too fast. It managed not to skip steps, but only barely, and mostly because I have the current on the motors still set from my first version build.
It’s much noisier at that speed, so I won’t be doing that on anything like a regular basis. There doesn’t seem to be any notable difference in the finished pattern, so this will be a way to put something up if I want to do so quickly. (Like an upcoming zoom meeting. I’ve been known to point the camera at the table for those.) I might play with speeds to do things differently, too. Wipe the table at high speed, then draw slowly. It’s nice to have the option.
Still, noise wise, definitely the faster, the louder. Noise dampners on the motors help. Better drivers would help, too. I think I’m going to try to get a firmware/config for the Duet set up so that I can do a direct comparison, but not for a little while. Maybe for the next build would be good idea. Meanwhile, I"m going to turn the current back down on this. I think it’s set for 1.2A right now, definitely does NOT need to be that high.
Also been looking at sensorless homing onfo onthe Duet. I think that I can do it, the trick seems to be setting the motor current to the point where it doesn’t stall in regular moves, but will if it hits a stop block quickly and definitively.
Still messing with this, slow going. Trying to decide the best way to make/mount/attach the optical trigger. I have a couple ideas.
I have a question for you two. The 4 tension screws on the trucks(?) face up, when assembled you can not get at them. I did that so there was no chance of them ever falling out. Should I flip them over, or maybe even flip them over and add nuts? I put mine together and had to take it apart to tension them because forgot. So safety vs ease of use. Think, put one in grandmas den, loose trucks are better than a screw falling out right?
That was what I assumed. No chance of falling out is good, I think. If you flip them over, then I think nuts would be necessary, to be sure of no falling out. I like it without the nuts, because for assembly, it’s also difficult to over-tighten. Also the aesthetic without visible screw heads is nicer.
I might feel differently about it if they loosen over time, but so far, mine have stayed appropriate, even through my speed demon testing, with it hitting the sides because inertia. The trucks have maintained their tension, and my screws are also 5mm shorter than spec. (I think, I used a lot of 25mm screws in the truck assembly whenever it was adequate, because it’s what I had on hand.)
Just make sure to include a double-check in the instructions before mounting, and tell people to be careful of stripping the plastic. I think that’s plenty adequate. I’m sure that you only forgot because not having a checklist/instructions. (After all, you were in design phase.)
Hmm, that isn’t cool. That sounds like a vote for nuts. Although I can not put nuts on the other tension bolts there is just no room. Maybe a test part is in order.
I put some of the sisyphus extra sand one the glass. And it is super skippy and crunchy. I really like seeing up from the bottom though.
I tried adding contact paper (the stuff we have has a texture to it) and that helped with the sound but the ball is still stalling and then jumping ahead.
I am thinking now that maybe the magnet is too close? I have a spacer under it and I think I have yo take it pretty far apart to get that spacer out.
A close magnet is louder but really lets you move fast if needed.
I keep hearing about fabric in these but have not tried it.
Backing soda is much quieter from what I remember.
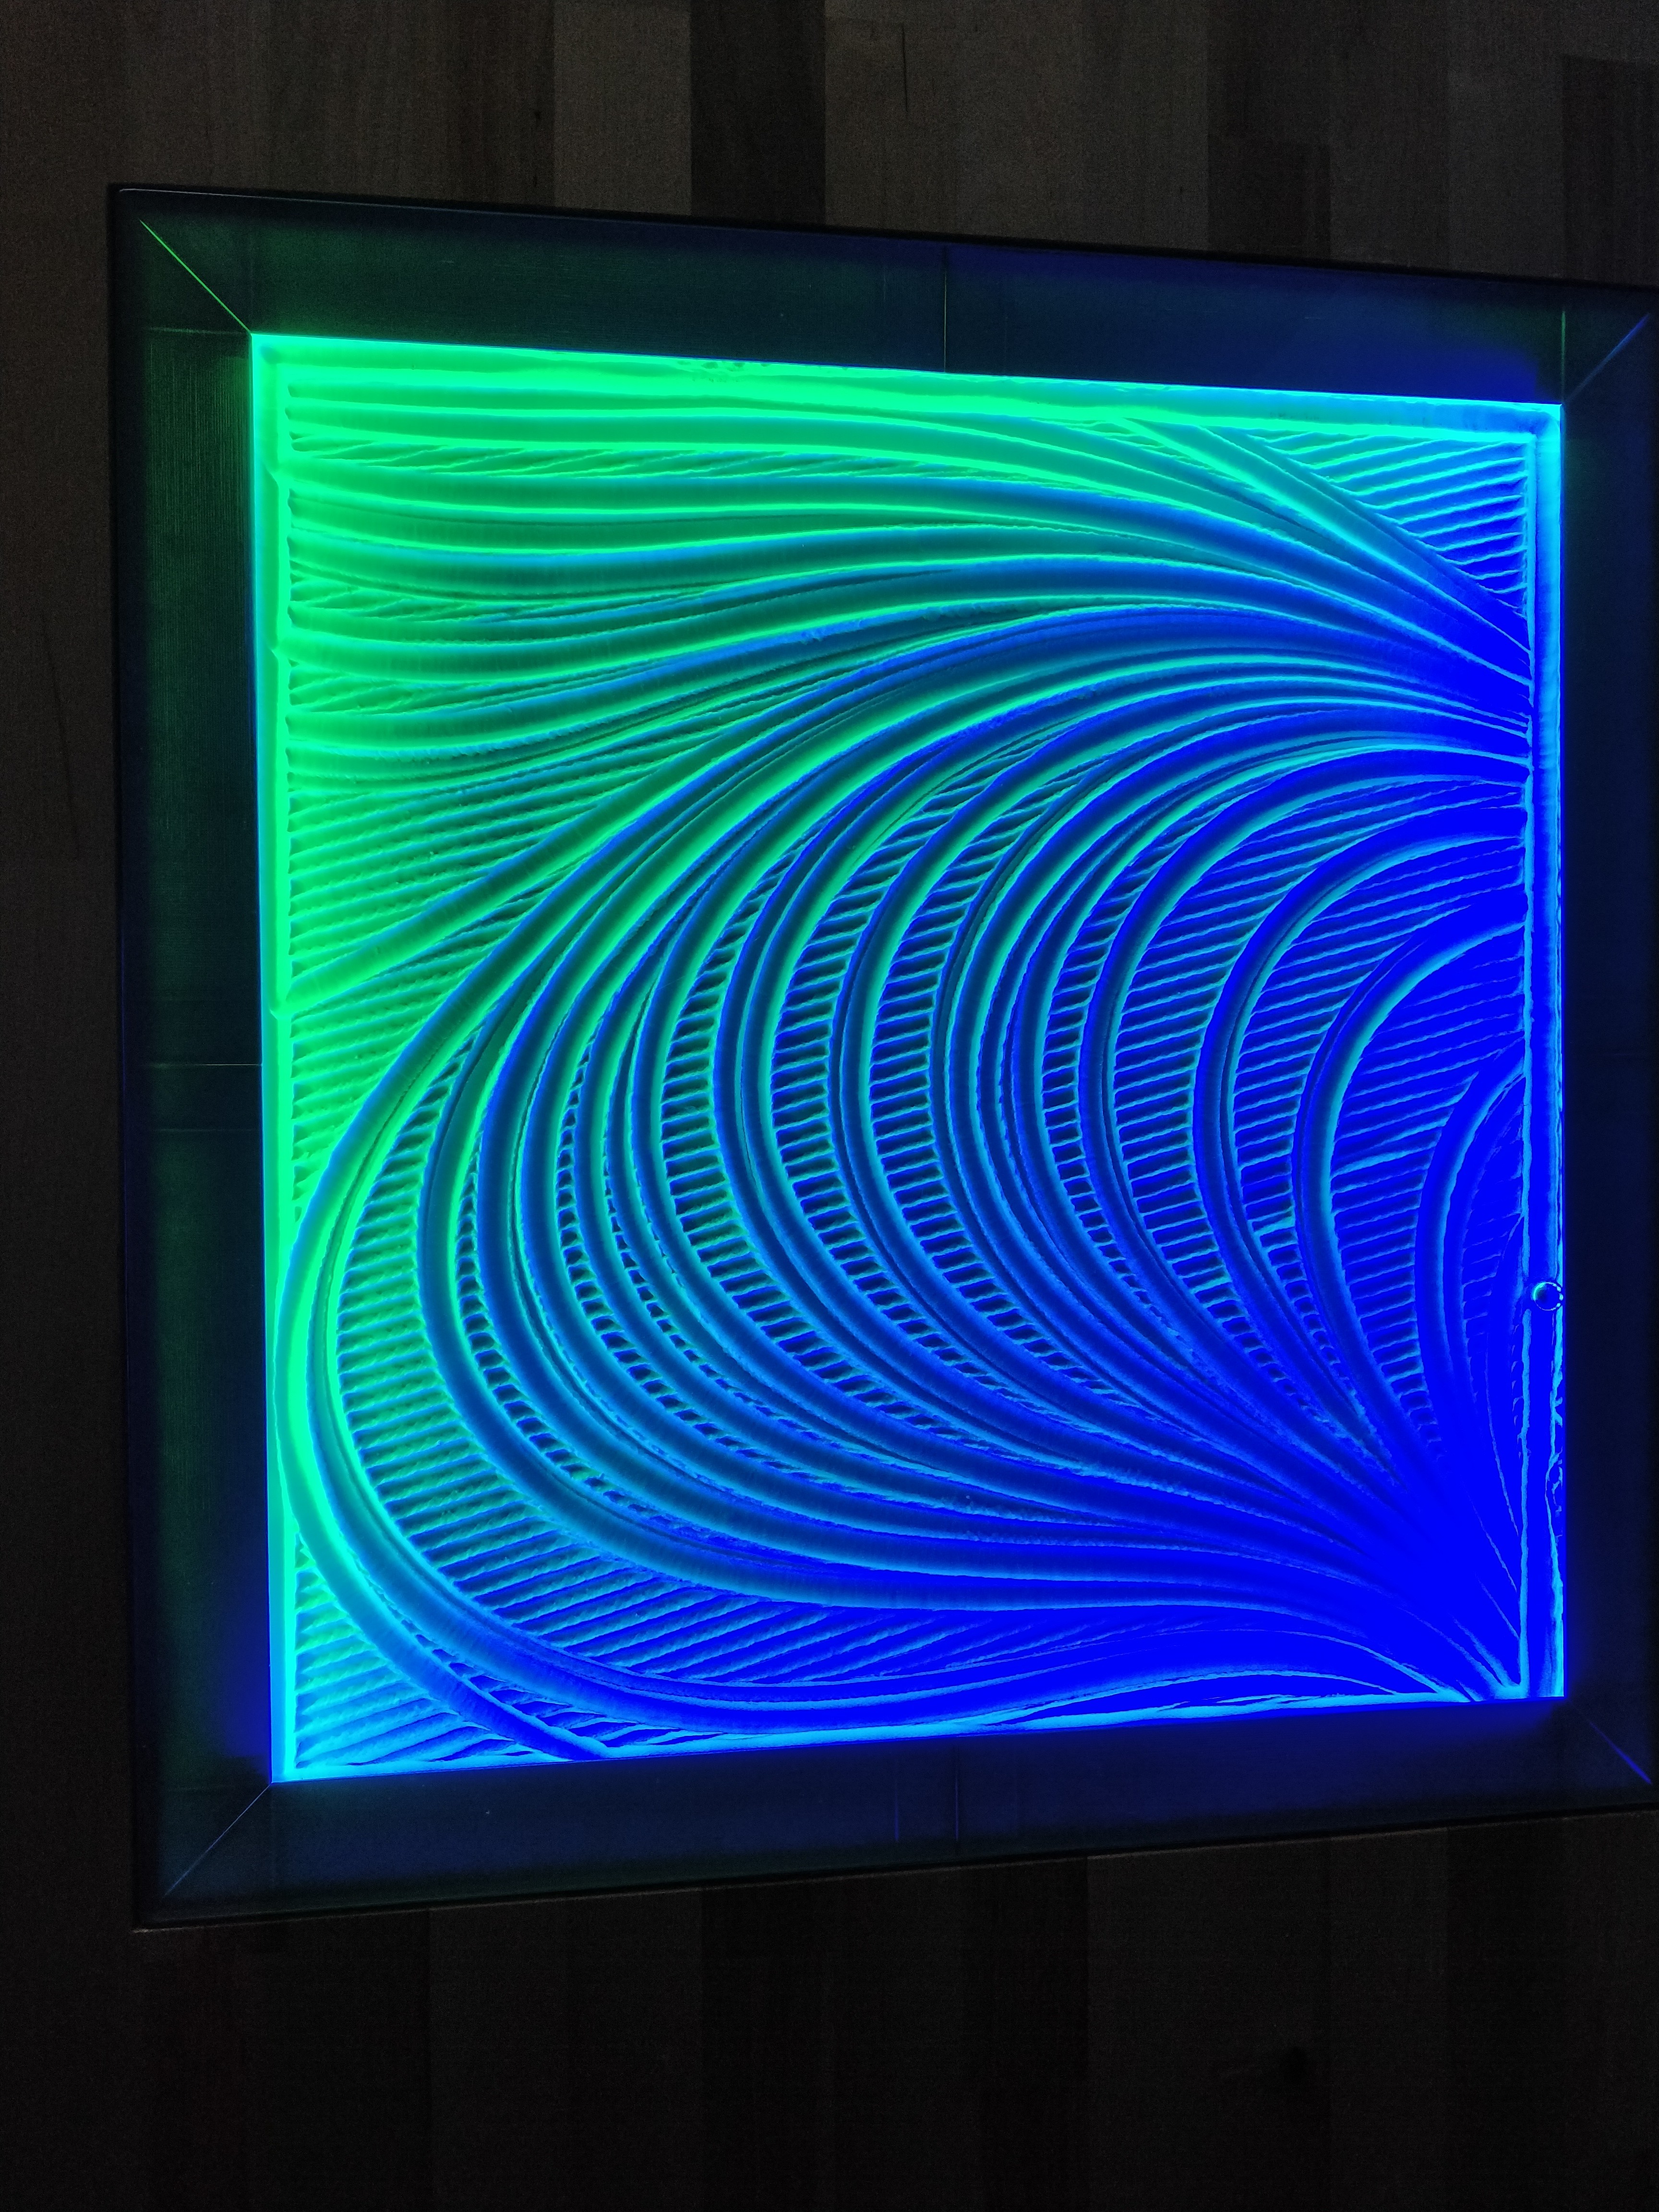
The contrast with those lights adds so much depth.
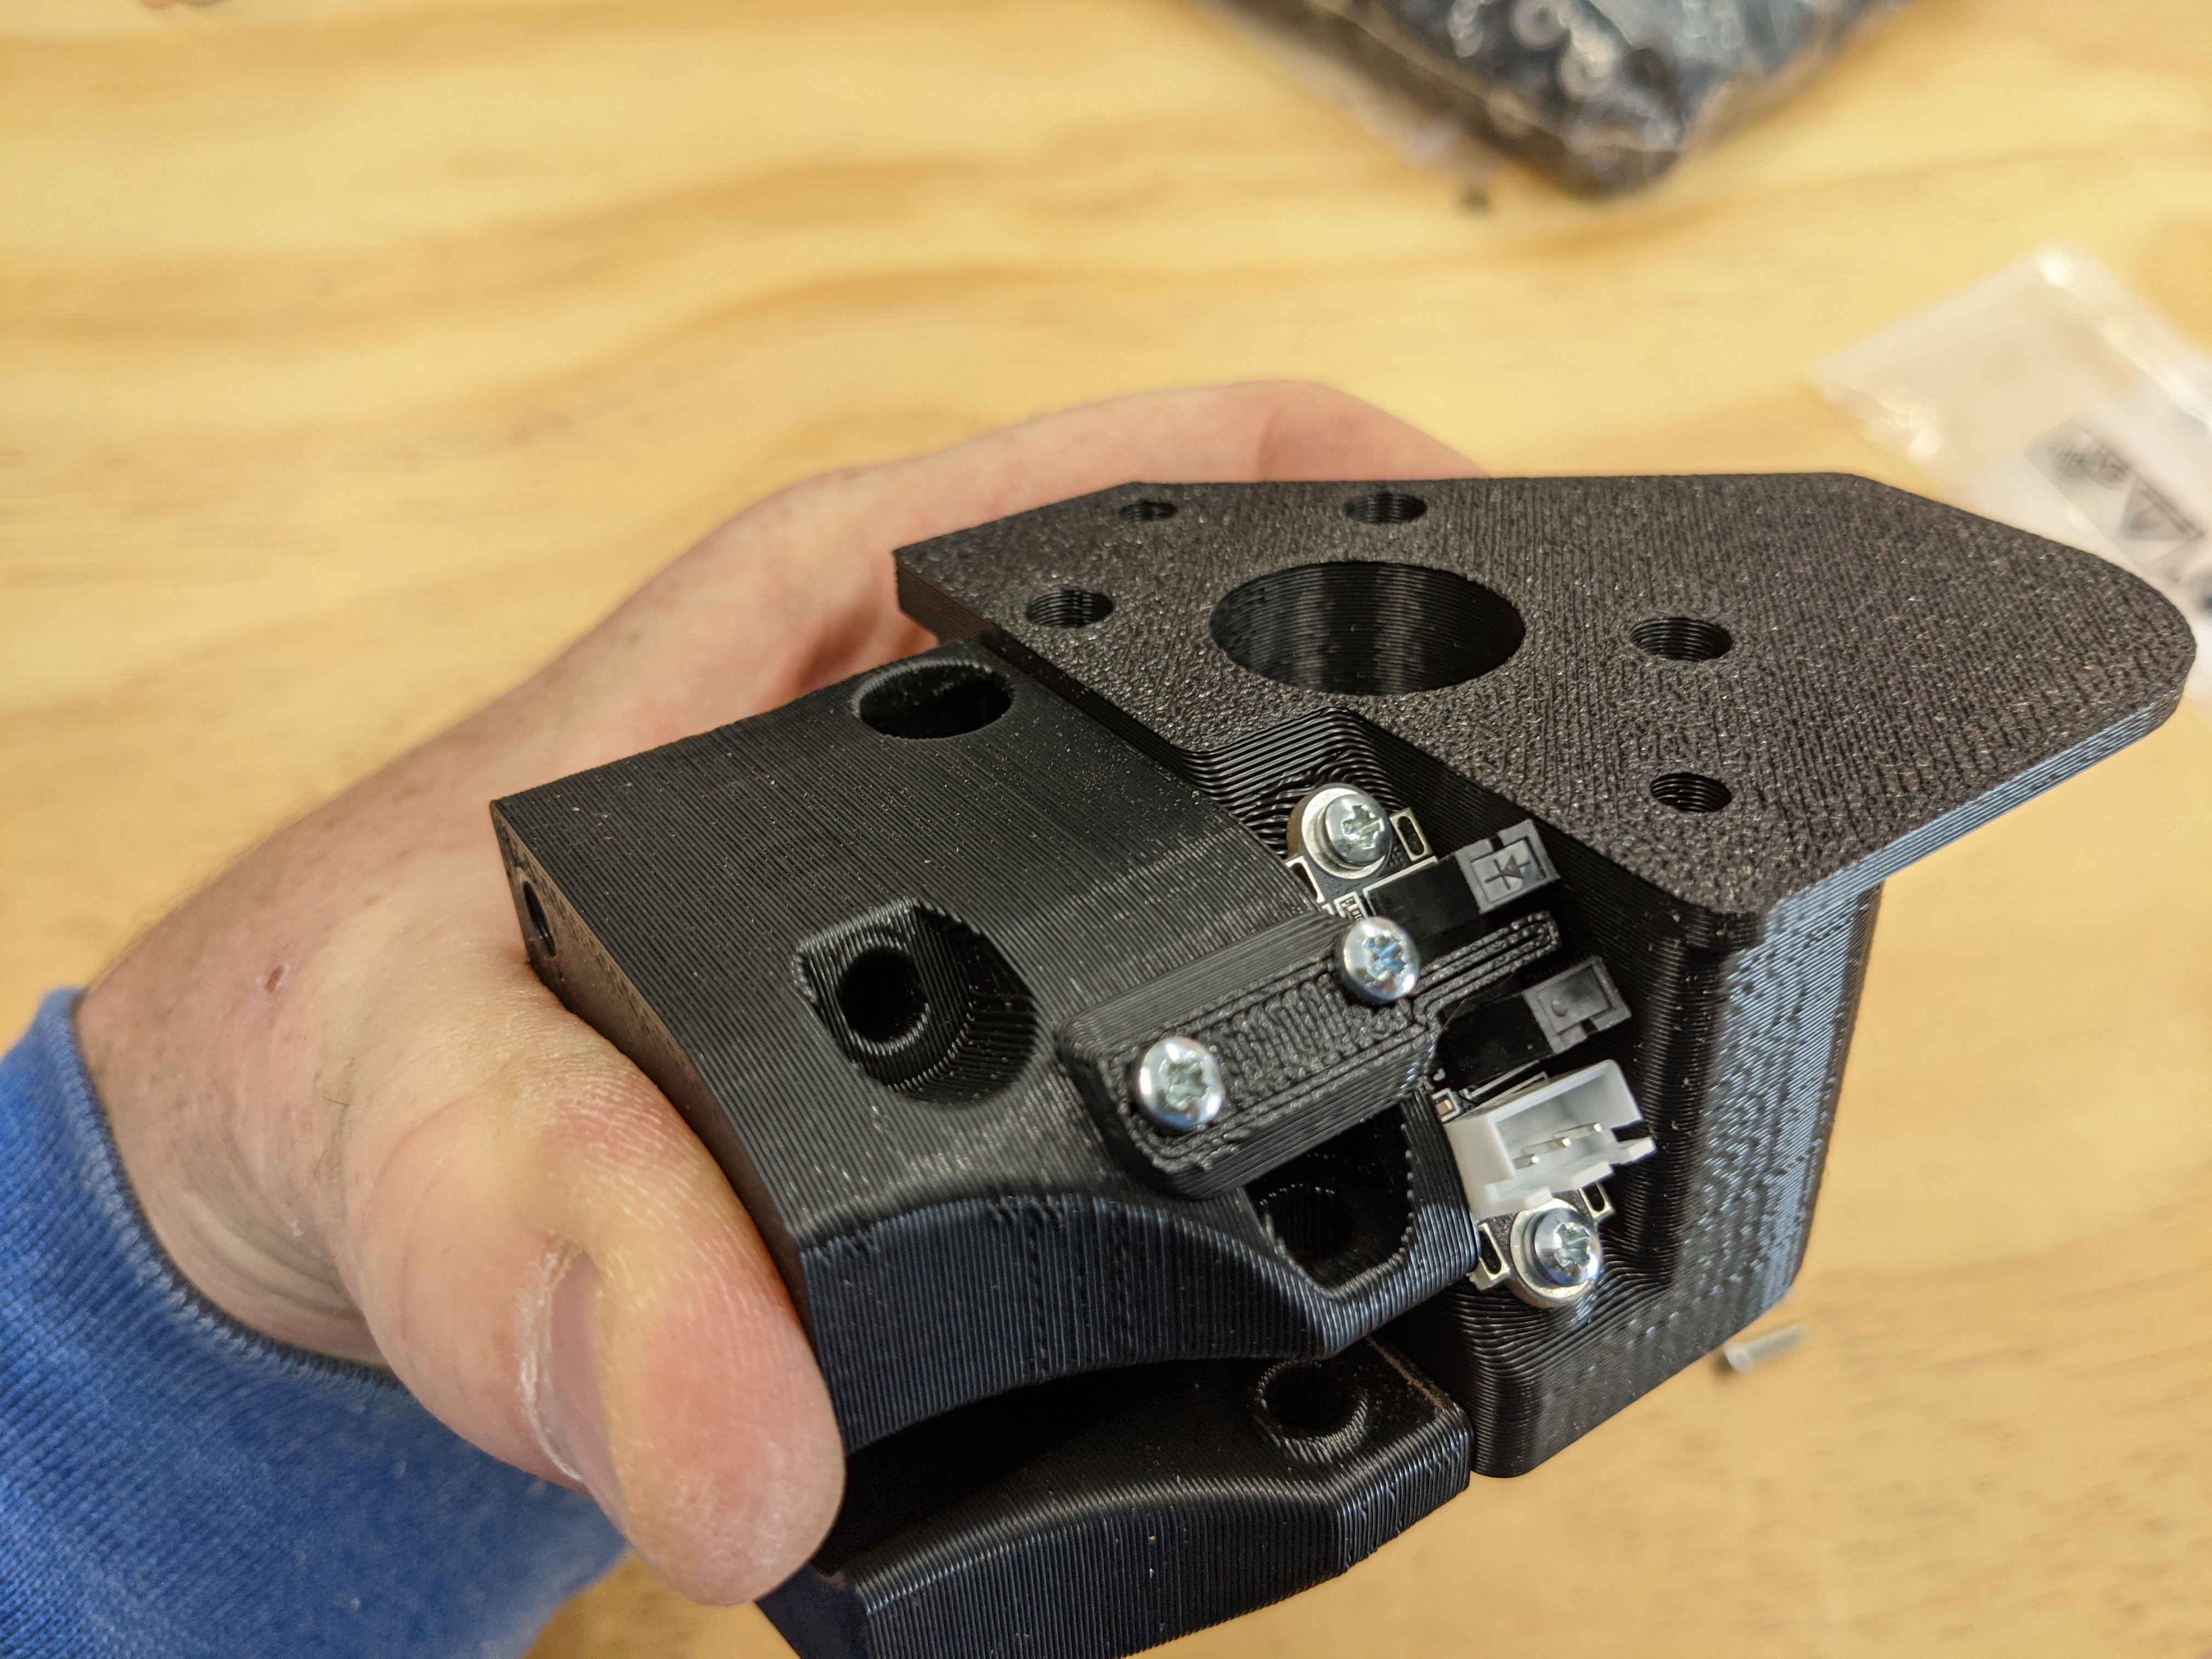
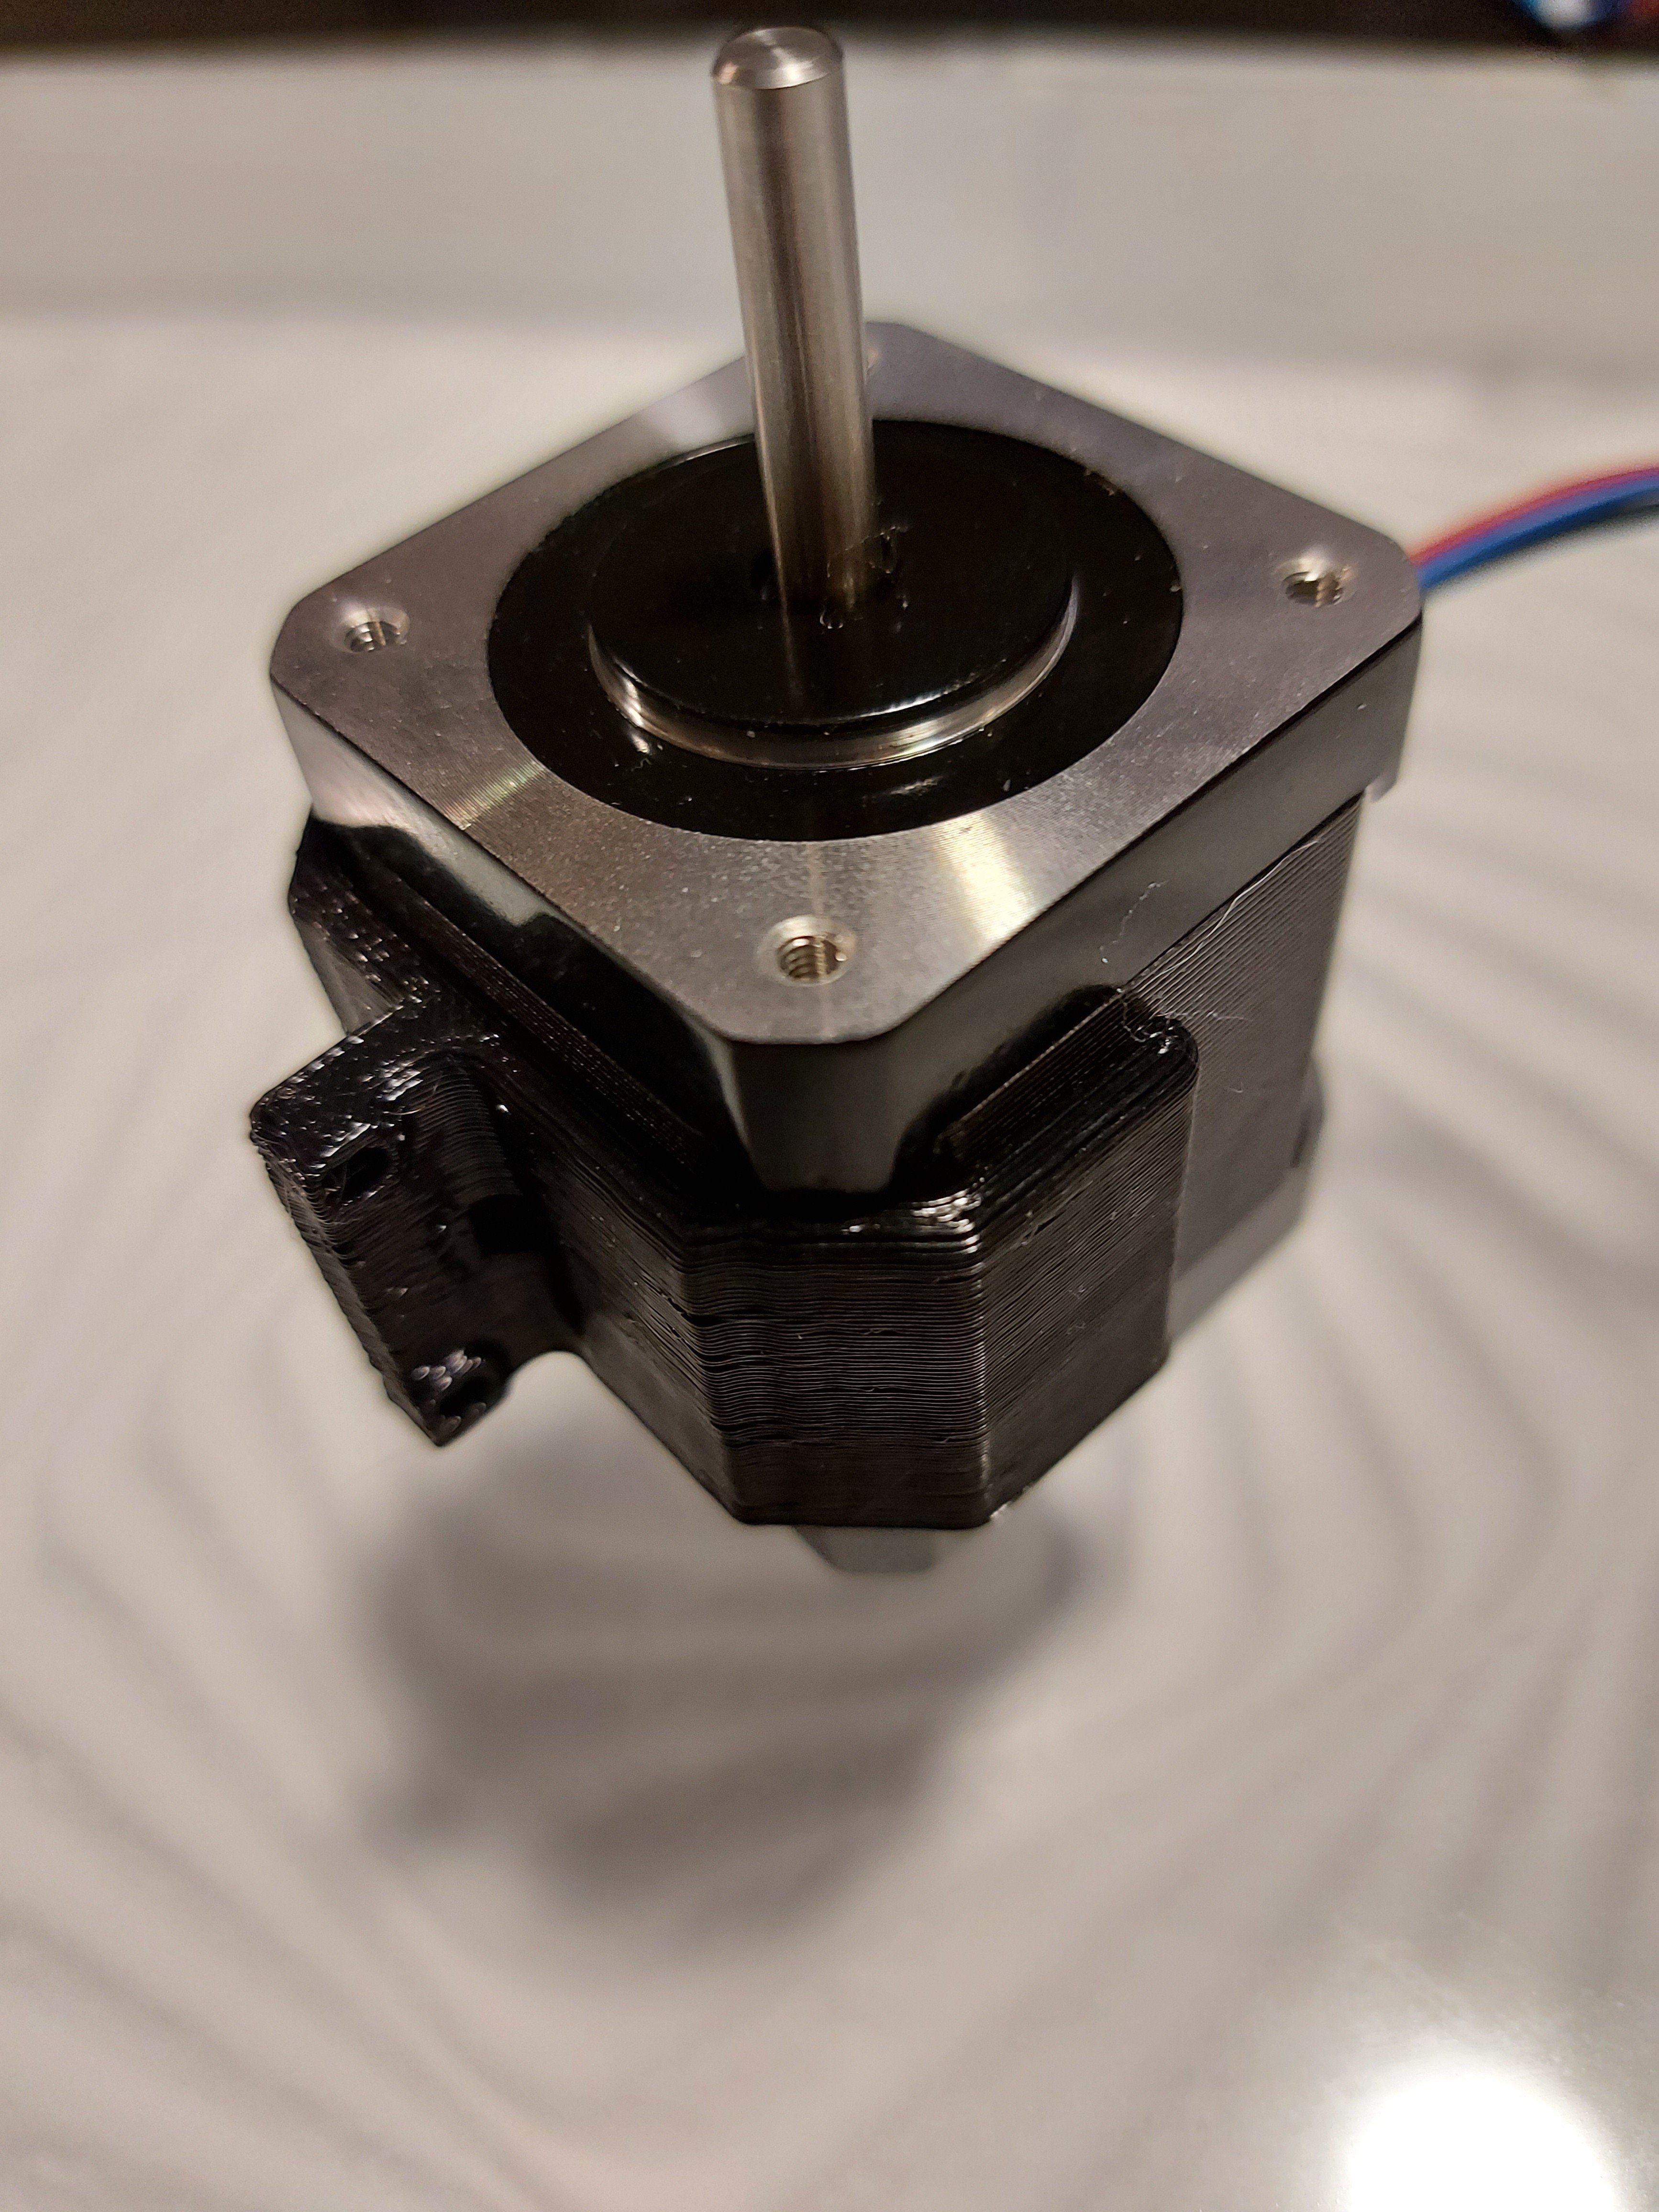
Update for everyone here. I have optical switches sitting on some actual parts. I need to assemble another Zen to use as a test bench real quick. Working upside down doing a half crunch is not my favorite thing. Need to be sure my triggers are correct and have enough clearance, and the homing sequence can be wrestled into working. Fingers crossed this is it.
This is my hack for the Y axis switch. Of course not as slick, but it works. I am re-doing the X switch, but that really means just adapting the switch mount.
I’ll re-print everything once the final design is out.
The hold up now is making a completely new build just to do the testing on. I think I will just build one on my LR table for now. I want to be able to really take a look at this and make sure I am 100% happy. Upside down and with too many holes starting to wear out I need to leave the current table alone.
I have a CAD drawing of the Ikea LACK table that I’m using with positions for the UTRUSTA glass shelf (centered this time. Last build, I’m about 1.5mm off in both X and Y.)
I’ve been thinking that I could do something interesting with the drawing by cutting 2 pieces, one out of thin hardboard as the bottom surface, and then a top out of 3/4" project pine. The great part of that is that if I used a 1/2" router bit to cut the project pine, I would have a curved corner where the ball goes, so that it wouldn’t pack baking soda into the corner. Using project pine also means that I could leave it clear varnished. I’d just need to notch out the top corners for the glass.
Alternately, I could do a double layer for the top, and carve out accommodation for LED lighting. Oh, I think I’ve pretty much convinced myself…
Anyway, the point was SUPPOSED to be that it would be very easy to prototype a table…
I think I’m going to check for a bigger glass piece though.
I was really hoping for a good ikea glass shelf to use. But I want it close to 20" square so I can leave the wide frame. It would be so nice if there was an ikea table that could be converted to a zen with a few small cuts from a jigsaw and look pretty good at the end. Even if it was smaller.