I have been using Sketchup for years, and like you, I still have V2014 installed locally vs their current SaaS offering. As far as type projects, I build custom adventure vehicles as a hobby and we take big overlanding trips using the vehicles we build. This includes all mediums from aluminum, steel, plastic, composites, ACM, and the new rice based PVC hardboard. As for what types of projects, roof top brackets, convertible furniture, kitchen cabinets, suspensions, electrical systems, etc.
I am currently rebuilding a Ford E-350 Sportsmobile. We spent the past year building it for my son and daughter-in-law (https://www.youtube.com/@ScenicCityAdventures) and they got hit last month in Colorado and destroyed the first build. Now we get to do it again and it gave the perfect excuse to get my own CNC.
Previously, I would design the project as individual components in Sketch-up and then send it to my friend with the drool inducing industrial CNC (material lift, auto loader, tool changer with a dozen different tools etc) so I never had to learn about cut paths, climb vs conventional milling, and all the associated terminology as he dealt with all those machine specific parameters. He would import the components into his cabinet application and then the gcode was created. I would just get the raw parts with which I could assemble whatever I was working on at the time.
It’s time for me to learn that last piece between the 3D design and the cut pieces….hence ordering the LR4 from Jonathan.
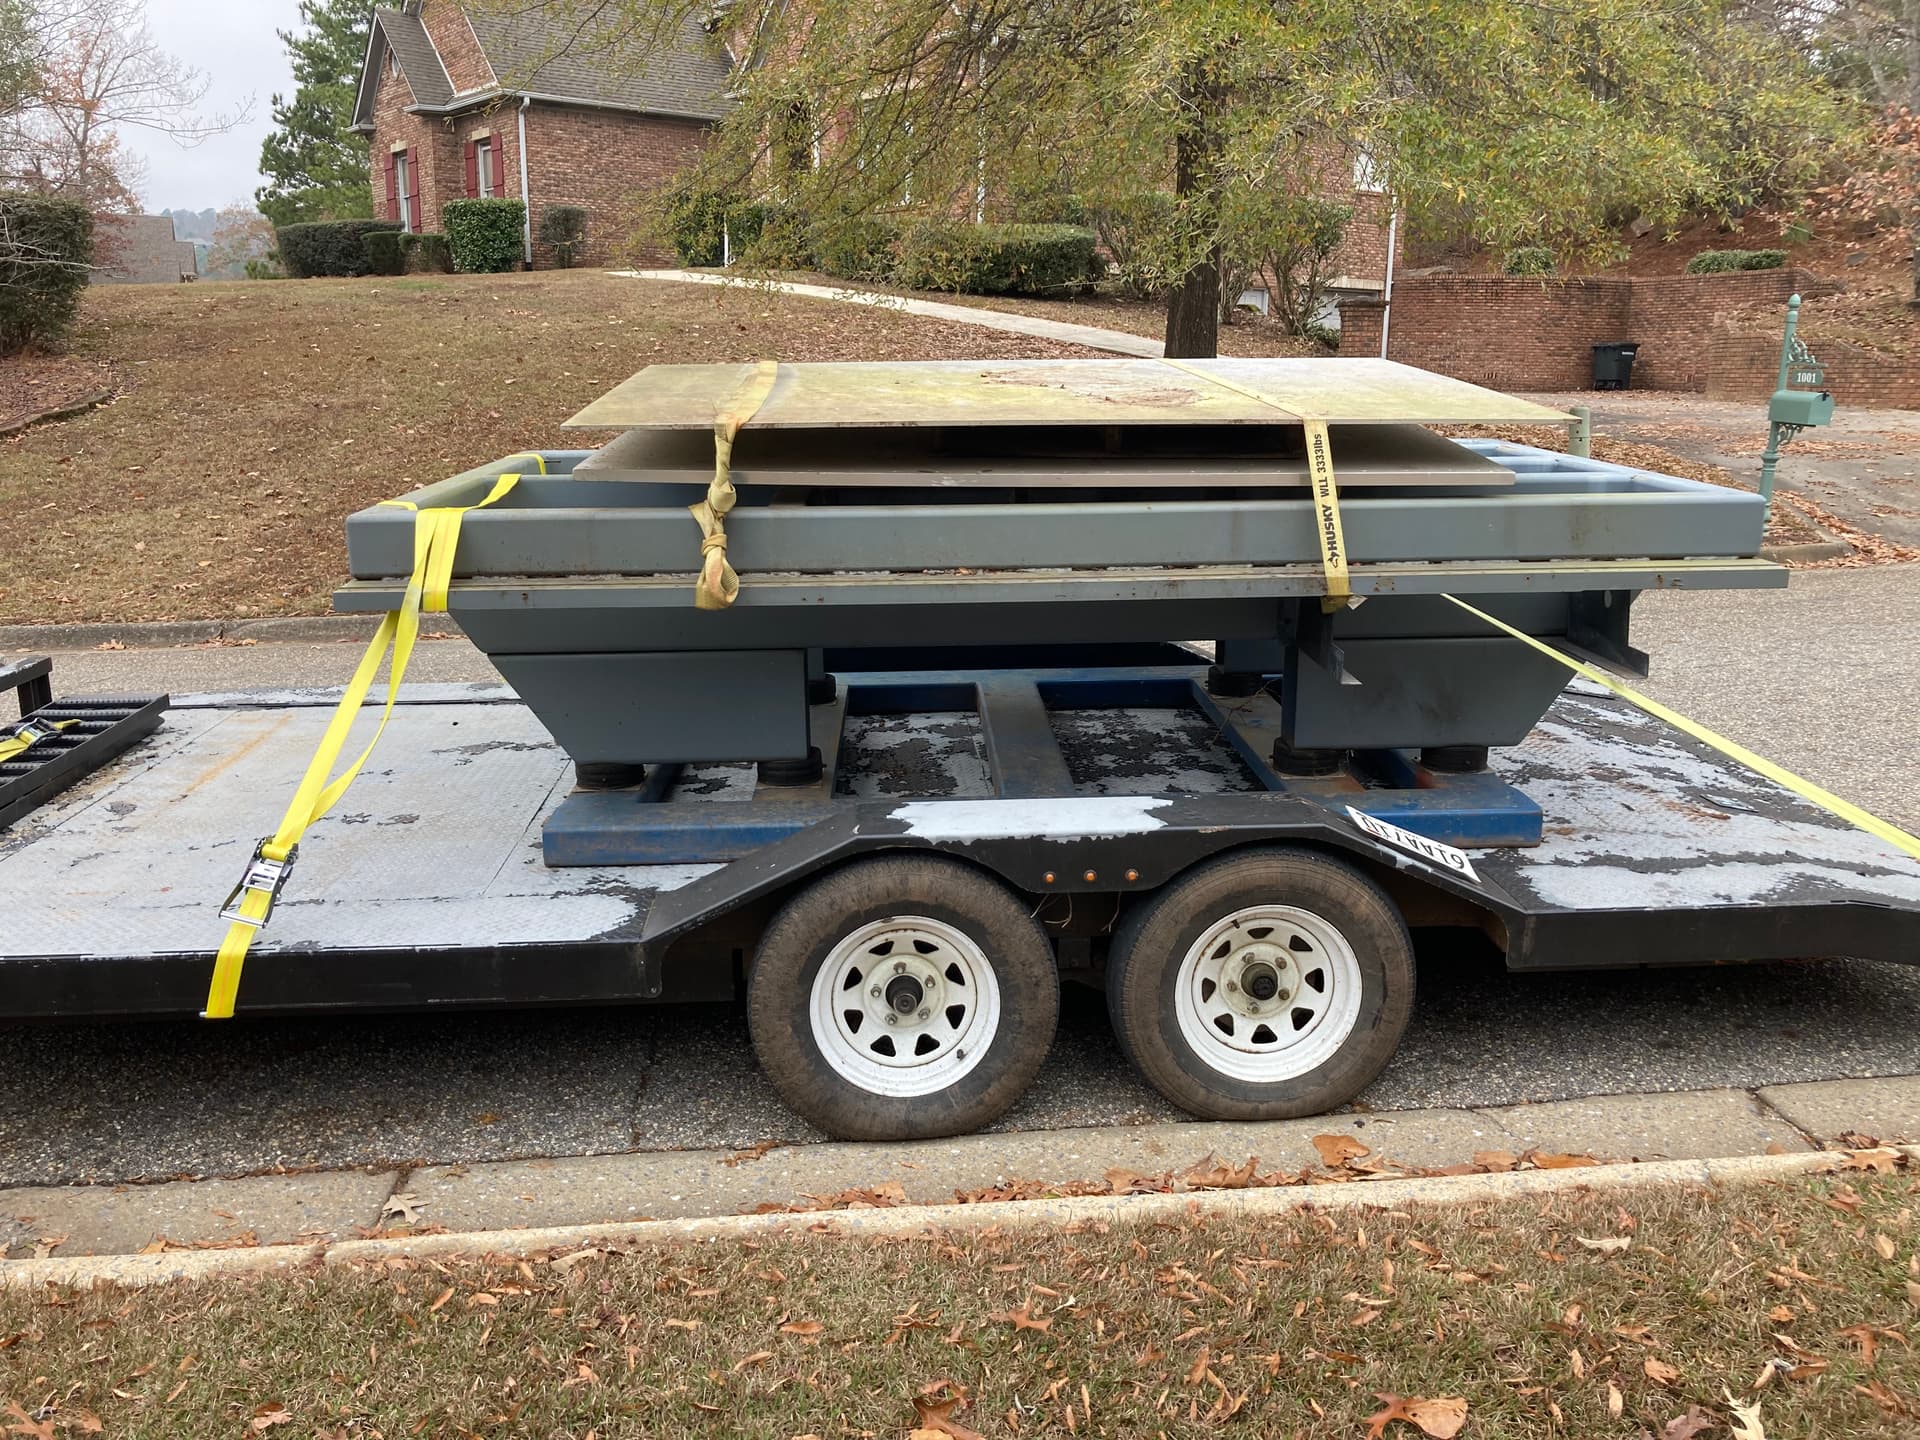
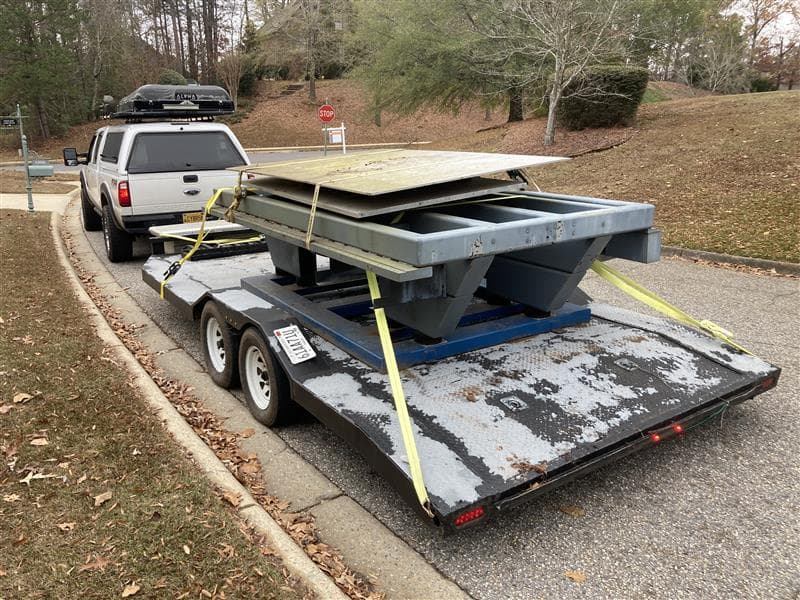
Well, I went and picked up the CNC table this evening….I am concerned about parking the trailer in my driveway as it might crack my concrete. I took a car hauler with me to carry it back, and this thing has to weigh several thousand pounds. I think I am going to go weigh it before unloading it just to see how much it weighs. I will post some pics tomorrow.
LOL one should hope with the weight and rubber isolators….after I cut off all the un-necessary parts and repaint it, I’m going to do some model numbers as OVERKILL 9000.
Great thought on the unloading Jim. The unloading process was the reverse of loading it over in GA. The ol guy had a rollback with which he slid under the table, and used his winch to drag 60% of it up onto his bed then I backed the trailer under it. So, back over here i hired a rollback to reverse the process and winched most of it up and onto their bed. Then he backed the rollback into the shop and slide it off onto the floor via gravity. I should have videoed it, but I was an active participant in the process.
Would it be of interest for me to take some pics and document the rebuild process in a new thread?
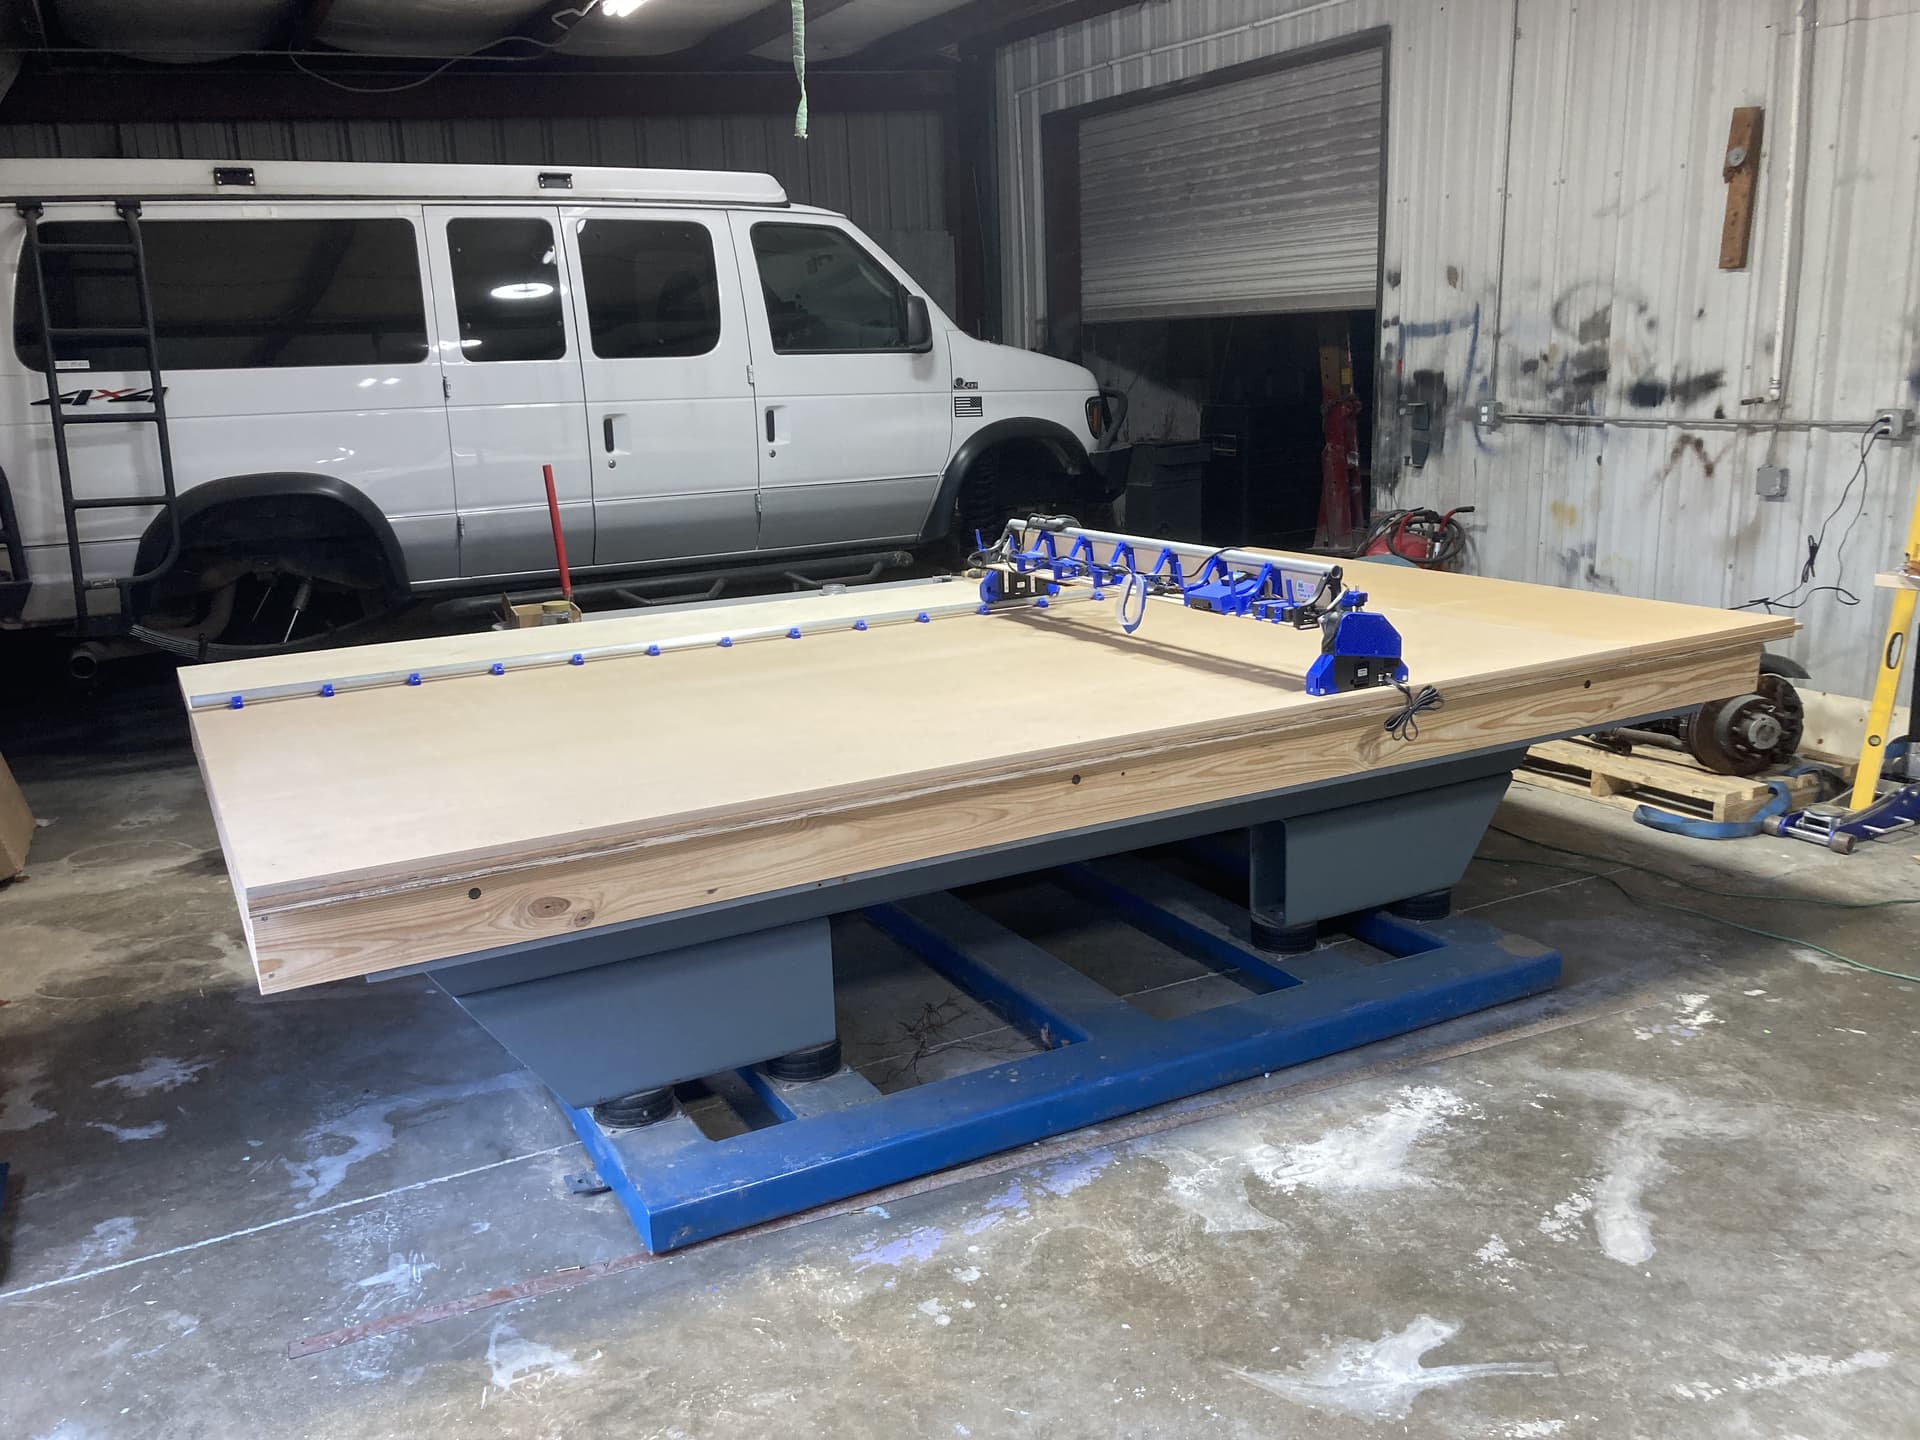
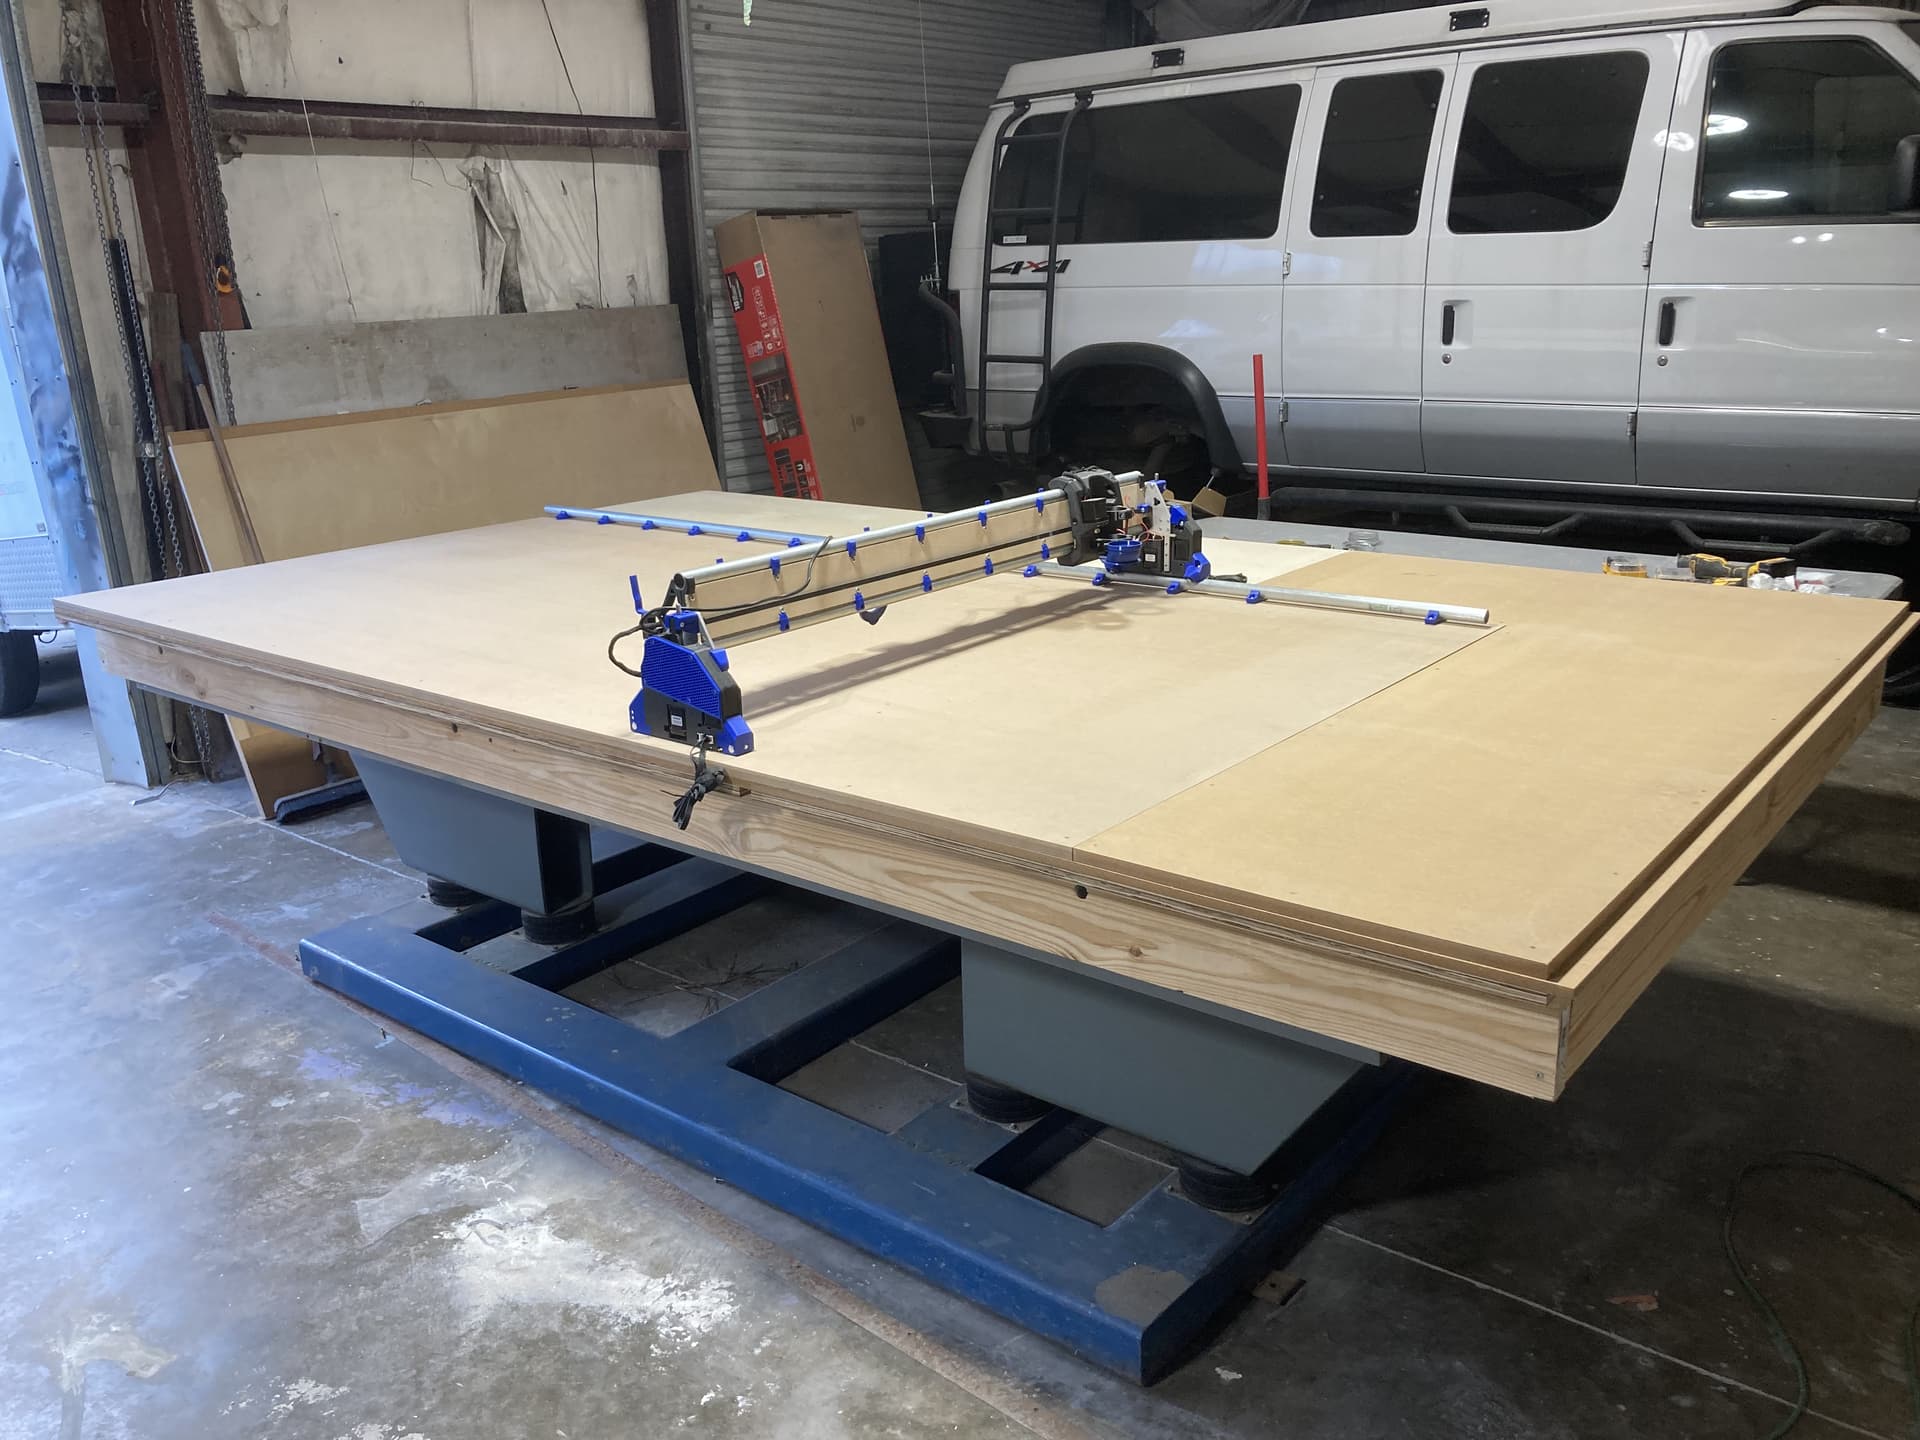
I know there has been a bit of a time delay since the last update…but, with some engineering, we were able to build a 2” thick top (required by the 1.25” thick vacuum bed) so we used 3/4 plywood, 1/2 MDF, and then the final 5’x10’ 3/4” MDF board over the entire surface covering the the vacuum plate as the spoil board. We also ran an outer band of planed down 2x8s resting on the original gantry tracks to provide additional support for the outer edges. This design enabled a 12’ x 8’ work surface. I will be adding an under mount router on the opposite end of the table.
OH! I forgot to mention a really cool discovery. What I thought were rubber isolation pads between the table base and bed ended up being airbags to level the table on an unlevel concrete floor. I did not expect that, but glad they were there. I discovered what they were when I saw a nipple with a valve stem cap on each of the rubber “isolators” …as I stated…newbie.
…also for those of you keen eyed makers out there…yes, you will notice the extra 1” of MDF extending beyond the end of the table due to the 97” length. Once I am satisfied with the table top, I will be using a flush bit around the perimeter to clean up the layers. Also been thinking about inlaying a replaceable hardwood bumper around the entire perimeter to protect it from damage as we move other equipment and material around the limited space shop.
I got a really good deal on the table as it was sitting in a field in rural GA …but then add in the aluminum vacuum plate, driving to GA to get it, the roll back to unload the 5k lb beast, and all the ply and MDF…I’ll have as much in the table as I will in the LR4. However, I will be able to upgrade the CNC parts and continue to learn and not have to change out or rebuild a table as I learn more and try for larger projects in the future.
I love the hidden/protected belt upgrade for the LR4 and will be performing that mod very soon. I want to get comfortable and fully functional as designed before I start modifying. That mod will require disassembling the current table top and rebuilding the leading edge to incorporate the uni-strut assembly, but I think it would make it easier to load and unload projects the way my table is built. Thoughts?