Lots of good advice in this thread.
Throwing in an observation of mine- White filament (not “Natural” AKA un-colored) is THE WORST for printing and dialing in (and part strength) in my opinion.
That’s because of the additive used to color the white filament. Not sure if it is titanium dioxide or other additives, but I’ve universally had bad experiences printing white filament. White PLA in particular was really difficult to get satisfactory results with. White PETG for me was pretty much not printable in my TAZ or flashforge printers.
I’m not disagreeing with you, but I think some of the issues I experienced were due to having the white filament exposed to the air (and moisture) for several weeks. I have since bought a bag of desiccant sacks and several heavy duty vacuum bags to store the filament in when not actually printing.
Yes, moisture really impacts PLA, ABS and PETG (Filaments I print with). I live in a relatively low humidity location (Colorado), and it’s noticeable. In really high humidity locations it is much worse.
Working to keep filament dry is very much worth doing
I checked the machine and found a few screws that had come a bit loose (still mostly snug, but was able to get about a 1/4 turn to tighten them fully). I guess this is not uncommon with a new machine, where the first few hours tend to shake things a bit loose.
I’ll also get a rubber mat to absorb some of the vibration. If that doesn’t fix the ringing, I’ll reduce the acceleration and jerk settings a bit, and maybe reduce the print speed if that doesn’t solve the issue.
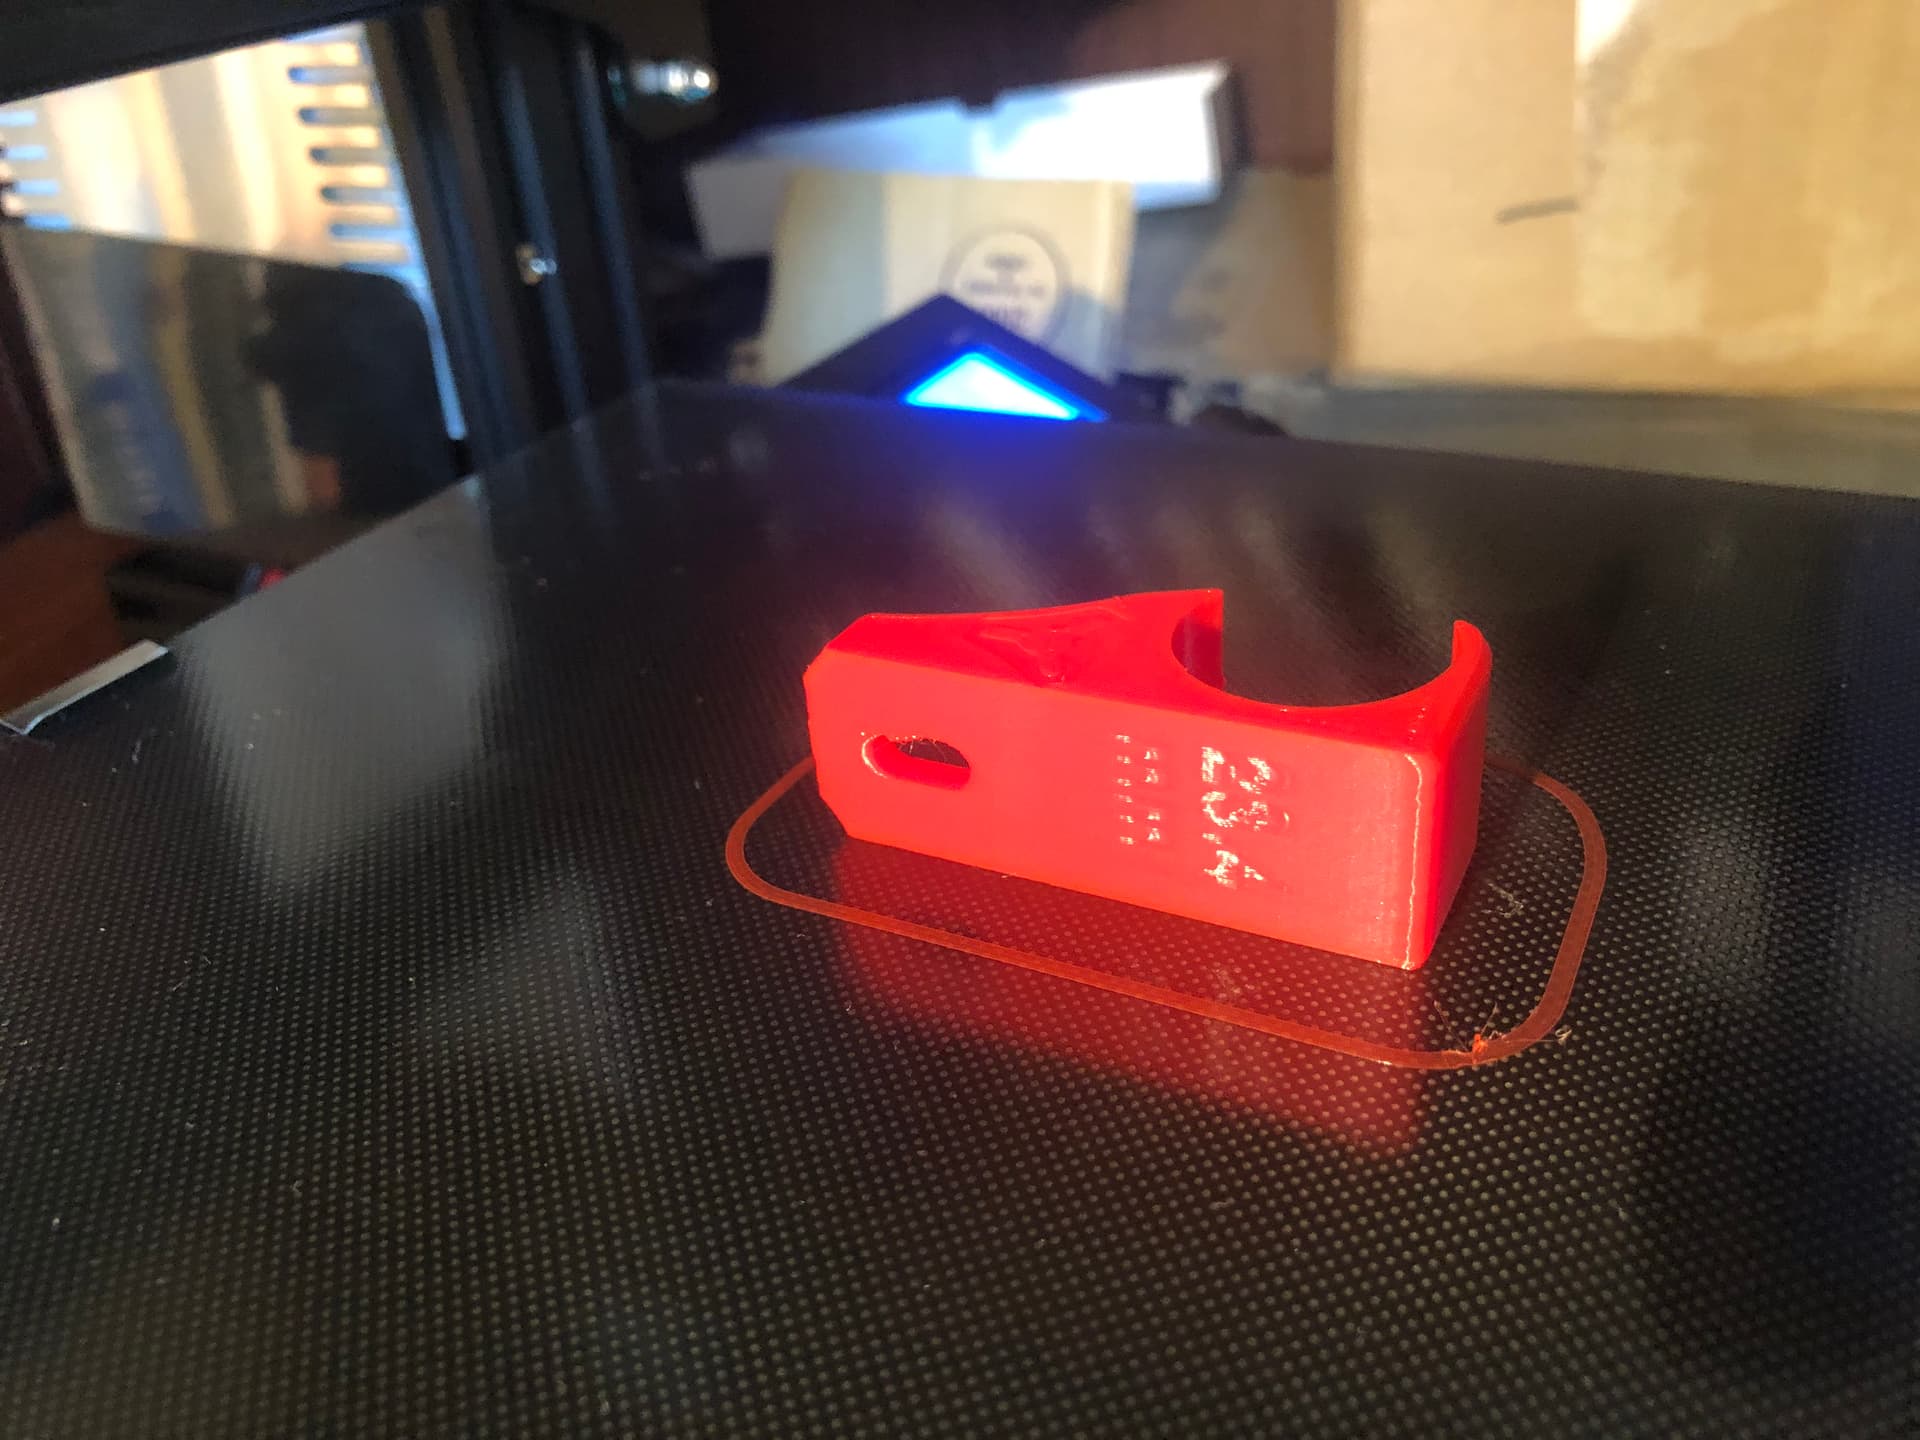
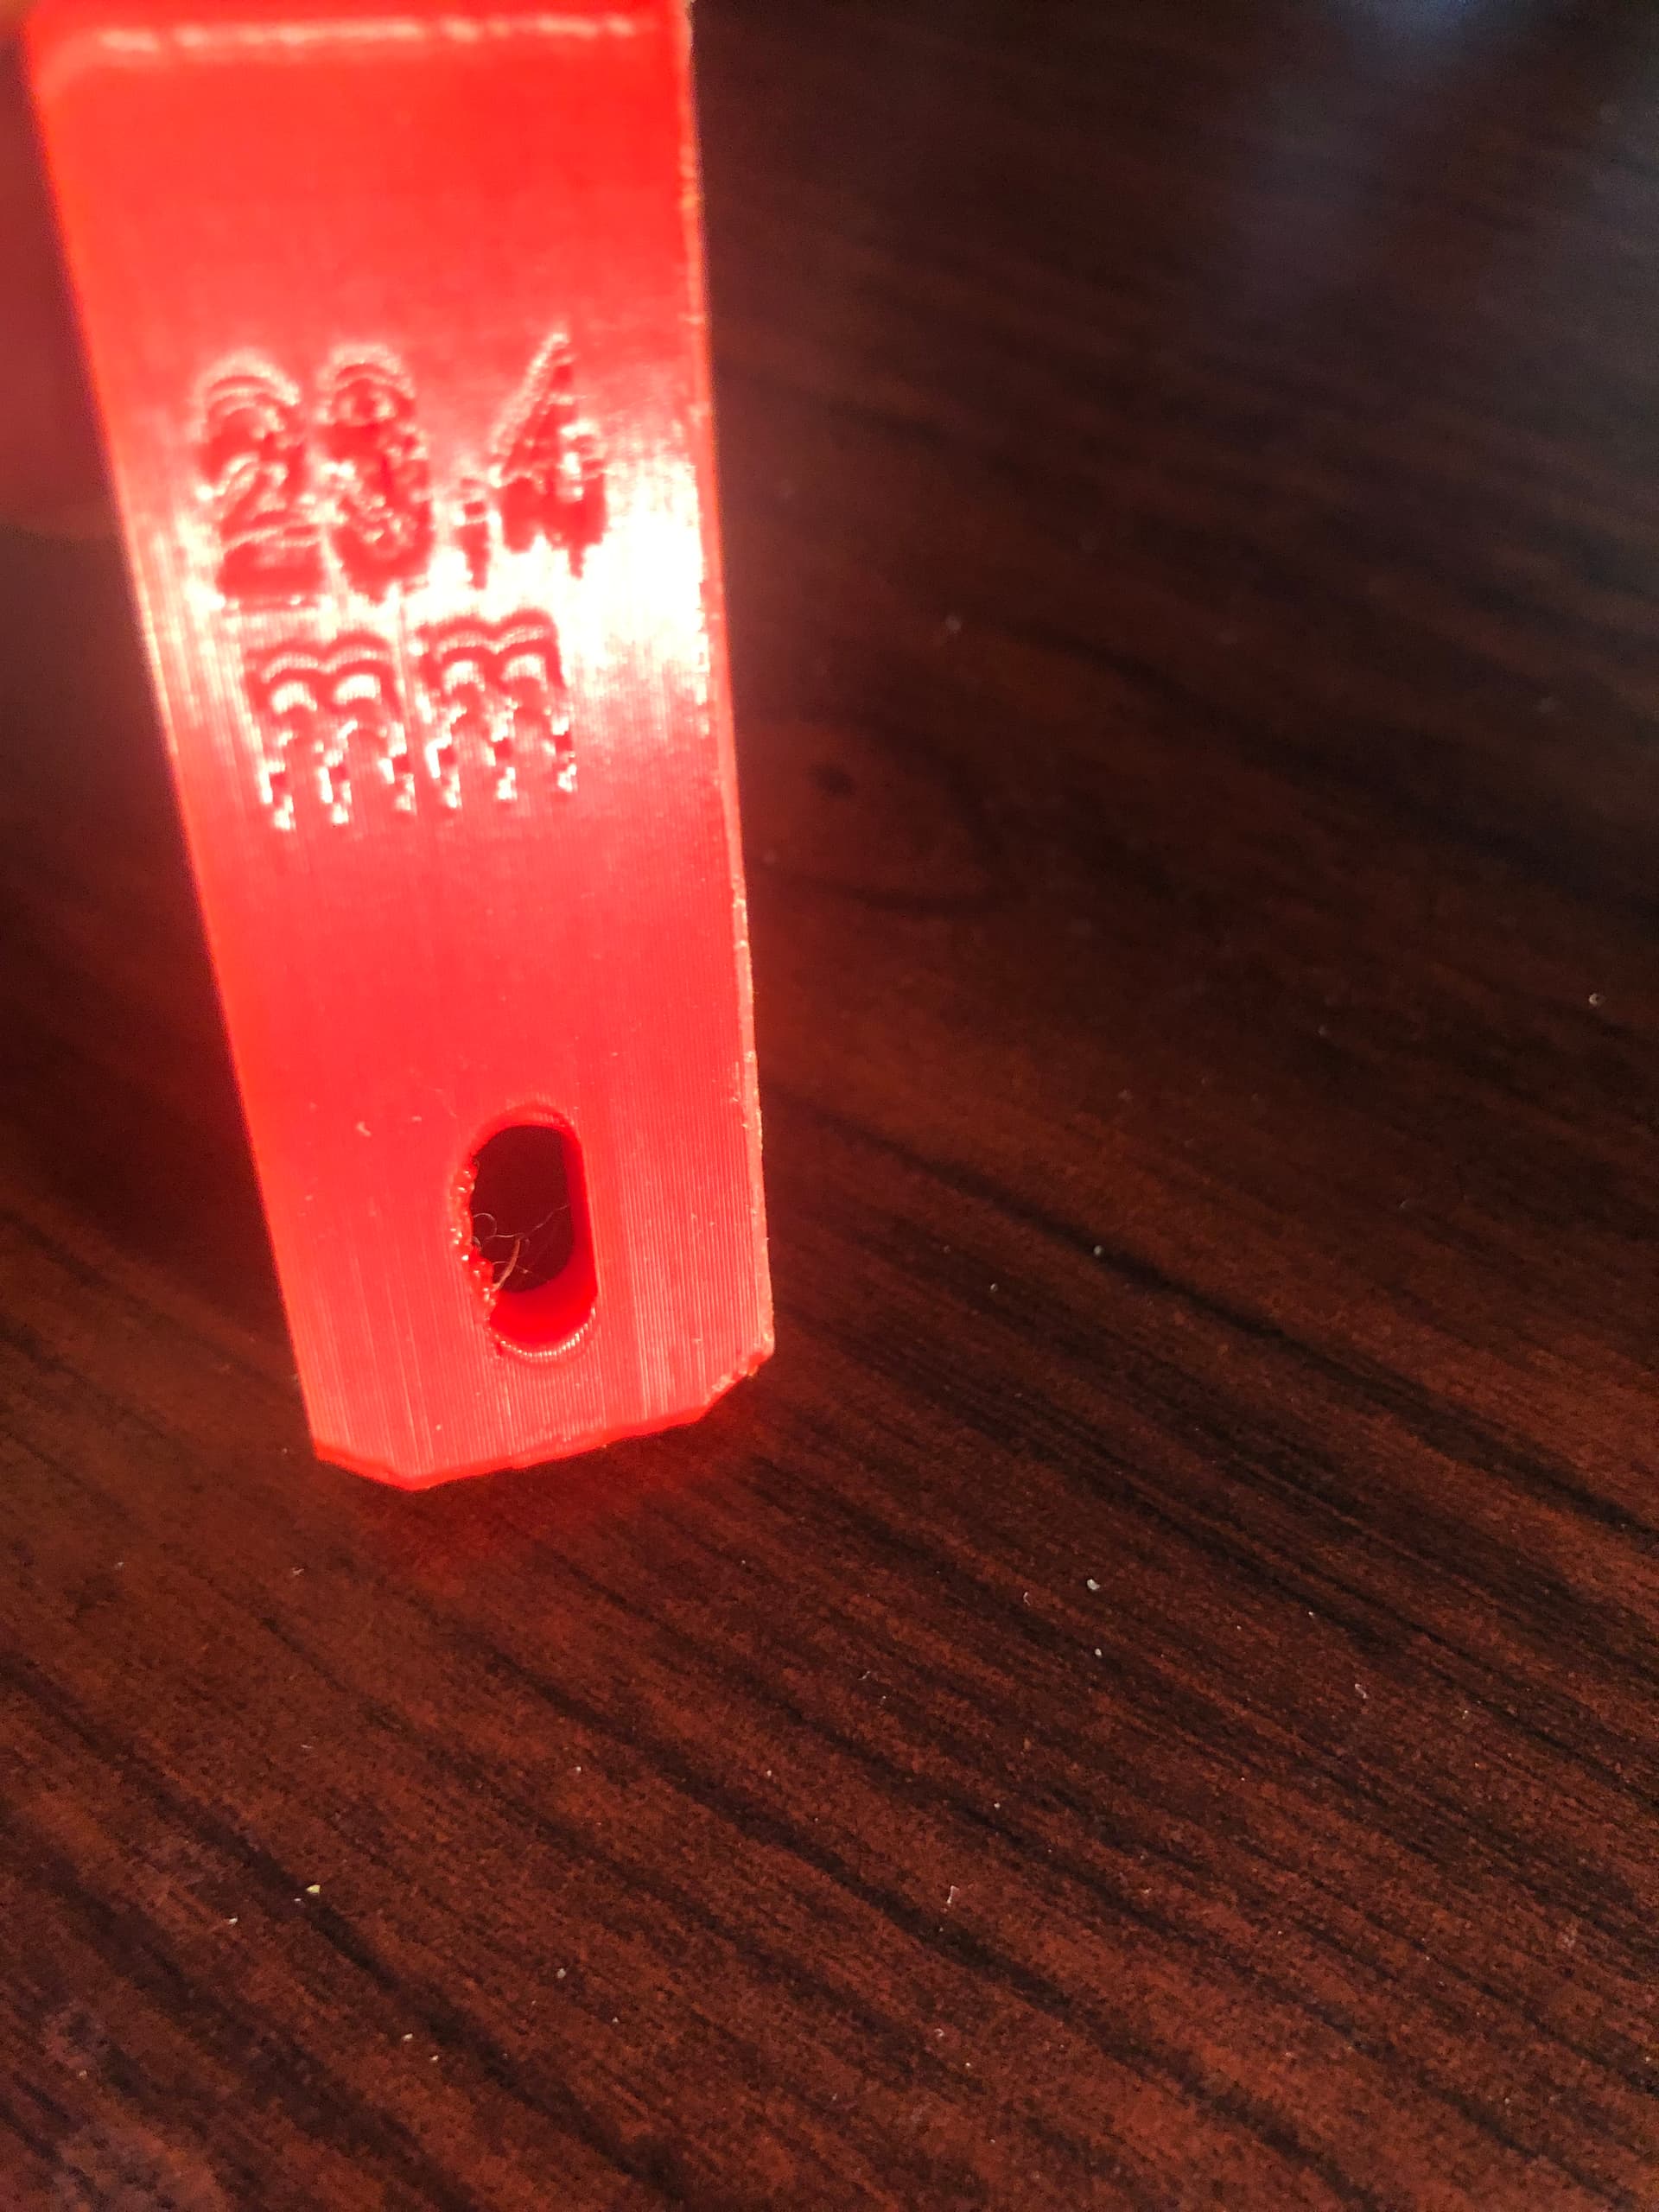
For the elephant foot, I decreased the Z Offset by about 0.010 mm to reduce first layer squish, and reduced the bed temperature from 60 to 50. We’ll see how the next batch of 4 rail supports come out.
Looking at the print above with that part on the bed, the skirt looks fairly squished.
How many loops do you have it configured for? If just one, then the print head is actually two low on the first layer and part of the elephants foot is from squish. Might be worth re-checking the z height.
I’ll re-check the height again, but I’m wondering if lowering bed temperature, raising initial fan speed (currently 0), and possibly increasing initial layer height might give better results.