I’ve only got locknuts, so I’m going to have bumps all over in the end.
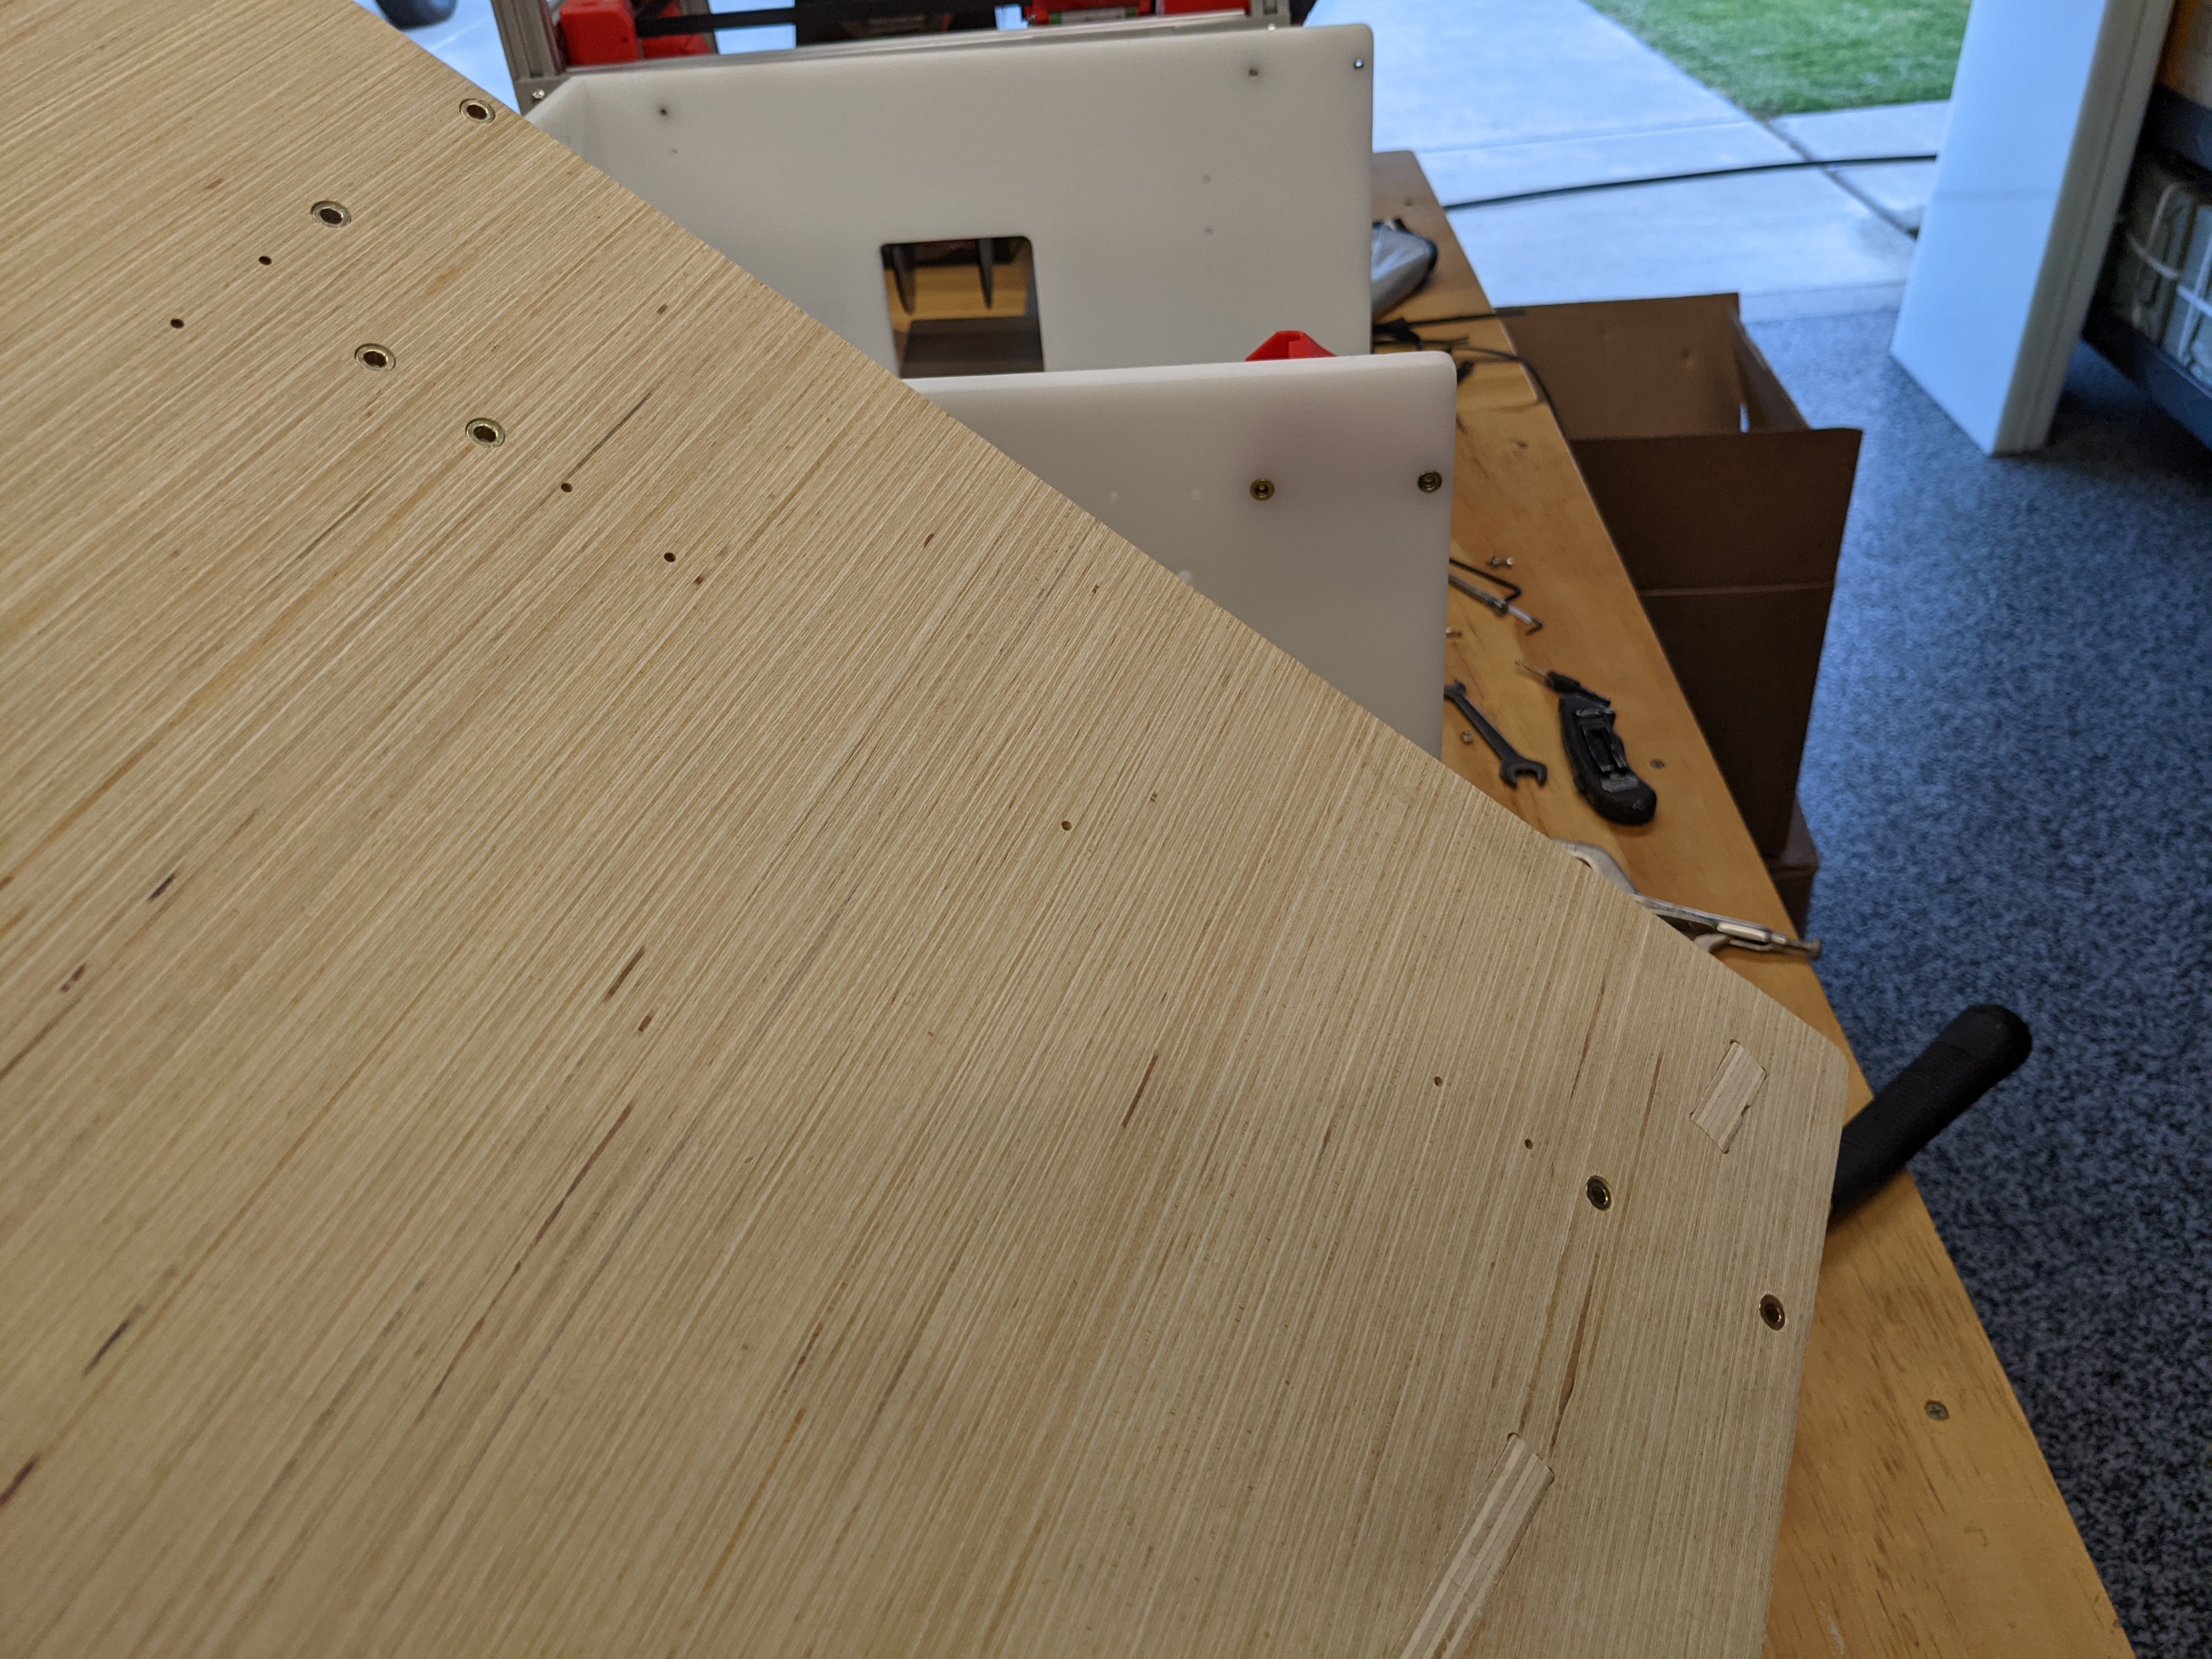
I chose a strategy with the rails to have 2 screws on either end, and 2 in the middle. (Since I have an even number of screws on each rail, or else I would have only used one in the middle. 6 screws per rail of probably more than I need, but 2 at each end feels like a minimum It’s possible that I won’t put the center ones in, but the holes are there.
Thanks, in wood I think these things will nearly disappear, They are also super convenient to deal with the rails vs other parts screw length needs (2mm). I will try to remember to take a side by side tomorrow of the two builds, they are looking pretty different already.
For the rails, I intend on doing the second hole on each end and one in or near the middle. That make the most sense to my quick and dirty think about it. Adding holes is easy enough when they are in place so I am not super worried if this floppy plastic needs more to stiffen it up.
I realized tonight I do not have really any parts to build this one with. I am even out of red plastic…DANG. Everything is on order. Oh well I will start cutting a wood one with some scraps I have here, 3/4" back and 1/2" sides and wedge. I will place an order for bulk parts ASAP.
Oh that could be fun…v bit that in. I am going to try and get started on the wood one, maybe I should run a test of that in foam to see how flat my table is. If it looks good I could do that on the inside of the back panel or maybe even on the wedge, run it all the way off the edges so there are no tracks.
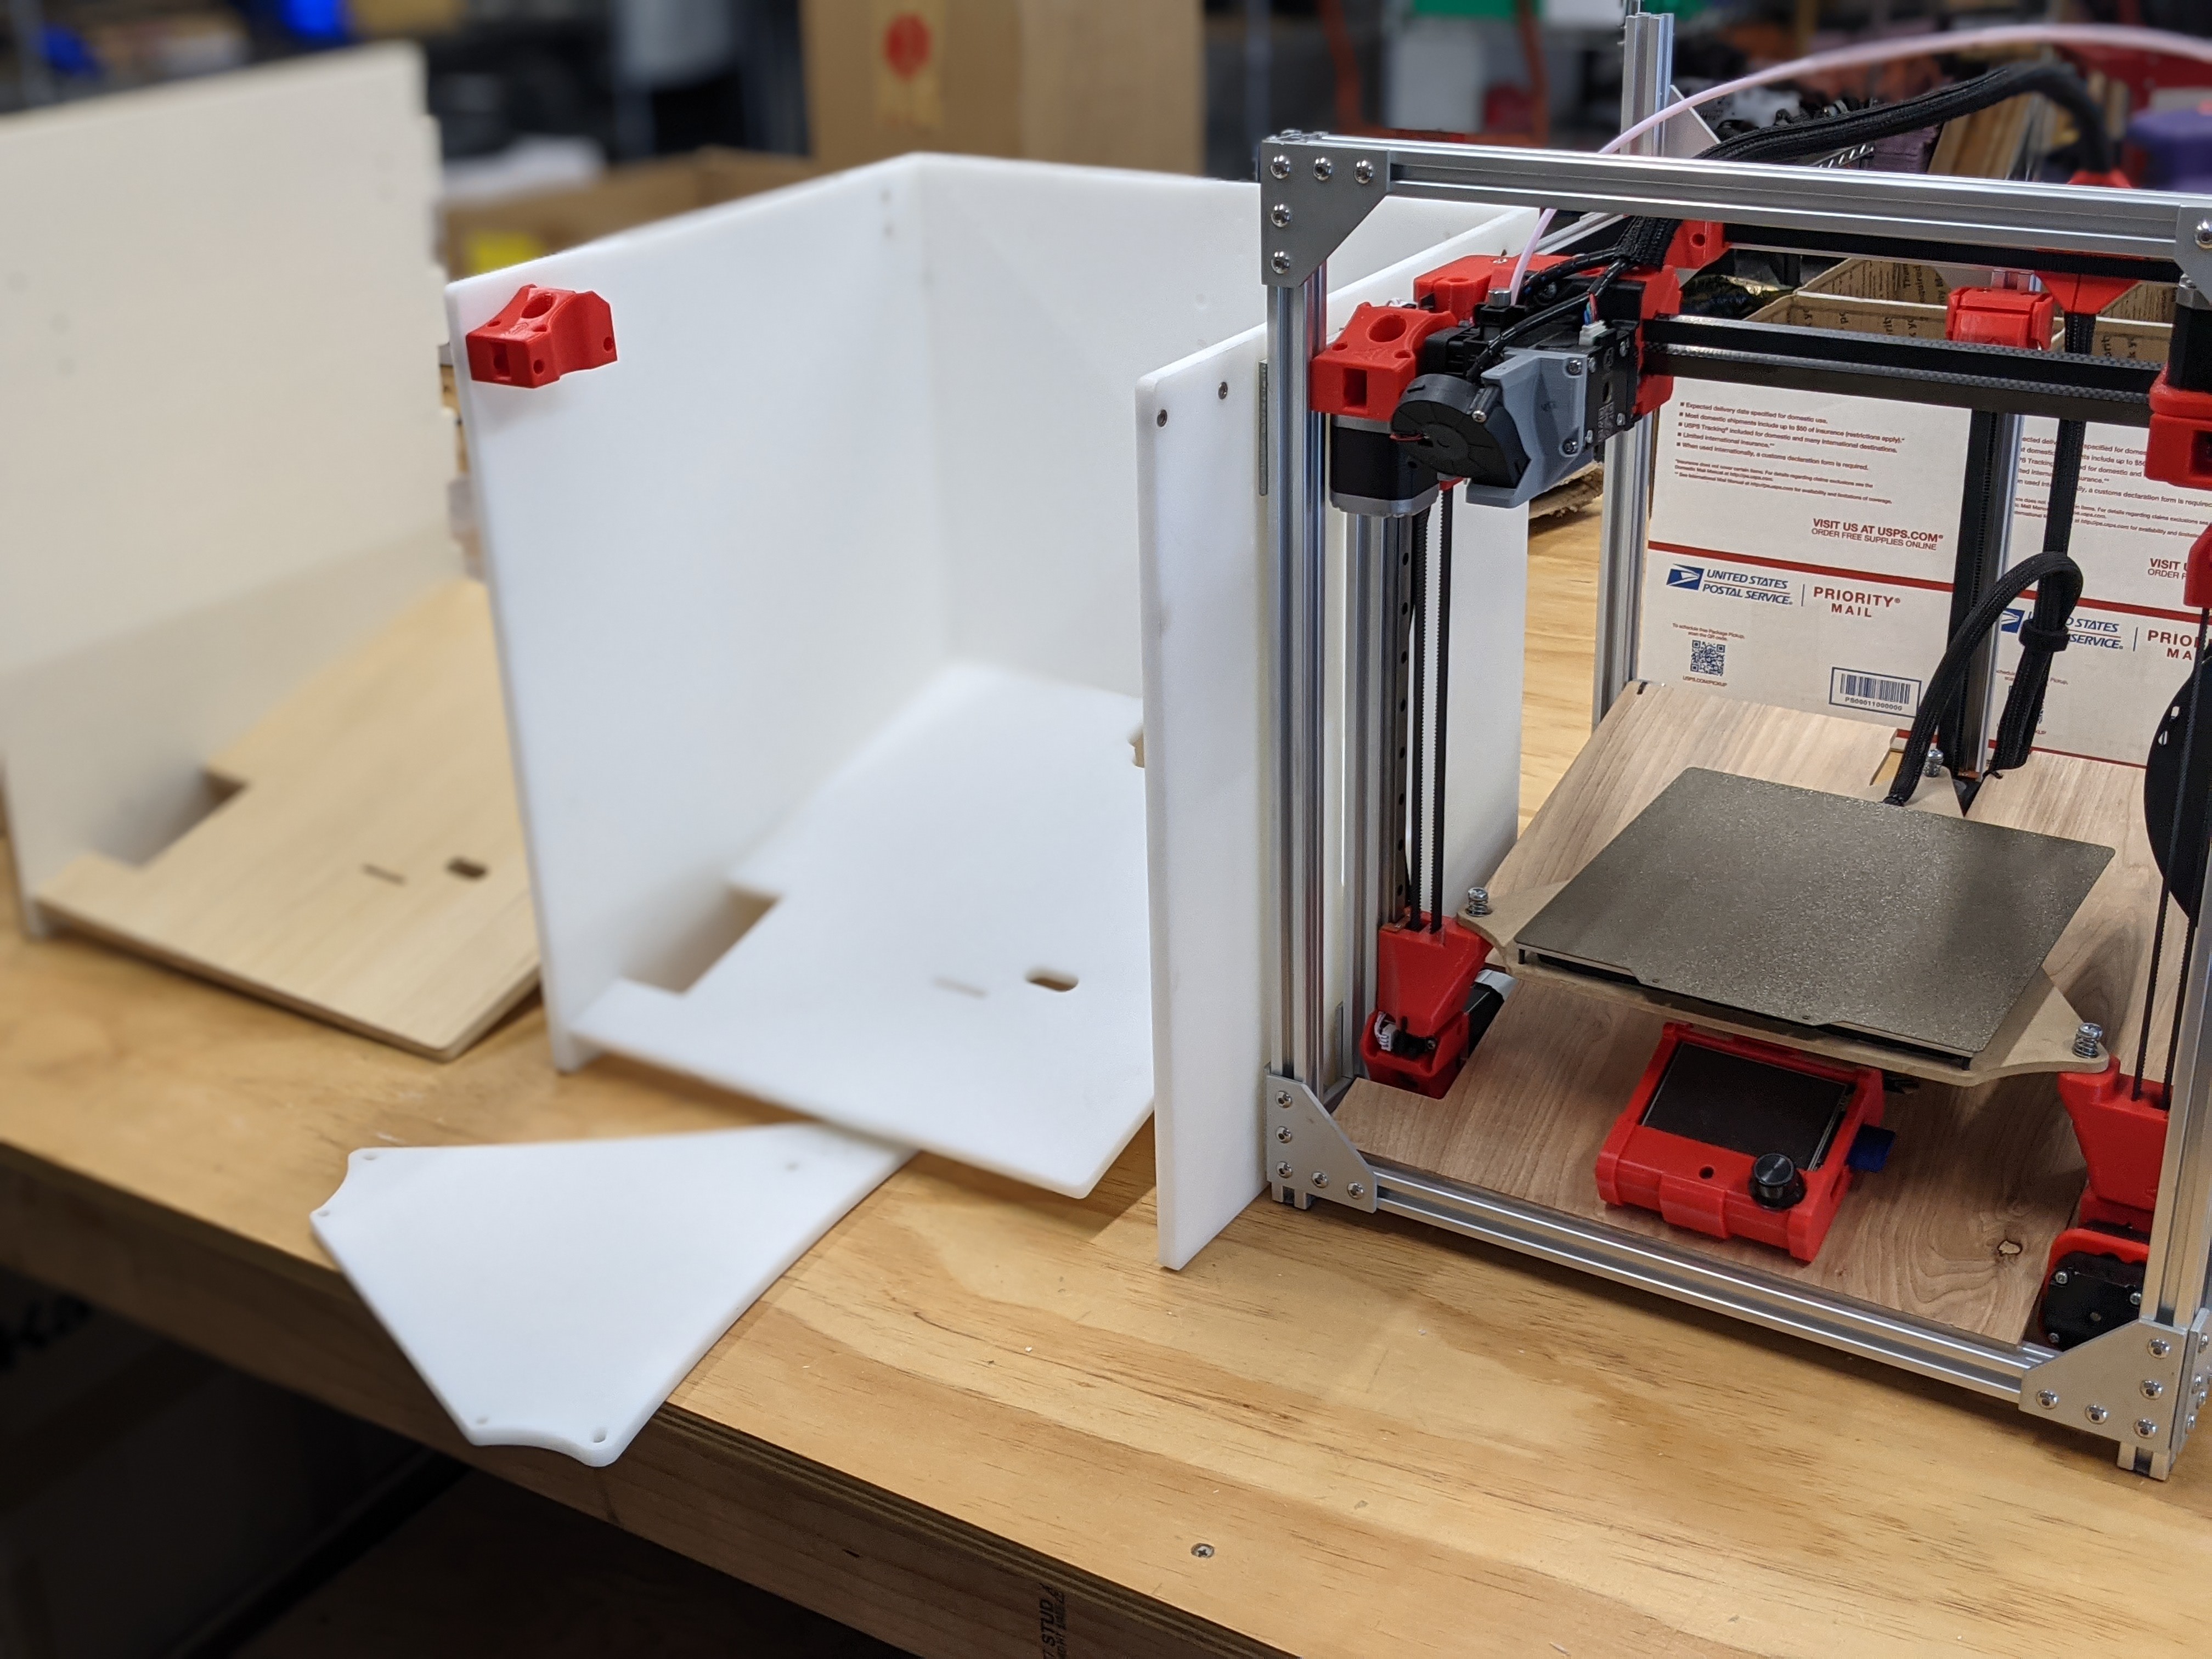
The plastic looks sweet! The wood is also going to look amazing, too. I like the tabs for the wedge. I didn’t plot those into my CAD, just for the back and sides. I guess I"m not quite confident enough in transcribing that part into my design.
I assume that you didn’t put a tab into the back panel, since the CNC won’t cut the slope. (Well, it could cut one side, but not so much the other.)
No tabs on the back, but I got the sides. I had to do some serious persuading to yet them together but I cut them at zero clearance…And I did get them together with no damage. So I think that is a win.
Cooling and a volcano…I wonder how fast this new printer can go. Well I guess ditching the Hemera would also need to happen.
I also found I had to tune the “if the layer takes less than X seconds, slow down”. At slightly higher speeds, I went from 10 seconds to 20 seconds. Speed really helps with a large part or lots of parts on a plate, but does not really help with one offs. For example printing two of the passthroughs I had to slow it down to 50% speed.
I love that he is building a funny car, the fastest possible. I have to be careful to keep in mind I am building a nascar. I am trying to build something fast that lasts as long as possible.
New filament is in and I am back to printing more parts.
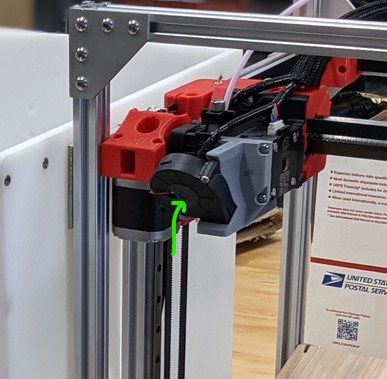
The part cooling fan is very loud. It amplifies stepper noise, like a very annoying tinny speaker. I tried tighter or looser attachment, 3m foam tape, and some asphalt tape (like speaker deadner stuff). Any ideas? Mount angle, some sort of 3d-printed part that pushes on the back? If I touch it, it goes nearly silent. This has to be a common thing??