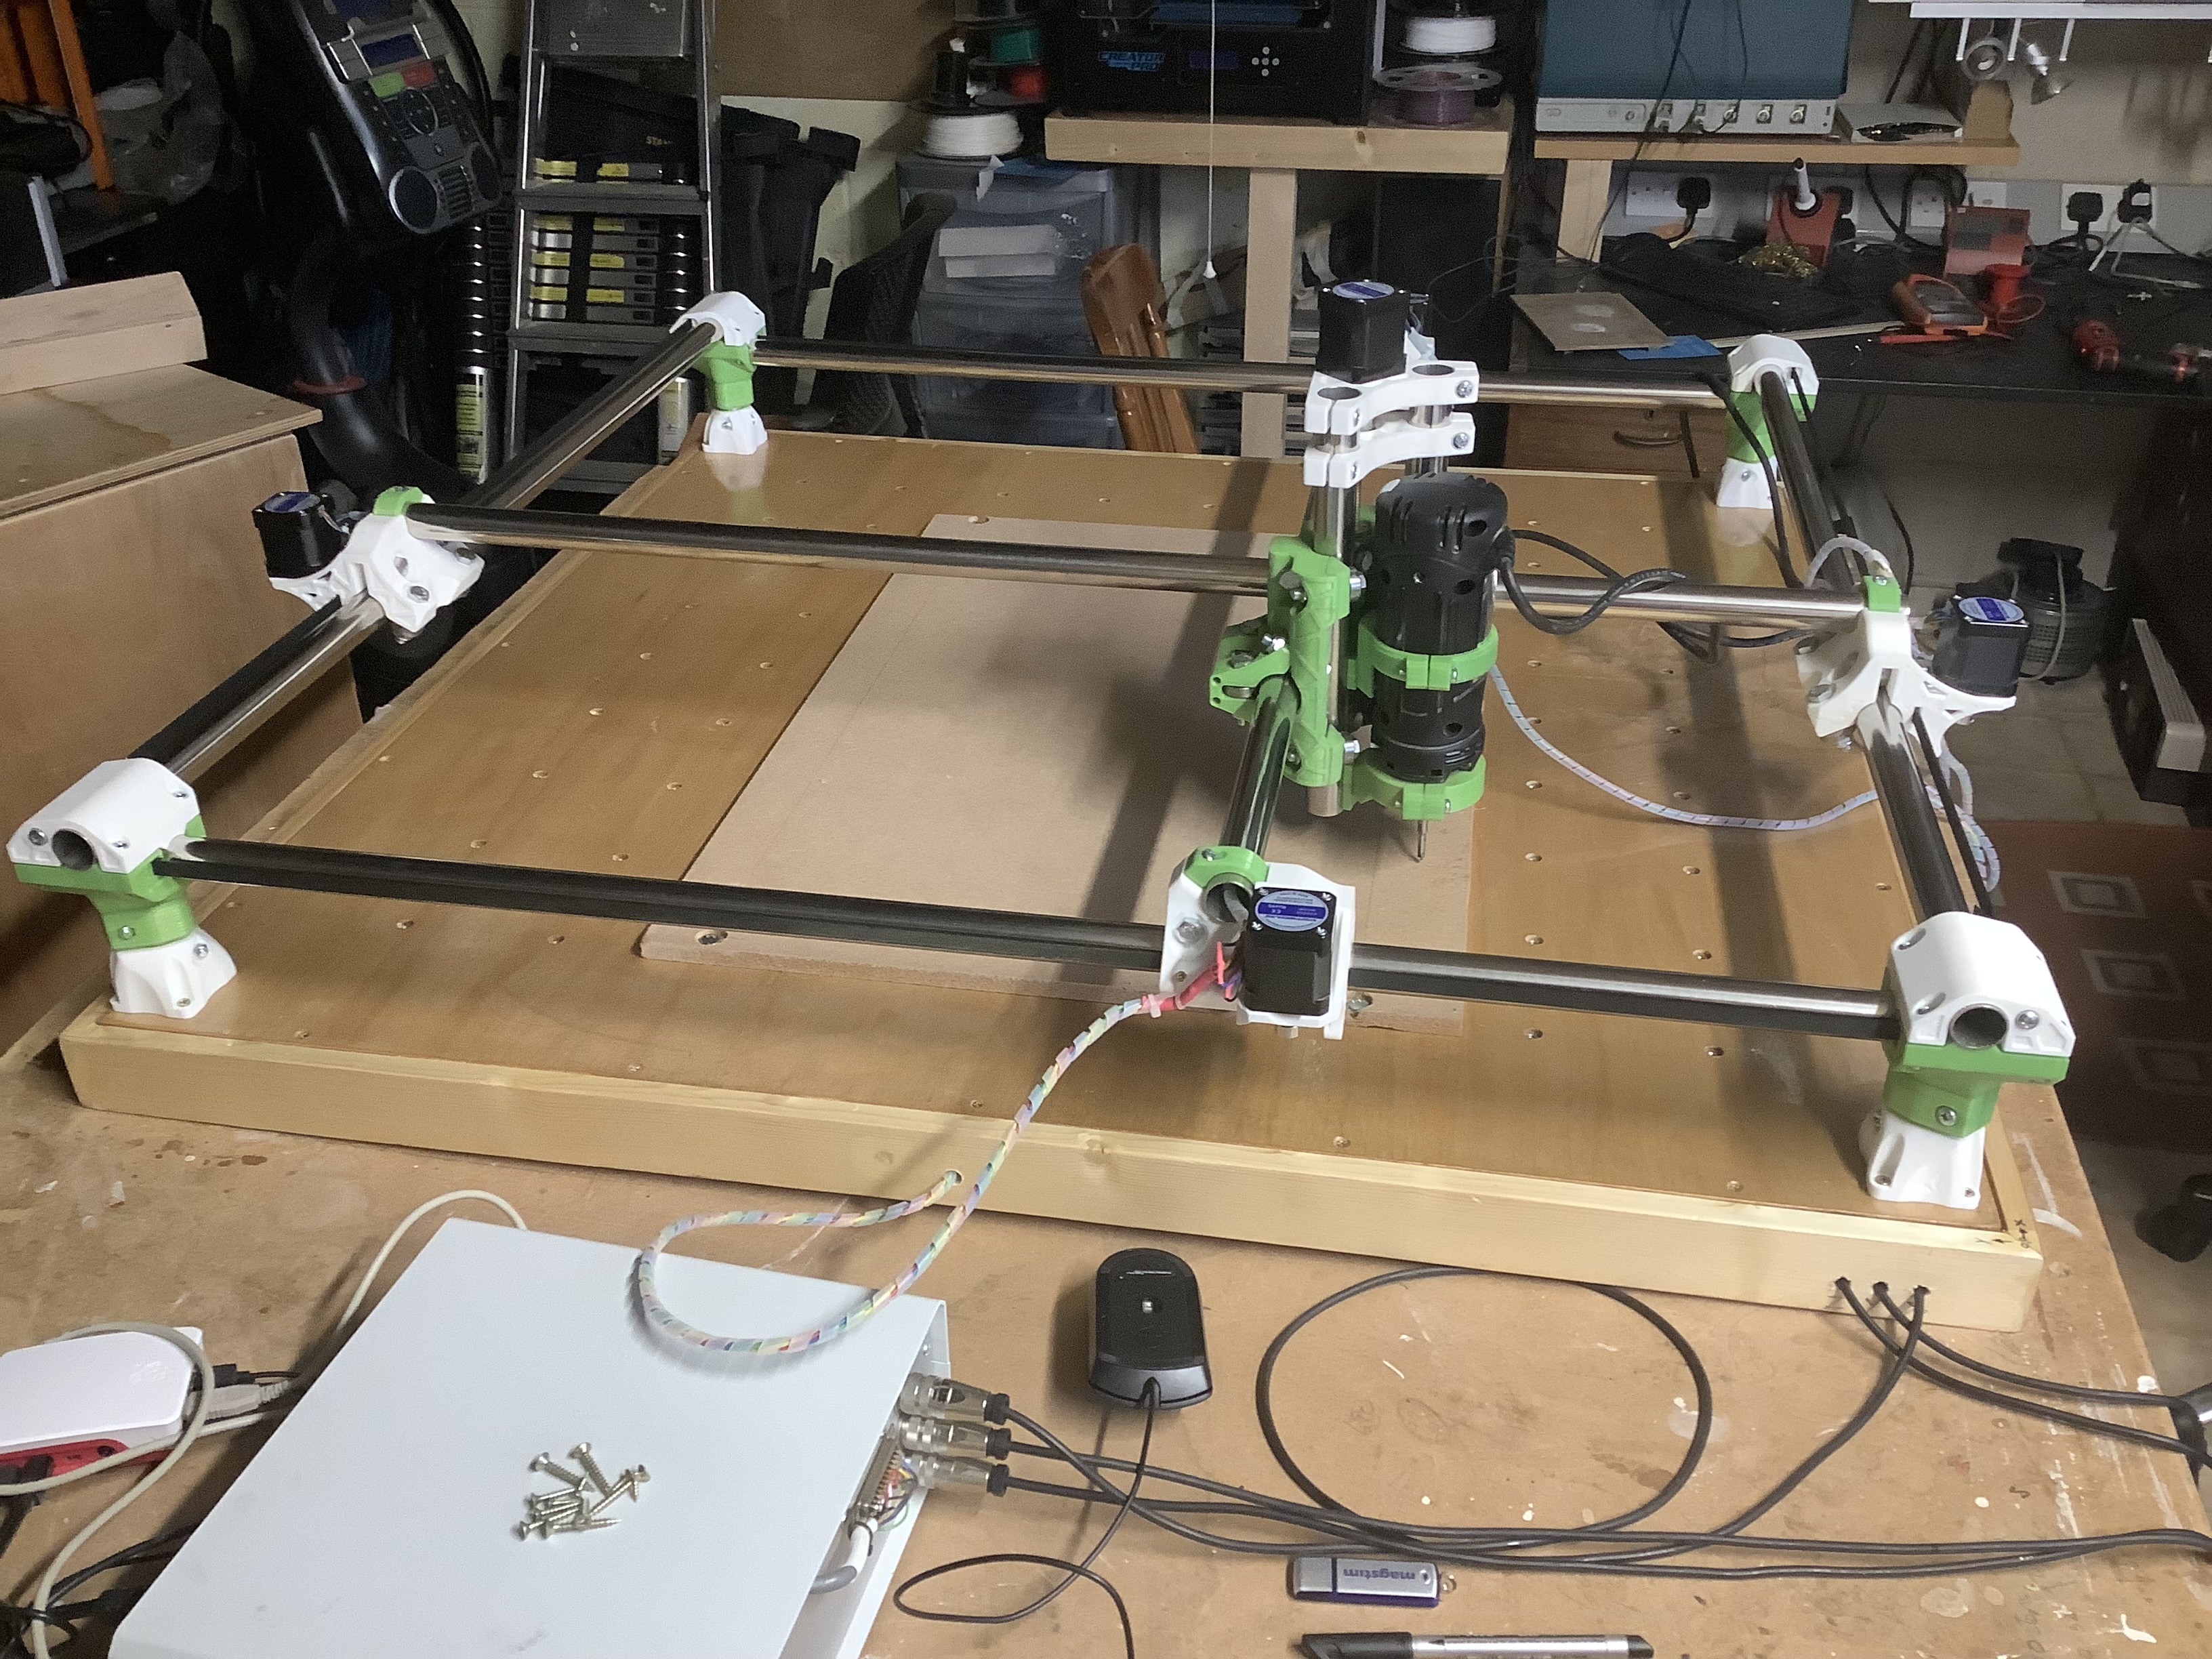
Base 15mm ply. M8 T-nuts for work and scrap board securement
Metal tubes - Stainless Steel 25.4mm diameter bought from Metals4U
Printed parts made from PLA printed on printer Flashforge Pro
With exception of core printed parts printed as 50% infill. Core printed 70% infill
Bolts, Screws, Nuts bought from Screwfix
Movement hardware - Steppers, belts etc bought from Amazon
Motors. 2x X motors series connected. 2 x Y motors series connected
9 . Motor drivers 3 x 4A 9-42V Stepper Motor Driver Controller tb6600 . All set up to run as 1/16 micro step , 2 A max
G code to motor drive decoding - Arduino clone Sunfounder Mega 2560 running firmware GRBL
11 G code sender :- Raspberry Pi running application Universal G-Code Sender
12 CAM (path management and G code generation) ESTLCAM
Router - Rotozip REB230E (I have had for well over 20 years and hardly used).
Have cut some carvings in plywood (90deg V to get familiar with machine performance)
Wow, how did you get the fingerjoints to be that good without the dog bones? Really neat.
Post it to “Things you’ve made” as well and tag it with the Primo if you will, please.
I have modified my Primo so that I can machine parts in the vertical. I pull my machine over edge of bench to create the space. The clamping mechanism use M8 thread bar with M8 T-nuts. The Knobs I 3D printed. See picture below.
Yes its a bit fiddley to align the work piece. On other jobs I have cut in the horizontal and then manual cleaned out the joint corners with a chisel.
This is what I’ve ever wanted, it’s even in the plans for my LowRider table, but I just didn’t get around doing it. Nice to see someone actually do it. Thanks for the motivation.