He has made some amazing (and huge) prints with his. It is not for everybody, but with the right amount of patience and knowledge, it can clearly make some great results. I often encourage people to avoid it if they don’t have a 3D printer, or they are hoping for creatily-like projects, but for making huge prints with a big fat nozzle, it is more than possible.
After perusing the Dui’s thread I told my wife I’m going to make a large scale 3d printer… she gave me this look and said, “So your fail pile can get bigger?”
I took that as an approval to proceed. I’ve got the filament now, why not build the machine!
For the uninitiated, understanding != support/concern/enthusiasm… at all.
Summary
In fact, you probably get more of one without the other. When they don’t know what the heck you’re doing, they try to support you. Once they figure it out (note the comment about the fail pile), you get eye rolls and resigned sighs.
I would assume it was similar to extrusion, although that is still forming it through the nozzle. Do you need some kind of presd to smoosh it flat, or are we assuming gravity will do it?
I haven’t tried it yet, but I’m planning to start at the lower end (180C) and work from there, following the same general approach people use for HDPE (i.e., heat until soft, fold, repeat, and eventually compress into a block.)
It turns out annealing PLA is a thing, so it’s worth thinking about cooling, as well. (though, if you’re planning on machining it, you probably want it annealed?)
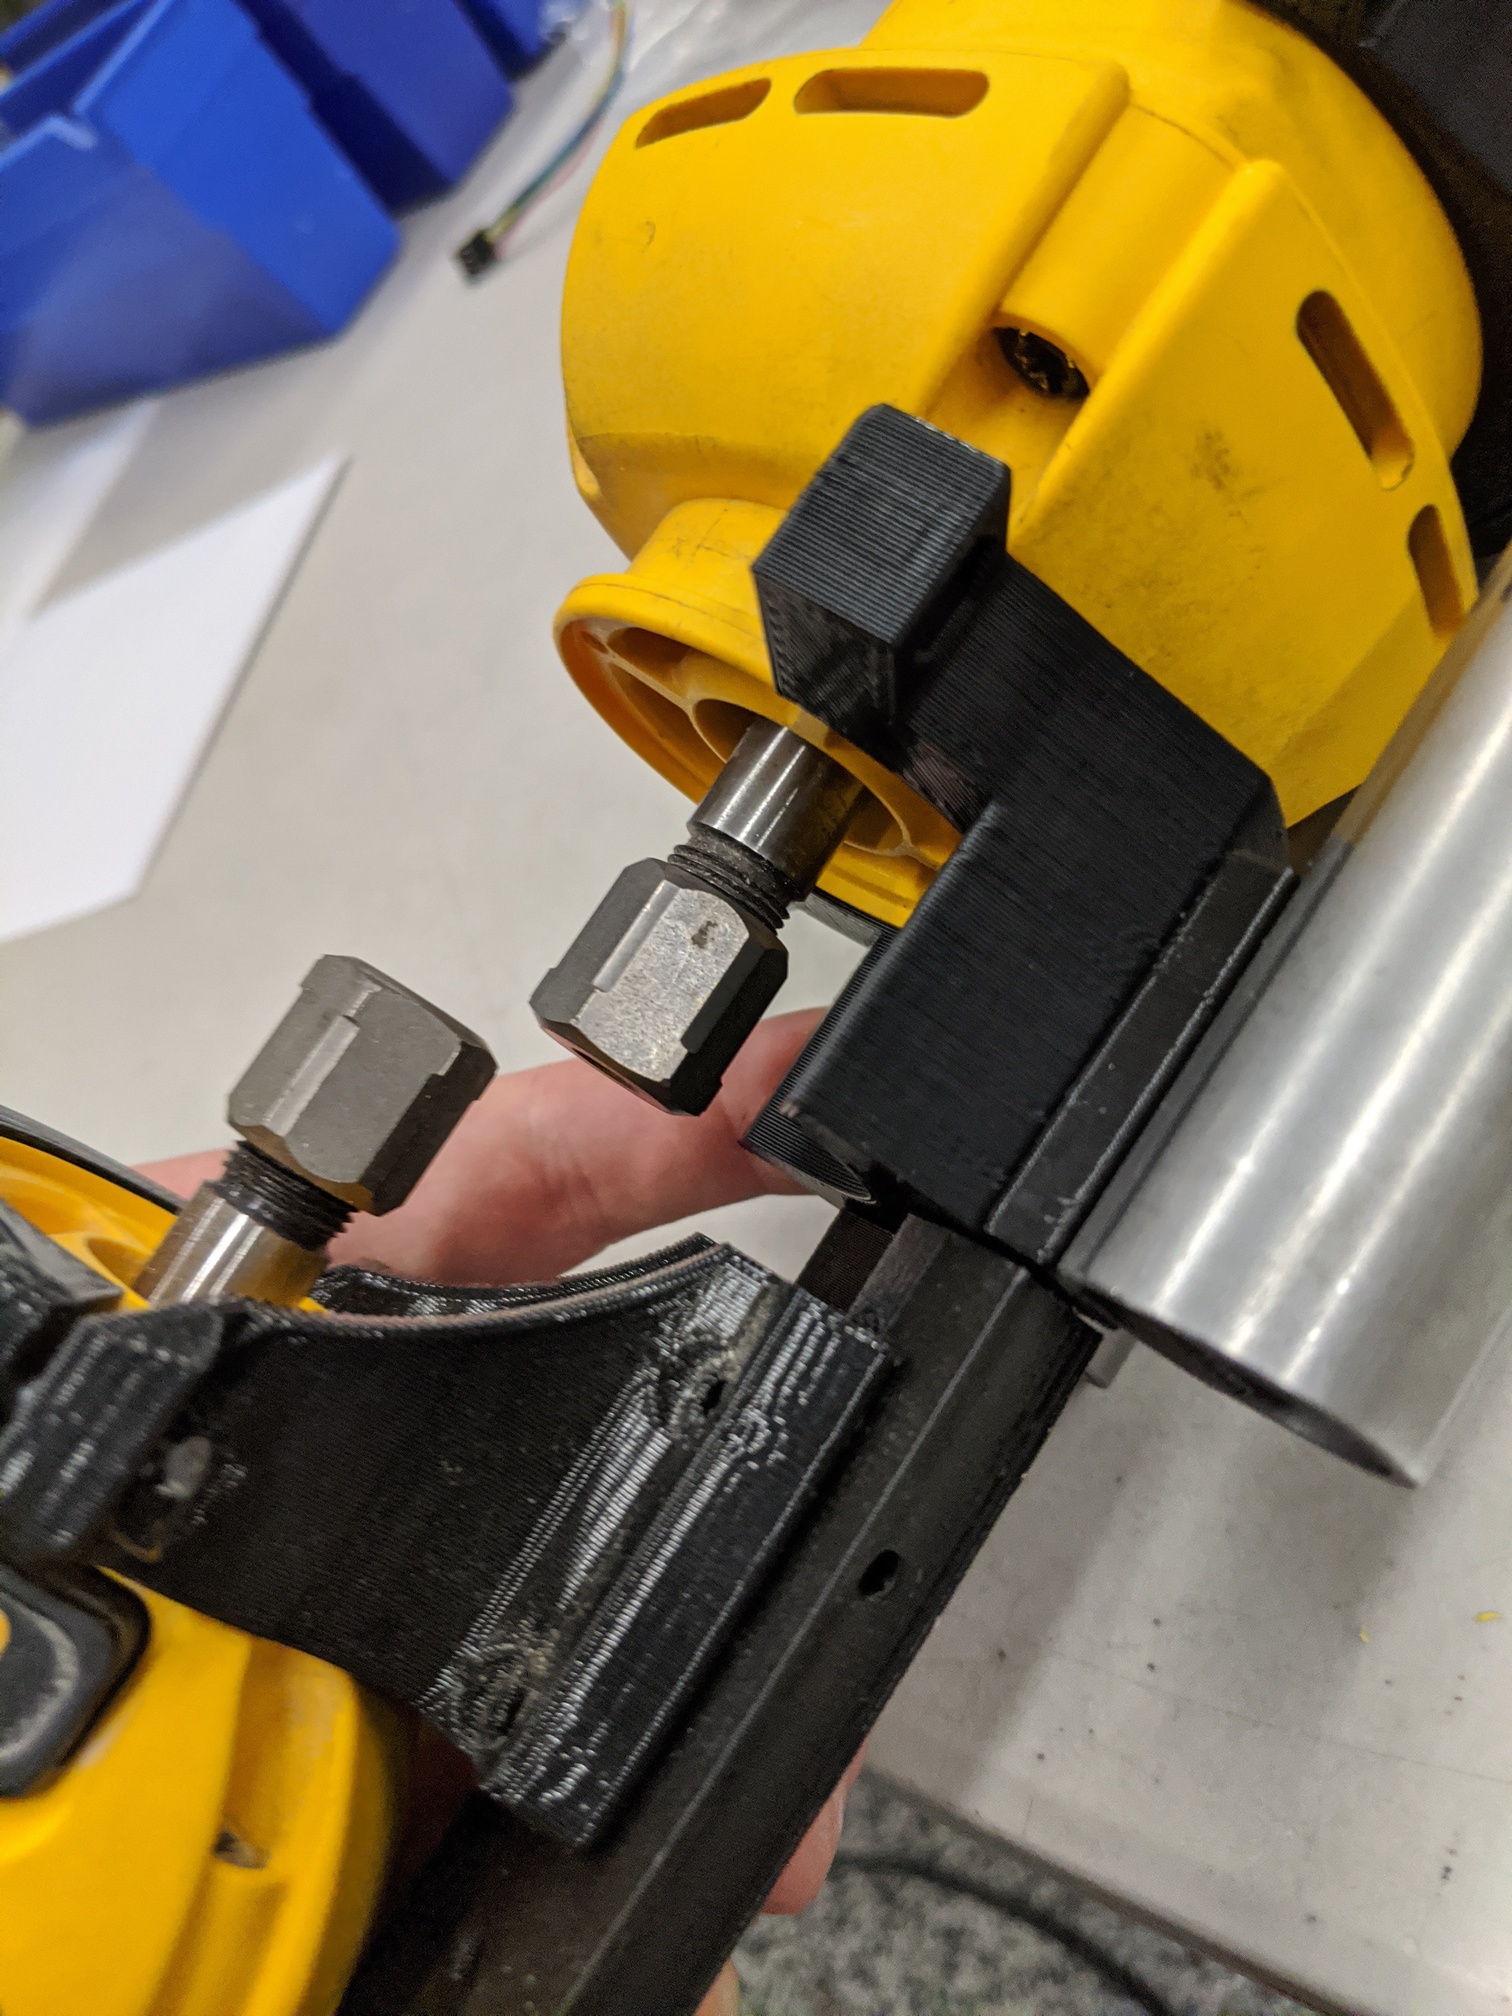
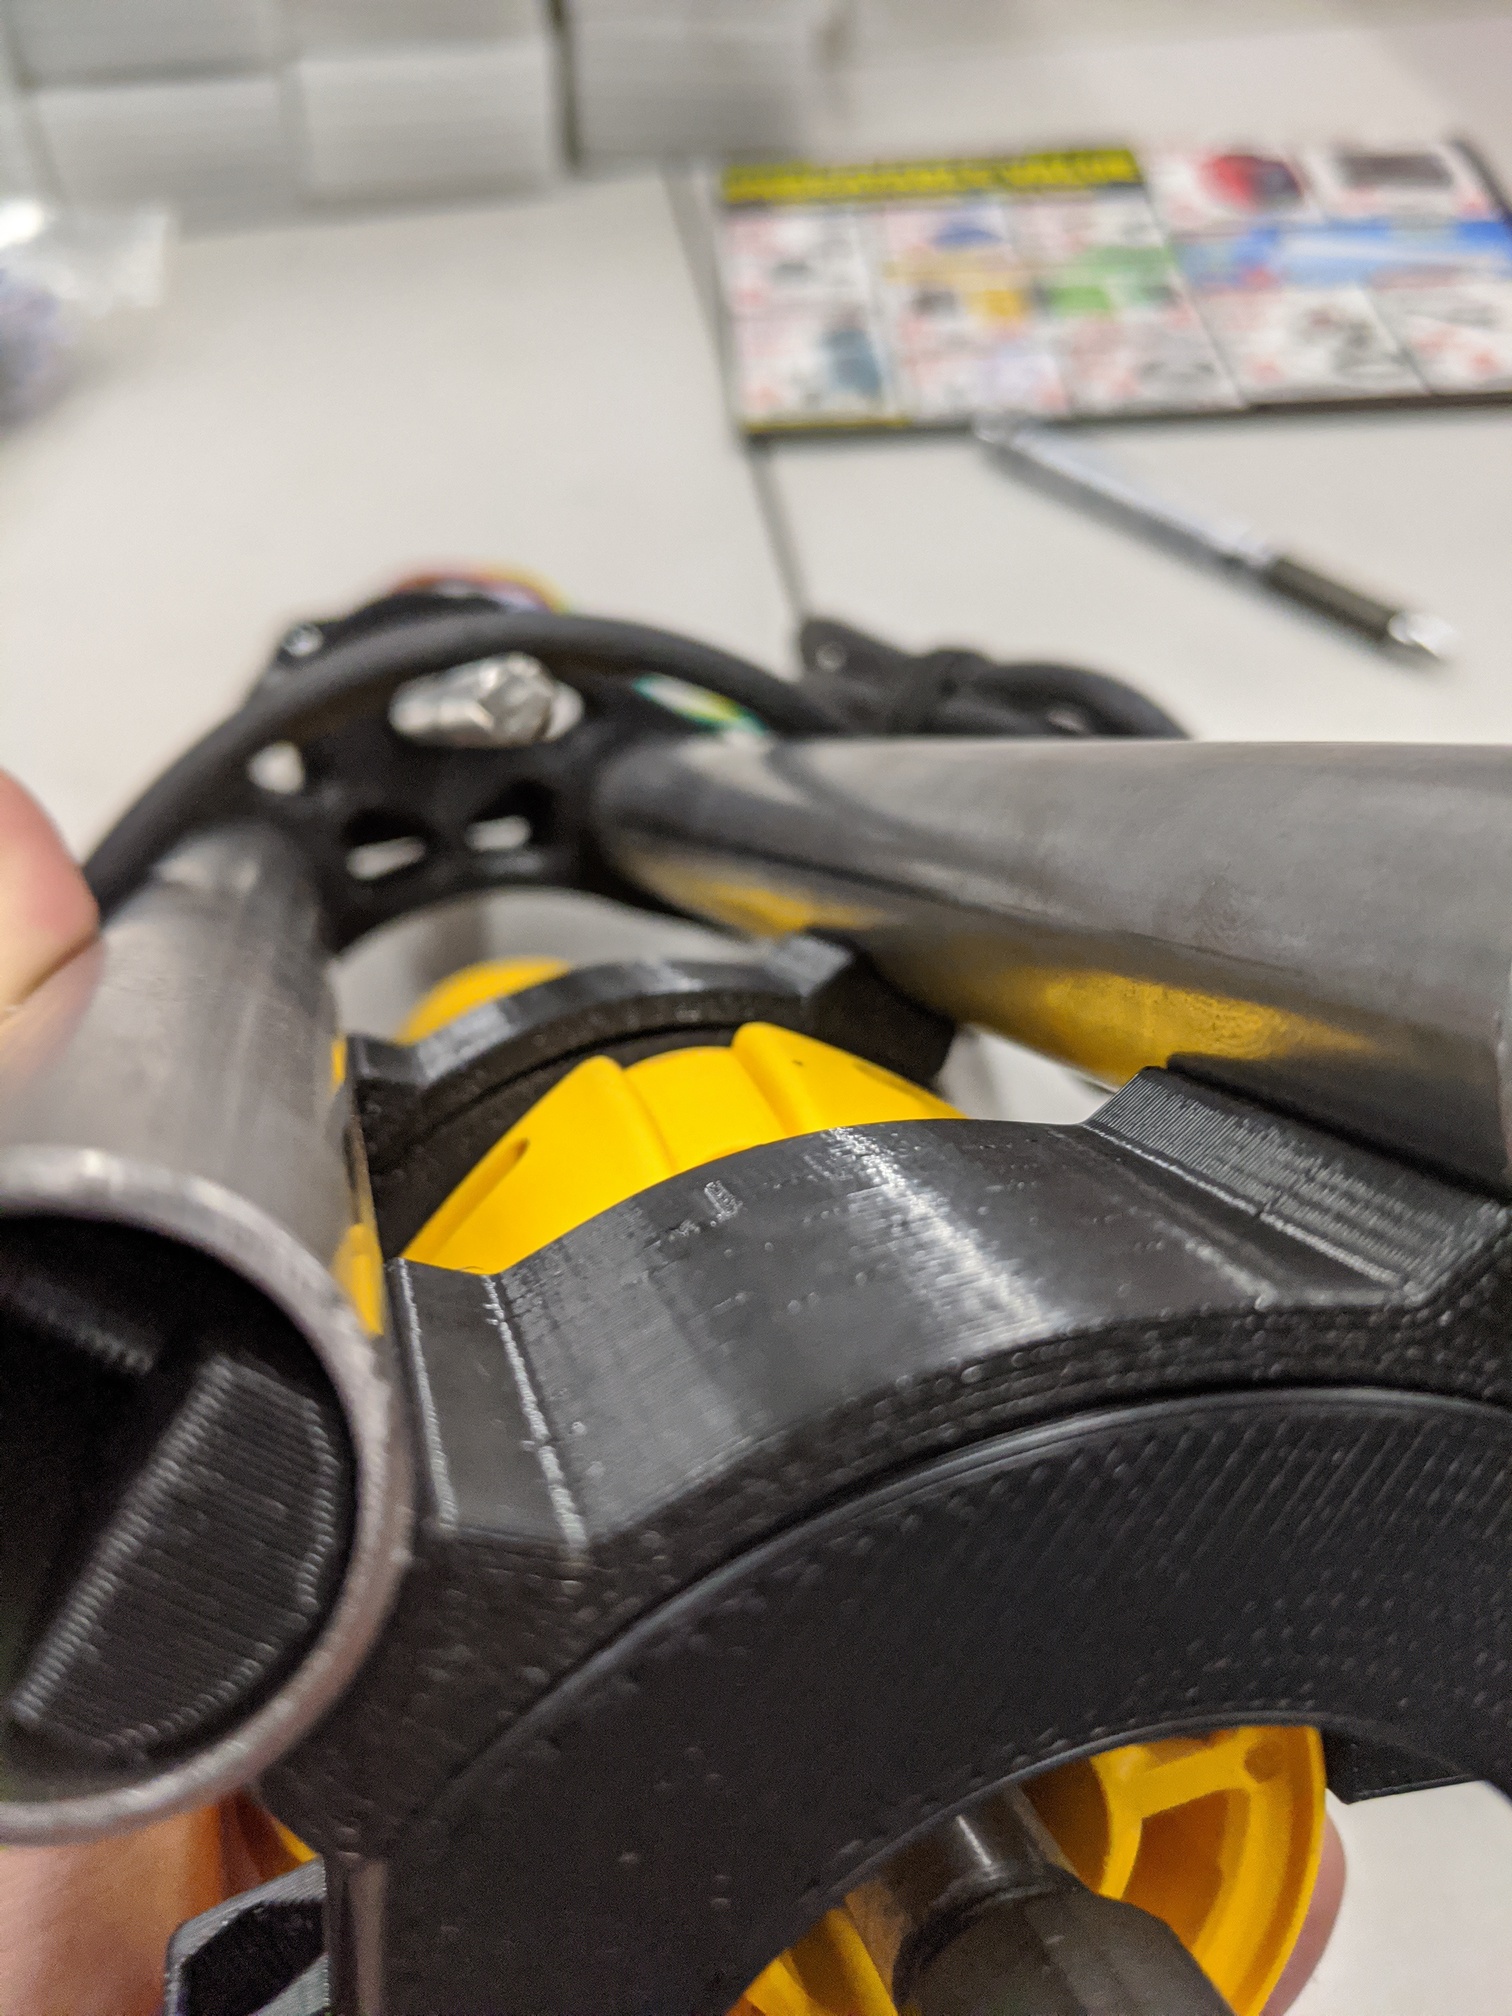
Okay, knowing that each individual change I made probably has a pretty small impact in overall machine rigidity I had to change everything to add them all together and have something substantial.
I think this change alone, even if nothing else is better, should be significant.
Those are some sexy looking curves at the top of the Z axis, even if you are trying to hide them behind a power cord.
I kind of like the current monolithic mounting plate. It seems like it provides a little more stability, even if it does increase the internal stress (assuming it’s “correcting” a misaligned hole or two). This seems like it will require a more precise placement of the mounting holes. But that’s just me being lazy…
 and said, “So your fail pile can get bigger?”