Well,
I decided to try the core again with PETG at 8 perimeters, 80/40/80 infill. The filament
was there, and I figured that if it turns out to be a flexy-flyer, I’ll just order up filament and run a new one.
The part printed clean, and it “feels” strong/rigid. I realize that is not a scientific analysis That said, after 50 hours printing, I don’t exactly want to do destructive testing. If someone can think of a simple and repeatable way to measure deflection/rigidity, we could start measuring this on new builds with different printing materials and parameters and get an idea of how those changes relate to the characteristics of the finished part. I just can’t think of a way to test this without significant investment in time on behalf of the user.
The closest you can get is to build the machine and then tie some fishing wire to the bit. Hang a plastic bottle of something weighing 1kg or less and hang it over the side. Measure how much the bit moves from the weight. That should give you an idea of some flex. But you would need someone else with the same sized machine in pla to compare it to.
That’s a pretty simple idea. We could take it a step further, standardize the bit or bar stock, position of the bit/tool, and the amount of the weight.
The good thing is that while it doesn’t test one part in isolation, it tests the cumulative impact which is what we will functionally see in use. Simple dial indicator for measurement of deflection.
It would also be an interesting measurement to observe as the unit sees more time in use.
Brittle failure from over tightening is often delayed so it still looks like regular brittle failure. It’s hard to remember the torque applied after a while.
When I built my oversized Burly, I bought cheap crappy Chinese bearings that needed to be baked to get 80% of them unjammed. Smelled like fish oil, 20% of the bearings didn’t spin freely even after baking, I cannot recommend the experience.
Then, when I decided to build a Primo, I bought the wrong bearings again (608zz, unshielded from dust and debris). At least they weren’t rusty and smelly.
I finally bought the correct shielded bearings from Ryan’s shop, and used them for my Primo. I decided to use the new 608zz bearings in my Burly rebuild. I figured it couldn’t be worse than the fishy bearings, right?
In order to do this I stripped it all the way back down to the atomic components, and when I did, I found a bunch of cracked parts.
I mainly place the blame on the cheap Inland PLA+ I used being more brittle than conventional PLA. However, on top of that, I did also utilize the gorilla hand technique that Tim mentioned.
Not really trying to make a particular point, just adding my data points to the discussion about brittle failures.
All mine is Inland PLA too. Annoying to keep track of PLA vs. PLA+ and not all the same recommended temperature, but otherwise it’s pretty ok. And yes it looks like very low infill.
When the natural sciences building caught fire one day, a mathematician, a physicist and a chemist fled to the flat roof top. Their only chance was to jump into a deep pond in front of the house. But there was a fierce storm blowing from just that direction. They knew they’d have to control their speed and angle when they would run to the roof’s edge and jump.
The chemist started. He relied on his rule-of-thump mode to solve a task, ran off, jumped - and crashed on the concrete floor of the parking lot.
The physicist was more cautious. He thought, I’ll have to observe the difference between land and water, solved a few differential equations in his mind quickly, looked for some geometrical guidelines on the roof, already blinded by the increasing smoke, aimed, ran, jumped - and crashed exactly on the border of the pond. Before falling unconscious, his last thought was, have to change those factors a bit…
The mathematician had used the time to model the whole scene mentally. Being one of those gifted guys who could visualize and solve an equation with a random number of unknowns, he finally, when the first flames were already blocking the sight on the pond, ran, jumped - and flew. Instead of falling down, he flew higher and higher - and was never seen again.
Looks easier than the plaster method and should produce similar results. I might give it a try when I have some spare time. The PETG seems to work better though and only at a 100% infill, so I m not really sure if the method is actually usefull for the MPCNC
Hey K! I’ve been doing a fantastic job of getting hired and fired/laid off from IT jobs for the past 15+ years. You’ll find something you like better soon enough. Even if it means taking something you don’t like for a minute. Just never stop looking and don’t let a good opportunity pass by. I turned down a really good deal because I liked where I was, then a month later was laid off.
I haven’t had any brittle failures with PLA parts on my Lowrider but I have had PLA parts deform in the extended periods of triple digit temperatures here in Arizona…
The last of my printing should wrap up tomorrow evening, so I’m about to order my stainless tubing and had a few questions:
Assuming I stay with a usable area of 2’x3’ and a max z of~5" ( I have a project in mind that would need it unless I built a drop table for that one time), what are the recommendations on wall thickness for 304SS? I can readily get .065 and .120 wall stock in 1" tube.
What’s the common consensus on on suitable wall thickness? Bear in mind I have to buy whole 20’ sticks, so unless doing different wall thicknesses for different sections provides a significant benefit, I’d like to stay with 1 thickness.
As an aside, is there any functional value in dropping an extra $15 on polished and buffed stock besides the initial “look at my shiny toy” factor? Standard finish offered is brushed.
Typical use will be hardwoods, sheet goods, and some occasional acrylic. Not ruling out aluminum in the future, but I try not to deal with metal chips in the area where I primarily do woodworking.
 That said, after 50 hours printing, I don’t exactly want to do destructive testing. If someone can think of a simple and repeatable way to measure deflection/rigidity, we could start measuring this on new builds with different printing materials and parameters and get an idea of how those changes relate to the characteristics of the finished part. I just can’t think of a way to test this without significant investment in time on behalf of the user.
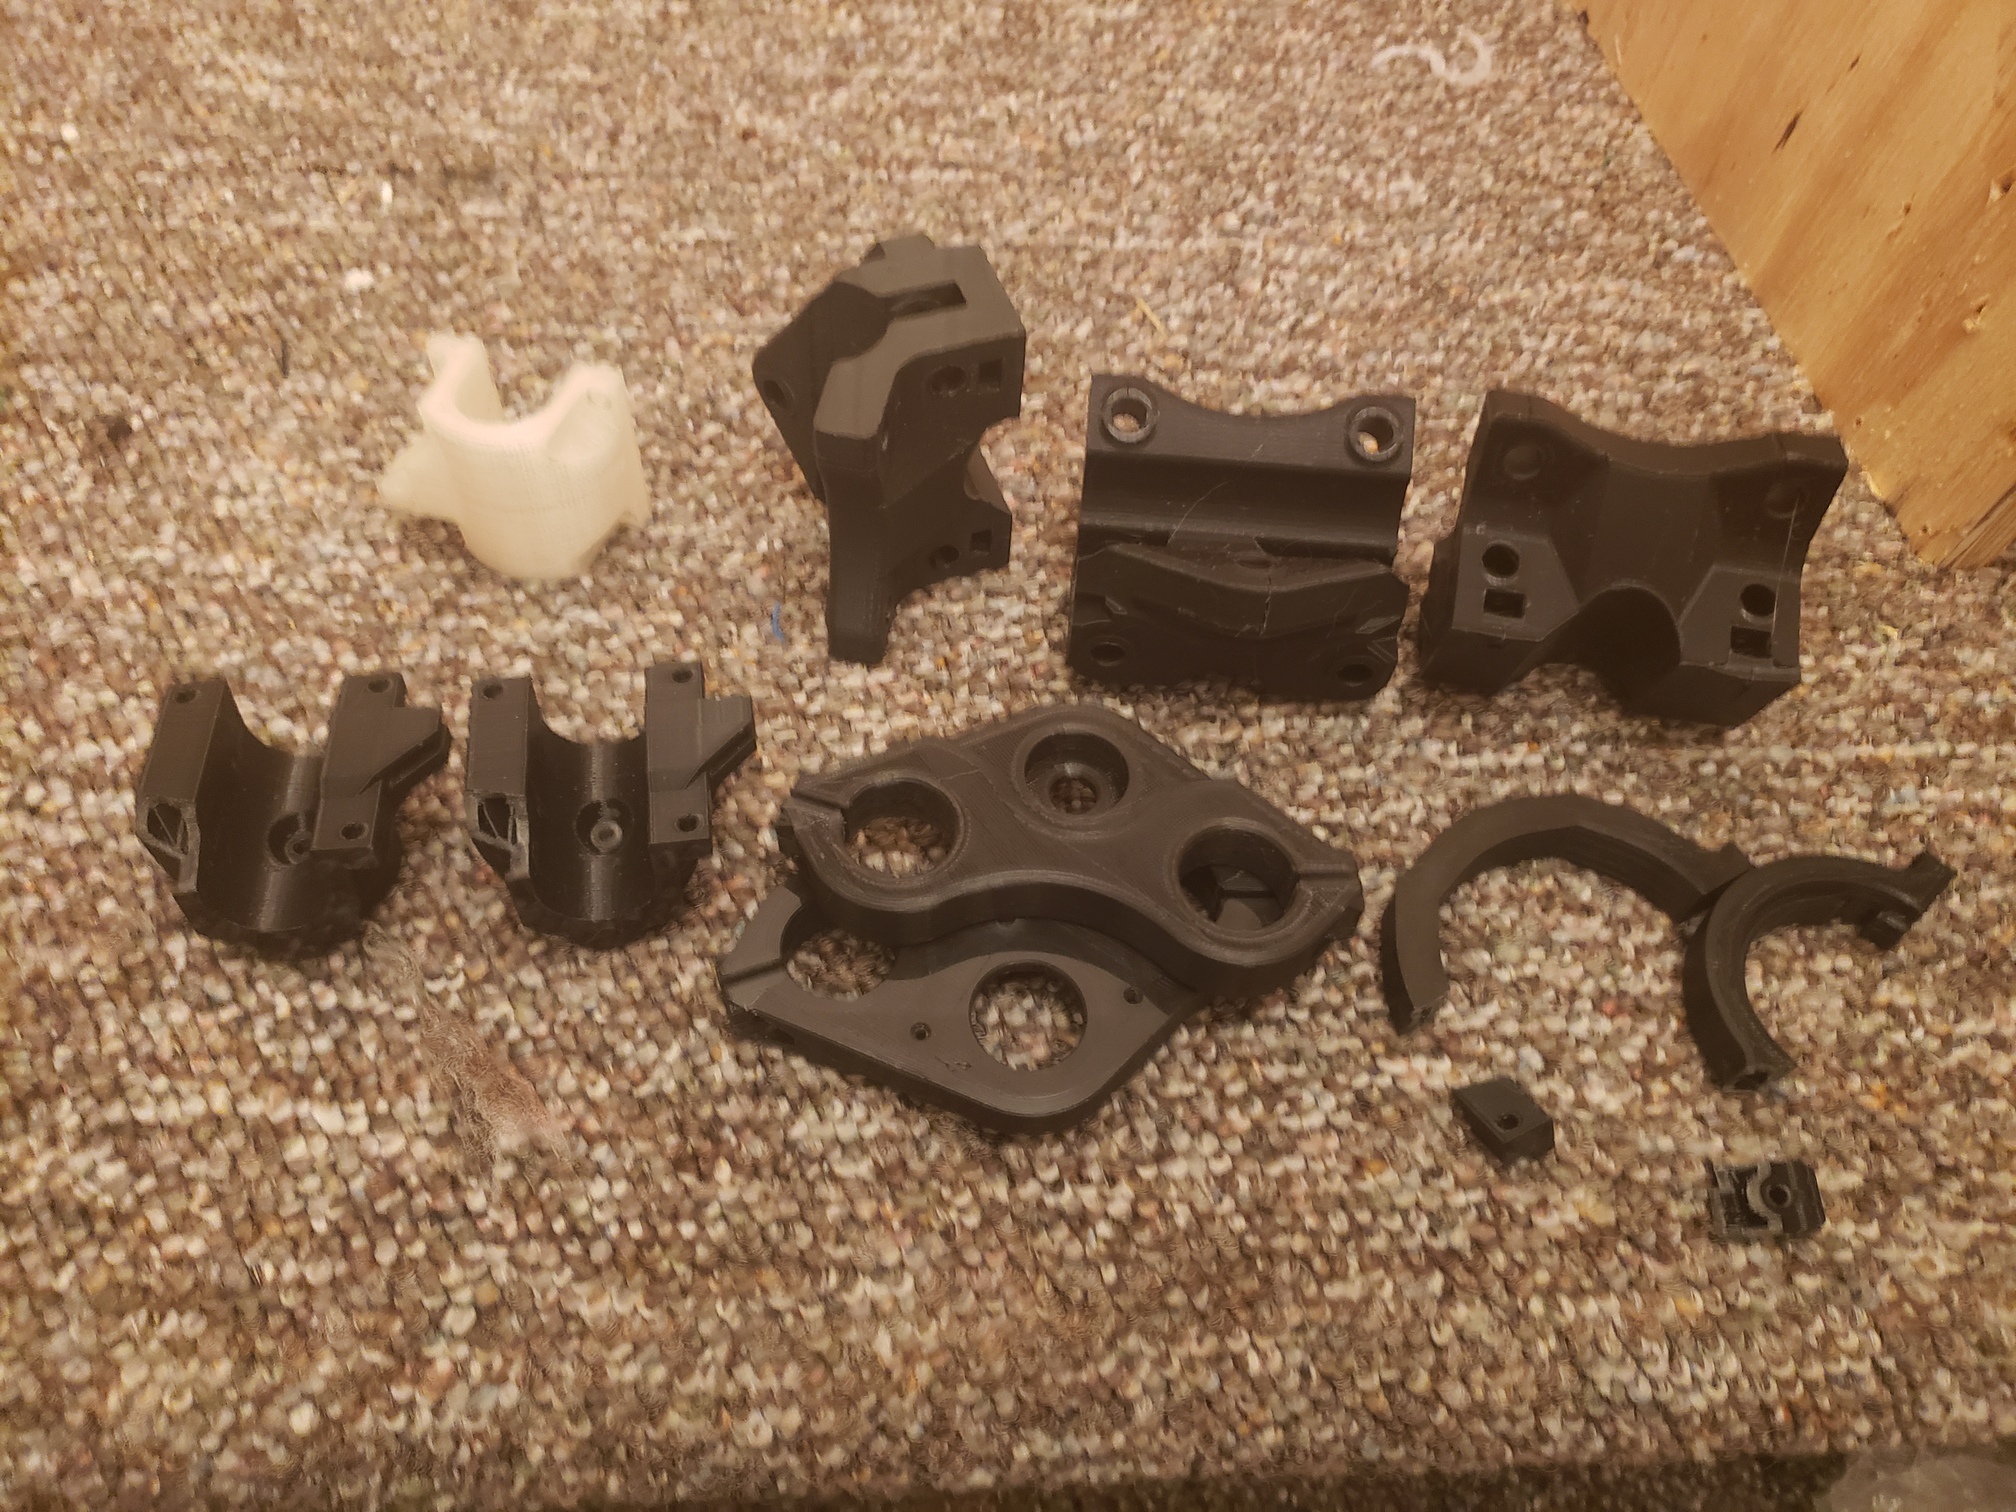
 “look at my shiny toy” factor? Standard finish offered is brushed.