Any build info on your pendant?
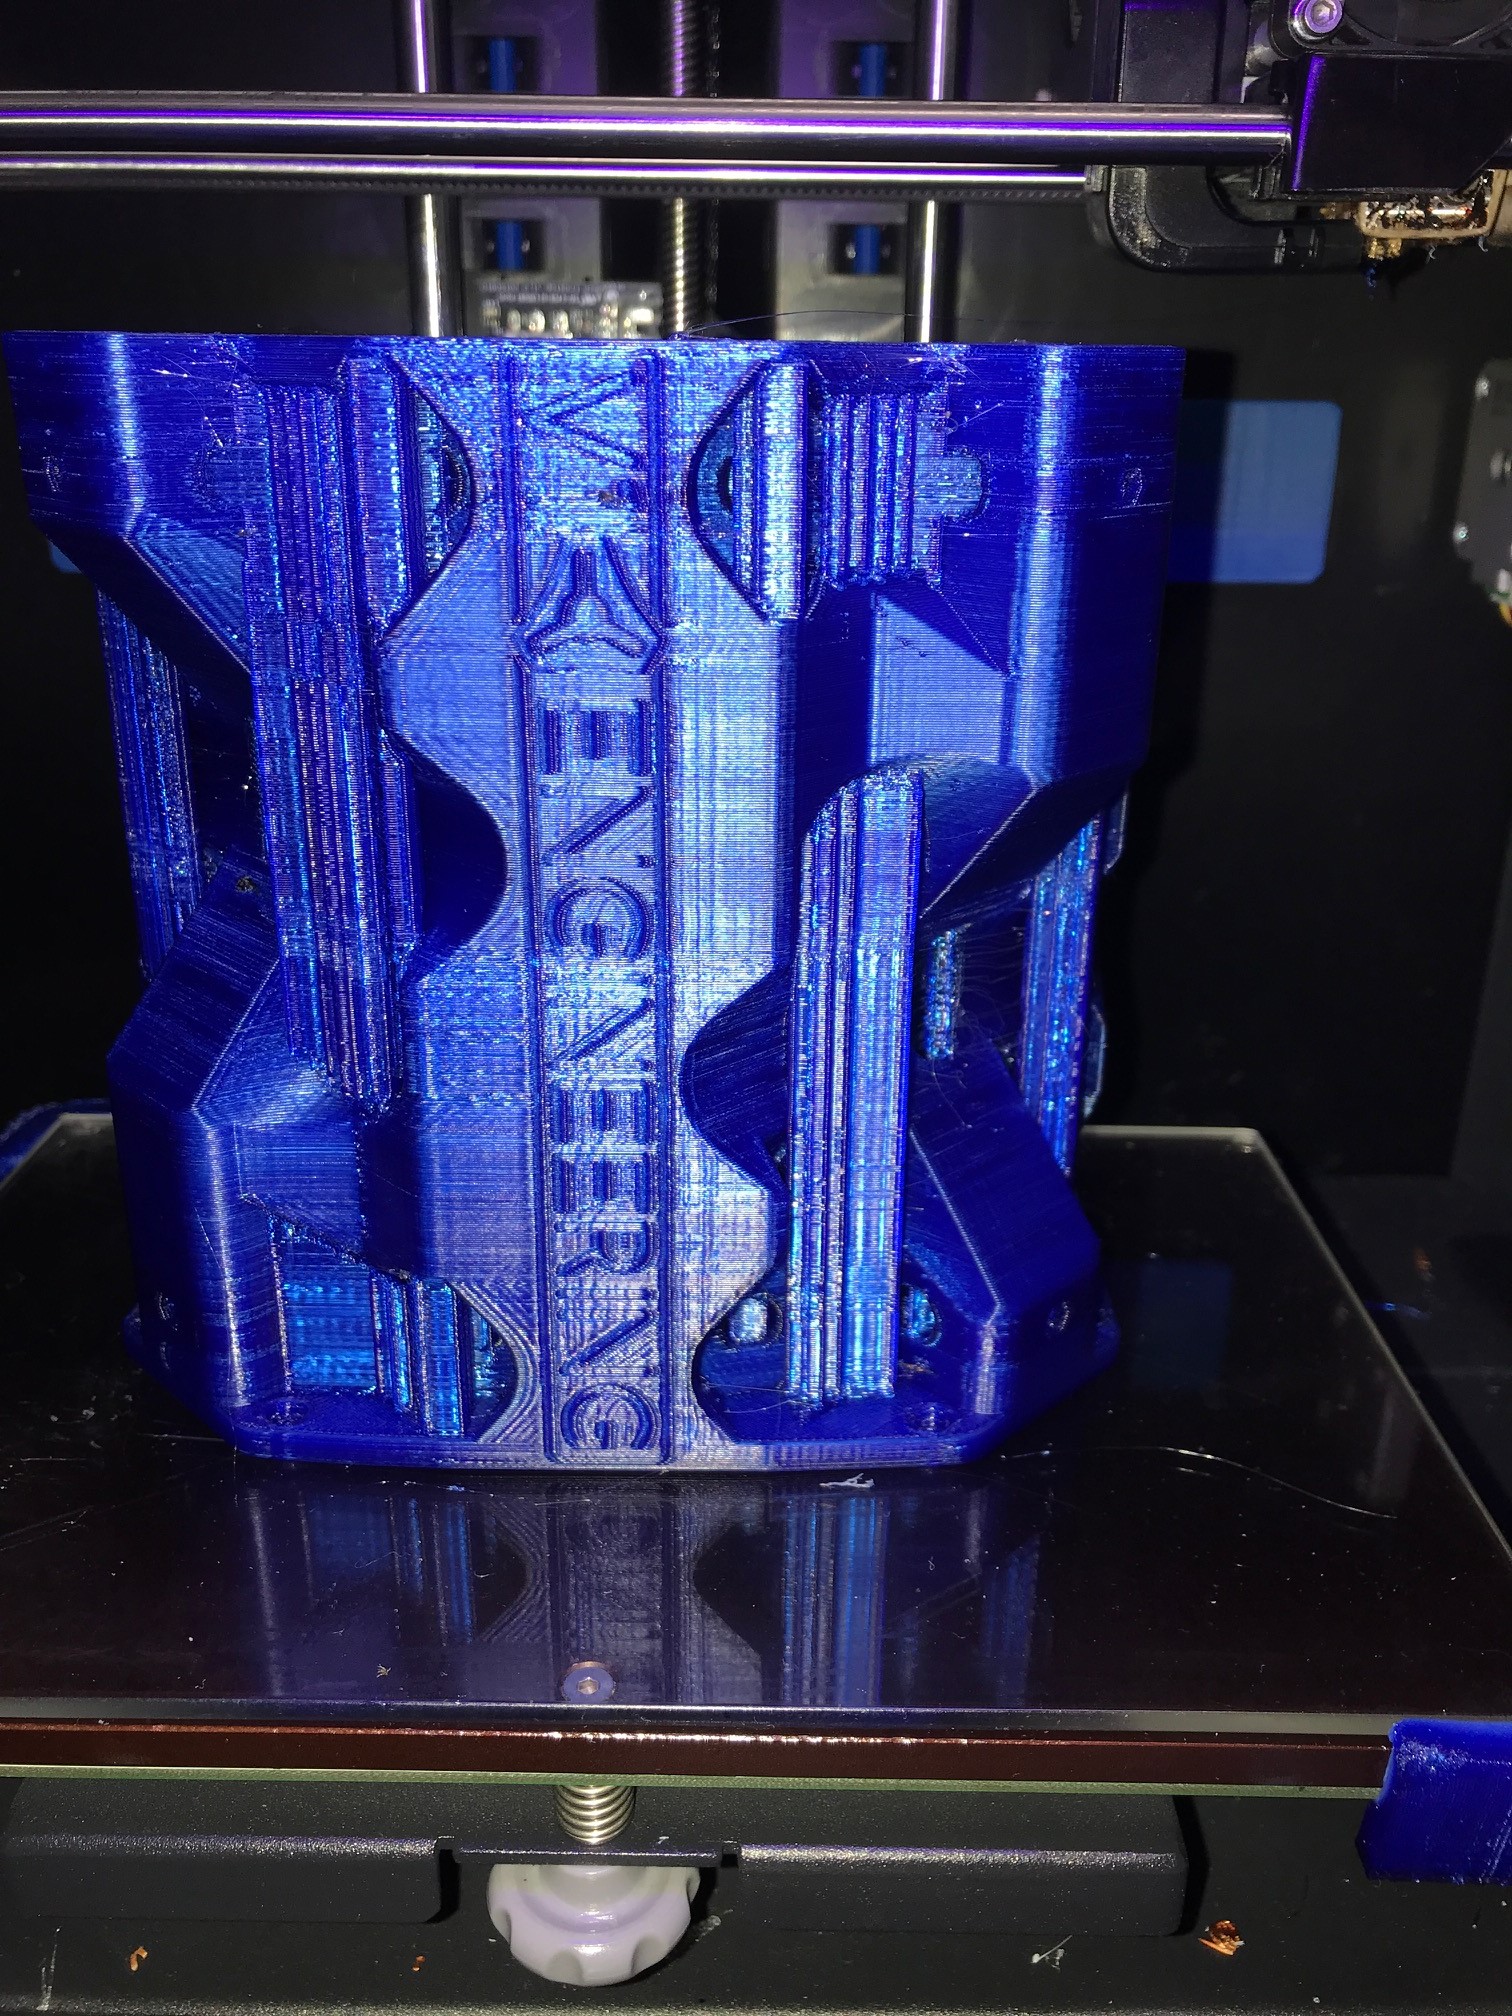
Ok guys, I’m making some progress… over 28 hrs, a few petg hiccups, and after recognizing that I need to upgrade to an all metal hotend, was ultimately successful.
6 Likes
I think Ryan has said that PETG is not really a good choice for the core. Is there a reason you chose it over PLA? What infill did you end up with? Let us know how you get on with it, I think some may benefit from higher temperature limits. Congrats on getting it to print well, in my experience PETG is the devils own filament!
1 Like

So after the failed Core print due to what I “think” is filament diameter variation, I decided to try to print the rest Z coupler and Z motor parts using the same filament(Overture PETG). Both used the same profile. You can see the motor part came out fine , but toward the top of the Z Coupler part(printed after the motor part), the print starts to get boogery/under extruded. I think this is what led to the bad 2-3 layers in the upper 2/3rds of the core print.
Micro Swiss hot end with direct drive, printing a little warm at 248, but I want the sheen and layer adhesion. Retraction tower tests are good/clean for this profile/temp. In watching the display for a while hot end temp stays pretty consistent and only bumps to 249 every so often.
My theory is that the small melt zone on the Micro Swiss hot end doesn’t tolerate big filament variations well. As stated in a previous post, when I checked a couple feet of filament after the core failure (that sounds straight outta Star Trek), the dispersion was from 1.71 to 1.83. my slicer(S3d) was set for a mean of 1.73 based upon measurements I took at the beginning of the spool.
I’m going to order up some of the Atomic CF PETG, and maybe some of their standard PETG as well since they claim a .02mm tolerance, but I wanted to solicit the opinions here to see if I’m barking up the wrong tree. I have 1 more unopened red Overture PETG spool I could use to re-try the core, but based on what I’m seeing with these to prints, I’m not sure I’d get any different results. Any suggestions are appreciated.
Who’s PETG did you use, what infill etc?
In looking at your picture, layers in the “IN” region look different than in the “ENG” and “EER” regions of the print. Is it just the picture/angle or does it look like that in person?
I’m struggling with PETG on the core too. I’m not new to PETG, but for some reason I’ve had crap luck with the core. One under extruded infill core (stock hot end was showing it’s weakness), Another print where someone cut the power to the house 1/3rd of the way through and the Z moved without power to the stepper so “resume print” didn’t end well, and then the most recent failure which was going great until a few layers in the upper 1/3rd just went bad (the print kept printing fine above that point).
Any insights to your setup might be helpful.
Also, no supports are needed.
1 Like
If you’re going to use petg for the core, add a few more perimeters.
Running 6 perimeters, would you suggest upping it from there? Printing at .40 width, .26 height.
I just like PETG’s look and strength but it certainly can be a devil. 70% Infill.
Matter Hackers PETG. You are correct in that there are regions that didn’t print the same. I experienced inconsistent extrusion problems that seem to occur (in theory): 1. when the petg tube in the hotend gets too hot (i took the lid off of the printer to resolve this around the ENG as you pointed out and it recovered) and 2. also when the print has a lot of breaks in it like near the V1 (i believe it to be retractions carrying heat up into the PTGE tube and it sort of sticks there).
I had previous prints fail at 245 C and dropped it to the min 230 C for the core print. 3 perimeters. Some “experts” I know believe a Micro Swiss hot end will help… but i am going to do some research on how retractions may be an issue. I could be wrong about the retractions… Ultimately, I still have to perfect PTGE printing but I think I have a strong enough Core to proceed.
1 Like
Old habits & stubbornness. I have no excuse. I should have left them out. would have limited the retractions… Thanks!
Hey, if the part feels sturdy and is dimensionally compliant, run it! 
FWIW, hardware is usually only a partial solution. You could install the Micro Swiss and have other variables out of sync and still get a poor print. I ran a stock Ender 3 hot end through over 600 PETG faceshield frames in Spring without an issue. When I decided I should check on the tubing down at the end, it wasn’t even blackened; and that was with the factory PFTE and a 240 temp.
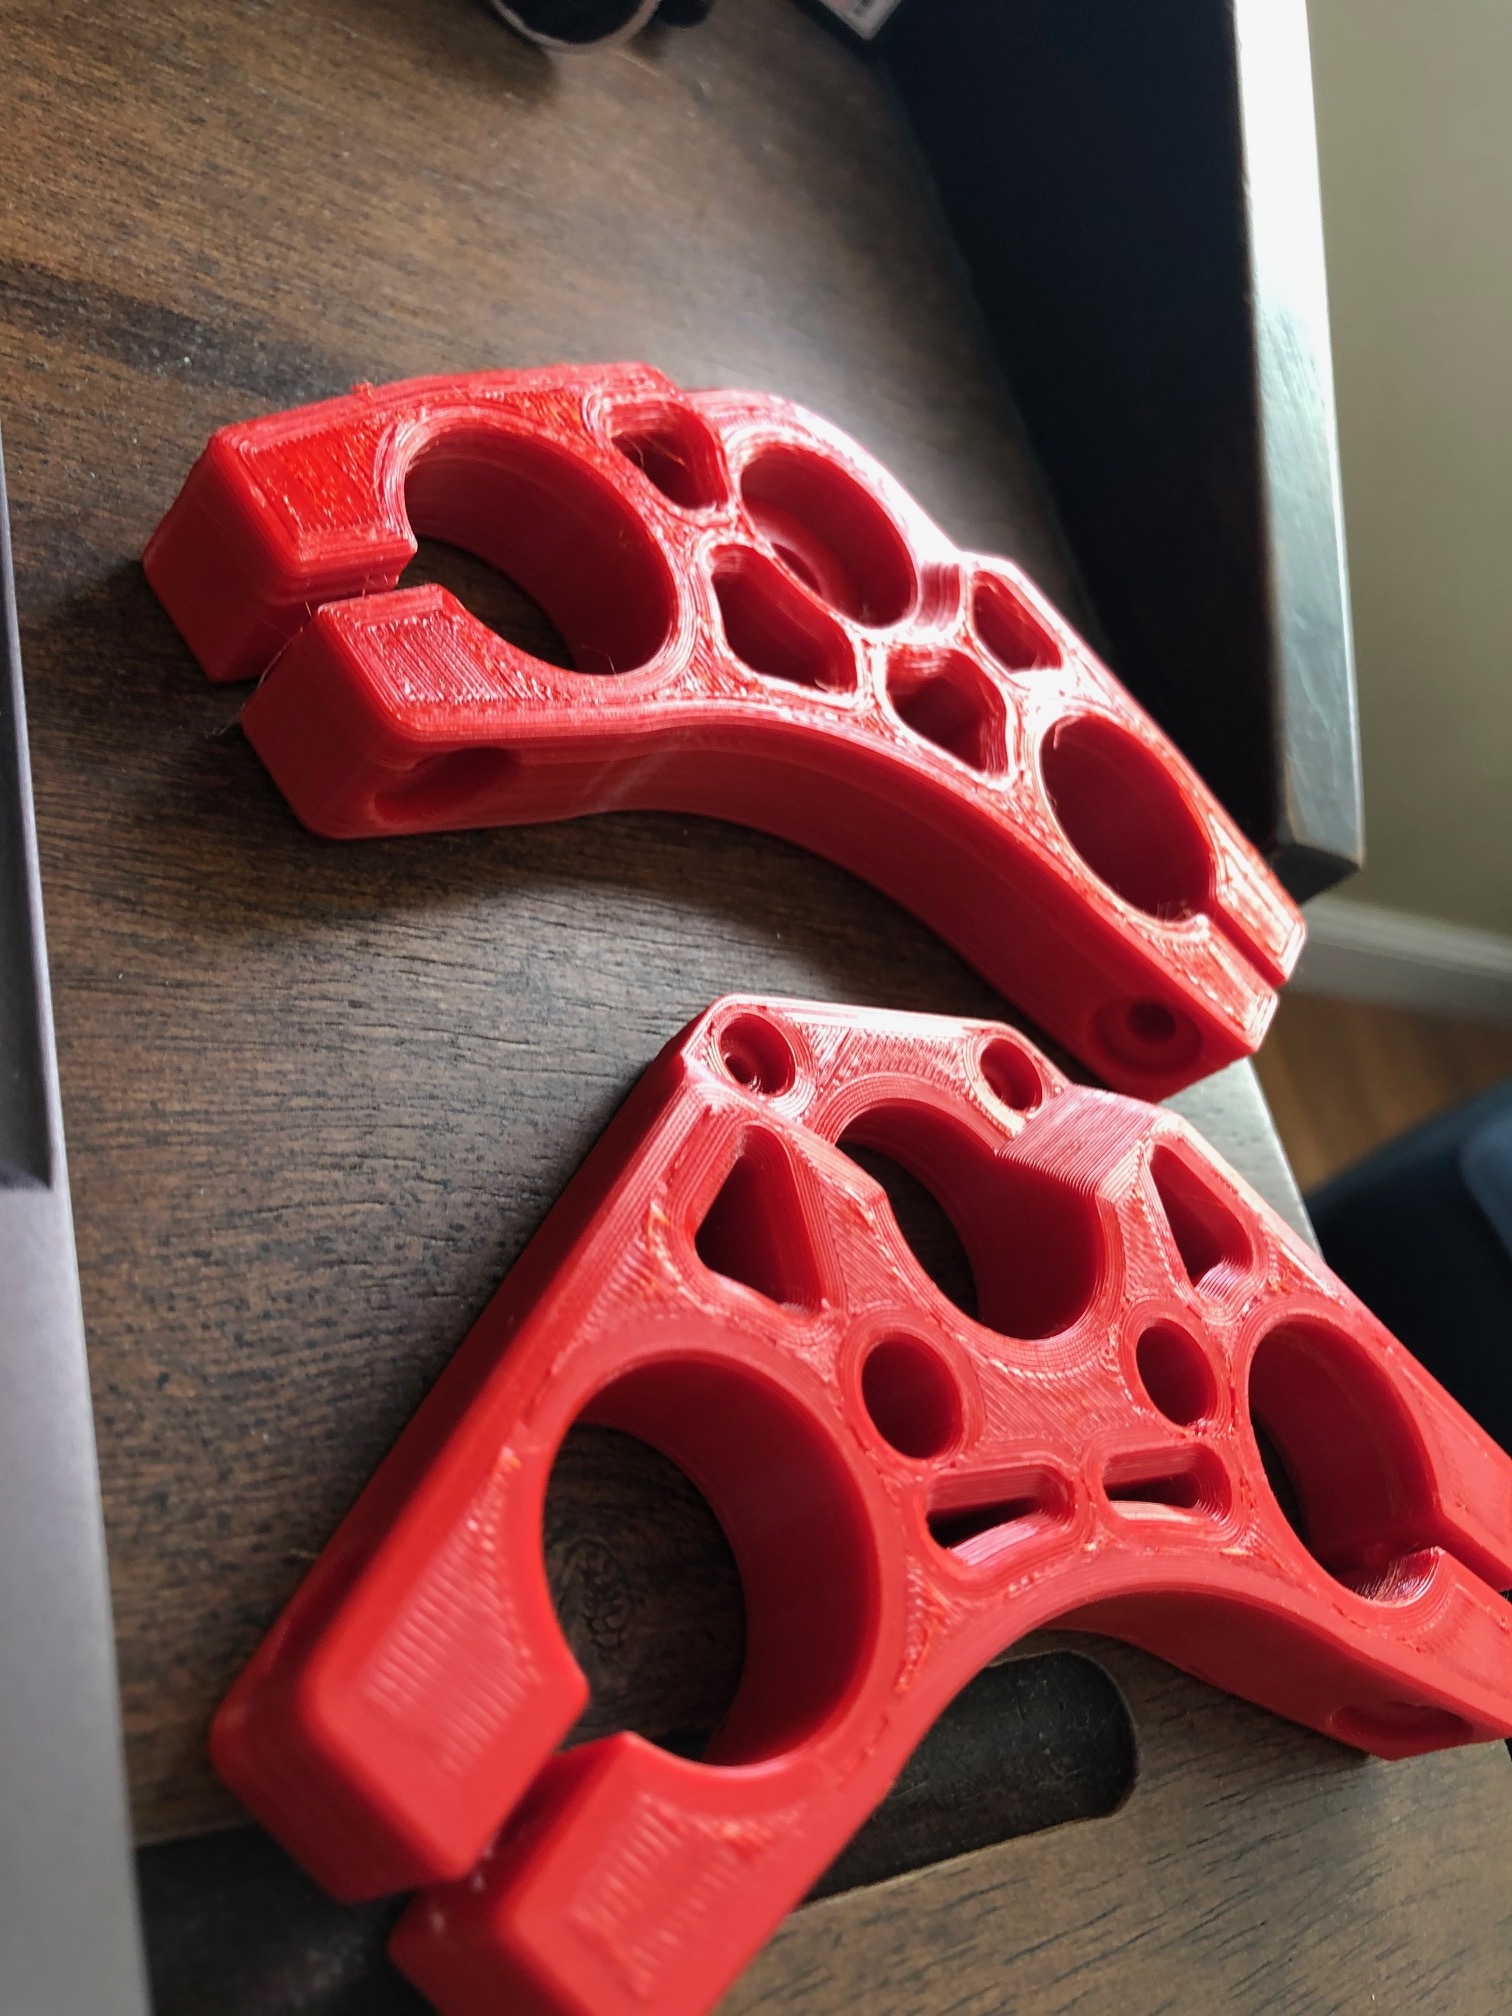
Now on the marathon print that is the core I didn’t have such awesome results. It looked great but crackled when flexed, so I cut it open to diagnose. Looked like the hot end couldn’t keep up at the infill speed which was 1680mm and I got notable consistent under-extrusion starting about 20mm up from the base.
I bought the direct drive Micro Swiss direct drive kit partially because I am looking to do Nylon and because I figured I could push my temp a bit more and buy some breathing room. For the cost of the kit vs just the direct drive, it made sense. Tried using my working PETG profile with only retraction setting changes… no dice. Had to completely re-calibrate/refine the machine. Got my calibration cubes, retraction towers and torture test looking good before I started back on Primo parts. My core looked very uniform right up to where the few bad layers screwed it all up. Moral of the story, the Micro Swiss IS nice/well made, but it isn’t a miracle worker and will require re-calibration (as most mods do), so plan accordingly.
3 Likes
Might be alright. I printed everything with pla this time. I ran petg on the 525 and it was flexy in parts, that was with I think 6 perimeters.
1 Like
What parts did you find too flex at 6 perimeters? Just the core, or others too?
I did my feet, corners, and trucks at 100% infill 10 perimeters(obviously some areas don’t see any benefit).
I was thinking of reprinting the trucks at 50-55% and 6 perimeters to save some weight. I could always up the perimeter count on those and still save some decent weight.
If I stay with regular PETG, up the perimeter to 10 if I stay with the 70/30/70 infill?
The parts are designed and tested to be printed as specified. These parts are not just in tension, infill plays an important roll. Perimeters only effect tensile strength. so by increasing that you decrease every other aspect, and in all honesty tensile strength is only even slightly important in the feet and Z clamps (how well they clamp), more important is how rigid the rails they support (infill).
Bottom line, using the same print settings PLA is ALWAYS more rigid. PETG is more tough slightly more heat resistant. So think concrete vs steel. Concrete will not bend(much) it just snaps, steel bends before it snaps (if it snaps). We want the least amount of bending possible in every single part.
2 Likes
Ryan,
First of all, I appreciate all the effort you’re putting into this. My reasoning on PETG is because in spring and summer, I’ve seen interior garage temps of 122f at 4’ off the floor. While PLA doesn’t transition at that temp, it’s heading in that direction.
With 100% infill on my corners and feet, I’m hoping to reach equivalent rigidity of PLA at the lower Infill spec’d in the parts table.
So for the core(which should be exposed to the most heat of the entire build) if I were going to stick with PETG, would you suggest upping infill density over perimeters?
Alternatively, would you say go for the CF PETG to improve rigidity with PLA perimeter count and 70/30/70 infill?
1 Like
Earlier a forum member stated that he left a tarp over his MPCNC on a sunny day and melted it. In spite of that, I would still caution you that PETG is not the recommended material for this machine. It’s too pliable compared to PLA. You’re not going to get the mechanical behavior that the MPCNC is designed for.
Take it from me. I ignored some of the advice I was given about my first machine being too large. Low and behold, it had half an inch of flex in the Z direction, which ruined the only workpiece I attempted on it. Some of the guys on this forum are hand-to-god engineers who know how mathematically calculate the mechanical properties of different materials.
And then there’s people like me, who aren’t engineers, but we’re very handy. We’ve learned the hard way to pay attention when given advice here. Someone has tried what you’re doing before and met with failure.
On top of all of that, CF PETG is going to have even more different properties to PLA. The carbon fiber doesn’t mitigate the pliable properties of PETG; it would mask the pliability of the PETG with the stiffness of the CF. You’re still going to have vastly different failure modes if something gets torqued too much. In my experience, trying the Burly corner top clamps with PETG, they kind of squished out around the screws instead of fully failing, leading to a loose conduit despite the fasteners cranked all the way.
If I were you, I’d start a new topic about CF PETG vs PLA to try to get more specific attention. I’m sure some of the old-timers of this forum will tell you what problems you’ll be up against, from both personal experience and from an engineering point of view.
4 Likes
And thus ultimately the reason why I chose to buy PLA parts instead of printing my own parts. Turned out to be a good thing anyway when my 3d printer committed seppuku. The irony now is that in the process of fixing the printer that I exclusively use PETg with, I ended up fixing (Or at least getting the parts for, they’re both still down right now) the one that does PLA.
I understand the need or want to use other materials. I do, I want to use other things as well. But the machine is really getting pushed to it’s limits and every tiny bit helps. The max size used to be 24" footprint, these days that is about as small as people build them and complain about it like that is a small CNC…
Can you make infill and perimeter tweaks to get close, maybe, kinda sorta. I just know we tested these parts and I spent a lot of time getting them right. There is no magic formula or program that is easy enough or cheap enough to use that can spit out useful loading and failure specs on printed parts. So I can’t just plug things in and say you need 67.4% infill. I can tell you it is a pretty easy test to make something like a core clamp as speced in PLA and print one in petg and you should feel easily by hand the difference. It is not a subtle thing petg feels like rubber in comparison. As a matter of fact so does PLA+.
All that long winded boils down to what you are actually going to do. Are you building a 8"x8" machine to cut signs? In that case PETG makes zero difference.
I just have to stick my nose in and lay down some caution every time this gets mentioned. In the end it is the MPCNC that gets the bad rap if you have a poor experience, no one cares if you built it 12’x12’ out of ABS, they hear “My MPCNC sucked” and that is the end of that. So I tend to be a little over protective.
8 Likes
For the most part you shouldn’t be able to flex any of the parts by hand. Unless you’re one of those freaks of nature that can fold a quarter with their fingers. You might be able to move it a little bit, but I could close the petg z clamps with two fingers. Since they were so thin, they were 100% infill. For high stiffness and high temperature tolerance you’d need something like asa or hips. Neither of those plastics are fun to print though. So we settle for pla and just know not to let it get too hot, or have the ability to reprint parts that go bad. So far the only machine I’ve seen warp with heat was kept in a greenhouse. Ryan is in Cali and I’m pretty sure his garage isn’t air conditioned.
1 Like