I actually did this upon reassembly and was able to eliminate about that much error. As far as I can tell it’s pretty damn square now.
I did just that. The X and Y values are spot on, but still it is off in the diagonal. I really don’t get it. -_- I might try it again tomorrow.
Parallelogram. XY are equal, you might have to shift both corners over a smidge…depending on how much accuracy you really need. As I said within 1mm on a normal sized build is pretty good.
If the rails are parallel with each other, and perpendicular to the other axis, the diagonals don’t matter. Sure, you lose some working space, and it’s a bit of a pain to find where to set your stops for a square start, but having the diagonals equal is by no means a hard requirement.
And yes, I know it’s easier to get three pairs of matching measurements than to ensure perpendicular rails… Just making a point. And sitting in the dark.
How do you have two sets of parallel pairs perpendicular to each other and have the diagonals NOT equal? Or is that what you mean by ‘they don’t matter’?
Right… Was typing ahead of my brain. The outer rails don’t need to be perpendicular. The gantry rails do… Or at least have to be able to get perpendicular.
Ooooooooooohhhhhhh, that makes more sense. Of course, if the gantry rails are perpendicular to each other, but not parallel to the outer rails, setting up a piece of square stock becomes a chore. Guess how I know, lol.
Thanks. I think it’s a rather large build with a working area of 550x750mm. I think I will try to shift both corners half a mm, then it should work.
/edit: I am down to 0.4mm difference now after one hour of moving feet around. It was indeed a parallelogram by half a milimeter it seems and one foot was rotated by a tiny bit. Not touching that ever again. 
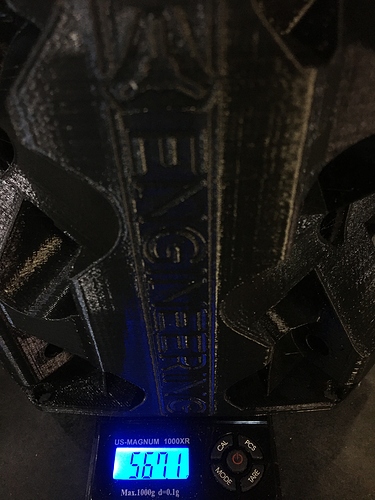
Core @ 116.3%
.24mm layer height, .4mm nozzle, 4 perimeters, 50% rectilinear infill. 49hr print time. No issues.
Extensively tested the new roll of filament and the new all metal hotend with a 5 minute print of the wire darryl before the massive core print 
I m not nearly finished printing all the parts but tried to pop the bearings into my core today, just to see if they fit.
And I didn t get them in there yet. It feels really tight. I gave them a few light taps but they would not pop in. Maybe I am just too afraid to break my precious core 
Anyone else with the same problem? Should I just apply more force? It really feels like I might break something or strip these little bumps in the gap.
I measured some dimensions and they seem to be accurate. The M8 screws sit also tight in their holes but they fit.
Smack em in.
Alright they are in. Thank you Ryan for the fast reply!!
Took a lot more force than I expected but looking good now
We’re getting close to a t shirt design with the 90s favorite, “Everything I need to know about life, I learned from… V1Engineering” shirts.
Have we decided which route we are going to take with the 23.5? Have a couple jobs I’ve quoted waiting on building my mpcnc.( I have two 300x180 mm machines from another vendor.). Just wondering if I should build a burly, (will a primo kit work with burly?)
No.
Changing the Z to 3/4" EMT and leaving the rest doesn’t help. I have a solution to make the full 23.5mm work but I am not real happy about it yet. Using all the same sized bolts adds a constraint the previous versions did not have.
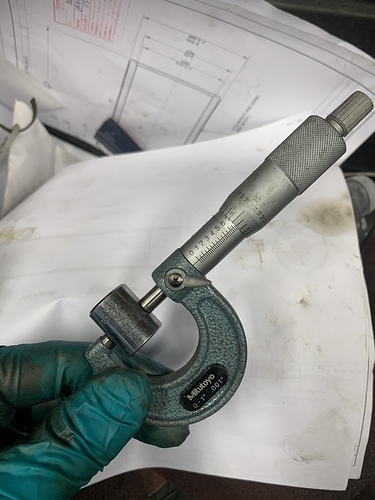
Can I get some numbers from a bunch of you. OD of your 1/2" sockets, or 13mm (for the 8mm people).
If I can squeeze down the gantry clamps a bit the C version is real close. I left extra room from my socket sizes but I want to check. I have it set for 20mm clearance, but my sockets are all smaller.
1/2" - 18.43mm OD
13mm - 18.29mm OD
3/8 drive 1/2" 18.35
3/8 drive 1/2" 18.15
1/4 drive 1/2" 17.6
3/8 drive 13mm 18.25
3/8 drive 13mm 18.25
1/4 drive 13mm 17.6
Craftsman 3/8 drive 1/2 socket 18.4 mm

