Hi everyone, first time poster. Just finished building my Lowrider V2 and think it’s super cool, been having fun with the build, just have a few issues that I can’t seem to figure out, as I’m new to the CNC world.
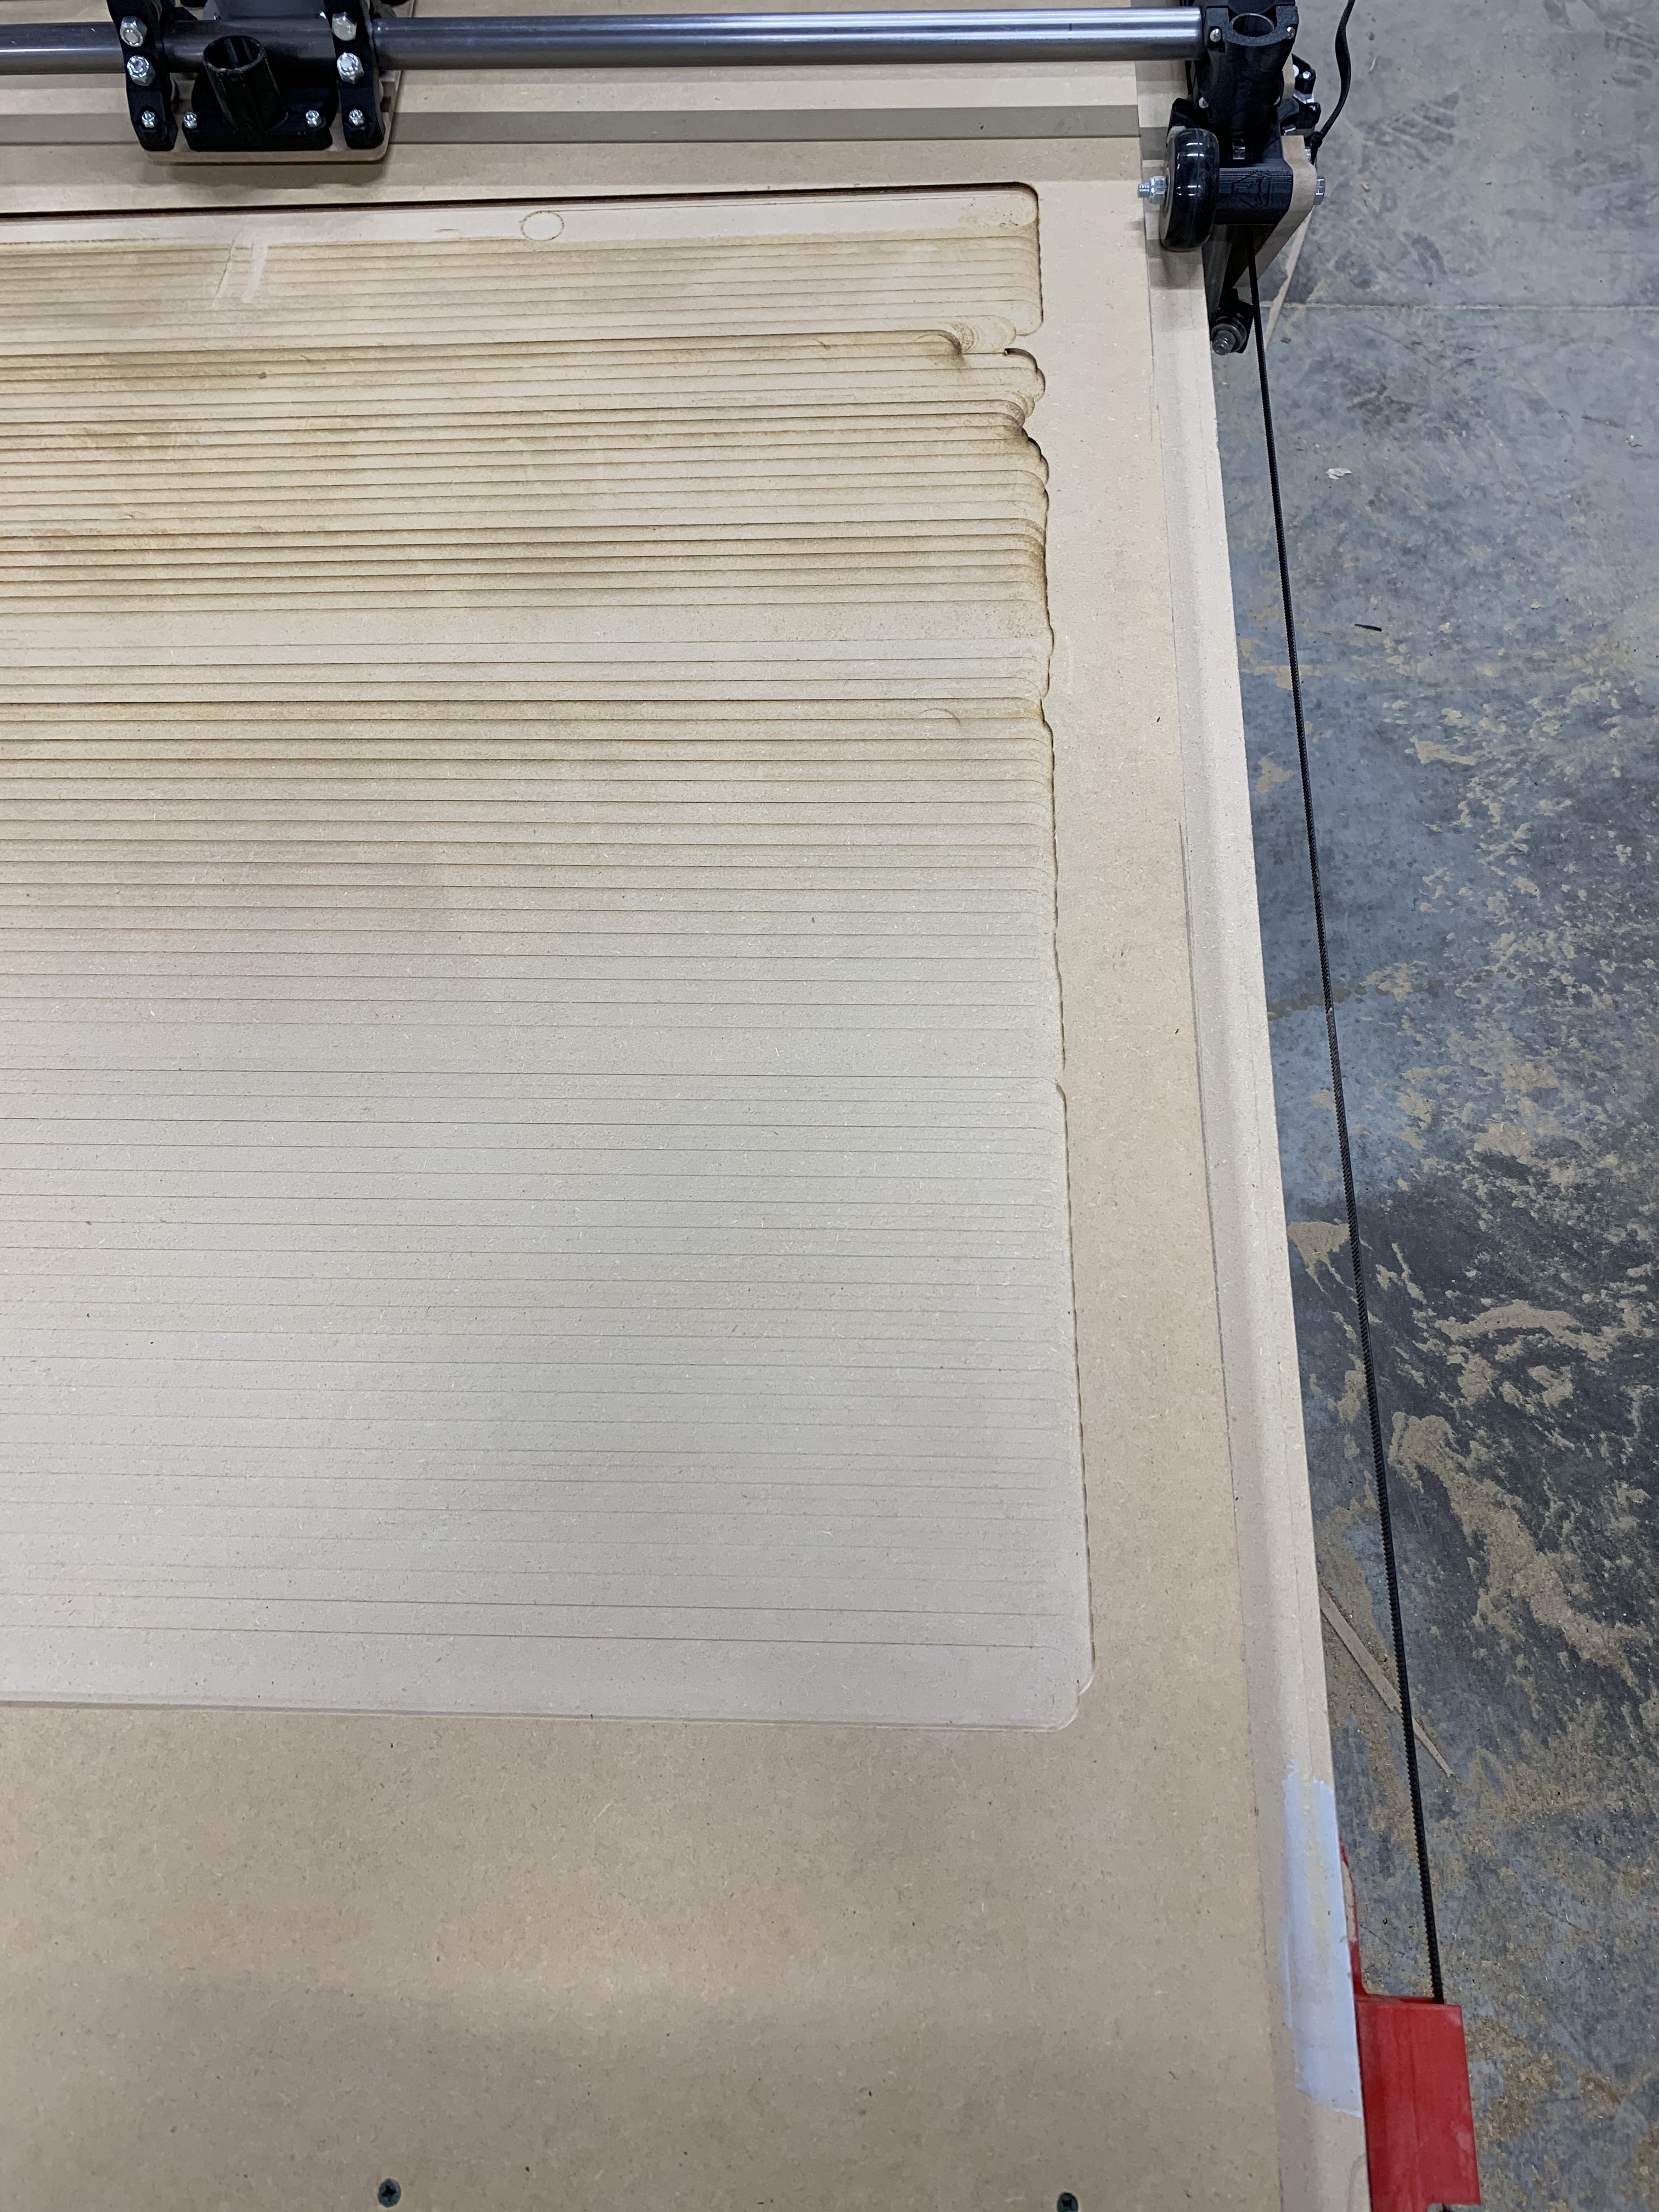
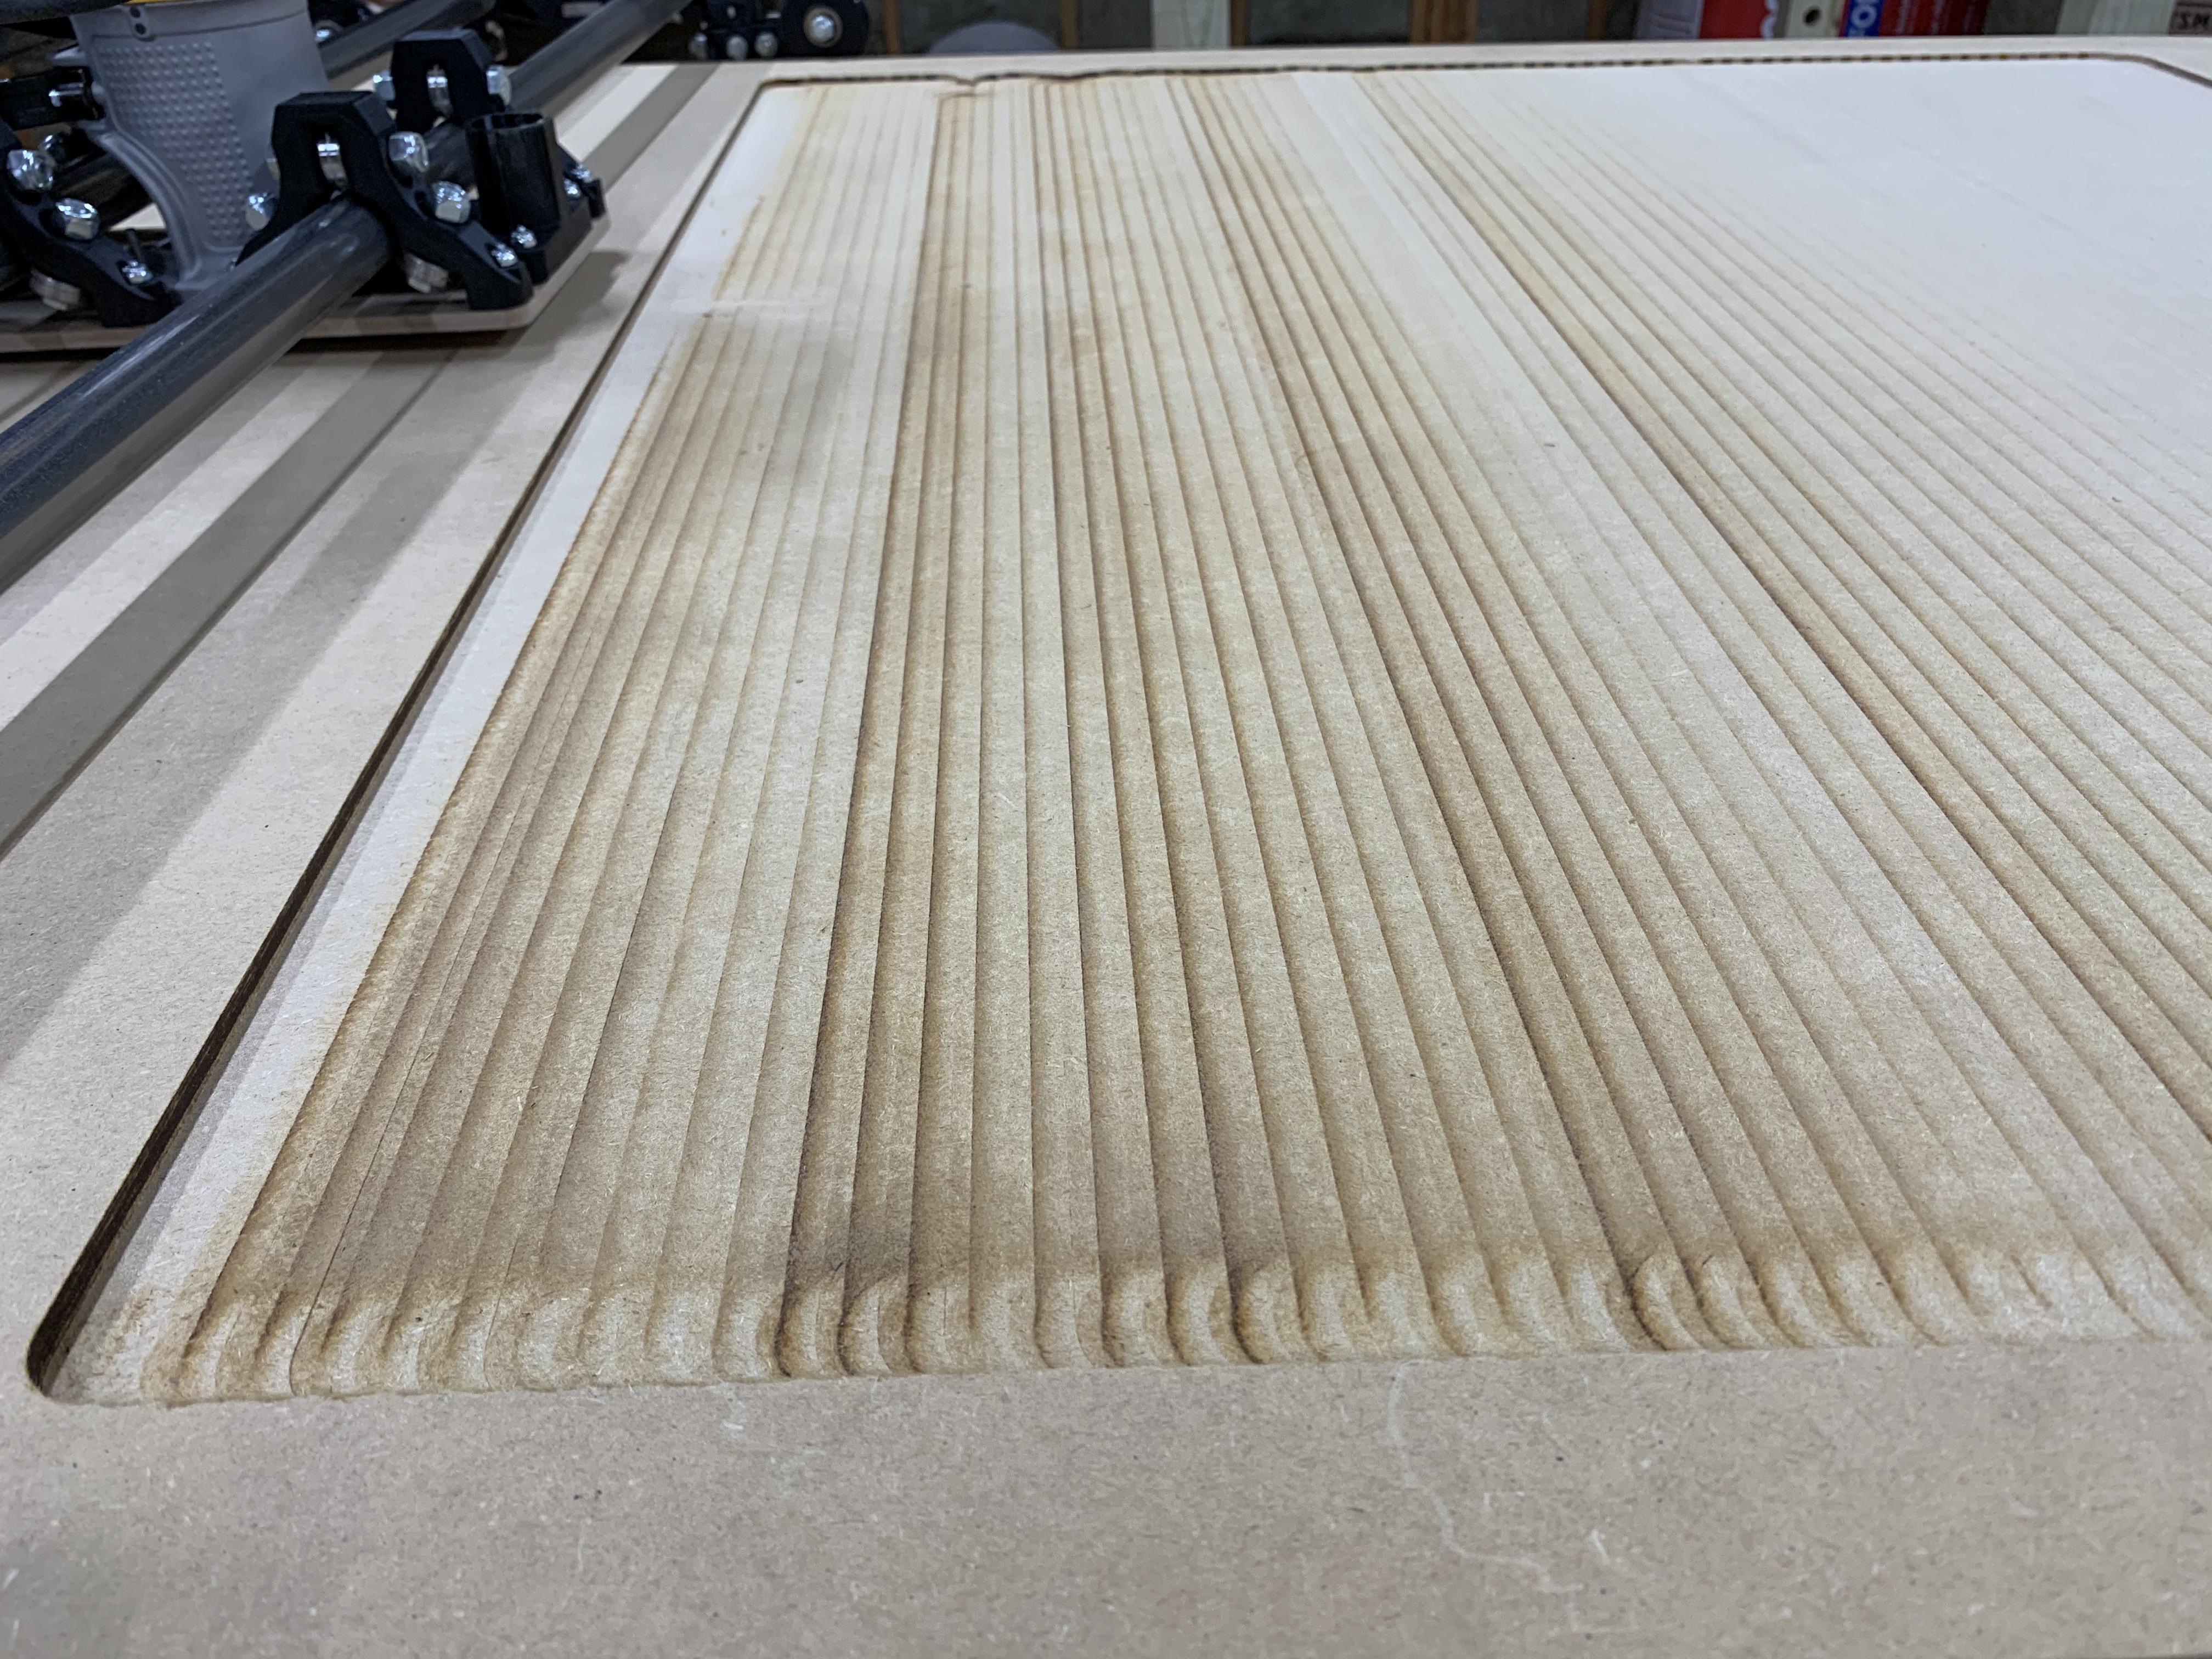
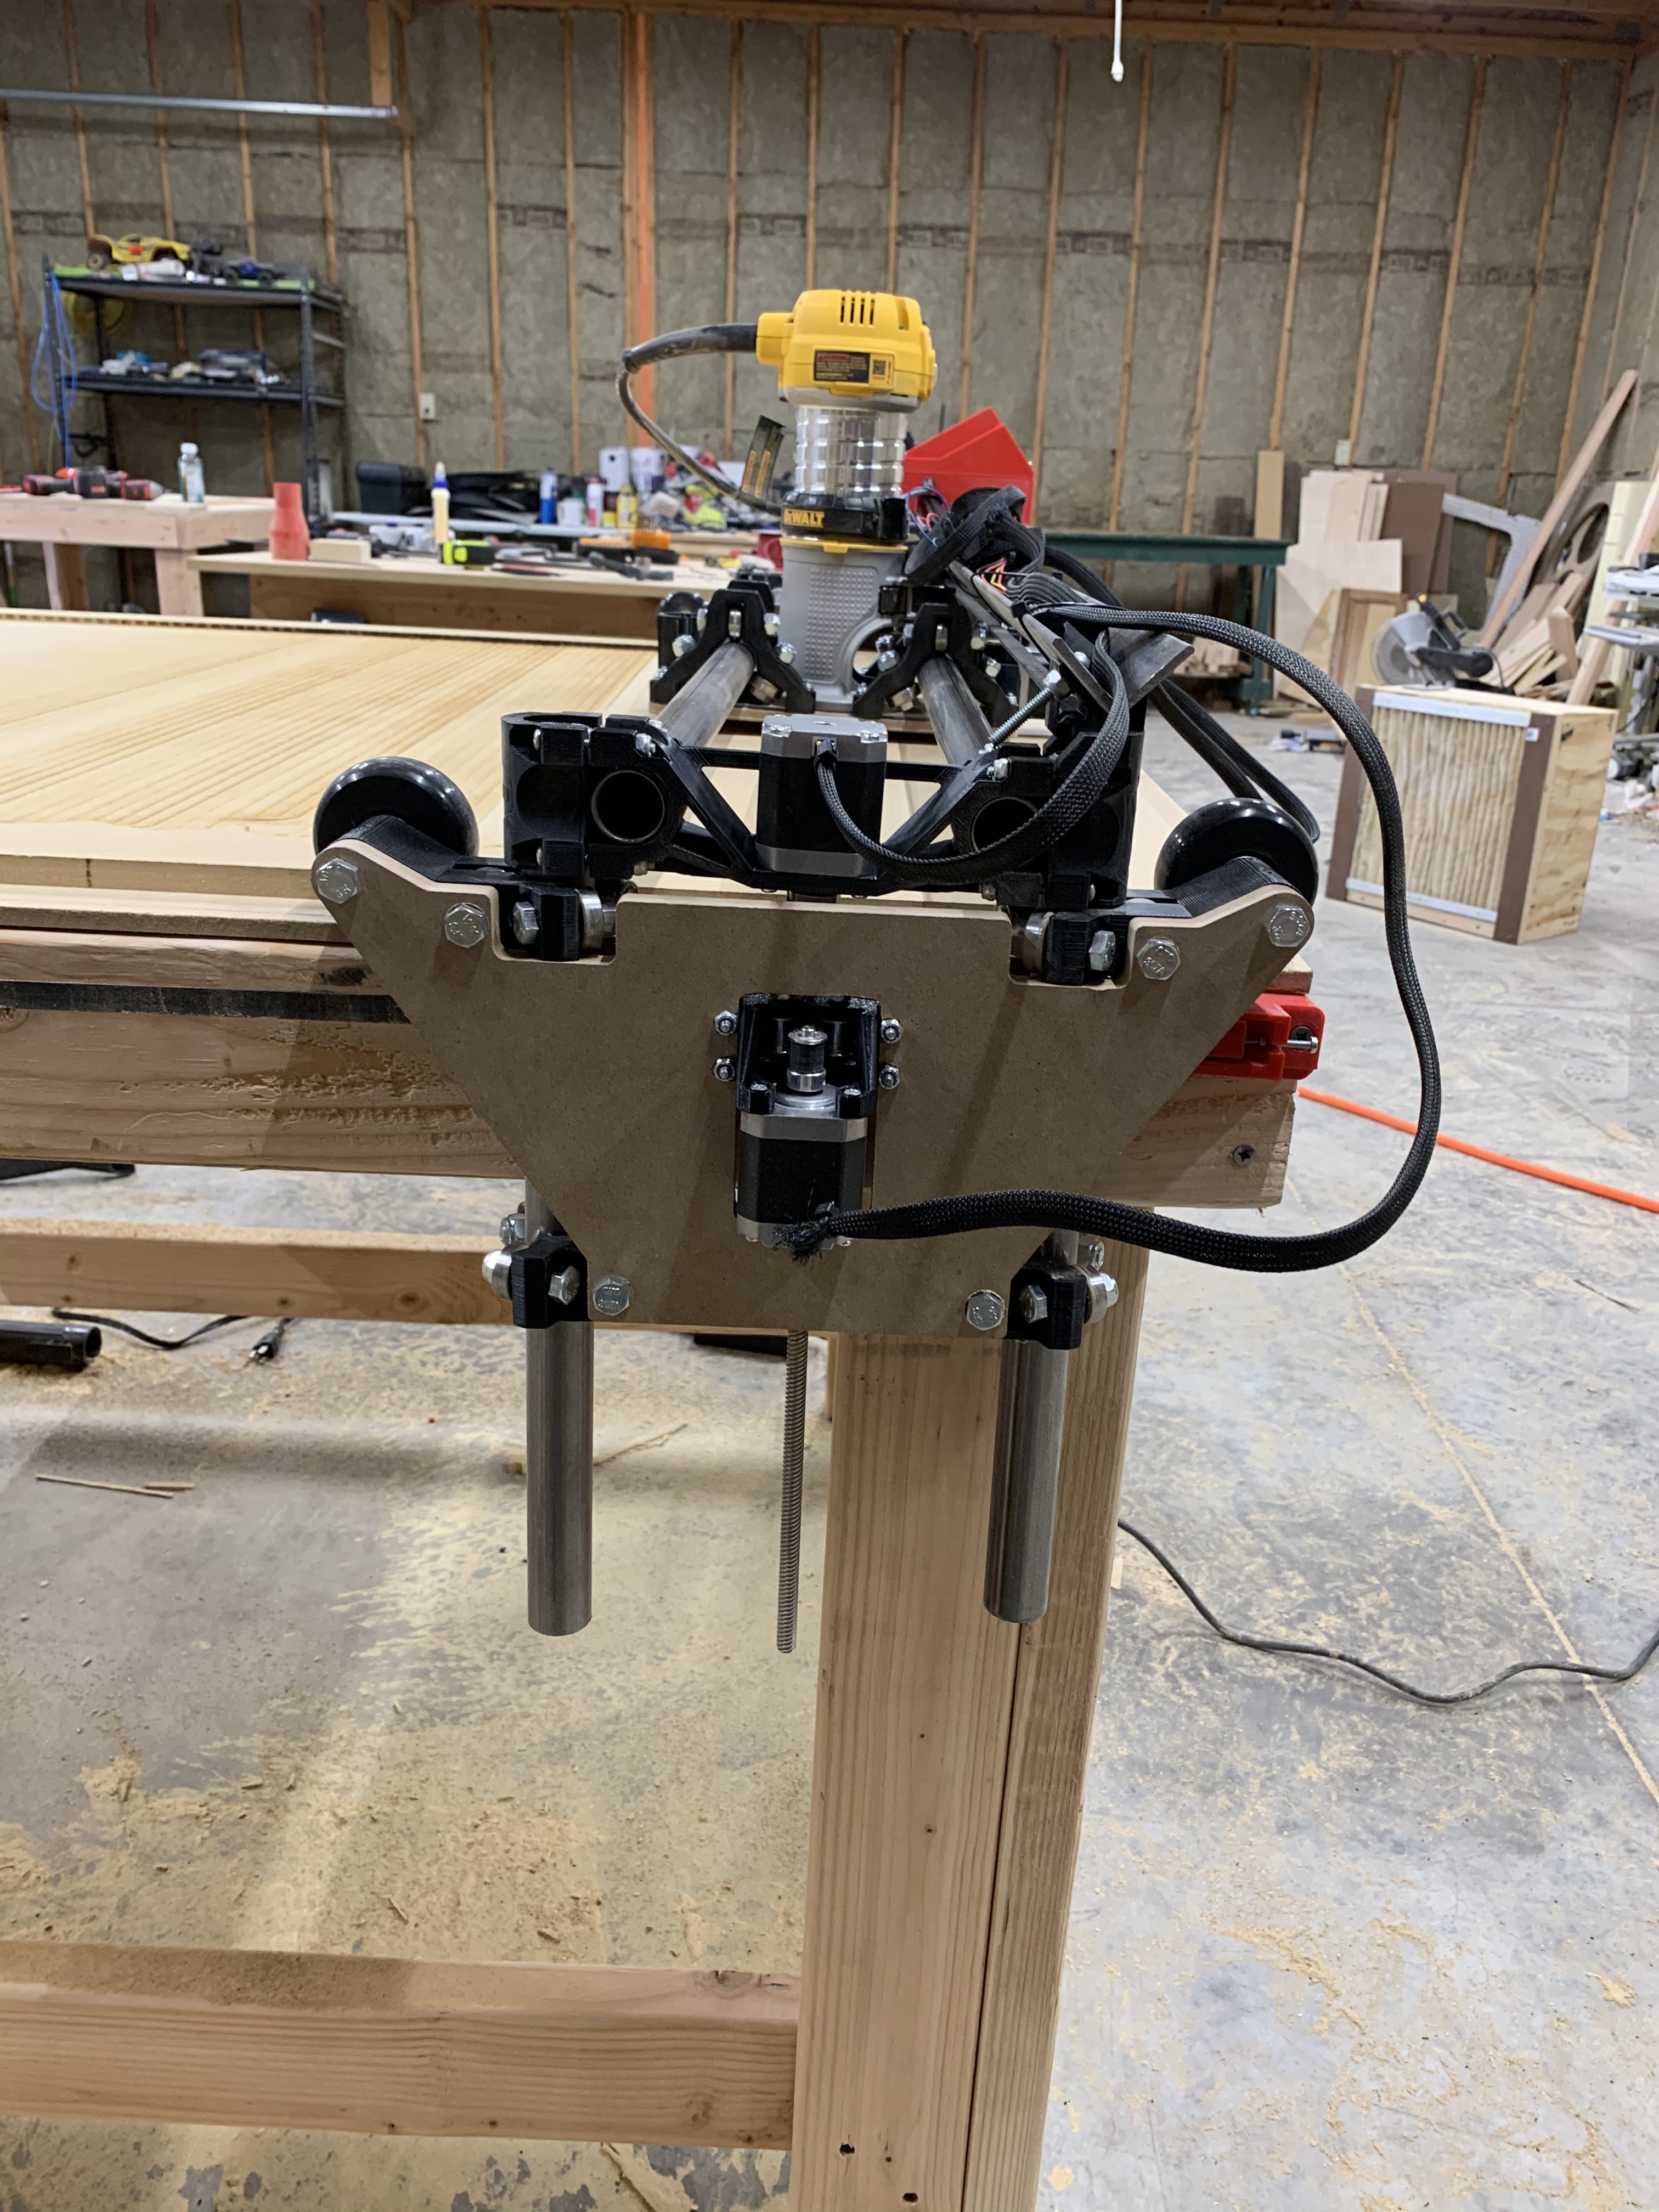
I went to work resurfacing my spoilboard using a gcode generator that took my table dimensions into account and gave me gcode to run. My results were somewhat atypical of what I expected. As you’ll see in the photos, my Y axis cut line has some inconsistencies that started about 50% through the job. I’ve also got a couple issues with my Z axis, in that one side sits lower than the other, both front to back and side to side. I’ll be attaching photos that show this as well.
I’ve spent a few hours perusing the Lowrider topics on here and have seemingly improved the situation but would appreciate some assistance in getting it squared away so I can cut some jobs on this baby! I’m open and willing to any troubleshooting suggestions and will be in the garage today, checking back for replies. Thanks in advance!
1 Like
I had what looks to be the same thing happen to me. It was a combination of the Y-Plate cut quality and tension bolts being too tight/loose. Amongst other things. Suffice it to say that I’ve rebuilt my LowRider more than once.
Please provide some of the specifications for the CAM settings. Feeds/Speeds, Depth of Cut, Bit size/type, etc.
Hey there,
My Y plates were milled by Ryan and purchased with the kit. I have been fiddling with the tensions bolts a lot so I would not be surprised in the least if they were part (or all) of the issue.
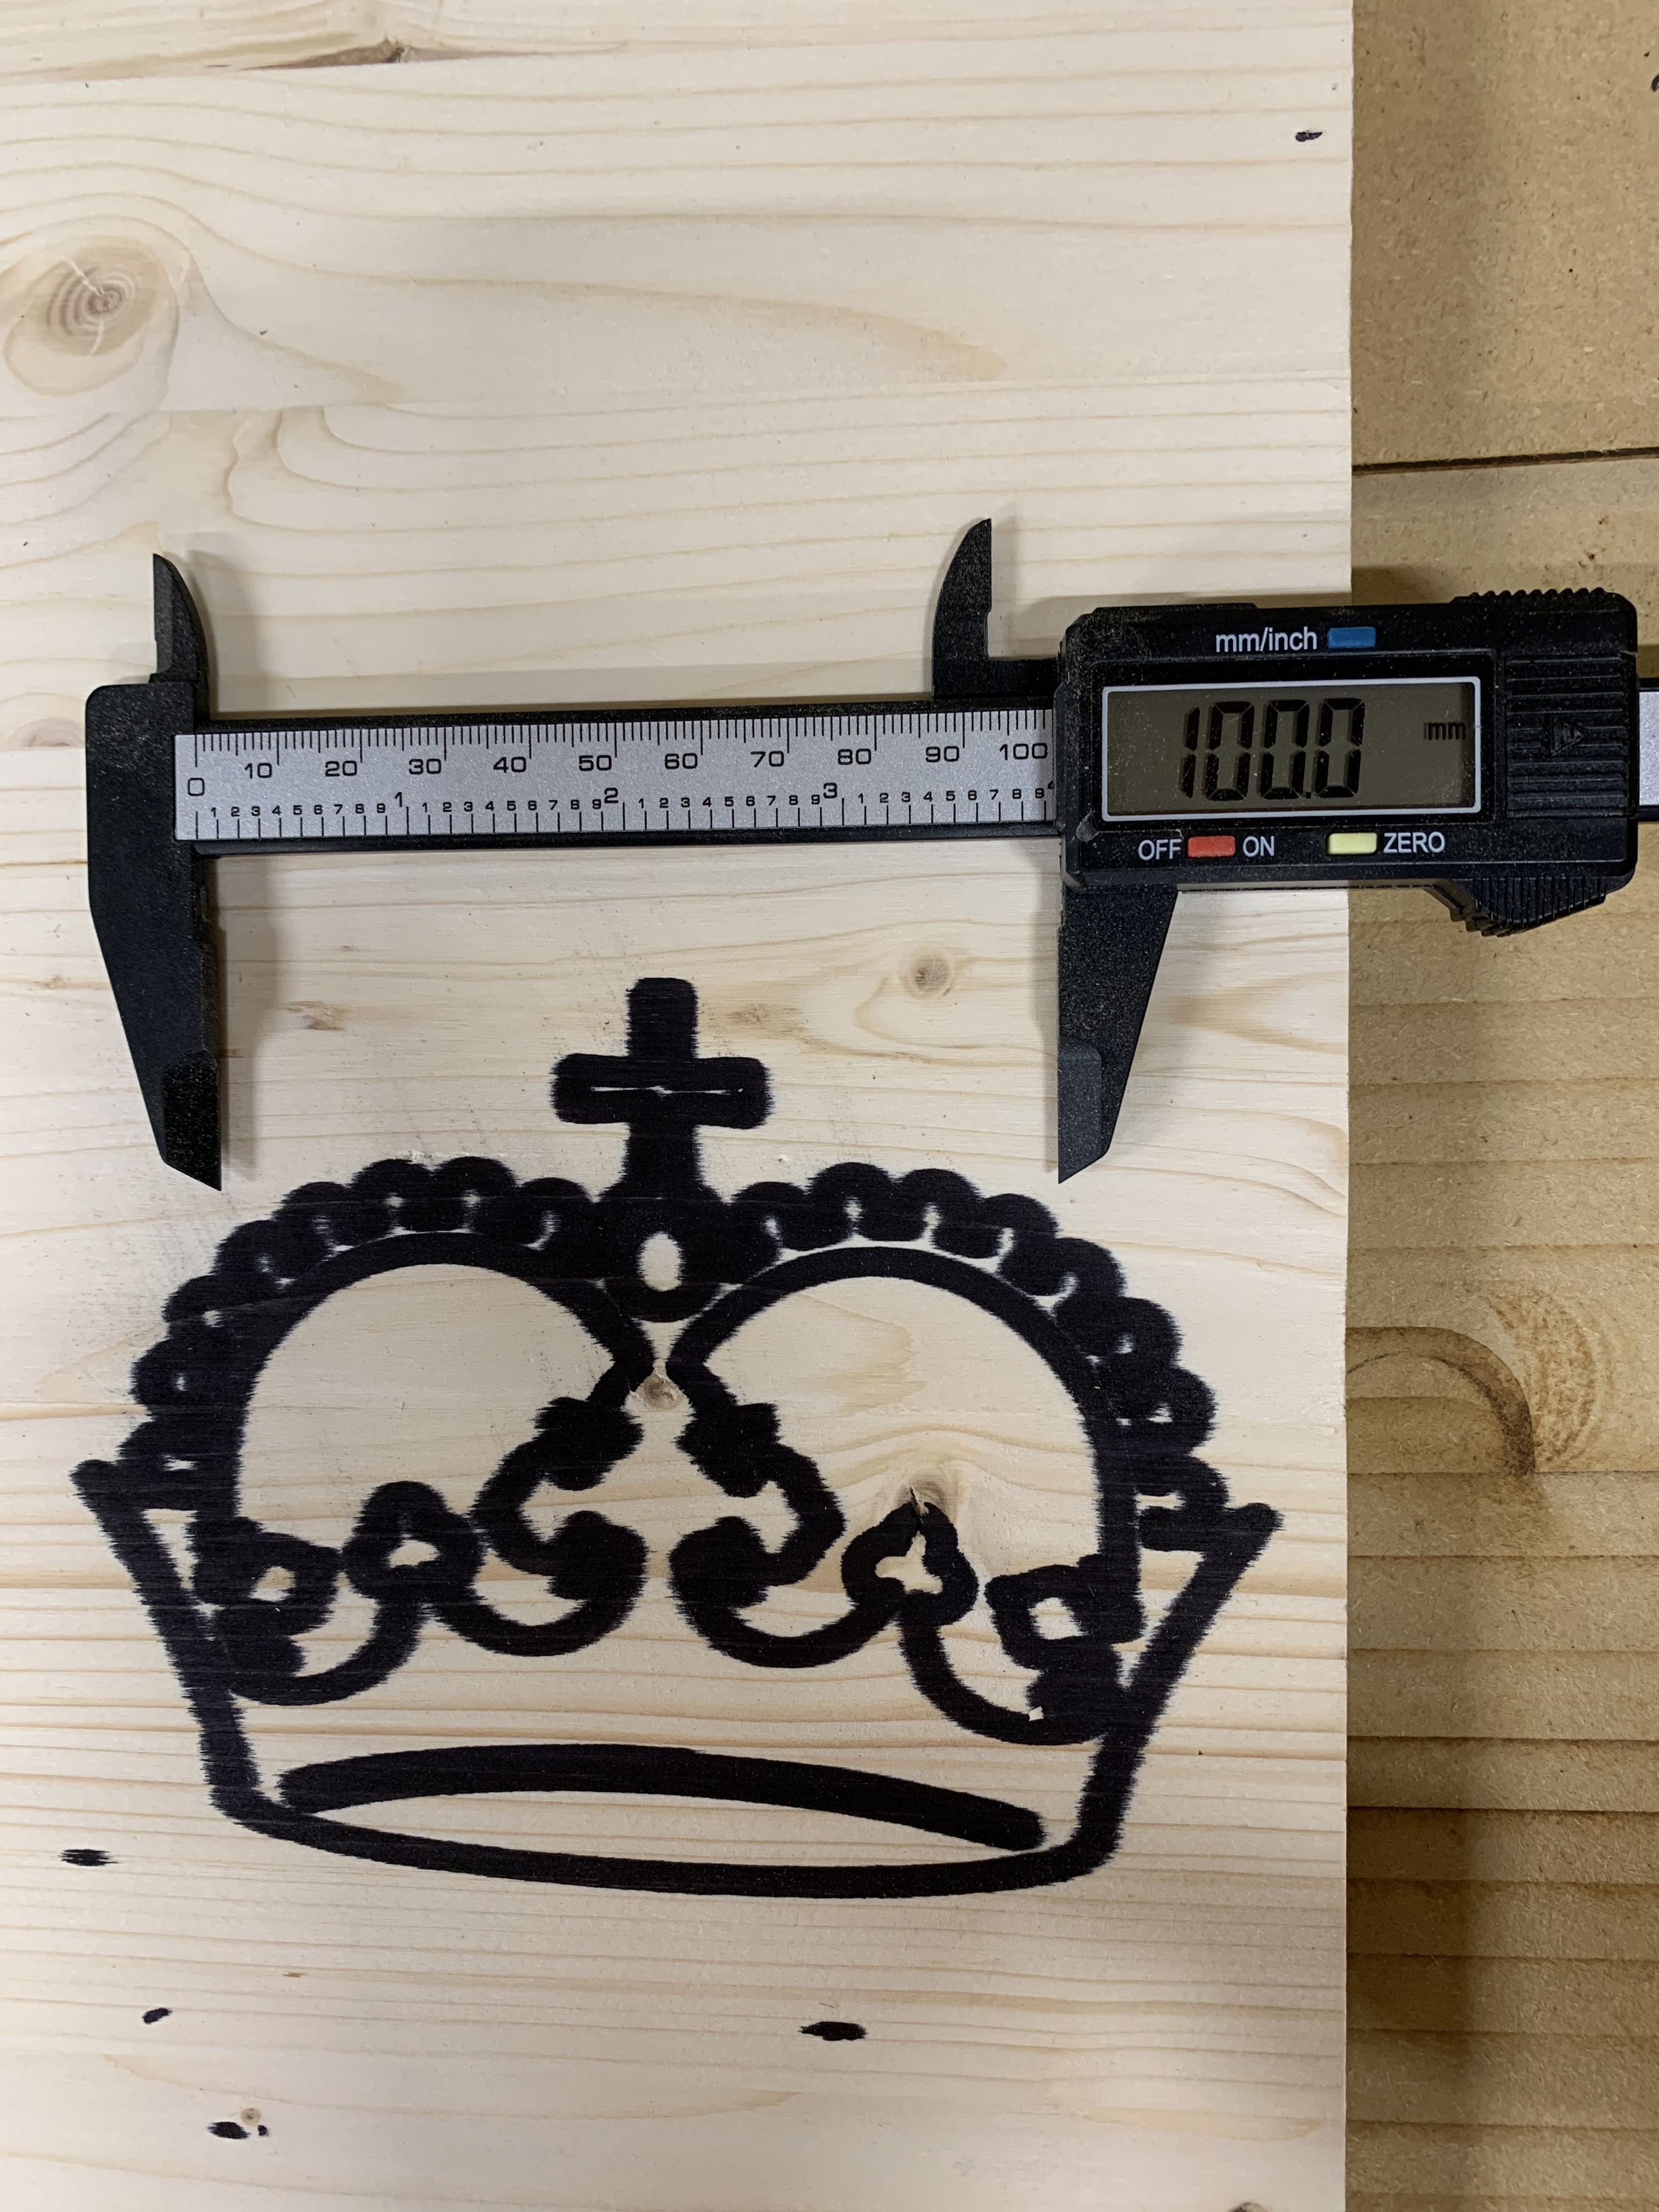
My resurfacing CAM settings you asked for are as follows: feed speed was 500 mm/min, depth of cut was 1.5mm, the bit size is 23.8mm. I’m attaching a photo of it. It’s a 3 flute surfacing bit.
I’ve got a crown test as well if that helps. The marker bled but it looks to my untrained eye like it did a good job with it.
1 Like
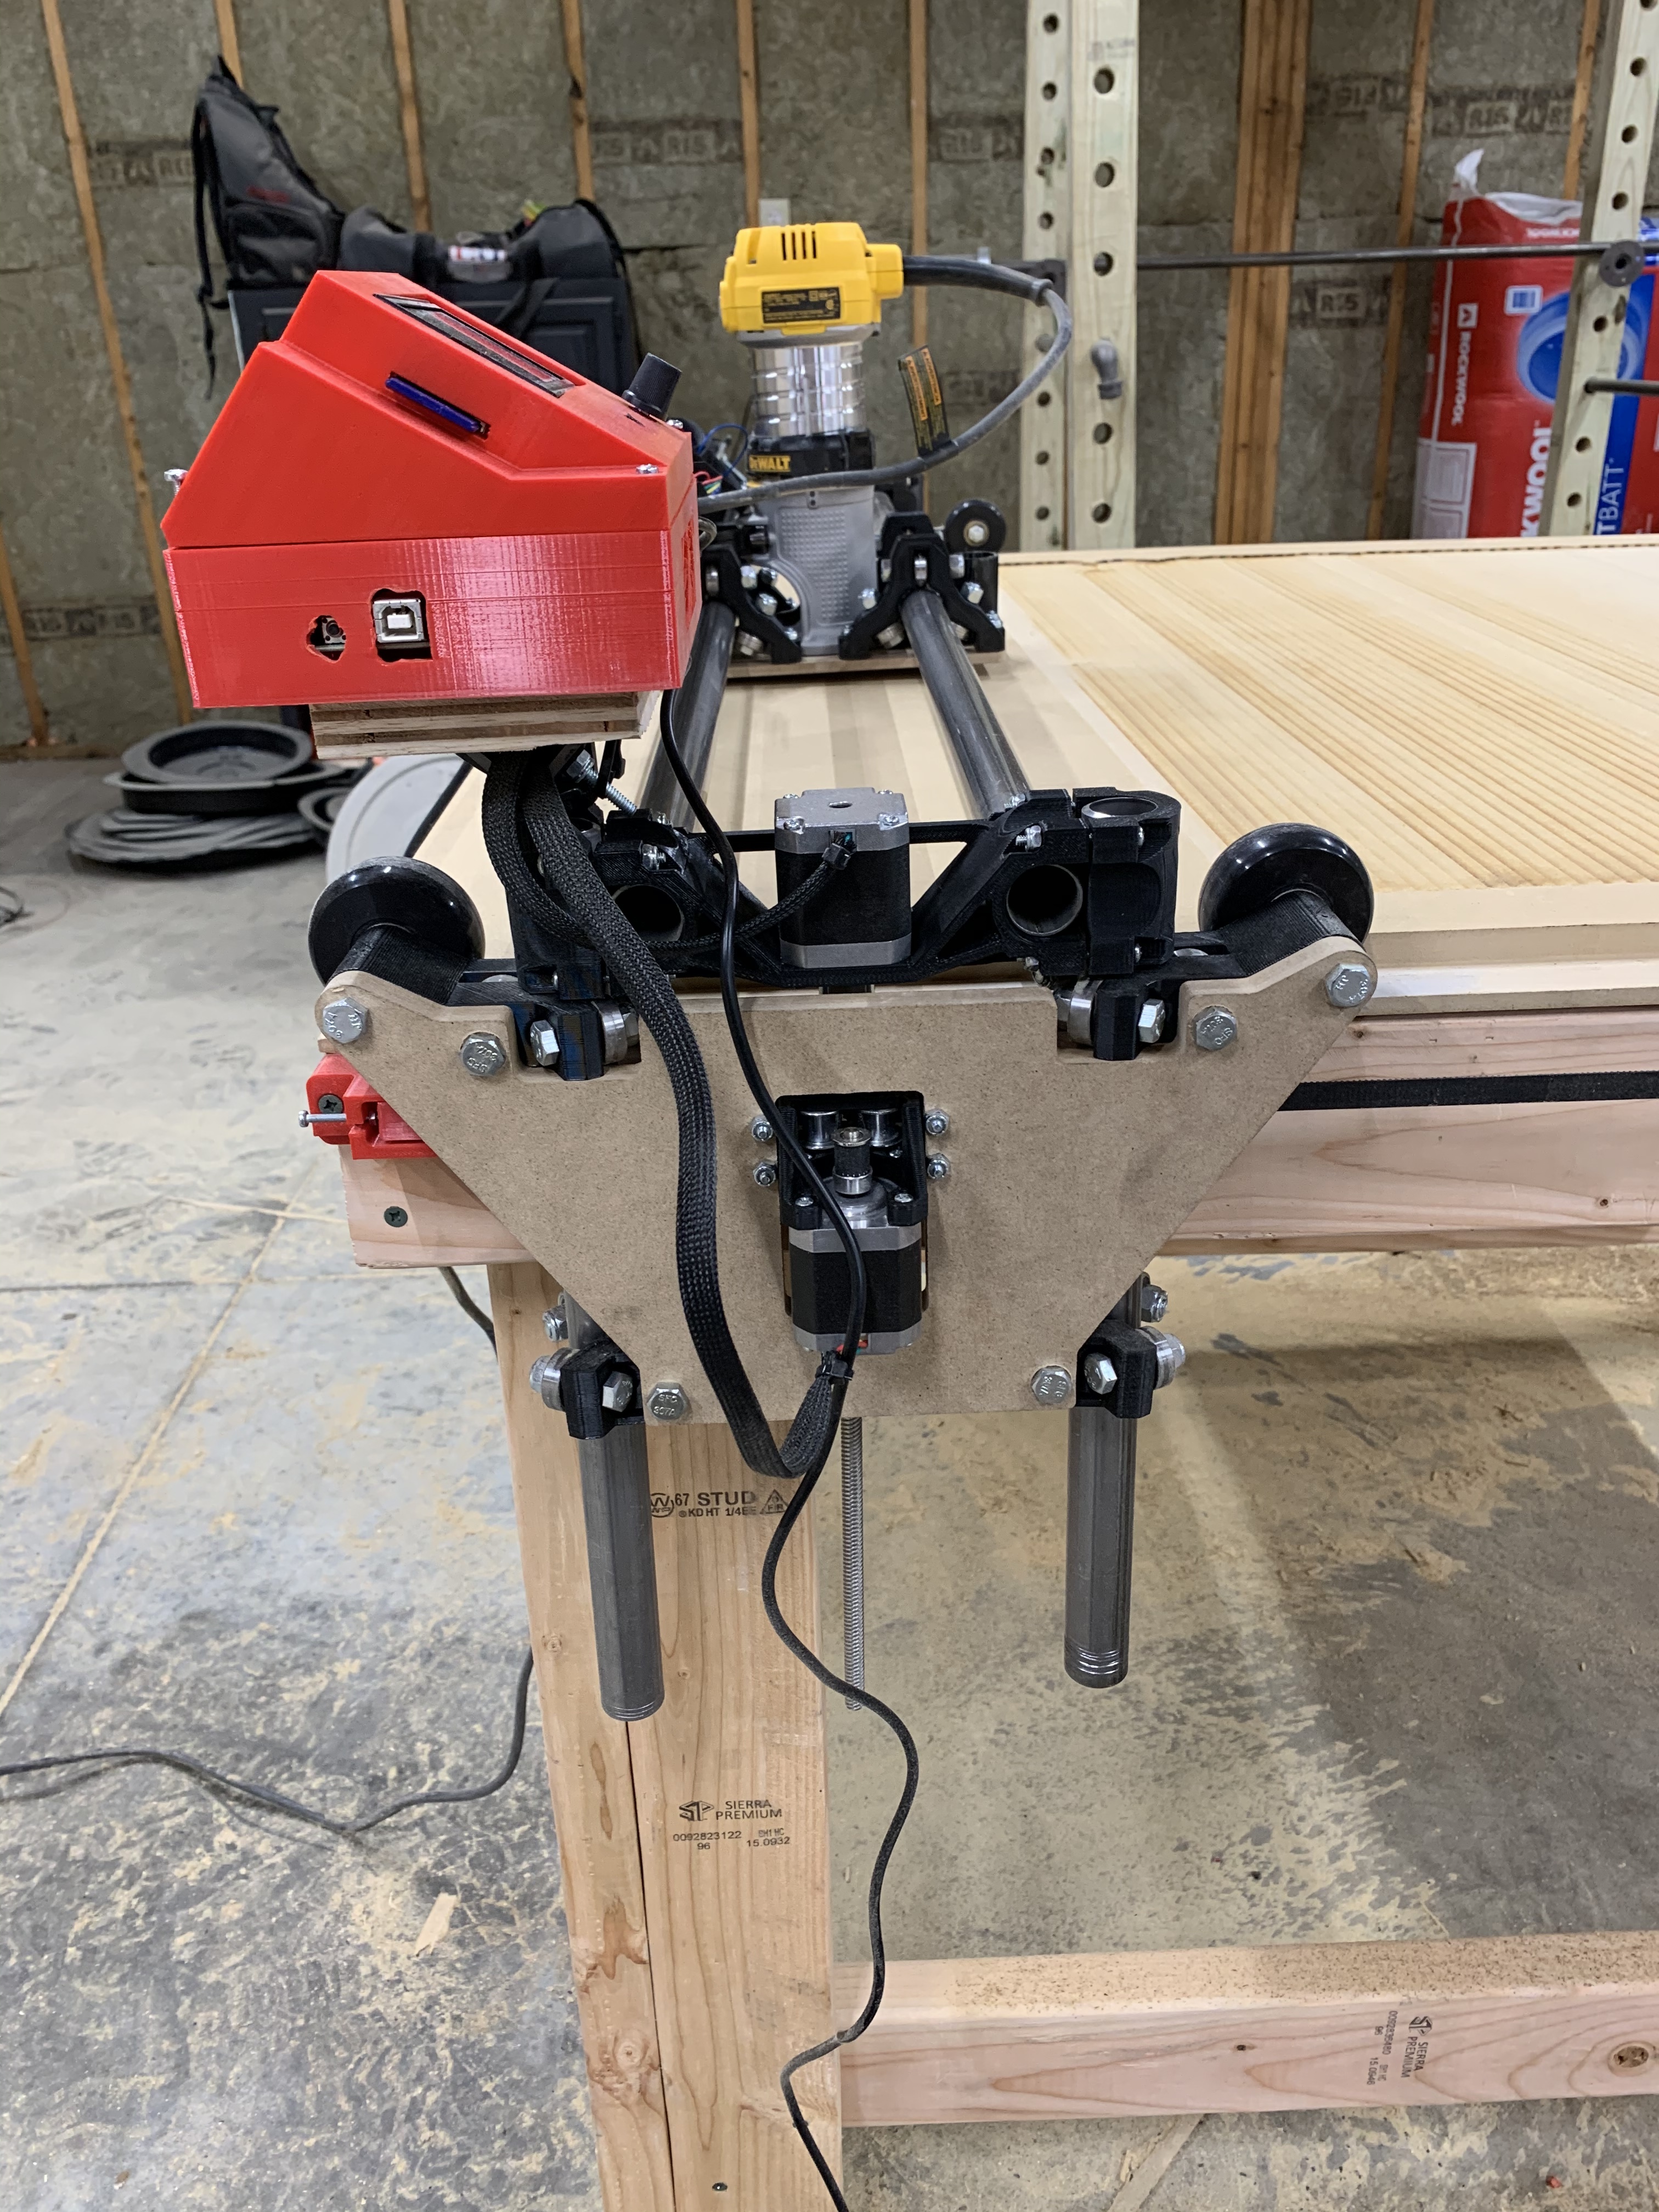
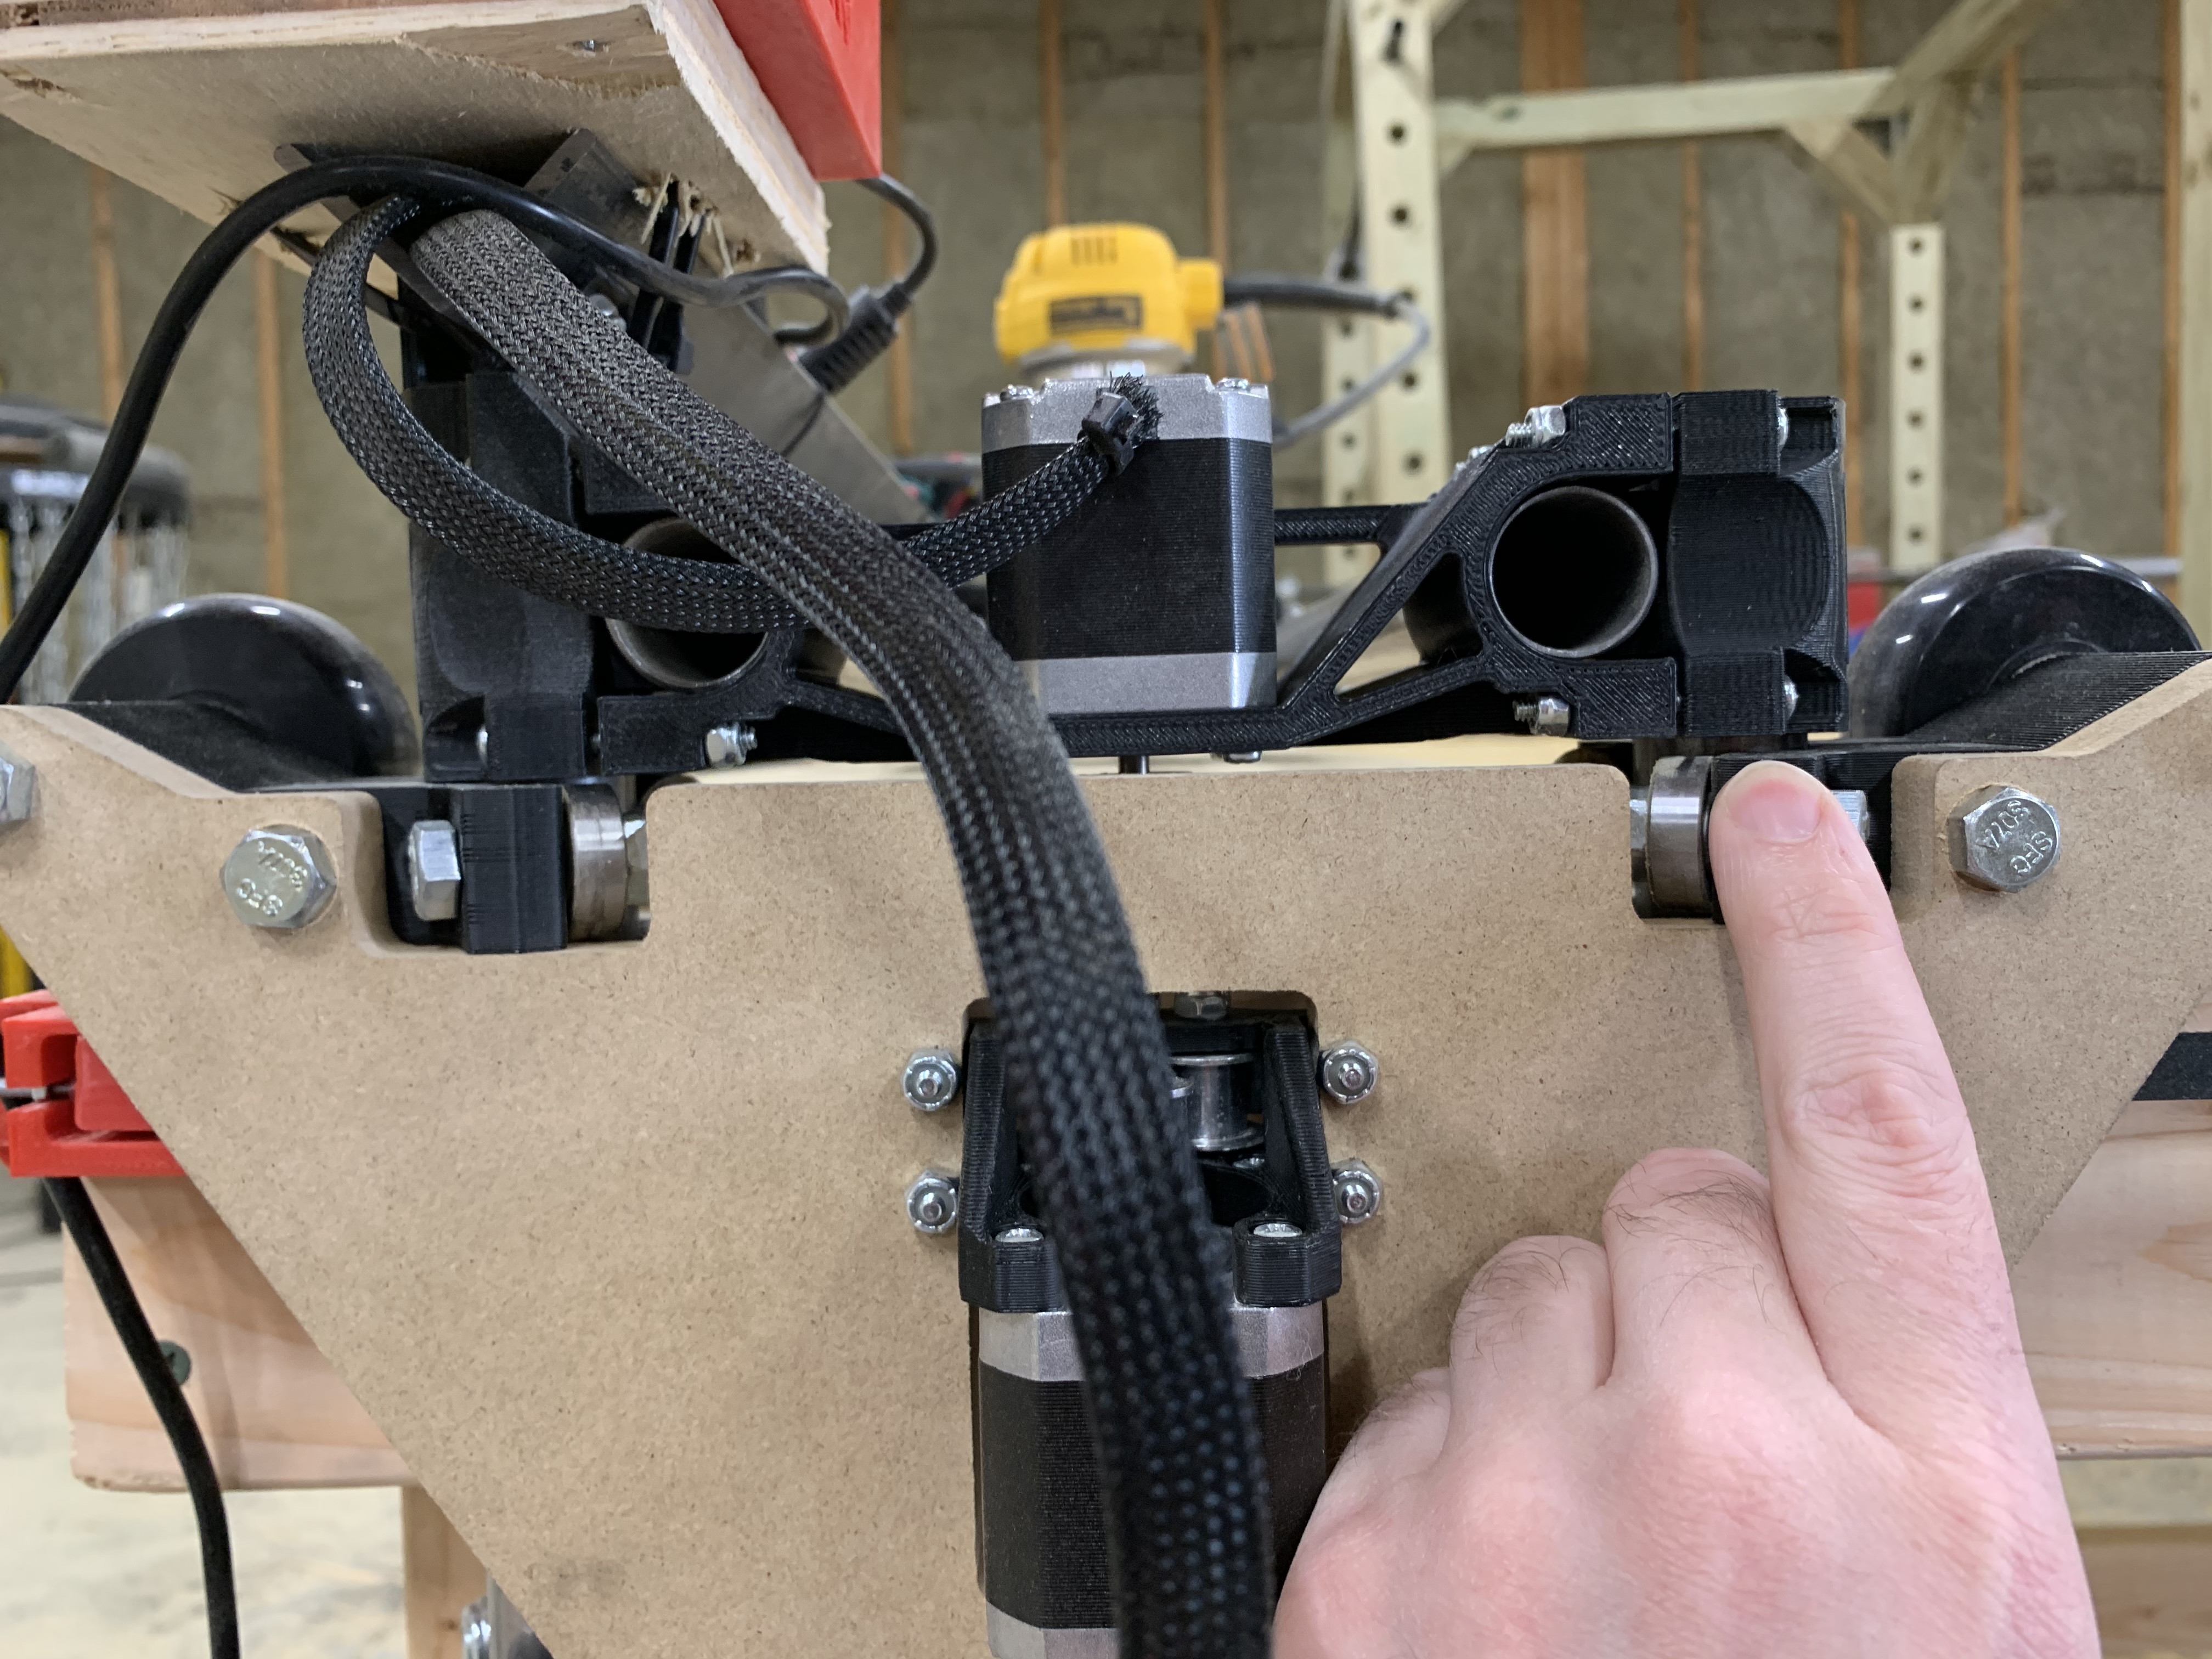
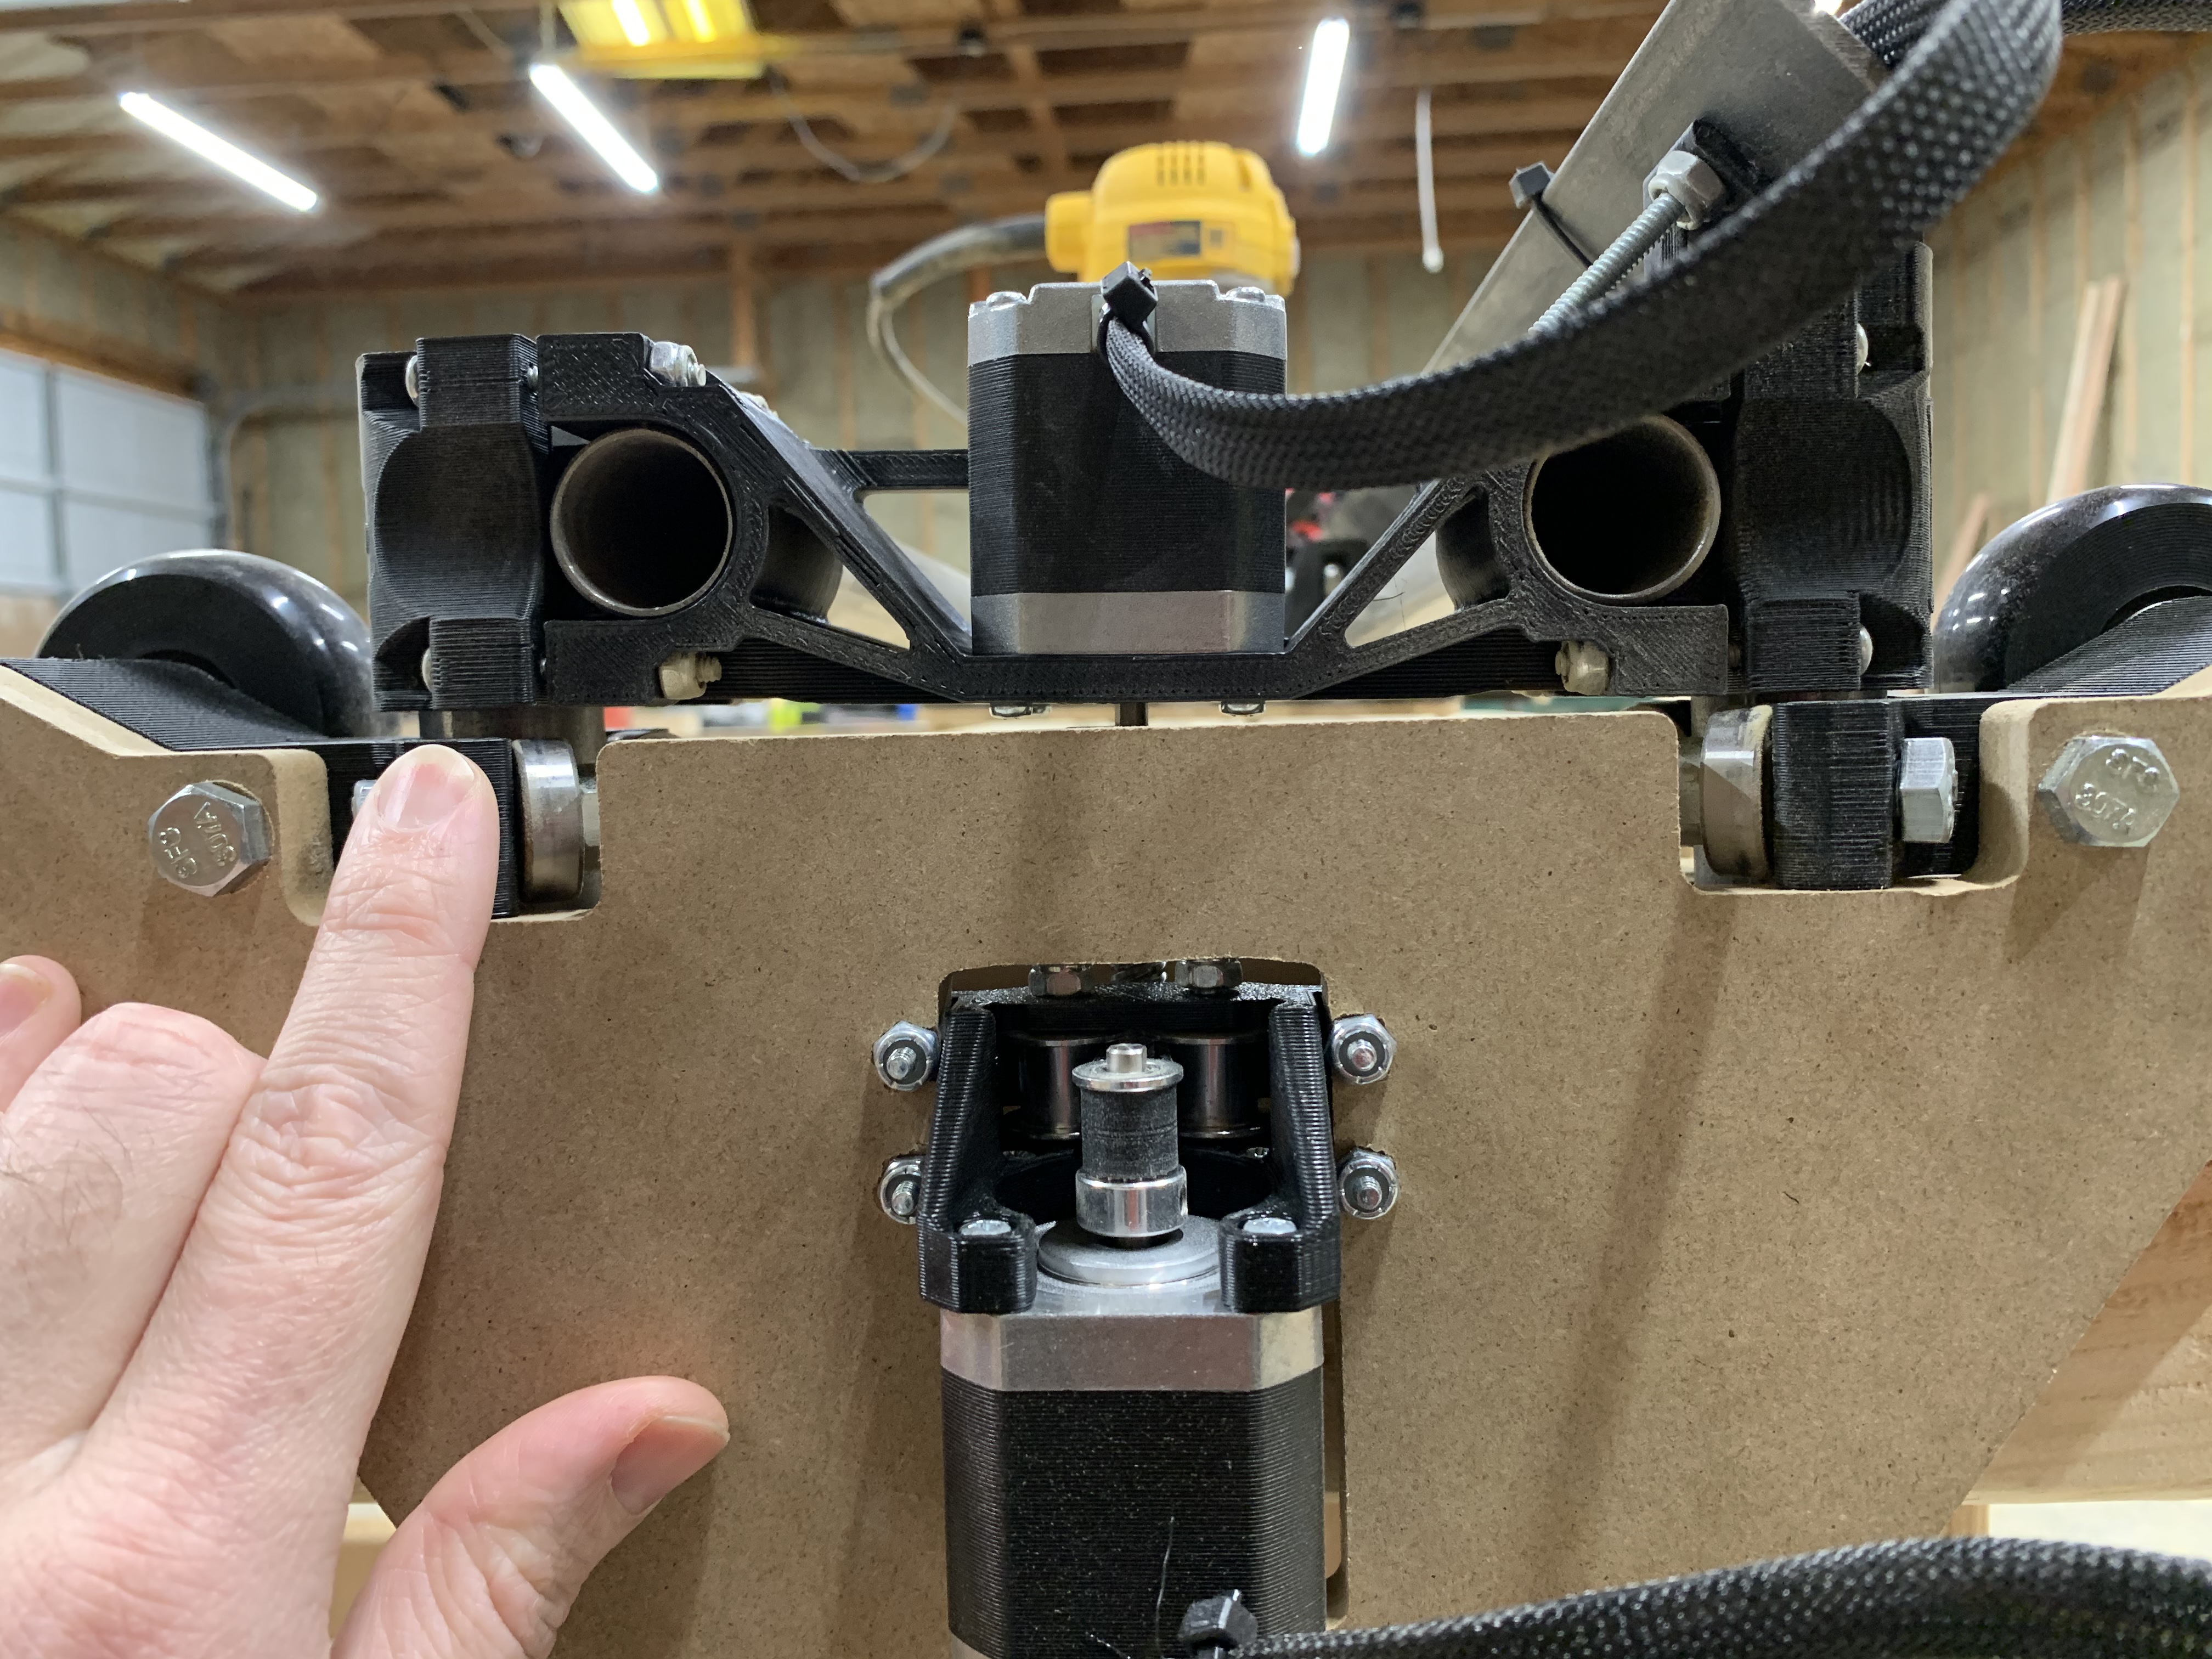
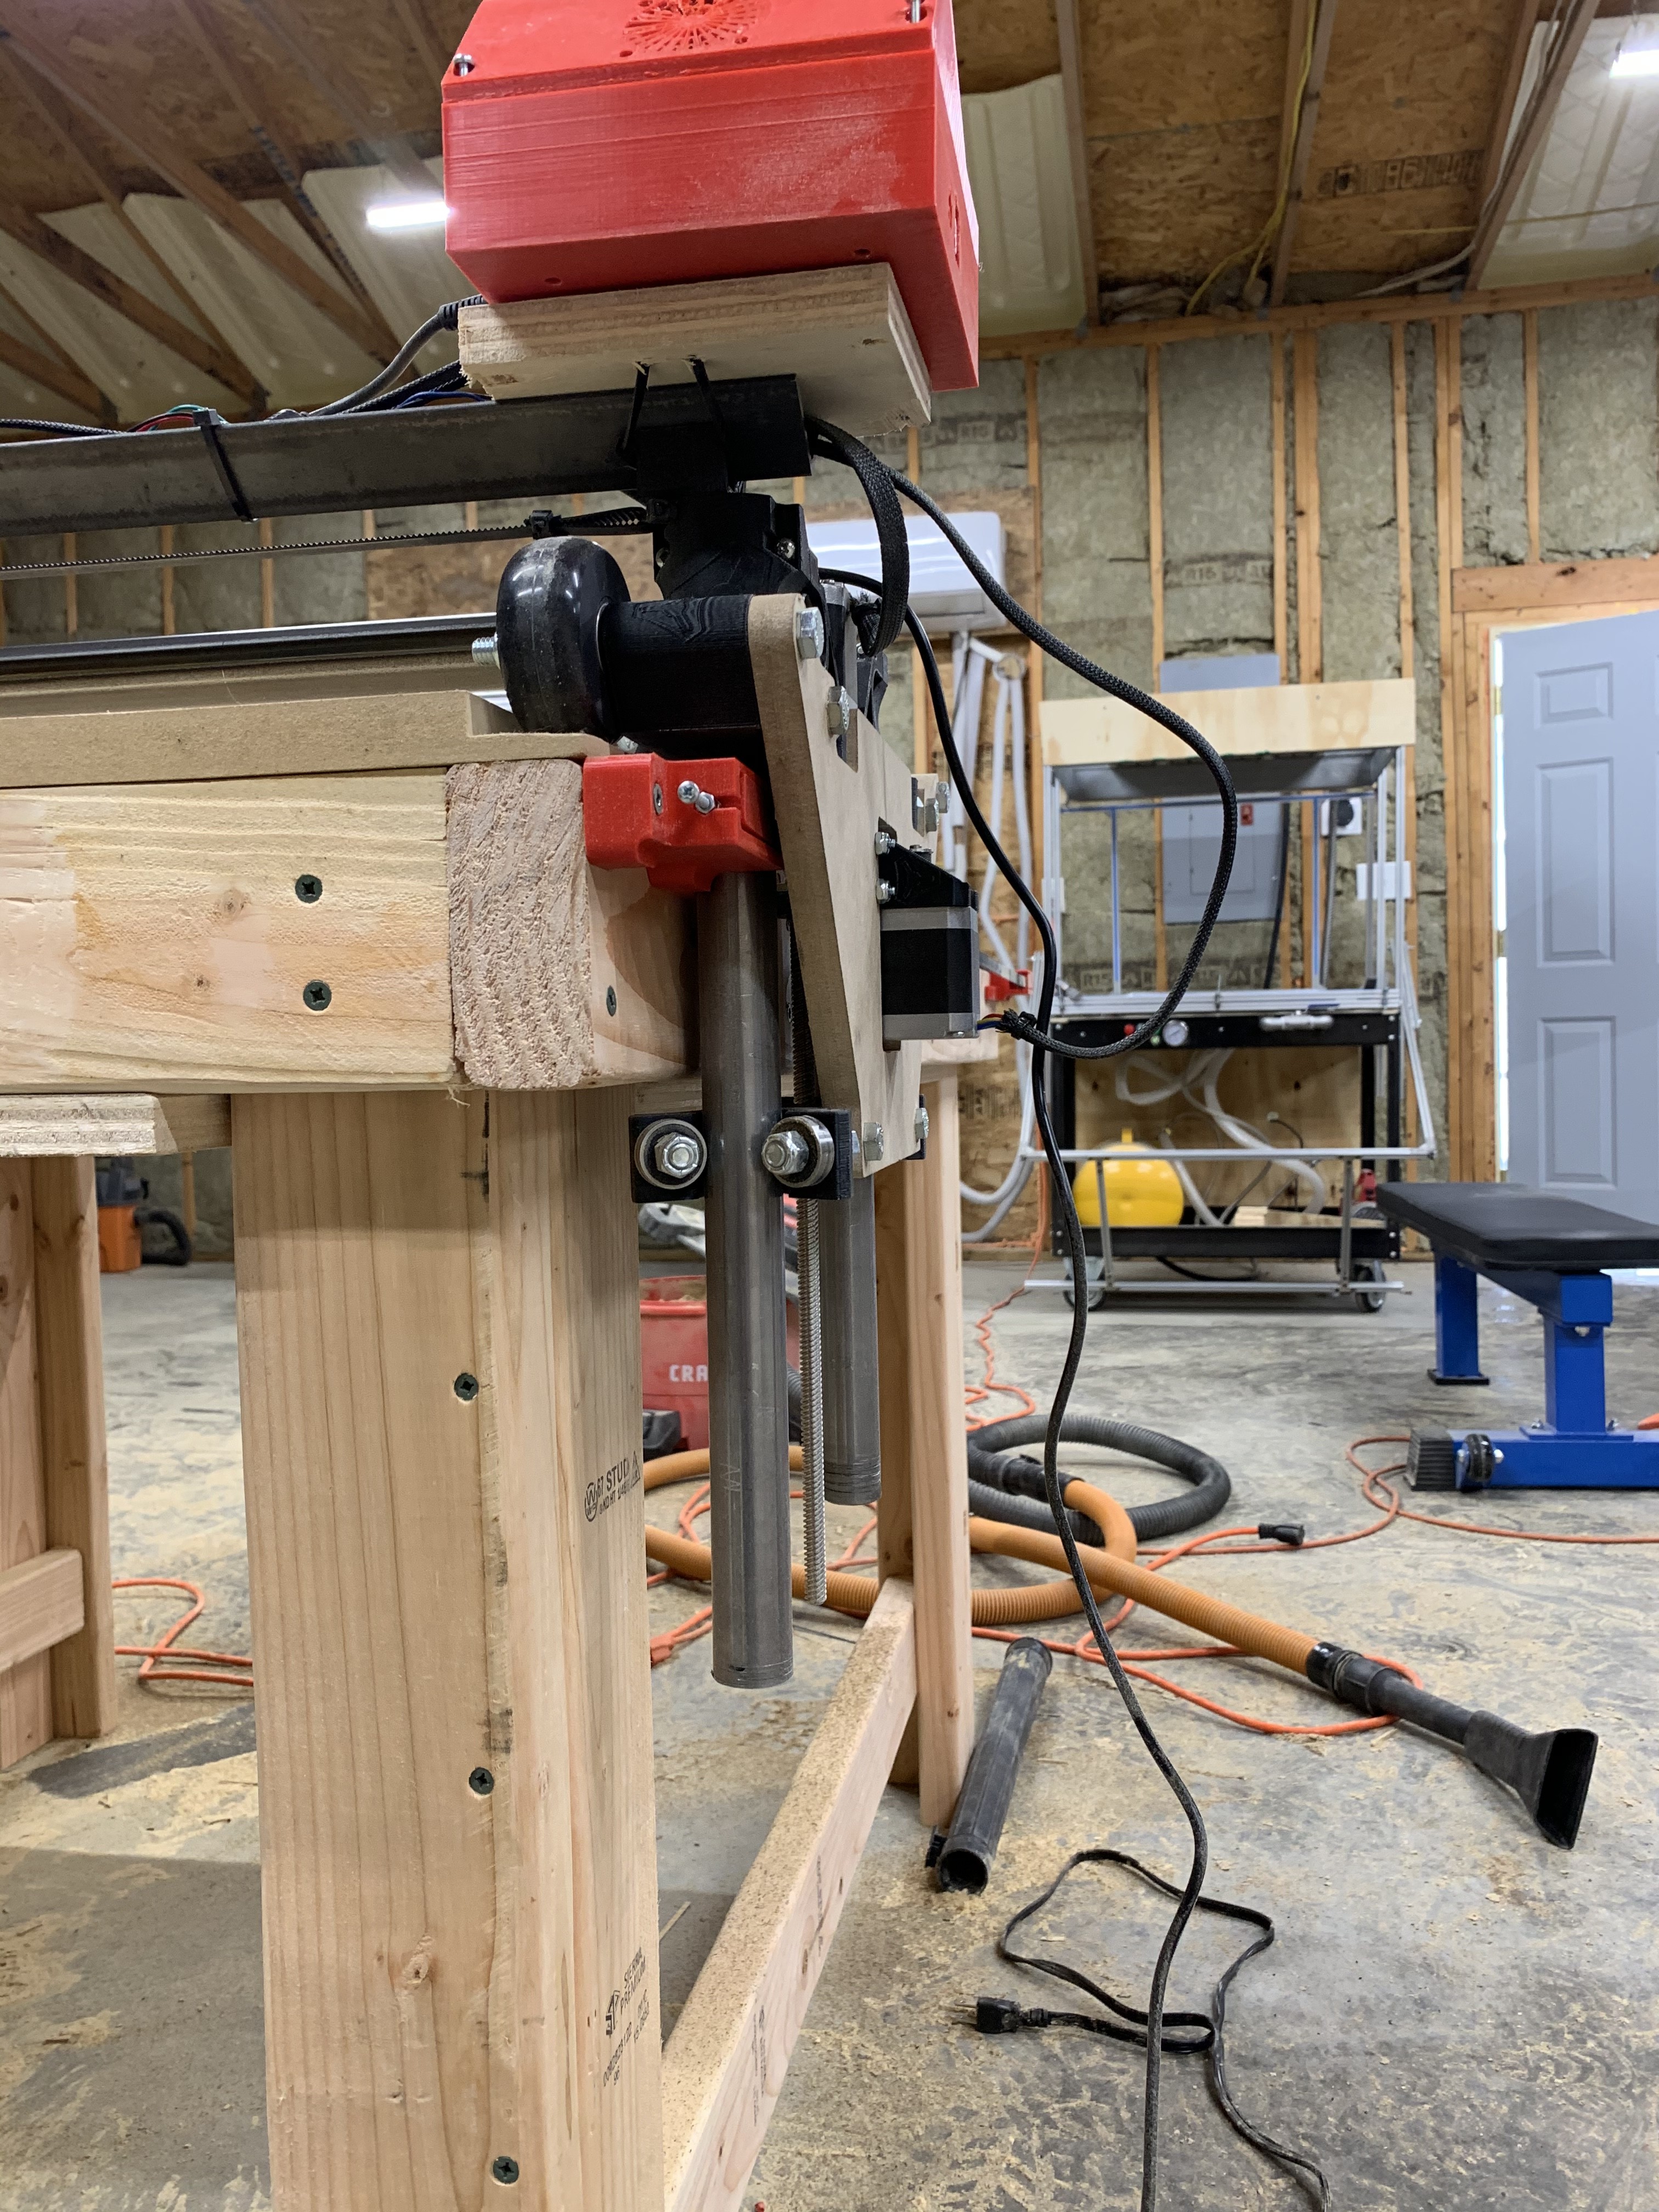
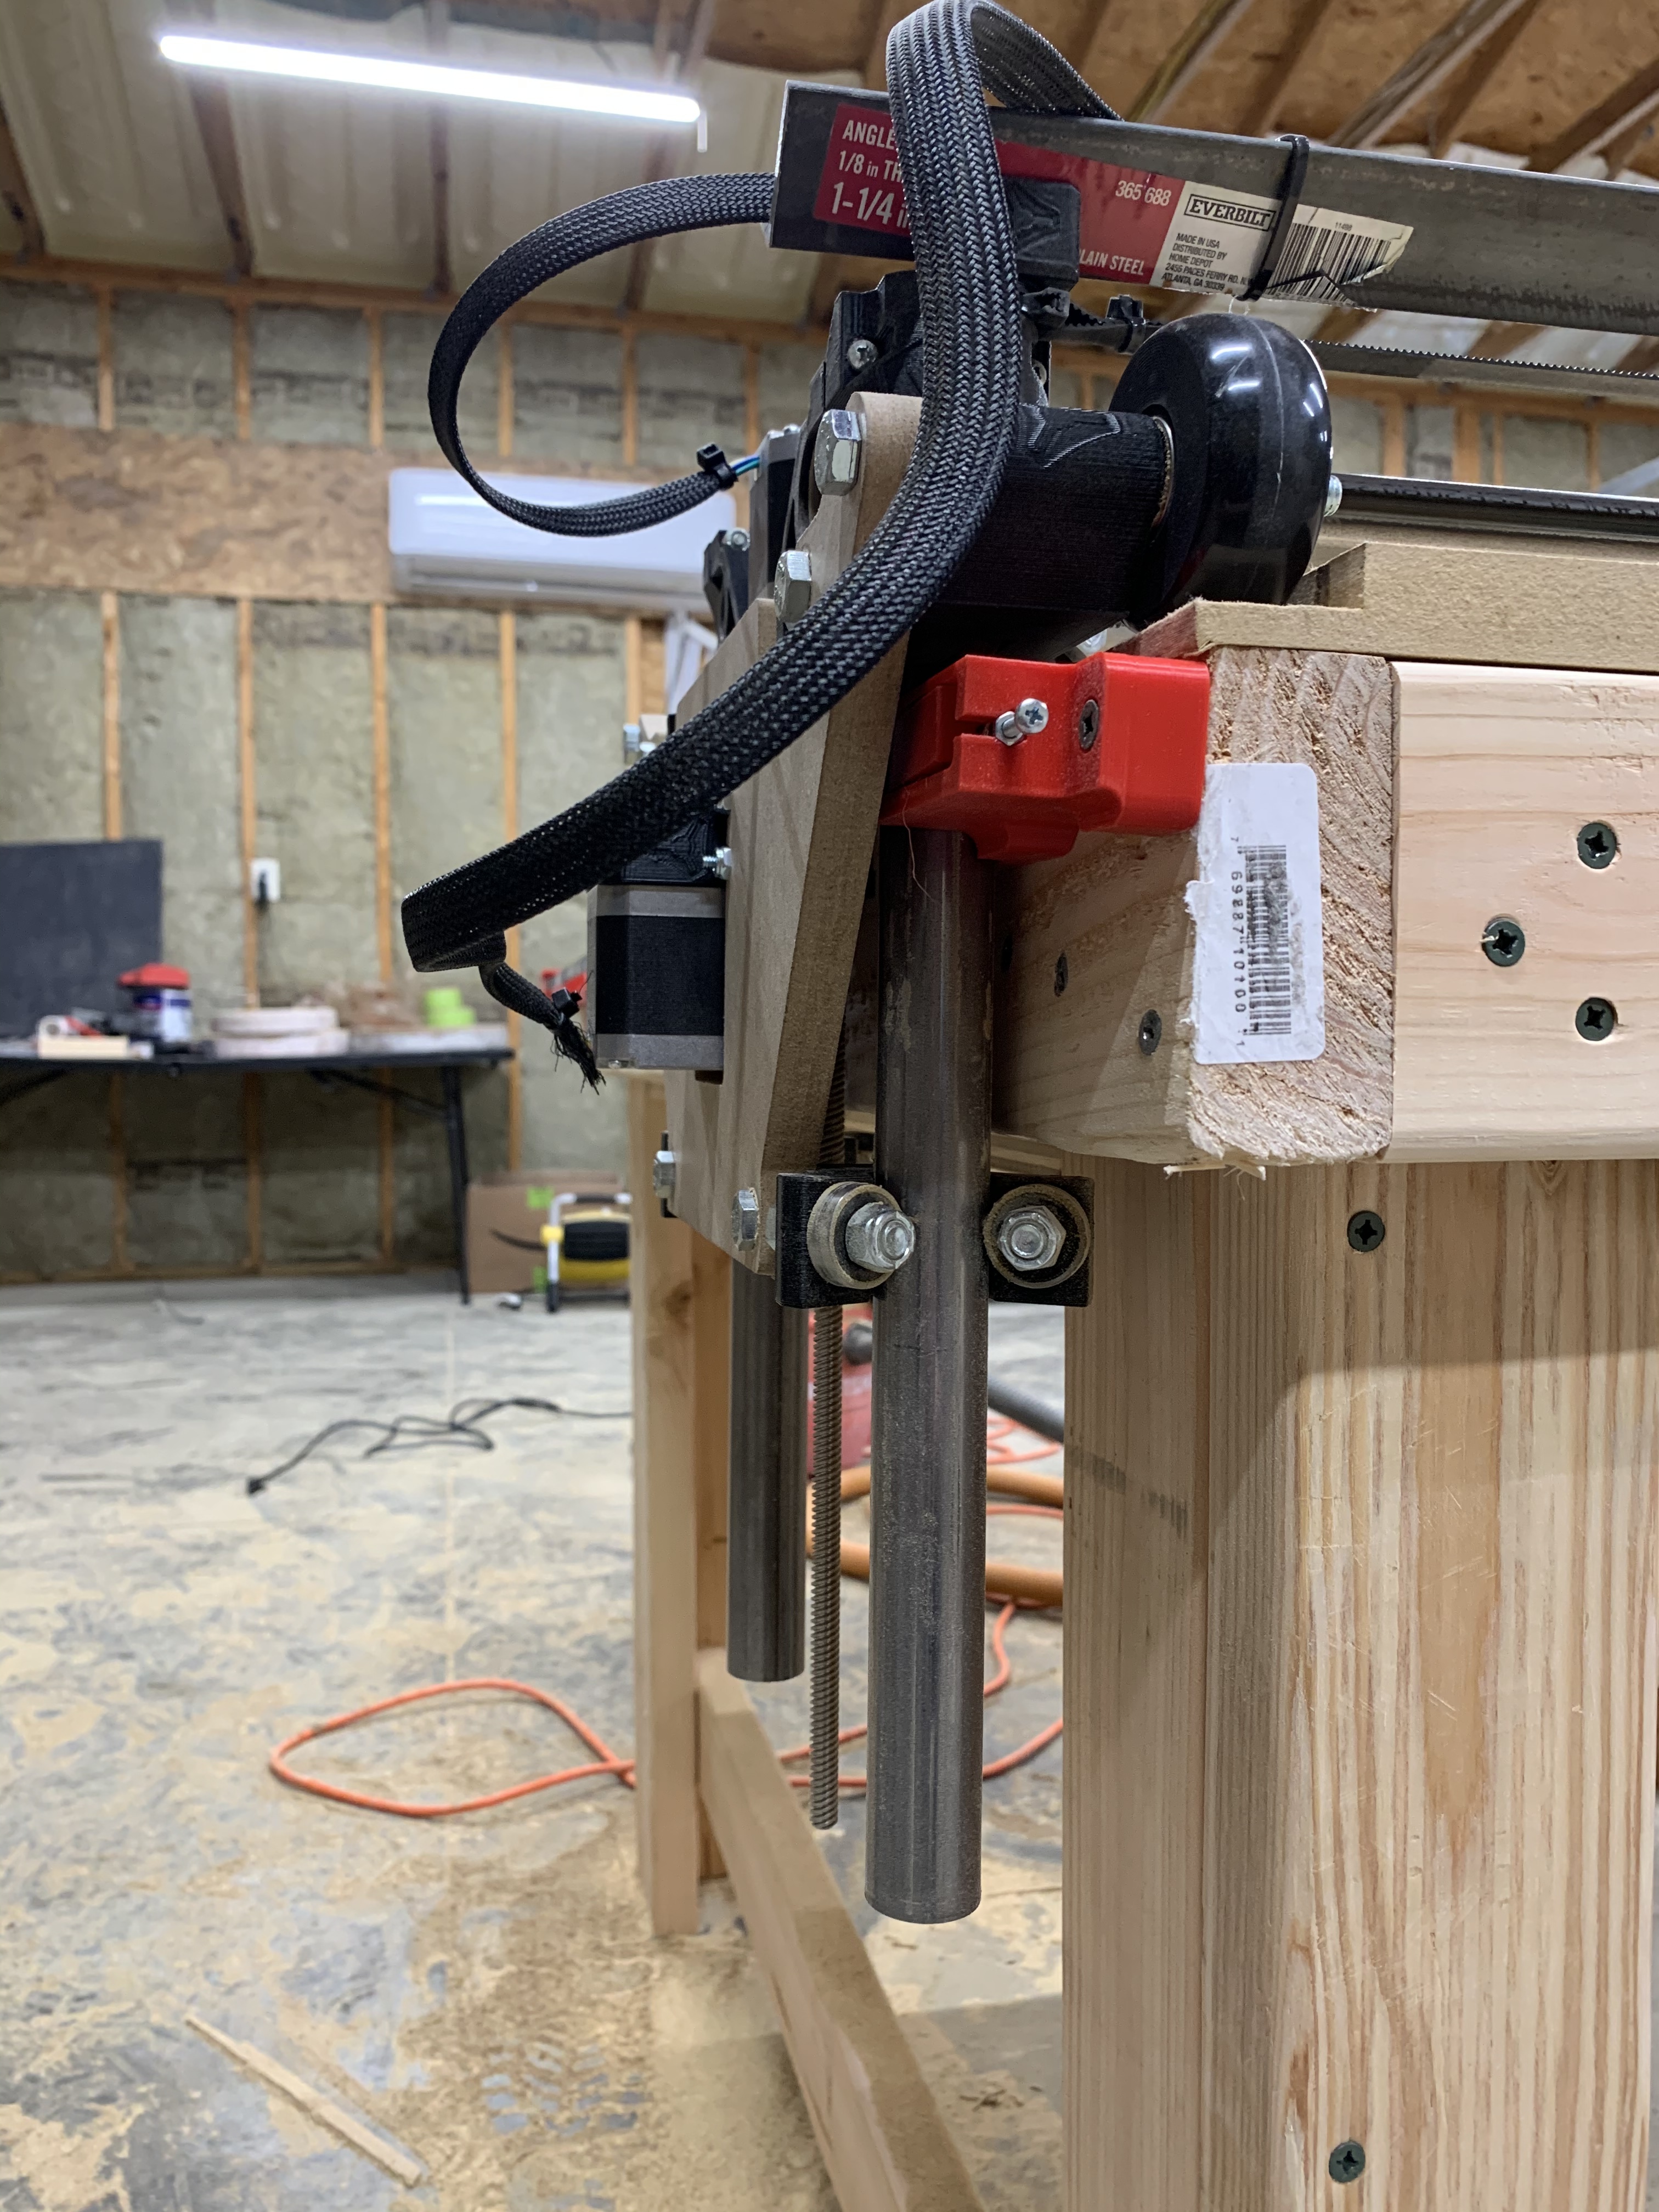
That is quite a gap so I’m not sure if the tension bolts are the only problem. Take all the stuff off the top (vac hose, angle, etc.) and see if that makes a difference. That appears to be angle iron… that is a whole lotta weight by itself. Y-plates should be solid if purchased via Ryan so checkmark that as ok. I guess something to check is the printed pieces… again, if purchased from Ryan then that isn’t the issue either. Make sure the Z motor shaft is in contact with the lead screw. If you start pulling your hair out just disassemble then reassemble the lowrider. I don’t know why this works often times, but it does.
The CAM settings look more than reasonable (in fact, you should increase the feedrate) yet it looks like there’s quite a bit not going right. Make sure the surfacing bit has as little stickout as possible (tuck the bit in as close the collet as possible).
Was that one surfacing program or multiple tries? I’m not sure how that uneven edge could happen on one program run.
You’re right, it looks fine.
My guess is that most of the problems is the tram issue with the x-axis. My hope is that it is simply the tension bolts and too much weight atop one side of the x-axis.
Yep I bought my 3D printed parts with the kit as well. I will try taking the angle iron, etc off the machine and see if that helps, though when browsing the threads I’d seen Ryan’s video where he put 10lbs weights on his and the Z still held fine. (Though perhaps it was more evenly distributed)
I will check the z motor shaft. That was another thing I’d seen, was the grub screws coming loose so I lock-tite’d them down, but it shouldn’t be an issue getting them off. If all else fails, a tear down and reassembly wouldn’t hurt me, so I’m open to doing that. I’d be interested to know rough torque specs for all of the tension bolts and bearing bolts.
That was a single surfacing program. I believe my x axis skipped steps on a couple passes, resulting in the uneven right side. I’m unsure why, but suspect MDF buildup on my X rails, as I kept them clean after that and the last 6 or so passes completed correctly.
I did make my first cut with the machine today, it was pretty exciting to watch! With through cuts, I don’t think my issues will be too major, but I’d like to not be limited to only through cuts on it if possible!
2 Likes
Also, any advice in diagnosing/redoing the tension bolts correctly? Thanks for your help so far 
Count on everything being specific to your machine. Torque specs don’t really apply universally in the builds here. That being said, the best guide for torque specs I’ve had is to make sure all bearings are “just” touching the tubes. After that you might notice the slight ability to cause toe-in or toe-out on the Z tension bolts. I’ll admit that I’m not an expert at this particular part and trial and error’d my way through it.
On the subject of skipping steps. If that was all one program, I don’t think there were skipped steps. I would have expected a different result if that happened. I see that the belt for the X stepper motor is a different configuration. Though it doesn’t look like a source of stretching would be possible… I cannot rule that out either.
A good vac setup should solve most of this issue. MDF is a pain to work with. The dust just gets everywhere.