Thanks I like…just found it too . Here’s a link to the above for posterity: LowRider CNC V4 - V1 Engineering Documentation, I missed it because I was searching for “PETG” and not filament .
I wasn’t familiar with PET-CF or the other listed filaments and it seems like the different vendors name it different things, but it’s a blend of PETG and carbon fiber (I’ve not done much printing with exotic materials like this perhaps it’s super well known). I found the Bambu Labs materials page really interesting as a reference for how strong it is and it’s thermal properties: PET-CF | Bambu Lab USA Store. Since it needs a nozzle temp of 260 °C to 290 °C and a hardened steel nozzle it’s a bit beyond this current printer setup. Nice to know it’s probably overkill anyways.
Yeah. There’s also disputes on cf filaments because of layer adhesion, however it’s generally believed to be stronger. However, pet GF is generic pet G for most brands that is, you will have to verify with your brand.
Thank you for the links. I am in a similar boat with an Ender3 Pro that cannot go beyond PLA. I would love someday to work with PET-CF but good to know that it is a nice to have not required.
I printed 2 lowrider 4 out pof pet-cf. No failed prints because of adhesion. That thing sticks! Printed with a less than 300usd printer (Flashforge ad5m , with enclosure and . 06 nozzle) i used the sirayatech petcf and the qidi printer profile
I use dissolved ABS filament in acetone (ABS Juice) for bed adhesion for all types of filament. ABS/ASA/TPU and always PLA. Started using it about 3 years ago and it was like discovering a cheat code for FDM printing. I’m not kidding, it works on every filament I’ve tried!
I have an old Ender 3 in my little stable of printers that I used to print a few Lowrider parts in my cold(ish) basement this winter. Perfect adhesion on a PEI plate with no enclosure. I just paint it on with a piece of sponge or cloth then let it sit for 30-60 seconds to dry then print my model on it.
Bear in mind the color of the ABS used to make the juice will show up as a haze on the base of the printed model when you peel it off the build plate. A simple light scrub with clean acetone on a scotch bright will make it disappear. One application is usually good for 5-6 prints (unless your printing the exact same part in the same position over and over.) If you start to get ABS buildup on your build surface after a couple applications go back to the clean acetone and scotch bright and it cleans off easily.
I spent some time yesterday fiddling with the XY compensation and “elephant’s foot” setting on the Ender 3 Pro for a different project. I’ve been using this YouTube video and the spreadsheet linked in the video’s description to calibrate hole compensation, and as I make changes slowly to that setting I’ve also been testing both sides of the fit and adjusting the “elephant’s foot” setting so the parts fit on either side.
HOPING that the tolerances being too tight in the XY plane (various slicers refer to this as “XY compensation” [PrusaSlicer], “Hole horizontal expansion” [Cura], “vertical hole shrinking compensation” [SuperSlicer], and other things entirely amongst many settings [OrcaSlicer]) is not a huge issue for the LR4 build and all of the parts I’ve previously printed.
As I mentioned this is for a different project but as an aside at least for the LR4 it seems possible that @vicious1 might have compensated for this slicer variation by purposefully making the press-fit items like bearings, nuts, rods, etc. all fit in along the Z-axis which is presumably more predictable due to layer height? Maybe there was some other reason for that like strength or stability?
Even if tolerance is an issue for the LR4 prints I’ve already done I’m sure I can just ream or press-fit things like bearings with some pressure. I’ve also been contemplating a switch of slicer to OrcaSlicer for a bit (PrusaSlicer seems to lag behind on some features), and I’ve recently become interested in Klipper because re-compiling Marlin is such a pain.
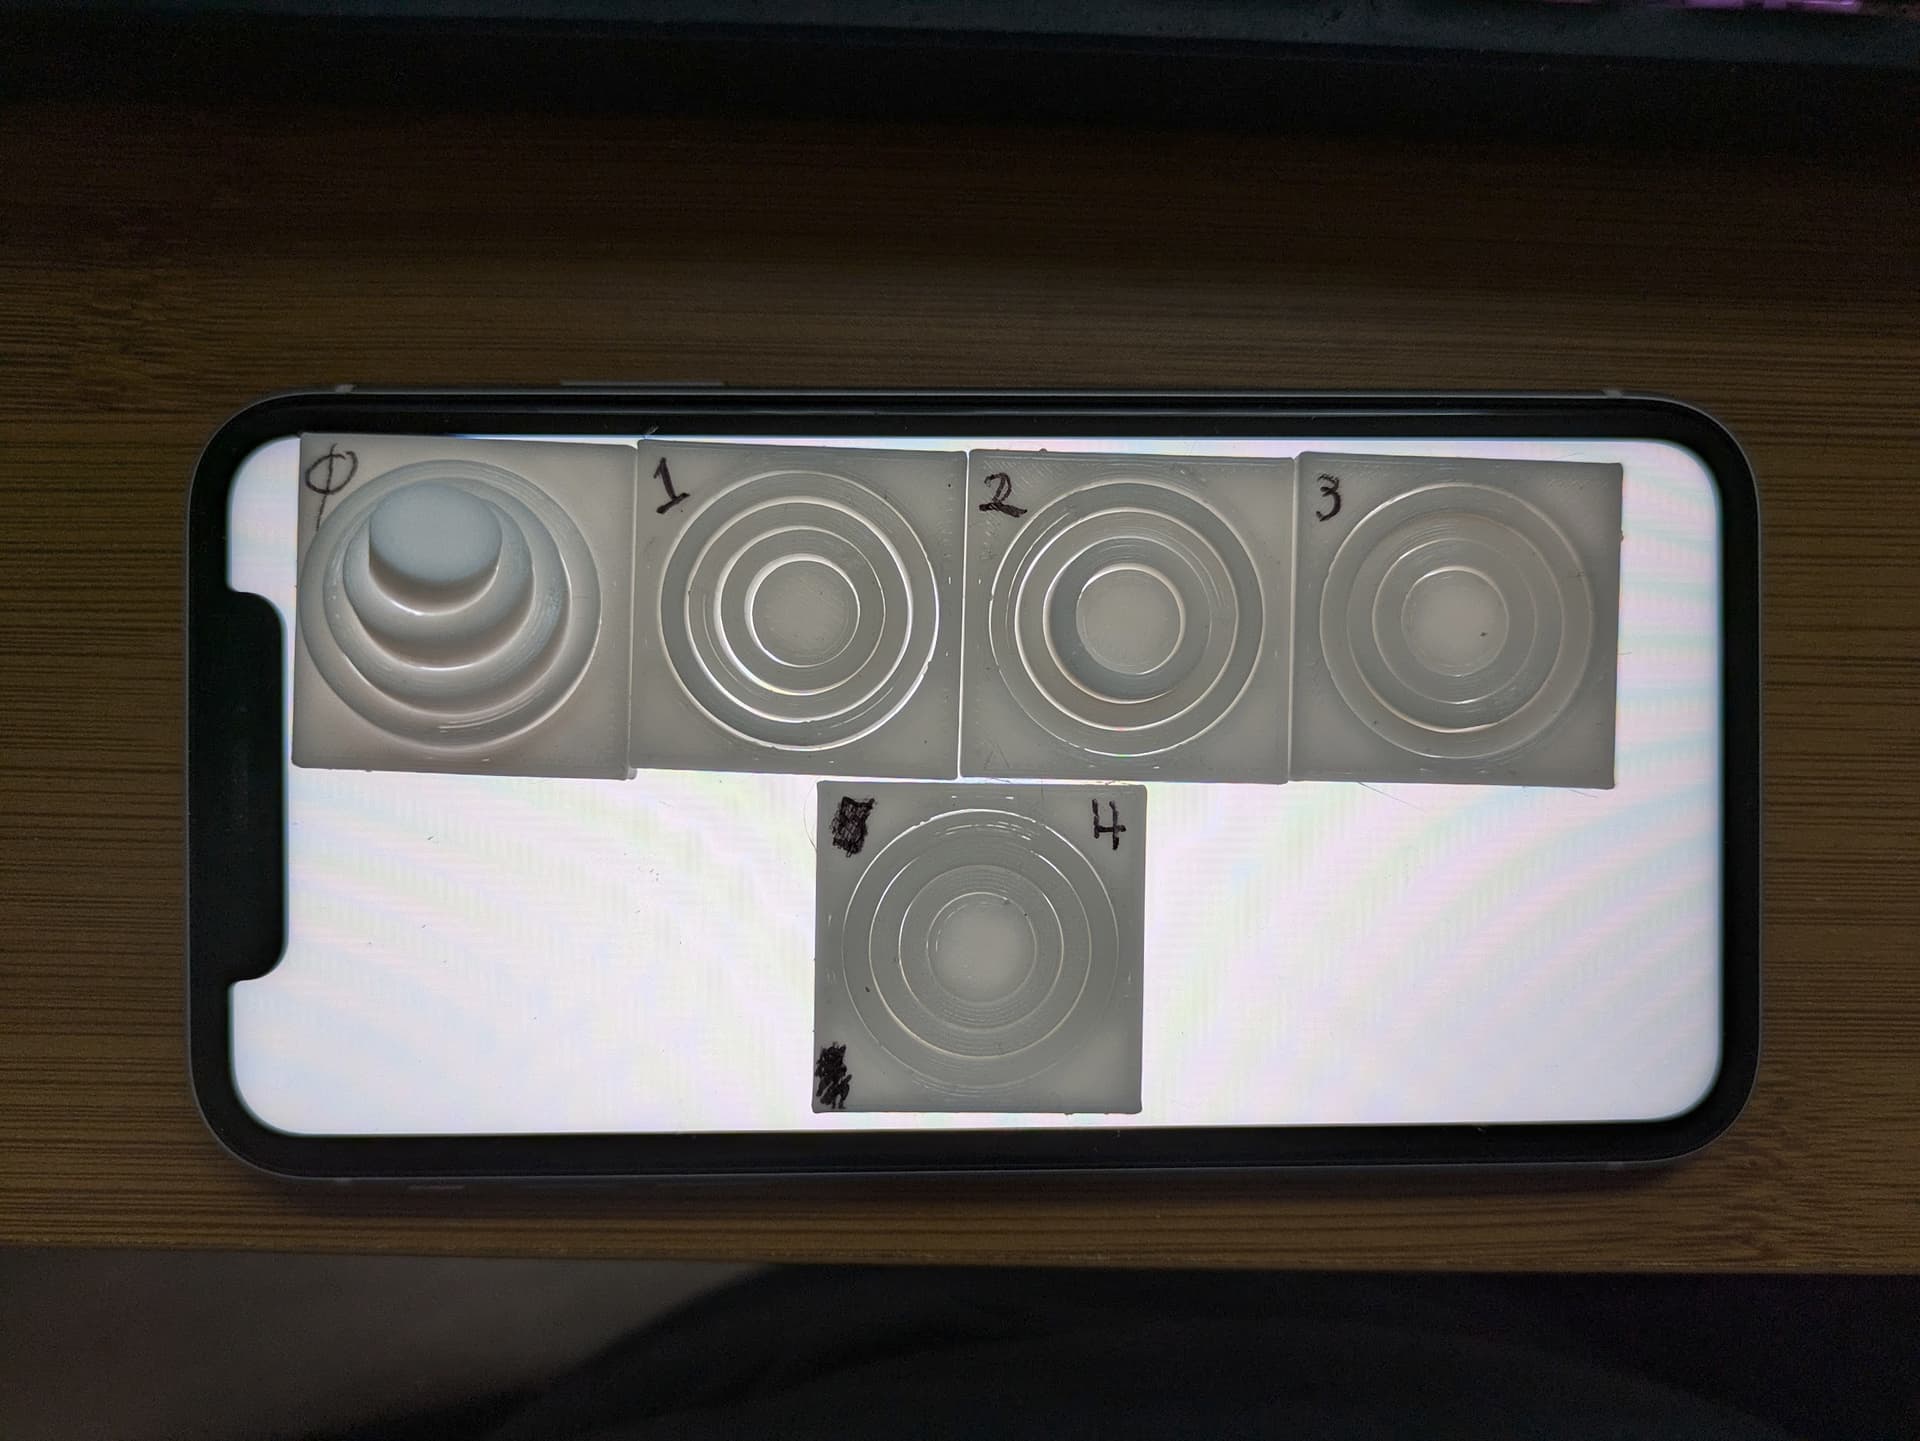
Here’s an example of the progress I’ve made from the control (default 0.20 mm PrusaSlicer layer height “NORMAL” preset) as number 0 and moving up to number 4 which fits really well. I tried to push it further but didn’t have much luck so this is where I’m leaving it for now.
EDIT: I had drafted this post throughout yesterday but am actually reconsidering my approach for calibration. I just discovered this amazing (and open source!) website Teaching Tech 3D Printer Calibration and I think I’ll probably go through it step-by-step after migrating to Klipper (I’m so over re-compiling Marlin).
You really should not need to do that. chances are really good it will make things worse.
I design the parts so there is very minimal stack up error. The most import thing to actually check for is skew in all three axes. Some printers are far from square, a couple are spot on.
Right on thanks Ryan. I’ve been printing all of the LR4 parts with stock profiles so no worries, glad to hear it’s not a problem for the parts I’ve already printed! I checked for skew per the dogs so should be good I think.
Channel your inner primate: When life delivers shittttt, time to start flingin’ some poo. Go to it, can’t wait to see your next set of build progress pictures.
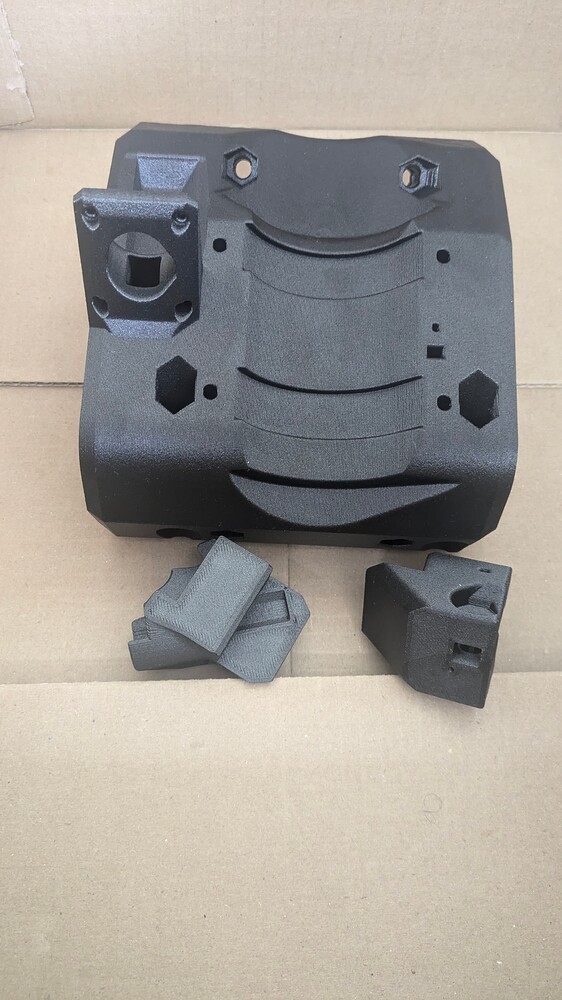
Brief update: I’ve largely addressed the adhesion problems by simply cleaning the print bed thoroughly with isopropyl alcohol. I was getting all worried about temperatures and bed warping and insulation of the heating elements when I simply needed to clean the bed . Horses, not zebras, as they say. I printed one of the remaining braces and now the Jackpot controller box with no adhesion problems and no brim .
EDIT: Ignore the rest, I canceled the order…it was a real impulse buy, and I’m getting excellent results from my Ender-3 Pro still (now that I’ve addressed the adhesion issues with some basic maintenance). It still looks like a fantastic printer! But I realized the $330 USD could be better-used for an LR4 table and accessories…one project at a time!
I’ve also just ordered a new printer! It won’t be here in time to print the initial batch of LR4 parts but it’ll probably print some upgrades in nicer materials as I try to push the LR4 harder on different materials. The Elegoo Centauri Carbon at $330 shipped is pretty nuts given the feature set (link is to a YouTube review from a channel I follow, consider using their affiliate link in the description if you like the review!), and I feel like a similarly-good deal to my loyal and capable Ender-3 Pro I got for $100 back in the day.
I plan to put the Ender-3 Pro in a box for the winter, and at that point I’ll break out the parts from it and from my old (and terrifying) Anet A8 flamethrower and to build a large-format core XY printer to do PLA and PETG and other “standard” filaments for a large build volume.
If the IPA stops working, washing it with dawn dish soap and rinsing it really well, or using a magic eraser sponge will put it back to new. IPA tends to leave something on there after a lot of prints.
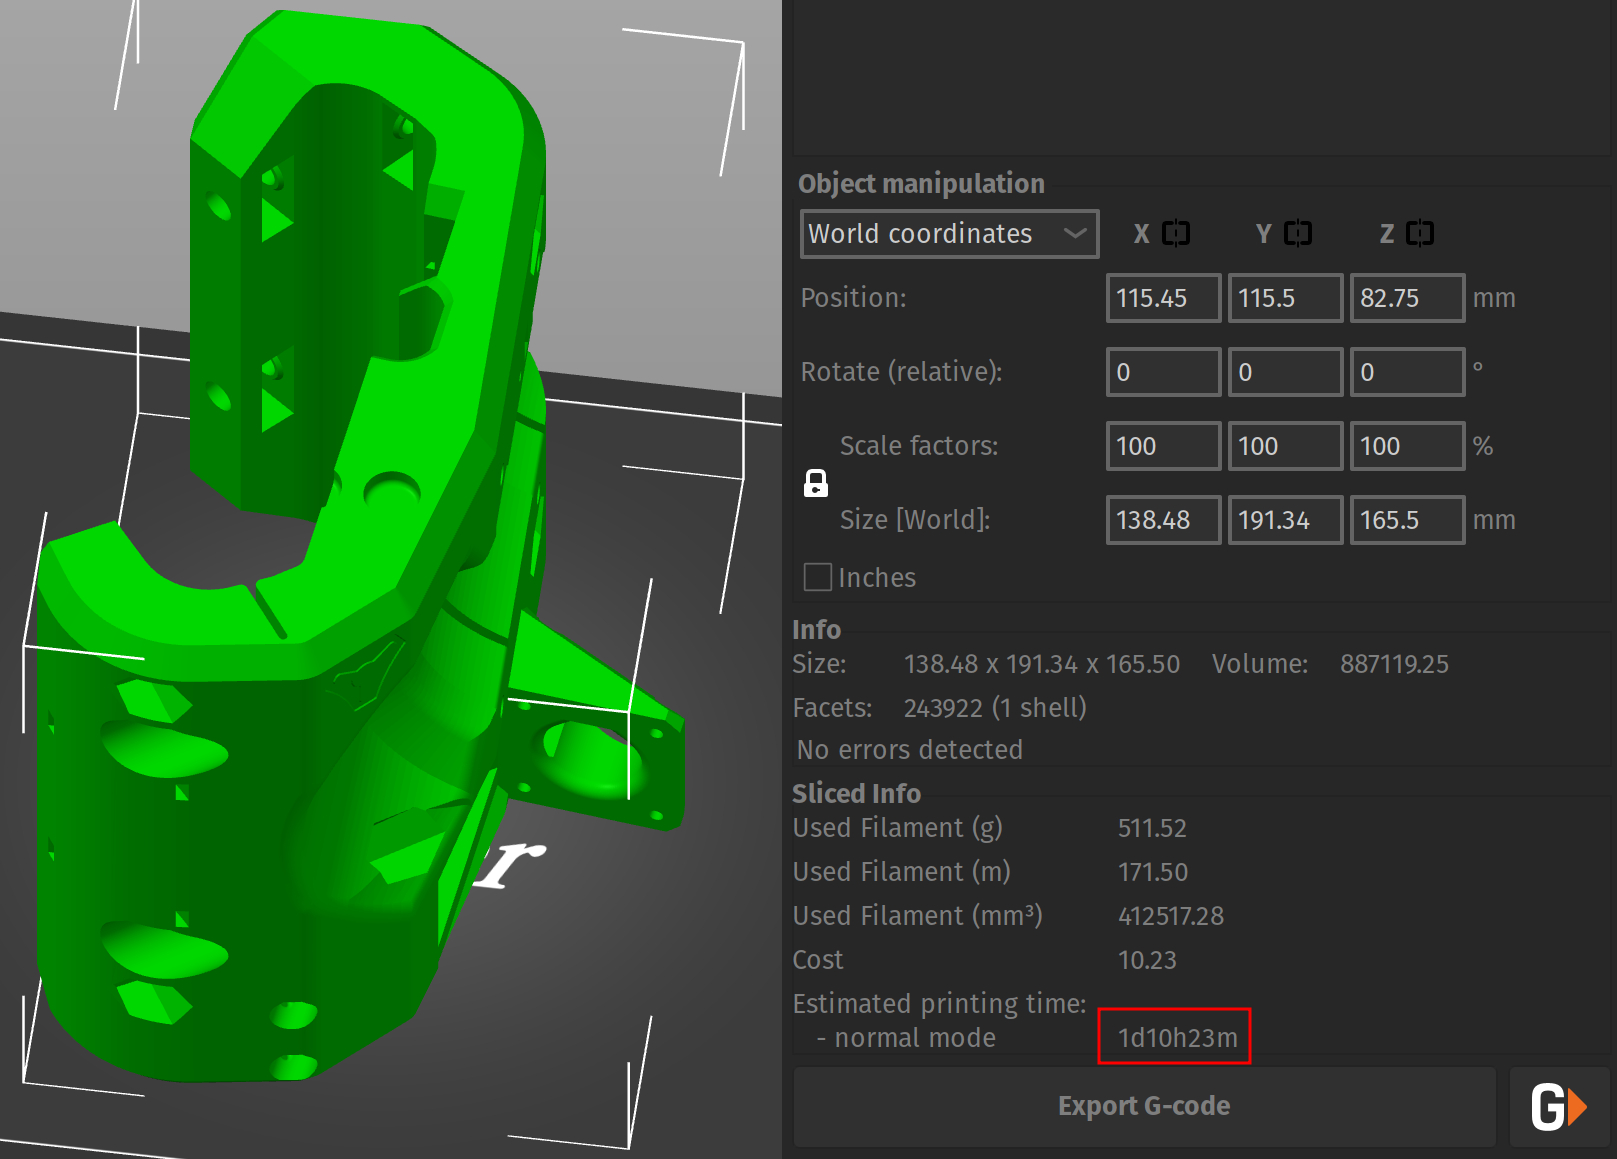
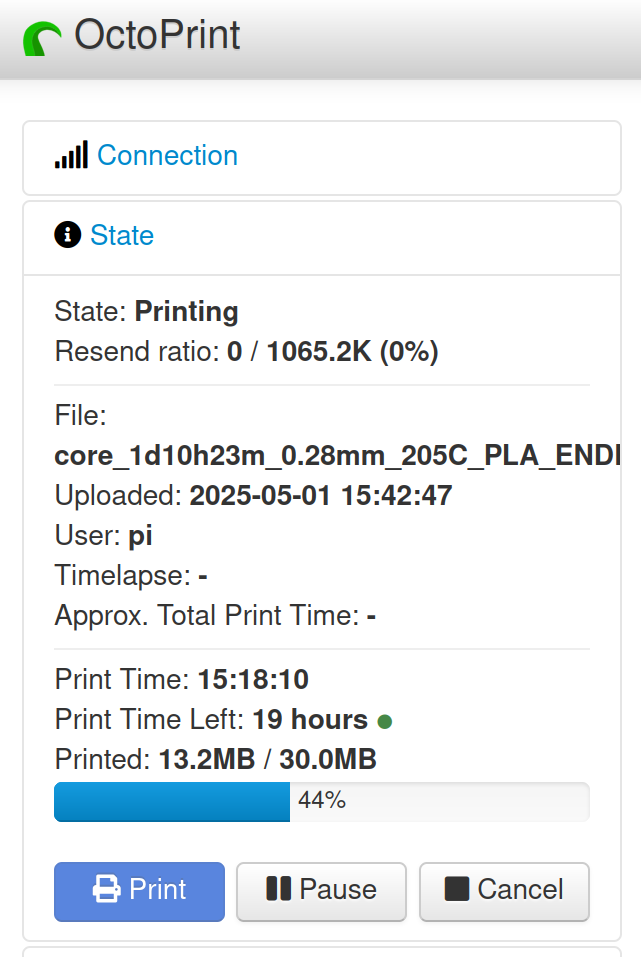
OK, I’ve been kind of putting off printing the core but I’m running out of other stuff to print. That said a lot of the kinks have been worked out of my printer in the meantime so I feel pretty confident, though very occasionally it has locked up on me. I now have one of those resume plugins installed in Octoprint JIC. Here we go!
I print them in 8hrs on a V5…you should make sure you are doing thick layers to speed that up. I would think most printers could knock that out in under 15 hrs.
I think the estimates are probably off? I’ve honestly not monitored much to see how accurate they are, but I’ll take notes this time. As for layer height I’m doing 0.28 mm layers (SUPERDRAFT preset for an Ender-3 Pro in PrusaSlicer profiles) with a 0.4 nozzle so it’s about to the ratio in the docs (something like 3:4)
So far so good on the core print. The estimates on print time were off it seems, but not by a ton. Octoprint typically has a pretty good handle on how long things will take once the estimated time indicator flips to . But no news is good news otherwise!
There is one thing I am wondering about.
I heard somewhere that the strength decreases as the nozzle pitch increases, but does the core not need to be that strong?
If I’m understanding what you’re asking (pitch == layer height) that’s probably true in general about shorter layers equaling increased strength for a print. In the case of the LR4 I think for the core most of the torque is being applied across the Z-axis (when the router presses down against the material it’s cutting) against the linear rods mounted to the core and not the core itself. So the core only has to compensate for whatever deflection the rods allow, and since they are steel it’s probably not much?