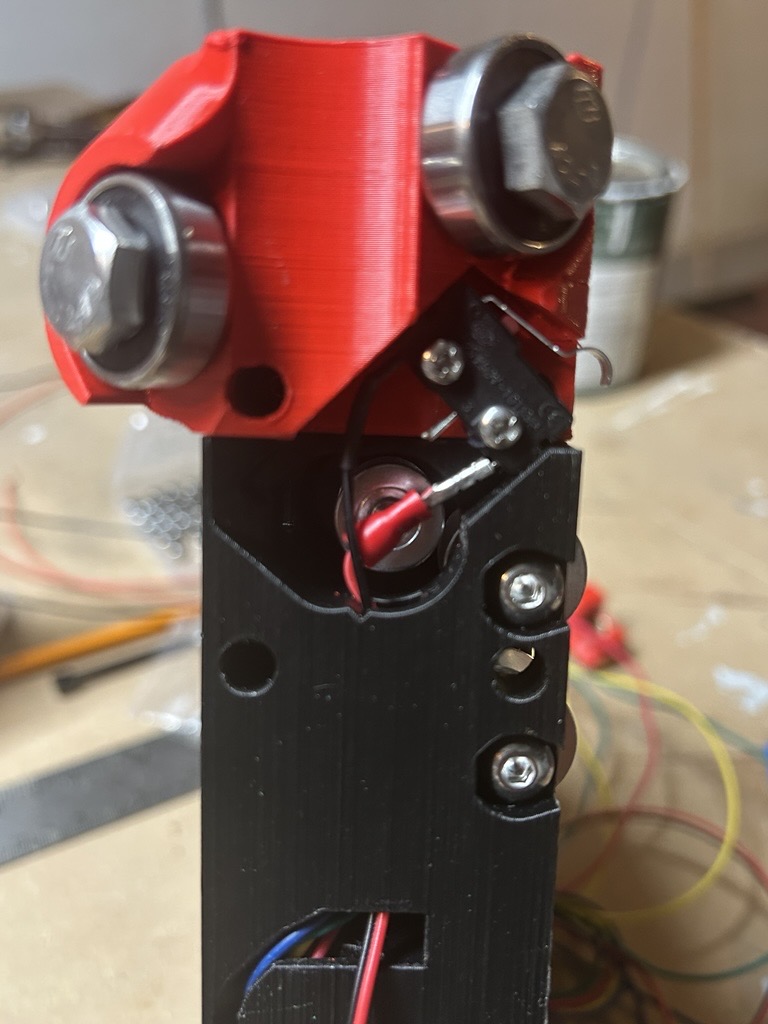
Starting to make progress now that I have all the tools and parts to connect end stops. I will freely admit that the wiring is my least favorite part of this build, but I’ve been pushing myself not to give up.
Question: Why is there only 1 end stop on the Core even though there is room for 2? Is it because if probably “homed” it shouldn’t go past that point?
If you are looking from the front, you connect the left one, it’s also explicitly stated in the instructions. The other one is for advanced users who want to customise the homing routine.
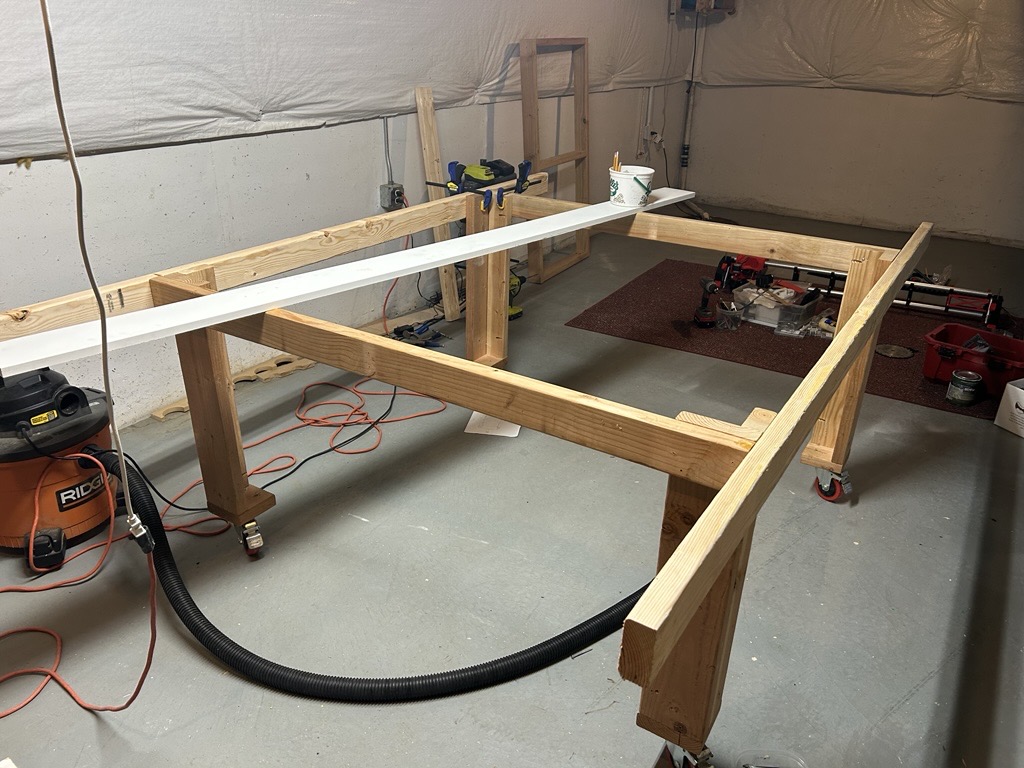
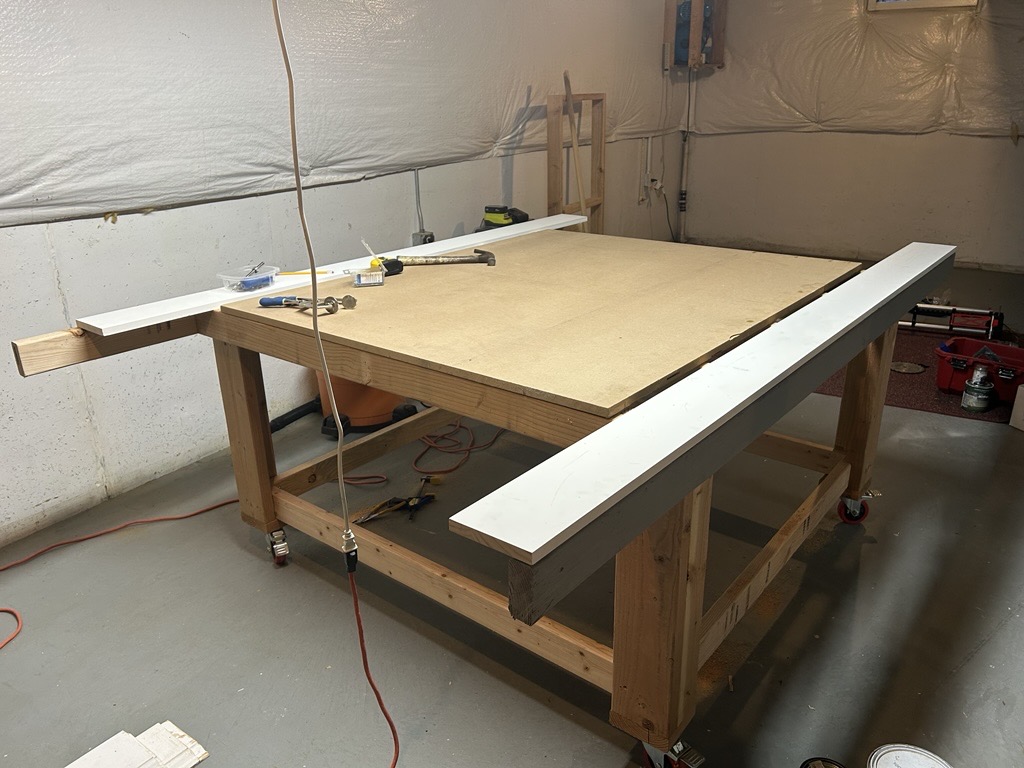
After a little hiatus filled with family vacations, home repairs, and kids events, I got back to work on my LR 4. I deconstructed (you can see pieces of it in the background) my old work table and turned it into a CNC table. This is my progress so far. It is made of premium douglas fur as it was fairly straight and in expensive (comparative speaking). I’m going to use a piece of 1x PCV board I had left over for the XY min side as I think it will provide better wear than MDF….If you have used PCV board and got different results, please let me know.
My ultimate goal is to get my 14 year old son involved, so he can start a little online business. It is hard keeping up with his wants and needs.
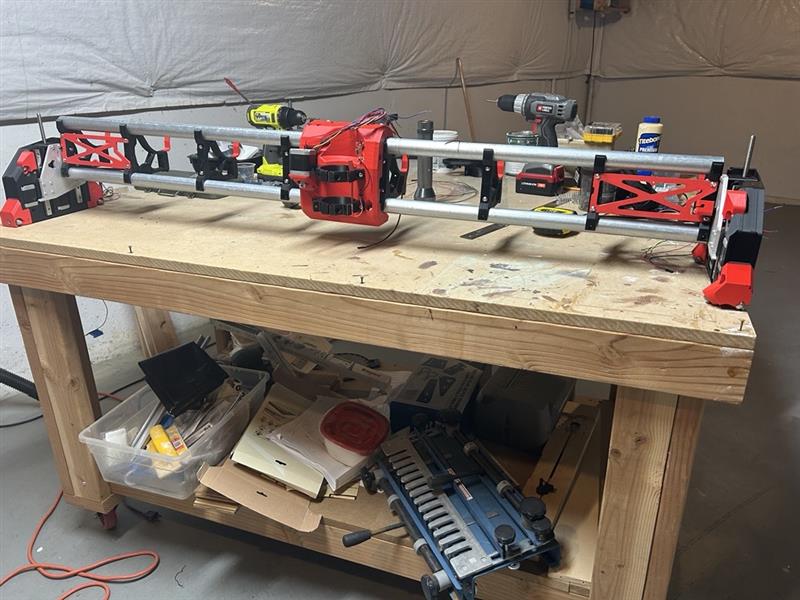
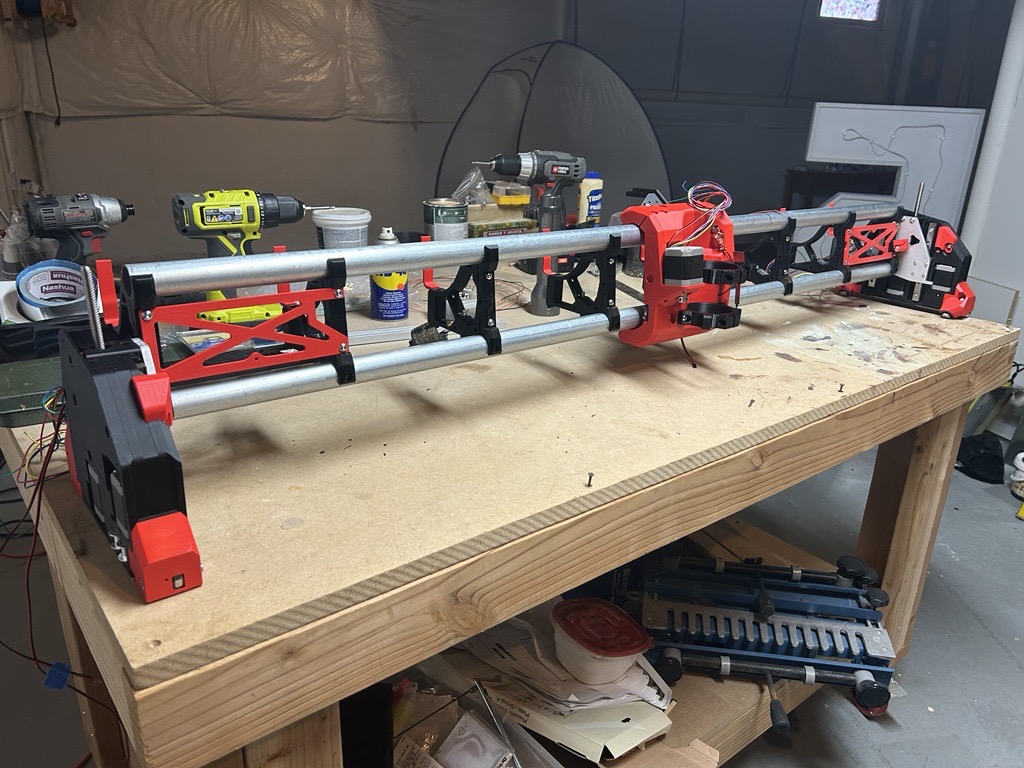
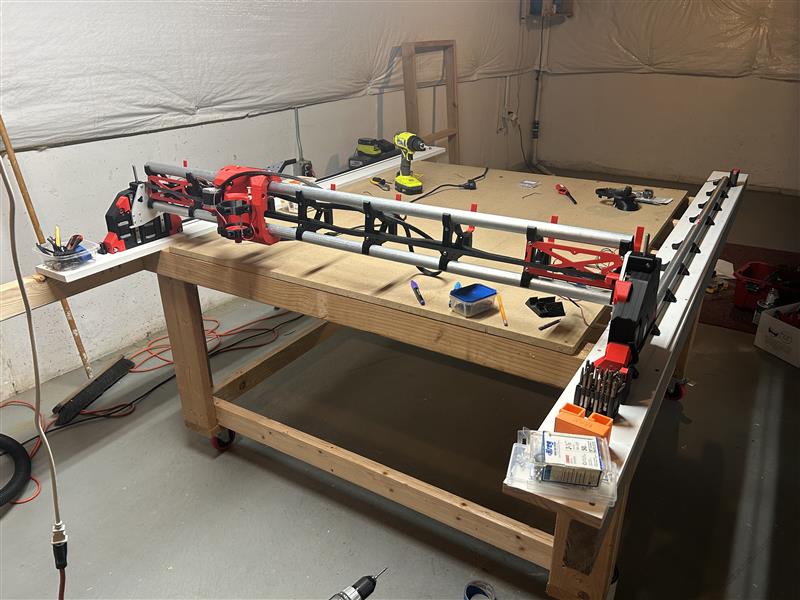
Quick update. My lowrider is operational!..sort of. Still need to do calibrations, better cable management, dust collection, and add some accessories…Stay turned for videos.
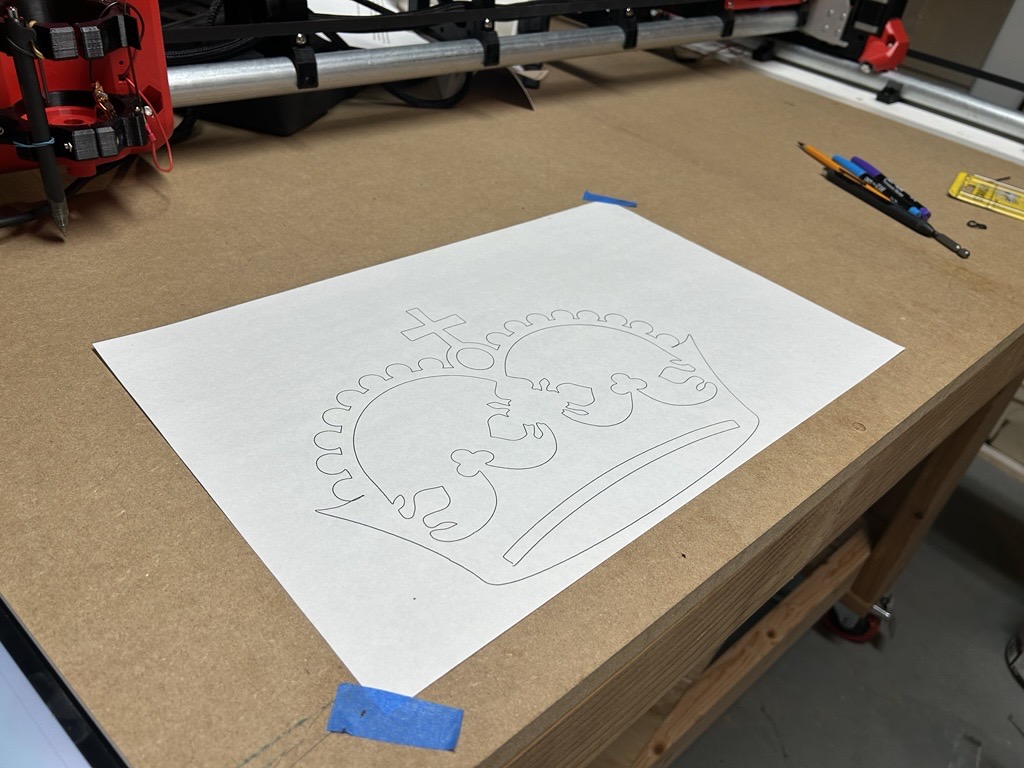
Ok..spent the last day or two reading and using Ryan’s probe g-code which a found in one of the forums. After all said and done, I finally got the obligatory crown plotted with a pen!
My build/test has been slower than most, but I’m so proud to make it to this point. Ryan (@vicious1) and team, thank you for a great design that let’s someone like me to get involved in CAD/CAM at a great price point.
No plans on the calendar this weekend, so I’m going to do some cable management and try to get the struts cut. Wish me luck!
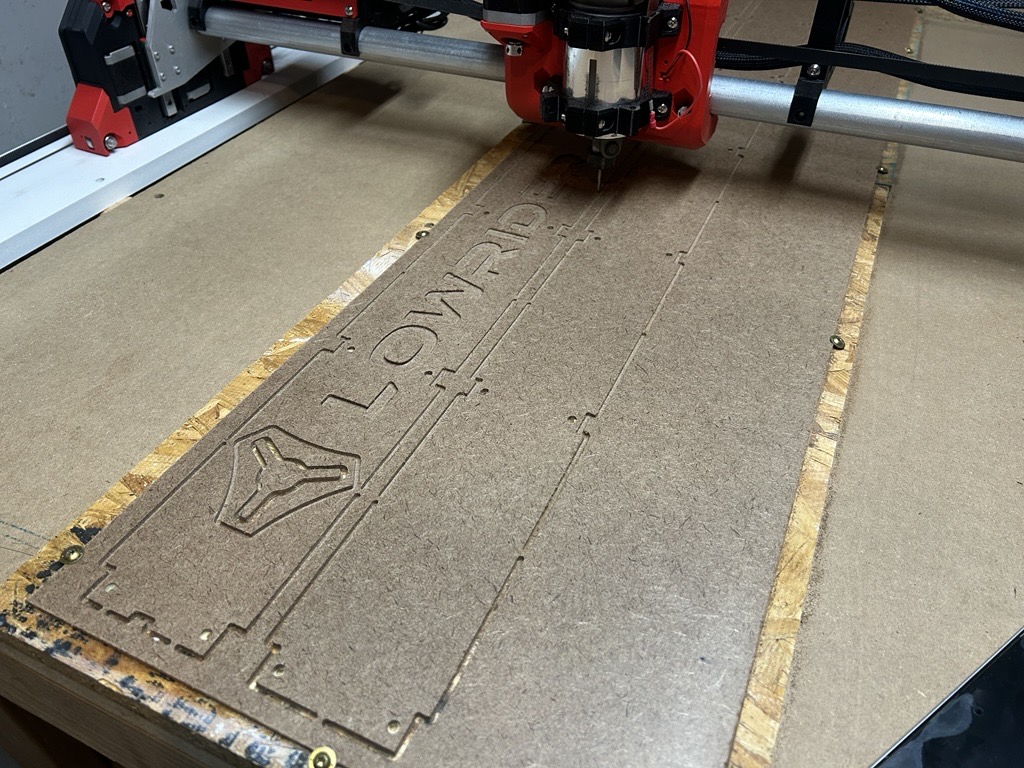
Last weekend I went out to Home Depot and bought a full sheet of hardboard figuring that a full sheet would give me opportunity for practice. The first cut wasn’t bad except the bit blew out of the router (fortunately it didn’t break) which I suspect was due to the collet being new and I was trying to cut to much at once. I re-adjusted my program and ended up with the following.
This is just a test piece. I have another piece of hardboard painted black which I hope to mask off the Lowrider logo so I can paint in a different color. Any advice for a good masking material? Painters tape? Packing tape? something else?
I finally found sometime to put a quick video together. This is the front strut which was cut from hardboard with V1 logo and lettering. As it turns out, this ended up being 1/2” to short. I had to make mods to config.yaml file to adjust the steps per mm and now it within a 1/16th of an inch. I may try to dial this in a little further if I end up working with larger sheet goods.
I guess now my focus is on adding some accessories (drag chain, drag cutter, dust collection, etc.).