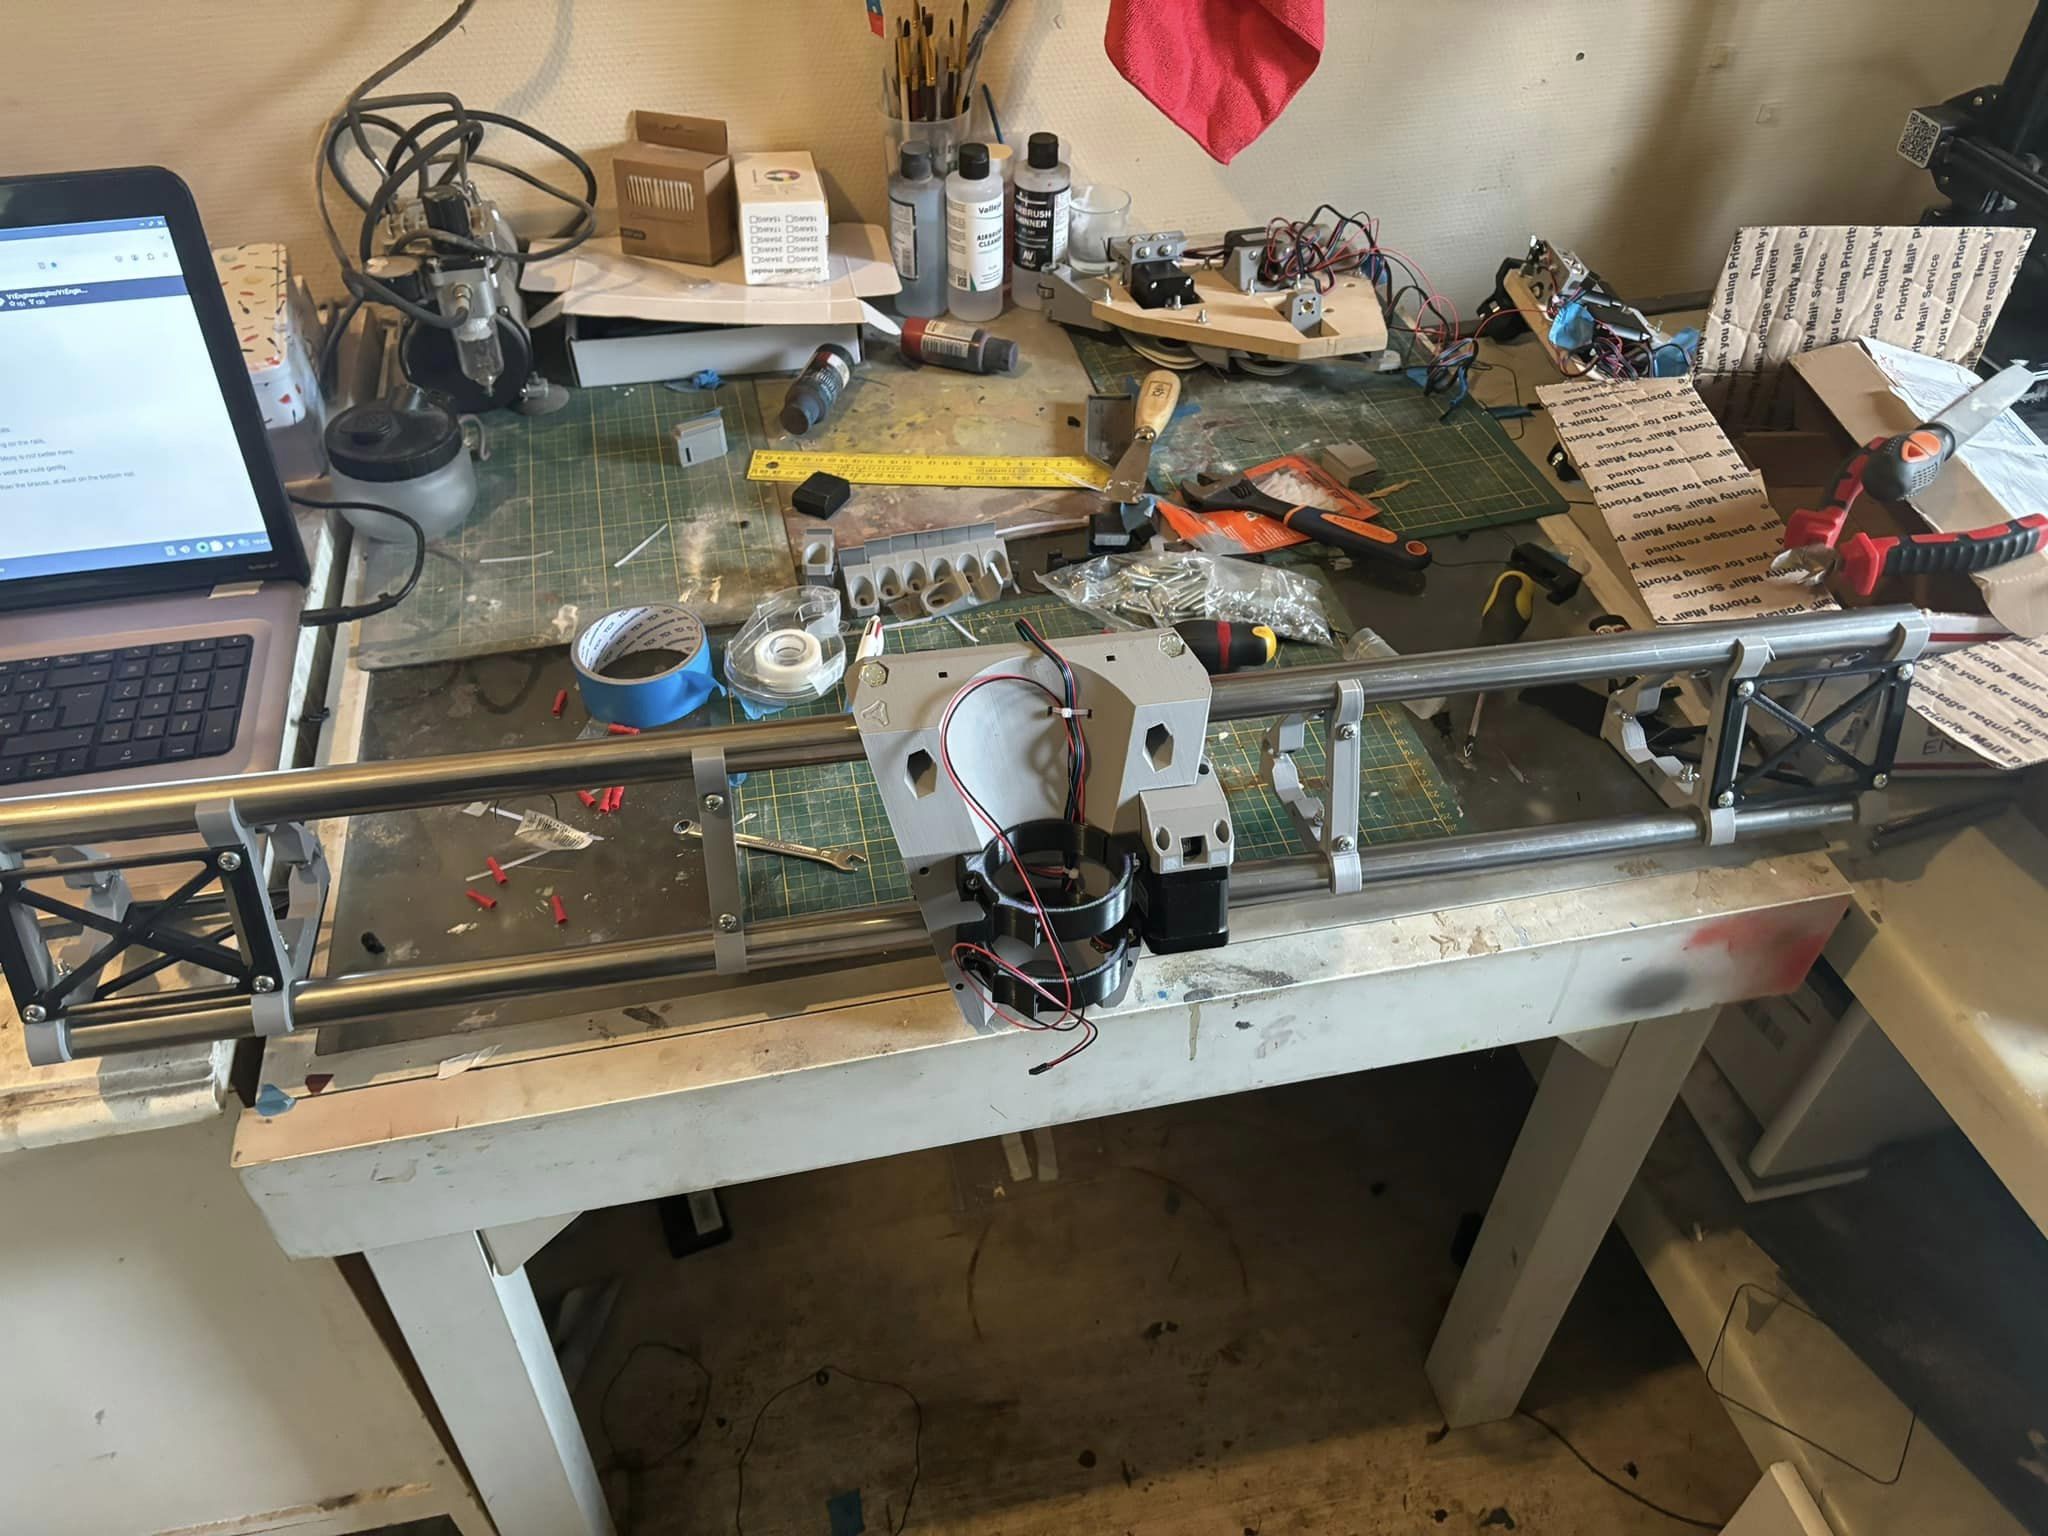
My name is Yves and I’m from France. It’s been a while since I wanted to start building a CNC, my choice fell on the lowrider V3 with a machinable surface of 160cm x 80cm.
For the moment, I’m having no trouble assembling it, the documentation is well done, but I wouldn’t hesitate to ask for your help.
A better dust shoe. @DougJoseph has got a good (though a little bit more complicated one), I have one that basically just adds TPU bristles.
Besides that I did not mod anything on my LowRider and have been using it as is, it’s a pretty capable machine.
Concerning mods, it’s a bit too late for Doug’s braces with trapped nuts, but you can print Peter’s trapped nut add-on
Those make life a lot easier when it comes to installing the strut plates
For tidyness, I’d also print peter’s cable trays, and I’m personally a big fan of encapsulating the AC adaptor inside the gantry, so maybe print this or make something similar (my psu is just zip-tied to the strut plate and it works jsut fine…)
Cable chains for X axis also helps a lot for a clean looking build, but I’m yet to find one that really works for me…
And lastly, I did a simple mod on mine - maybe not too consensual - by using 1mm pitch leadscrews
using these, the gantry will never ever fall down on it’s own weight
The Z axis works twice as much (speed-wise, torque-wise there’s a lot less load) and it can be a problem with 3D carving, but other than that, I never had any problem with this choice
My advice is to build it stock first and learn the basics. Then you will have first hand knowledge of which modifications you would prefer to tackle first.
bienvenue,
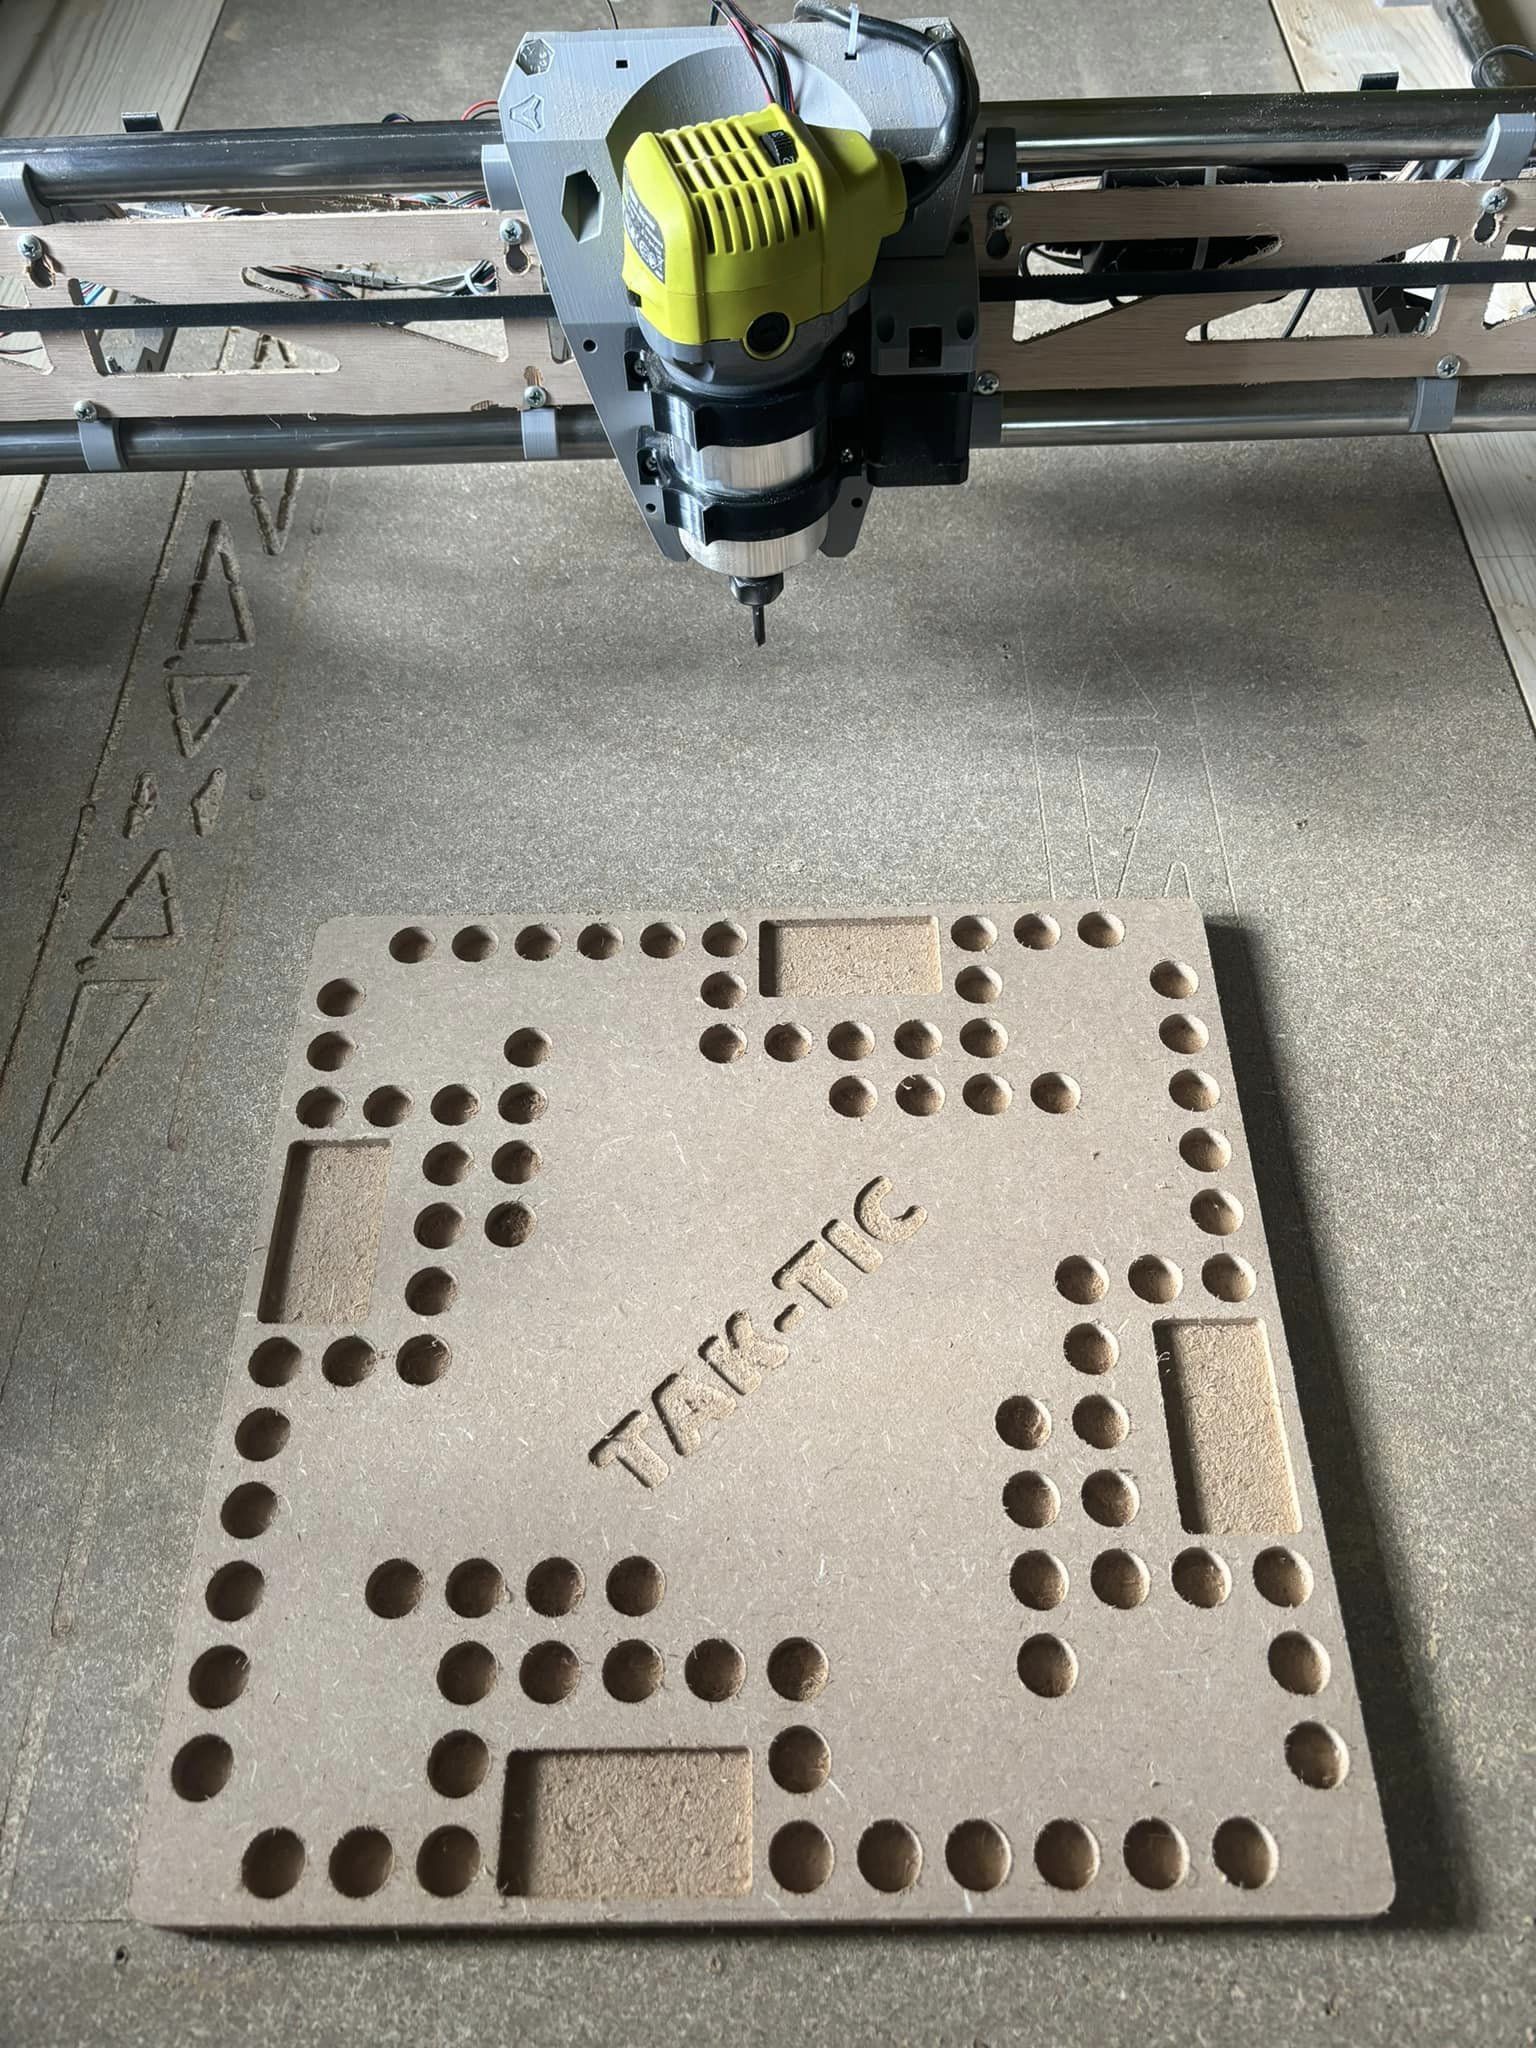
I chose a MAKITA clone https://www.amazon.fr/dp/B08C52GNN8?psc=1&ref=ppx_yo2ov_dt_b_product_details
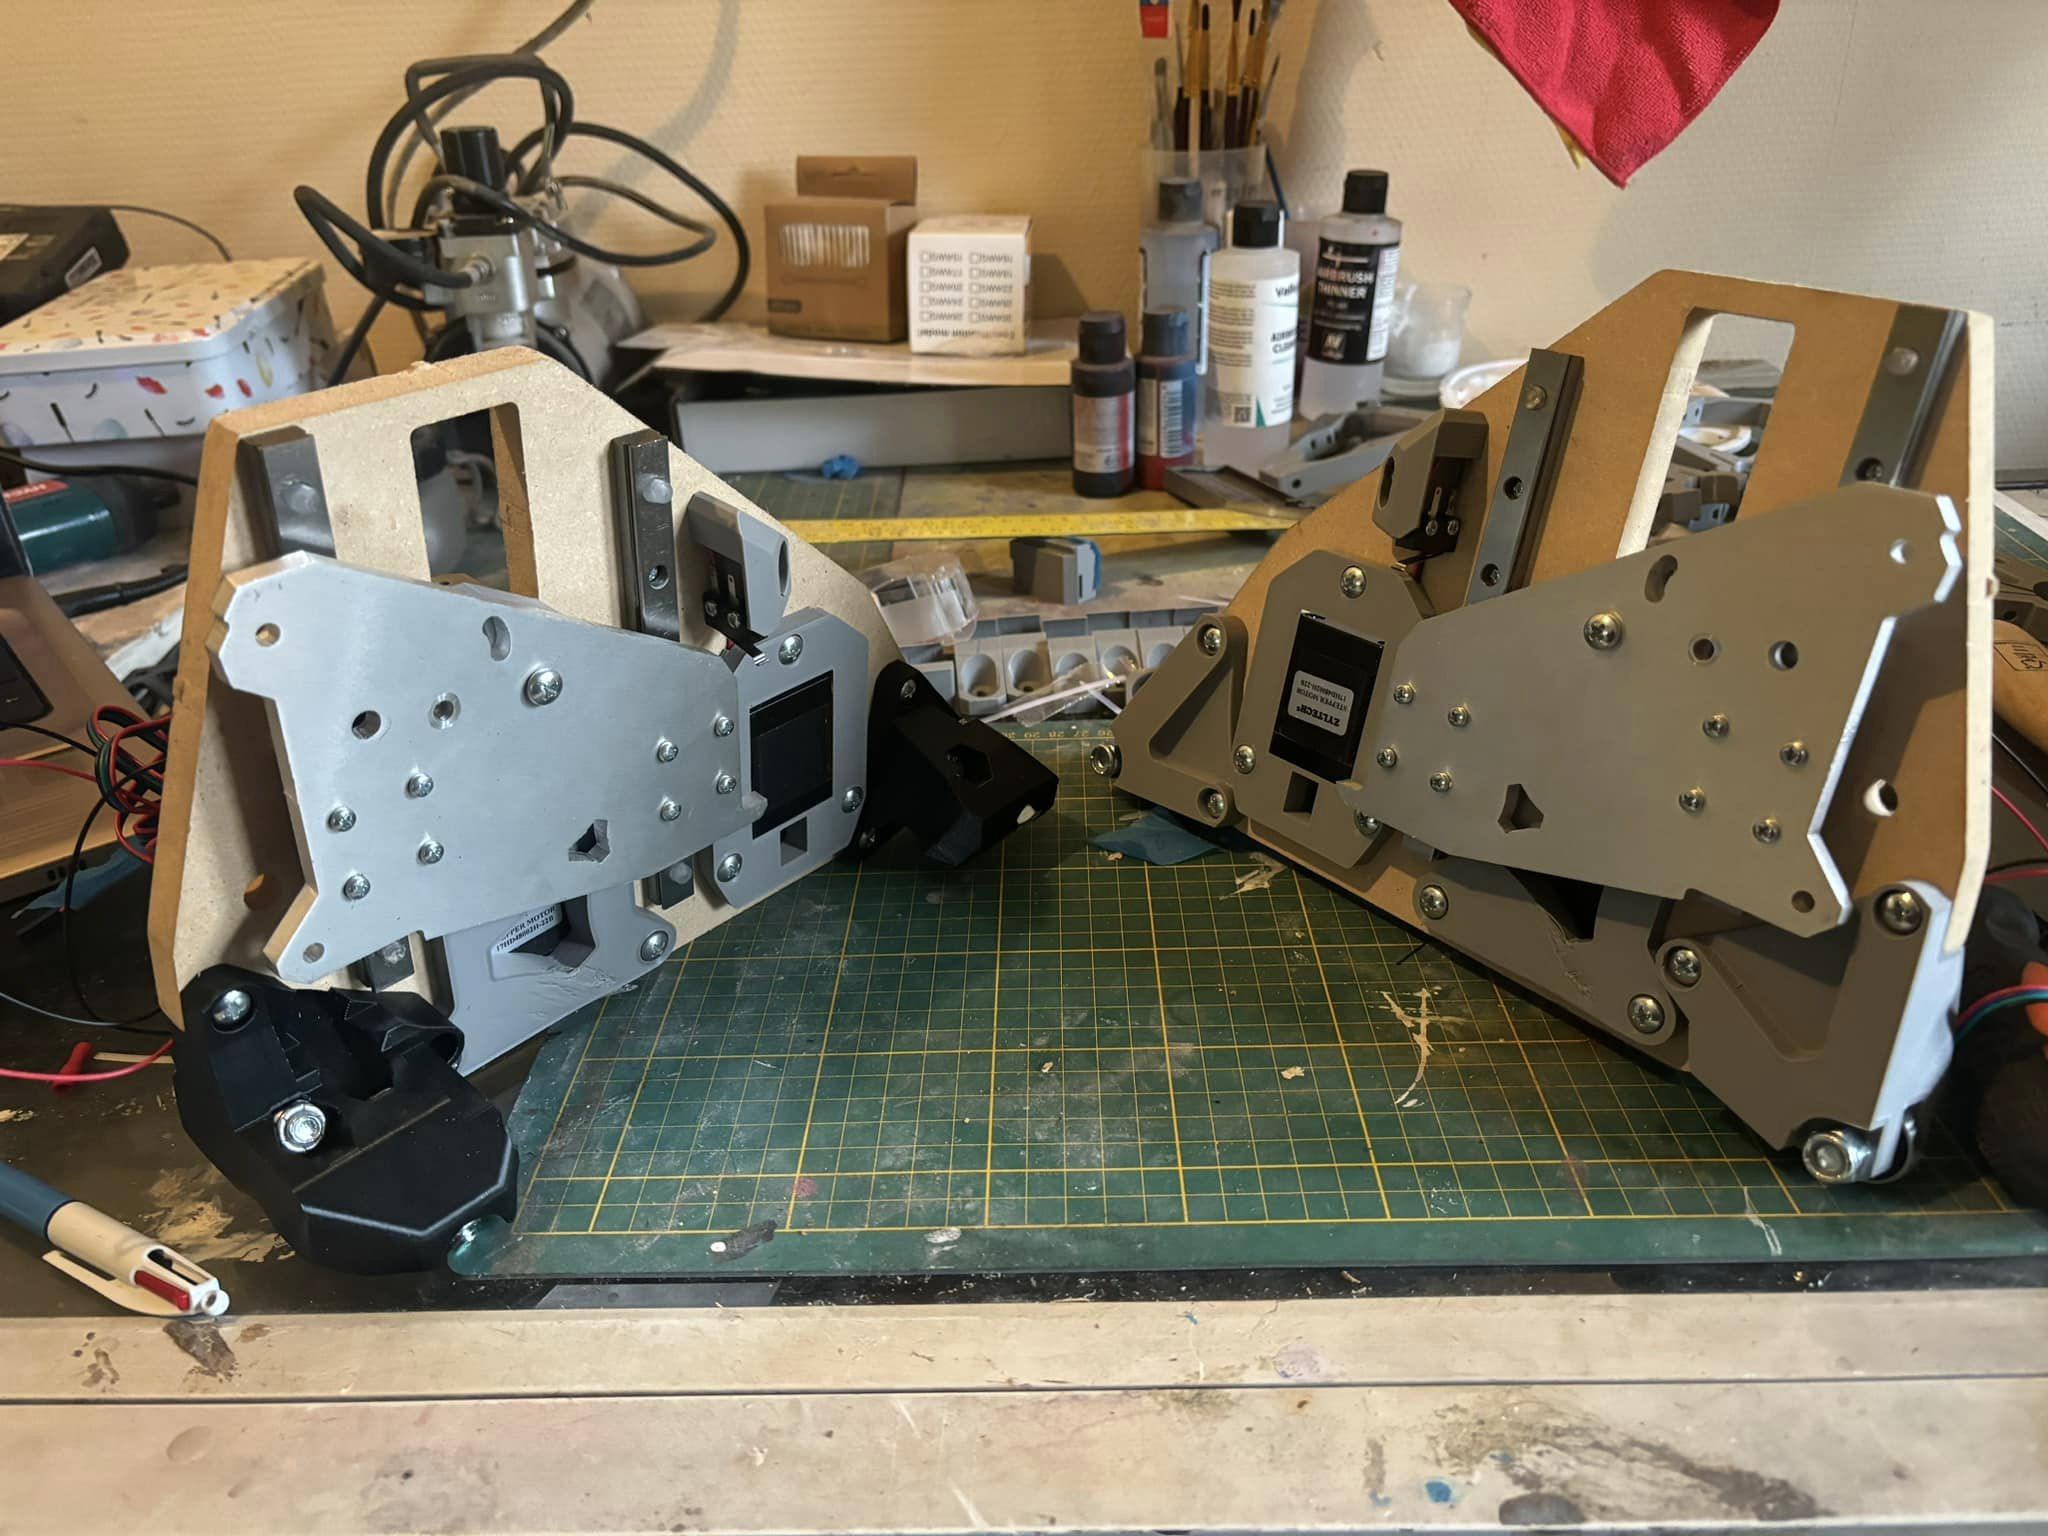
I printed everything myself
On the other hand, I bought the lowrider V3 pack via the site, and I bought the aluminium plates and the flat YZs, as well as the jacpot cnc controller.
It cost me 100€ for shipping and 110€ for customs clearance.
It is probably fine. As long as you squared your machine before you cut the strut plate, you probably just needed a better finishing pass. Can you correct it, absolutely, should you…as long as all three are exactly the same you are fine.
Yes, square and level. It should not move, but checking is always a good idea if you care about your tolerances. Some people don’t care, depends on the projects.